
At this point in the game, you’re free to tackle the content in any order that you wish. Some are more difficult than others while there are some with great rewards that you may wish to obtain sooner. You’ll want to begin this stage of the game around Level 57 as a minimum and work on increasing your level as you progress through the events.
You also have the option of leveling your party to 99 at this point, a task which can be achieved in around three to five hours depending on the resources available to you and the skills you’ve learnt. Do note however that this will completely trivialize the post game and any challenges. To begin your globetrotting adventure, Zoom to Cobblestone.
Cobblestone
Cobblestone lies in ruins after Jasper’s attack, in this timeline there was never no need for the Last Bastion. Head to your home and speak to Gemma to learn that the villagers are rebuilding Cobblestone and she wants you to head out to find some people to help. This is a large Quest that will span the entirety of Act III but rest assured, the rewards are well worth it.
Before you depart from Cobblestone, head south and head into Cobblestone Tor. Head through the caverns until you reach the area where Cole was at the start of your adventure. You’ll find Derk here in trouble, prepare yourself and come to his rescue.
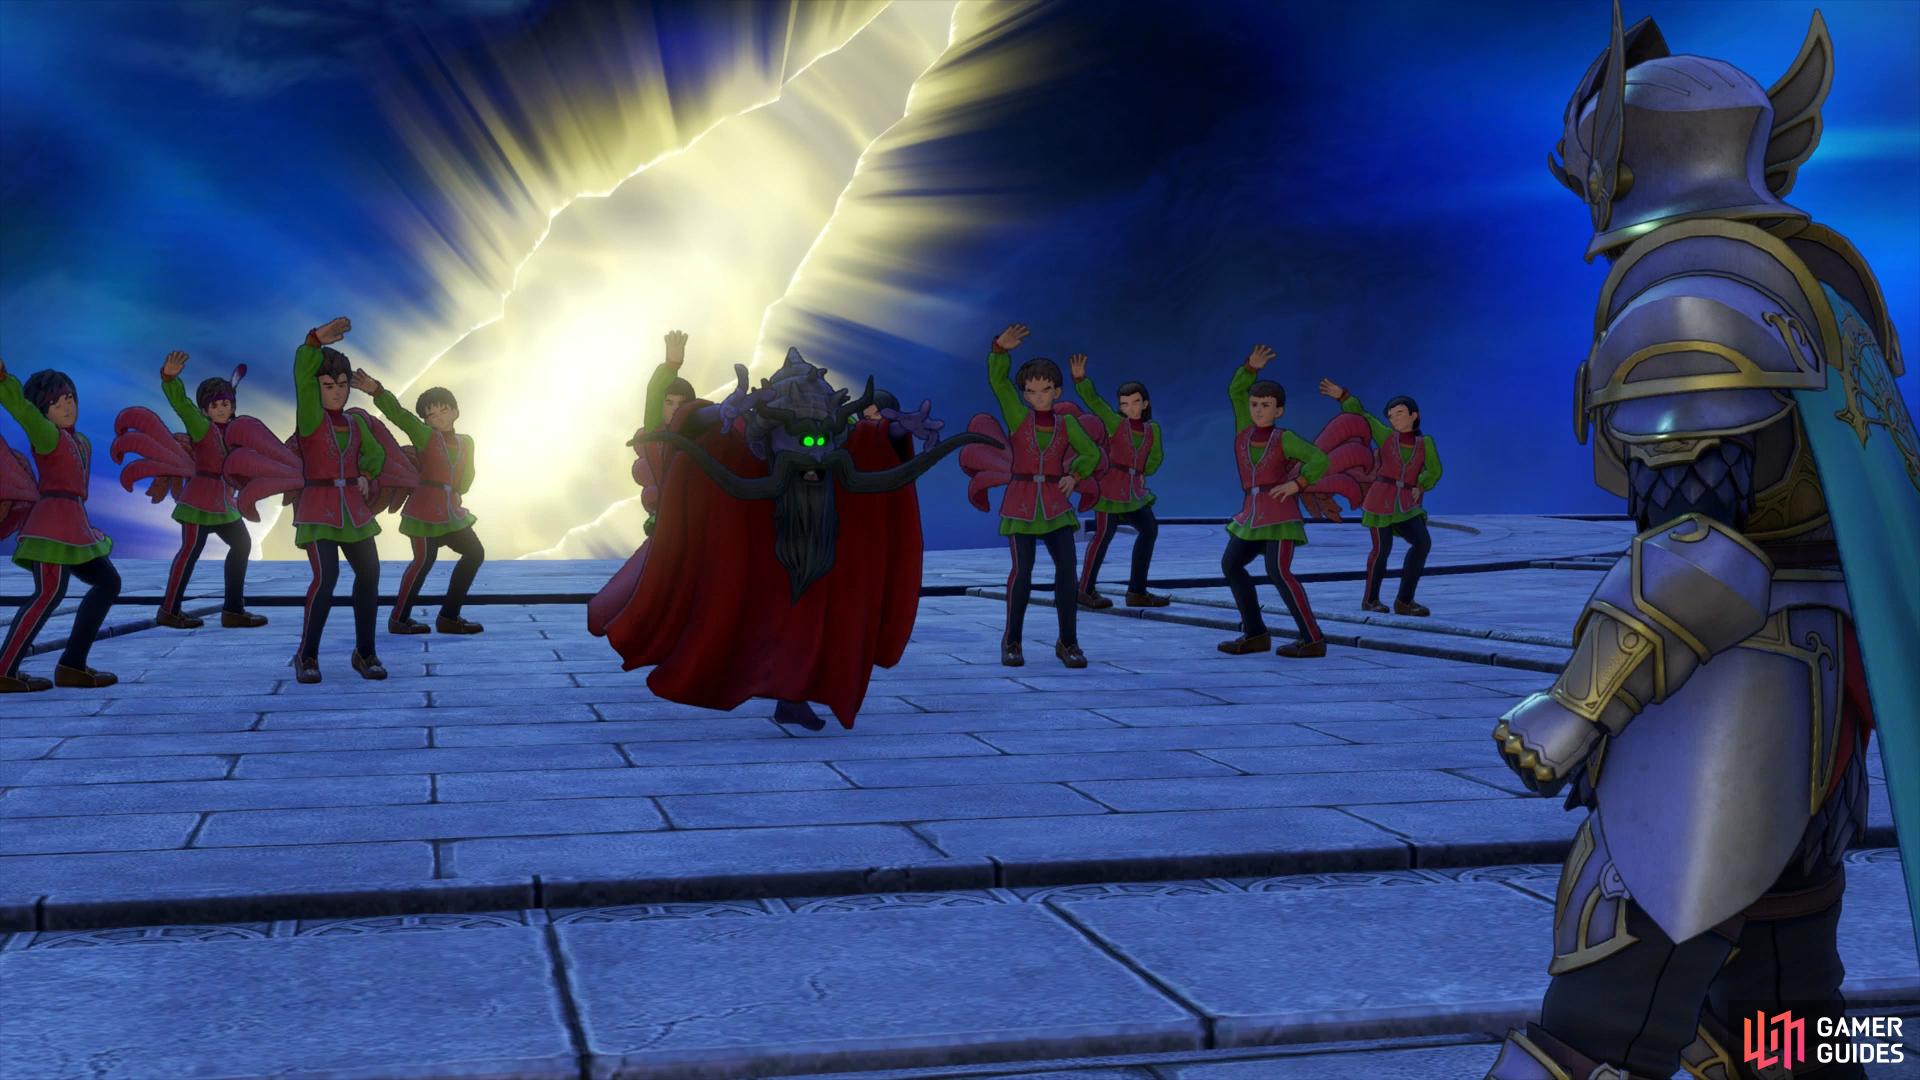
Boss: Malicious Hades Condor
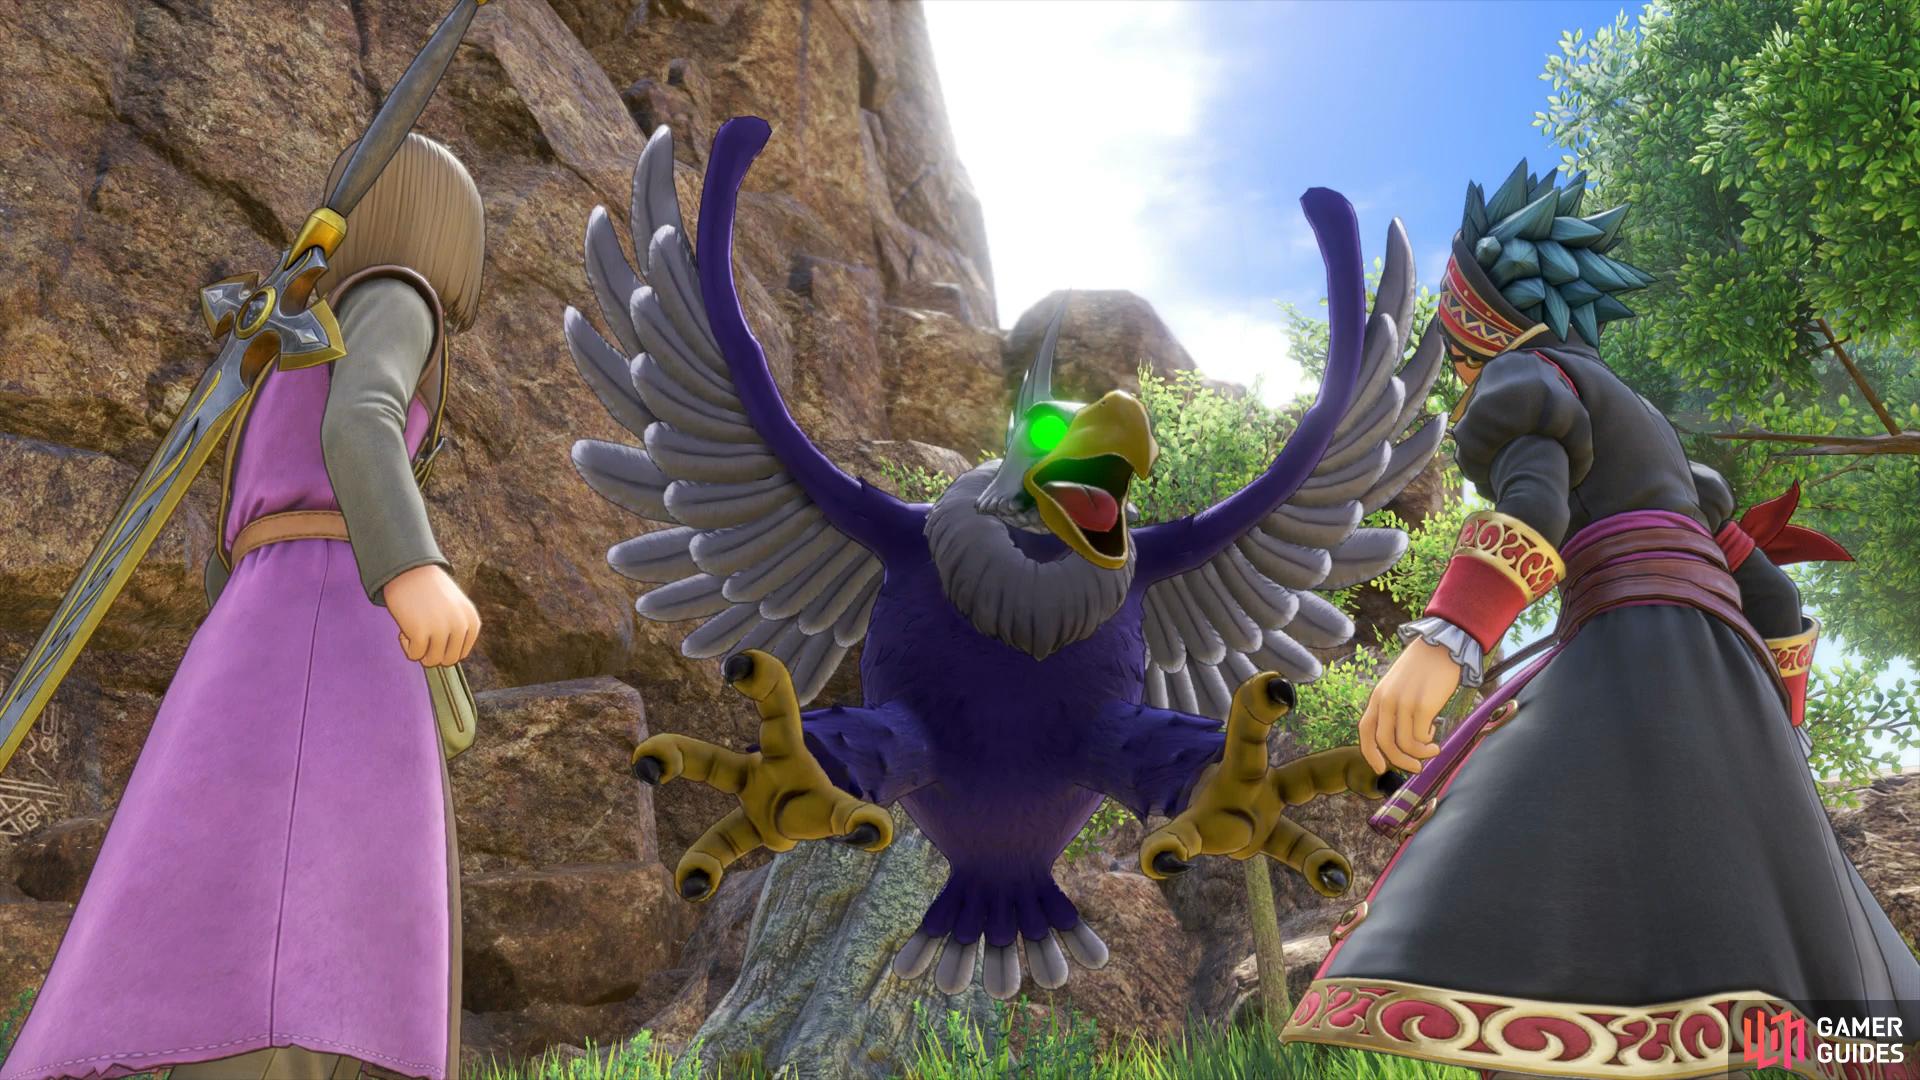
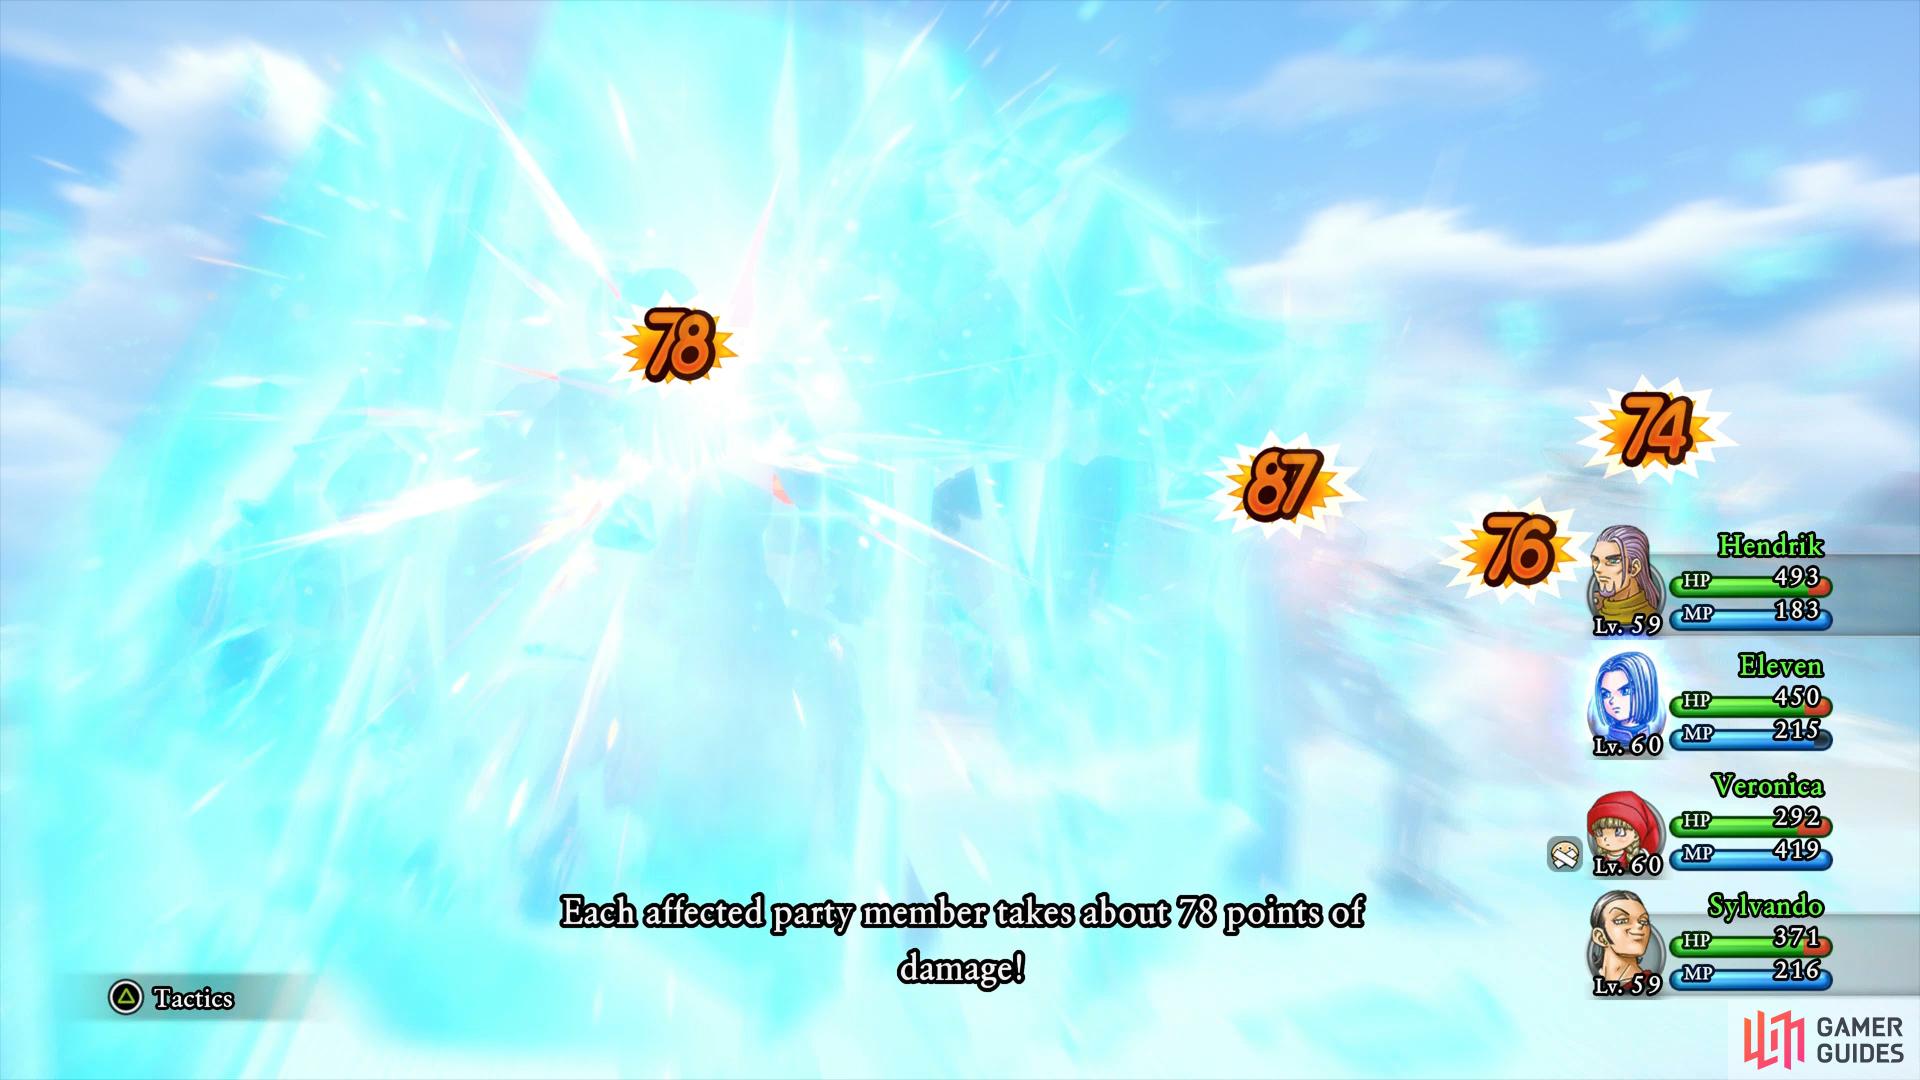
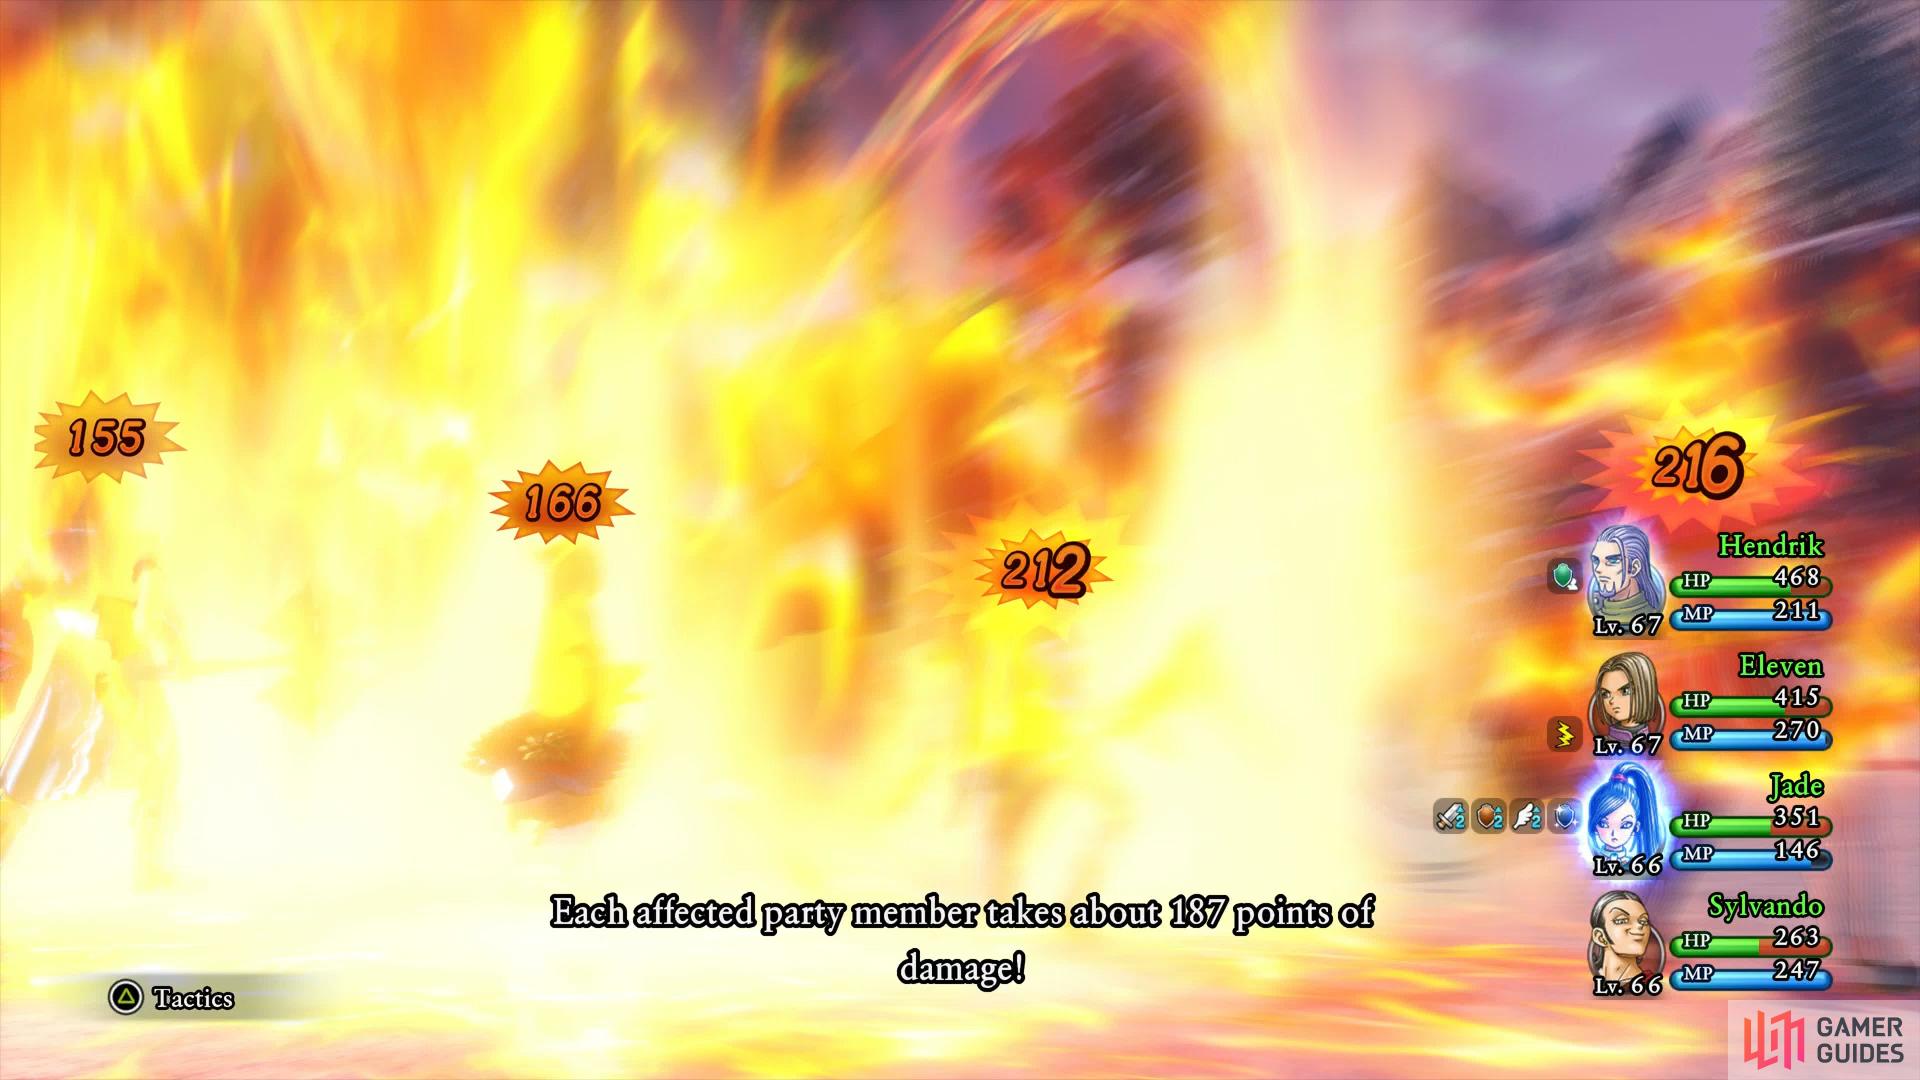
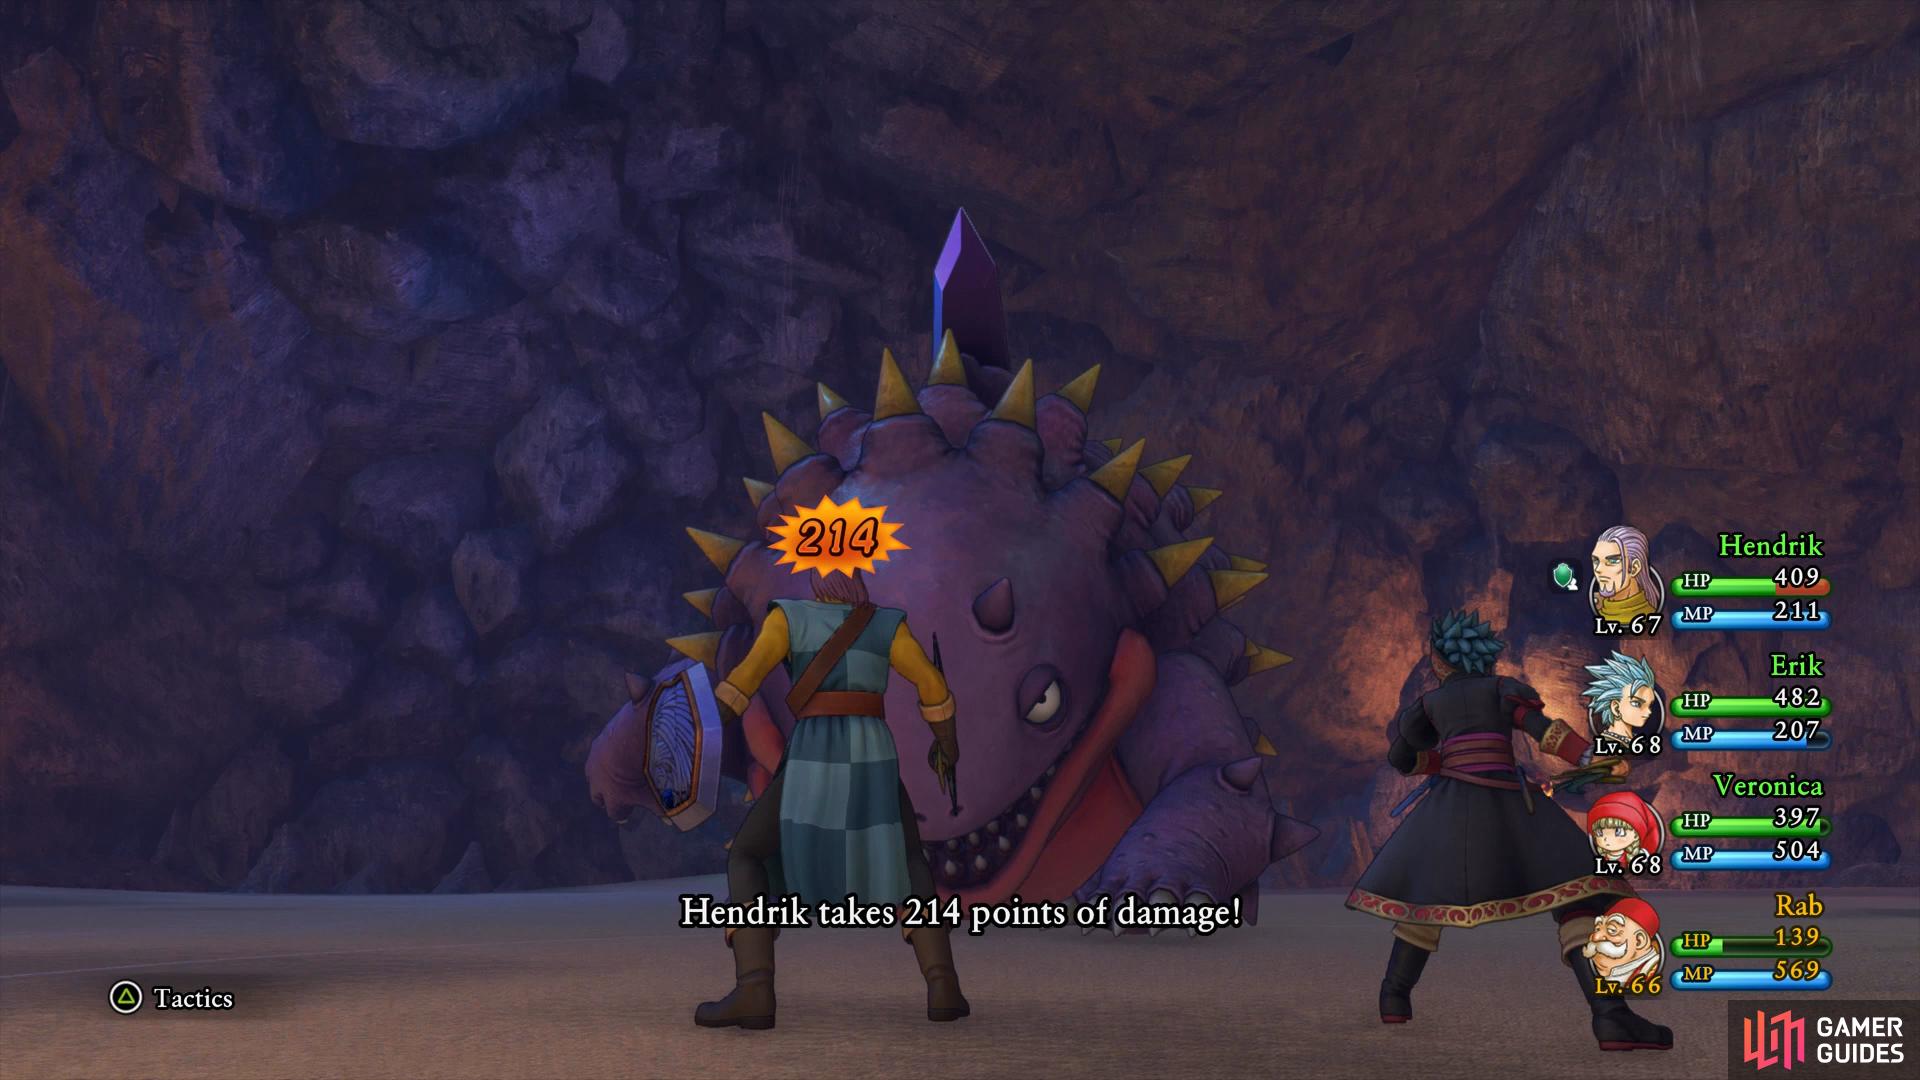
Don’t underestimate the threat you face here, the Malicious Hades Condor is no slouch. Its most deadly attack is Kasizzle, a group based fire spell that will hit the party for over 200 HP. His regular attacks will also hit hard for over 150 HP so keep yourself healed at all times, with it’s high agility you’ll find it acting first in most combat rounds. The Hades Condor has around 4500 HP so you’ll have to make sure you can survive its attacks first and foremost.
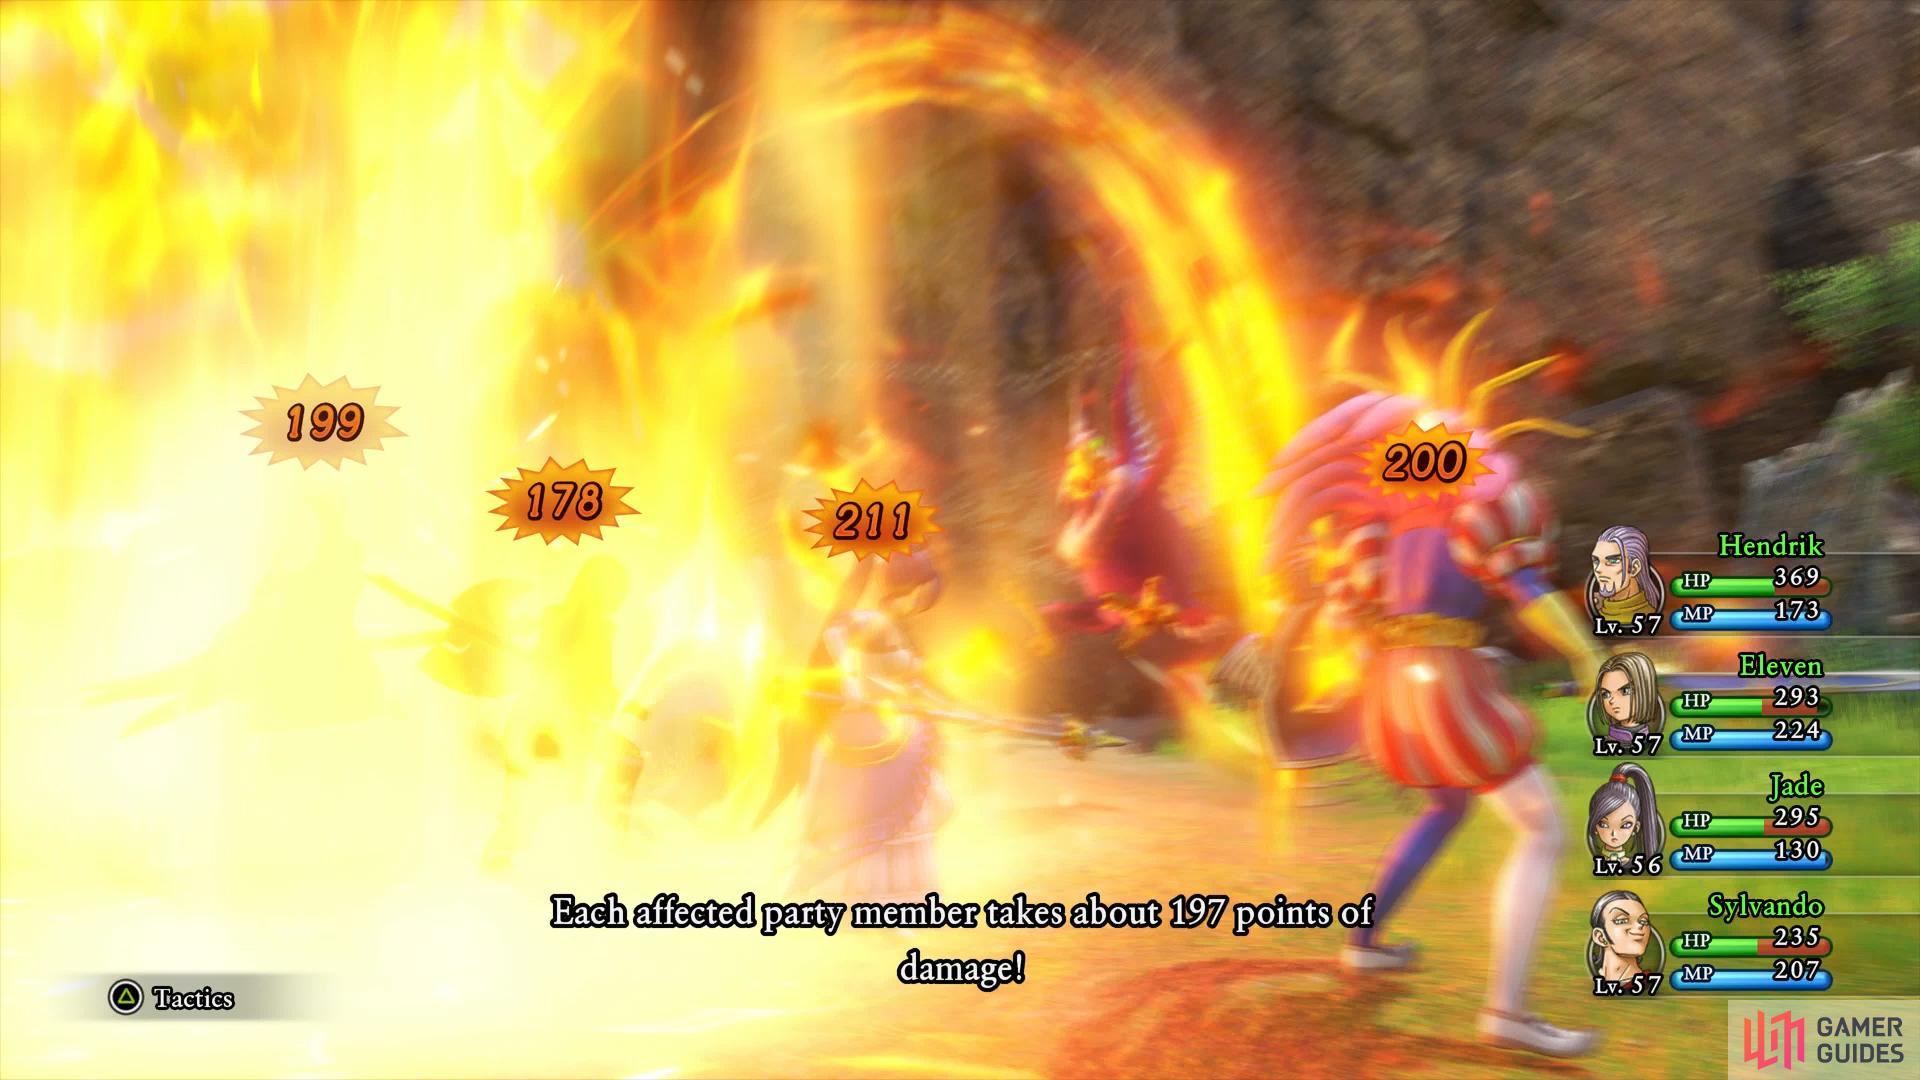
Limit Kasizzle’s devastating damage with Magic Barrier
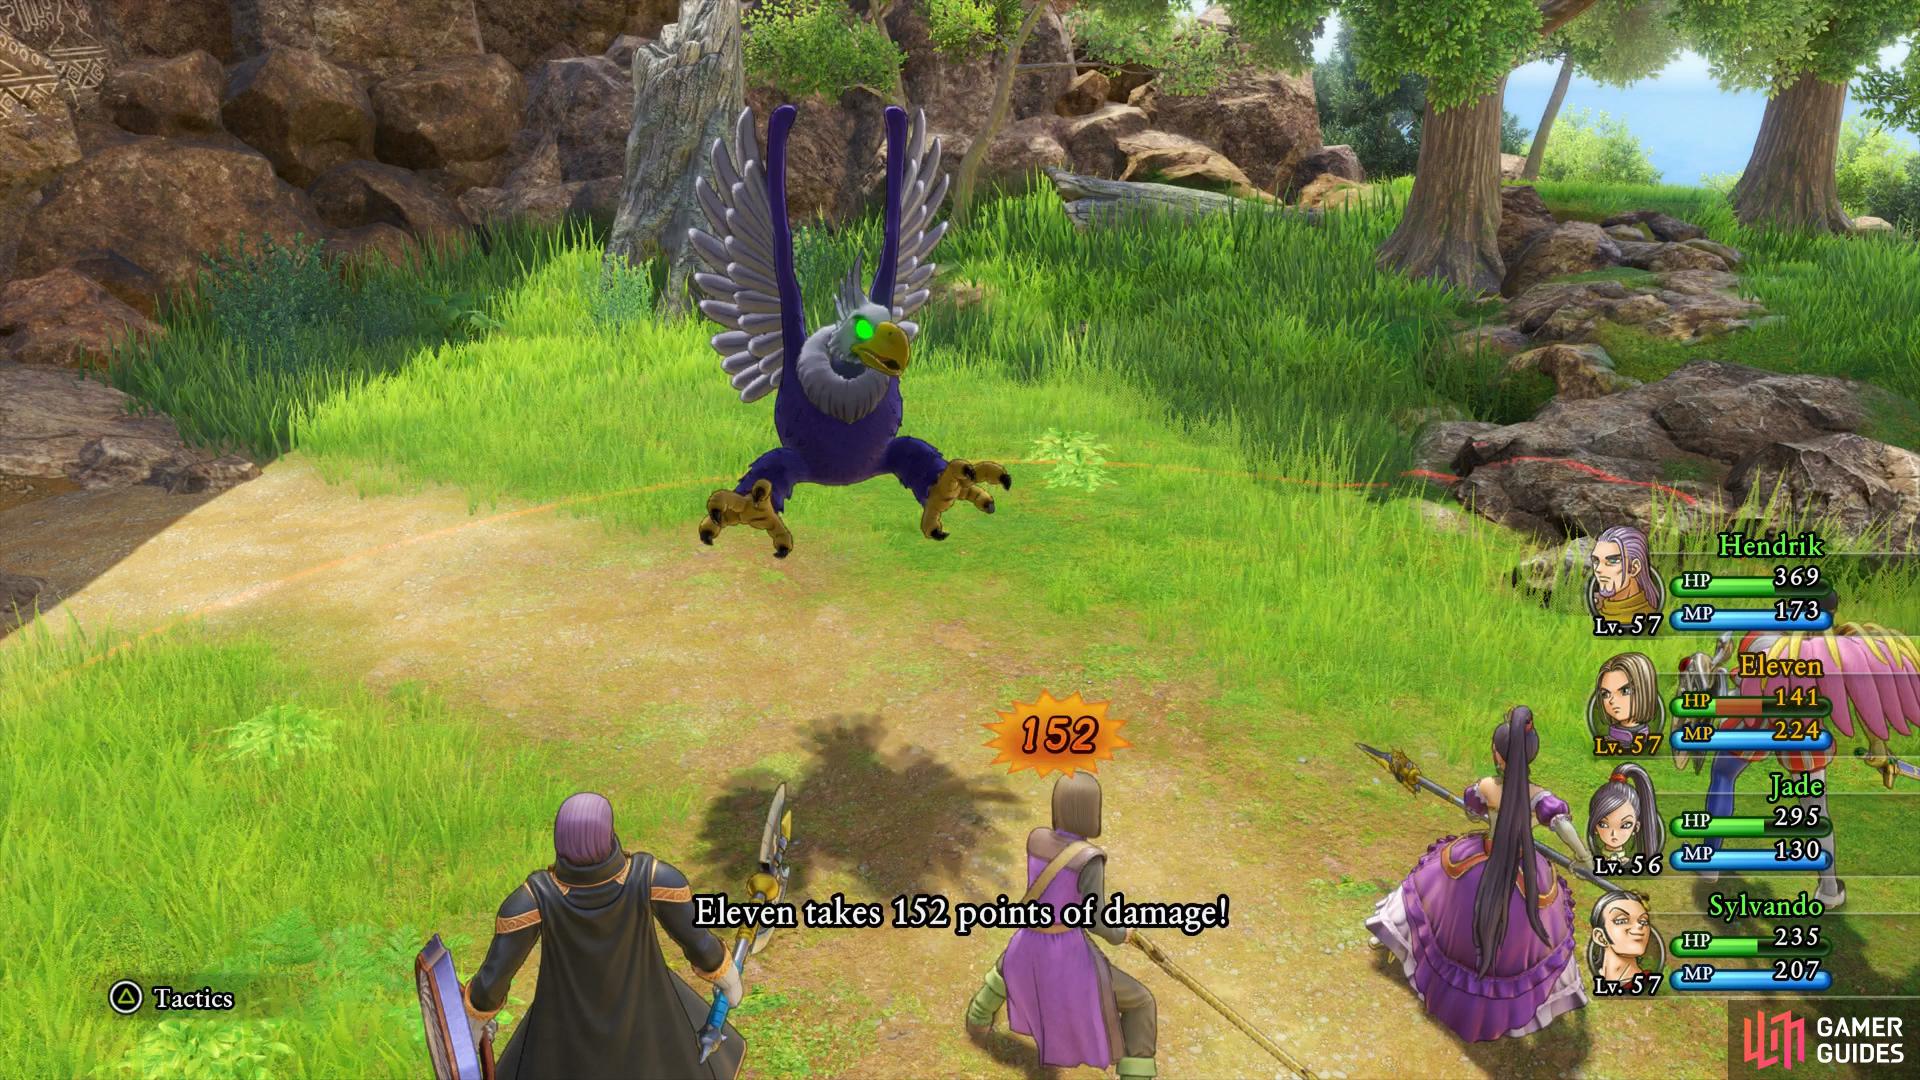
its regular attacks hit hard too.
Hendrick is useful in this battle, be sure to cast Magic Barrier to help limit the damage from Kasizzle and then help out with Sage’s Stone healing if need be. Sword Dance should be your go to attack for the Hero at this point and Jade is useful for Re-Vamp Multifeet too. Your healer shouldn’t matter too much but note that Serena is starting to come into her own now as the best healer in the game.
For saving him, Derk hands over a Spectralite and then will agree to help Cobblestone in it’s rebuilding process. Before leaving the Tor, make the climb all the way to the top of the mountain. You’ll find a man on the edge of the cliff overlooking Cobblestone, speak to him and agree to assist him to begin Quest 50 - Mista Vista. You’ll have to head to one of the Insula Isles to find this spot, somehwere you’ll be heading shortly.
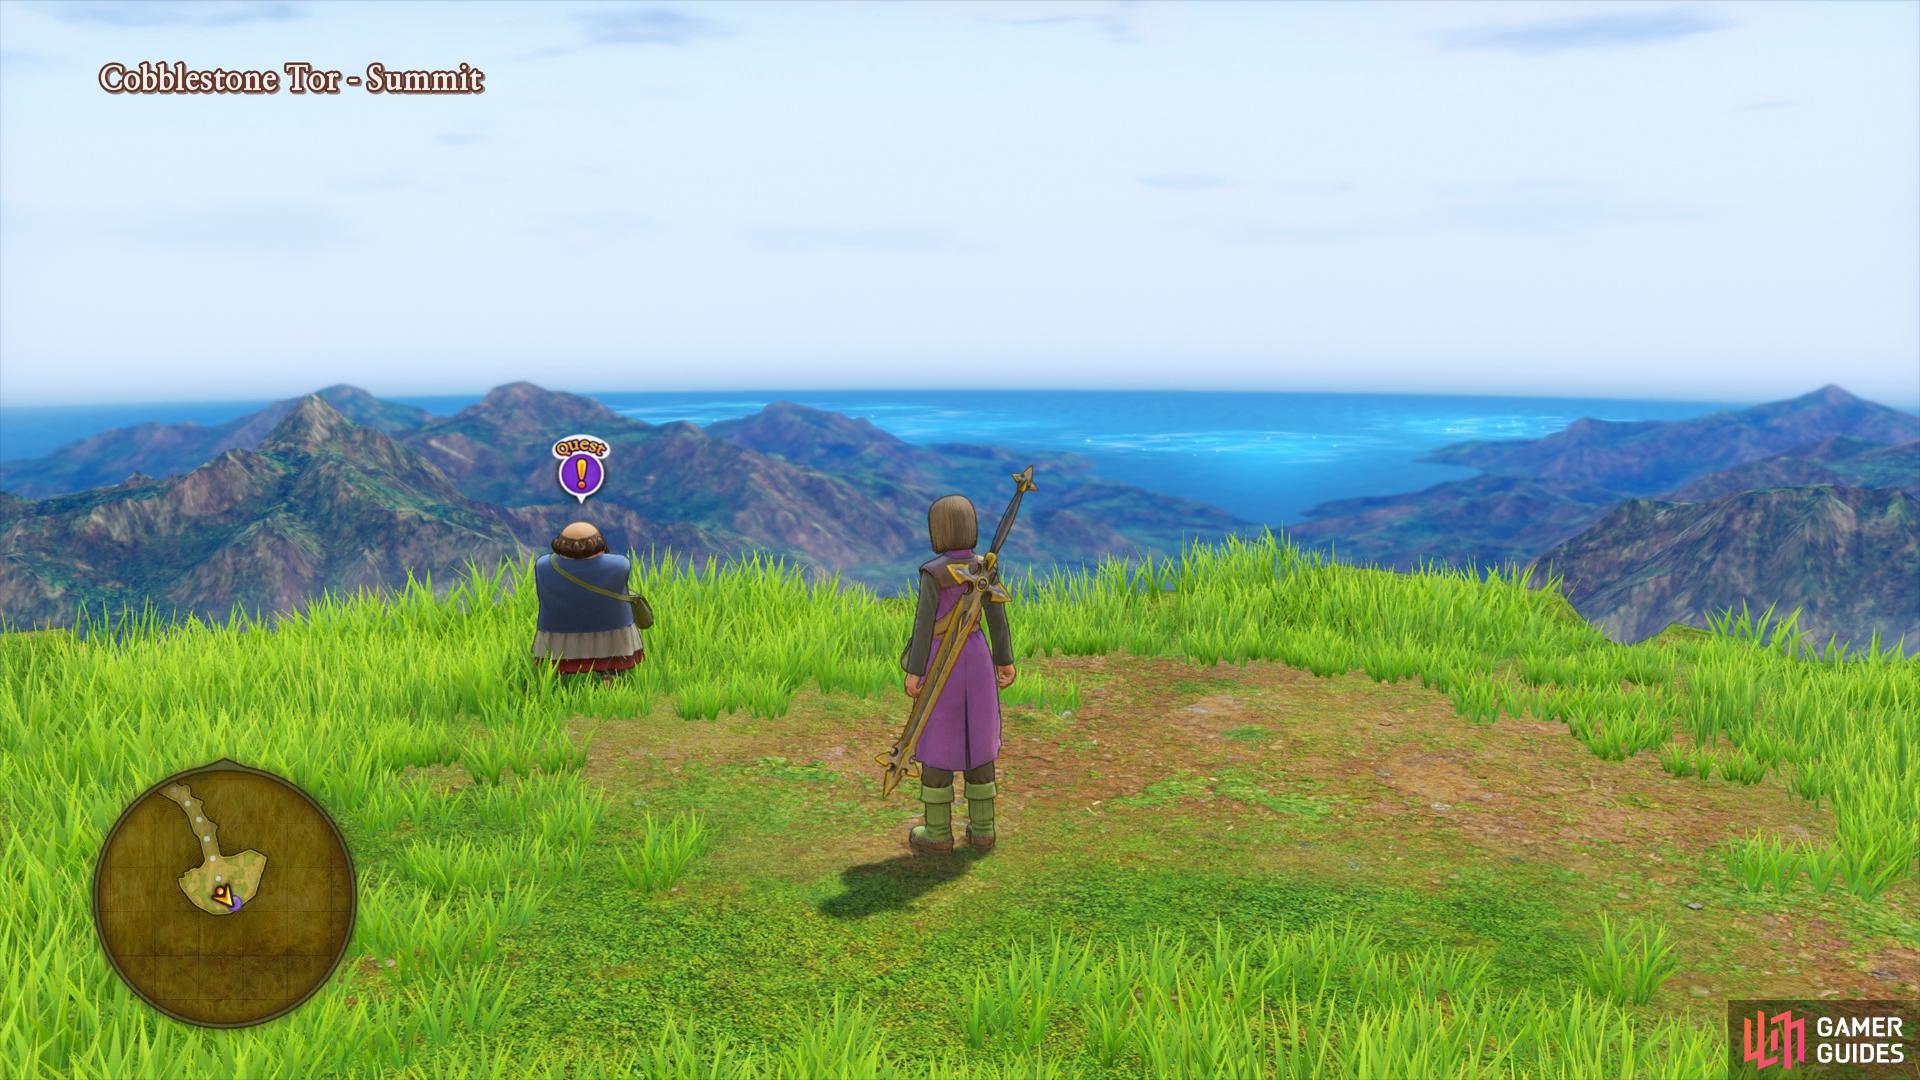
You’ll find a Quest giver at the top of the mountain.
Unlocking the Ultimate Key Doors
Next on your list should be opening some of the many Ultimate Key doors that don’t involve heading to areas with tough quests. During your trip to unlock these doors, take the time to fight some battles along the way to increase your level.
Heliodor Castle
First on your list should be to return to Heliodor Castle and before you head off to find the door, speak to the King in the Throne Room. Attempt to leave the Throne Room after updating him on the situation and he will ask to speak to Jade. Following the event, you’ll obtain the Golden Tiara which will offer 50% resistance to many status ailments. Head into Jasper’s Room next and search the bookshelves to find the first Tome from Quest 48.
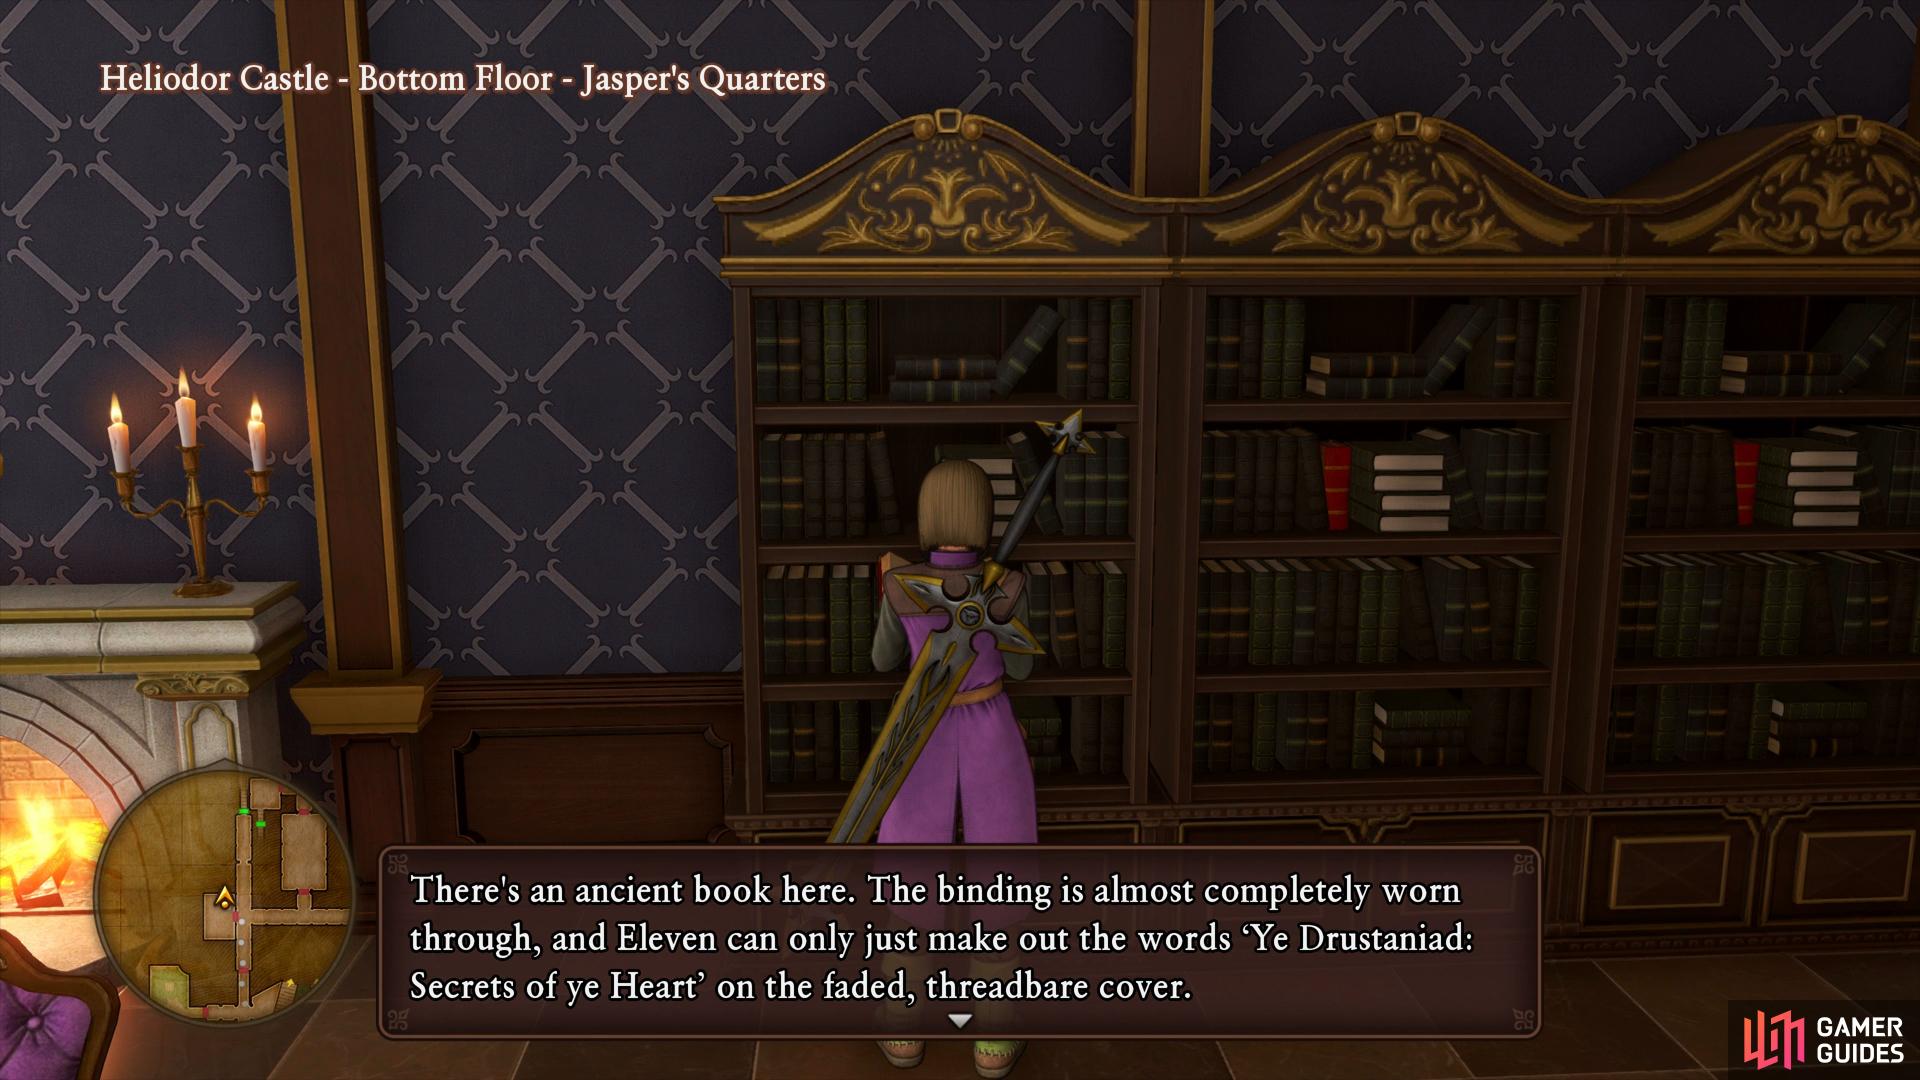
You’ll find the first Tome of Quest 48 in Jasper’s Quarters
there’s a Recipe Book in the Ultimate Key door.
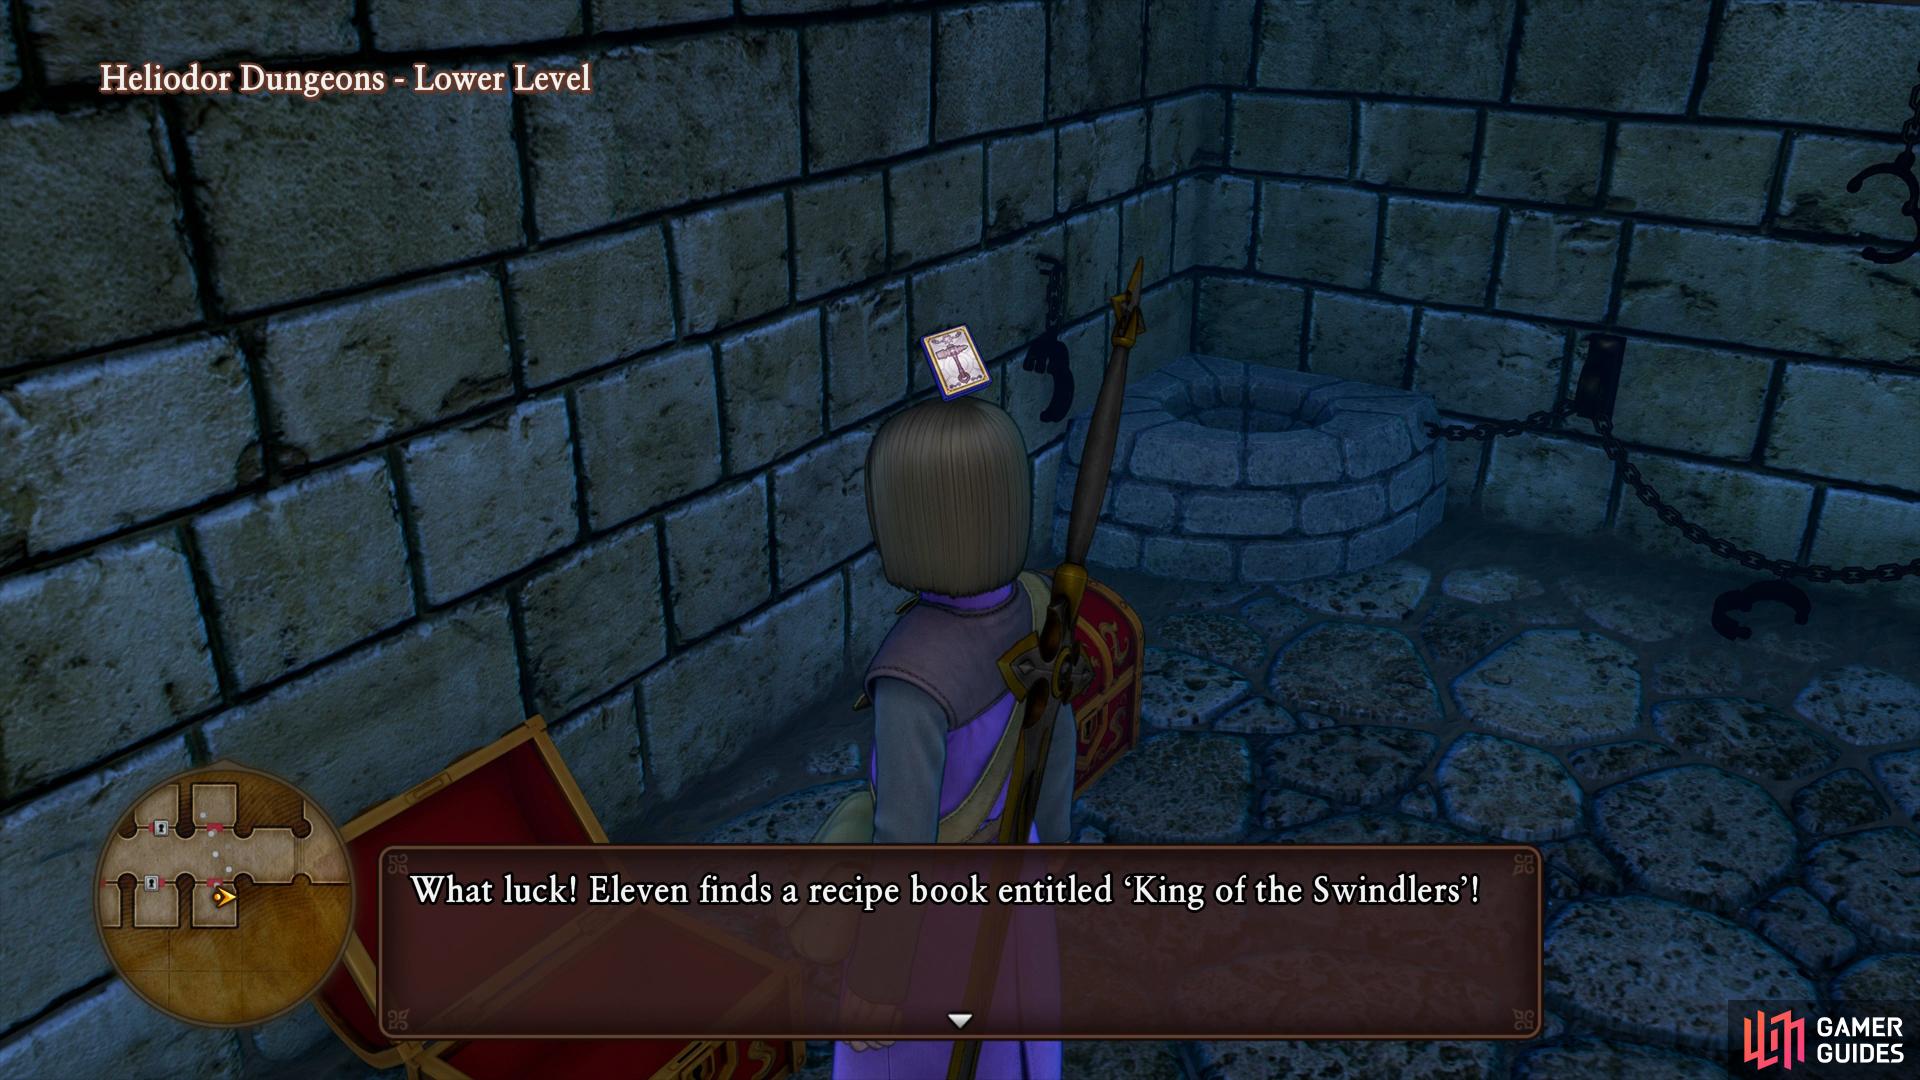
Make your way into the Dungeons now and head into the Lower Level, there will be four cells you can unlock with the Ultimate Key and from them you’ll find a Recipe Book, King of the Swindlers and a Skull Helm.
The Cryptic Crypt
Zoom over to the Hotto Steppe Camp and access the forge, you should be able to upgrade some of the Evolution weapons that you’re currently using such as Bad Axe and Stardust Sword. Head into the Cryptic Crypt now and follow it all the way to the room where you found Noah, at the very end. You’ll find four cells to unlock here and inside you’ll find chests containing a Metal King Jacket, Seed of Skill from a Malicious Pandora’s Box and a Recipe Book, Field Manual.
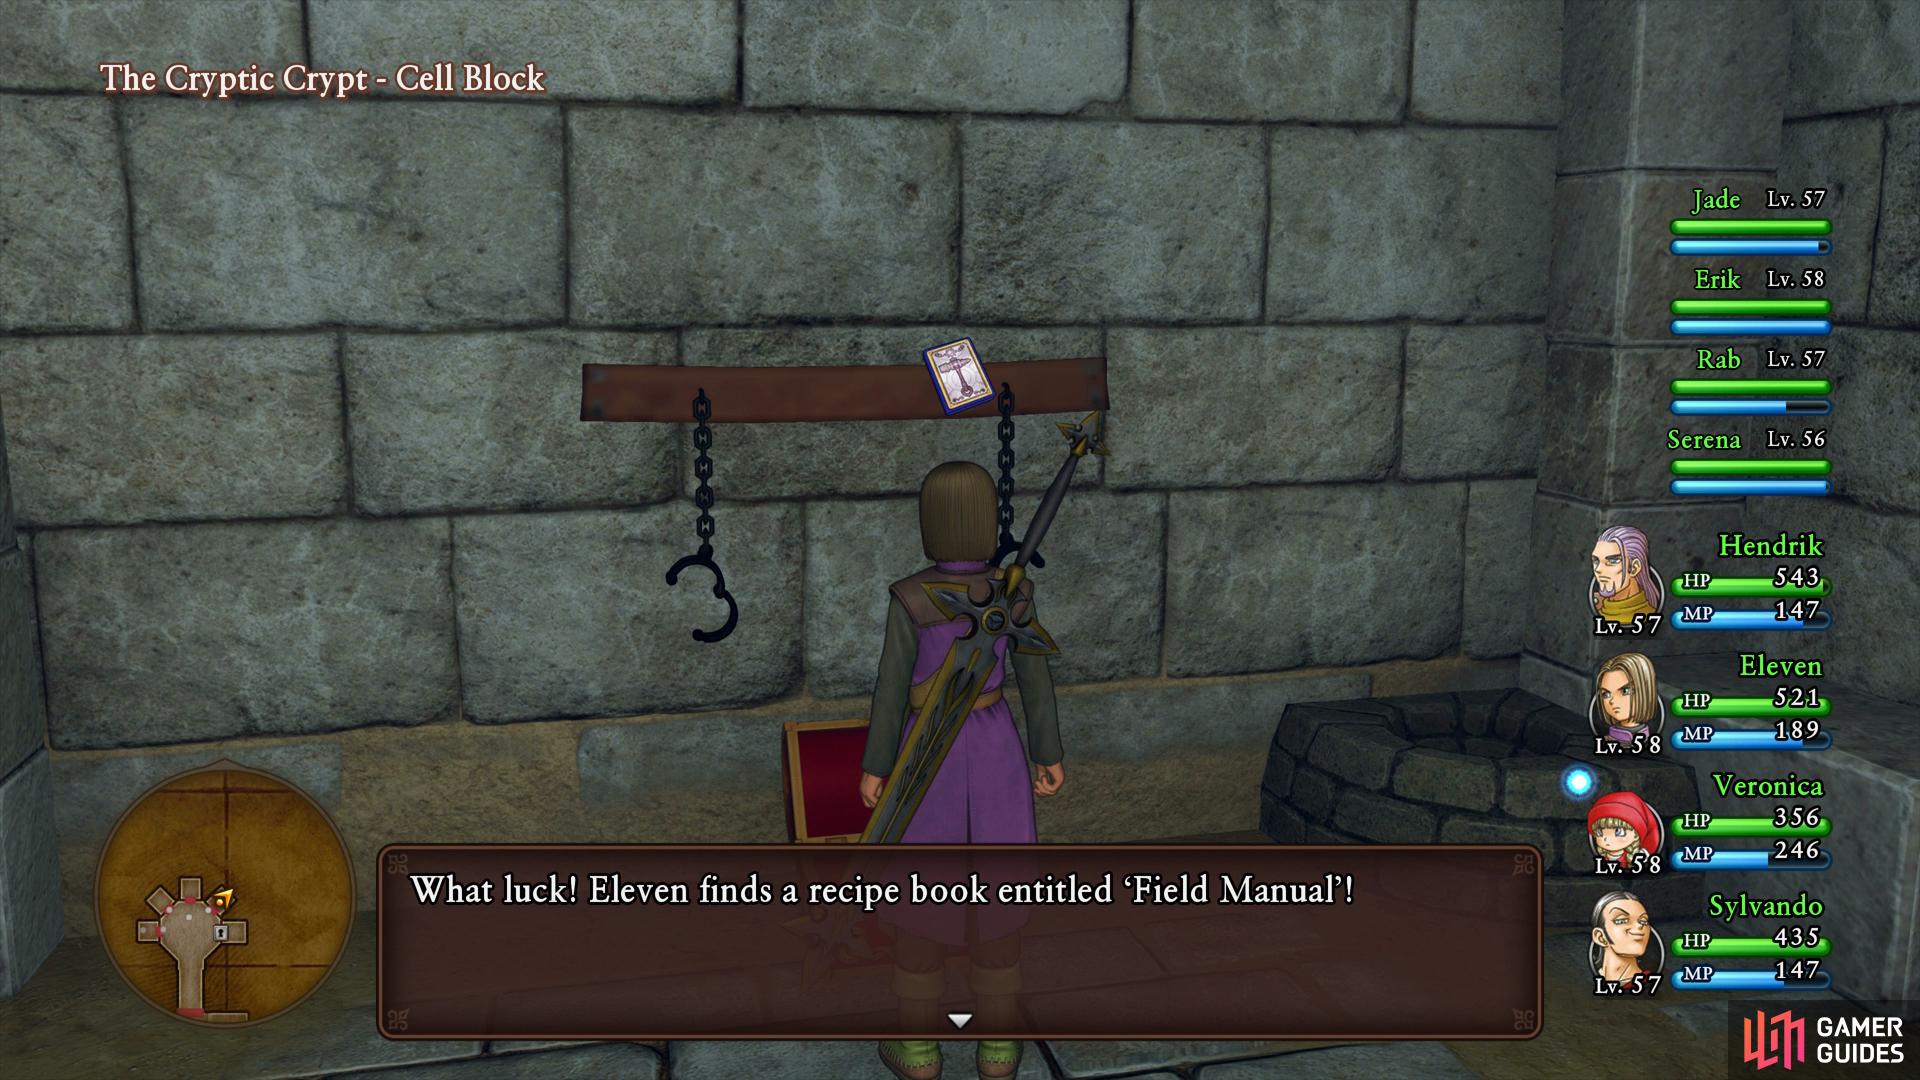
This Recipe Book will contain a new costume for Hendrick.
Gallopolis
Only a quick stop here in Gallopolis, climb down the well and head to the Ultimate Key door at the end, you’ll find a chest containing a Fire Ball. Before leaving Gallopolis however, make your way to the Palace and head to the Prince’s Bedchamber to find Faris looking for some help. Agree to assist him to begin Quest 51 - Perfectly Pepped Paladins where you’ll need to head to one of the Whale Way Stations to find the branch.
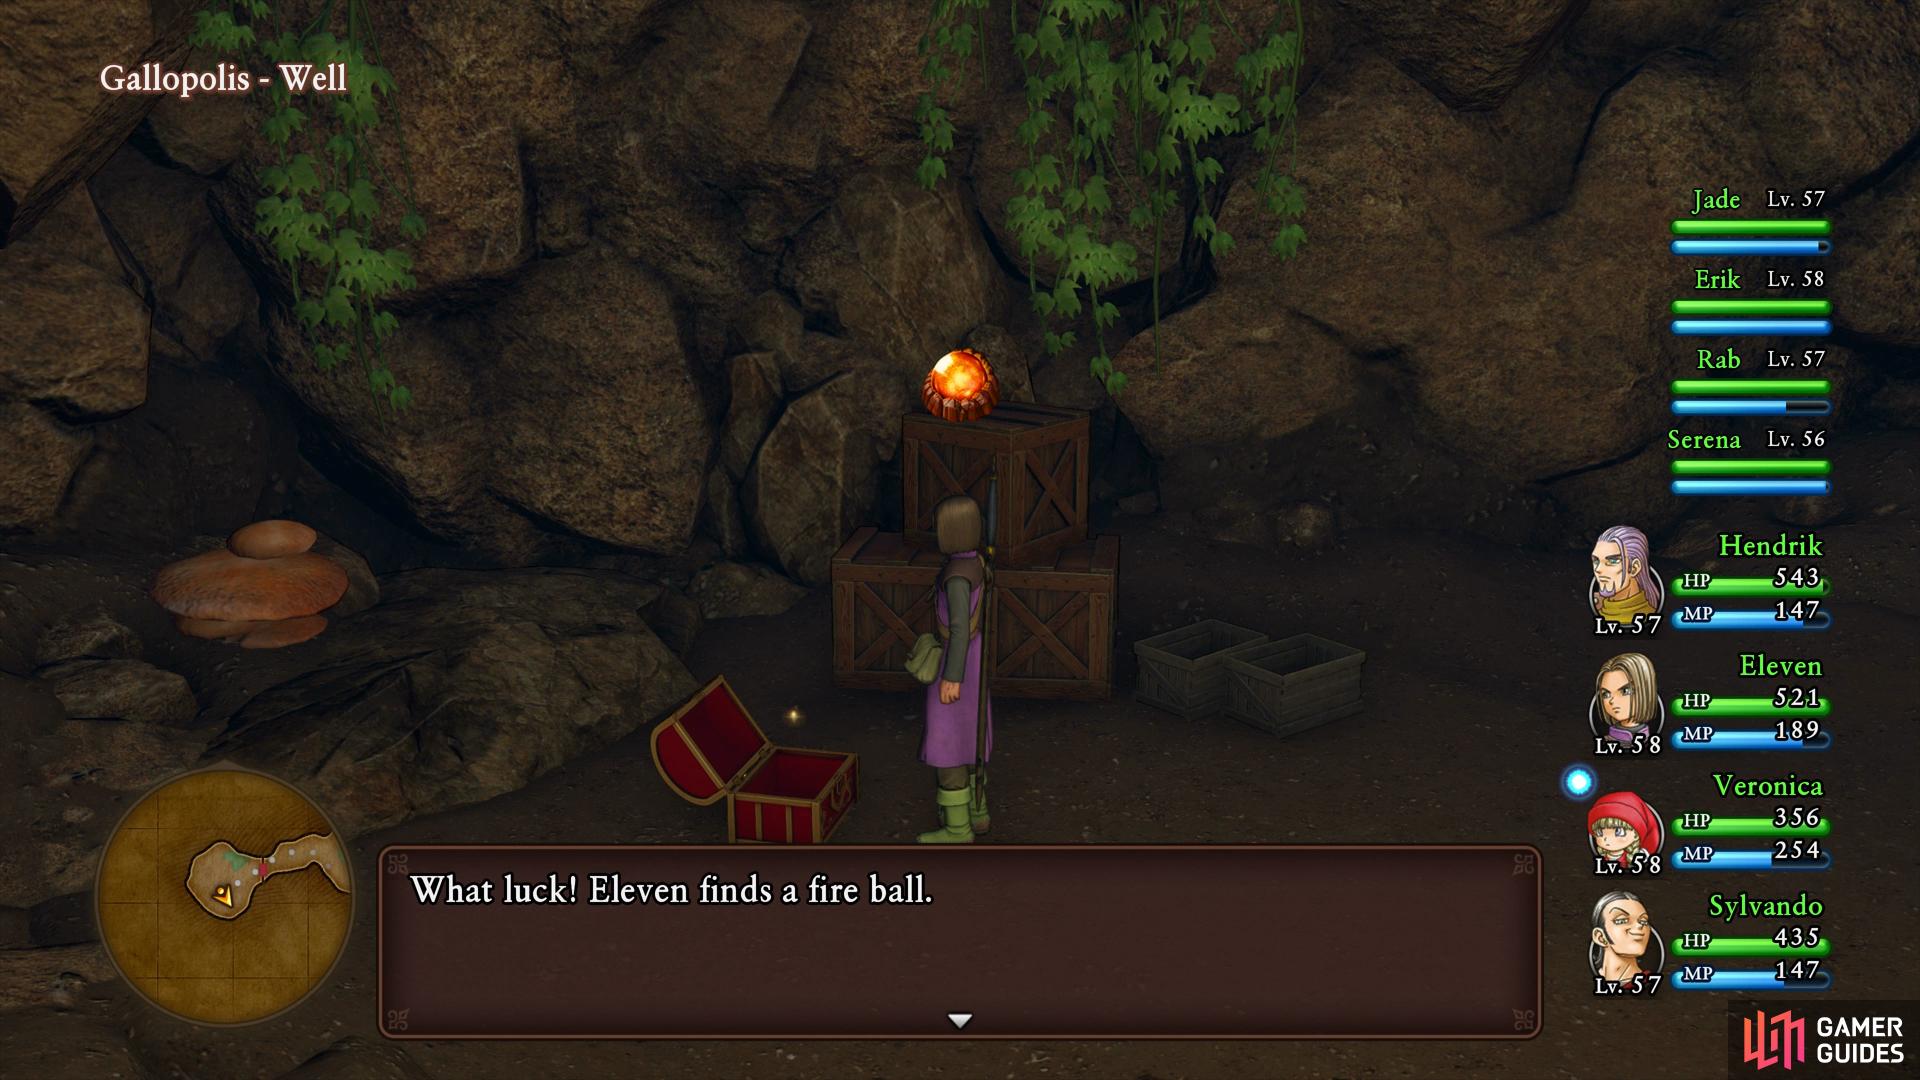
You’ll find this chest in the well
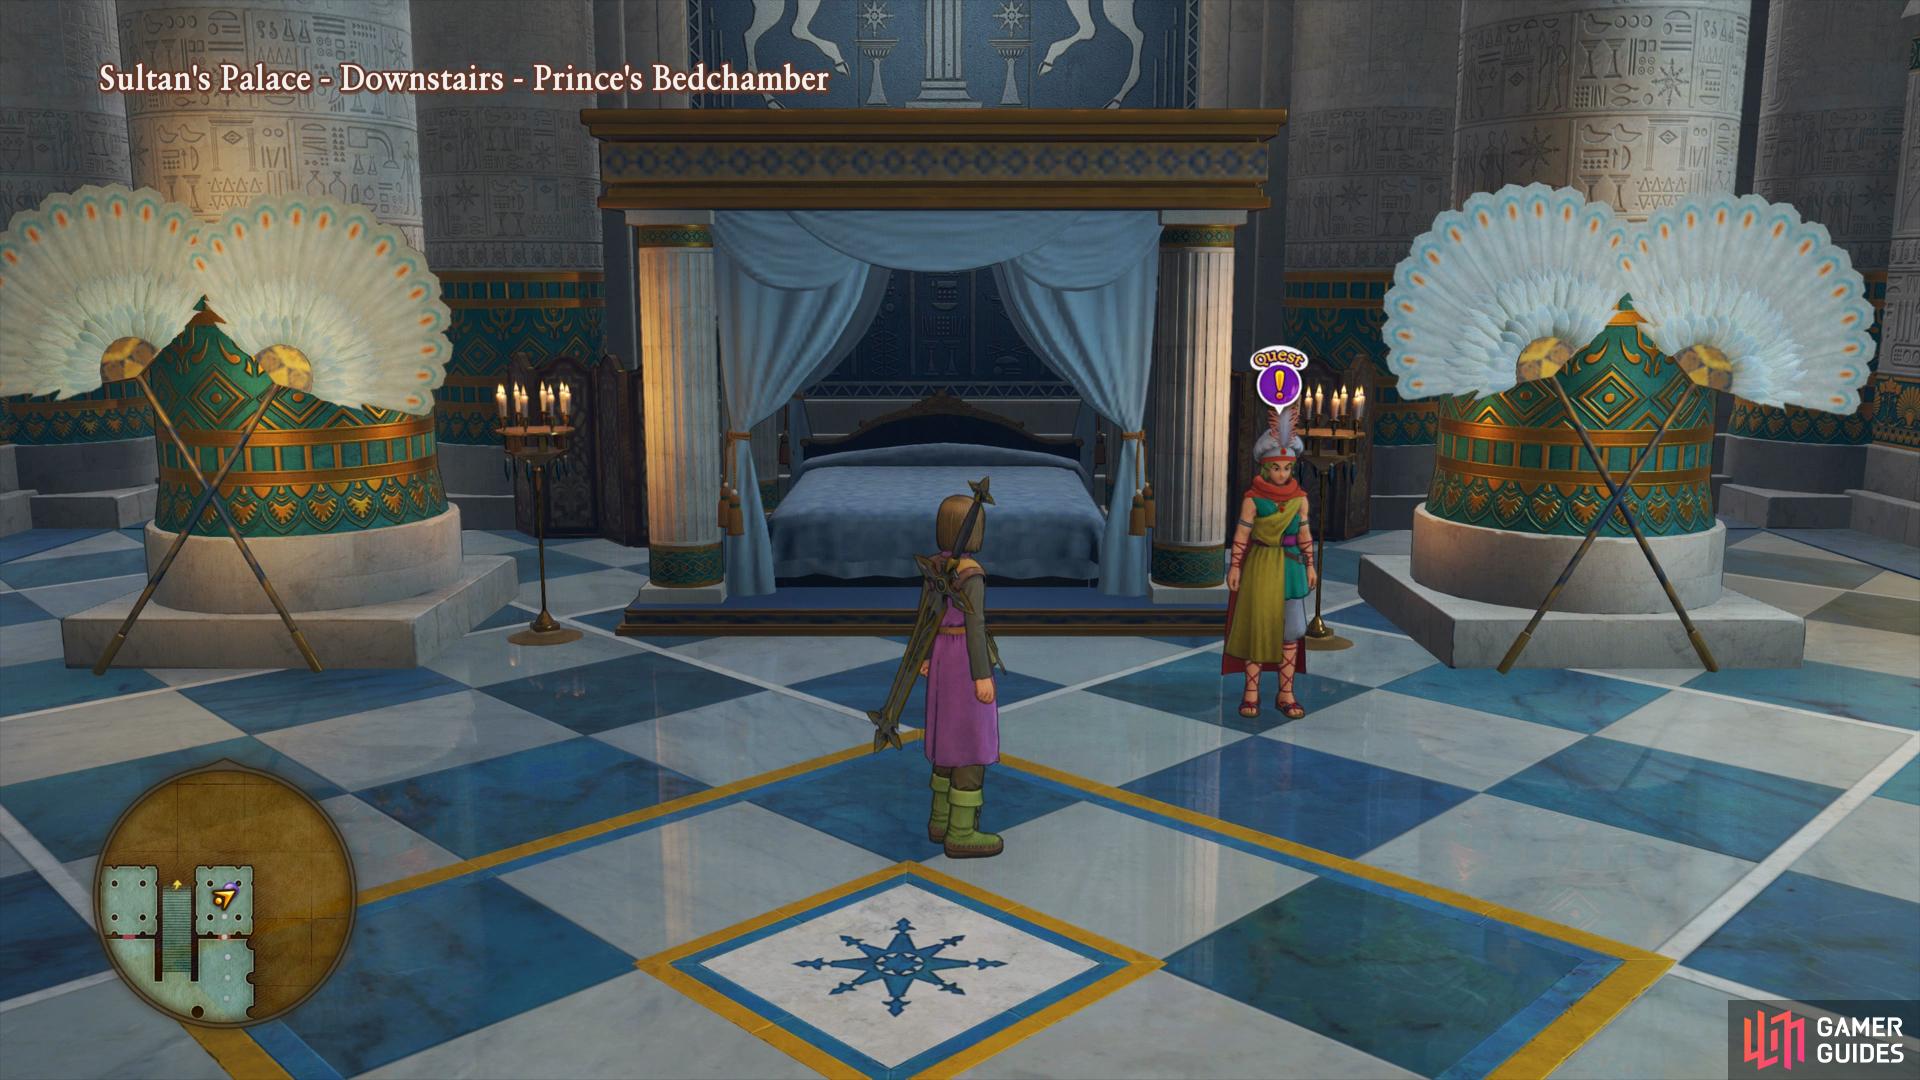
while Prince Faris has a new quest for you.
Gondolia
You can kill two birds with one stone here in Gondolia as you’ll be able to tackle the event while you’re here. As you’ll notice, Gondolia is under attack from monsters and you’ll need to defeat every single one of them to liberate the city. This shouldn’t pose too much of a threat to you and you’ll have no boss to deal with at the end of it.
Following the liberation, you’ll obtain a Thunderstorm Sword from Doge Rotando. Leave the house and open the Ultimate Key door where you’ll find two chests containing an Agate of Evolution and 50000G. Smash the pots on your way out of this area to find a Mini Medal and Pretty Betsy.
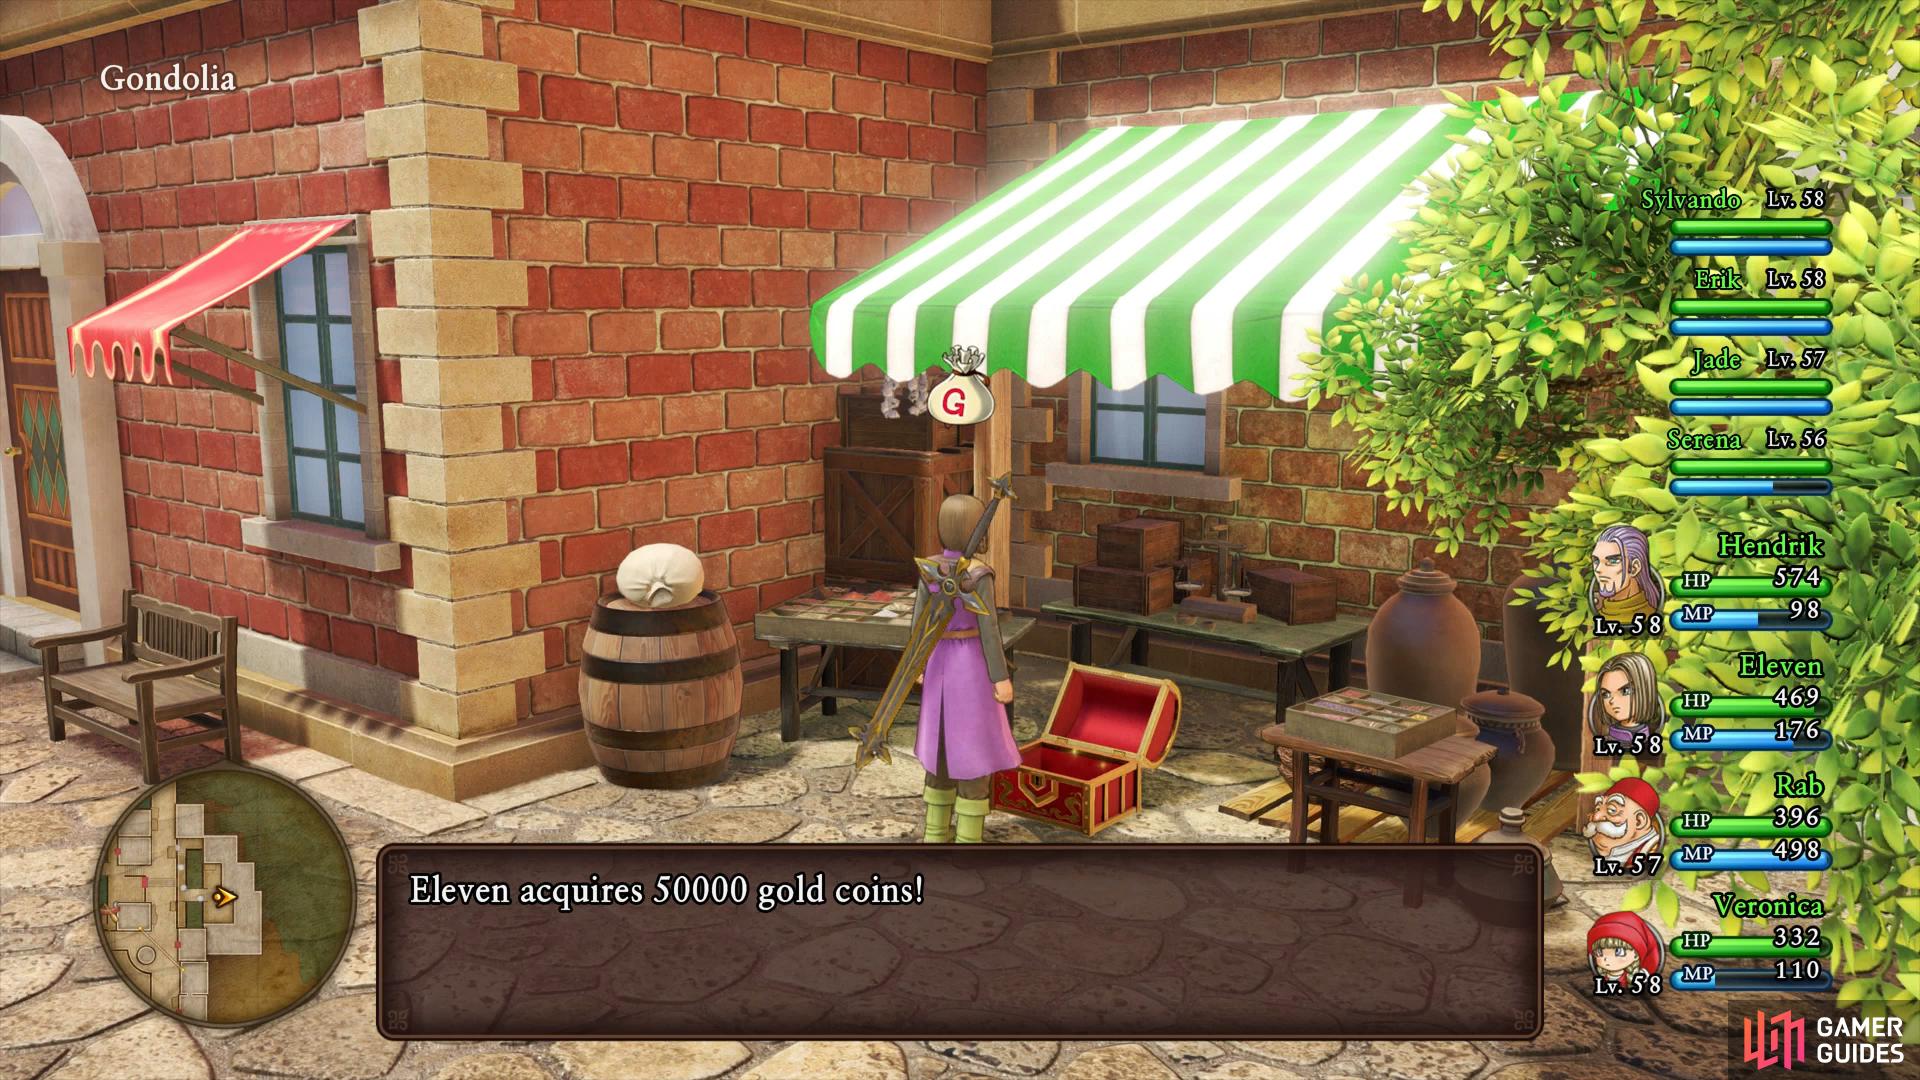
You’ll find 50000G among the spoils behind the Ultimate Key door
put this to good use with the merchant brothers and buy the Divine Bustier.
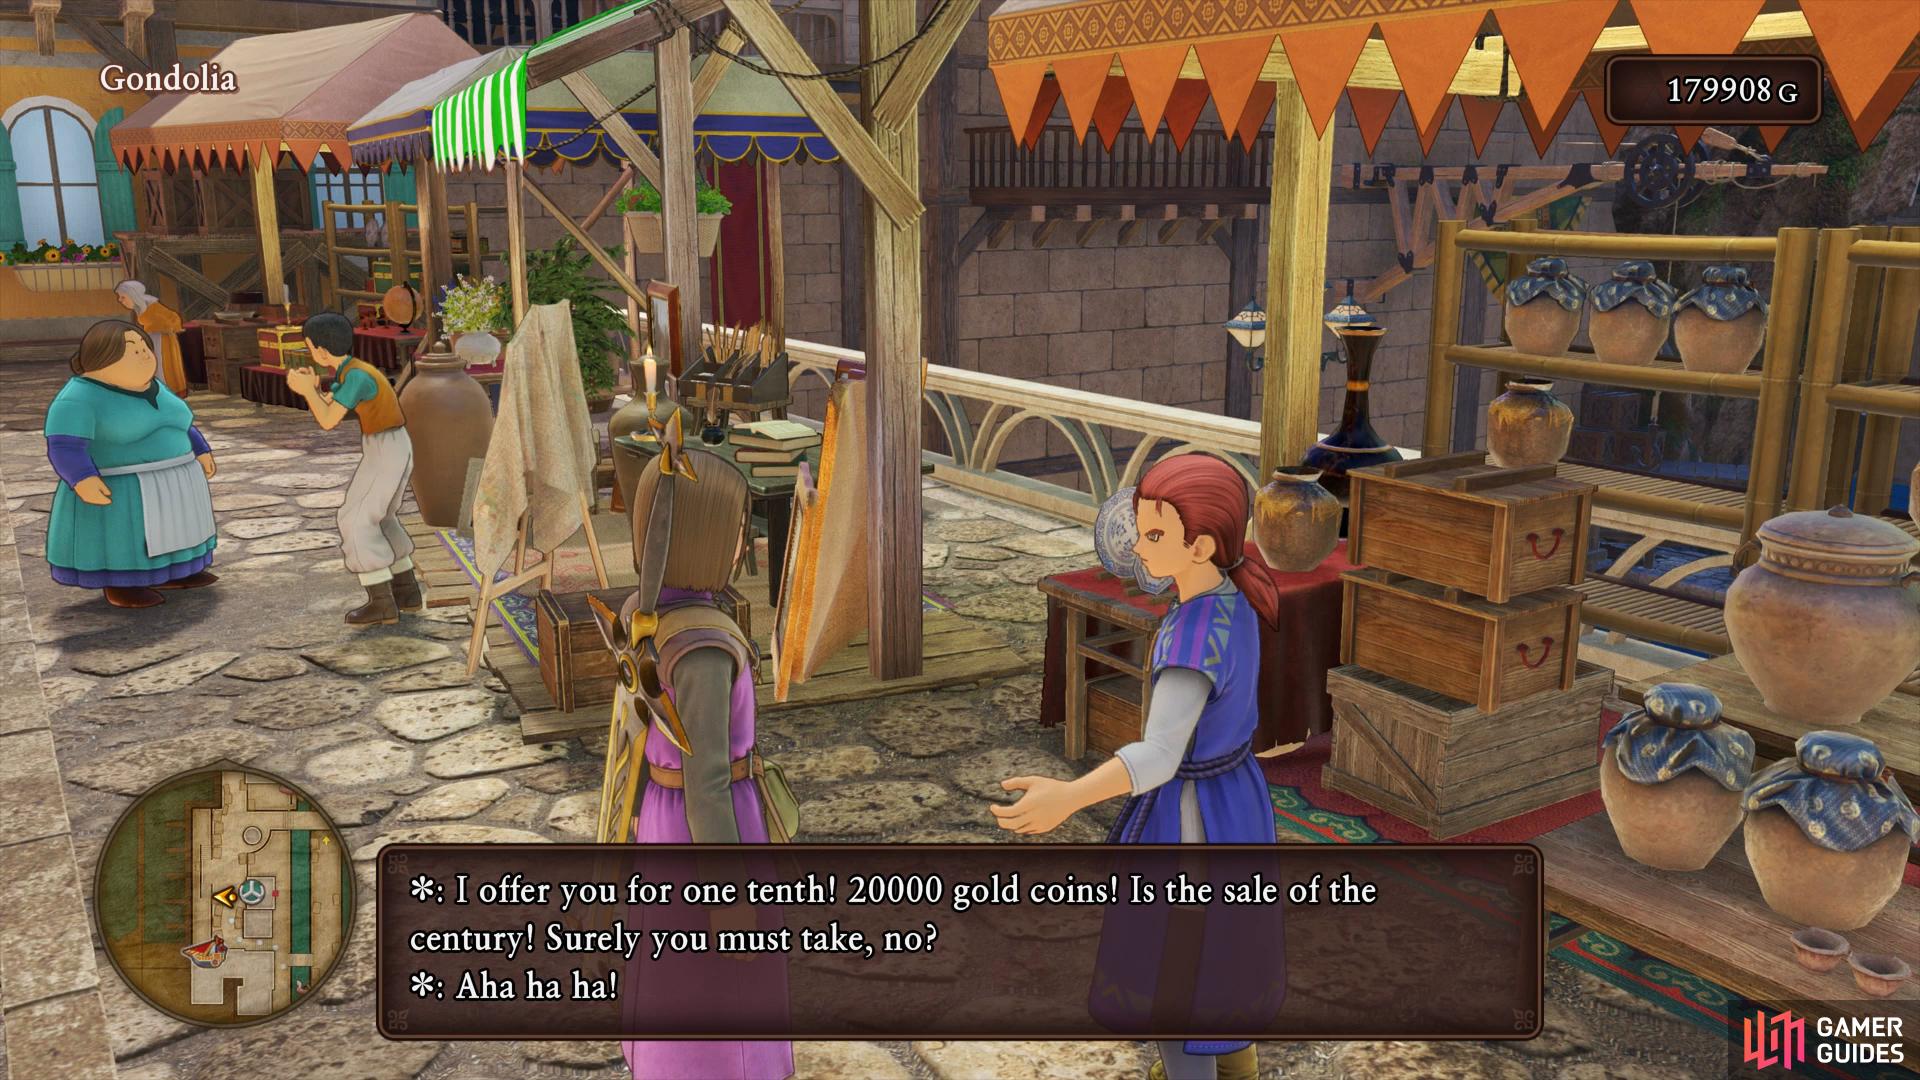
Head towards the entrance of town to find Noah who upon speaking to him, will head over to help with the rebuilding of Cobblestone. Finally, before leaving Gondolia, head over to the merchant brothers one final time to begin haggling. You’ll be able to get them down to as low as 20000G, do so and purchase the Divine Bustier for Jade.
Insula Occidentalis
Zoom to The Strand to access the Outer Sea and sail north to Insula Occidentalis. Head to the north of the island to find the Ultimate Key door and unlock it to find a chest containing a suit of Metal King Armour.
Insula Incognita
Zoom back to The Strand and sail south this time to dock at Insula Incognita. Make your way to the southeast of the island to find the Ultimate Key door, inside you’ll find a chest containing a Recipe Book, Gifts from the Goddess.
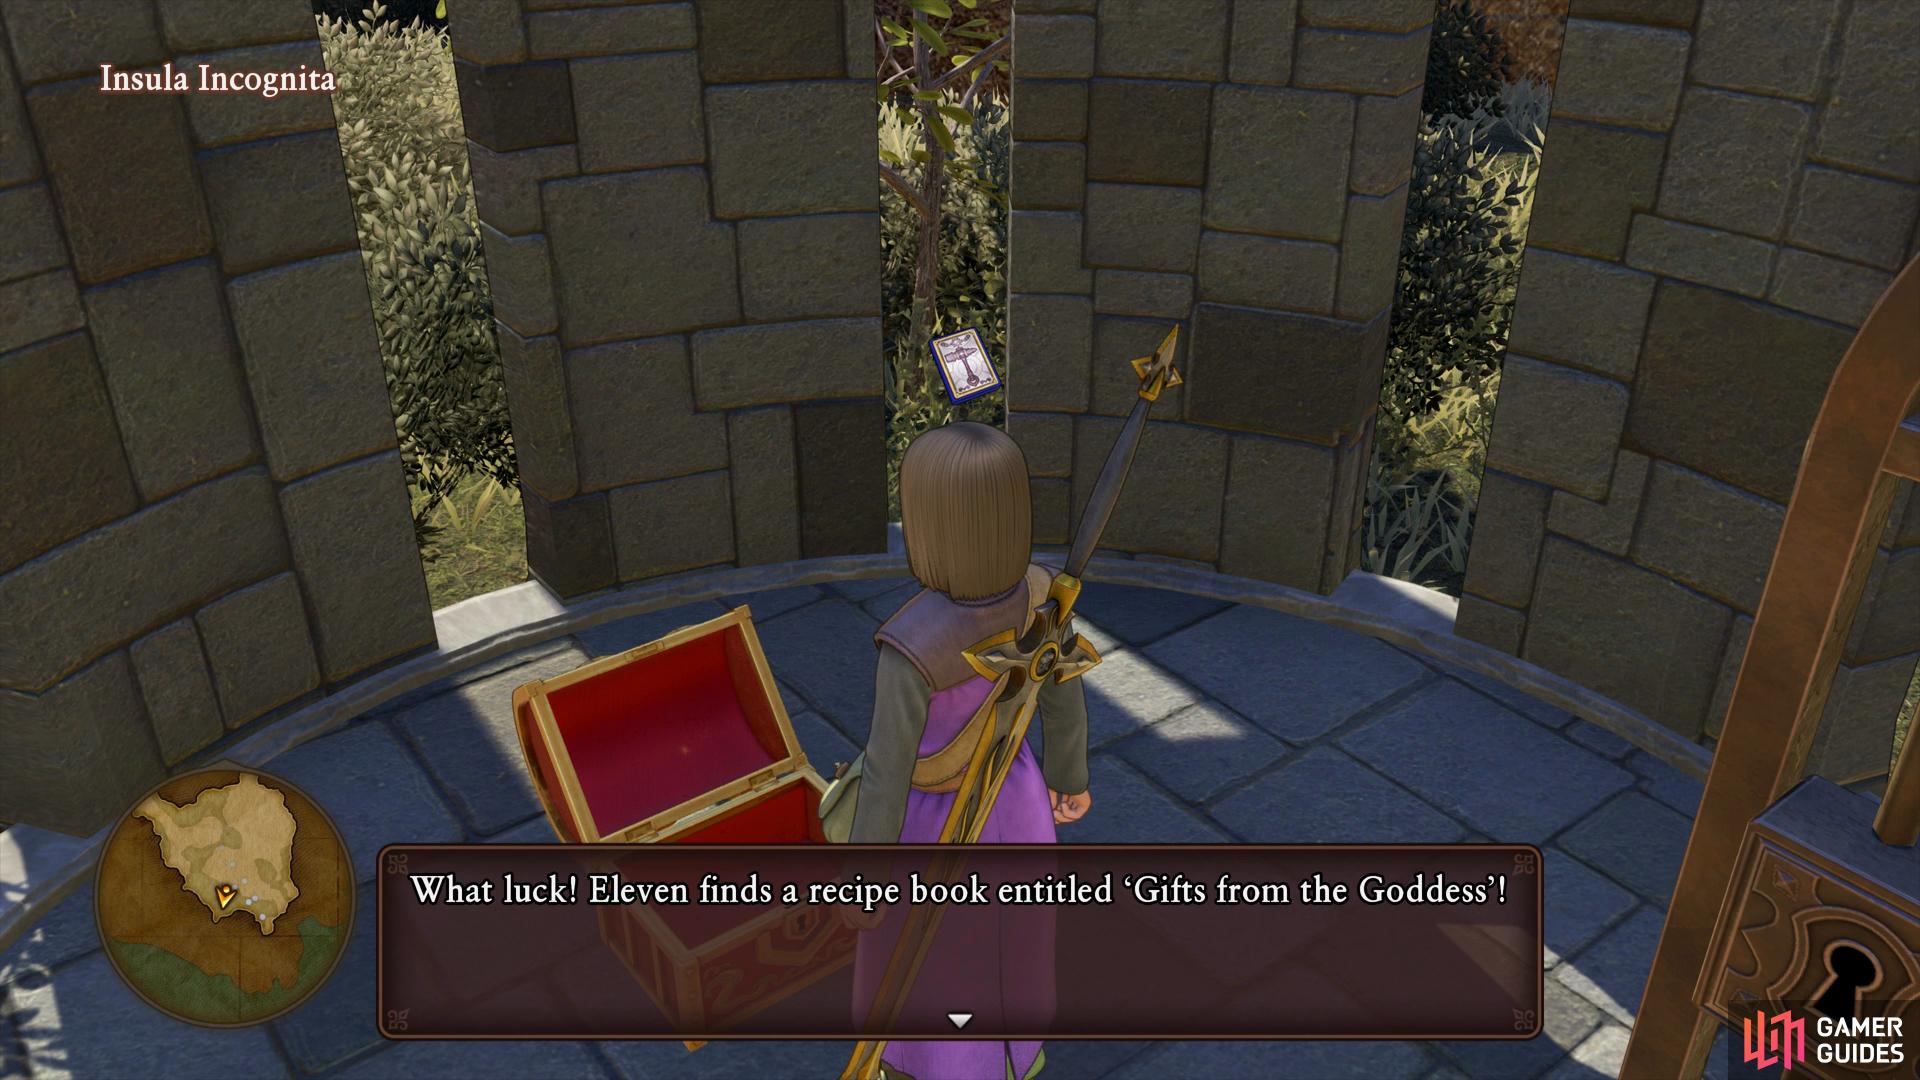
You’ll find a new costume for Serena in this Recipe Book.
Insula Orientalis
Zoom to Lonalulu (Sea) and begin sailing north to dock at Insula Orientalis. Make your way to the Ultimate Key door and open it to find a chest containing a Recipe Book, Circles of Life.
Insula Centralis
Return to your ship from Orientalis, continue northwest to a Vortex of Light and use it to access Insula Centralis. You’ll find that there are now Malicious Dragooners situated here, defeat one and mount it to gain access to the skies. Fly over to the northwest island to begin with to find a chest containing some Orichalcum before flying off to the next small island to the east where you’ll find another chest, this one containing three Sainted Somas.

You’ll the elusive Orichalcum among the many items here
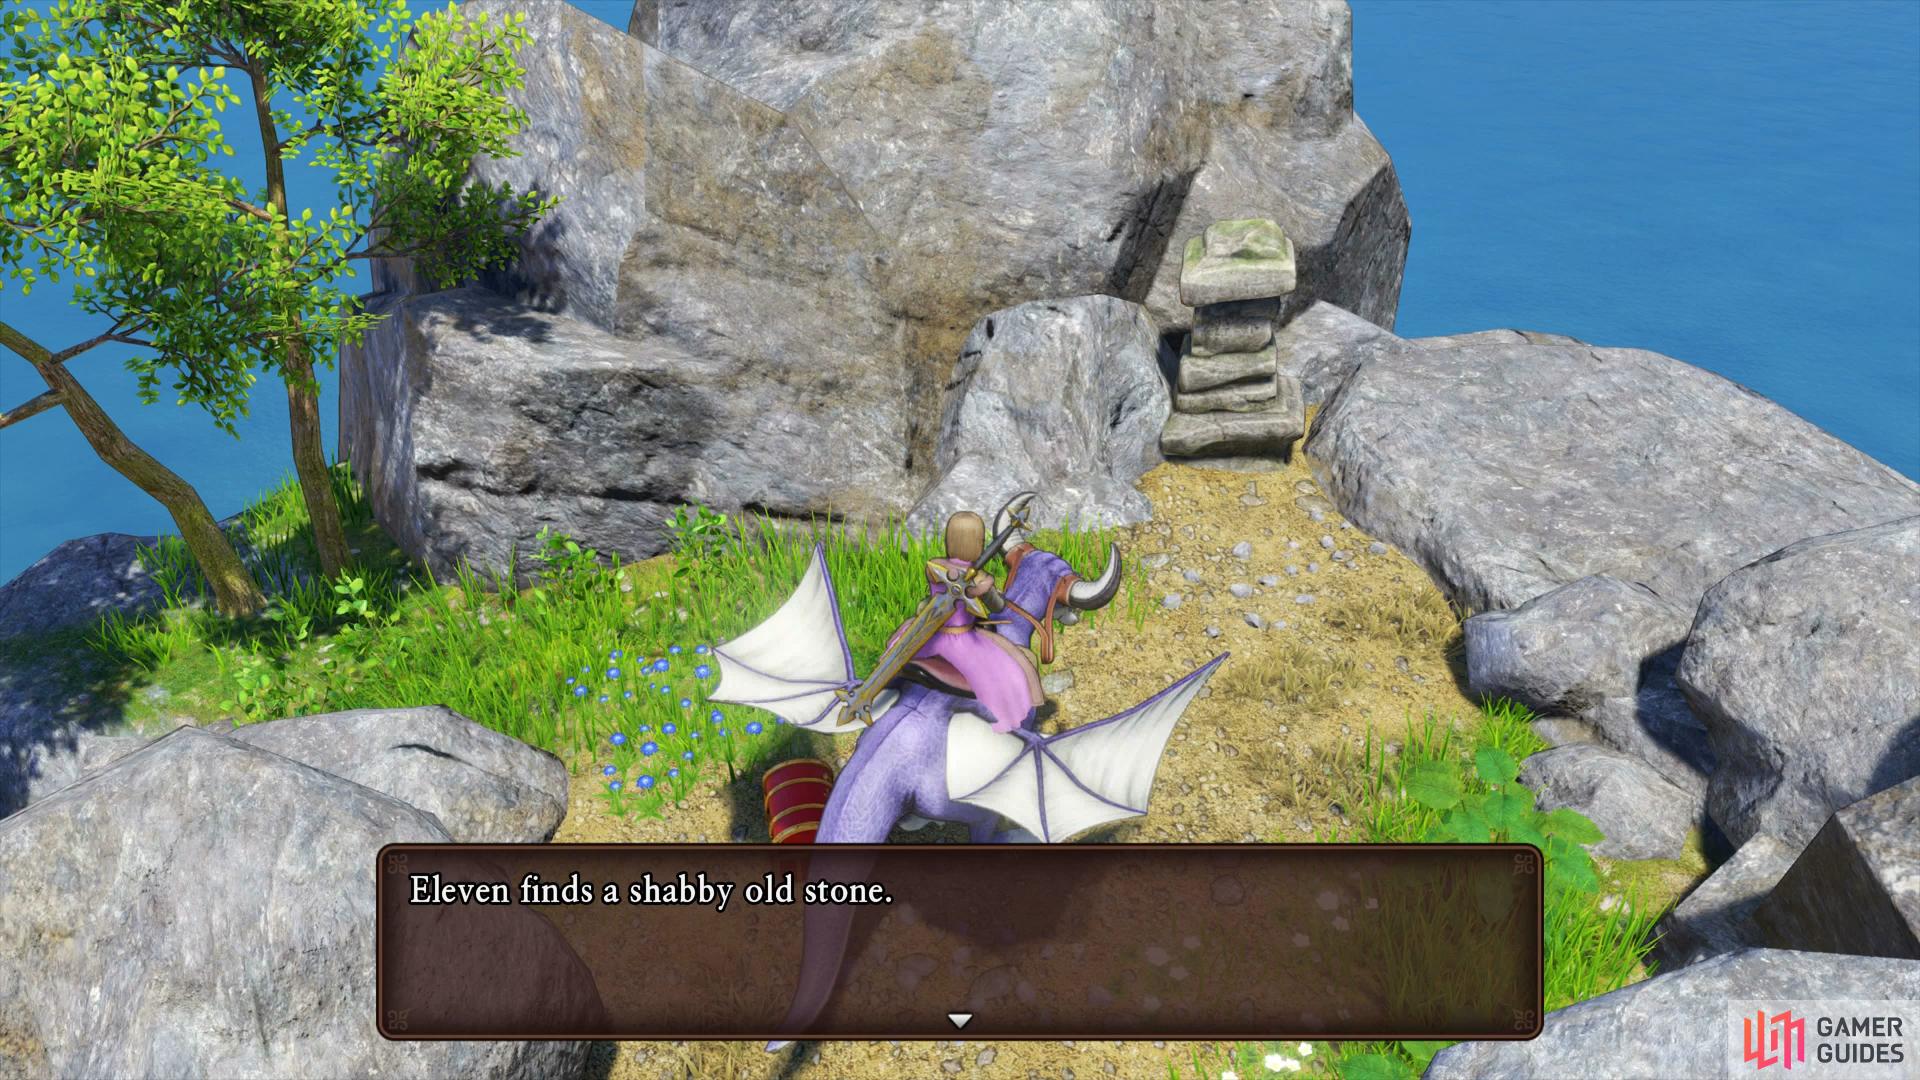
you’ll also find the spot for the Mista Vista quest.
The island south of this one has a Sparkly Spot containing a Colourful Cocoon while the island to the east of this has a Tree gathering point containing a Wyrmwood and two Cumulonimboughs. Fly over to the small islands to the south now to find a chest on the eastern one containing three Agates of Evolution along with the location for Quest 50. Loot the final Sparkly Spot to the west of this chest to find a Technicolour Dreamcloth and then return to Cobblestone Tor to complete the quest and obtain a Fantastick. Before leaving Cobblestone, head to where the Church is to find Noah who will hand over Noah’s Archive, an item that will tell you how many treasures remain in your current area.
The Manglegrove - Whale Way Station
Call upon Cetacea and fly over to the Manglegrove Whale Way Station and land. Follow the path and head to the Ultimate Key door in the south to find a chest inside containing three Chronocrystals.
The Hotto Steppe - Northern Whale Way Station
Make your way over to the Whale Way Station and follow the path to the southwest where you’ll find another Ultimate Key door. Open it to find a chest containing a Recipe Book, Sizzling Styles.
Snifflheim - Whale Way Station
Call upon Cetacea once more and fly northwest to the Sniflheim Whale Way Station this time. Follow the path south to the Ultimate Key door and open it to find a chest containing a Recipe Book, Sage Advice.
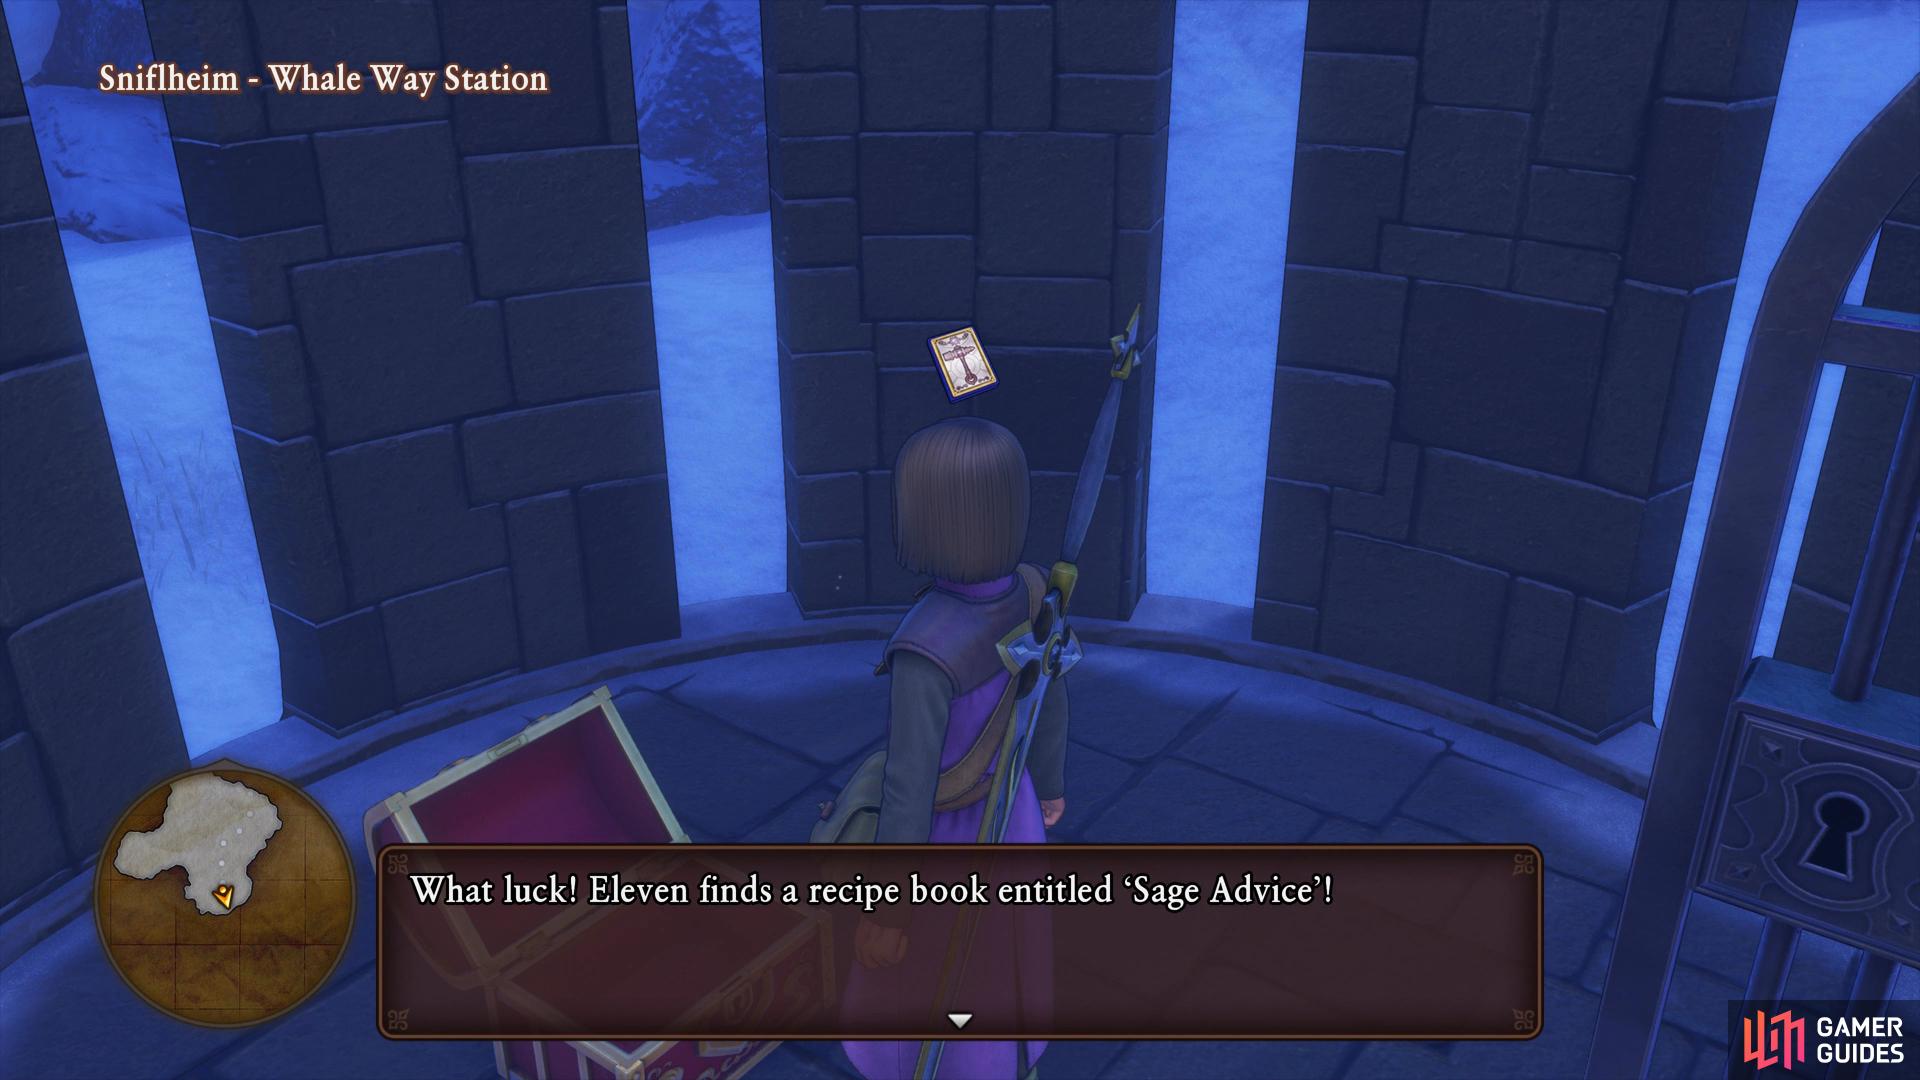
Another Recipe Book awaits here.
Champs Sauvage - Whale Way Station
Next up, make your way over to the Champs Sauvage Whale Way Station located to the southwest. Follow the path all the way to the Ultimate Key door and open it to find a chest containing three Mini Medals.
The First Forest - Whale Way Station
Call Cetacea and make your way to the golden trail located behind Yggdrasil. Follow the path south and loot the Sparkly Spot containing a Wyrmwood and then search in the northeast corner to find a chest containing an Agate of Evolution.
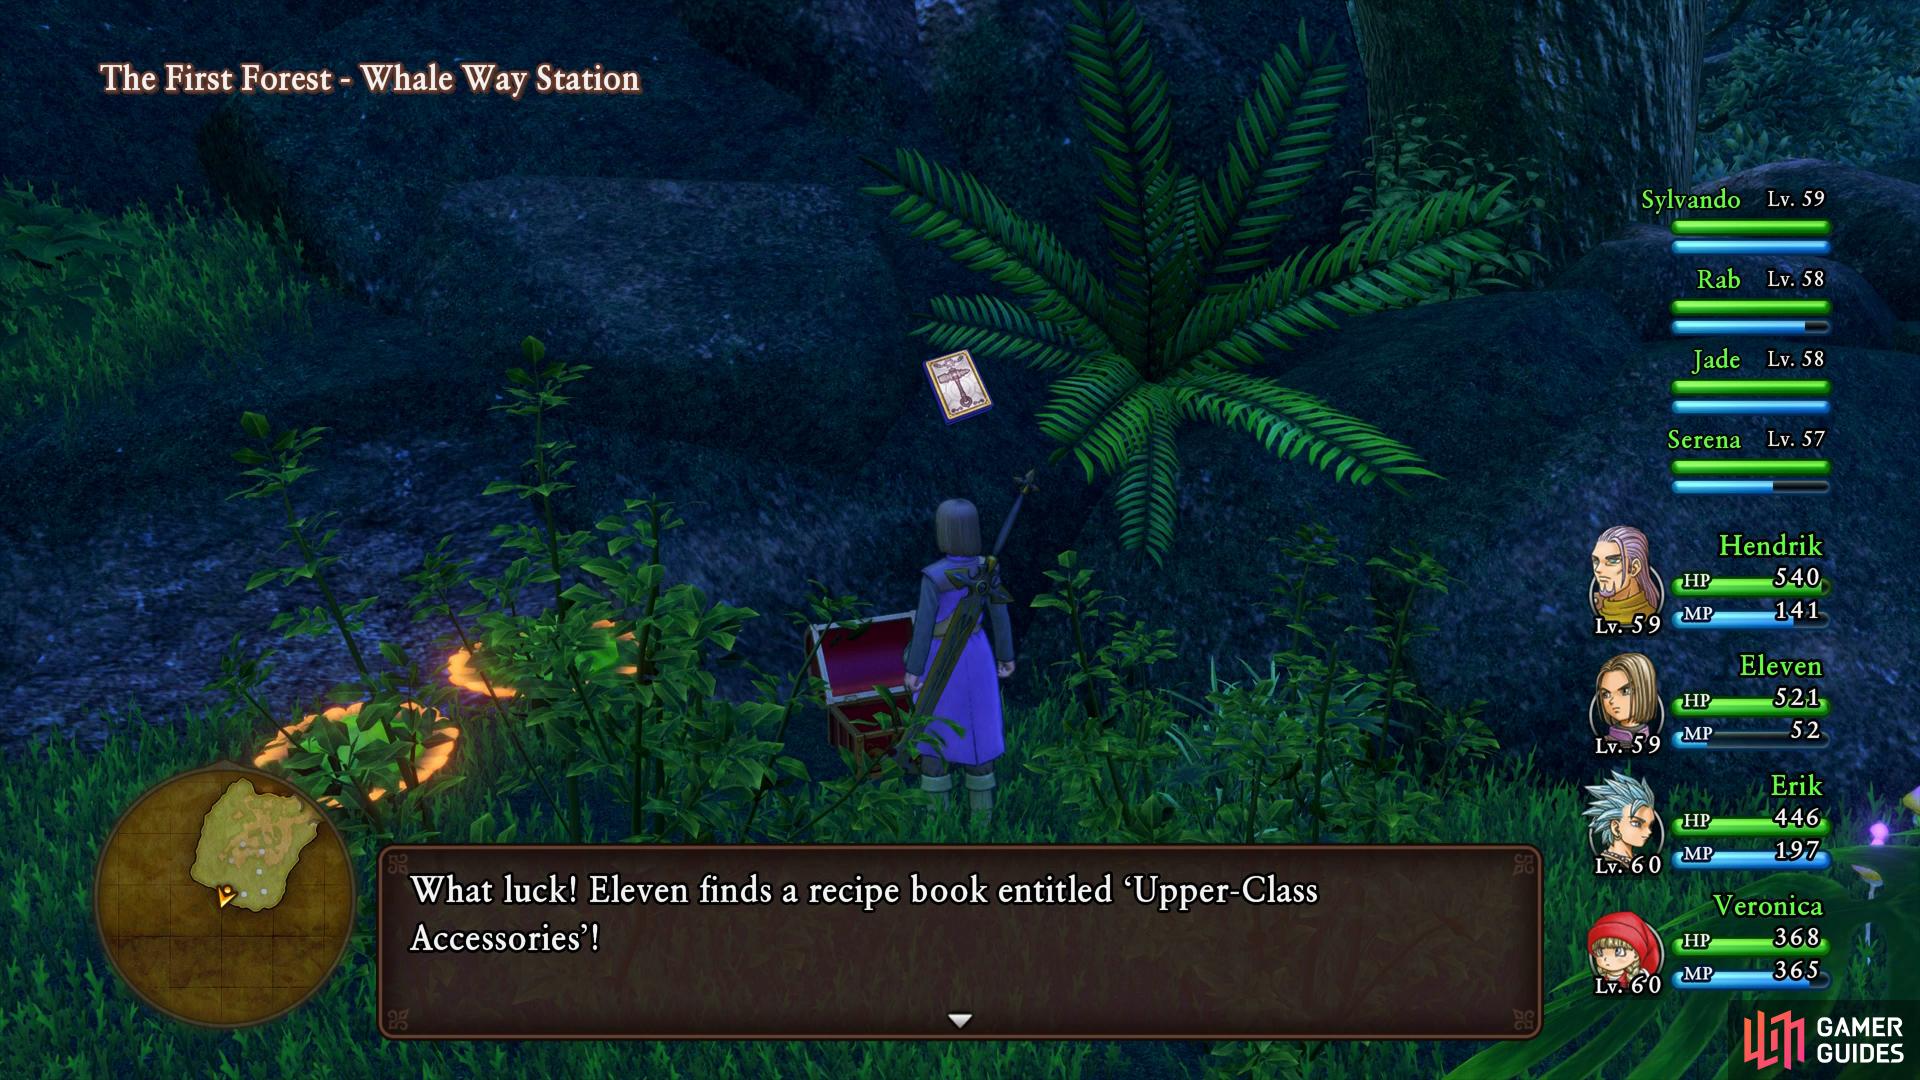
This Recipe Book contains the useful Elfin Charm
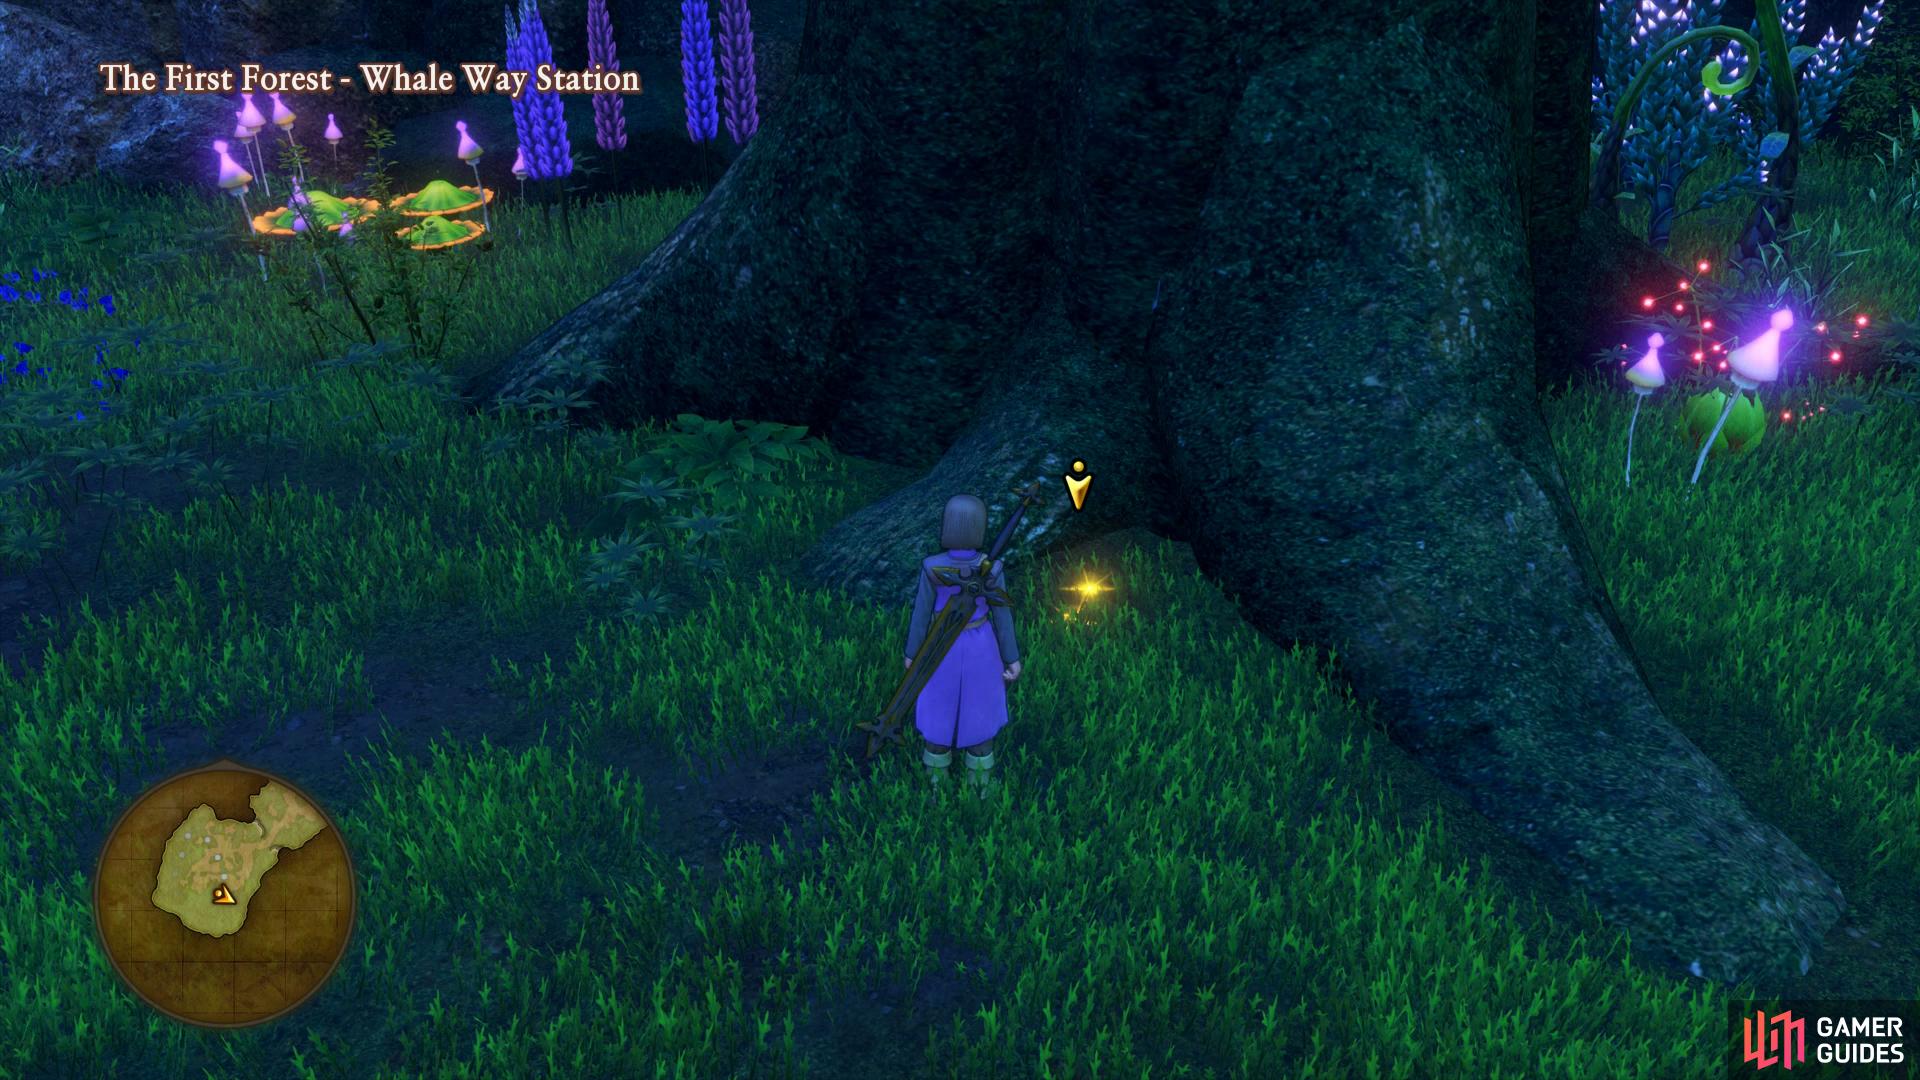
you’ll find the Pepper Branch for Quest 51 under this tree.
There’s another Sparkly Spot to the south containing a Silkblossom and then search to the south to find a chest containing a Recipe Book, Upper-Class Accessories. Northwest of this chest is a Sparkly Spot containing a Technicolour Dreamcloth and then search under the large tree to the east to find a golden Sparkly Spot containing the Pepper Tree Branch that Prince Farris was looking for. Return to Gallopolis and hand it over to complete Quest 51 and obtain four Pep Pips (save these for when you’re ready to start levelling to 99). Finally, before leaving the Prince’s room, search the bookshelf to find the second Tome needed for Quest 48.
Next on your list is to start clearing some of the easier post game events in some of the towns and Puerto Valor is the perfect place to begin your quest.
Puerto Valor - Sylvando and Hendrick
Upon entering Puerto Valor, Hendrick will reveal that he knows that Sylvando is Don Rodrigo’s son and urges him to seek advice from his father. Before heading there however, head south to the Ultimate Key door and open it to find a chest containing a Technicolour Dreamcloth. Head over to the villa now and speak with Don Rodrigo inside who will issue a trial to the two Knights in exchange for a great prize.
Before you head off to the Kingsbarrow, take the time to look at the new goods on offer at the Casino here. The only real item of use here is Yggdrasil Dews at 10000 a piece however there are much better uses for your Casino Tokens when you head to Octagonia.
Zoom over to L’Academie quickly and hand over your Mini Medals, you should have enough by now to obtain the Circle of Serendipity and the Recipe Book, Styles for All Seasons. You should also obtain the Trophy for completing three pages of your medal book.


Zoom over to the Emerald Coast Campsite now and access the forge, with your new recipes in hand you should be able to forge some great gear. The Straight Poker is a great upgrade for Jade, as is the new costumes for Erik, Serena and Hendrick. Also consider reworking the Metal King Armor and the Fantastick that you picked up earlier. When you’re ready, stick Hendrick and Sylvando in your party and enter the Kingsbarrow.
You’ll need to make your way down to the bottom floor but take the time to fight some battles in order to Pep Up Sylvando and Hendrick. Once they are, stick them in the reserves until you reach the boss at the bottom.
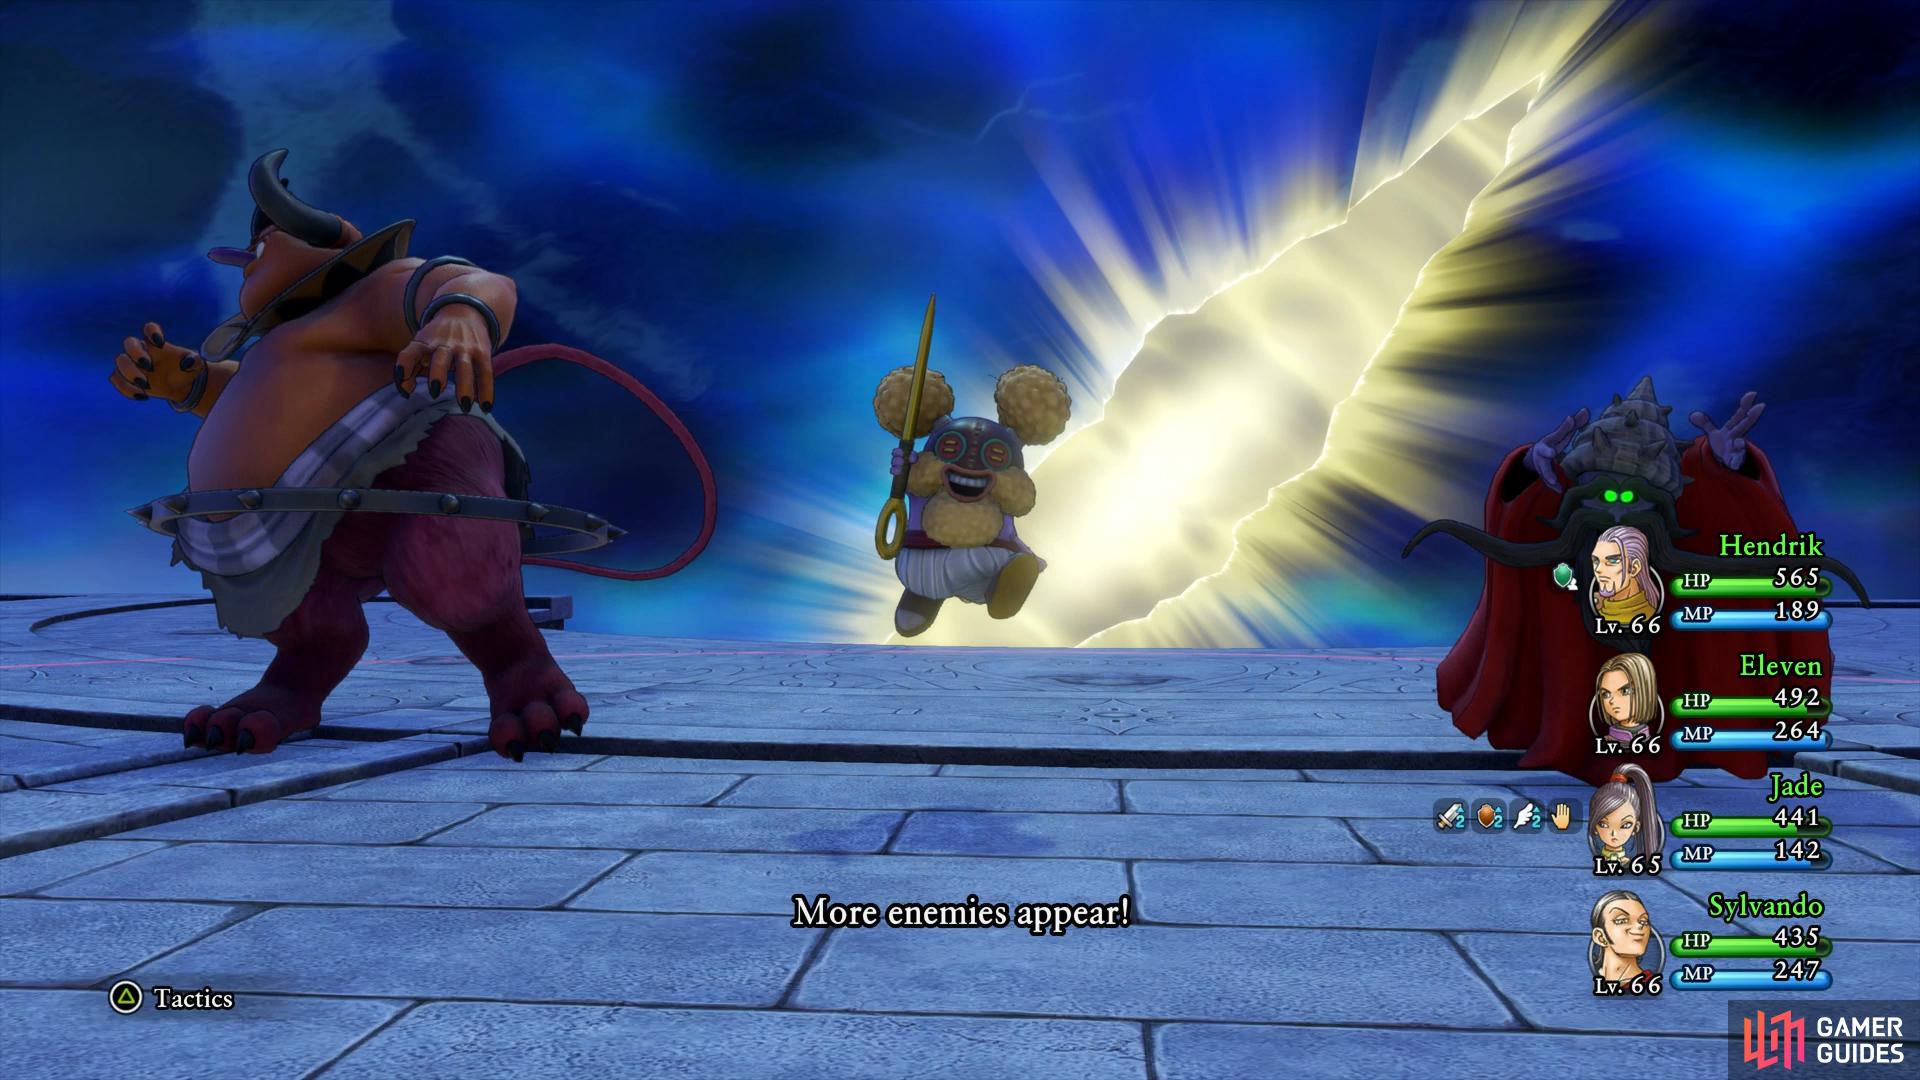
Boss: Tweedledoom and Tweedledeath
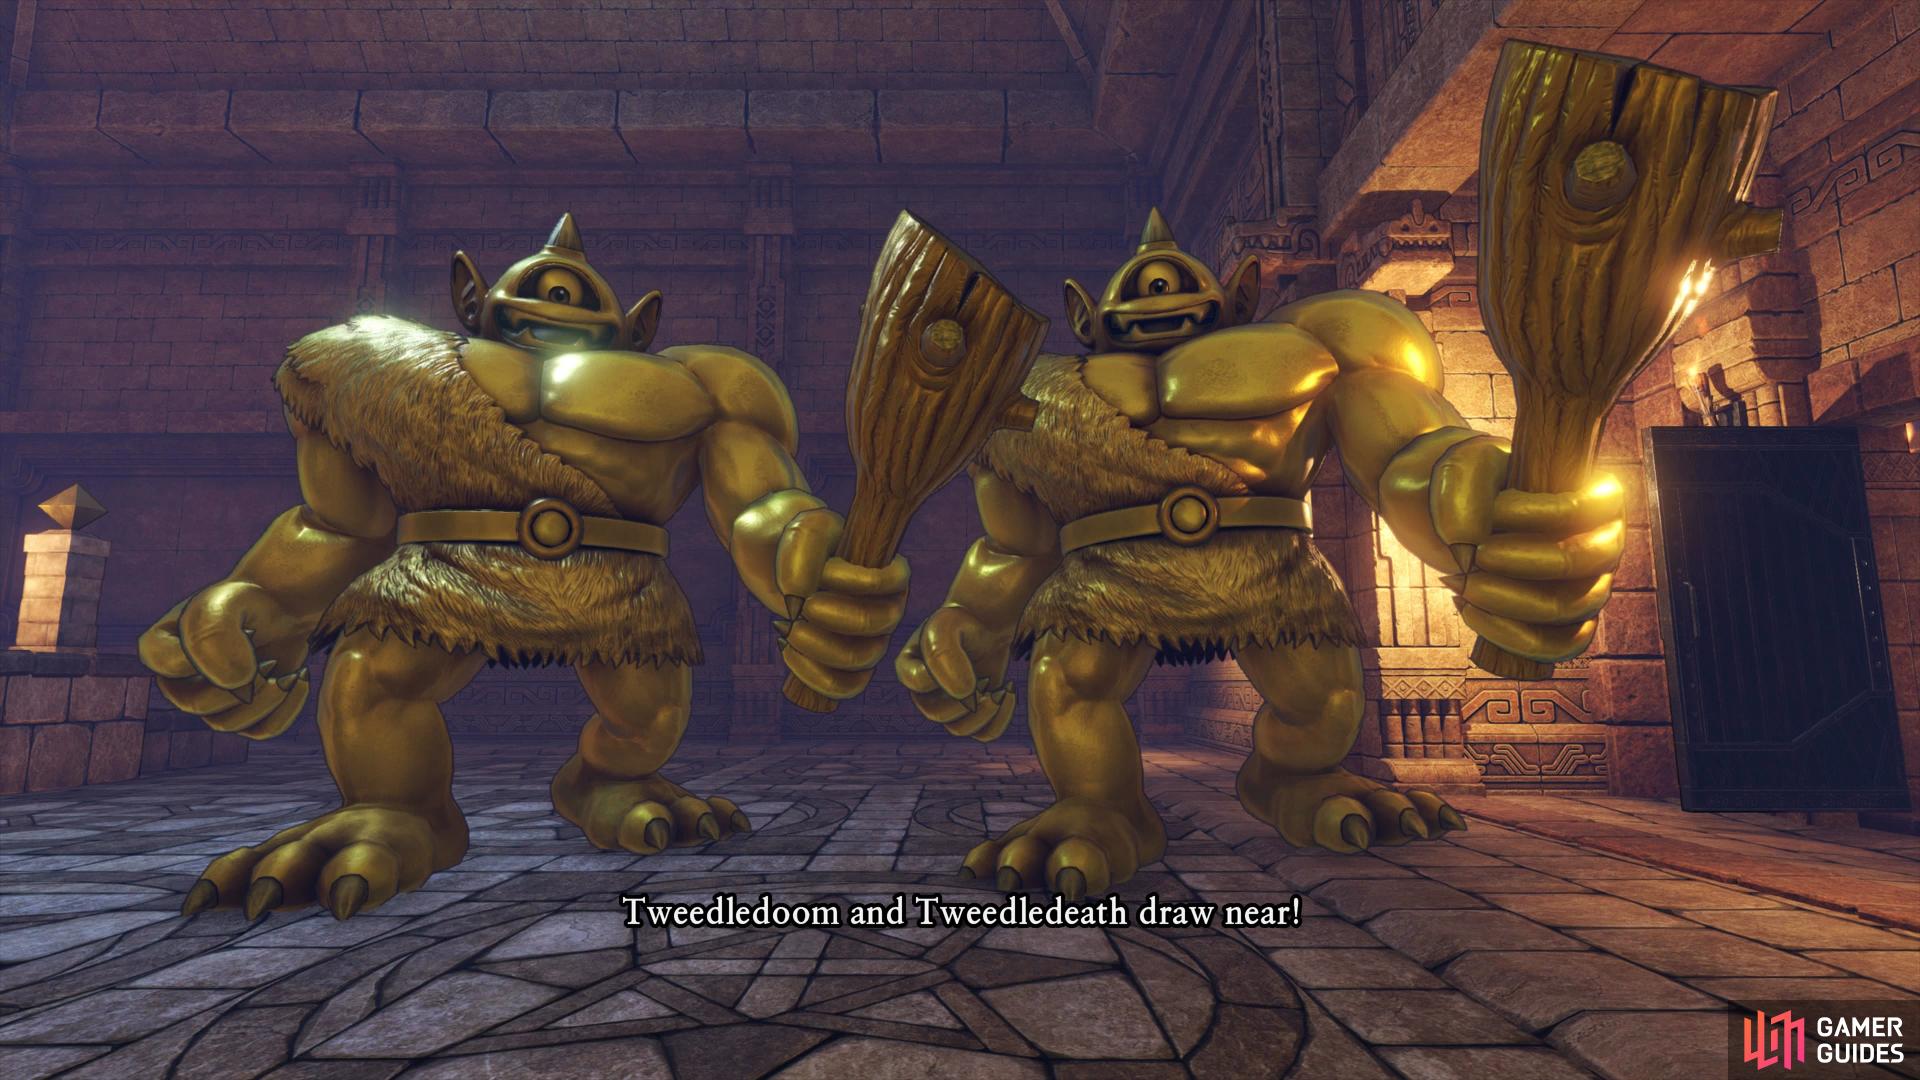
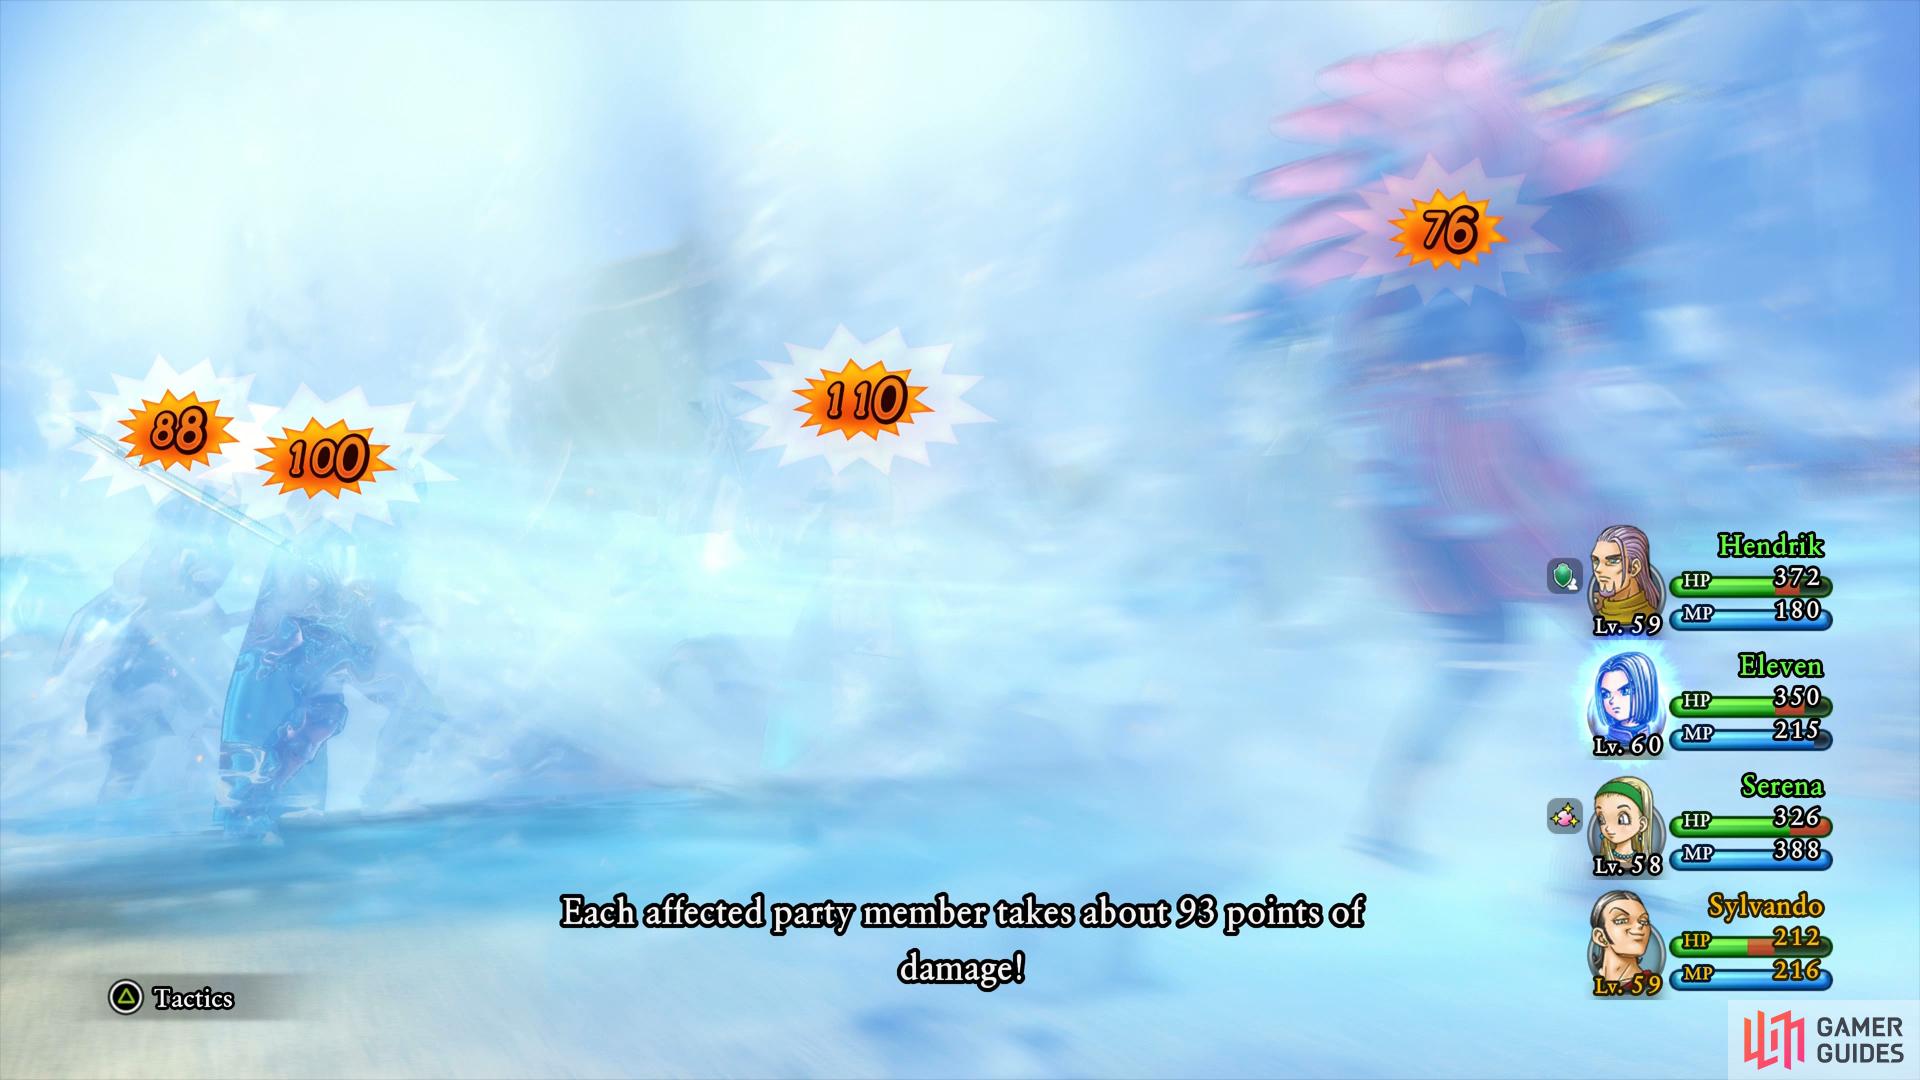
Both of the Tweedles have around 3000 HP which doesn’t sound like much but the real difficulty in this battle comes from dealing the killing blow with Executioner from Sylvando and Hendrick so make sure the pair of them are on the bench until you’re ready to finish one off. Tweedledoom is the most lethal of the two, focus on him first as Seismic Shock will hit the entire party for over 170 HP and can cause knock down. Tweedledeath will use regular attacks most of the time and although it will still hit hard, it’s focused on only one character.
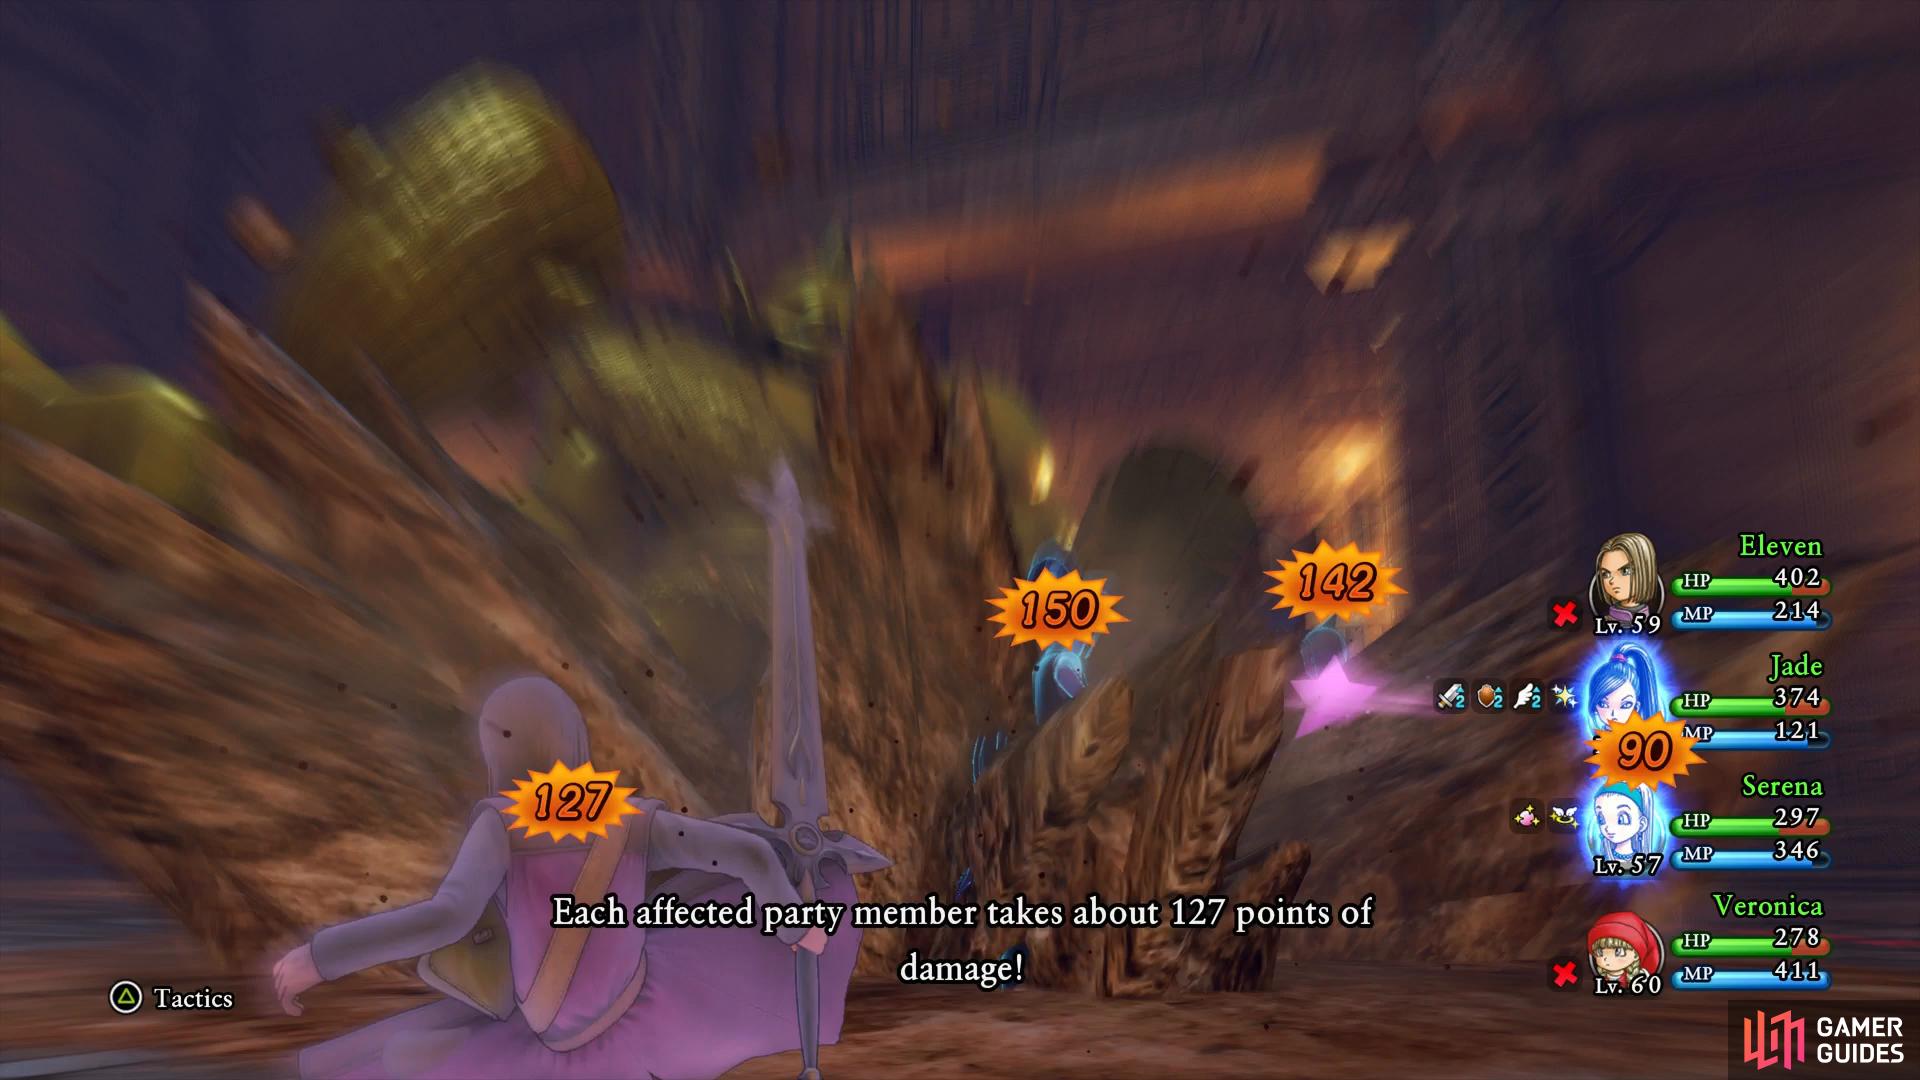
Seismic Shock hits the entire party for huge damage
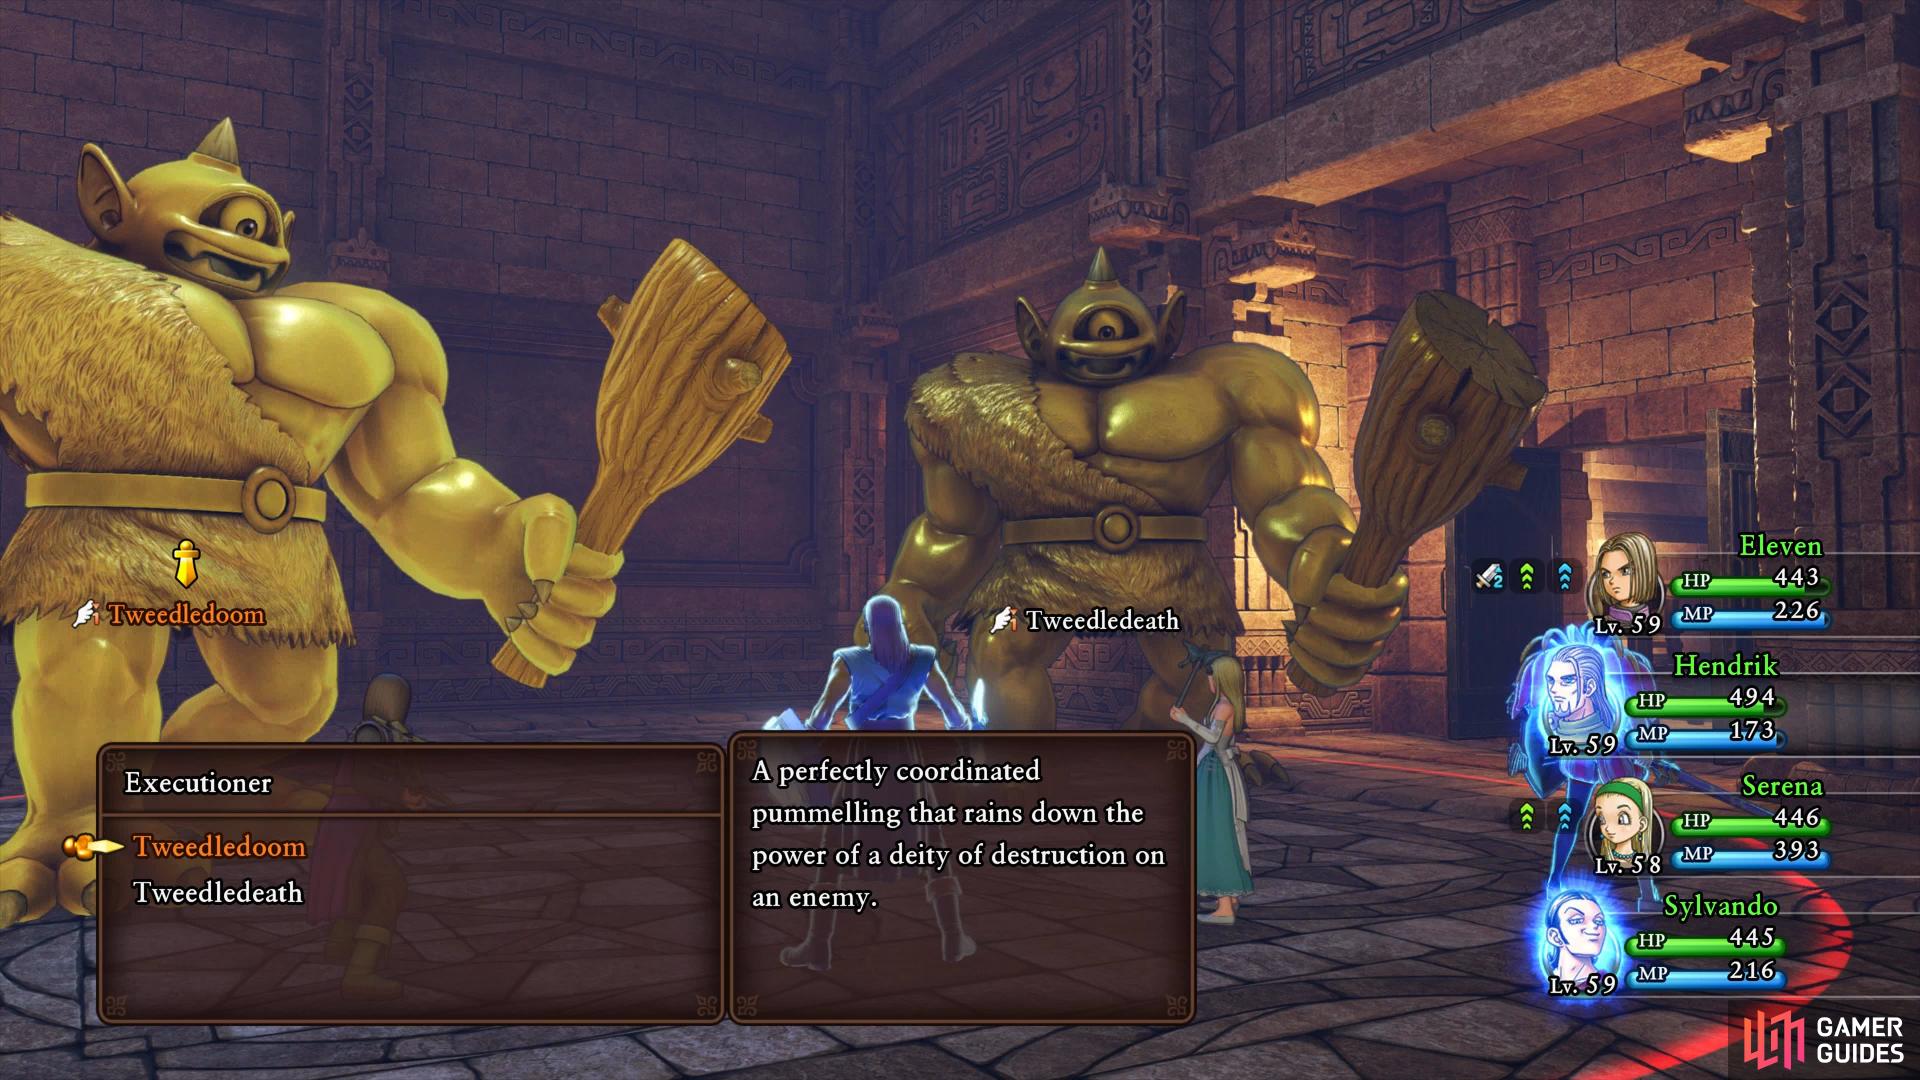
you’ll need to finish off each Tweedle with Executioner.
As mentioned above, focus on one at a time and whittle their health down until their name is in orange. Sword Dance is useful with Oomphle on as is a Re-Vamped Multifeet Jade. Once you find one in critical condition, bring in Sylvando and Hendrick and perform Executioner on it. This will leave you with the other one to take down and you’ll have two choices, the first is to wait it out for Hendrick to become Pepped again (only Hendrick needs to be Pepped for Executioner) or toss him a Pep Pip.
Don Rodrigo appears behind Hendrick upon completion of the trial and discloses that the weapon was the experience of working together with your comrades. This will unlock the Chivalry skill tree for Sylvando and the Fraternity tree for Hendrick along with the Who’s the Daddy? Pep Power.
Both of your new skill trees are game changing for their respective characters. You can finally make Hendrick into a tank by learning Forbearance, this will direct all attacks at Hendrick while it’s active. Combine this skill with Immense Defense and Hendrick will block most monster’s attacks. As for Sylvando, Grand Stand is a great self buff for him and Ladies First is one of the best skills in the game. This allows him to exchange his turn to one of the female characters in the same combat round allowing Jade, Serena or Veronica to act twice in one combat round.
Dundrasil
Zoom to Dundrasil next and make your way back into the Castle Ruins.
Follow the path through the ruins to the secret underground entrance and head inside. Follow the linear path through the Dungeons, looting the chest for four Sage’s Elixirs, until you reach the large room at the end, heal yourself and recover your MP before you step forward to rescue Irwin once again.
Boss: Malicious Gloomnivore
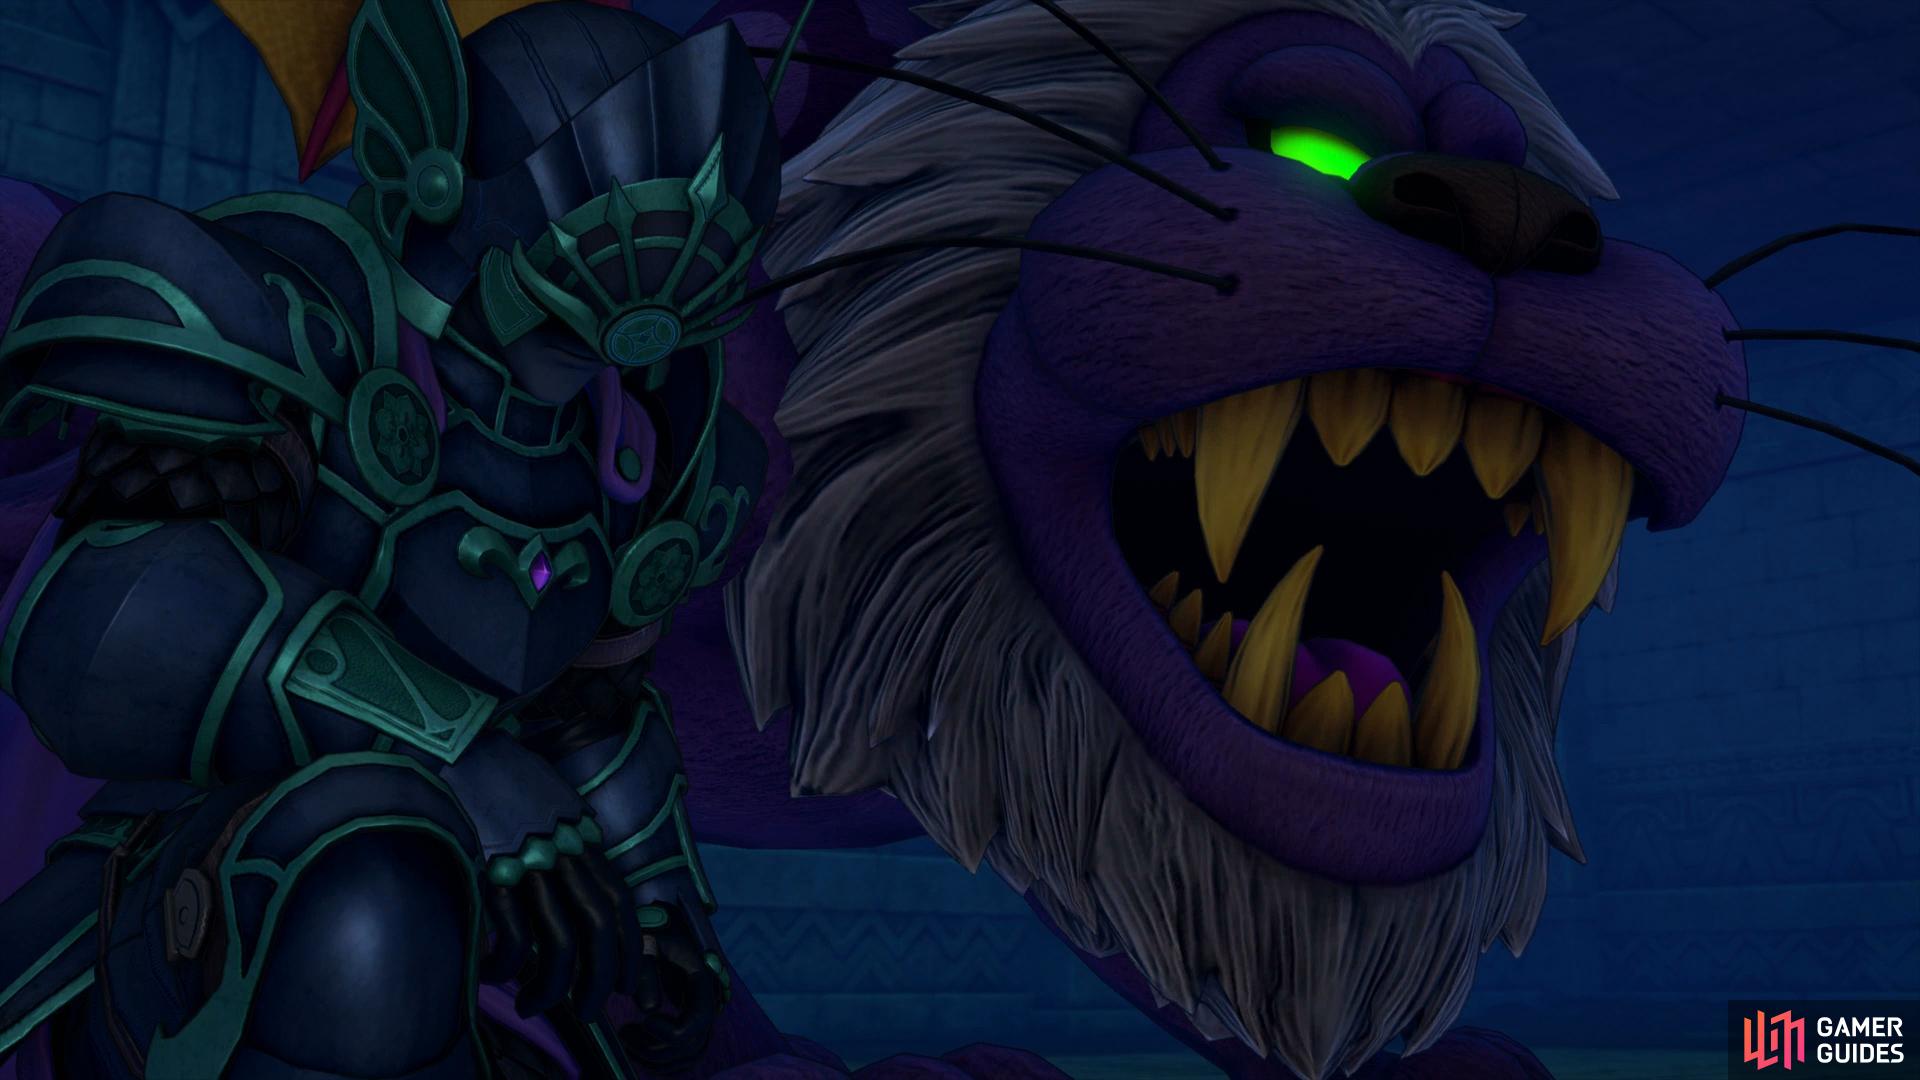
Like your encounter in the previous timeline, the Malicious Gloomnivore will hit you with group attacks that are darkness based. Nightmarish Sigh will still hit for around 100 HP to everyone and he’ll Oomphle himself constantly this time around. His HP is increased to around 5200 HP so it’s a great idea to try and hit him with both Sap and Blunt. Kazammle hits for around 165 HP on a single target, more if your magic defense is lowered from Nightmarish Sigh.

Nightmarish Sigh shouldn’t be too much of a problem at this point
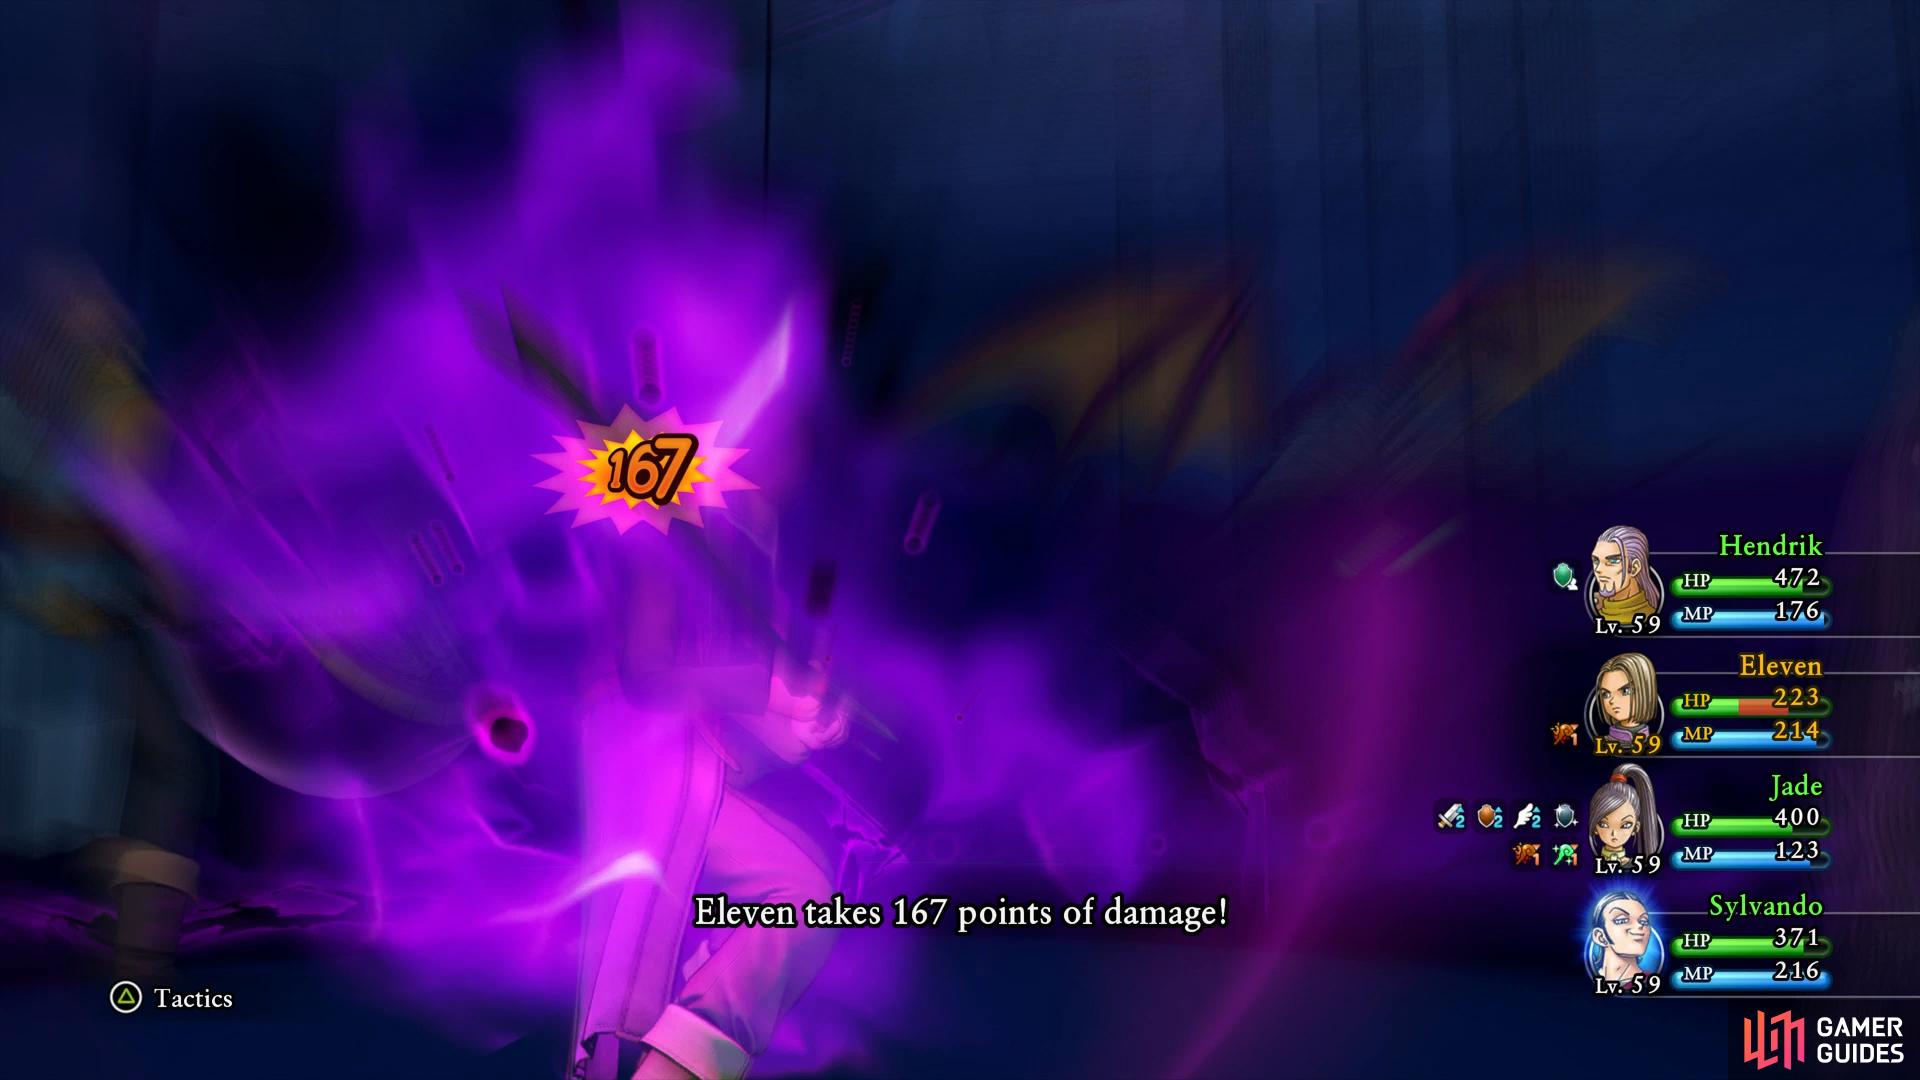
Kazammle will hit hard if he casts Oomphle on himself.
At this point, Hendrick should begin his rounds by using Immense Defense followed by Forbearance, you need to ensure Immense Defence is up at all times to increase his blocking rate. Jade is useful still with Re-Vamped Multifeet and Sylvando is a good choice for a healer, when he has a free turn from healing it’s a good idea to hand it over to Jade with Ladies First. The Hero should continue to attack with Sword Dance and assist with healing when needed. All in all, the Malicious Gloomnivore is one of the more easier Act III bosses.
With Malicious Gloomnivore defeated, Irwin’s soul is free in this timeline. After his departure to the World Tree, you’ll find two chests containing Irwin’s Armor and Irwin’s Helm along with a golden Sparkly Spot containing a Princess’s Pledge.
Lonalulu
Zoom over to Lonalulu now and speak to the Kahuna to learn that Kai is being pursued by some monsters towards The Strand and needs some help. Before heading over there however, speak to the man flat out on the beach and agree to assist him to accept Quest 52 - A Little Kindness Goes a Long Way. Call upon Cetacea, fly over to the Sniflheim Whale Way Station and follow the path to the southeast where you’ll find a golden Sparkly Spot containing the Crystal Lily. Zoom back to Lonalulu and hand it over to the man to complete the quest and obtain three Slime Crowns.
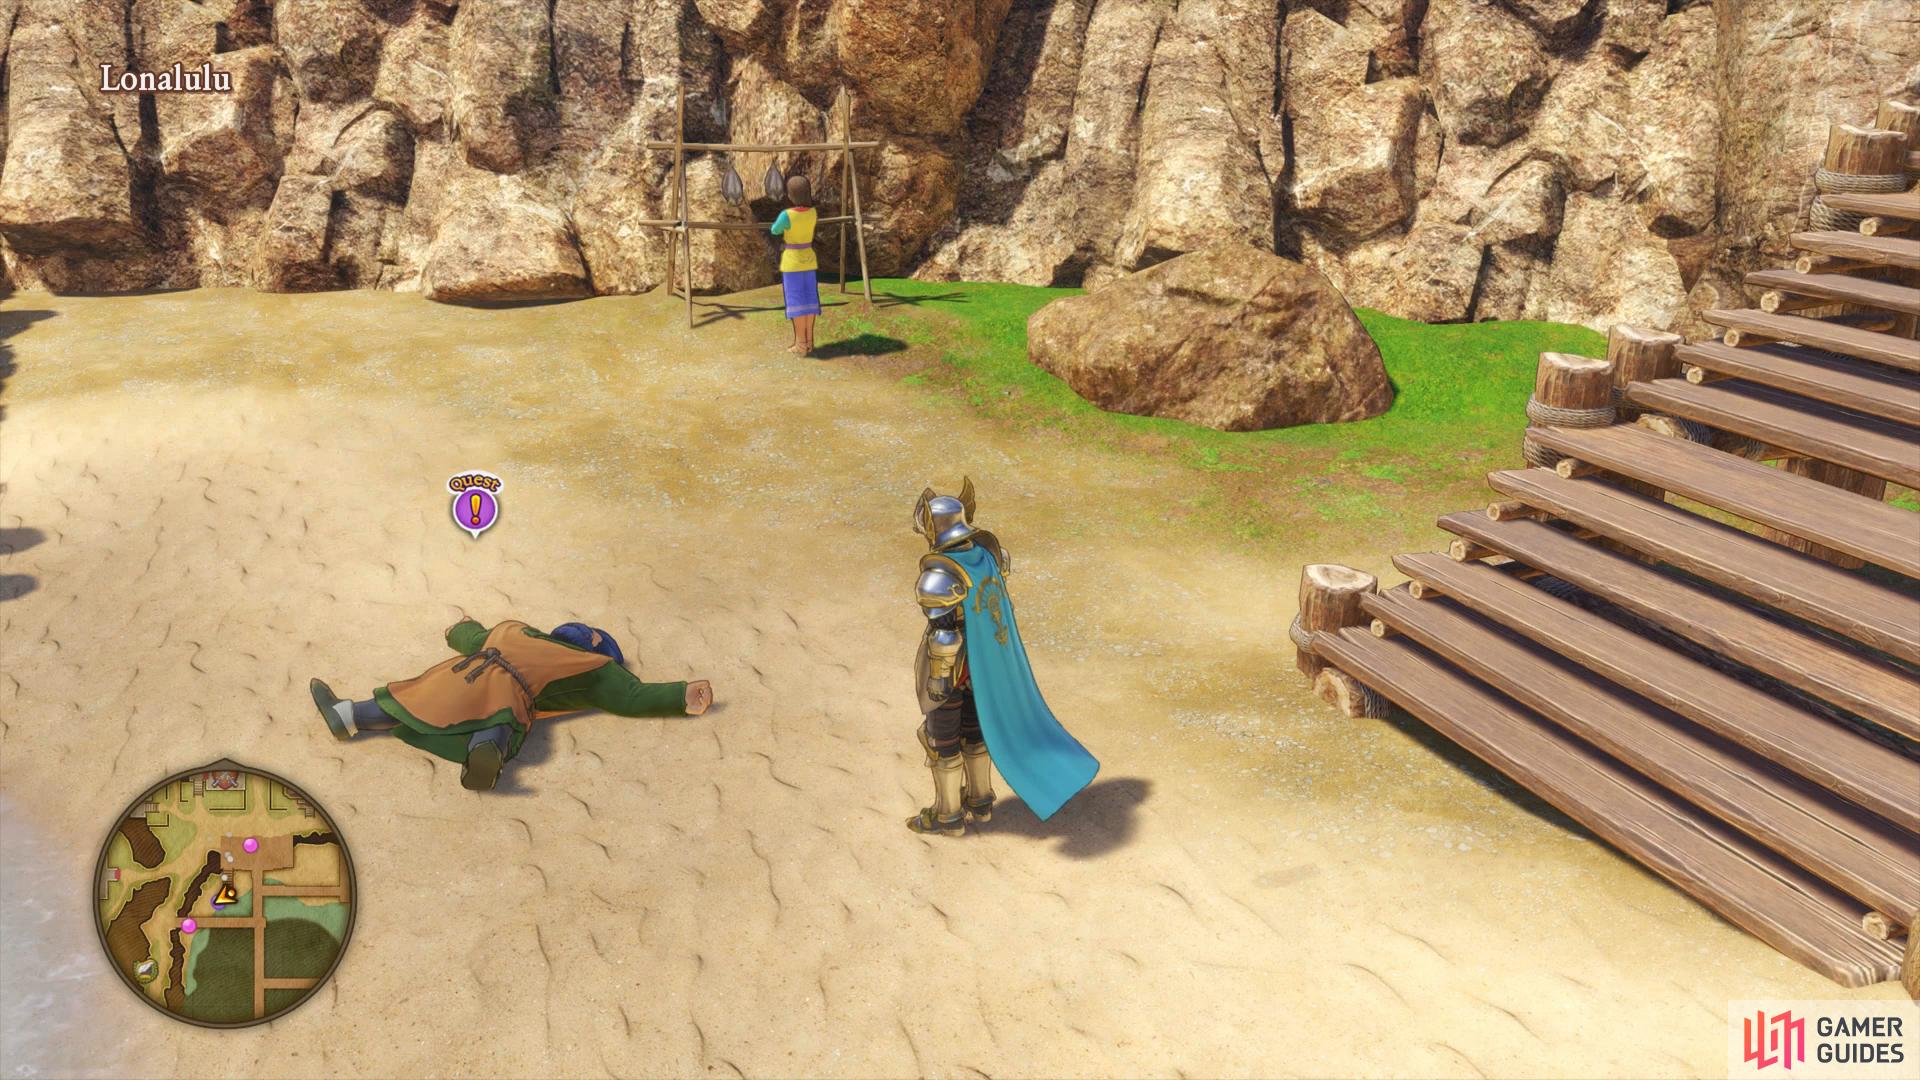
Speak to the man on the beach to accept Quest 52
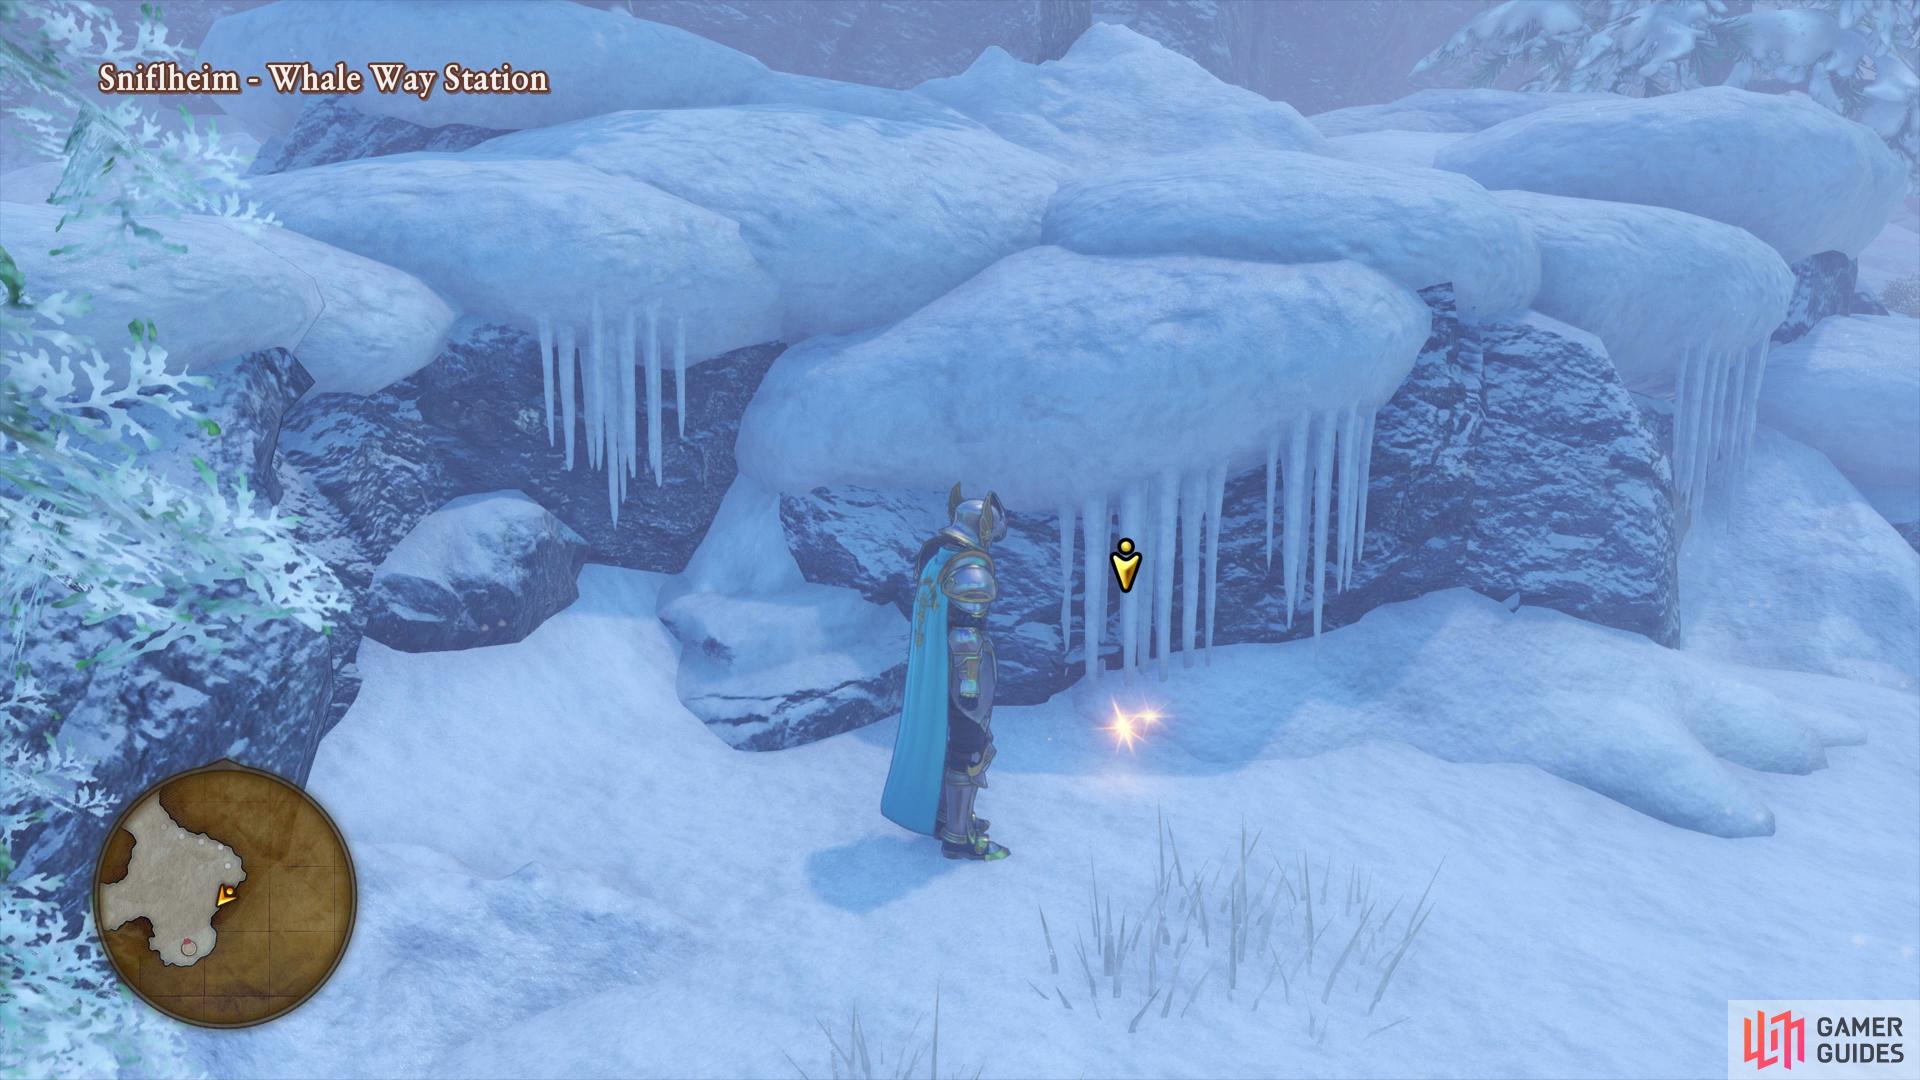
you’ll find the Crystal Lily at Sniflheim Whale Way Station.
Rest at the Inn before leaving Lonalulu and Zoom over to The Strand where you’ll see Kai surrounded by Merman, rush over to him to aid him in his battle.
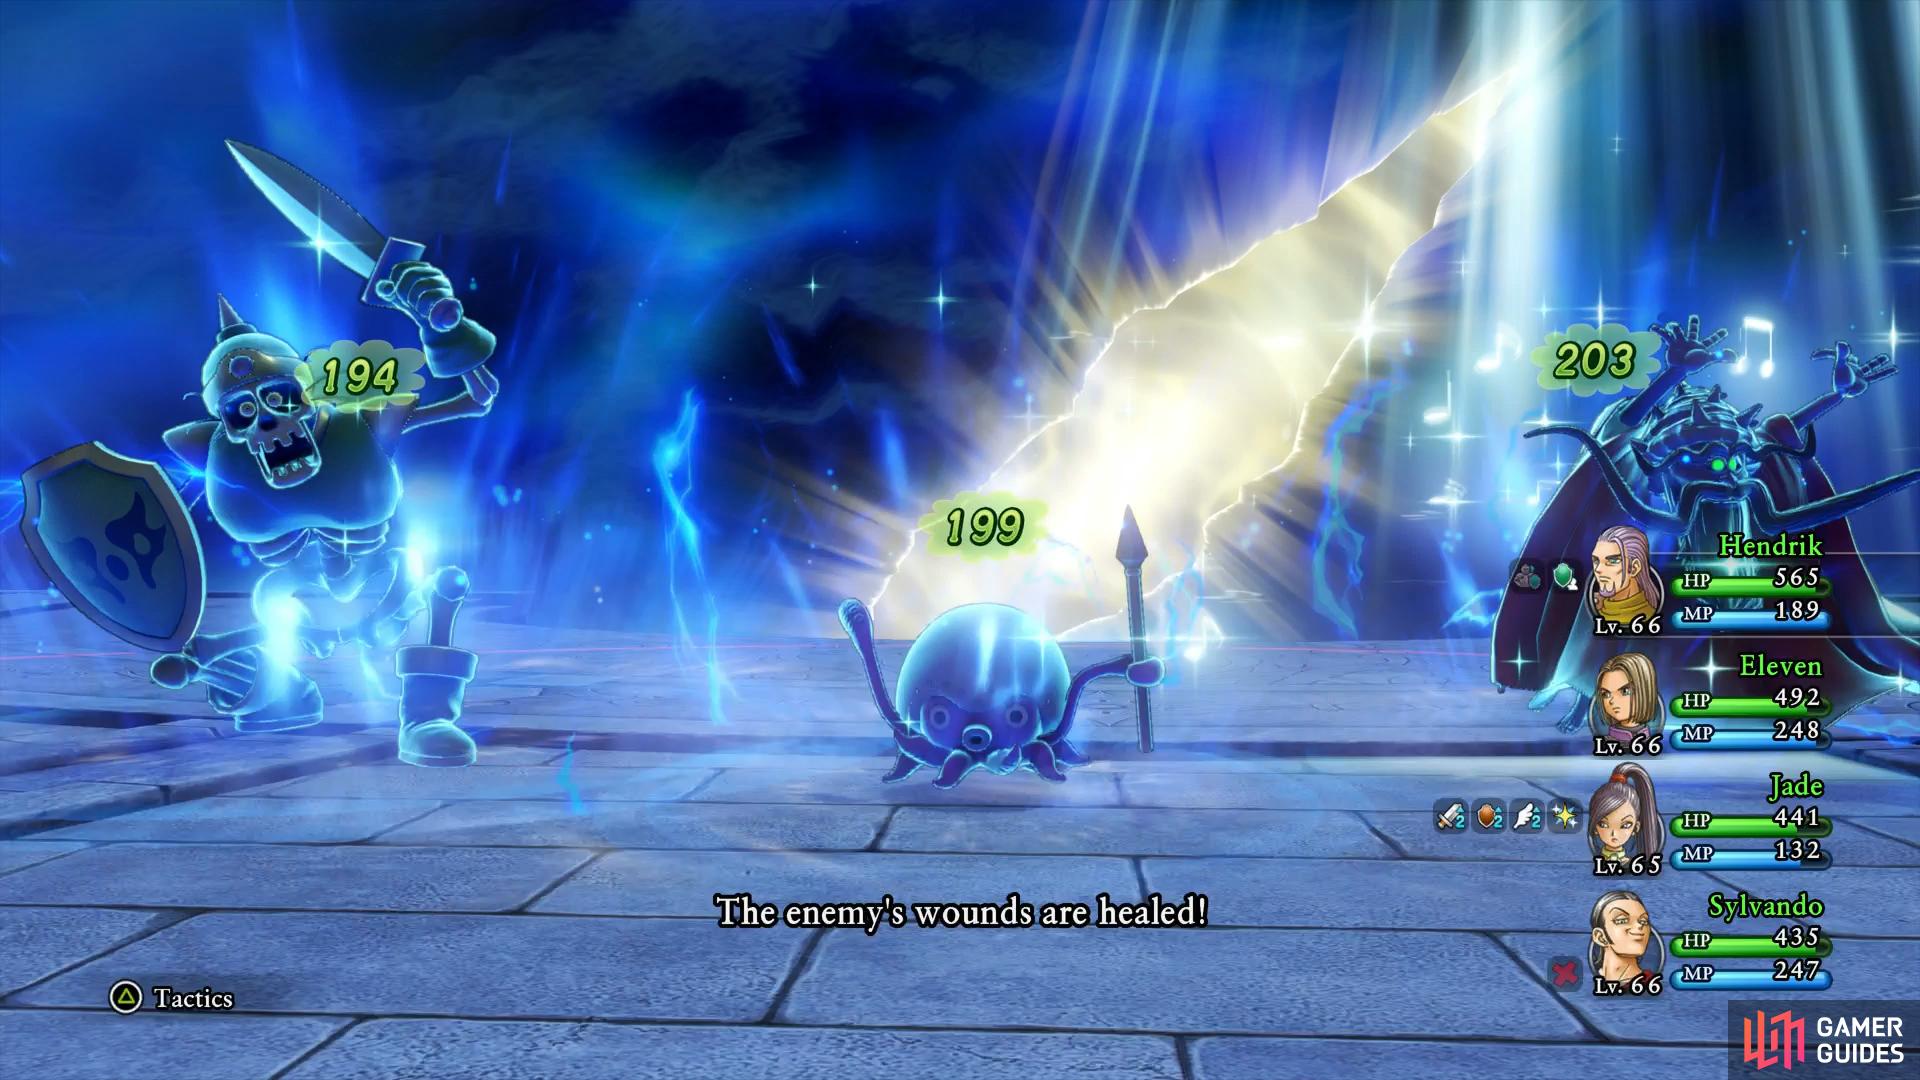
Boss: Malicious Merking

Don’t underestimate these Merman, this battle can go wrong very quickly. The Malicious Merking only has around 3000 HP himself which doesn’t sound too much however it’s the constant barrage of damage you’ll take from the Malicious Mermaniacs that add up. the Mermaniacs will use Fizzle to seal your spells along with Kacrack to hit the entire party for around 80 HP, this will quickly add up if they all decide to use it so you’ll find yourself constantly healing in this battle. The Merking will summon Pillars of Water that will damage the party for over 100 HP and his regular attacks hit hard in the region of 150 HP+. Your main target remains the Merking, he will Kazing any of his fallen brethren so only take them out via spells and abilities hitting them all.
The damage from Kacrack adds up if more than one Mermaniac uses it
meanwhile you’ll also be taking damage from Pillars of Water.
Hendrick is essential in this battle to soak up the damage, be sure to use Immense Defense first however or you could see one Kacrack take him down to low HP. The Hero’s Quadraslash and Gigagash (if you’re using Swords) are useful here as is all spells and abilities that hit all enemies such as Kaboomle from Veronica, Gold Rush from Sylvando and Pink Tornado from Jade. Consider going with both Serena and Sylvando for this battle, the extra healing potential will be welcome from all the group damage you’ll be suffering.
Speak to Kai after defeating the Merman and then Zoom back to Lonalulu to speak to the Kahuna once more, in return you’ll obtain the Pirate King’s Cap. Zoom over to the Viking Hideout next and make your way over to where Erik and Mia’s Shelter is, speak to Mia following the event to obtain the Pirate King’s Pendant.
You’ll want to be around Level 60-64 for the next couple of events so if you find yourself underleveled, take the time to gain a couple of levels. During this, have the Hero learn some of the Zap based spells, you’ll need to defeat a future boss with one of these spells as the killing blow. It’s also a good time to tackle a few more quests so when you’re ready, Zoom to Downtown Heliodor.
Heliodor Quests
Begin by heading into the western corner to find a young boy looking for some help, agree to help him to begin Quest 53 - Now You See Me…. Zoom over to L’Academie and head into the Magic Key door, you’ll find Xero in the corner. Return to the boy in Helidor to complete the quest and obtain 10 Mini Medals for your trouble.
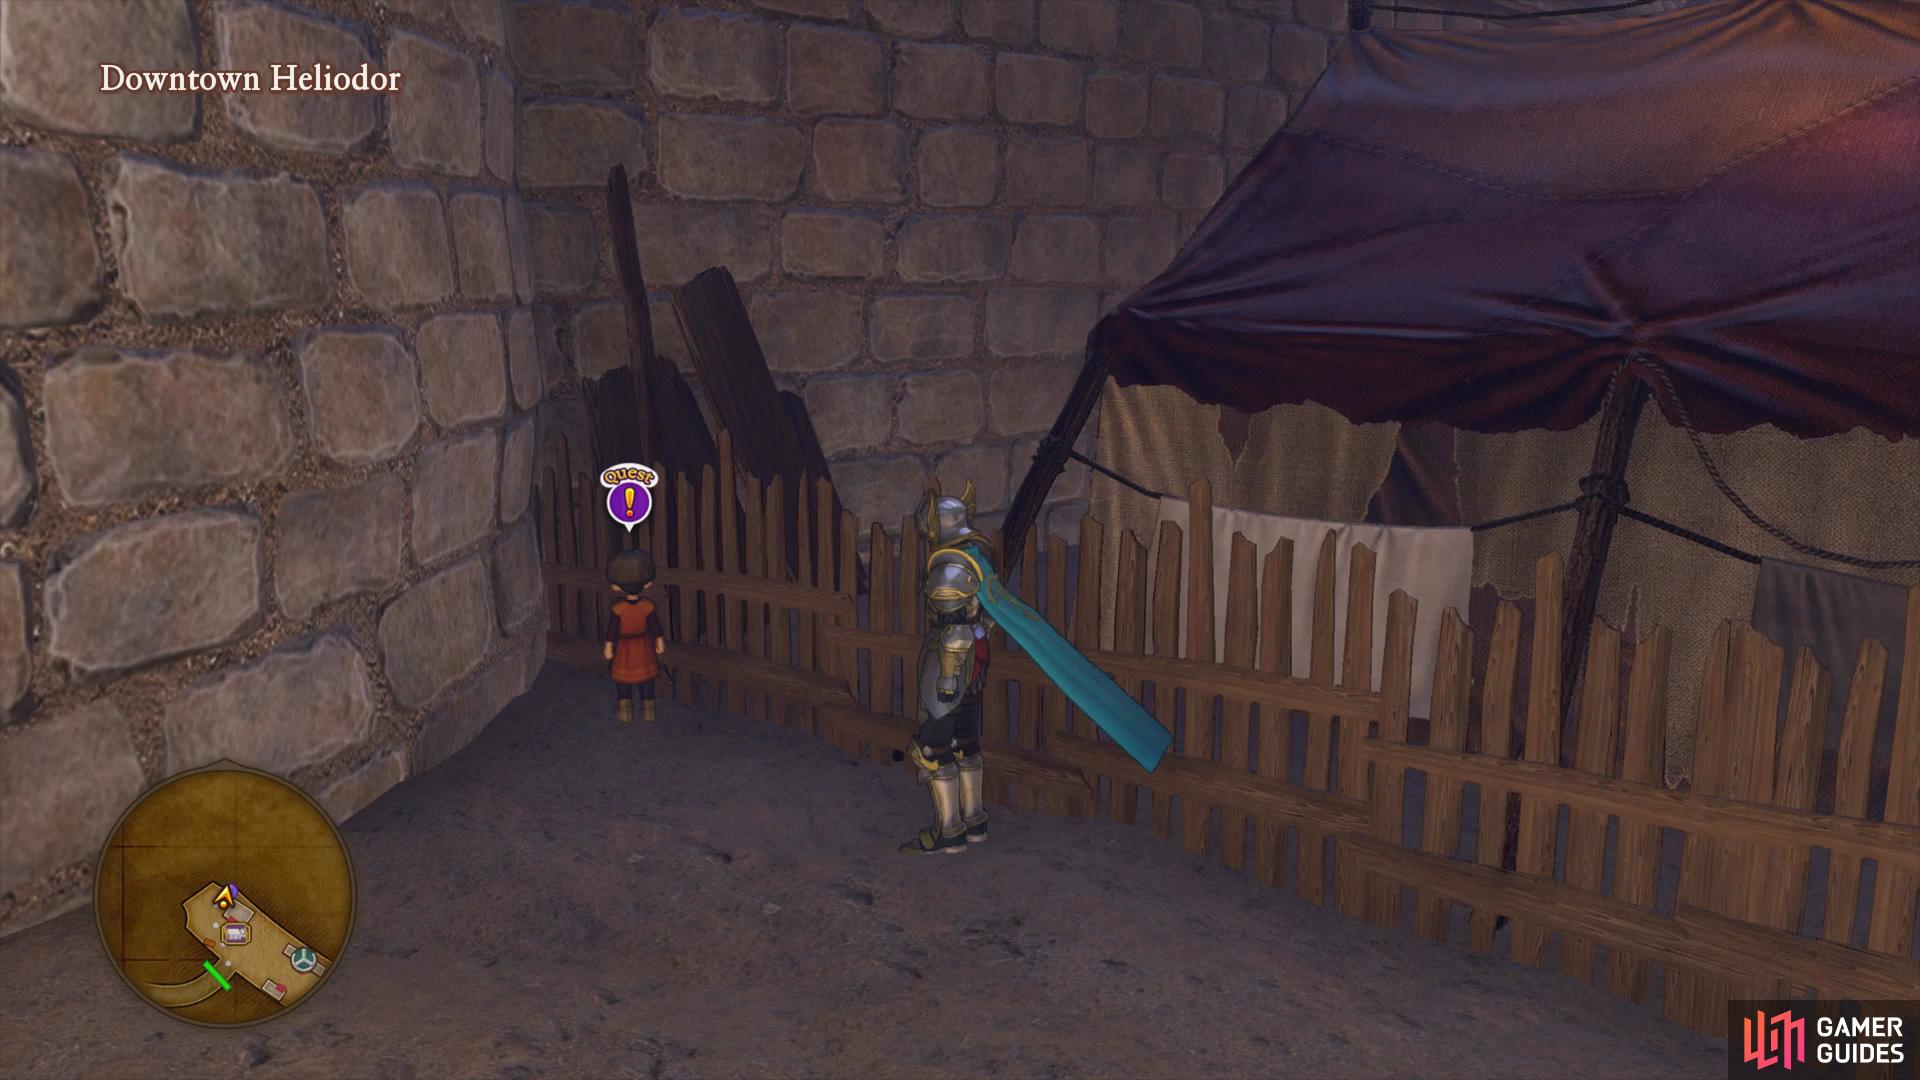
Look for this boy in Downtown Helidor to begin Quest 53
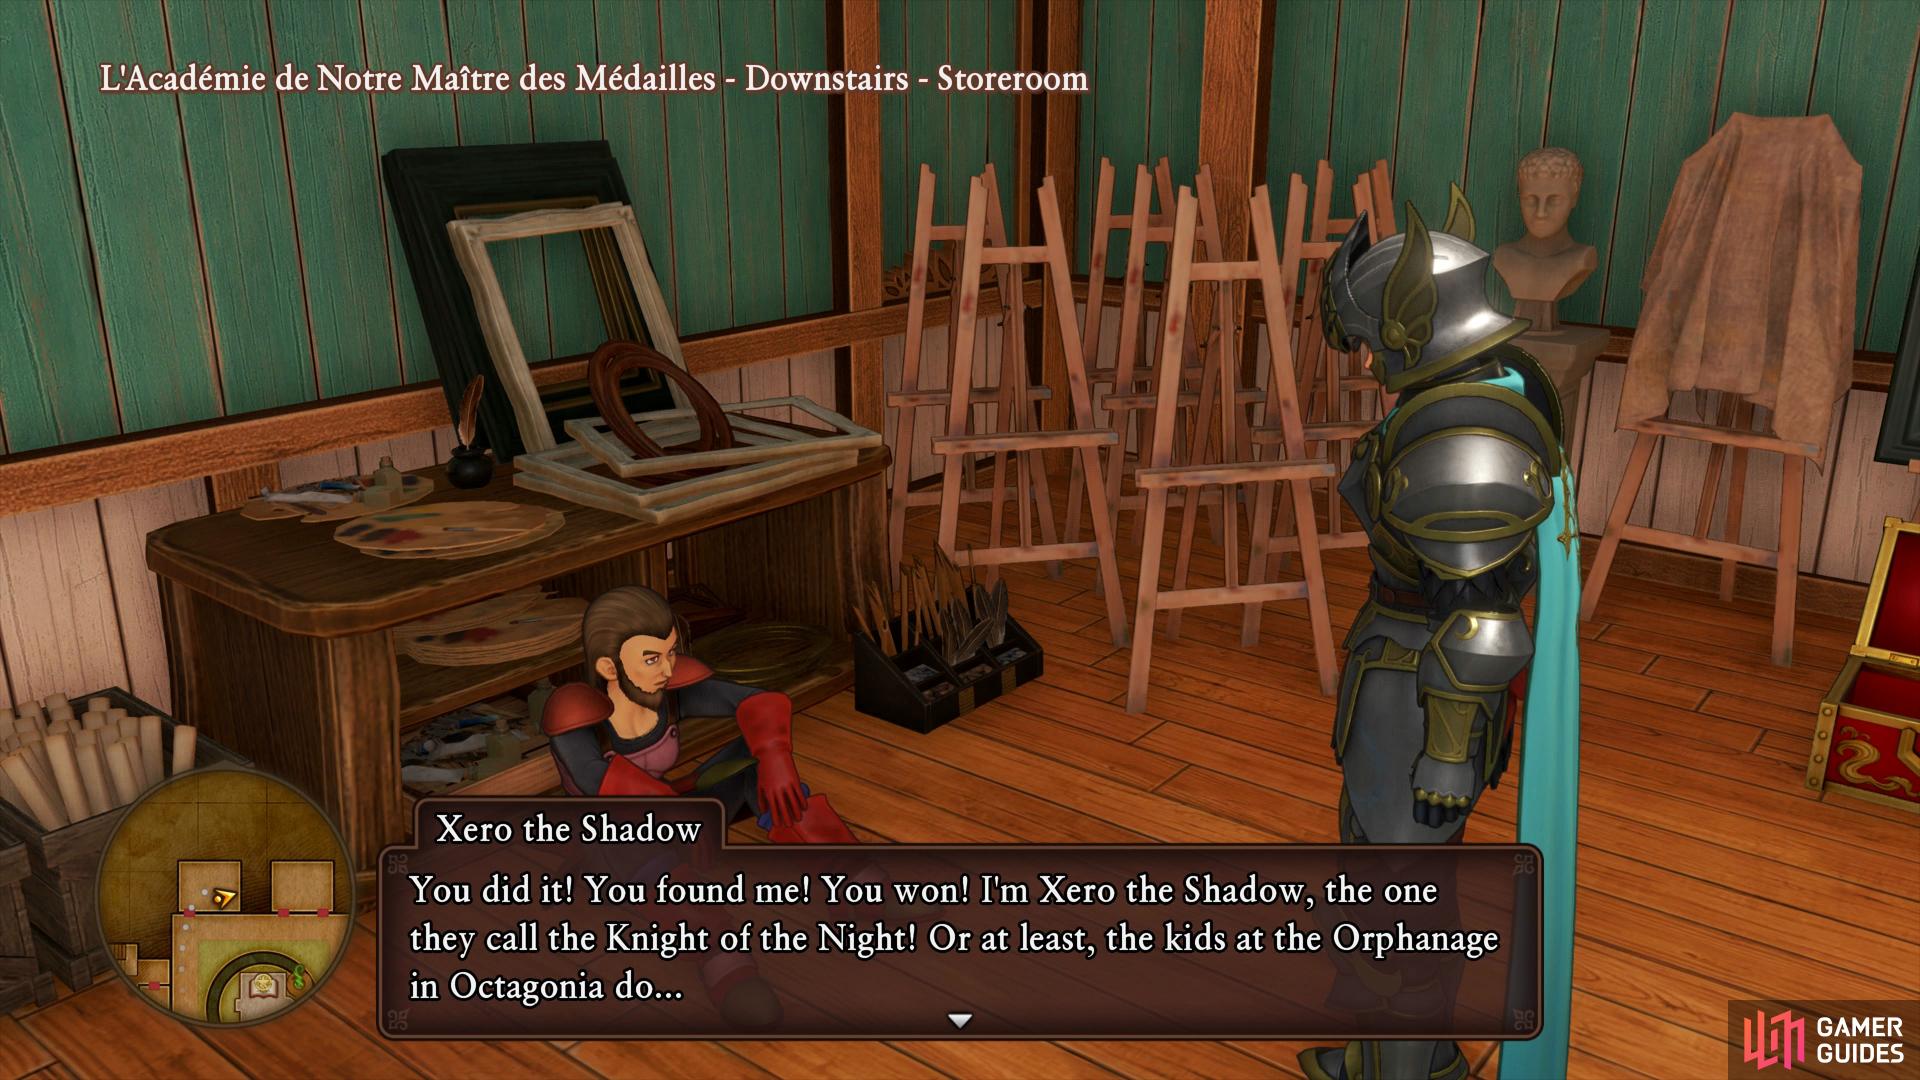
you’ll find the target in L’Academie’s Magic Door.
Staying in Downtown Heliodor, head east to find Mistress Bev, a fortune teller, agree to assist her to begin Quest 54 - Mistress Bev’s Perfect Prediction. Zoom over to the First Forest Summit Camp and head into the water north of your location to find a golden Sparkly Spot containing the Divine Dew. Return to Bev and hand it over to complete the quest and obtain a Pep Pop.

You’ll find Mistress Bev to the east of Downtown Heliodor
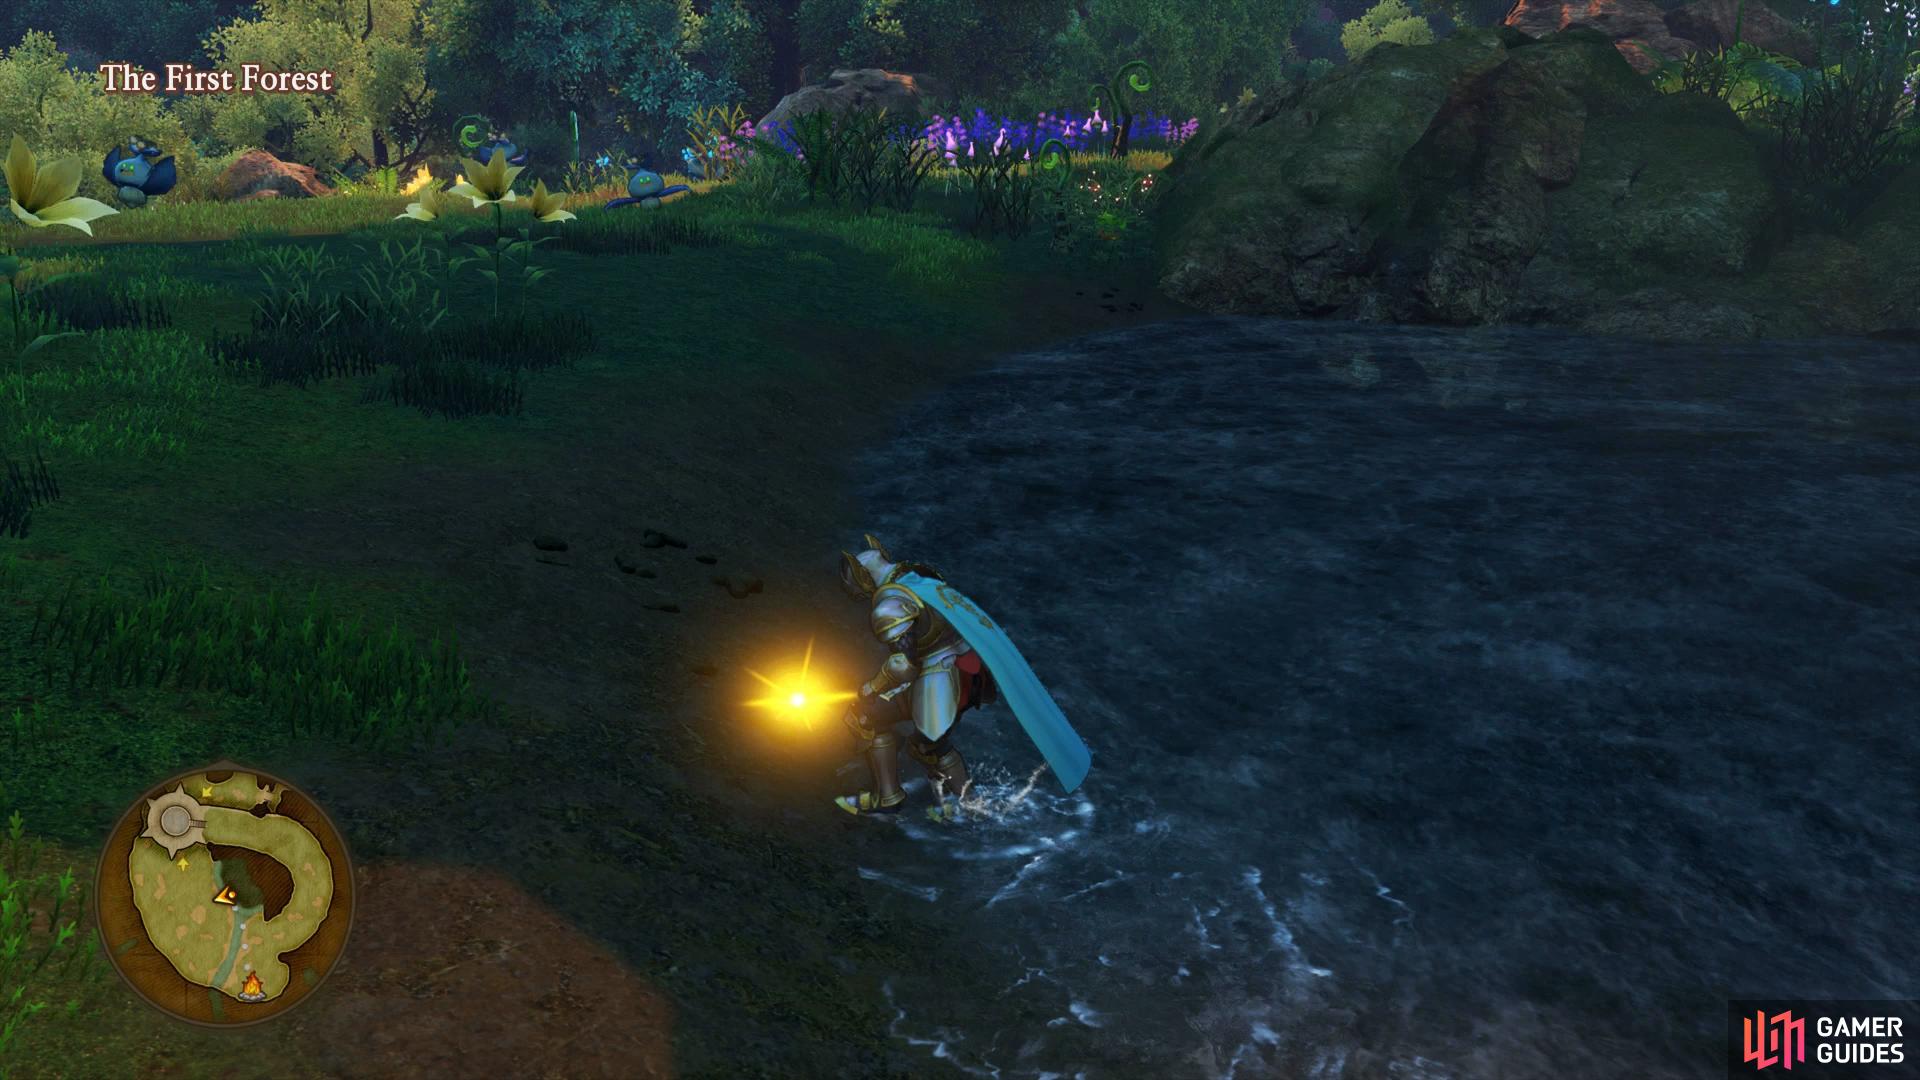
the dew can be found north of the Summit Camp in the First Forest.
Head up to the Upper Layer of Helidor and make your way to the Royal Square to find a man in need of assistance. Agree to help him to begin [Quest 55 - Might Is Right!] and call upon Cetacea. Fly over to the Southern Hotto Steppe Whale Way Station where you’ll find a lone Bilhaw. You’ll have to keep battling these monsters until a rare Harmachis spawns alongside it. Consider equipping the Circle of Serendipity on the Hero to boost the chances. Defeat the monster and return to the man in Heliodor to complete the quest and obtain the Apollo Axe. Finally, Zoom back to L’Academie and hand over your latest batch of Mini Medals to obtain a new Recipe Book, Glammer Gear for Goer-Getters which contains Sylvando’s best armor set.

Speak to the old man in Heliodor’s Royal Square to begin Quest 55
you’ll find the Rare monster Harmachis at the Southern Hotto Steppe Whale Way Station.
Nautica
Once you’re Level 60+, Zoom back to Nautica and make your way to the Queen. She requests your assistance in taking back the stolen Pearl of Wisdom from a monster named Bathysfear. Zoom to Lonalulu - Sea and begin sailing north, the island you’re looking for is not marked on the map. Once you reach Insula Orientalis, sail northeast to a smaller island and as you approach it, Bathysfear attacks.
Boss: Bathysfear

Bathsyfear has a similar move set to that of Indignus from the Fortress of Fear. His regular attacks hit hard for over 150 HP and Kacrackle will hit the entire party for over 200 HP, be sure to keep your HP above 300 at all times. Inferno Slash will hit one person for around 150 HP and he will also use his Stab as a Desperate Attack for over 300 HP. Finally, his most deadly attack is Ready Blade which will hit the party for massive damage unless Hendrick is soaking it up. He has around 5600 HP along with high defense so Sap is essential in this battle if you want to take him out quickly.
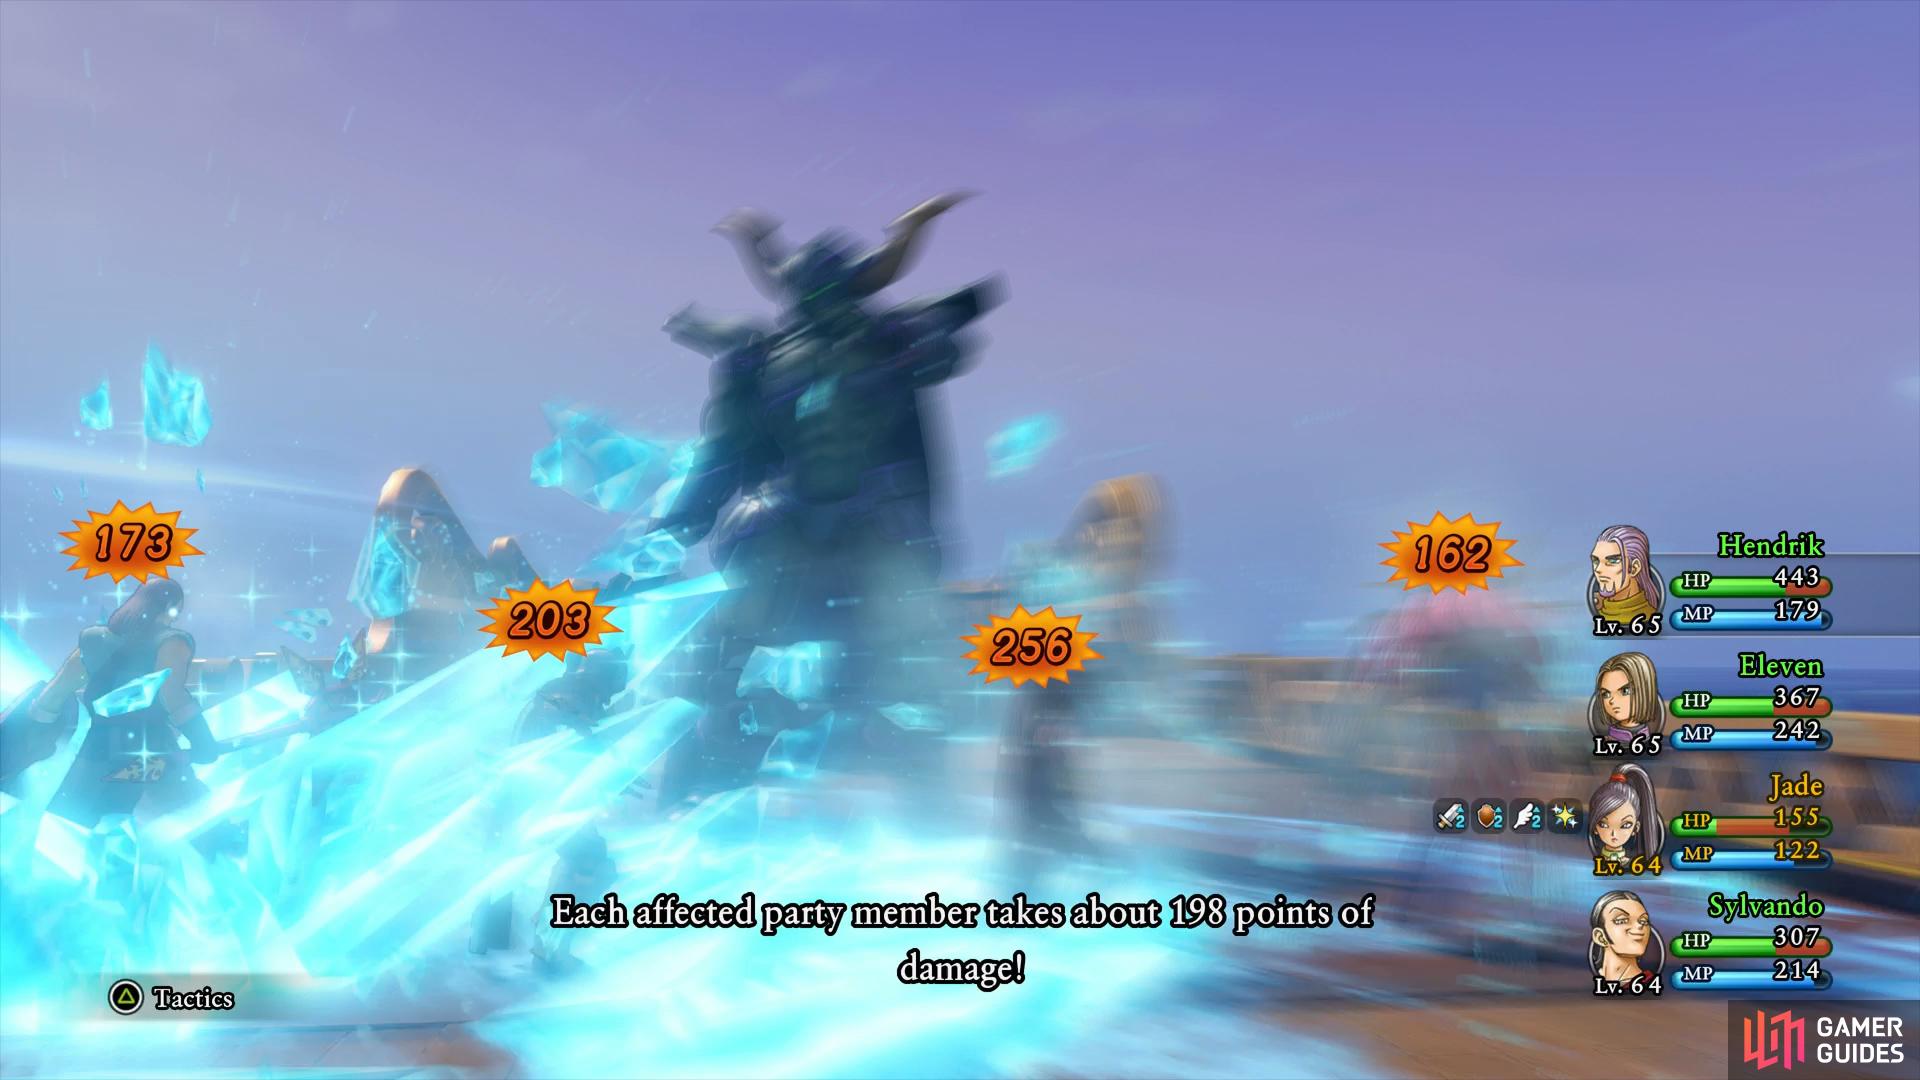
Kacrackle deals massive damage to the party
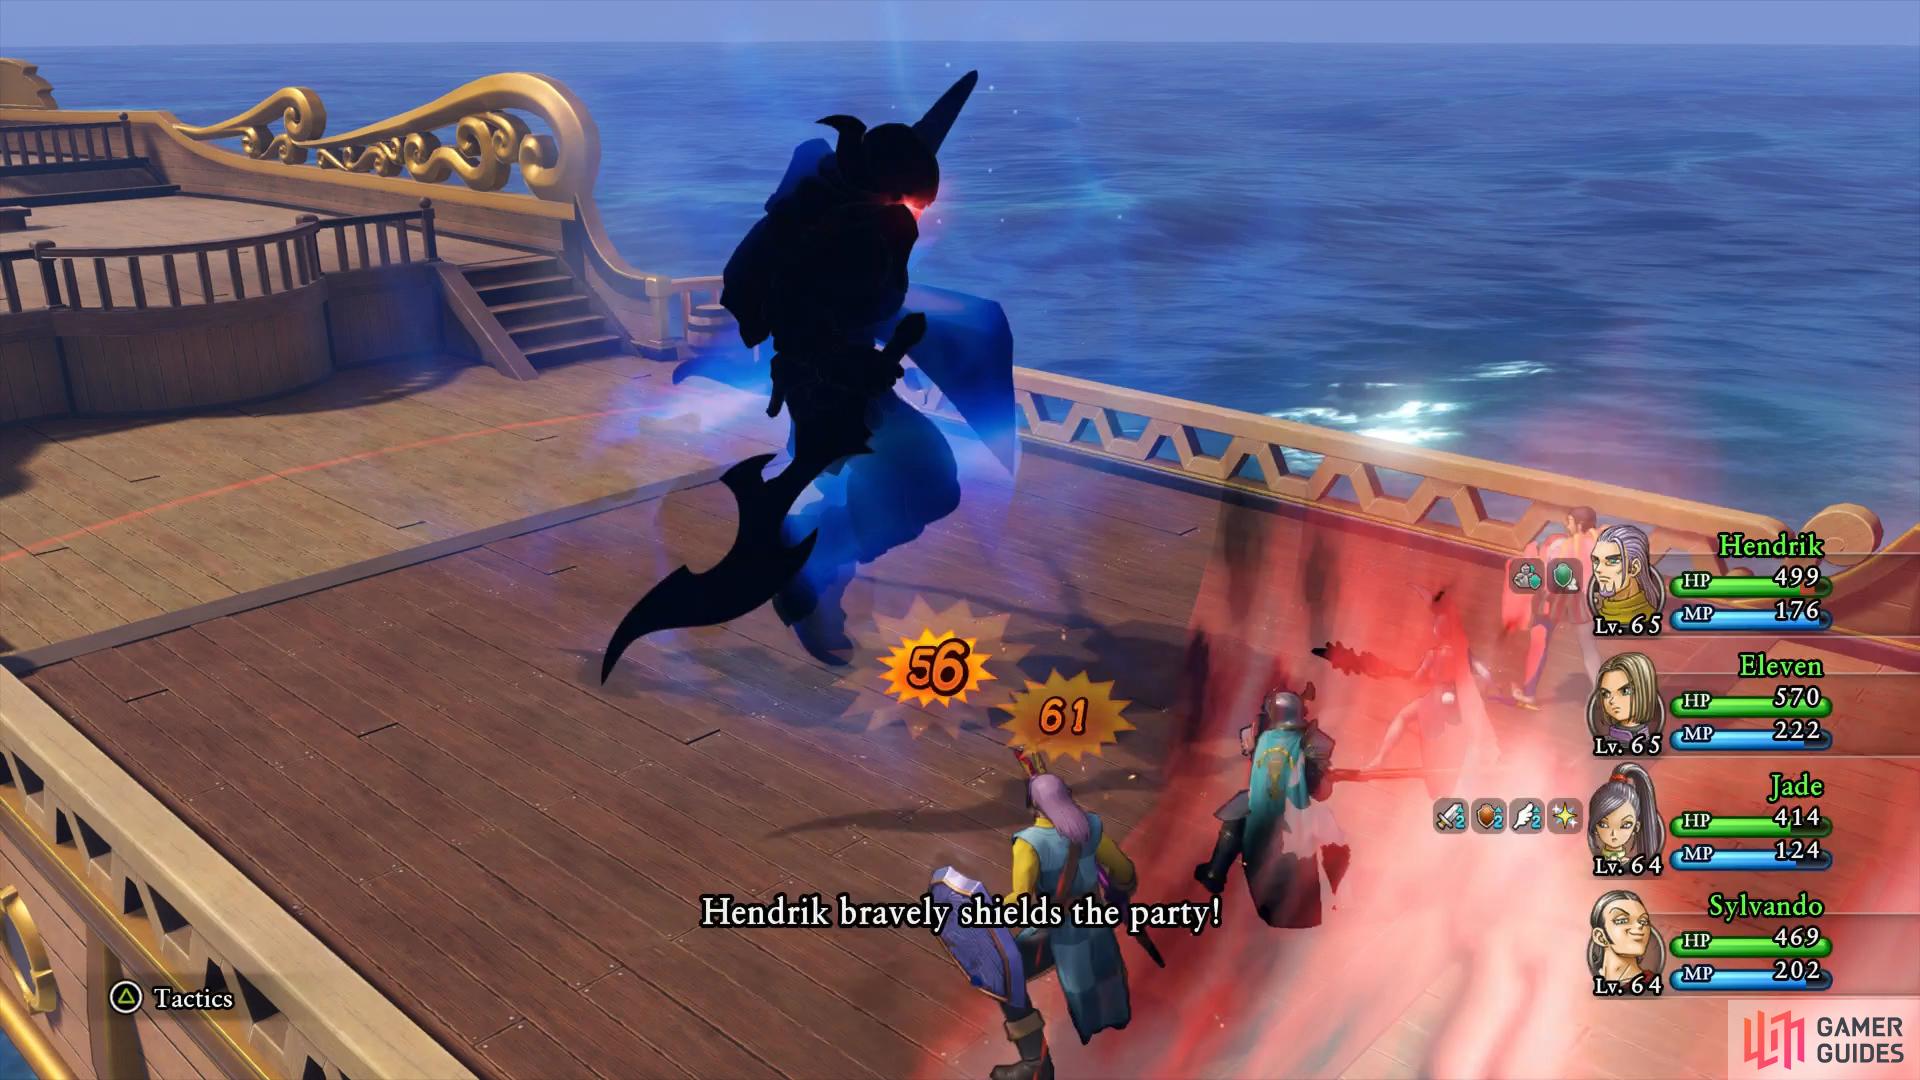
you’ll want Hendrick using Forbearance to soak up the damage from Ready Blade.
Hendrick using Immense Defense and Forbearance will nullify a lot of his attacks leaving the rest of your party to attack. Only Kacrackle will deal heavy damage to him and that is easily healed. The Hero should play more of a support role until you can land Sap on him as Sword Dance and Unbridled Blade wont hit that hard without it. A twice Re-Vamped Jade using Multifeet is as useful as ever as is passing turns back to her with Sylvando.
Return to Nautica following Bathysfear’s defeat and speak to the Queen once more to obtain the Sea Queen’s Conch. This is an Important Item that when used, will allow you to speak to the Queen from anywhere. She will disclose what events you’ve yet to complete around Erdrea.
Octagonia
Zoom to Octagon and head down towards the Orphanage to discover that a bunch of MMA fighters have barged into it and headed downstairs. Make your way down to the bottm and head into the Caverns Under Octagonia once more. Make your way through the cavern until you reach the door where you fought Arachtagon in the past, restore your HP and MP and then head through the door when you’re ready.
You’ll face off against malicious variants of the MMA fighters all at once with Vince as a guest member. You’ll want to take them down as quickly as possible as their damage will really add up. Veronica and Sylvando are a deadly combo here, with Sylvando passing turns to her so she can use Kaboomble. Have the Hero use Quadraslash (or Gigagash if you’re using Swords) while Hendrick attemps to tank the damage. This battle is all about trying to deal as much damage to all of them as quickly as possible.
Following their defeat, the real culprit will come to light and you’ll be thrust into another boss battle.
Boss: Malicious Arachtagon
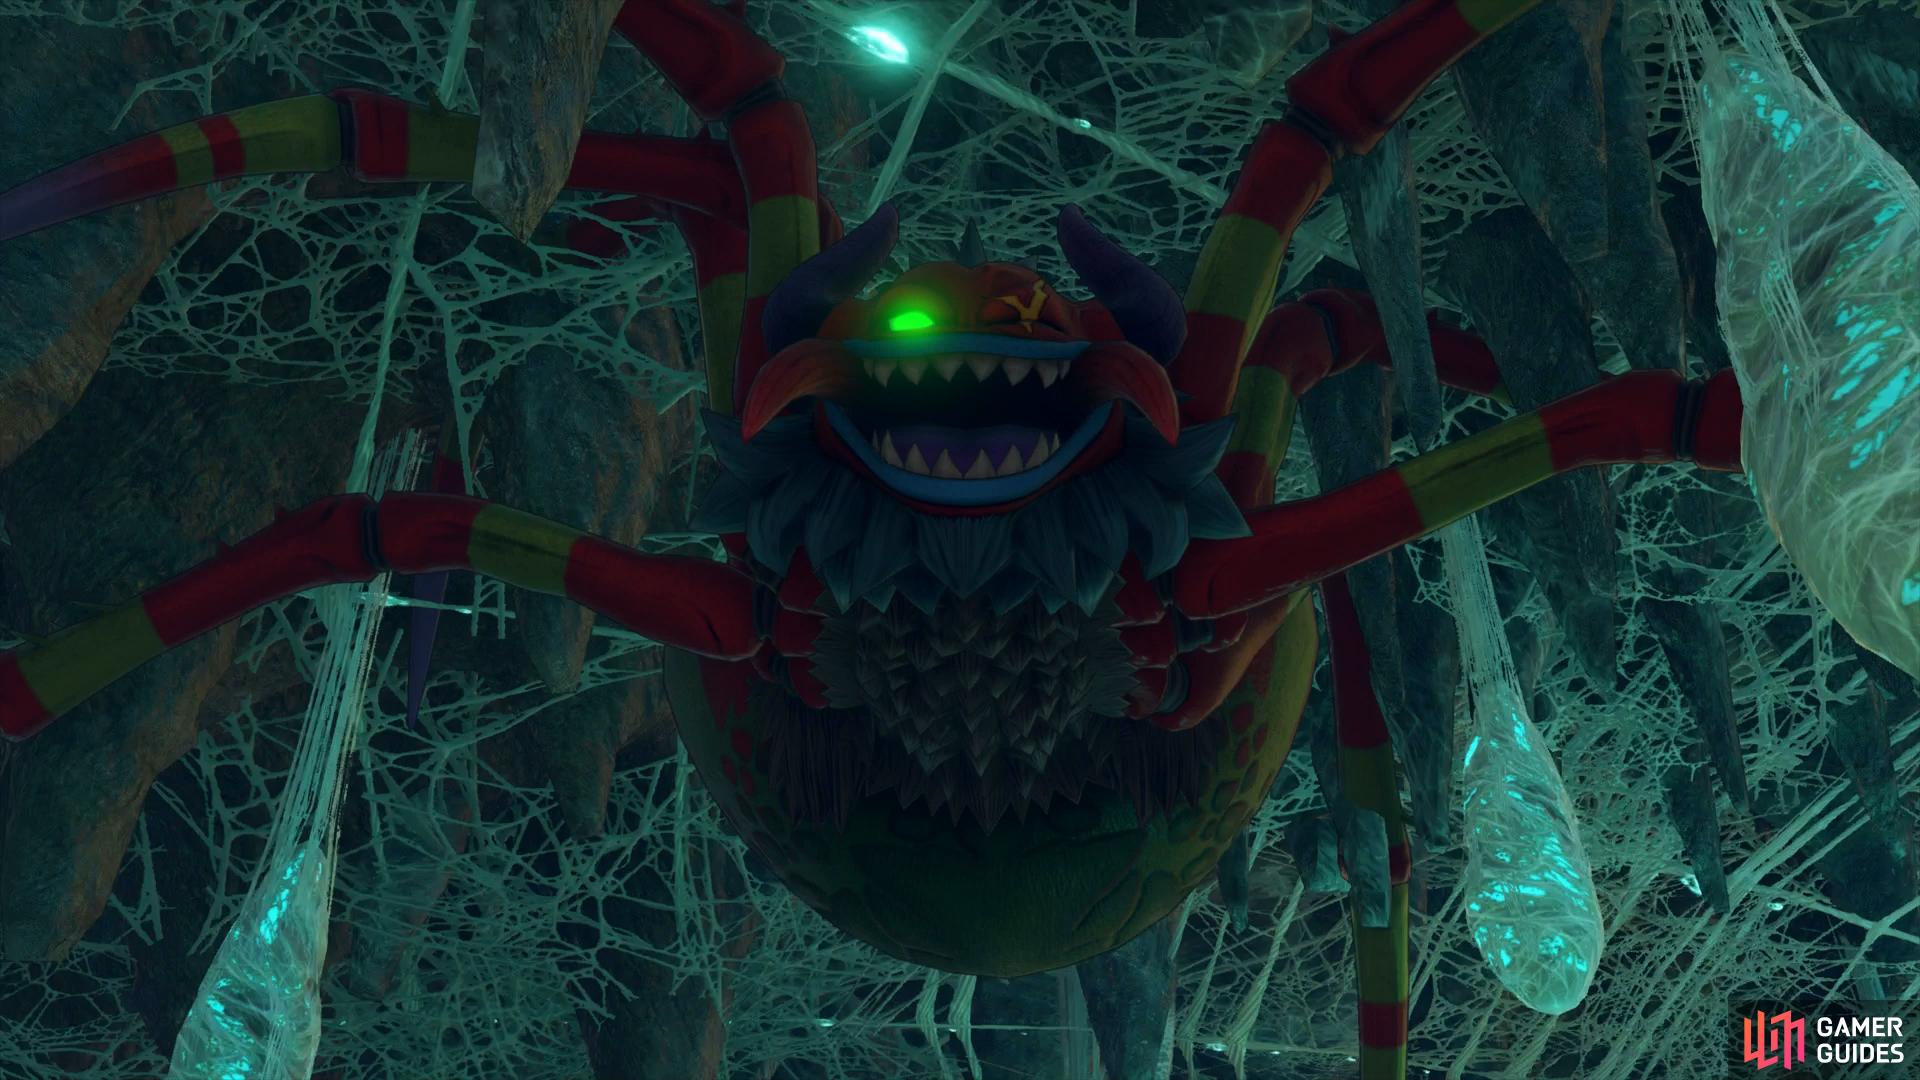
Arachtagon is as dangerous as ever with her party wide attacks and status ailments. Volley of Stings hits hard now, for around 190 HP to everyone and Kafuddle has the chance to confuse everyone unless you’re protected against it. You’re looking at around 5600 HP to deal with so you’ll need to be consistent with your damage rather than wasting too much time trying to survive it’s attacks.
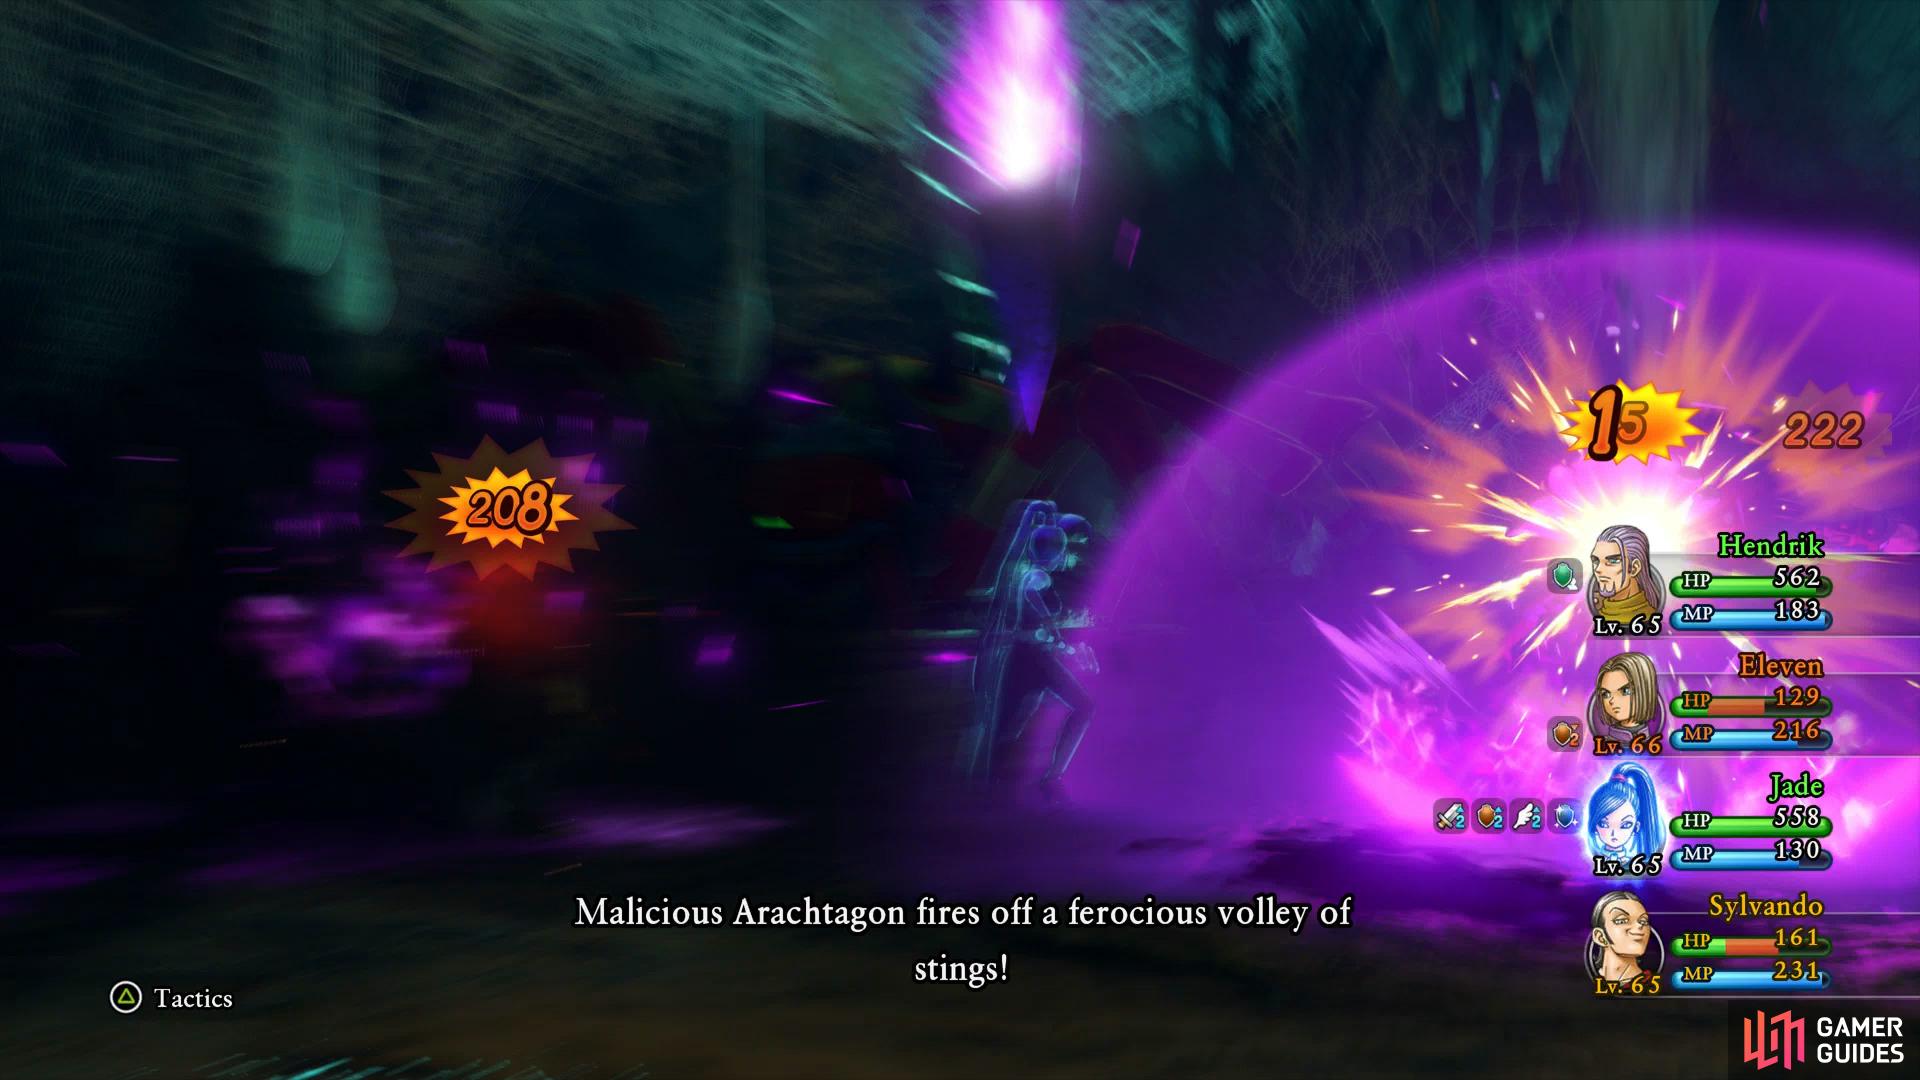
Volley of Stings is devastating now, heal up straight after
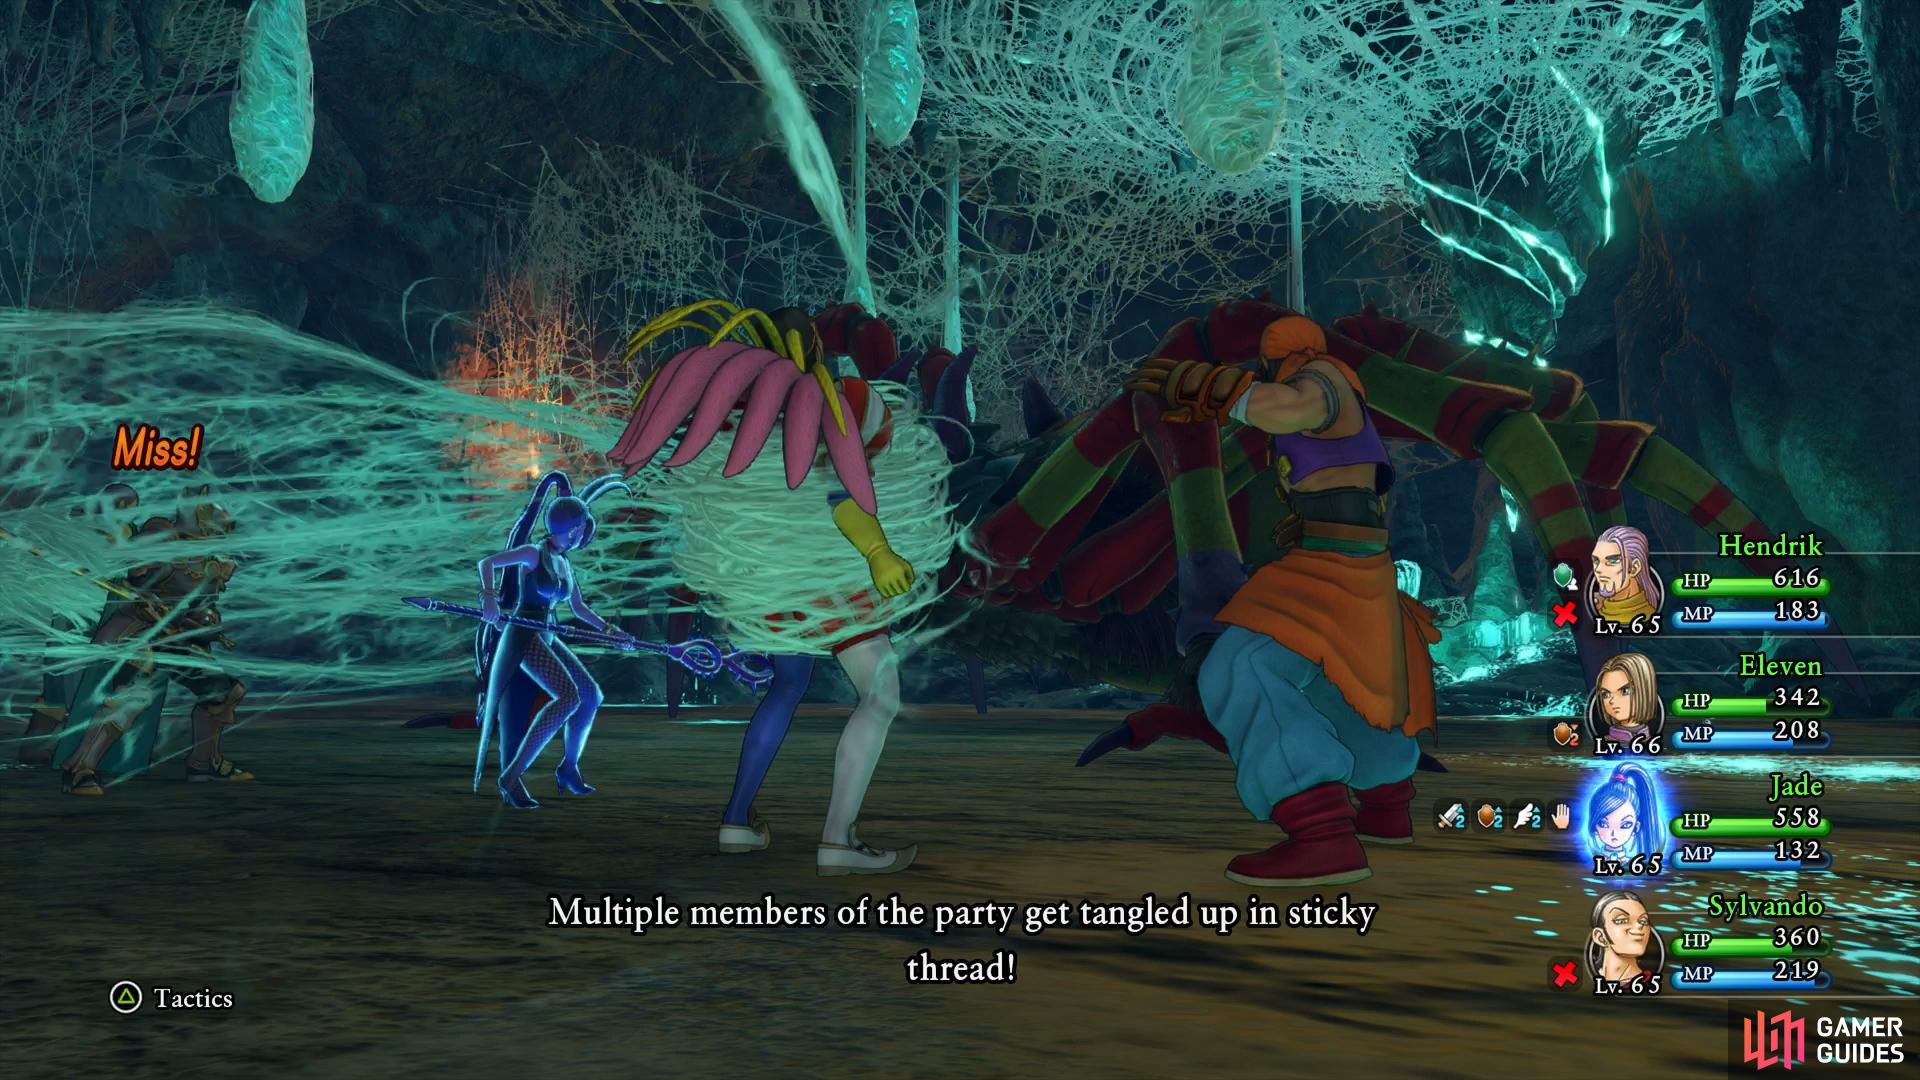
the wrong character getting Tangled can wreck your entire strategy.
Vince will be useful here in curing any status ailments you may suffer, otherwise he is of no help. Hendrick, like always, should be your main tank. Re-Vamp Jade twice and use Multifeet, you should be putting out at least 900+ HP without Sap at this point. Sylvando or Serena are both useful here, you’ll be doing a lot of healing throughout the battle and Snap, Crackle, Poof can prevent a lot of the ailments.
You’ll automatically return to Octagonia following your victory and obtain some Crystal Claws from Vince by way of thanks. Exit the Orphanage and speak to The Underdigger and the Abominable Showman to have them move to Cobblestone and help with the rebuilding effort.
Make your way into the Casino next and upon looking at the Prize list, you’ll see theres some more items added to it. You’ll be able to purchase the useful Elfin Elixirs for 10000 Tokens a piece along with a new Recipe Book and even Pep Pips (at a hefty 125000 Tokens per one). None of these are essential so decide if they’re of any use to you and take the time to earn them.
While still in the Casino, head to the stage to find Golden Boy dancing, speak to him to obtain a Recipe Book, Dress to Impress. Finally, speak to Sinderella and Whambelina nearby to obtain the Stellar Starflower and Stellar Suit, a costume for Veronica.
Phnom Nonh
Zoom over to Phnom Nonh for your next task and head up to the house opposite of Da’s to find a young girl looking for assistance. Agree to help her to begin Quest 56 - Sweet Dreams where you’ll need to defeat a Bongo Bongo outside using the Snooze ‘n’ Bruise Pep Power learnt from Sylvando’s Pursecutter ability. If you’ve been focusing elsewhere on his Character Builder then leave this for now and return later to it.
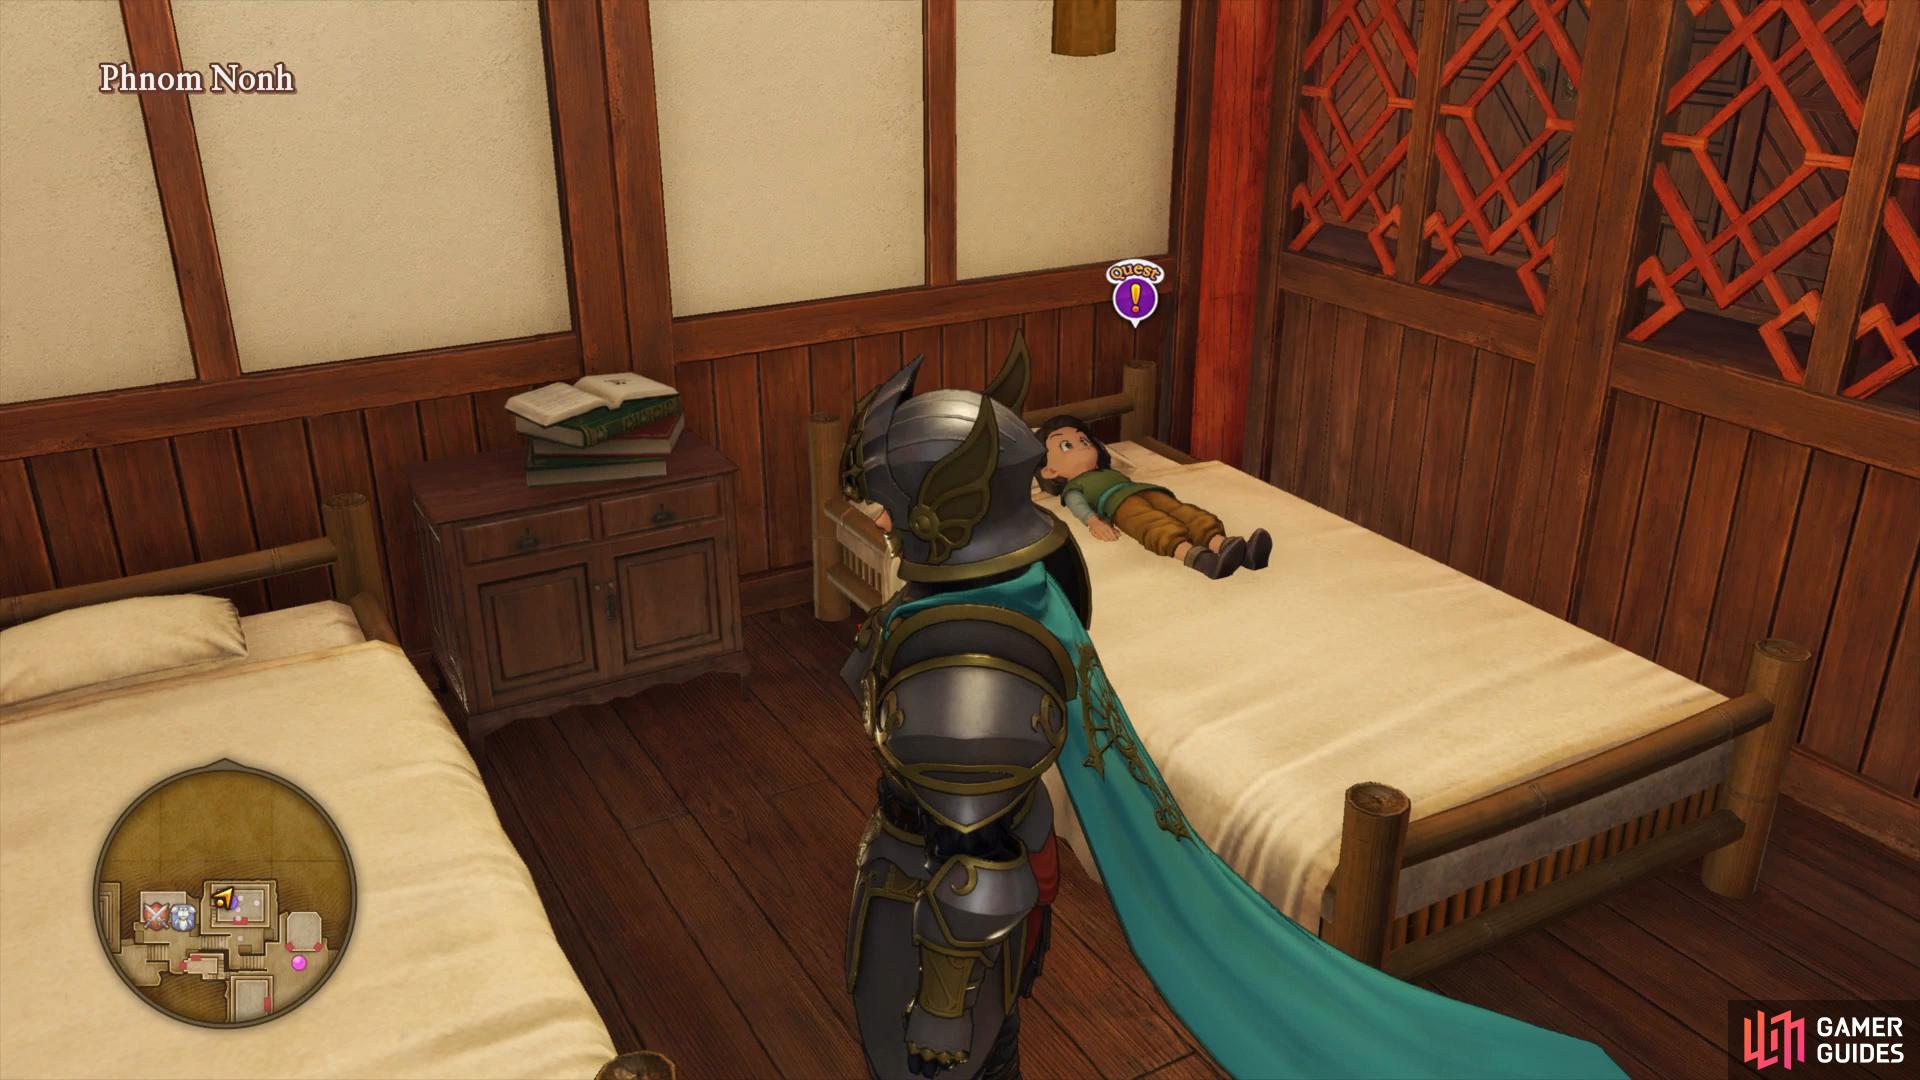
You’ll need the Snooze ‘n’ Bruise Pep Power for this quest.
Head over to Da and Son to learn that a monster has placed a curse on the village and took some children to the ruins. Head toward the ruins, opening the Ultimate Key door on the way to find a chest containing a Gold Bar. Enter the ruins themselves and use the mural to cross over to the Other Side. Make your way through the Other Side until you reach the Goddess Statue at the end, save your game and then step forward.
Boss: Malicious Grey Gordon
Don’t be fooled by the look of this boss, on his first turn he’ll call upon a bunch of allies and will repeat it throughout the fight. It’s for this reason that you’ll need to have allies who can hit all enemies at once. The backup comes in the form of all manner of monsters that can either drain your MP or cause you to dance and lose turns. Grey Gordon himself has around 5400 HP and is your main target to prevent him from summoning more monsters. His Kaswoosh and Kafrizzle spells are no slouch either, hitting for over 150 HP each. Grey Gordon will also use Hustle Dance to recover HP for all monsters for around 200 HP along with Pepping them up.
Grey Gordon will summon allies throughout the battle
his Hustle Dance will also Pep everybody up.
Hendrick should attempt to tank, although he can lose his effectiveness quickly due to all the status effects flying around. Jade Re-Vamped twice using Pink Tornado and Veronica’s Kaboomle are very useful here and any healer will do with the Hero using Quadraslash or Gigagash throughout.
After your victory, use the tear to return to Phonm Nonh and speak to Son to obtain 10 Mini Medals. Now’s also a good time to deal with the quest you accepted here earlier. Learn the Snooze ‘n’ Bruise Pep Power (Pursecutter on Sylvando) and then head outside to find a Bongo Bongo. Once you deal the killing blow with it, return to the girl to complete Quest 56 and obtain another five Mini Medals.
Sniflheim
Zoom to Sniflheim and make your way into the Castle, taking the lift down to the lower floor. Head into the south room and open the Ultimate Key door to find two chests containing a Recipe Book, Badges of Honour and a Chronocrystal. Head back upstairs and over to speak to Queen Frysabel to learn an Arboreal Serpent is on a rampage in the Snaerfelt and requests your help.
Leave Sniflheim and make your way through the Snaerfelt to the Hekswood. You’ll need to make sure you’ve learnt one of the Zap spells for the Hero so if you’re missing it, recitify at a Goddess Statue and learn it for the battle ahead. Make your way through to the end and save your game before facing the monster beyond.
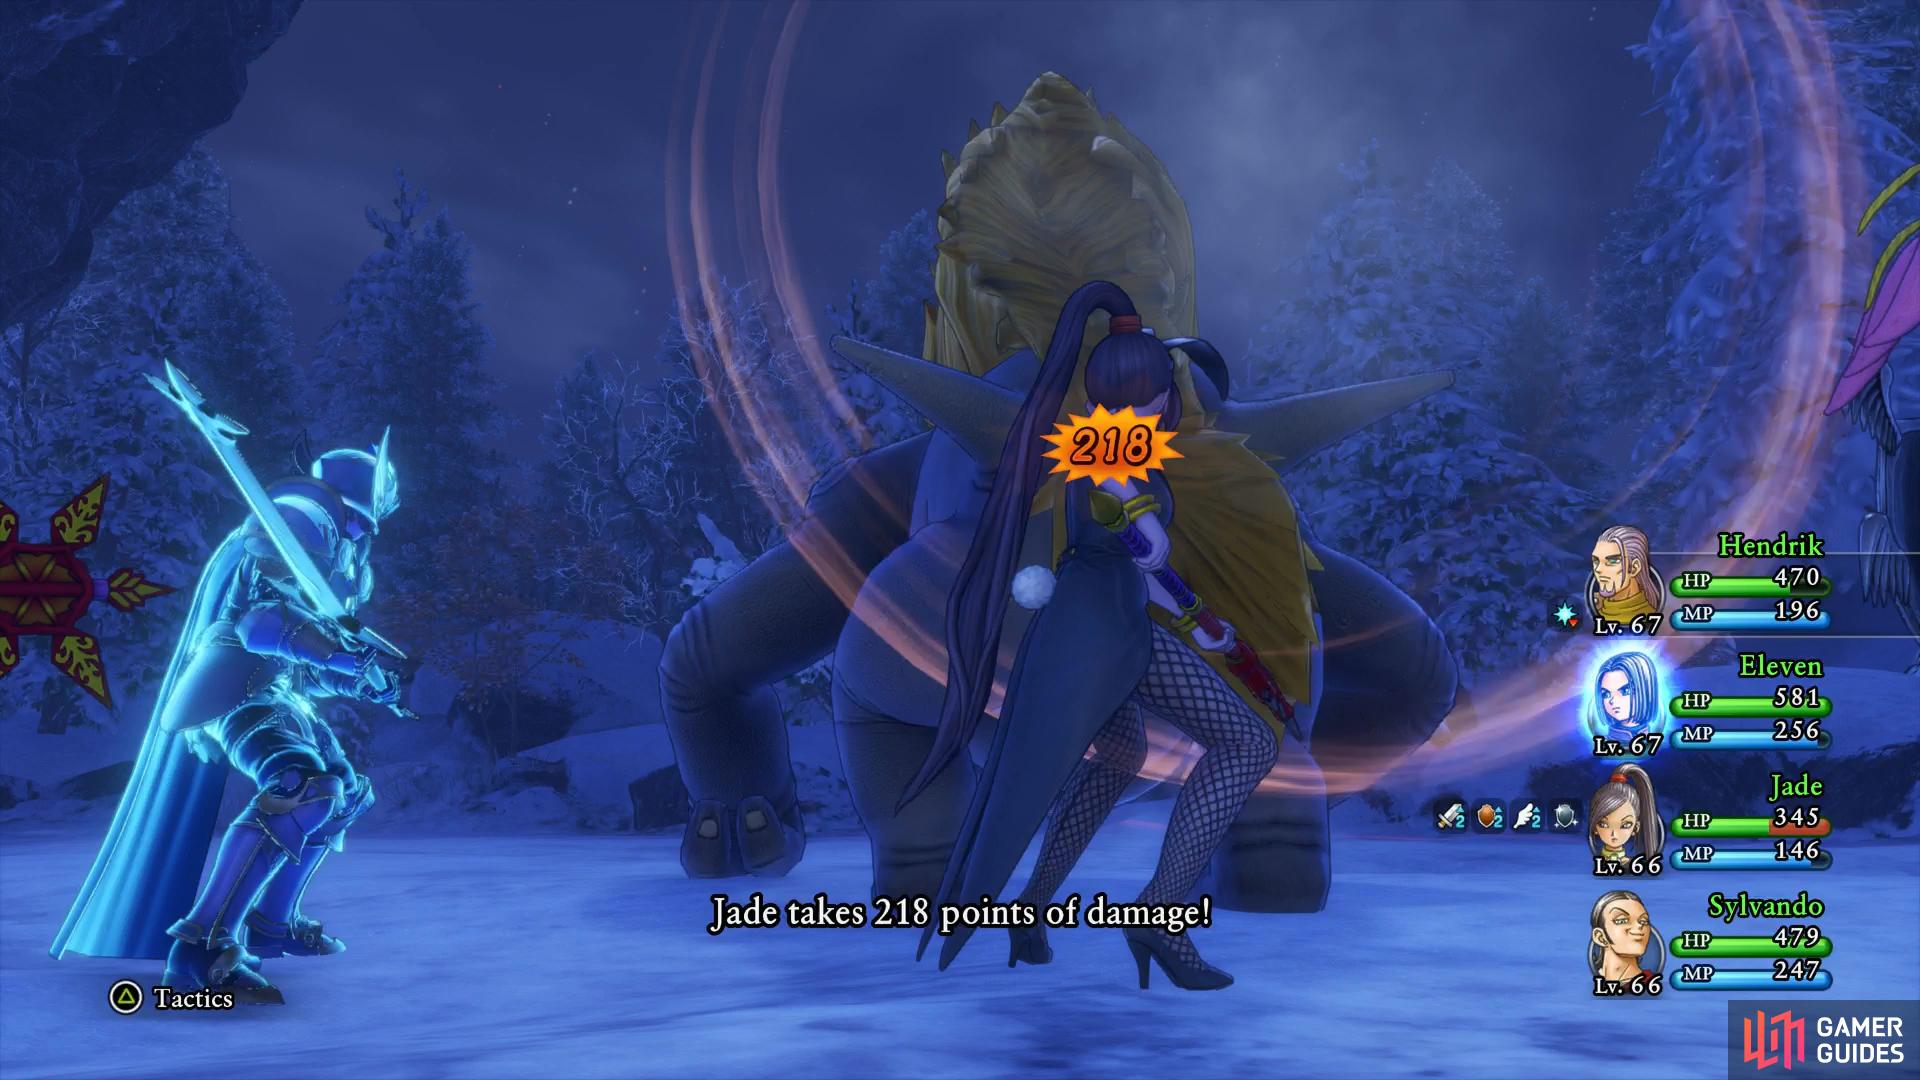
Boss: Malicious Jormun

Jormun only has around 2800 HP however there’s a gimmick to the battle. In order to defeat Malicious Jormun, you’ll need to make sure one of the Zap spells deals the killing blow, the higher the level Zap spell the less you’ll have to drain his HP in advance. Jormun attacks three times per combat round and he can put the party to sleep with Kasnooze. His Snowball will hit for around 150 HP and his kick will hit hard for around 250+ HP and thats before he does Oomphle.
Jormun’s Kicks hit hard, especially with Oomphle on him
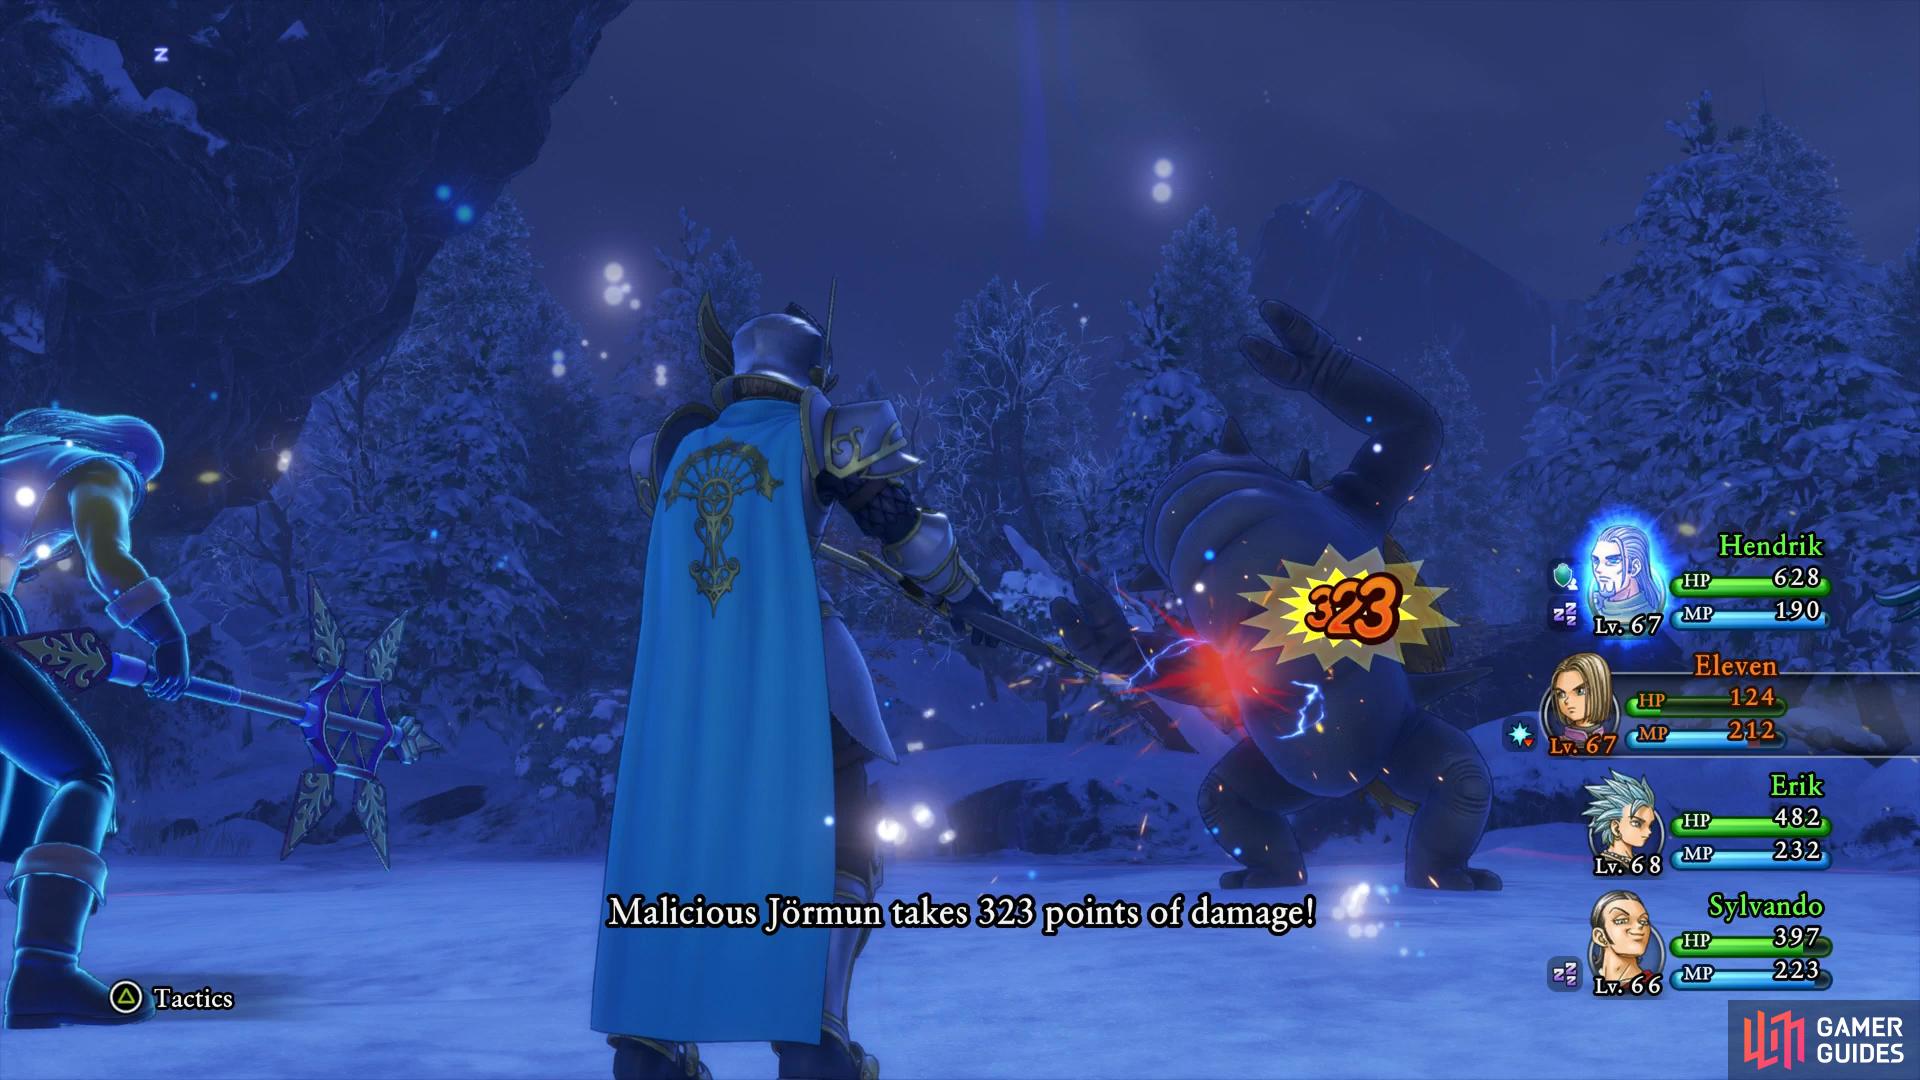
be sure that one of the Zap spells deal the killing blow.
A lot of his attacks can be nullified by having Hendrick use Immense Defense followed by Forbearance. The Hero is necessary to use one of the Zap spells at the end and Jade like always is a powerhouse. Erik is also very useful here, he has the Cock-a-Doodle-Doo spell that will awaken the party if you find them asleep.
Following your victory, Jormun is reborn as a holy guardian and when spoken to, will head to Cobblestone to guard it from monsters. Take this time to Zoom back to Cobblestone and check it out, you’ll see that the entire village has been rebuilt. Head to Gemma and speak to her to obtain Gemma’s Eternal Charm. Return to your Home next and check the wardrobe to obtain the Cobblestone Clobber costume for the Hero. Finally, head down to the shop and check out the wares which contains some of the best equipment in the game.

Find a new costume for the Hero in his wardrobe at Home
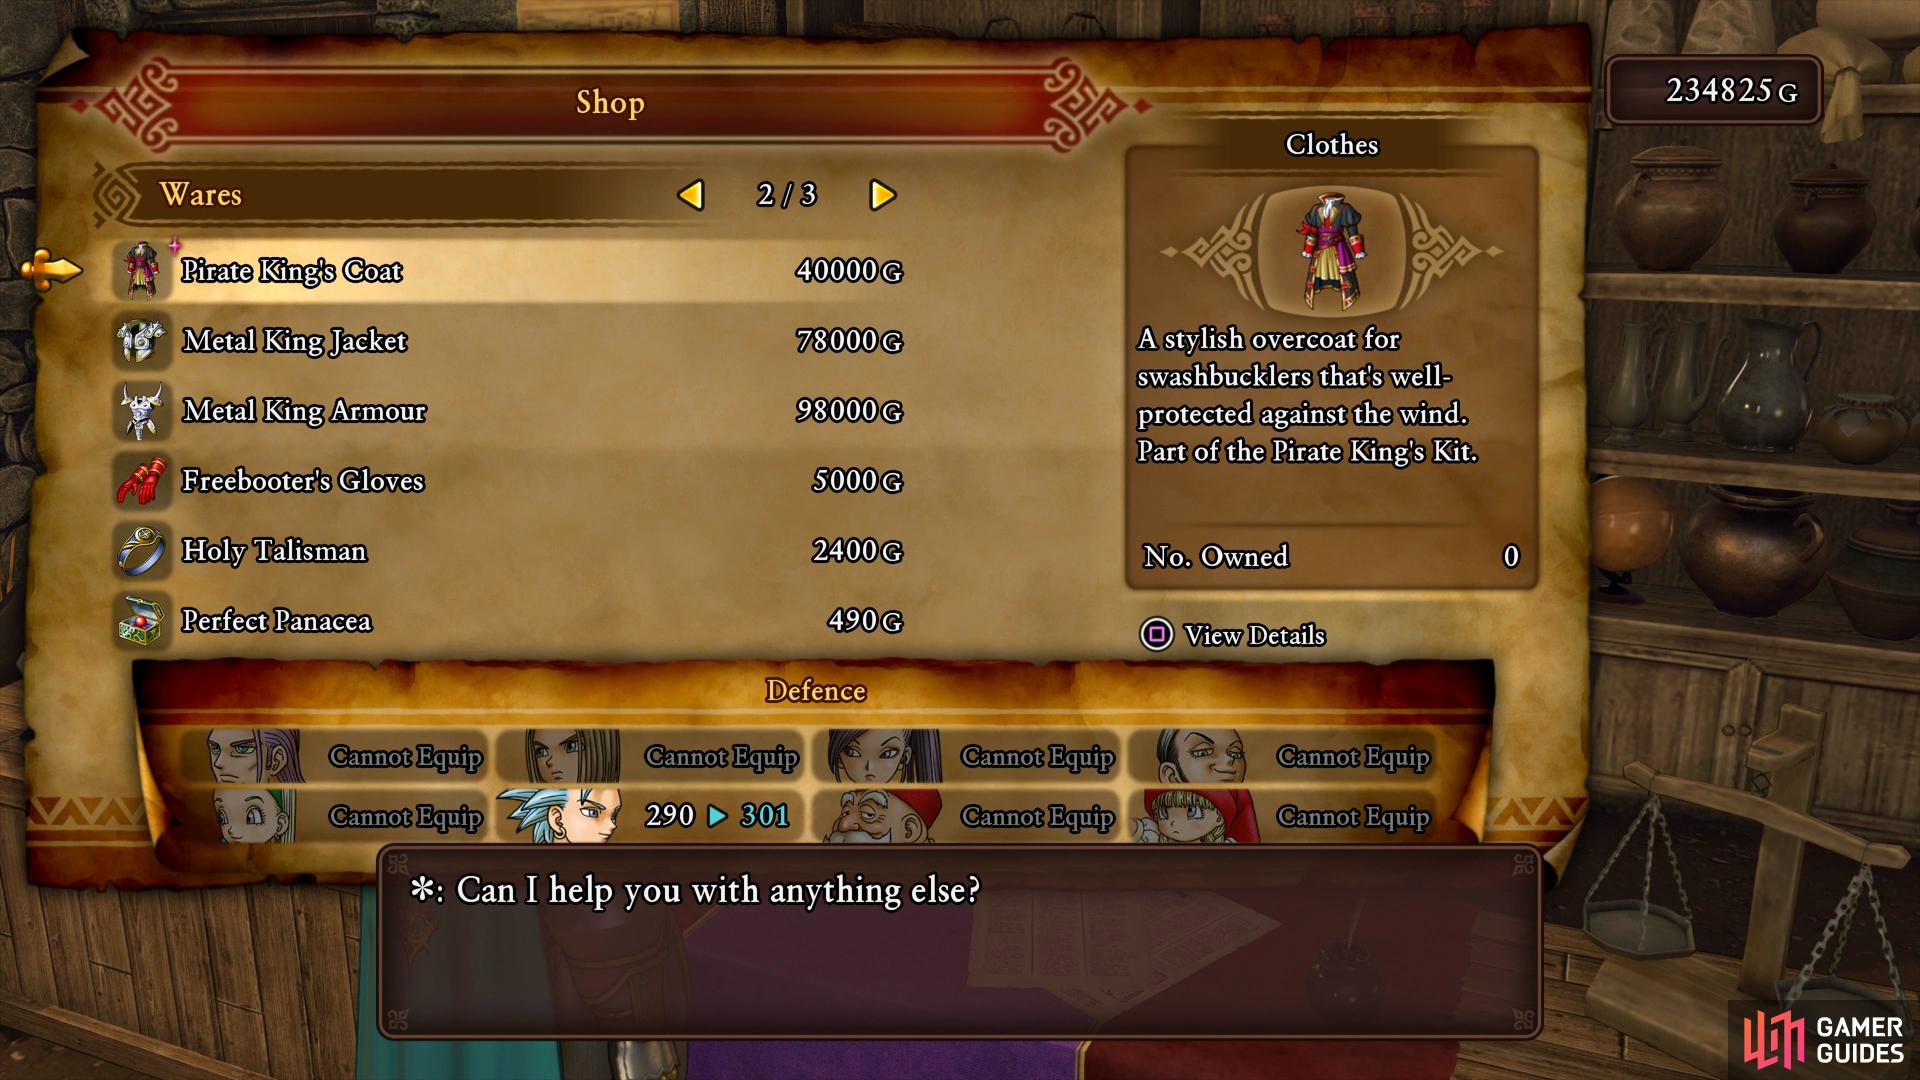
at the very least, pick up Erik’s best armor from this shop.
Of particular note is the Pirate King’s Coat, this will complete the costume for Erik which also happens to be his best armor in the game. All of the weapons are great and most likely better than what you already have as is the Metal King Armor. Finally, this shop sells Pep Pops for 200,000G a piece which is pricey but also the only source of them outside the two you already have.
Return to the Snaerfelt and make your way towards Arboria to once again come face to face with the Arboreal Serpent.
Boss: Malicious Arboreal Serpent

The Arboreal Serpent is still a very tough boss even at this late stage in the adventure. It has a whopping 7600 HP and attacks three times each combat round. All of it’s status ailment inducing skills return but all hitting a lot harder. Burning Breath is as irritating as ever with it’s Paralysis ailment and it now adds Kasizzle to it’s repetoire which will hit the party for over 150 HP. You’ll really want some protection against Paralysis in this battle as you’ll have to deal with Burning Breath every combat round.

You’ll have to deal with Burning Breath every combat round now
Kasizzle will deal massive damage to the party.
Hendrick is, as always, a mainstay in the party for his tanking prowess, you should know by now how to utilize him. Jade’s Re-Vamping Multifeet is great at dealing large amounts of damage to the Serpent as is Sword Dance. Finally, opt for Sylvando for this battle for Ladies First, Oomphle and of course Tingle should anyone get hit by Paralysis.
Return to Sniflheim and speak to Queen Frysabel to deliver the news and you’ll obtain a High-Born Blade. Zoom over to Arboria next and make your way up to the Cathedral to speak with Benedictus once more to obtain the Rusy Sceptre needed to forge an ultimate weapon a bit later.
Wrapping Up More Quests
Now’s a good opportunity to wrap up a few more quests before progressing the main plot a little. Zoom to Angri-La to begin and head up to the Seedling nearby to get a glimpse into the past. Head forward now and speak to the monk just outside of the Inn, agree to assist him to begin Quest 57 - Morcant’s Mastery of Magic.
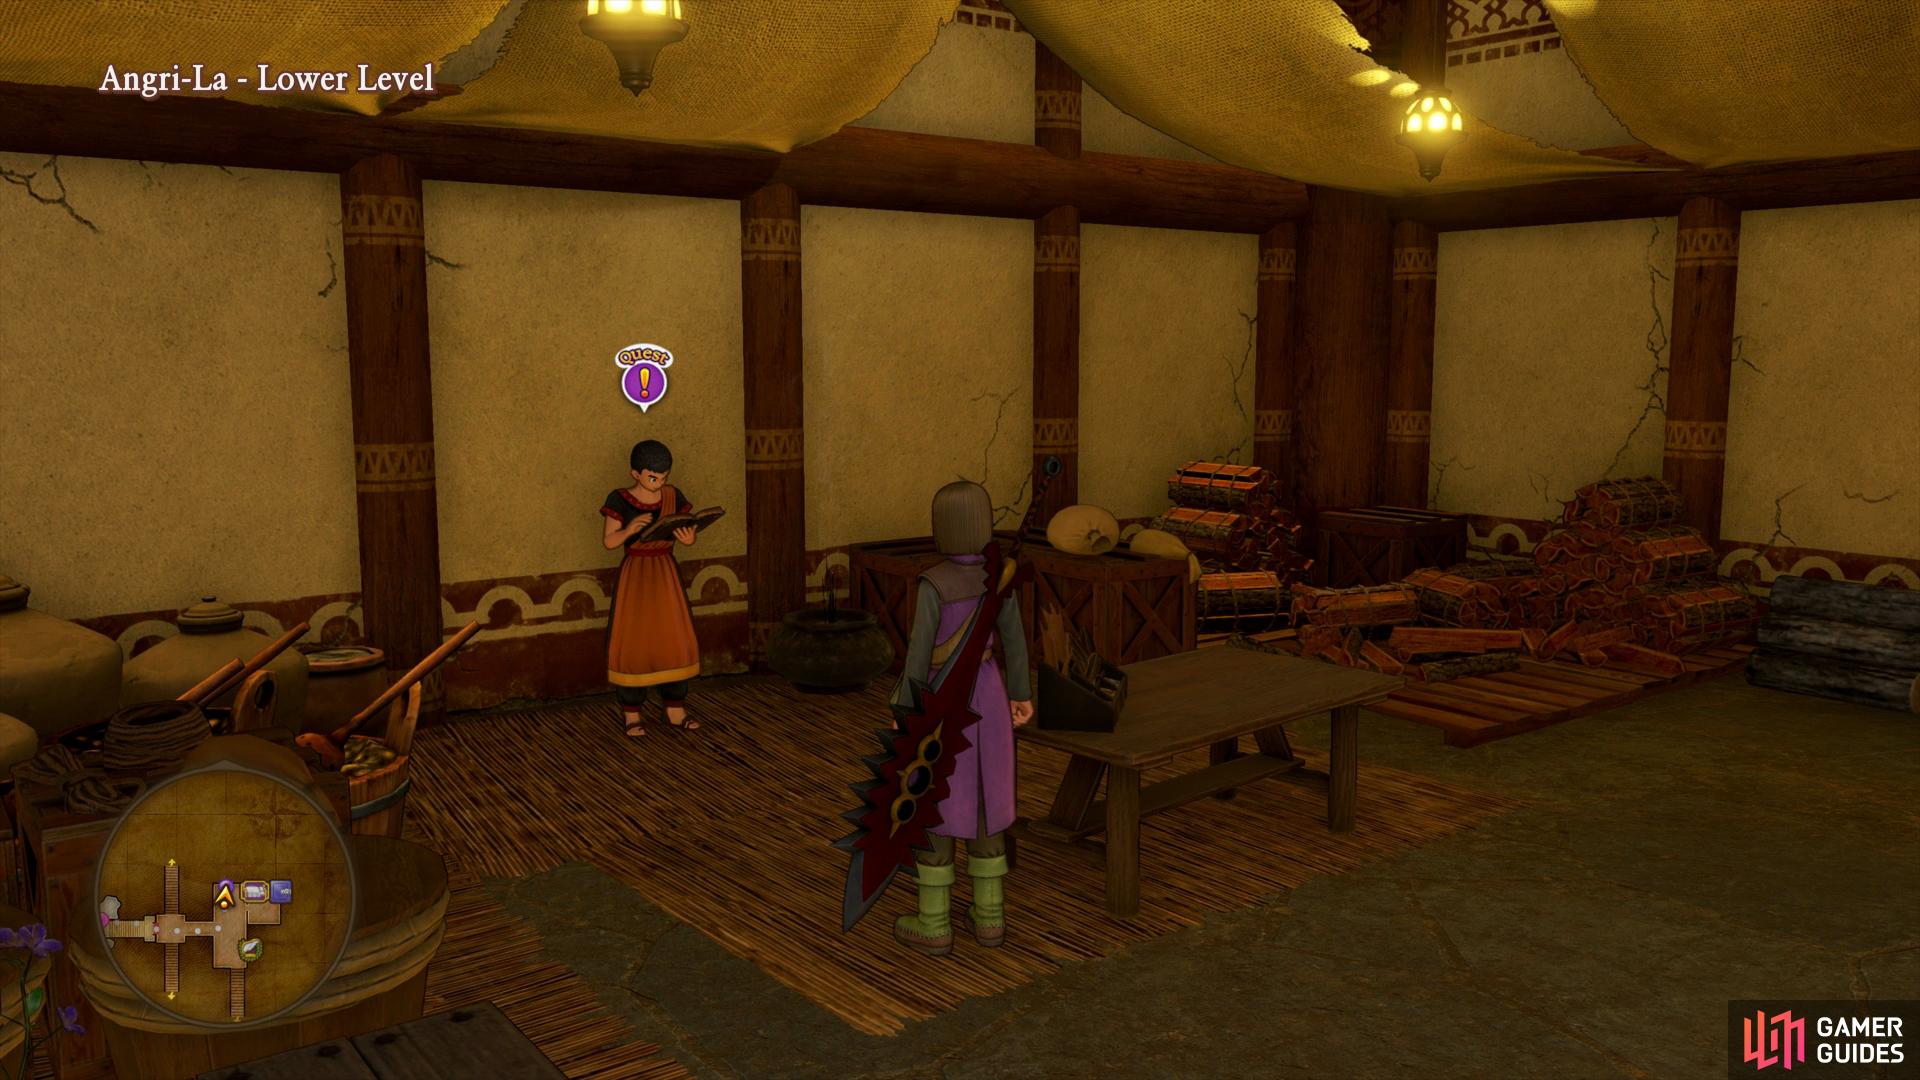
You’ll find the first quest outside the Inn

while the second quest can be found in the High Hall.
Make your way into the High Hall and speak to the monk nearby to accept Quest 58 - Pointless Pride, you’ll need to finish the Wheel of Harma to obtain the necessary Recipe Book. Finally, head out into the Field of Discipline to talk to Grand Master Pang. This will unlock the final two trials in the [Wheel of Harma] and although it is possible to clear them now, it will be incredibly difficult to hit the targets below Level 99 (or at least around Level 80). For this very reason, consider leaving this for now until near the end of your adventure, it is a necessary step in obtaining the Platinum Trophy.
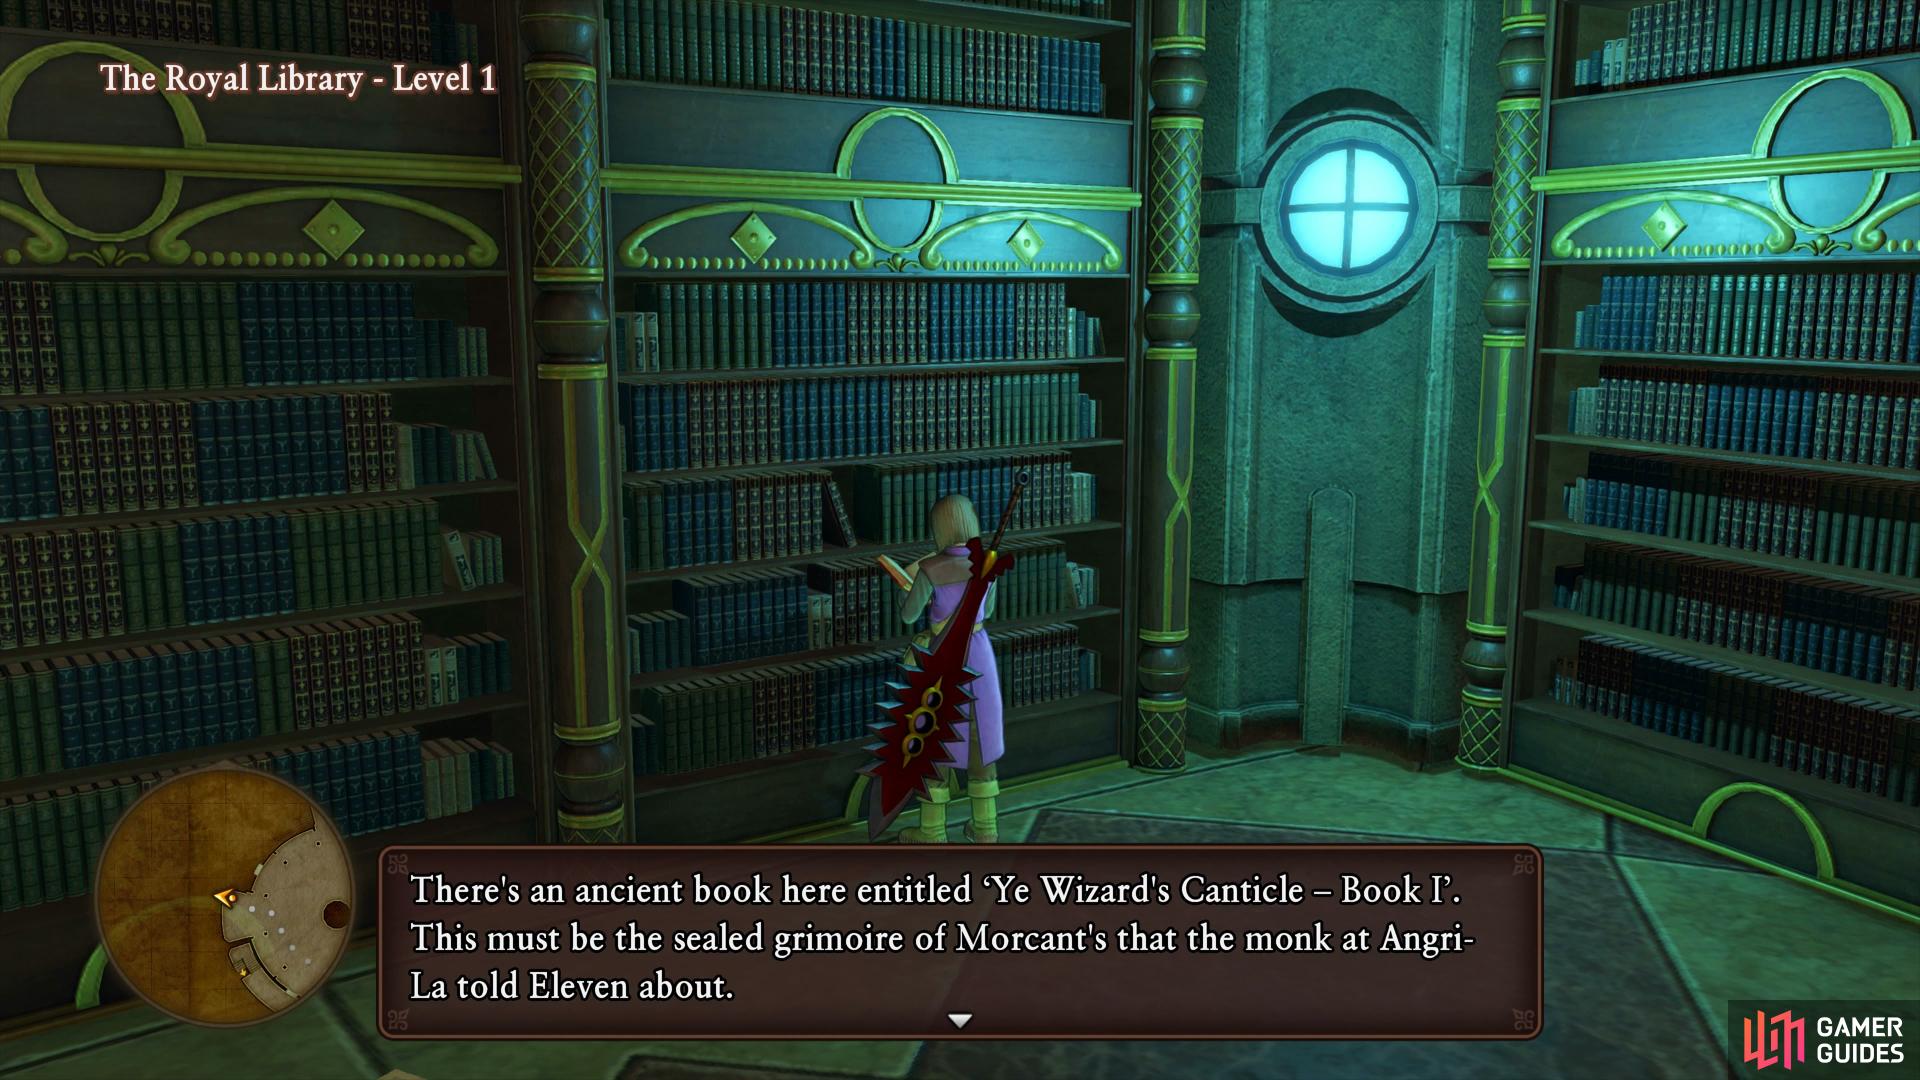
Zoom over to the Champs Sauvage South Camp and make your way to the Promontory Cave to the south. Search the bookshelf to the east to find the third Tome related to Quest 48 before Zooming back to the Snaerfelt Camp and returning to the Royal Library to the north.
Begin by heading to the west of Level 1 and search the bookshelf to find the first Morcant Tome. Make your way up to Level 2 and again search the bookshelf to the west behind the Kleptoreptile to find the second Morcant Tome. Once again, make your way up to Level 3 and search in the southeast alcove to find another bookshelf containing the final Morcant Tome. Head up to Level 4 using the nearby stairs and hit the switch to alter the bookcases below. Take the northern stairs back down to Level 3 and search the northern bookshelf to find the final Drustan Tome. Zoom back to Havens Above and speak to the Watcher to complete Quest 48 and power up Hendrick’s Blind Man’s Biff ability.
Zoom back to Angri-La next and speak to the monk outside the Inn to complete Quest 57 and boost Rab’s Magical Mending and Might by 50 as a reward. Call upon Cetacea and make your way back over to The Battleground.
Use the Guiding Light to remove the barrier and then make your way down to the Camp. Save your game and rest up before continuing down to B9 where you’ll find an Ultimate Key door. Open it up and head inside to find a rather menacing monster you’ll need to do battle with. Treat the Crystalotl as a boss, it has around 4800 HP and hits very hard. It will attack three times per combat round and will use abilities such as Snub to nulify any magic cast on it. Stick with physical attackers to deal damage here while Hendrick soaks up all of Crystalotl’s attacks.

Snub will prevent you from using magic against Crystalotl
while his regular attacks hit hard without Buff.
Following it’s defeat, you’ll obtain the Harmonicrystal while in the corner you’ll find a chest containing a Recipe Book, The Way of the War Goddess. Finally, snag yourself some Orichalcum from the Ore gathering point before leaving (you can return here whenever you need more Orichalcum in the future). Zoom back to Havens Above once more and turn in Quest 49 to increase Serena’s Magical Mending by 100 as a reward.
The Remaining Seedlings
It’s finally time to track down the last two Seedlings you were in search for. Call upon Cetacea and fly over to the Laguna di Gondolia Whale Way Station. Follow the path here all the way to the northwest where you’ll find another Seedling, this one revealing more secrets of the past. Call Cetacea once more and this time fly to the Zwaardsrust Whale Way Station to the northeast. Follow the path north once again to find the final Seedling which, upon touching, will reveal more secrets. After all of the revelations you’ll at last have a clue on how to reach the Dark One. Veronica and Serena will also learn Mighty Magic Burst, arguably the most powerful Pep Power in the game that comes at the expense of all of their MP.
Zoom to Havens Above and head for the Elder in the Place of Legends to obtain the Wheel of Time once more. Call Cetacea and head to the Lost Land, located behind the World Tree. Make your way through the Tower, using the cogs as you go along to reach the Spirit at the top.
Following the events, Cetacea will get a bit of an upgrade and you’ll gain the power to access the Dark One. There’s one more order of business before you begin the battle however, the Drustan Trials await in Zwaardsrust.

No Comments