
In the Definitive Edition, there is a secret trial at the Wheel of Harma. This one won’t be available until you complete all of Drustan’s Trials, as well as all other trials at the Wheel of Harma in the designated turn limits. The Secret Trial is very challenging, but there is a way to complete it without needing to do any seeding. Before attempting this, though, you will want all of your characters at level 99 and with the best equipment available. The only characters that should be needing Catholicon Rings +3 are the Hero and Jade, who will be going in the final battle. The rest of the characters can be equipped with other accessories, depending on the battles in which they are participating. The only thing that should really matter is that Veronica and Serena are pepped up before starting the trial.
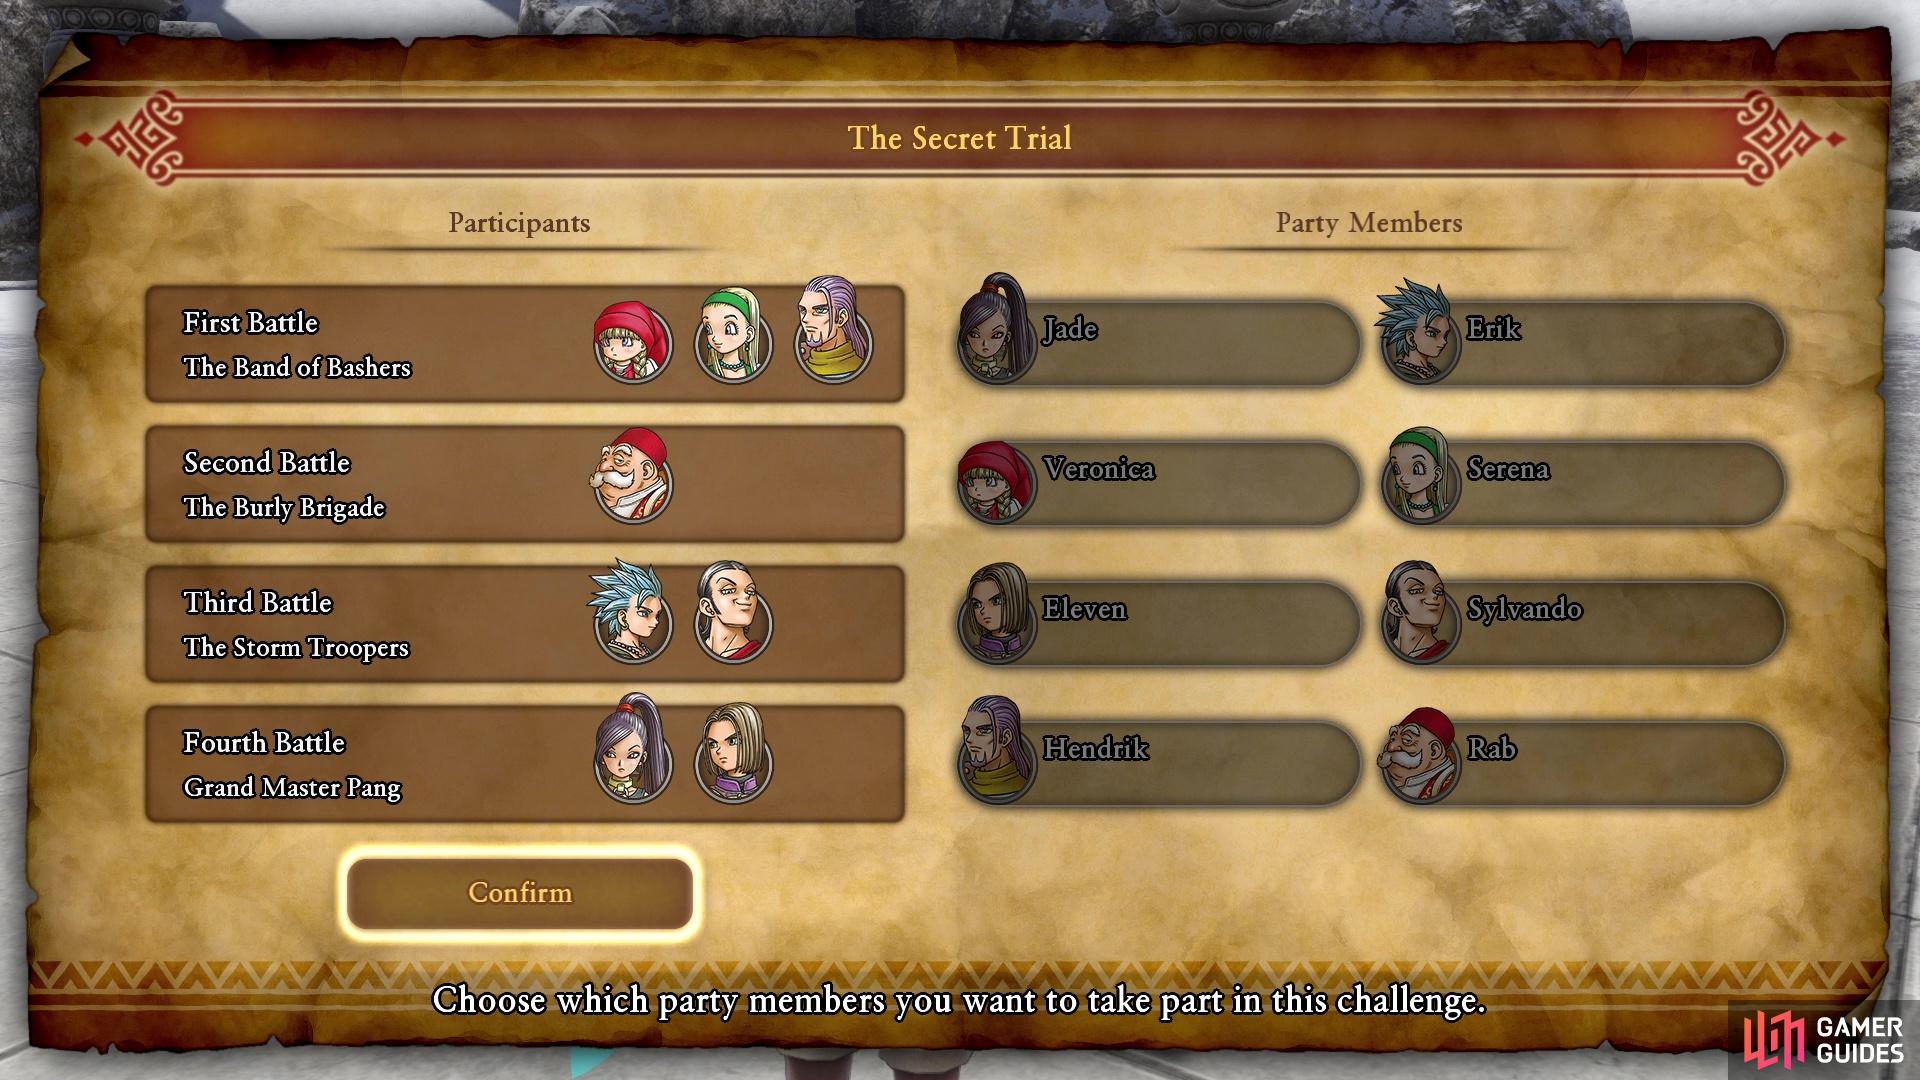
Your lineup for the Secret Trial
| Character | Equipment |
|---|---|
| Hero | Hypernova Sword/Supreme Sword of Light, Erdwin’s Coronet, Erdwin’s Tunic, Catholicon Ring (x2) |
| Jade | Heaven’s Talon, Xenlon Hair Ring, Minerva’s Raiment, Catholicon Ring (x2) |
| Erik | Hunter’s Moon (x2), Pirate King’s Cap, Pirate King’s Coat, Venus’ Tear (x2) |
| Serena | Any wand, Serenica’s Circlet, Serenica’s Surplice, Any accessories (or two Meteorite Bracers if you want her to go first) |
| Veronica | Godbird Sceptre, Crown of Eternity, Gown of Eternity, Any accessories |
| Hendrik | Brilliant Blade, Drustan’s Helm, Drustan’s Armour, Any accessories (or Meteorite Bracers) |
| Rab | Staff of Eternity, Potentate’s Pallium, Apollo’s Crown, Any accessories |
| Sylvando | Shamshir of Light, Devilry Drinker, Tiara Tremendisima, Gladder Rags, Venus’ Tear (x2) |
Round 1 - The Band of Bashers
- Veronica, Serena, and Hendrik
You are up against a Pruslas, Archbashop, and a Stout Troll. The biggest annoyance here is the Archbashop, as he can use Bounce and if he does that, then your strategy goes out the window. It’s ideal to have both Serena and Veronica come into this pre-pepped up, since that will make the battle take three turns. If you have both Hendrik and Serena with two Meteorite Bracers each, then they should be going before Veronica. The ideal turn order is to have Serena go first, then Hendrik second, and Veronica last. If you don’t get this turn order, then you might want to flee/reload and try again.
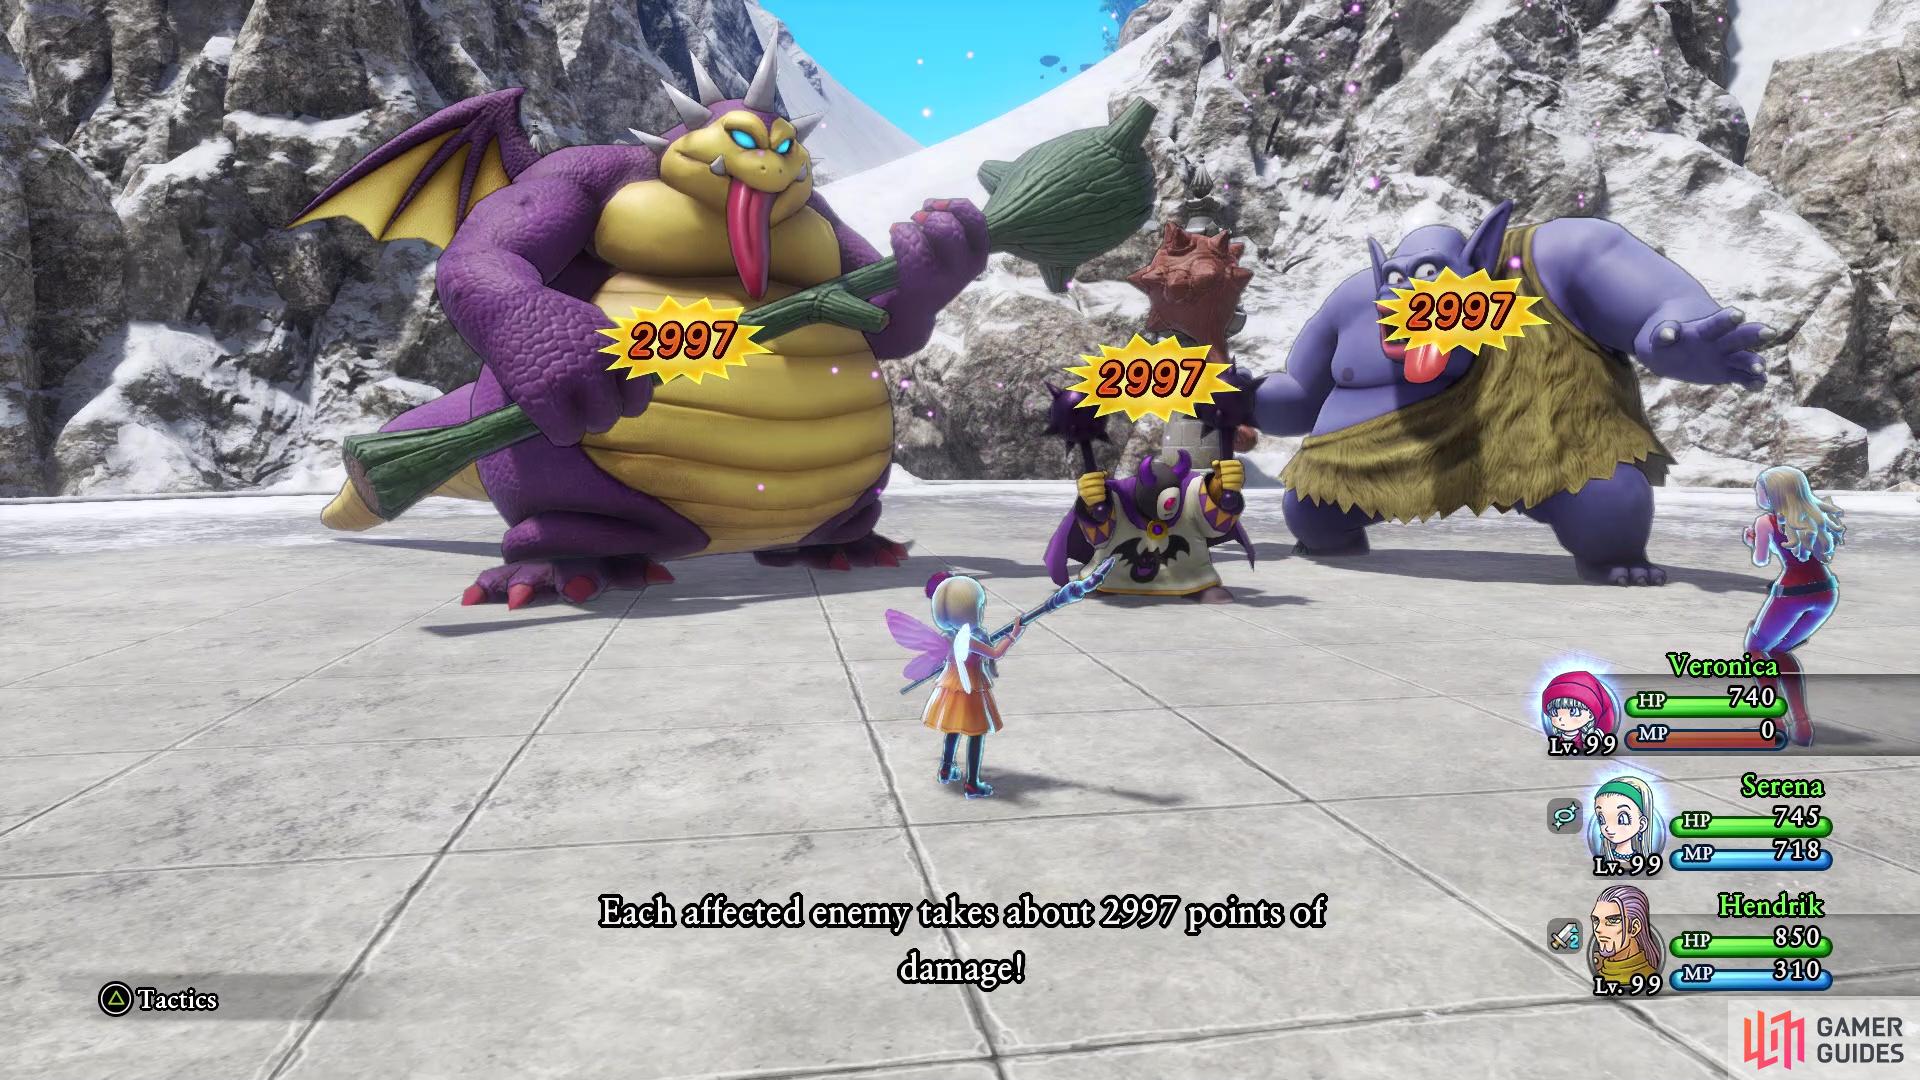
Magic Burst is the key to winning the first round in a few actions
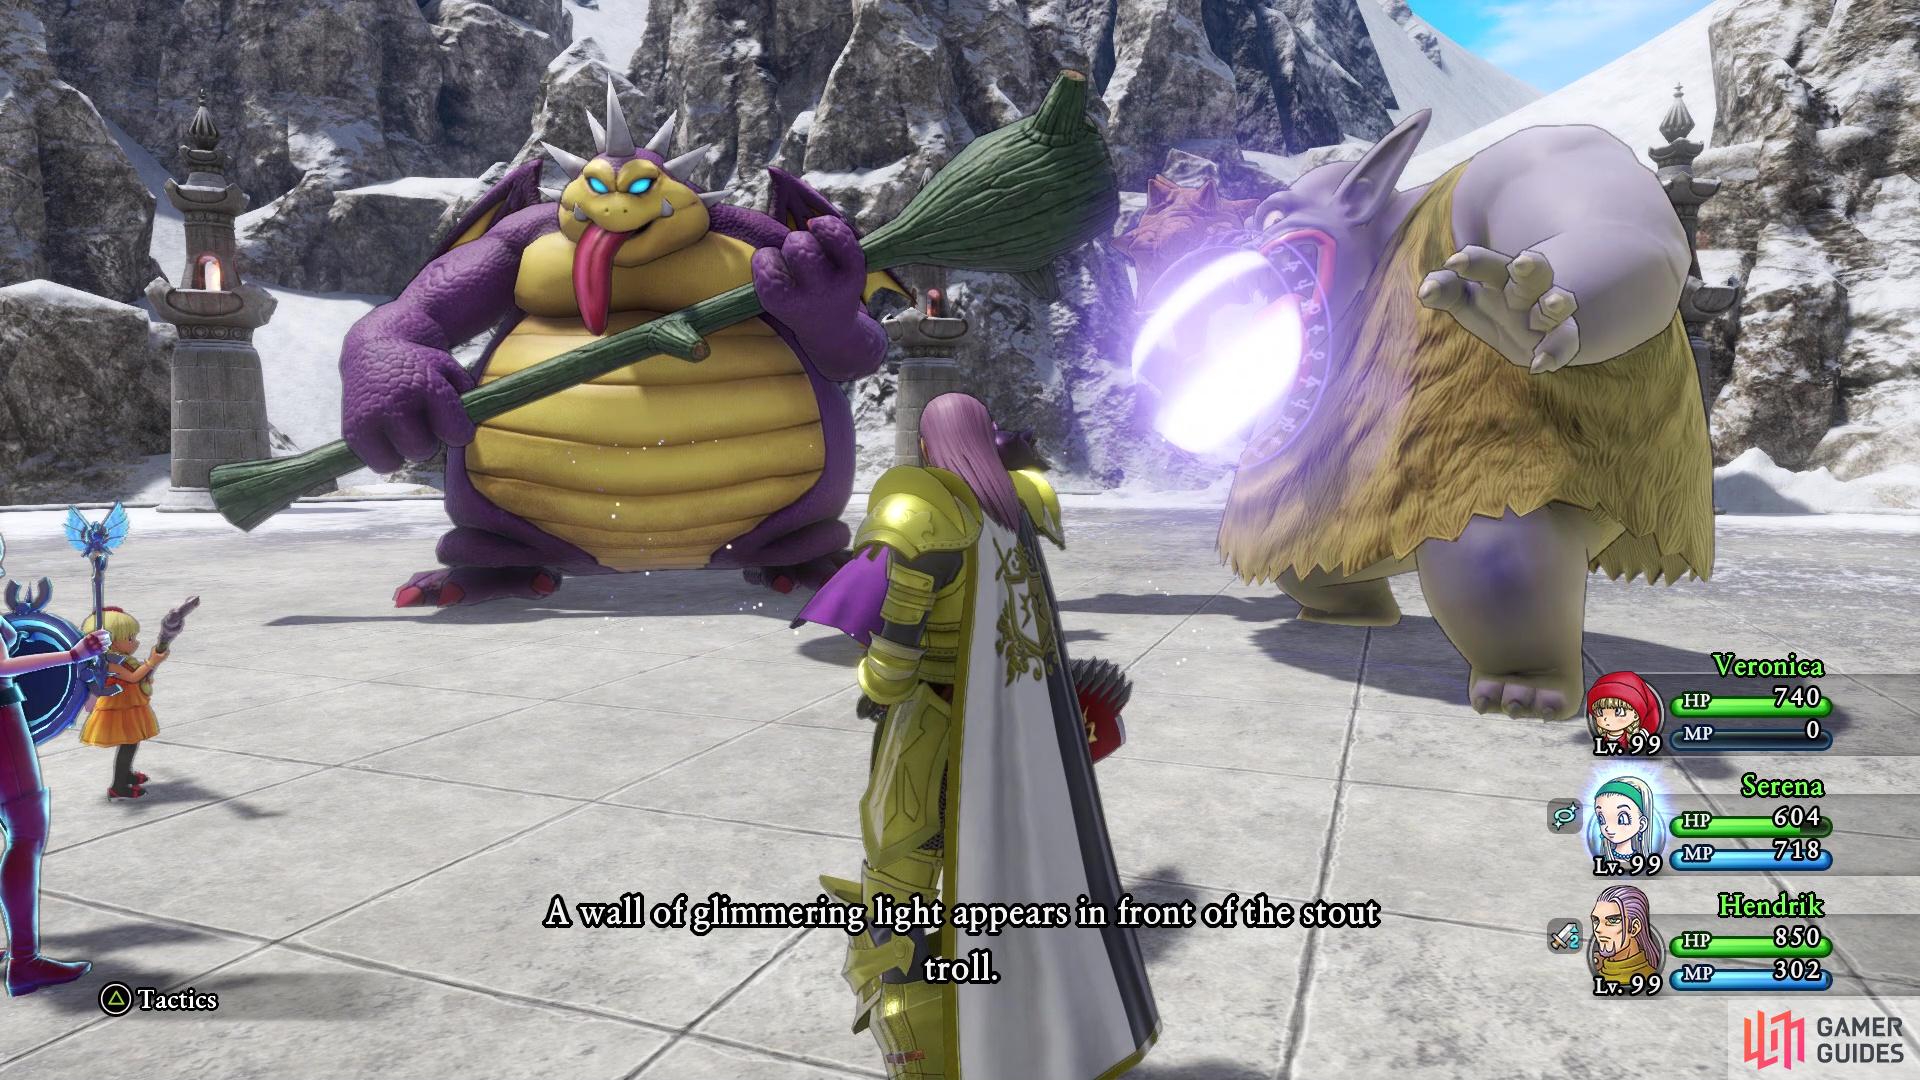
but you will need to keep an eye out for the Bounce
To make this battle go by fast, you will have Serena use the Pep Power, Mighty Magic Burst first, then have Hendrik follow it by tossing an Elfin Elixir on Veronica. With her MP full, she can use Magic Burst on her turn to finish the battle. If you don’t get the turn order described above, you should have a few extra in reserve, so you could just Magic Burst with Veronica, feed her another one and do it on her second turn.
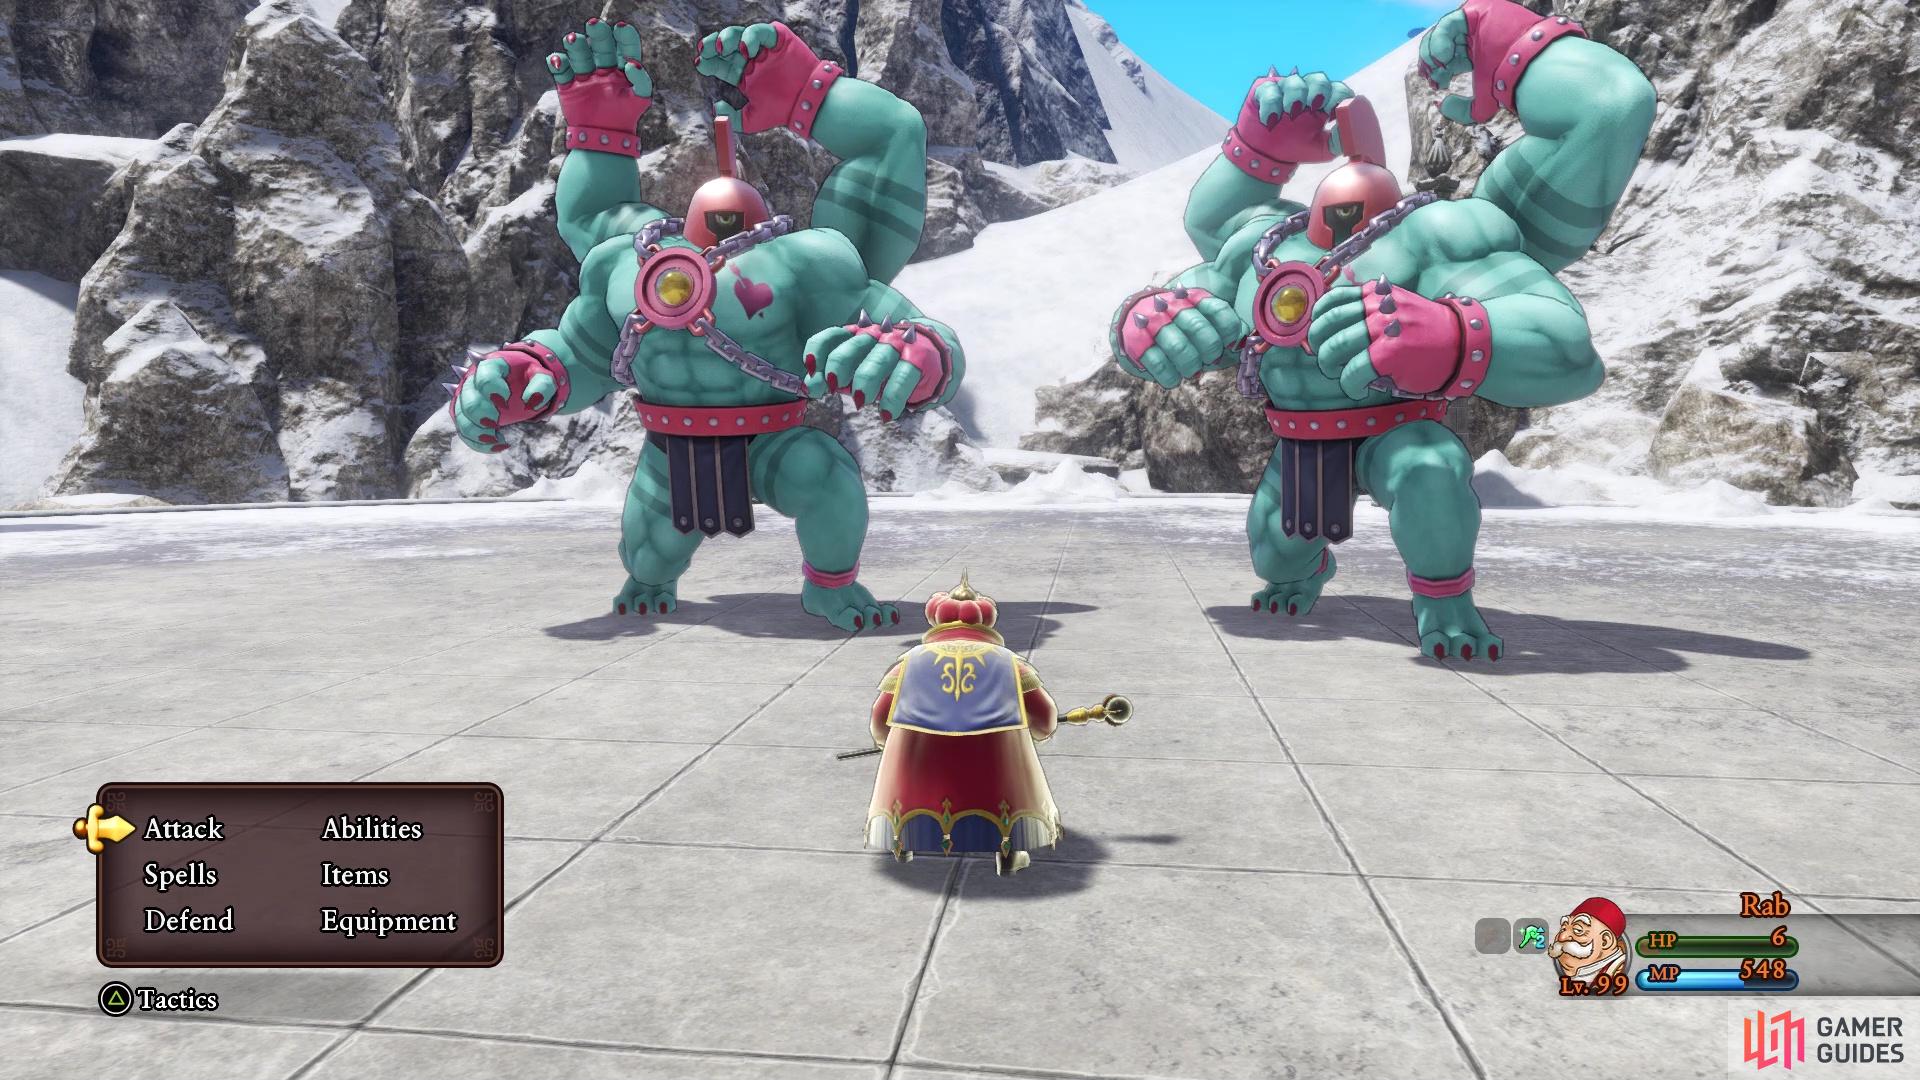
Round 2 - The Burly Brigade
- Rab
Rab will be solo here and facing Boodica. This can be a challenging battle, especially since she will call in reinforcements, but Rab should have plenty of magic power to take things on his own. Some of the backup she calls in include a Ghoul, a Chasmonaut, and some Bloody Hands. Once her health gets below a certain point, she will call in a doppelganger. While it doesn’t have as much HP as the real thing, the doppelganger is every bit as strong and they can put a hurting on Rab, if not careful. The whole way to win is to cast Infinite Wisdom on Rab on his first turn, then just fire off Kacrackle after every turn.
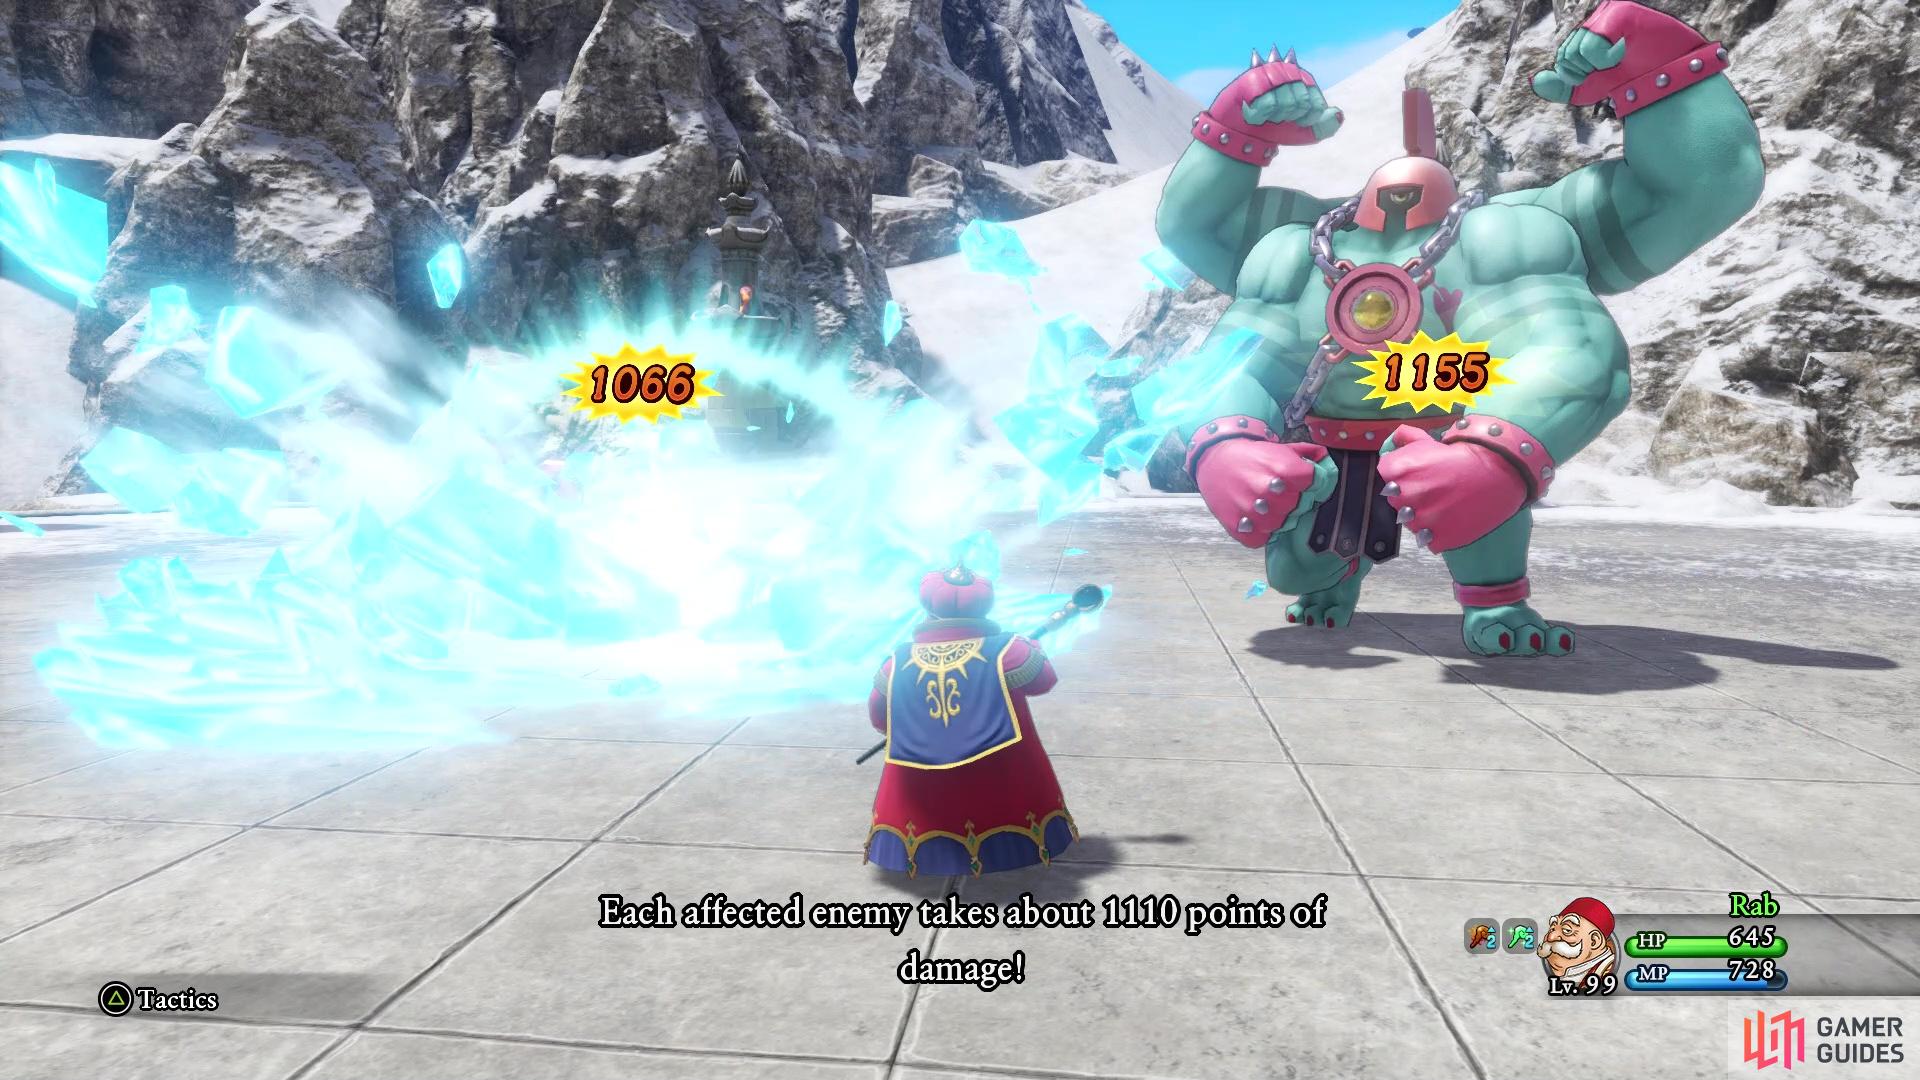
Kacrackle will be the only attack you will be using in this solo fight
Things can get dicey when the doppelganger comes out to play
At some point, the Infinite Wisdom buff will fall off, but don’t worry about recasting it and just keep using Kacrackle. You will want to keep an eye on Rab’s health, though, as if it gets too low, you’ll need to heal him with either an Yggdrasil Dew or by using Fullheal. His MP pool should be high enough that using Fullheal shouldn’t bother you in the slightest. The only time that your health should dip low is whenever the doppelganger is out later on in the battle.
Round 3 - The Storm Troopers
- Erik, Sylvando
There are a lot of enemies here for just two characters, but that’s why you have Erik here with boomerangs equipped. On his first turn, Erik should use Divide, and Sylvando should be casting Oomphle on Erik. On the second turn, Erik should be using Double Down, with the Coralossus being the main target. Now, due to the lower than normal accuracy of the boomerangs, it is possible that not all of your attacks will hit. The reason you want the Venus’ Tears equipped to both characters is because the Brollygaggers and Spinchillas have wind-elemental attacks. This will help reduce the damage from those, especially if all of the enemies decide to gang up on a single character.
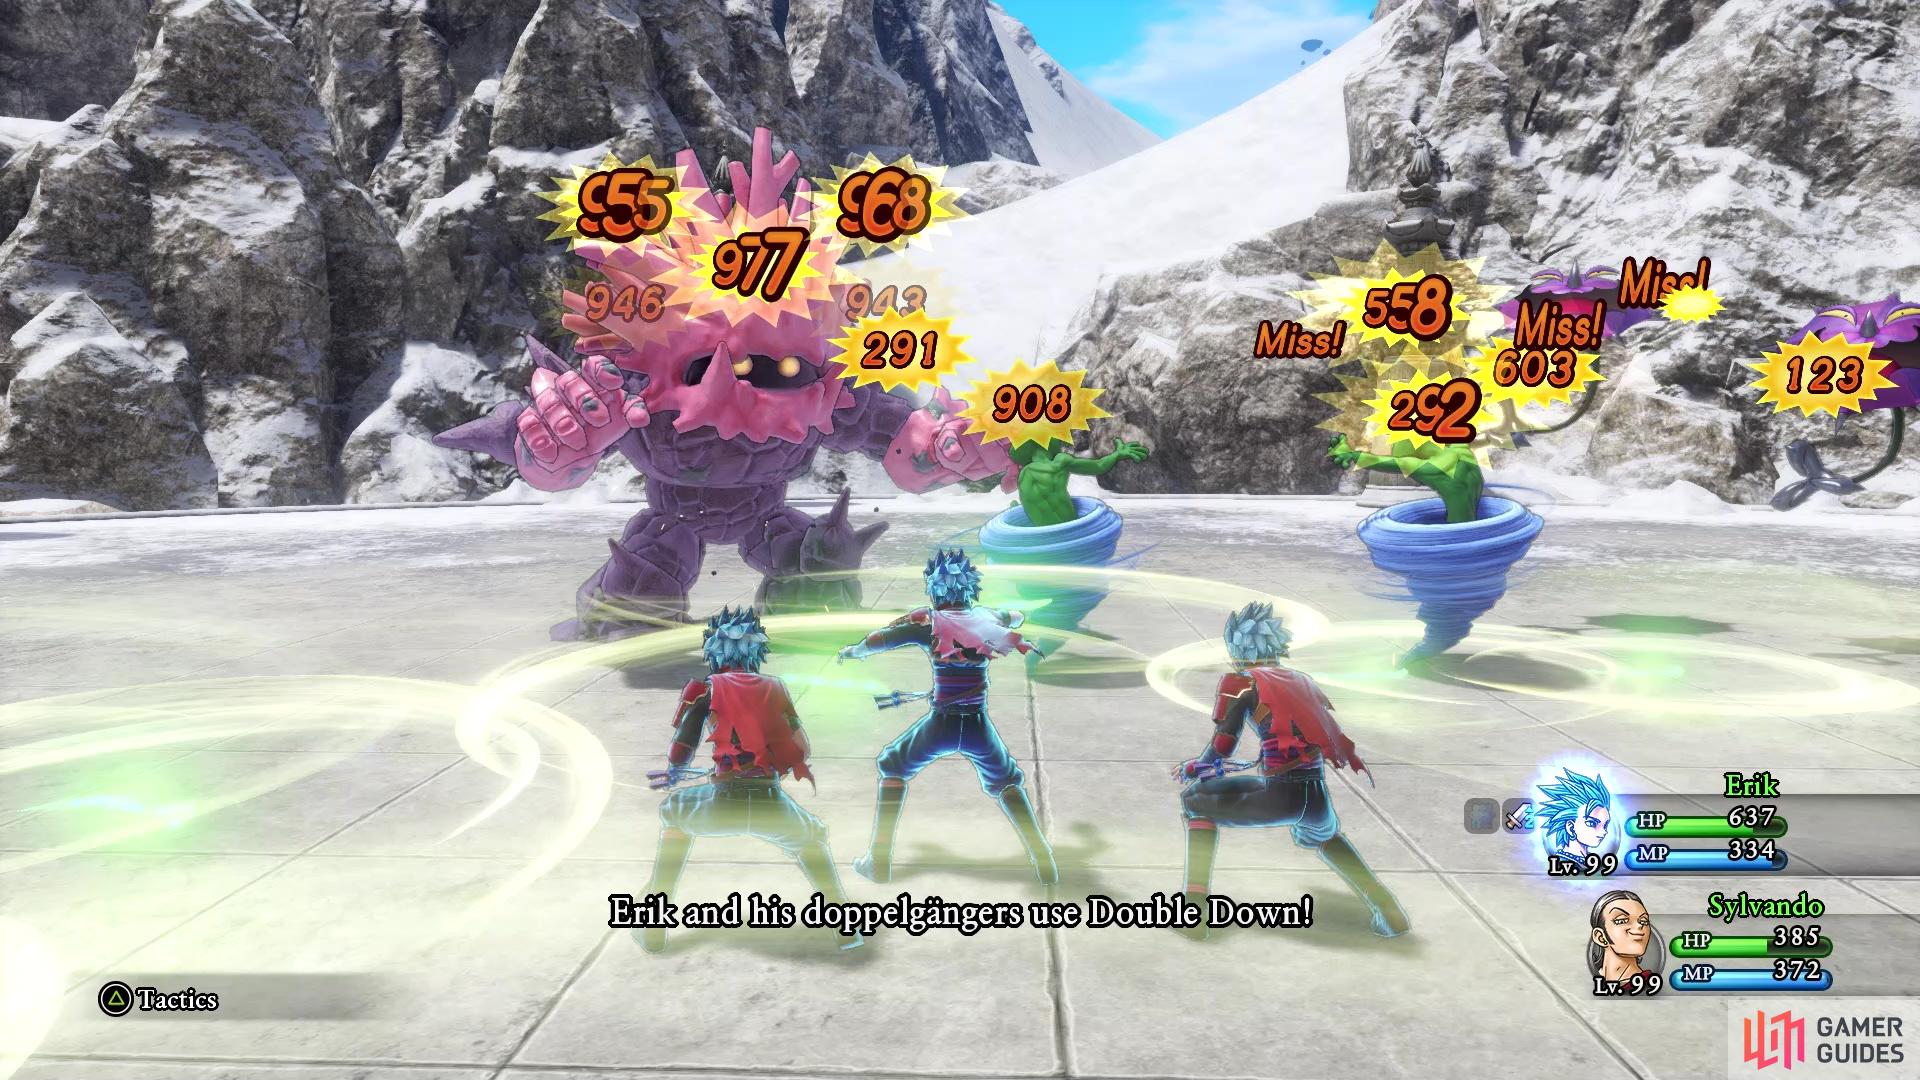
A souped up Double Down should take out the majority of the enemies
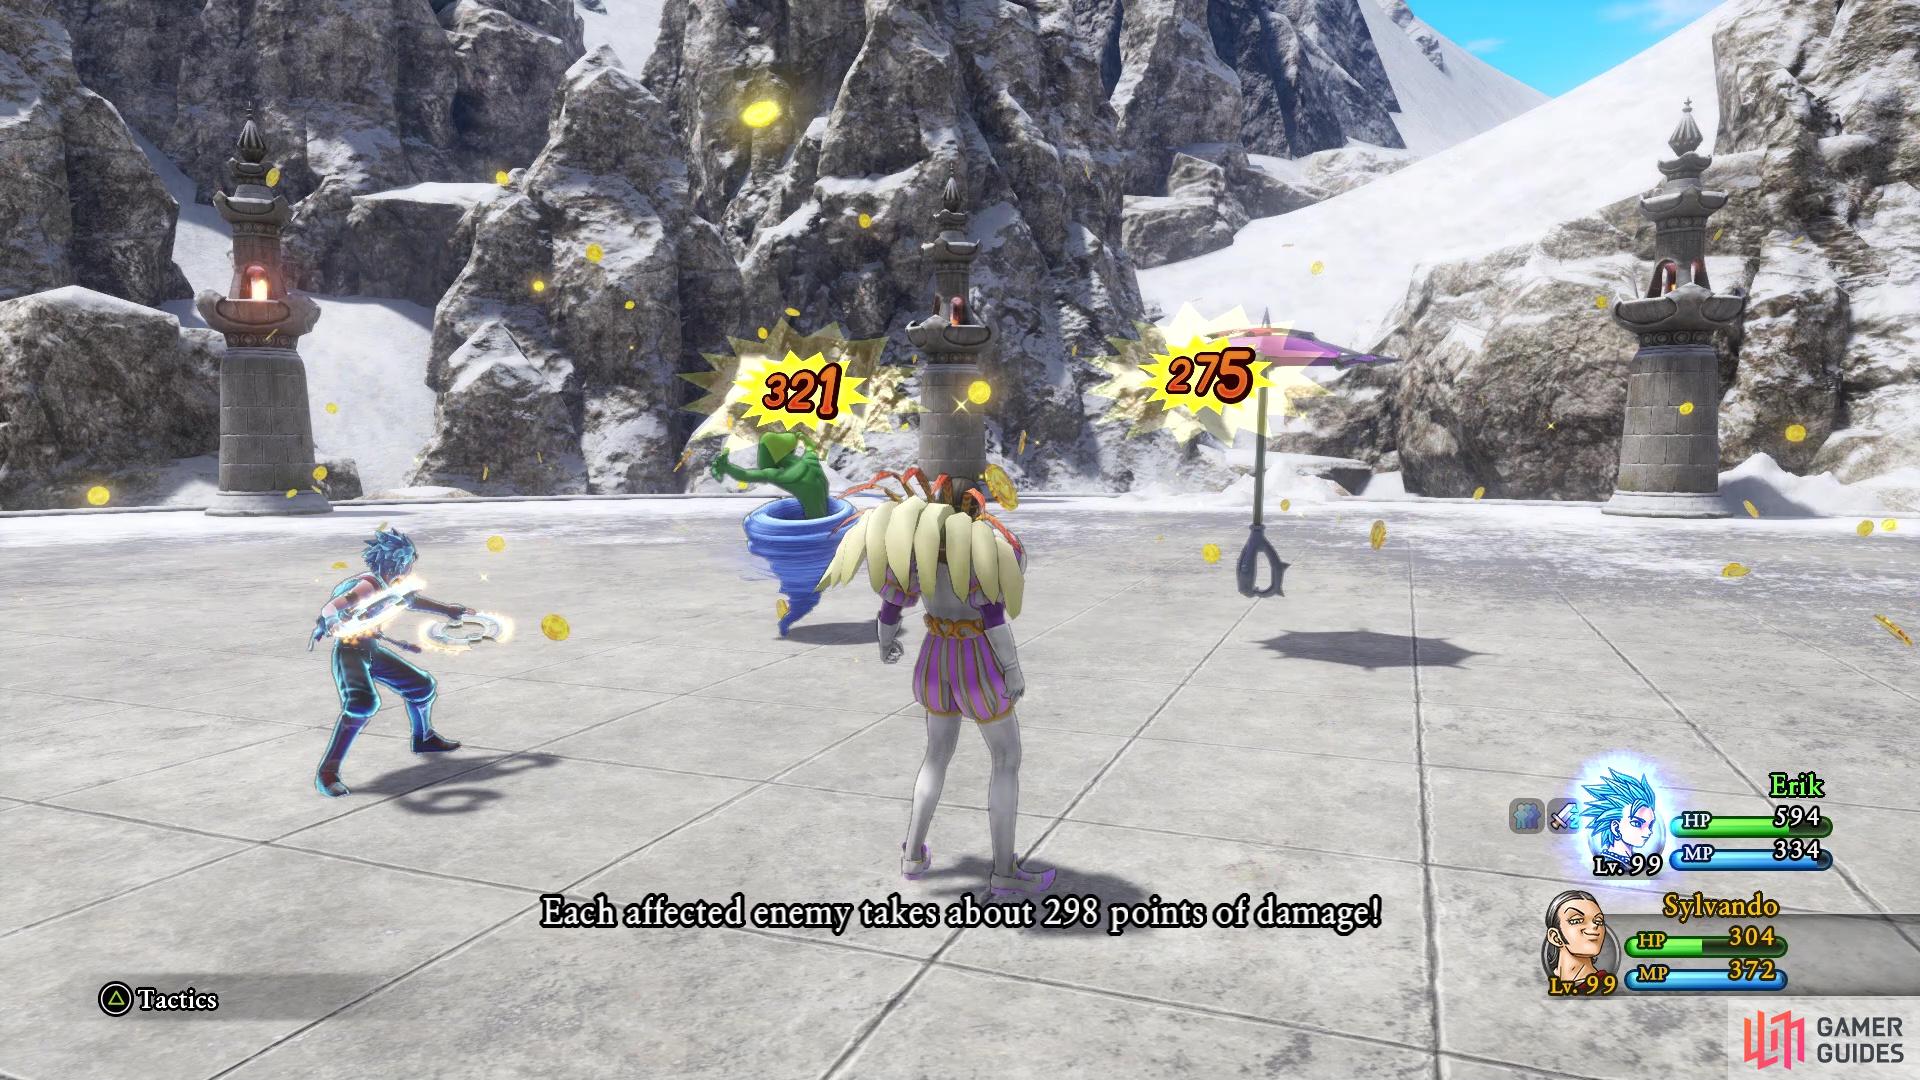
You can use Sylvando’s Gold Rush to help clean up
One thing that can complicate things is the Coralossus, as it knows Forbearance. This skill, if you don’t know, allows it to soak up all damage that targets the other enemies. If the Coralossus uses it, then it is highly likely the Divide + Double Down combo will take it down. Of course, the thing that makes this bad is that the other enemies will remain untouched. Thus, you can have Sylvando use Gold Rush on subsequent turns after his first, since this will always deal around 300 damage, while Erik can just abuse Double Down on his subsequent turns.
Round 4 - Grand Master Pang
- Hero, Jade
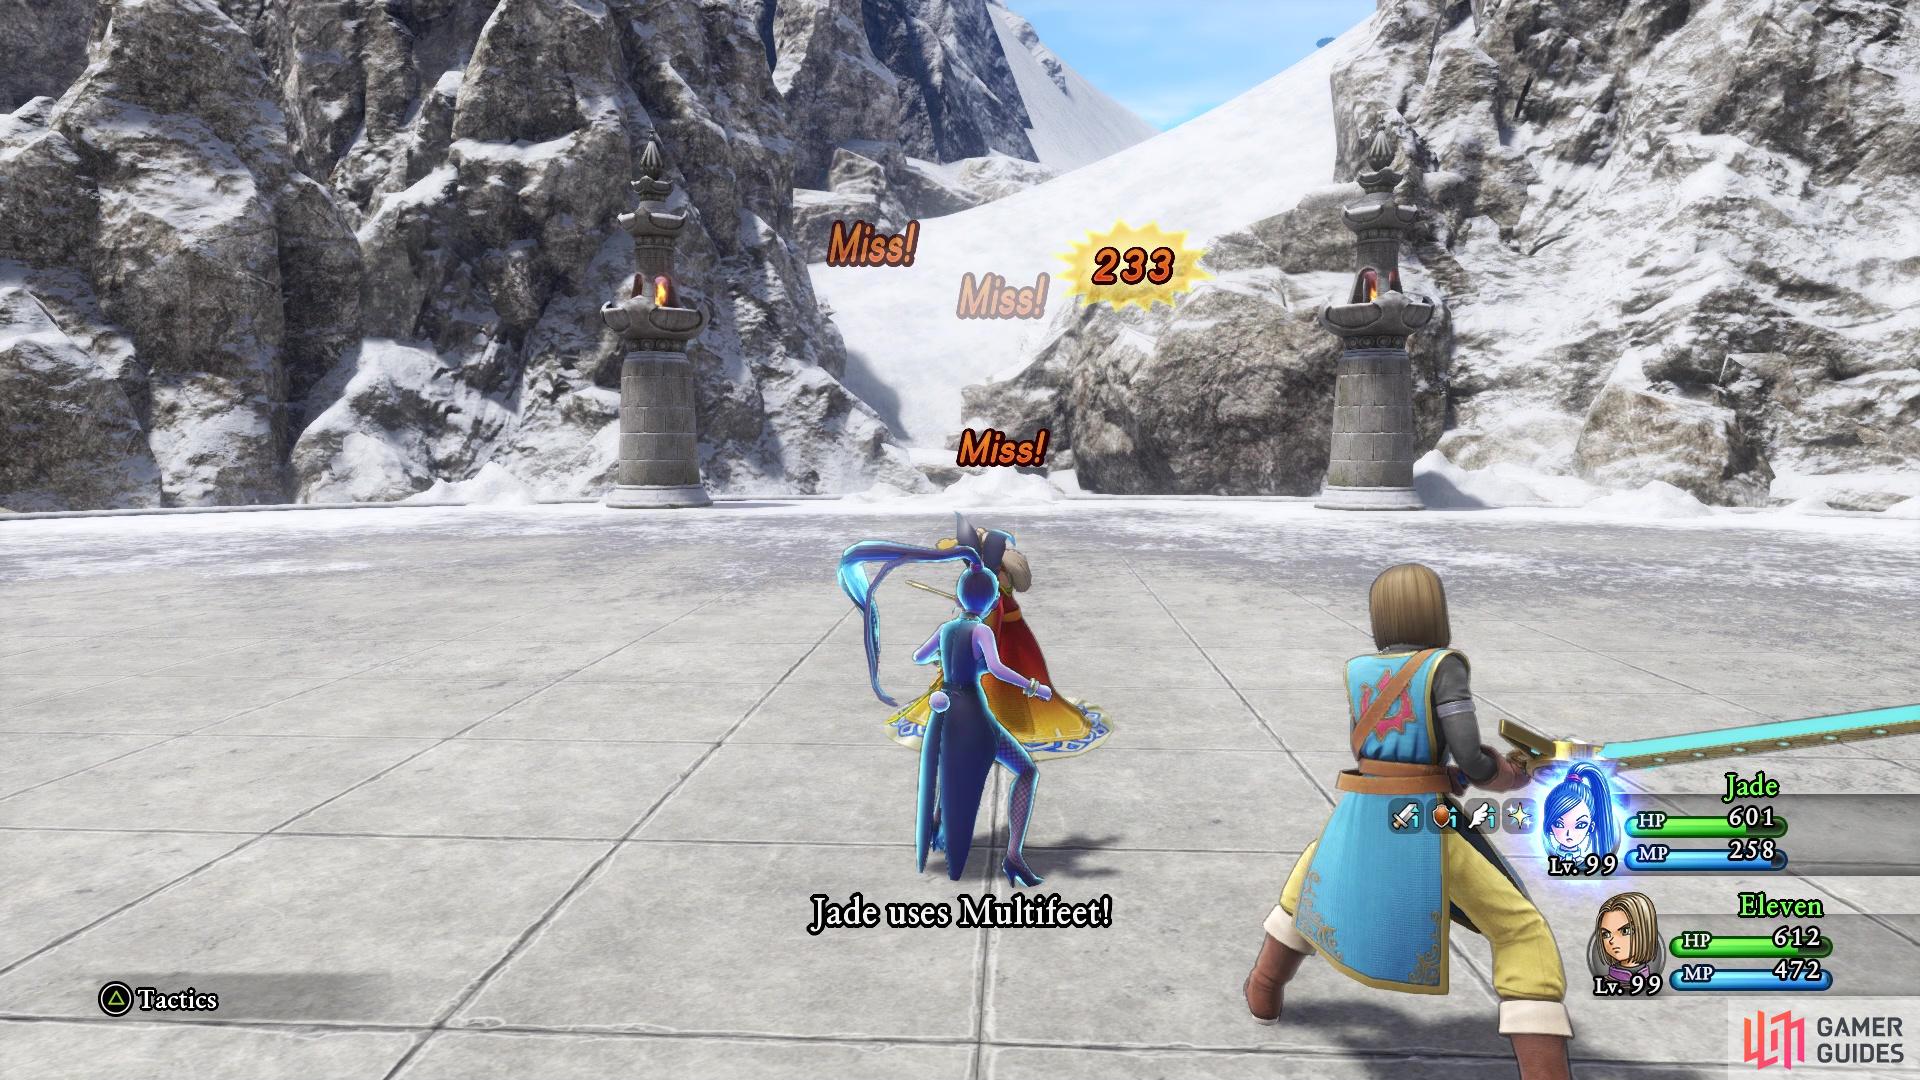
The final round will pit you against Grand Master Pang, who is definitely very tough here, although she will behave the same as during Rab’s Interlude. She will start the battle by taking a swordsman’s stance, increasing her attack and evasion. Despite this, you should still attack her with everything you got. If you need to heal, do so with the Hero, since he can use his MP to do it. At some point during the fight, she will switch to a spellcasting stance, returning her evasion back to normal. This is when you will need to be a little more careful, as she has spells that will hit the both of you, like Kaboomle and Kacrackle.
However, this is also when you can lay the damage into her, so make sure you have Jade use Re-Vamp (only use once) before going to town with Multifeet. The Hero should be using Sword Dance, when he isn’t needed for Omniheal. Whenever Pang’s HP gets under half, she will summon an Equinox and a Godsteed. These two can really add on to the whole battle, since they have strong physical attacks, as well as breath attacks. Despite that, you should remain focused on Pang, as not too long after she summons those, she’ll begin preparing for her ultimate attack. If you don’t remember what it is, she’ll power up twice, then unleash it on the turn after the second power-up.
Her ultimate attack hits hard, too, so you don’t want to be on the receiving end of it. Once you finally do finish off Pang, you will have to contend with the two horse enemies. At this point, you can probably switch to Jade’s Pink Tornado and Hero’s Quadraslash/Gigagash (latter if he’s using a swords). Remember to heal if needed and this battle should be a cinch after Pang is done.
Your reward for completing the Secret Trial is eight Super Seeds of Defence. These will increase a characters Resilience stat by 20 points each. If you do it under 50 moves, then you will gain more Super Seeds. It’s important to note that you can’t just repeat the Secret Trial to get more, as they are a one-time reward. If you do want more, since these are the only place to get them, you would have to go back in time to the duplication point in the first act (read the red box there) and play through all the way to the final act again.
No Comments