
Pastword
You will find the Tockle at Havens Above. Once you reach there, in the outside area, go to the eastern side and you will find a green Tockle on a bench there. Speak to it to receive the pastword.
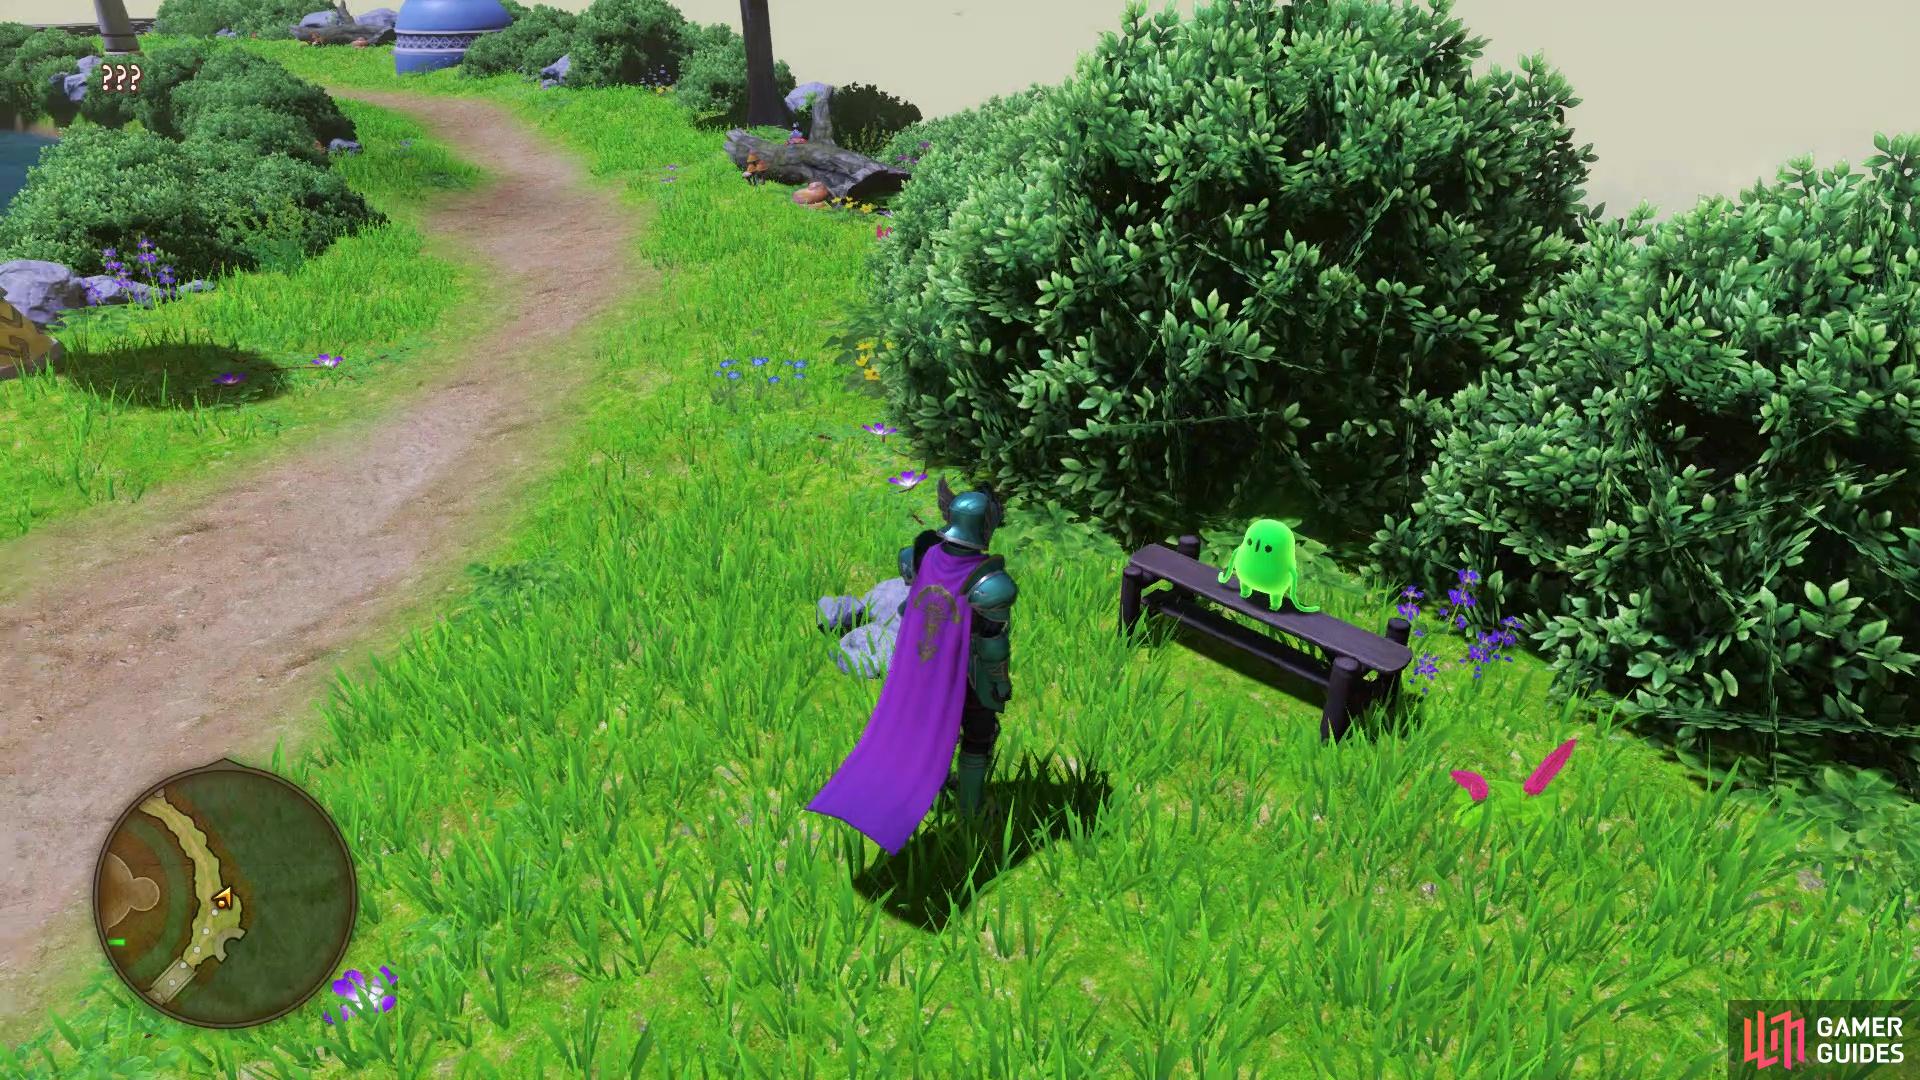
Look on the eastern side of Havens Above for this Tockle
Enemies
| Monsters | HP |
|---|---|
| Bamboogieman | ~250 |
| Beleth | ~450 |
| Bomboulder | ~360 |
| Boss Troll | ~740 |
| Corpse Corporal | ~260 |
| Cureslime | ~160 |
| Hot Dog | ~225 |
| Jumping Jackal | ~210 |
| Kisser | ~170 |
| Overkilling Machine | ~500 |
| Snowbird | ~190 |
There’s not really much to say about the enemies here in the Pillar of Pegasus, as the majority of them have already been seen elsewhere. The enemies that can only be found in the Pillar of Pegasus are the Bamboogieman, Beleth, Hot Dog, Jumping Jackal, and the Snowbird. Stick around to get all of those, if you’re trying to completely fill your Bestiary.
Walkthrough
Before diving into this place, it’s important to note that you will have to fight two bosses back to back, without any chance to heal. The first of the two bosses is simple enough, but the second boss can be a bit of a challenge. You should have the ability to create Archangel’s Boots, so you should do that and get them to +3, which gives 50% protection from abilities that make you lose a turn. Once you’re ready, enter the Pillar of Pegasus and go around the left side, avoiding the poison water, until you can reach the entrance. Speak to the horse in front of the entrance to learn that their master went to check on the statue of Pegasus at the top of the tower, so they want you to go check and make sure their master is alright. This will start the Horsing About quest.
The Pillar is a full dungeon and a bit of a maze, with some new enemies inside. Of particular note is the Hot Dog enemy, which is needed for the quest in Roamer Encampment (Night) area, so if you haven’t started that yet, now is a good time to exit and grab it. When you enter, you will see what looks like an electric floor surrounding the two pillars; this hurts you when you walk on it, so try your best to avoid it when you can. On the first floor, head north and before the stairs, there will be a door to the east. Enter through this door and break the pots there for a Seed of Strength, then return to the main room.
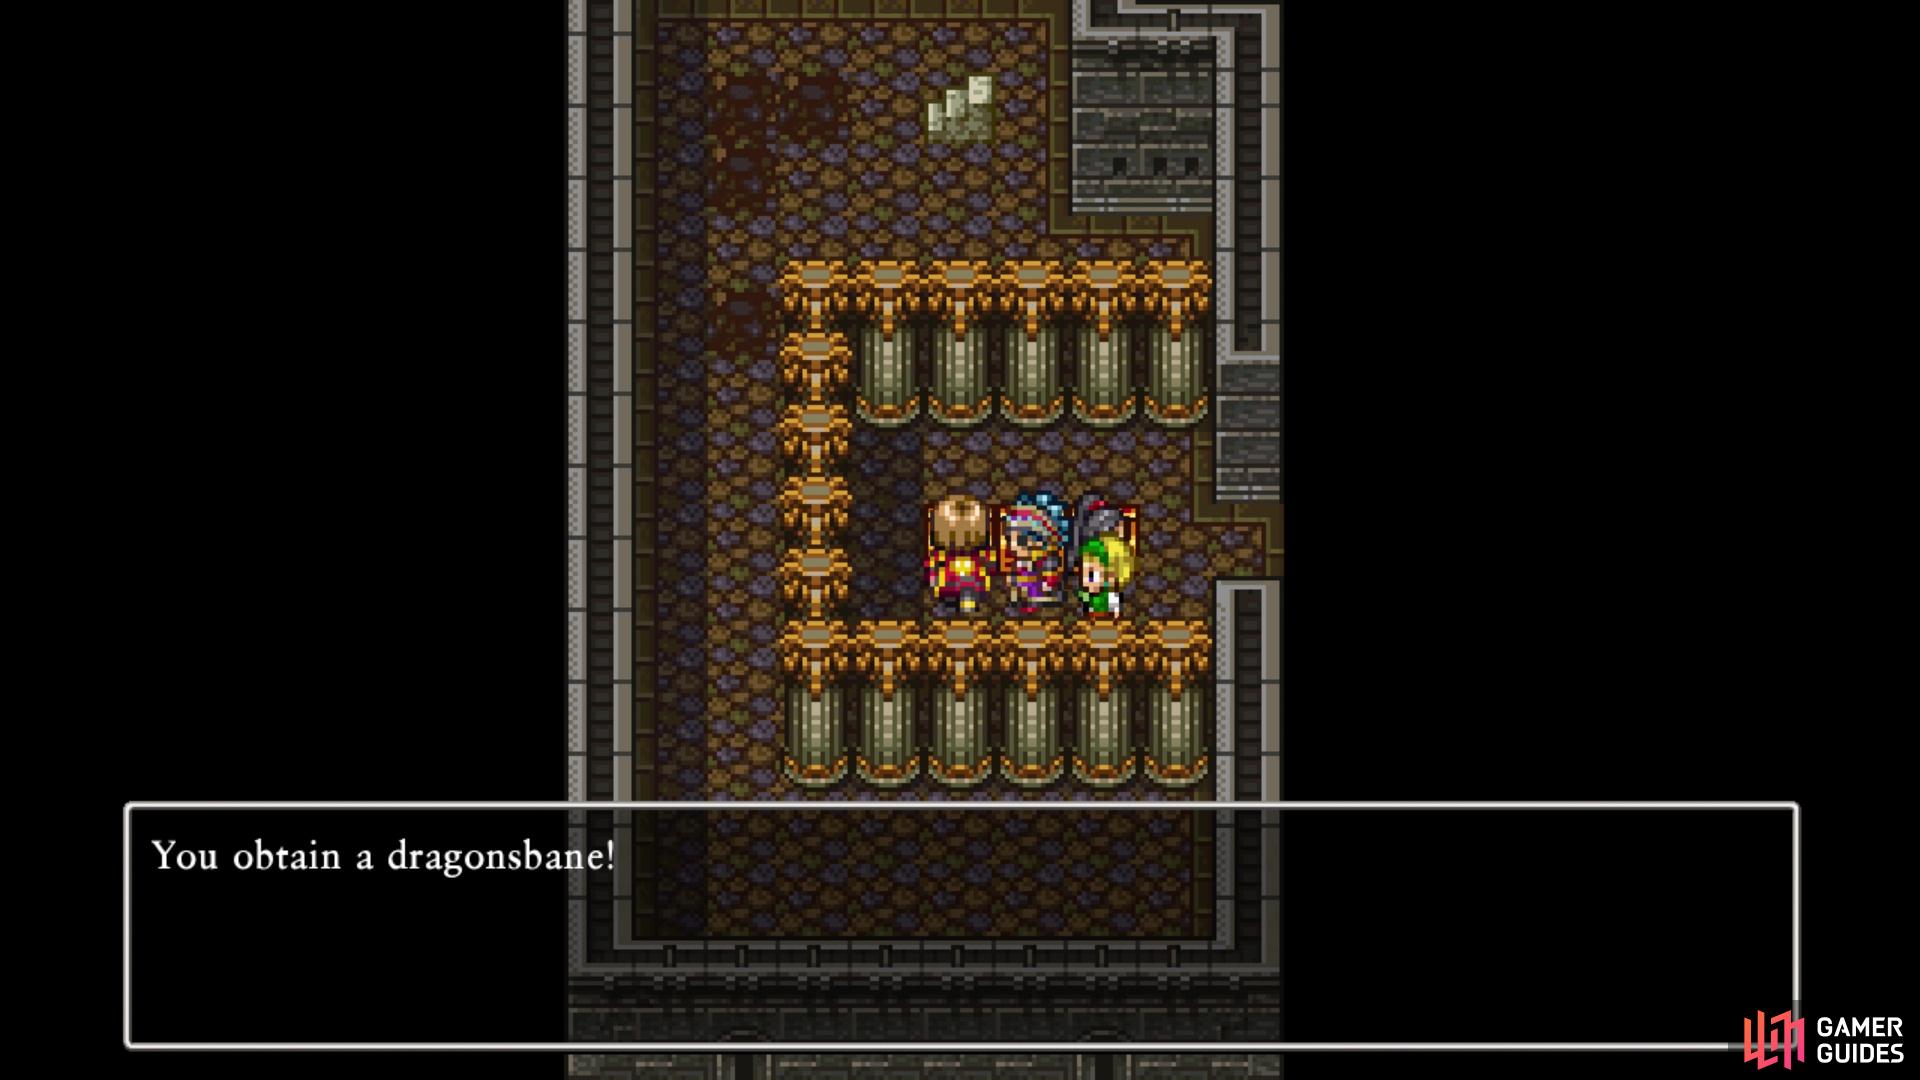
Head up the stairs and go through the electric floor, climbing the next set of stairs. On this floor, go to the stairs in the northwest corner and take them down to the first floor, where you can open the chest for a Seed of Sorcery. Return to the floor above, head over to the right side and go south, through the gap there, using the stairs in the southwest corner. Straight east, on this next floor, will be another chest, this one containing an Yggdrasil Leaf. If you go to the ledge to the right of the last chest, you can push against the left wall to the north to find a hidden entrance to a room with three more chests, netting you a Seed of Life, Dragonsbane and Slime Crown.
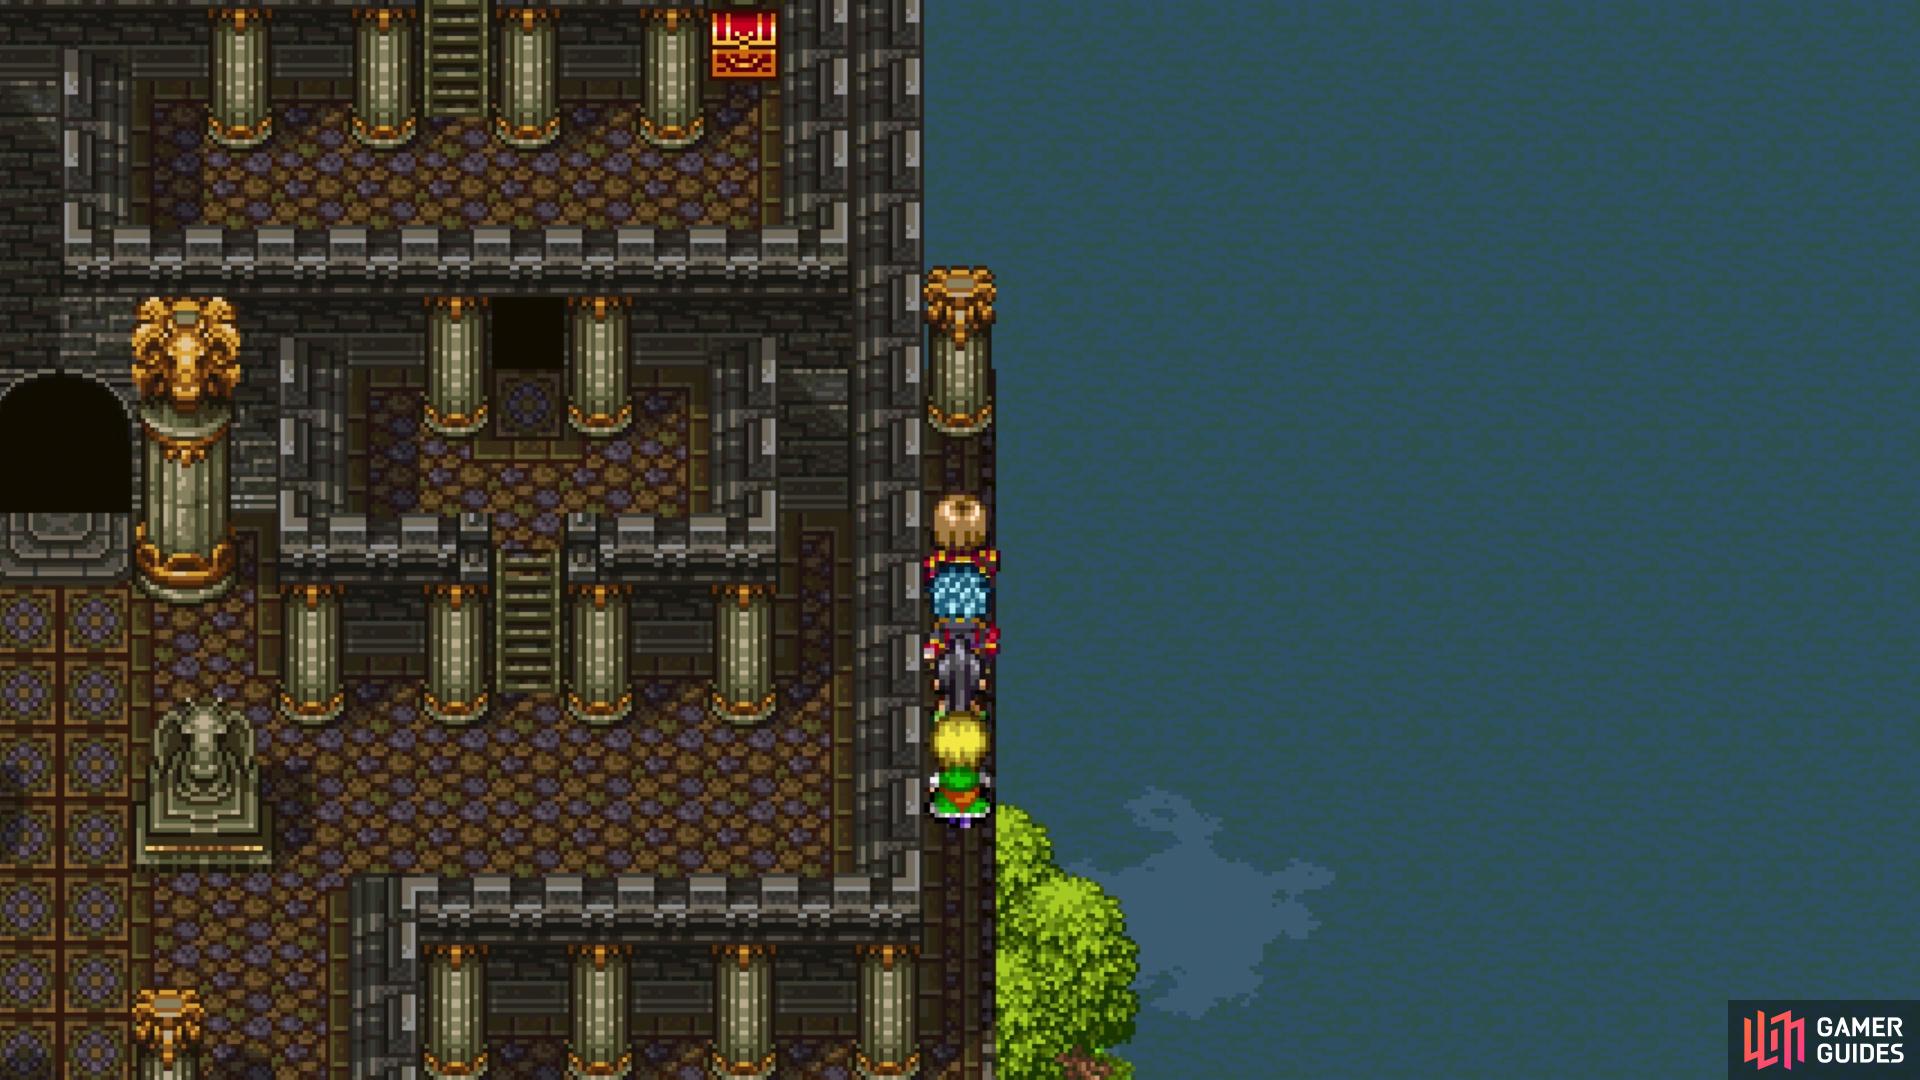
There is a hidden opening on this side of the floor here
which will let you in a small room with some chests
Double back to the previous room, go up the central stairs and into the large doorway at the top. There are four sets of stairs here, so head up the northwestern one. Venture straight to the northeast corner and use those stairs to ascend to the next floor. There will be two chests on this floor, but it’s possible to fall off the edge and onto the floor below, so be careful. One chest is really a Mimic, so defeat it to obtain a Seed of Skill, while the other chest will be a Seed of Sorcery. After opening that one, look for a door in the southwest corner, along the wall and go through it. To the east, there will be one final chest, which contains a Seed of Strength. Make sure your party is healed up, then climb the long staircase to the top, where you will be forced into back-to-back boss battles.
BOSS - Grampogriff
This is definitely the easier of the two battles here, although you don’t want to dawdle too long. The first action the boss will do is cast Bounce on himself, and he will continually recast it whenever it drops, so your best bet is to rely on physical attacks. You might also see the boss attack twice with ihis claws, or do a roar that damages the entire party. Lastly, he will try to envenomate the entire party by doing Venom Mist. You might be lucky, though, as the boss can sometimes do nothing for one of his turns by “holding his head in his heads and looking pained.” There’s really nothing too dangerous in this battle, so it’s simply a matter of keeping your party healed and doing the usual physical attacks. He has around 2400 HP.
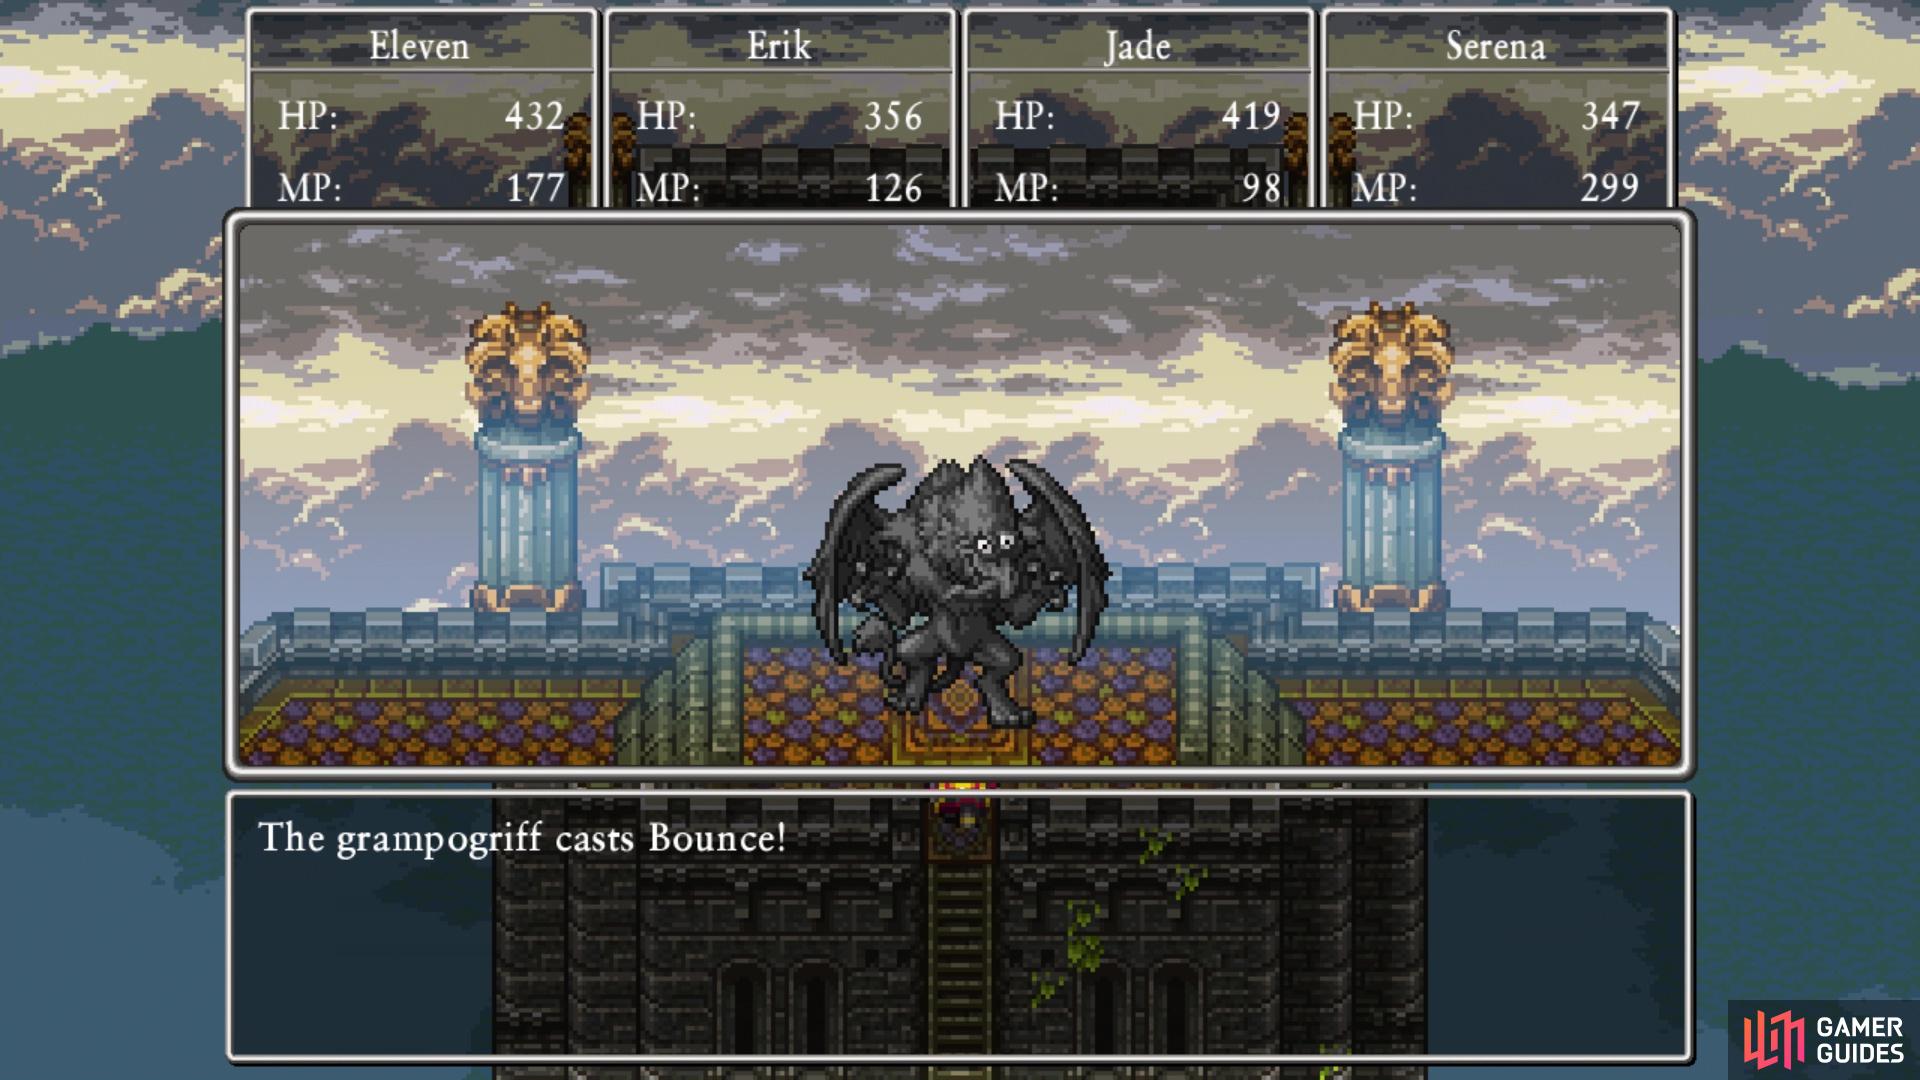
Grampogriff will always use Bounce on his first action
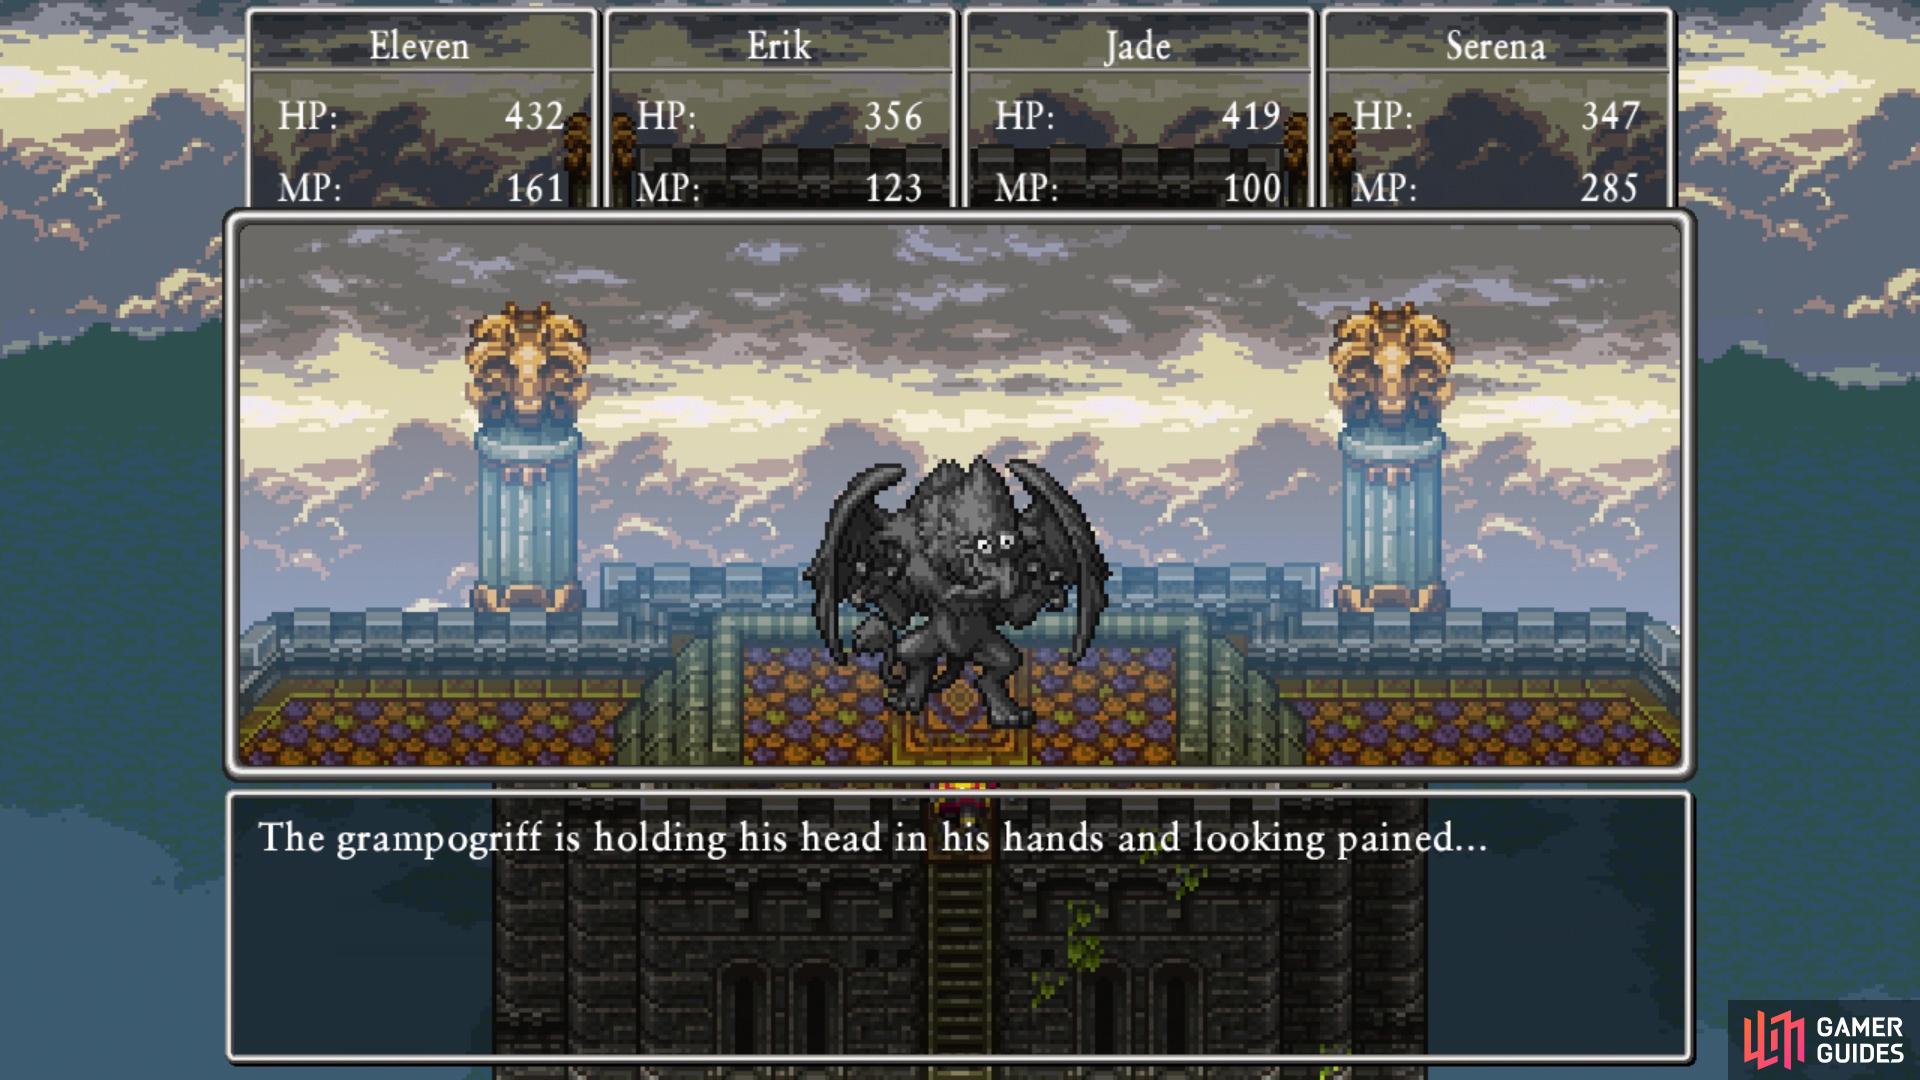
The boss will sometimes do nothing by using this action
Upon defeating Grampogriff, the horse that asked you to look for its master comes up and gets turned into a monster, starting the second boss battle.
BOSS - Nagasus
Unlike the first battle, this one is a lot tougher, as Nagasus is quick and will likely be going first on each of its turns. It will get two actions per turn and one of its more annoying moves is when it whinnies. Not only does this do some damage, but the worst part is that it can cause your characters to lose a turn. The fact that Nagasus can do this both actions during its turn means that there’s a potential for all of your characters to be doing nothing on their turns. Of course, if you took precautions and are using Archangel’s Boots +3, then that will grant you 50% protection from losing a turn. If you can make two for every character, then that is 100% protection and the whinny becomes moot.
Other attacks include a black breath attack and a lightning storm attack. The former deals around 100+ damage to the entire party, while the latter can do something around 180+ to the entire party. The best thing to do is have someone queue up a heal every turn, preferably having the healer equipped with two pairs of Archangel’s Boots +3. This will ensure that the heal will always go off and keep your party alive. Outside of that, you can do the usual offensively, as Sword Dance/Unbridled Blade (Hero) and Multithrust/Multifeet (Jade) are going to be your primary damage dealers still. Nagasus has around 2100 HP.
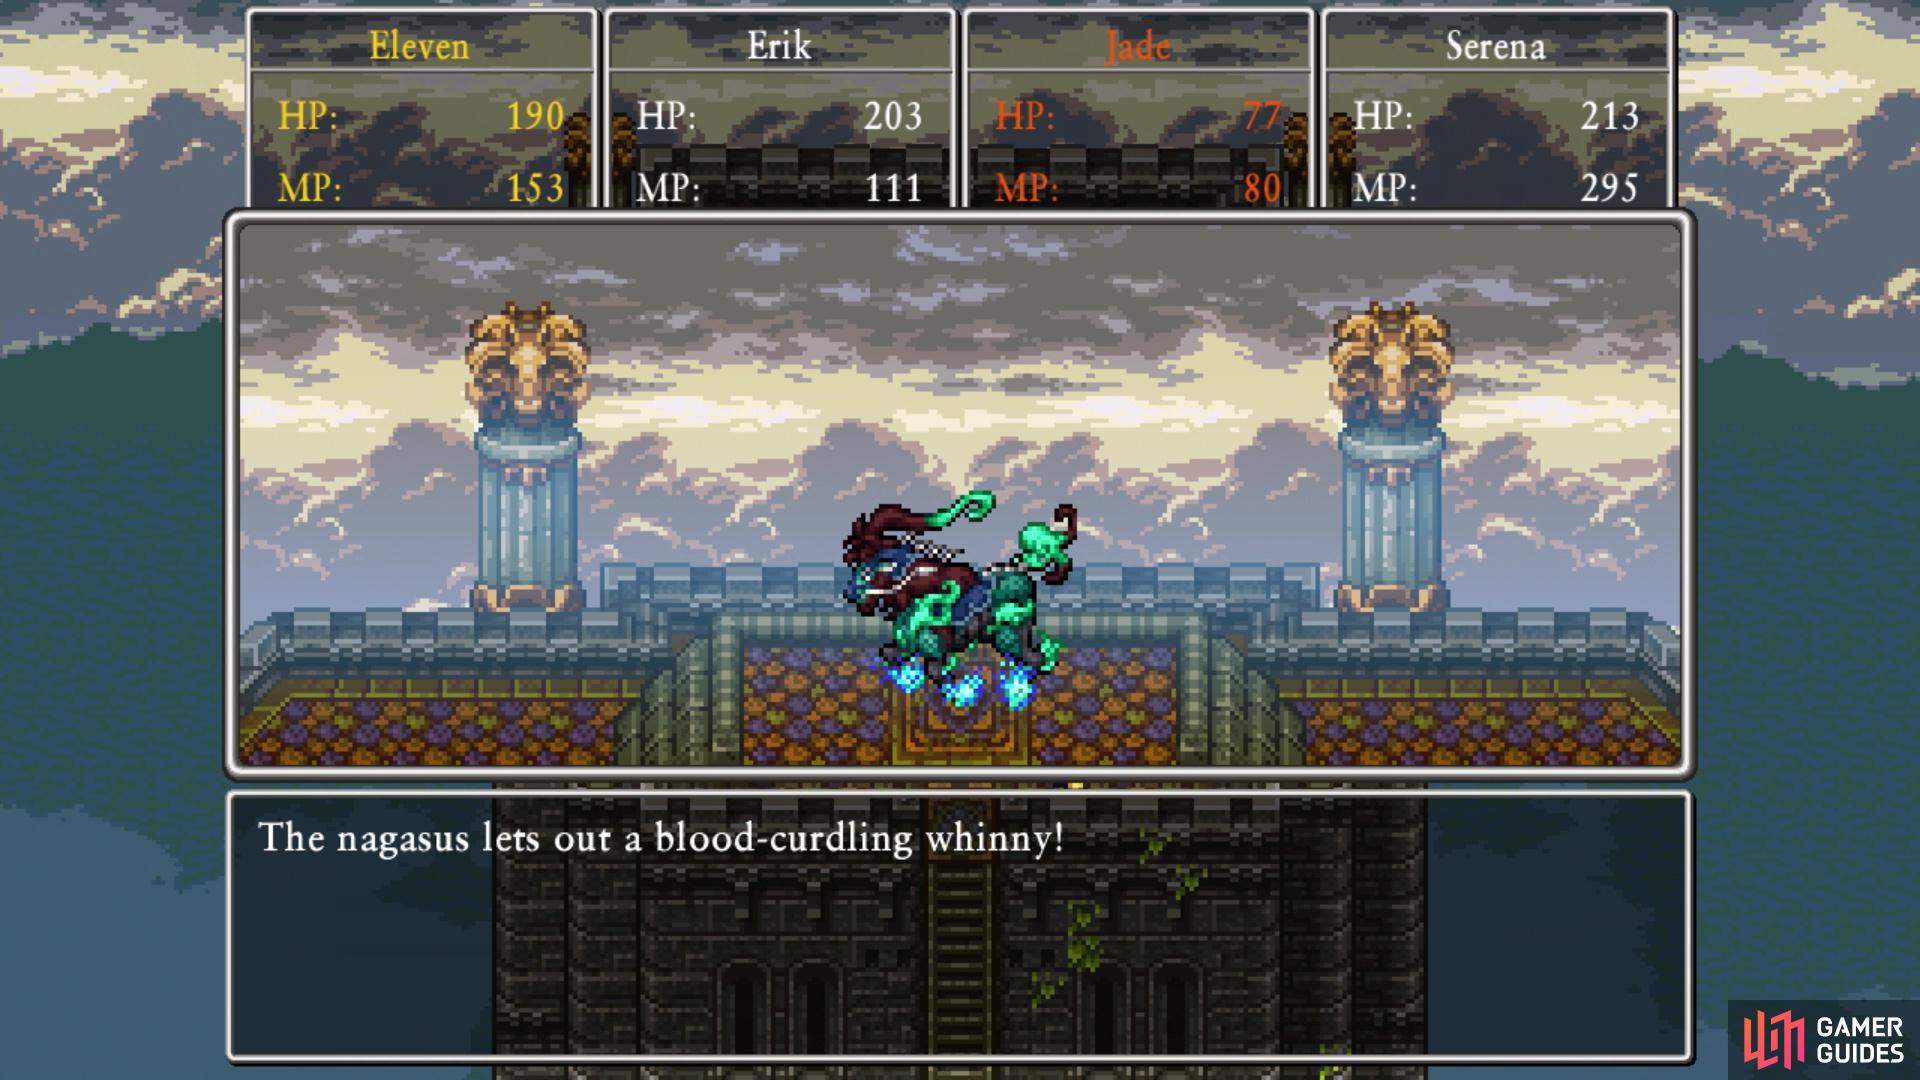
The Whinny can sometimes cause your characters to lose a turn
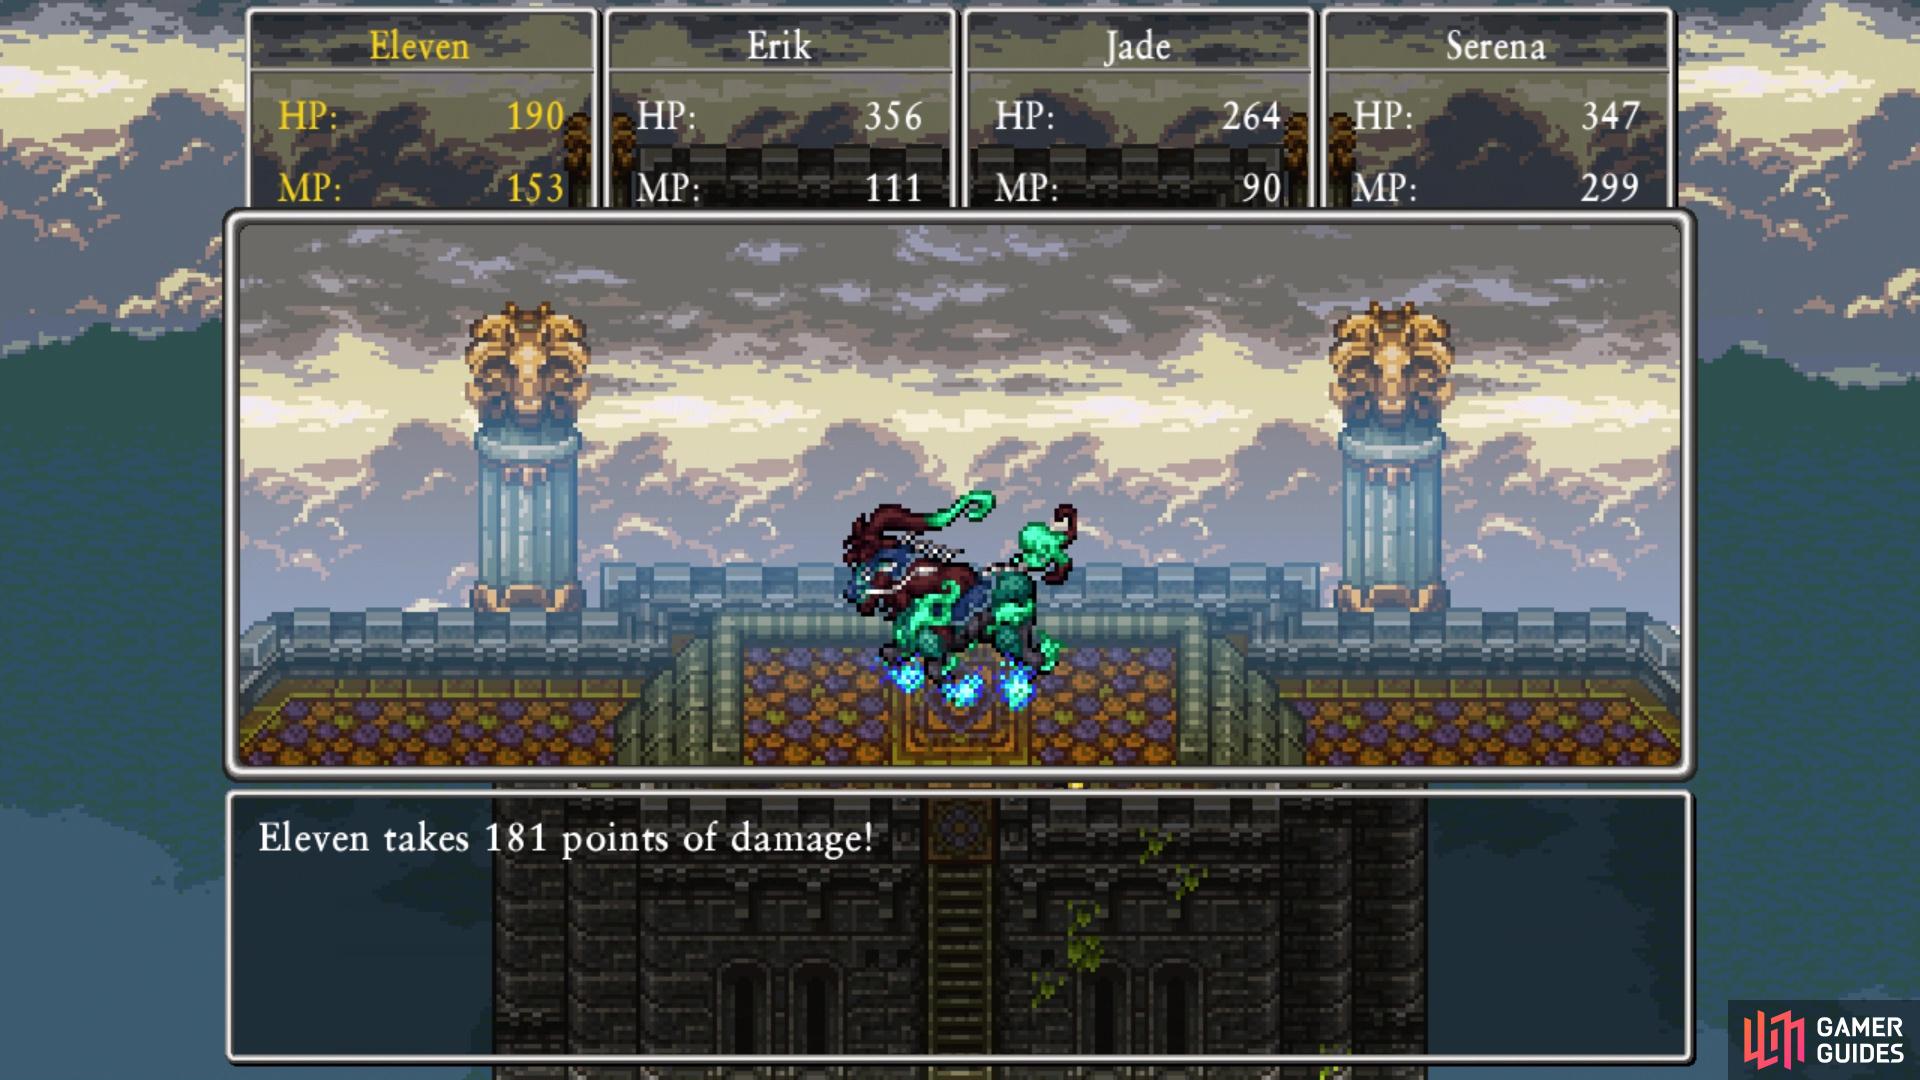
The lightning storm attack is its most powerful move
With Nagasus defeated, everything will return to normal, so use Evac to go back to the base of the tower. Head up the right side this time to find the horse who gave you the quest, who will reward you with a Mighty Armlet.
No Comments