
Pastword
This one is found on Insula Algarum, which is the island northeast of The Strand, and southeast of Sniflheim. Once you are there, in the middle portion of the game, head to the second area and get the mountable Dragon Rider mount. Fly around to the southern side of the island and look for the spot where you can land. This is the same spot that has the tree harvesting point. Once you’re there, travel to the end of the narrow path to find a black/dark Tockle that gives you this pastword.
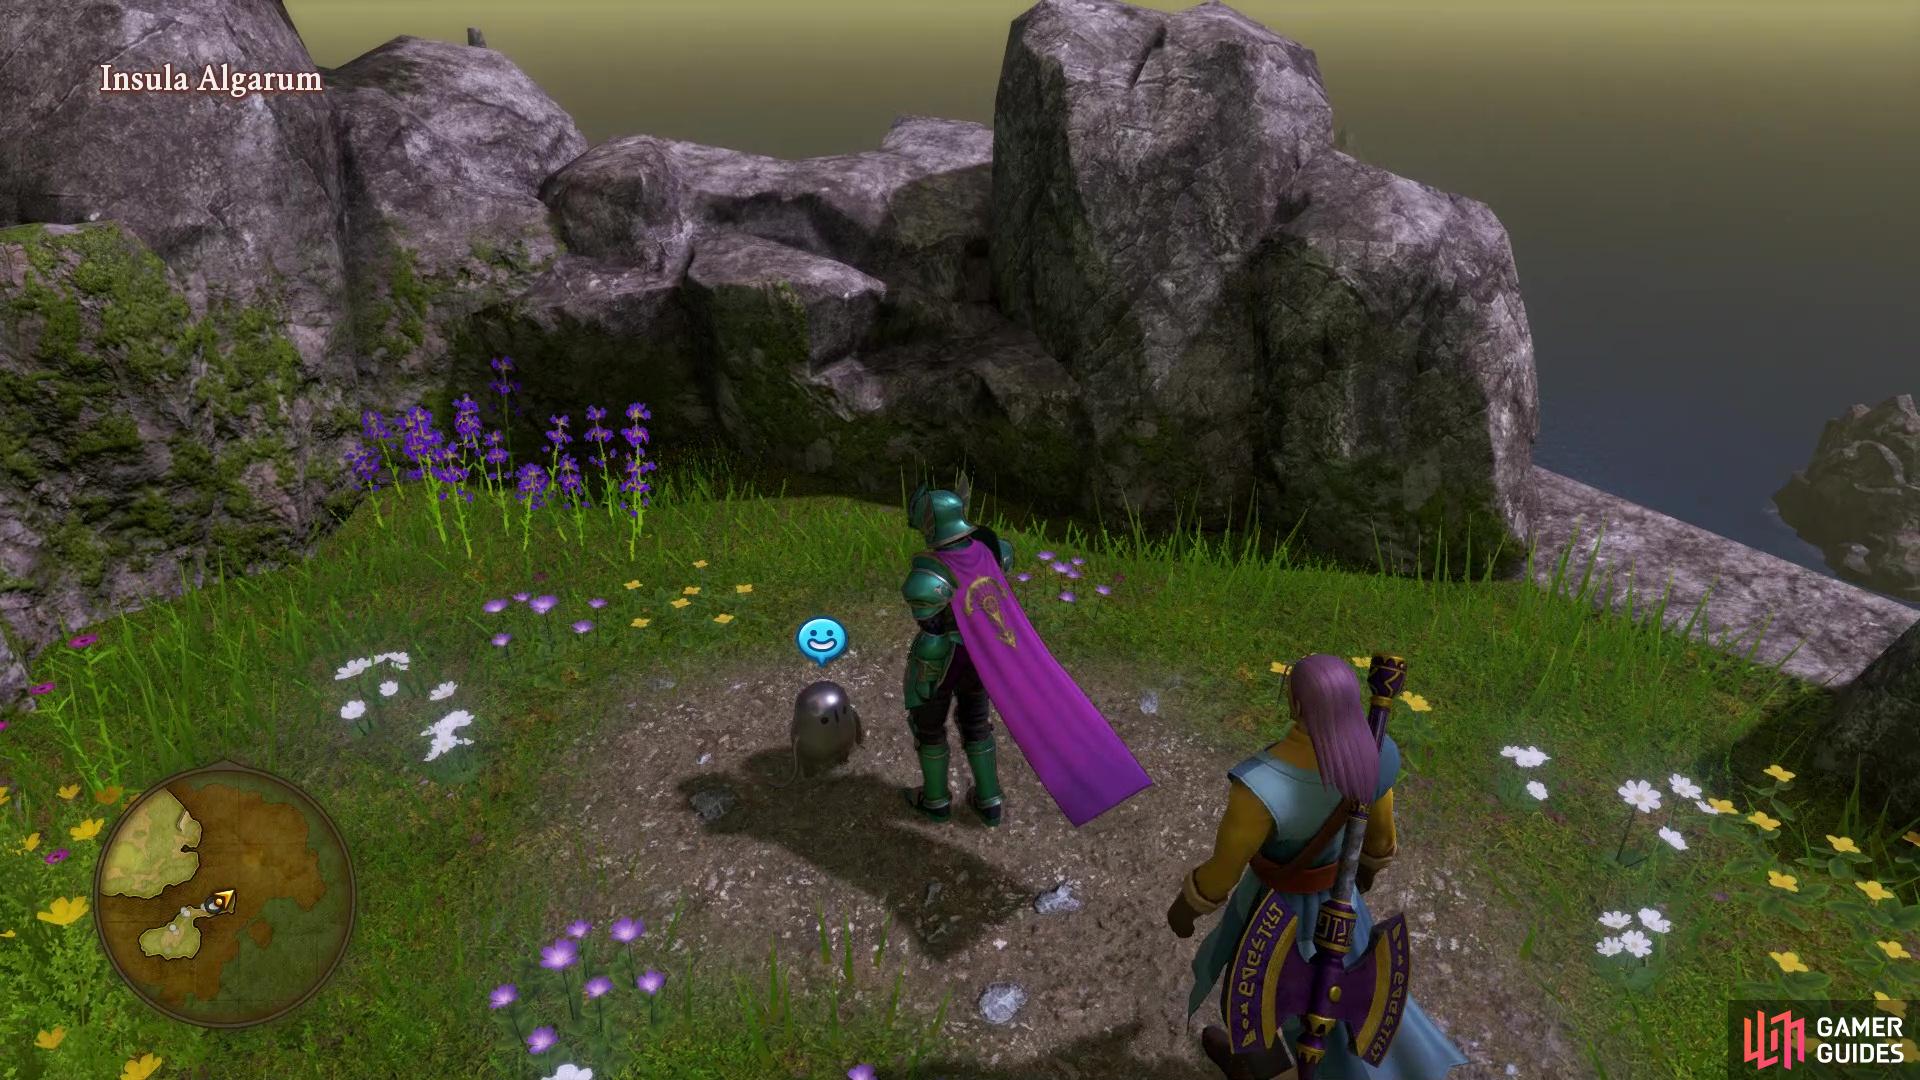
The location of the Tockle for the Ruby Path of Doom area in Tickington
Enemies
| Monsters | HP |
|---|---|
| Balhib | ~565 |
| Bodkin Bowyer | ~105 |
| Cosmic Chimaera | ~165 |
| Fromage Fey | ~270 |
| Godsteed | ~770 |
| Goodybag | ~260 |
| Gnashturtium | ~780 |
| Hellbound Hunter | ~150 |
| Infernal Armour | ~165 |
| King Crab | ~220 |
| Lunar Chimaera | ~1300 |
| Master Moosifer | ~1580 |
| Metal King Slime | ~20 |
| Moosifer | ~335 |
| Robo-Robin | ~200 |
| Sail Serpent | ~300 |
| Scourgette | ~170 |
| Sprite Bulb | ~130 |
| Stout Troll | ~1680 |
| Tantamount | ~320 |
| Whirly Girly | ~130 |
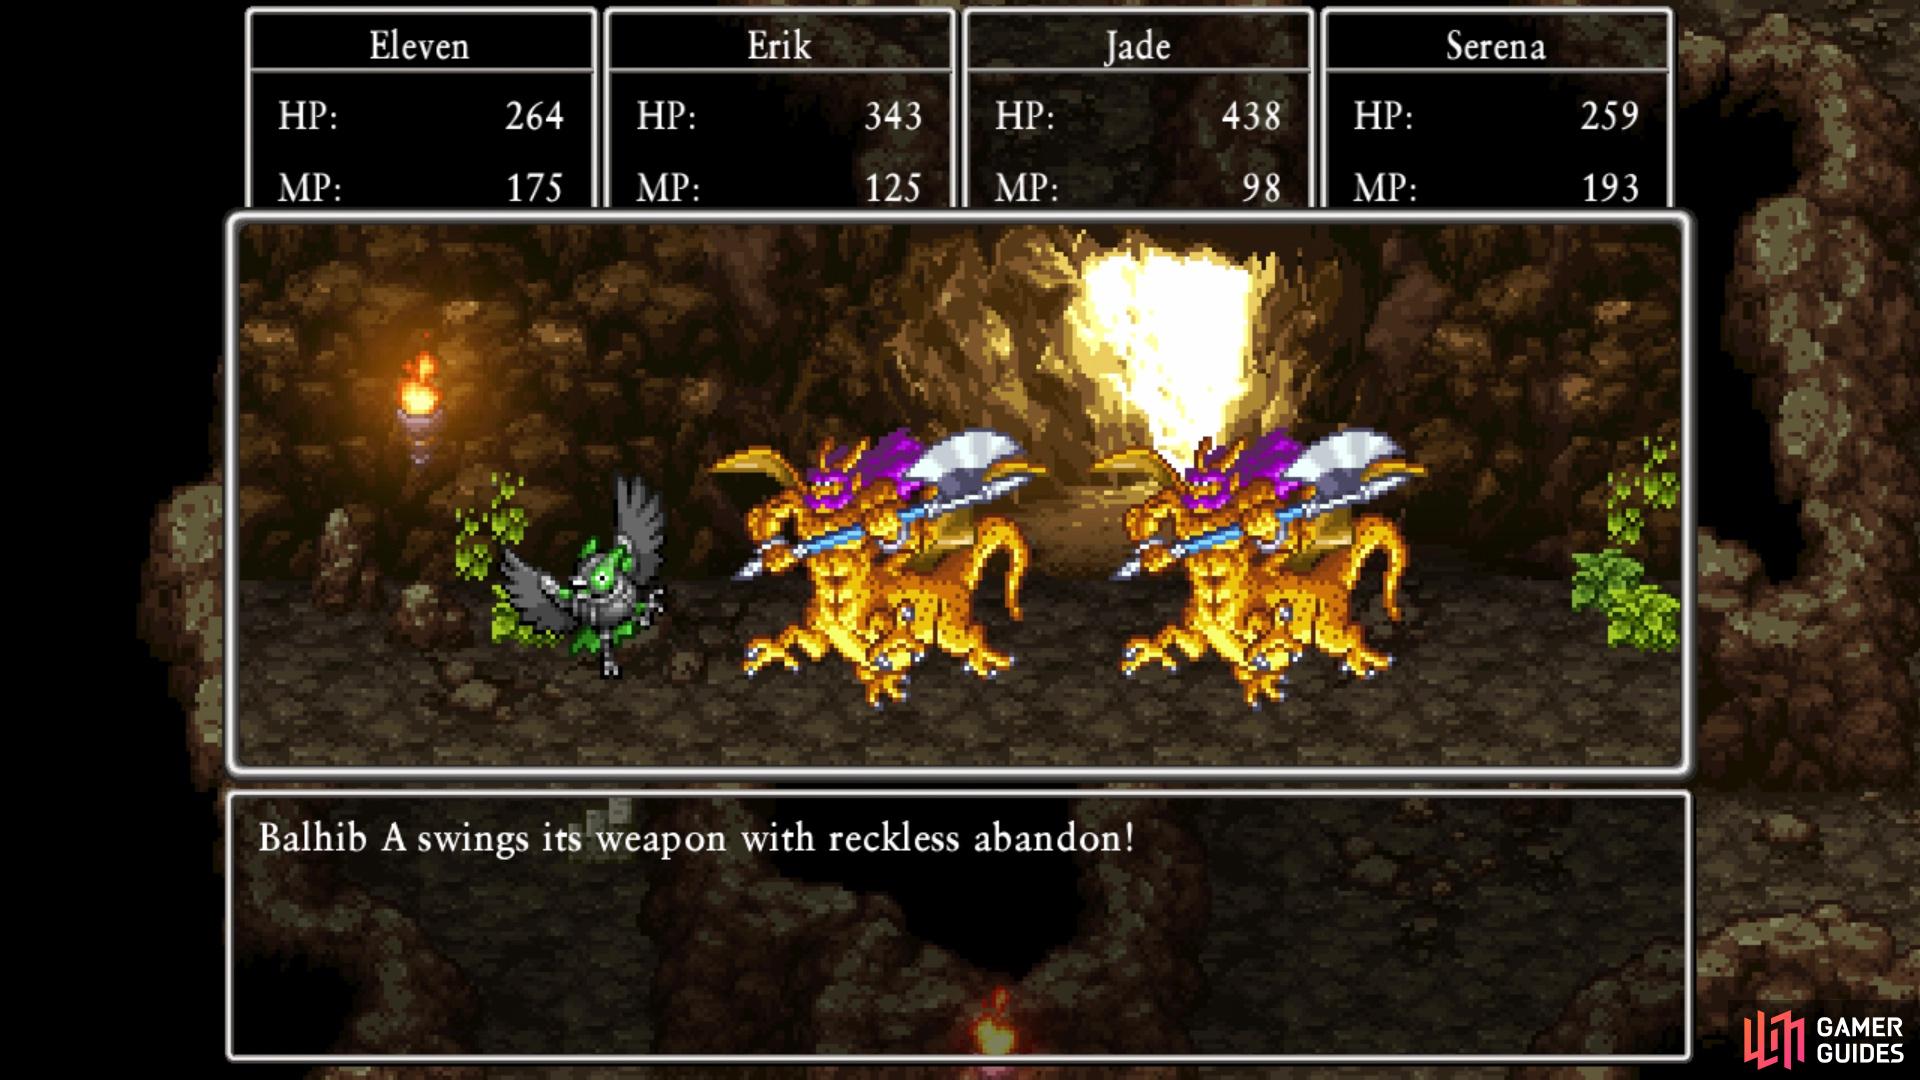
A good number of enemies here are nothing special, and you probably already fought them during your adventures, especially if you waited until you’ve gotten all party members back during the middle portion of the game. Cosmic Chimaera are annoying, since they have a breath attack and can also use Multiheal, so focus on them when present. It isn’t until the fourth and fifth floors that things get a little more challenging, especially with Balhibs. These things have a little more HP than the others, plus their “reckless abandon” attack can hit randomy characters up to three times. It should be noted that the Hellbound Hunter, Goody Bag, and Fromage Fey are only found in this area.
Once you defeat the boss on the sixth floor, you will begin encountering enemies there and they are definitely tough. In fact, you don’t normally encounter them until the third portion of the game, but you shouldn’t really find them unless you want to, since it’s easy to bypass that floor after defeating the boss. However, there are three enemies you will want to keep an eye out for on the sixth floor. They are strong and have access to a bunch of nasty spells, but two of them have rare drops that are definitely great. Master Moosifer drops Frostfire Fingers, a nice set of claws, while Godsteed drops Meteorite Bracers, which gives a lot of Agility.

The rarefied Lunar Chimaera can be found in this dungeon
Enemies will get more challenging the deeper you go
Walkthrough
When you can first unlock this area, you might be a bit underprepared for it, as it’s an actual dungeon and it becomes a bit more dangerous the deeper you go. That being said, you might want to wait until you have access to all of your characters in the middle portion of the game before heading here. You will probably want two healers going into the boss fights here, especially if you’re a lower level or don’t have all of the characters yet. When you first choose this area, you will be placed straight into the dungeon, with there being a soldier right next to where you warp into the place. He asks if you are there to complain, so say no and you will get the quest, Mad About Maps.
After getting the quest, head east and you will find the stairs in the corner, as there’s nothing on the first floor. On the second floor, head southwest from the stairs to find a chest with some Saint’s Ashes, then go north and follow that path until you reach a crossroads. There will be two paths going north, so move a little north and you should see the stairs leading to the next floor. On the third floor, continue north and you should notice two chests off to the northwest, which contain a Seed of Therapeusis and a Seed of Deftness. From the chests, go south and immediately east, until you see the next set of stairs.
Ignore them, though, as there is another chest just south of them, which contains a Seed of Defence. The fourth floor will have you going east, where you’ll see the stairs just to your south. If you keep heading east, though, you will find another chest that has a Pretty Betsy inside. Take the stairs you passed to the fifth floor now, going north at first and around a corner to a chest, which contains a Seed of Life. Continue east from there until you find another chest a little to your south, which is housing 5000G; you should see the stairs just to your left, leading to the sixth floor. When first arriving here, there will be no random encounters, until you defeat the boss. Before heading north, from the stairs, go east and south to find a small alcove with a chest, containing a Seed of Agility. Head north until you find a dragon, speaking to it to start the fight.
BOSS - Doomsday Dragon
Doomsday Dragon gets two actions per turn, so you need to be careful. One thing you do need to be careful about is when the Dragon uses Doomsday Gaze, as this will protect him from all physical attacks. When he does this, you should just take a turn to buff/heal up and/or defend with your characters. You will also see a Doomsday Roar, which hits all characters for around 60 or so damage. Doomsday Blaze will deal upwards of 160+ damage to a single character, while Kasizz deals upwards of 80+ to your party. You will also need to be cautious of its normal attack, as it can hit for 100+ to a single character.
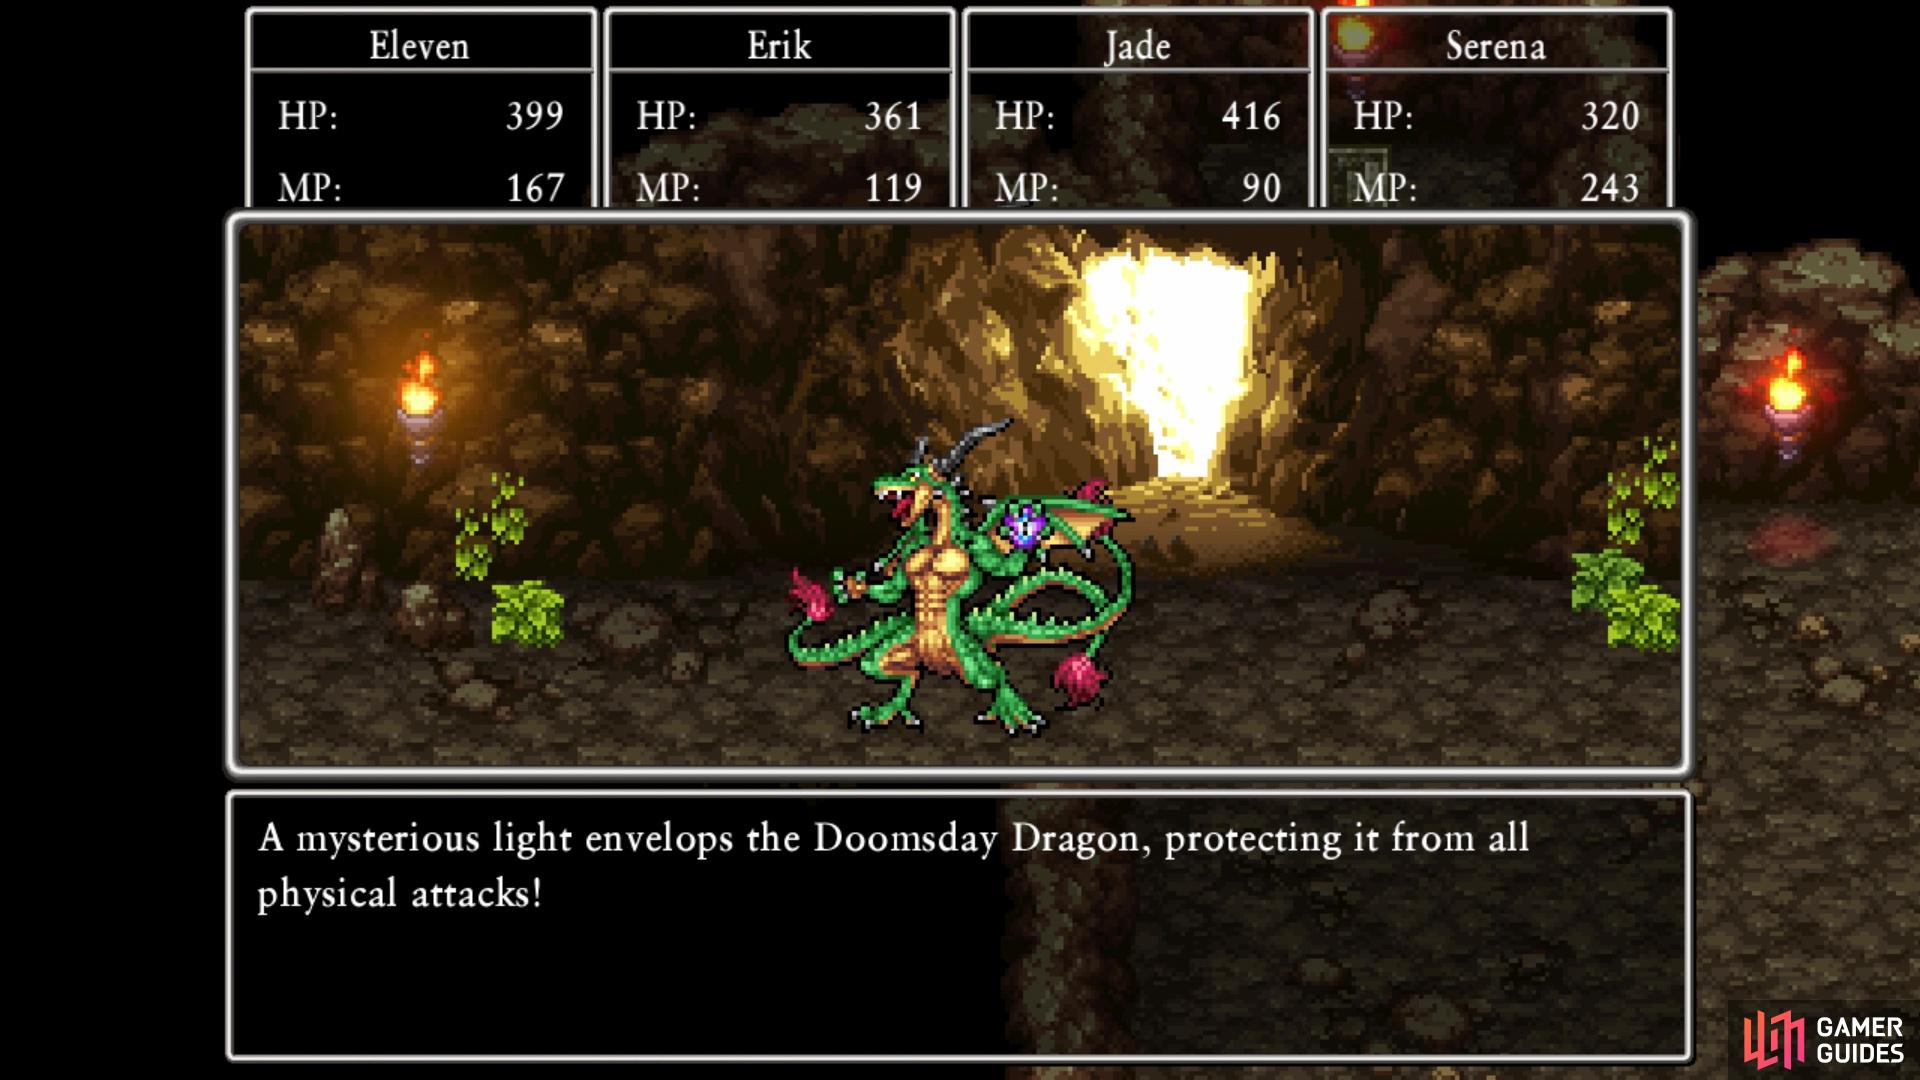
The Dragon cannot be harmed by physical attacks when it uses Doomsday Gaze
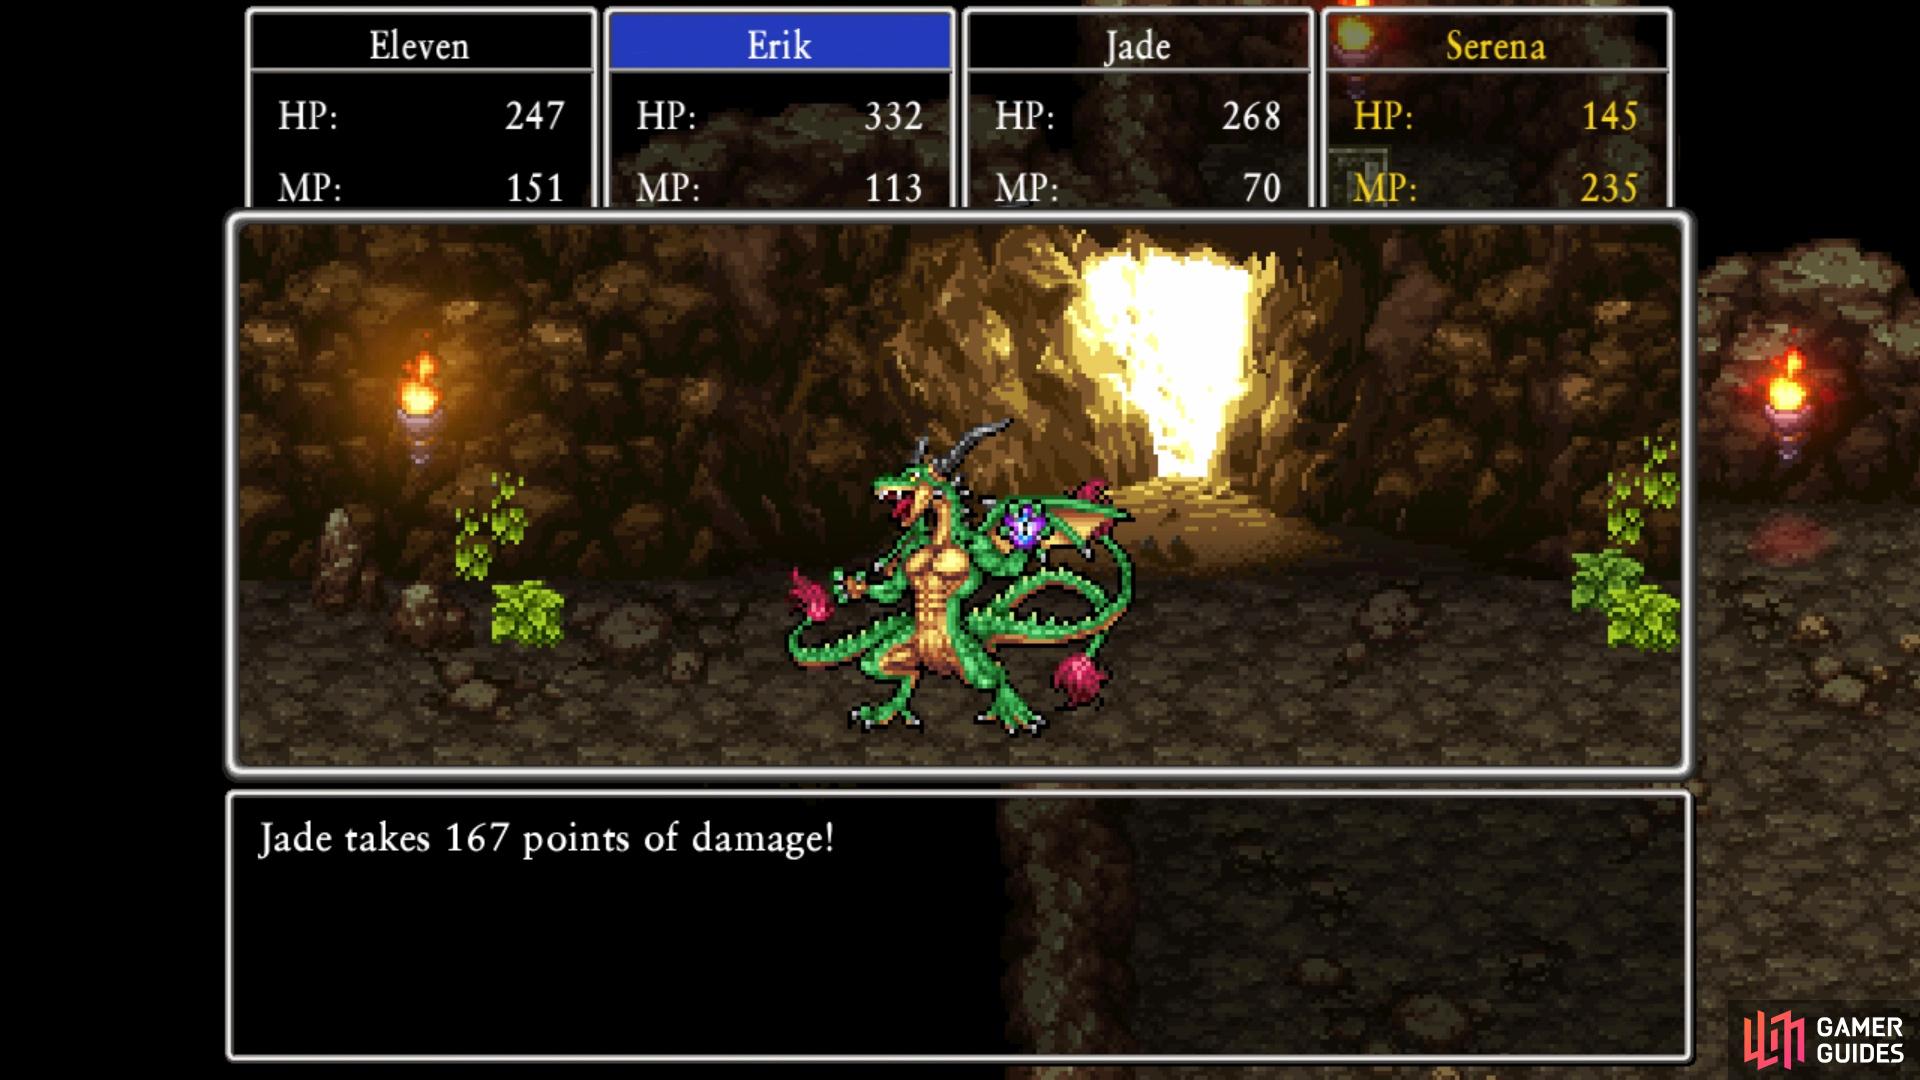
Doomsday Blaze inflicts some major damage to a single character
Luckily, the Doomsday Dragon, despite the powerful arsenal above, only has 1800 HP, so it’s likely not going to last very long. You should have Sylvando/Serena/Rab heal every turn, just in case, but you will also want Oomphle cast on your Hero and Jade. They should be using Unbridled Blade and Multithrust, respectively, as those should be the biggest damage dealers. Note that you can forgo Oomphle on Jade, since she has Re-Vamp, which gives her a great boost in attack and defense.
After the battle is over, you will witness the drago turn into an ordinary slime, as it seems he ate something called a fygg to gain some extra power. Even better, he hands over the fygg to you, which is the item needed to complete The Observatory, one of the first Pastwords you got for Tickington. However, that was just a side thing, as you still need to solve the problem for this area. Note that enemies will begin appearing on this floor and if you wish to avoid them, especially since they are very challenging, it’s best to quickly get to the stairs leading to the seventh floor. Here, you will see the true culprit because getting mad about this grotto, the King of Metal King Slimes, so it’s time for another fight.
BOSS - King of Metal King Slimes
As one would expect, being a member of the Metal Slime family of monsters, this boss has high defense. Despite this, though, their defense isn’t as high as the normal versions, so strong attacks will still work against them. In fact, if your Hero has high strength, Unbridled Blade should still deal a decent amount of damage. Jade should be using spears, so she should have access to the critical-hit moves, which she can use on the boss, while Eight should have Hatchet Man. Remember that critical hits will ignore defense, so they always do full damage.
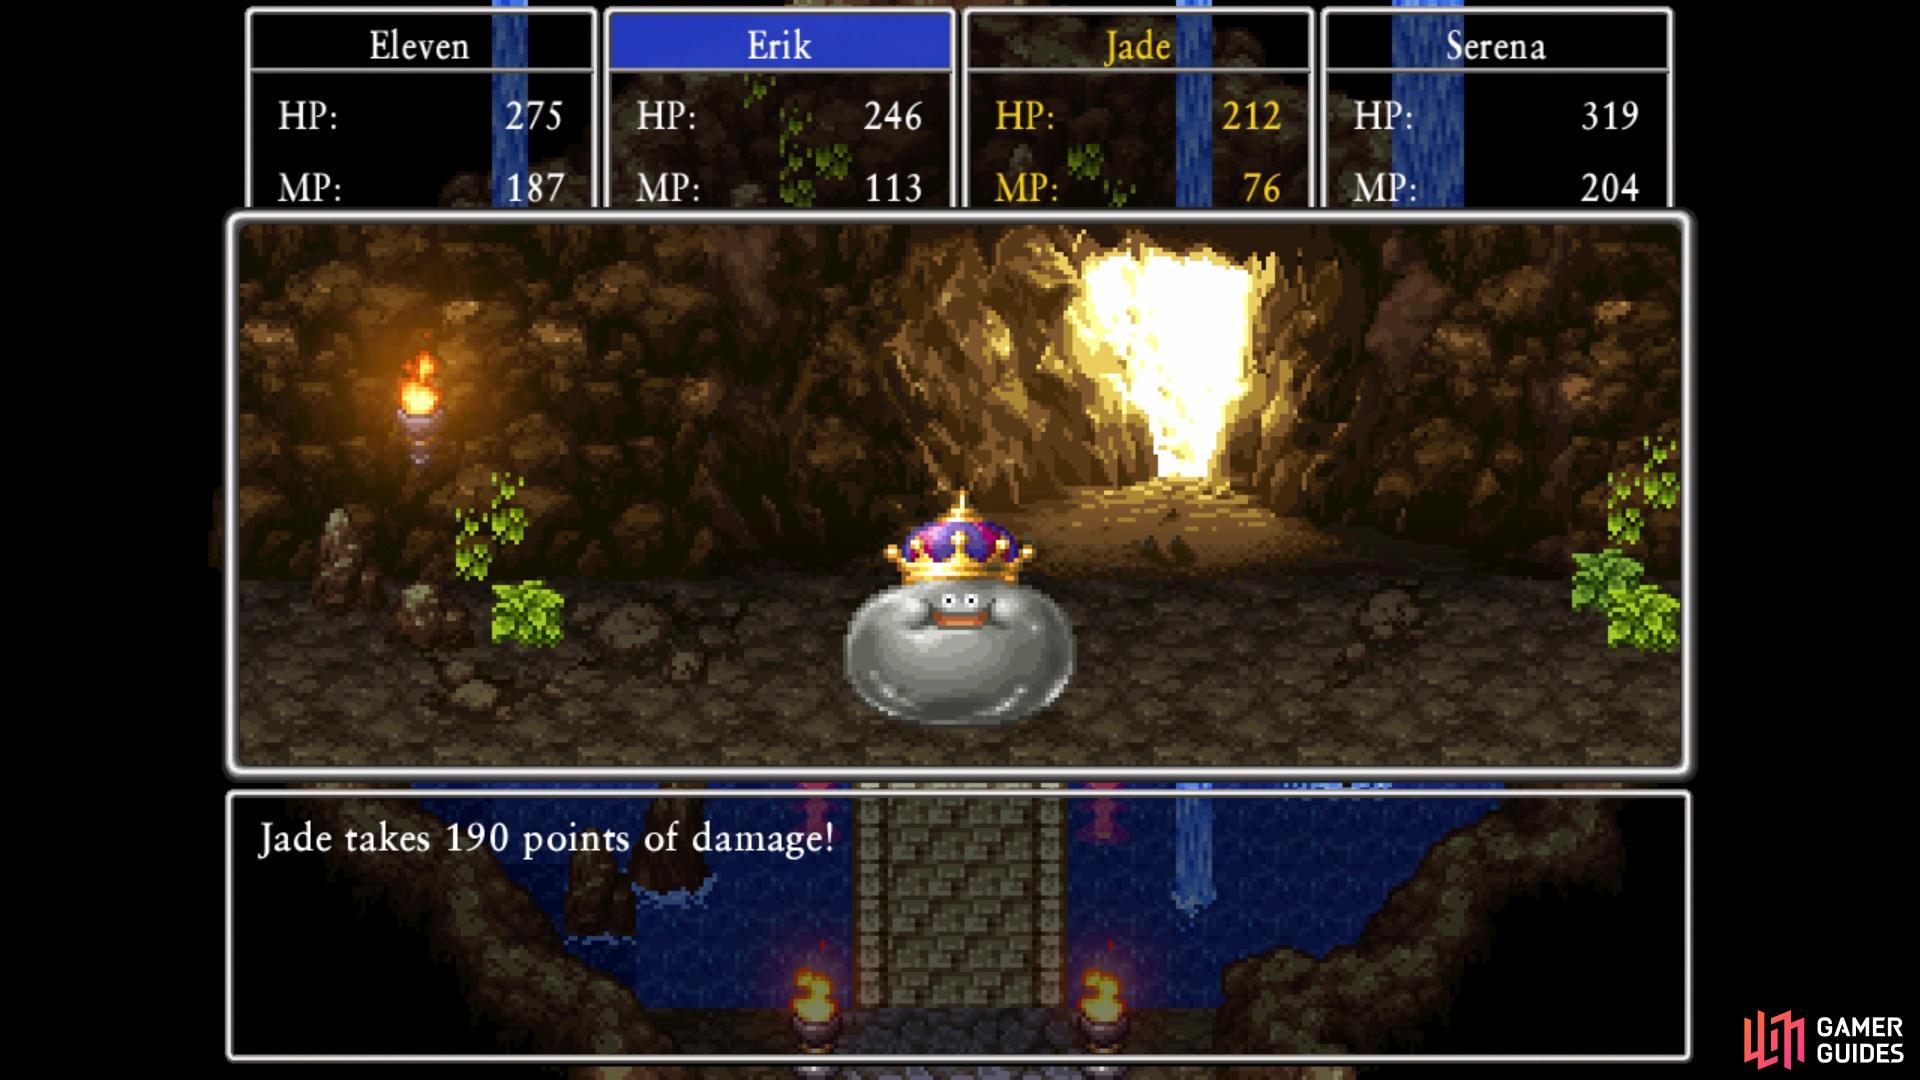
The bolt attack from the King hits the party for major damage
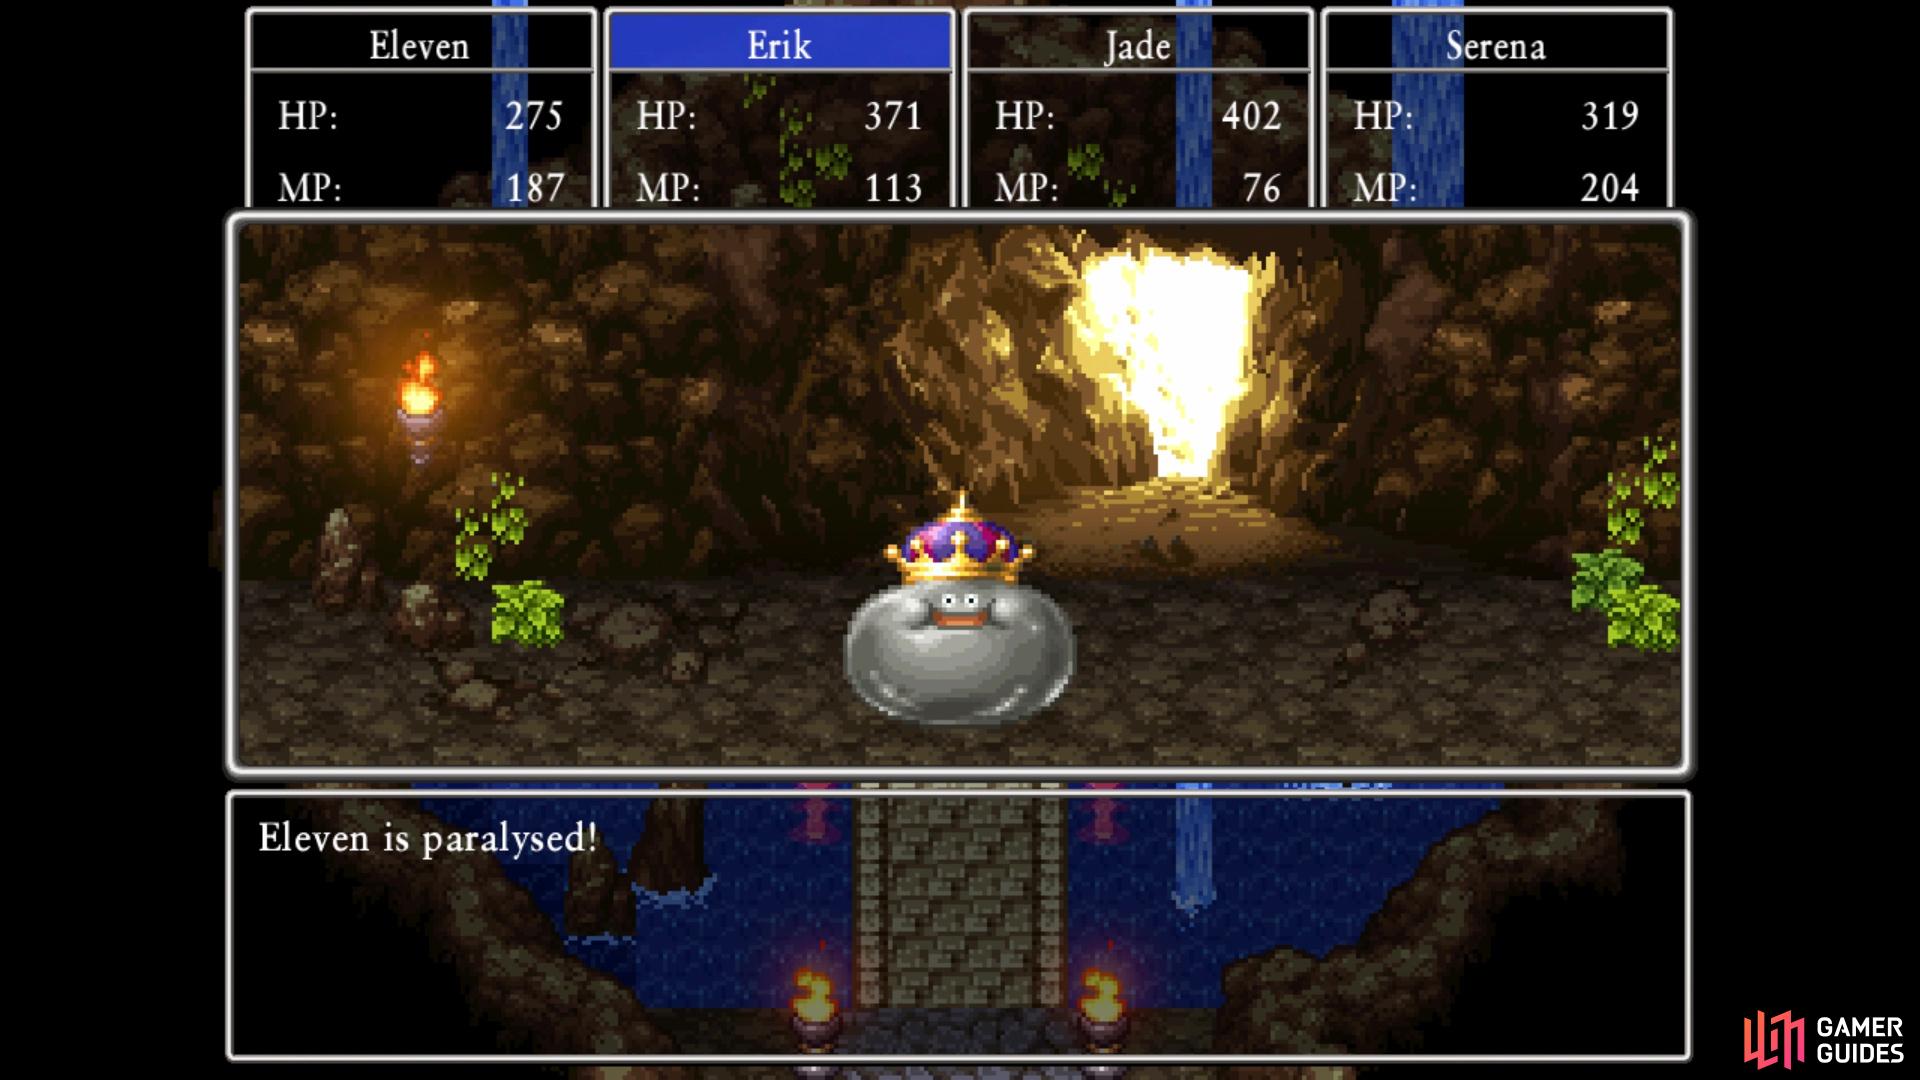
plus it can also inflict paralysis
The King of Metal King Slimes only has around 800 HP, so with some good luck on your side, the fight should be on the short side. As for its attacks, the boss can summon bolts to deal around 140+ damage to the entire party, while also potentially paralyzing them. It can also use Kasap on your party to lower their defenses, with it trying to smother a single character. There is also Kafrizz and Anathemetize, both of which can be bad, the latter lowering spell resistance. The lightning attack is by far its most damaging ability, so you should have someone healing every turn, just in case it decides to spam it.
Thankfully, the King of Metal King Slimes counts as an actual Metal Slime-type, so it gives you a lot of experience for defeating it. It will run off after you win, so cast Evac to return to the beginning of the dungeon, then speak to the soldier to receive your reward, some Molten Globules.
No Comments