

Laguna Di Gondolia
| Items | Area |
|---|---|
| Seed of Skill | Eastern swamp |
| Perfectionist Pearl x5 | Central swamp, western island |
| Mini Medal | Central swamp, central platform |
| I Love Iron Armor | Central swamp, northern island |
| A Slender Sword of Solid Silver | Western swamp, central platform |
| Sparkly Spots | Area |
|---|---|
| Glass Frit | Gallopolis Entrance |
| Chimaera Wing, Flurry Feather, Pink Pine | Eastern swamp, Tree gathering point |
| Celestial Skein | Eastern swamp, north island |
| Royal Soil | Eastern swamp, eastern island |
| Copper Ore, Iron Ore, Gold Ore | Between the Central and Eastern swamps |
| Fresh Water | Central swamp, southern platform |
| Faerie Fluff | Central swamp, southeast island |
| Glass Frit | Western swamp, eastern island |
| Moonwort Bulb | Western swamp, northern island |
| Waveweed | Western swamp, northern island |
| Royal Soil | Western swamp, water |
| Narspicious, Cottontop, Strong Medicine | Western swamp, southwest |
| Gold Ore | Western swamp, southwest |
| Monsters | HP |
|---|---|
| Healslime | ~25 |
| Crabber Dabber Doo | ~40 |
| Restless Armor (Night only) | ~96 |
| Flython (Day only) | ~63 |
| Midnight Horknight (Mount) | ~59 |
| Muddy Hand | ~45 |
| Splatypunk (Sunny only) | ~63 |
| Weartiger | ~90 |
| Shell Slime | ~42 |
| Toxic Toad | ~77 |
| Succubat (Night only) | ~51 |
| Gnawchild (Rain only) | ~135 |
You’ll find yourself at the eastern side of Laguna Di Gondolia and your destination rests in the center however there are lots of useful goodies to snag along the way along with more Crossbow Targets. Speaking of which, as soon as you enter the area, look to your right to spot the first Crossbow Target on a rock. Continue west along the shore and search behind the rock to find your first Sparkly Spot containing a Glass Frit. Follow the path southwest to the Camp, there’s no items on the way to discover and the monsters are the same as the one’s you found in Gallopolis.
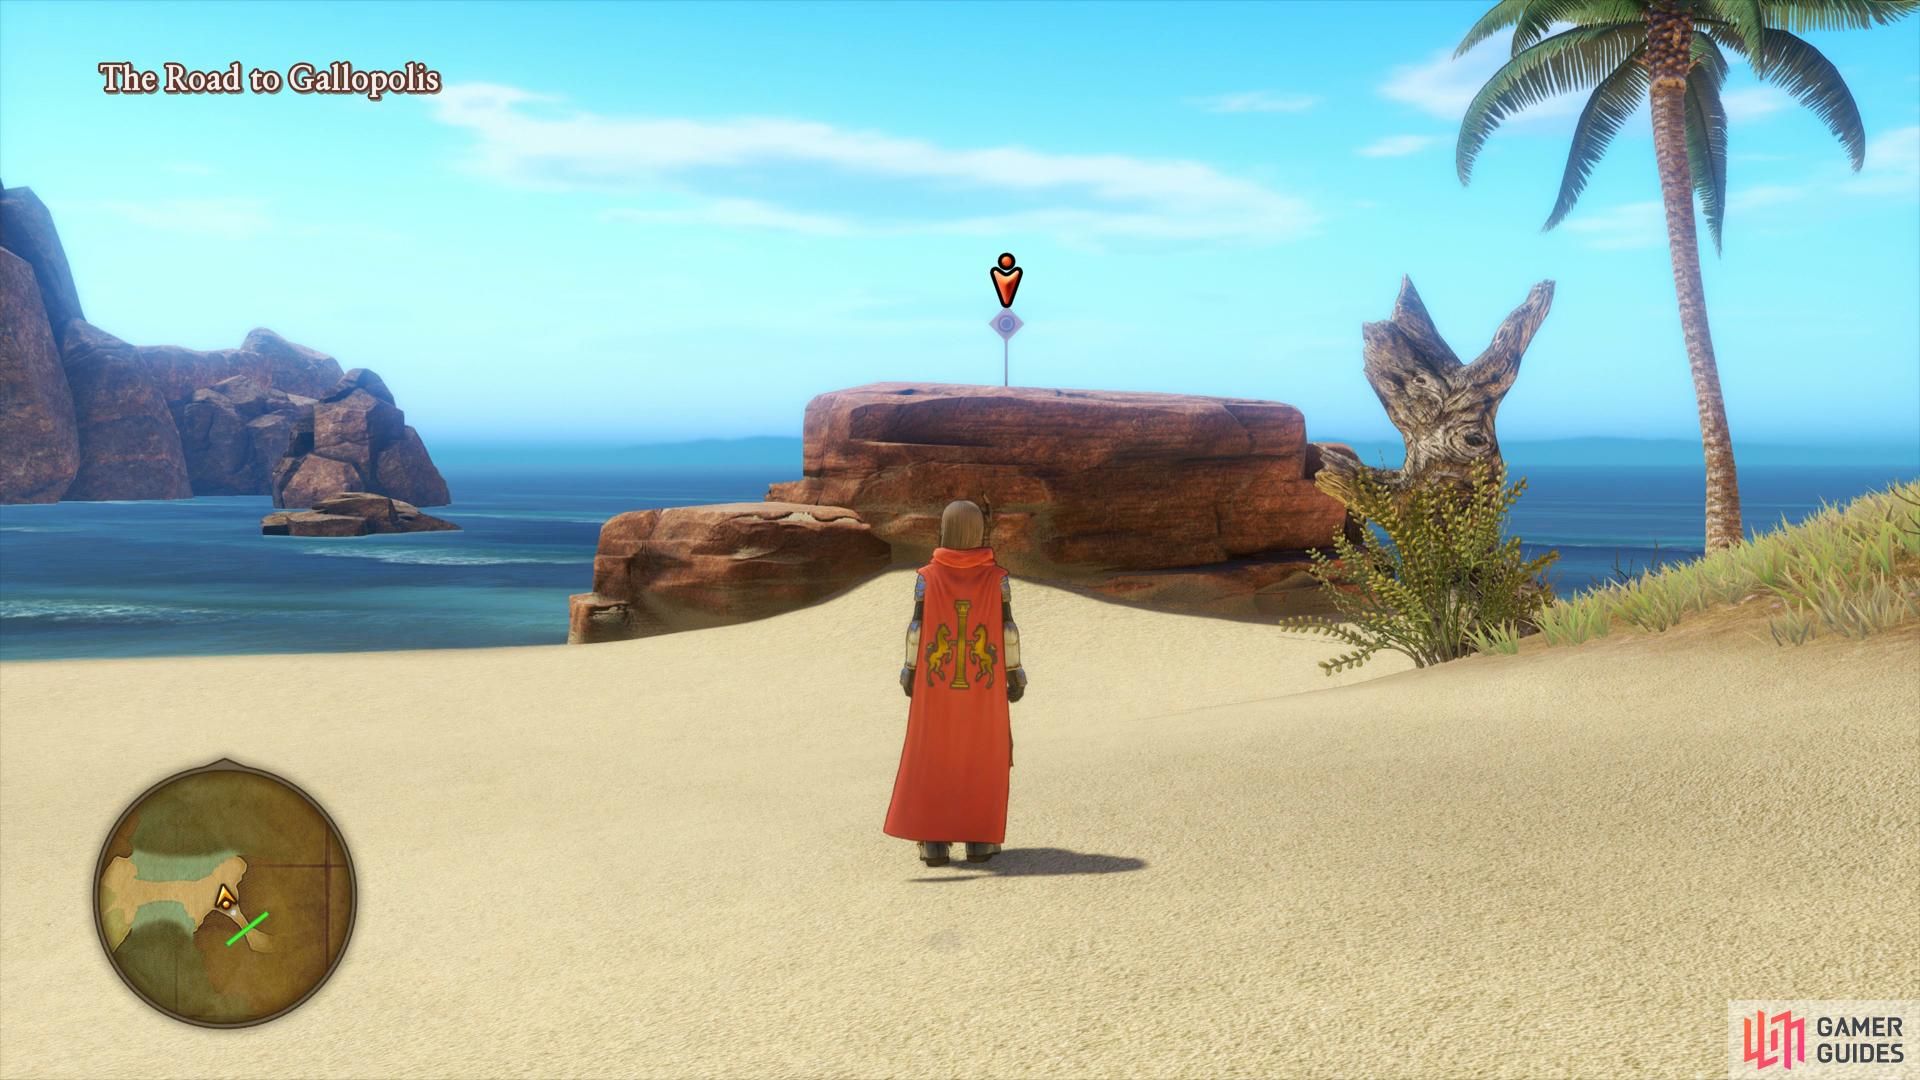
Shoot the first Crossbow Target upon entering the Laguna
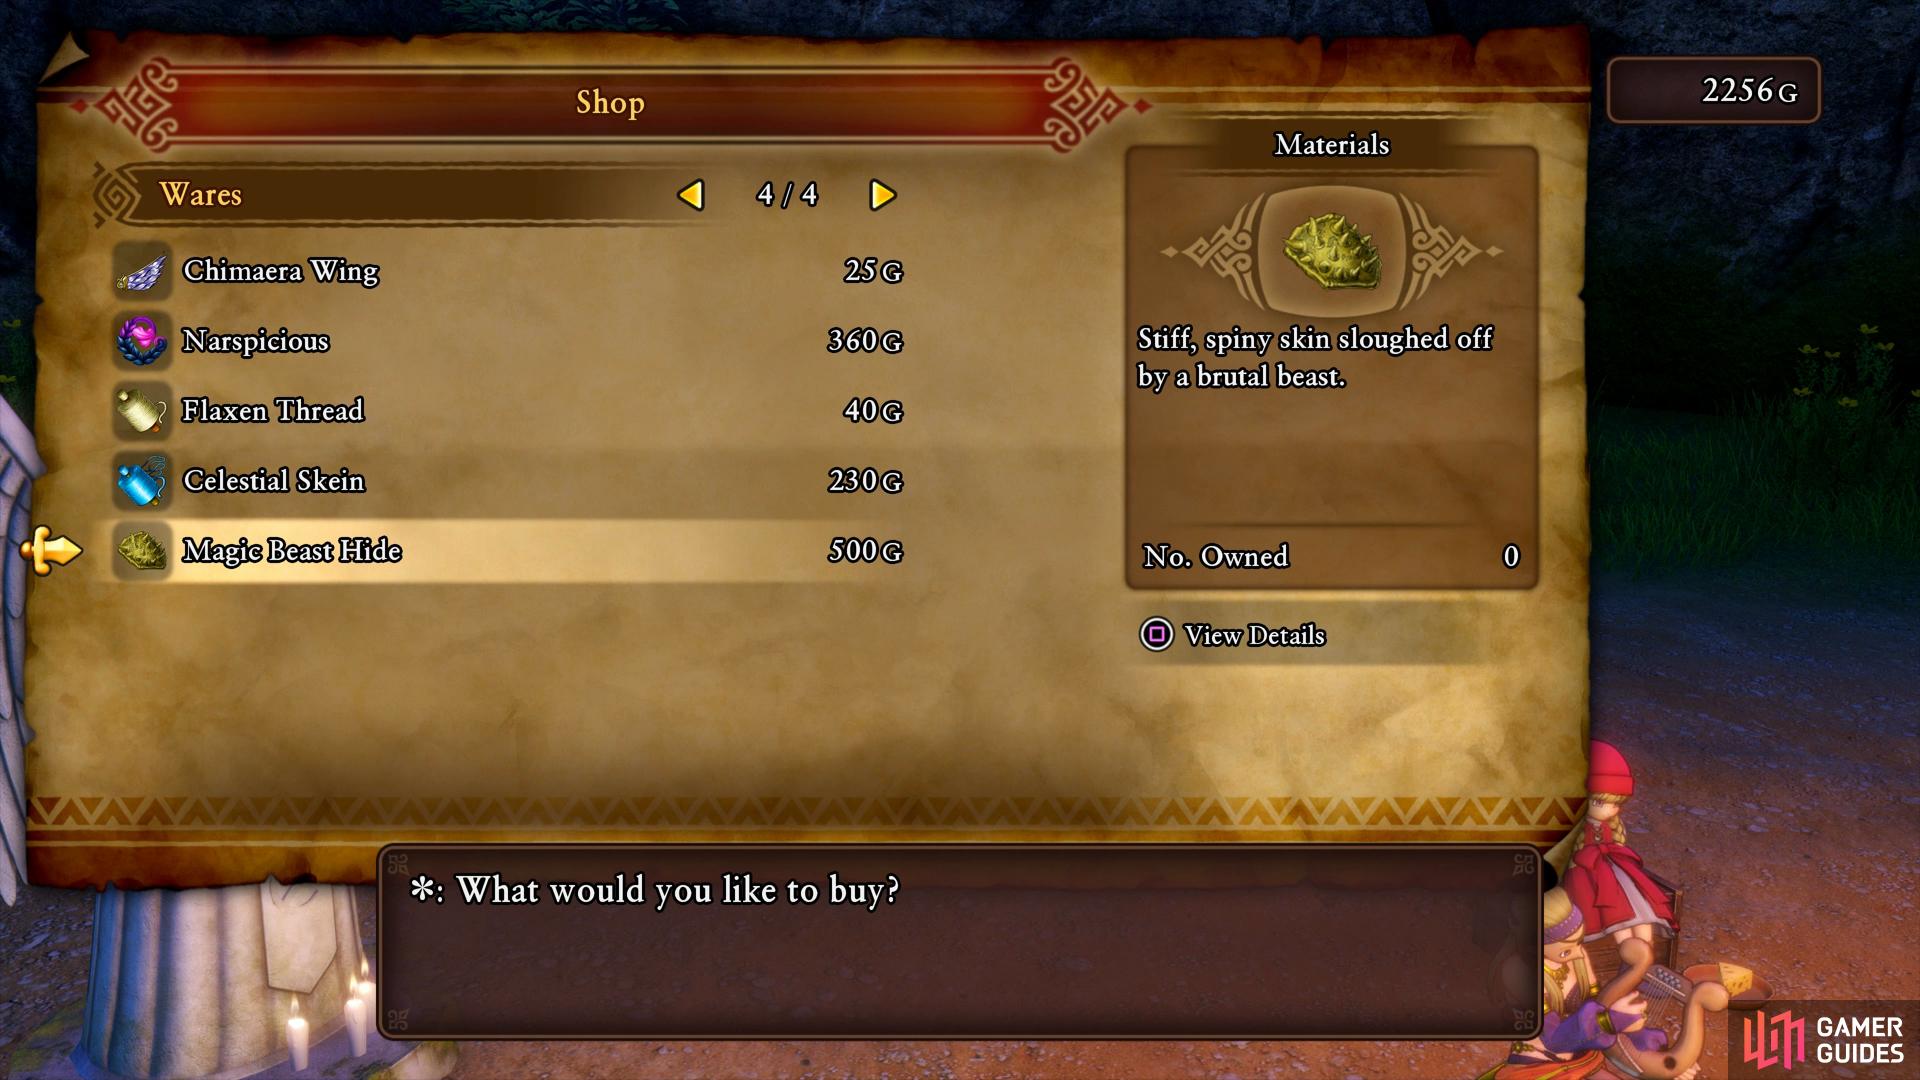
if you have spare gold, two magic beast hides will forge a useful Fur Poncho.
You’ll find the Bodkin Bowyer at this Camp, you’ll need to return to him once you’ve hit the five targets for your reward. The shop here has no new equipment for sale however you will see that he’s now selling Celestial Skeins and Magic Beast Hides (two of these can forge some nice armor but hold off for now, 500G is alot). Once you’ve rested the night and saved your game, set off through the path to the northwest.
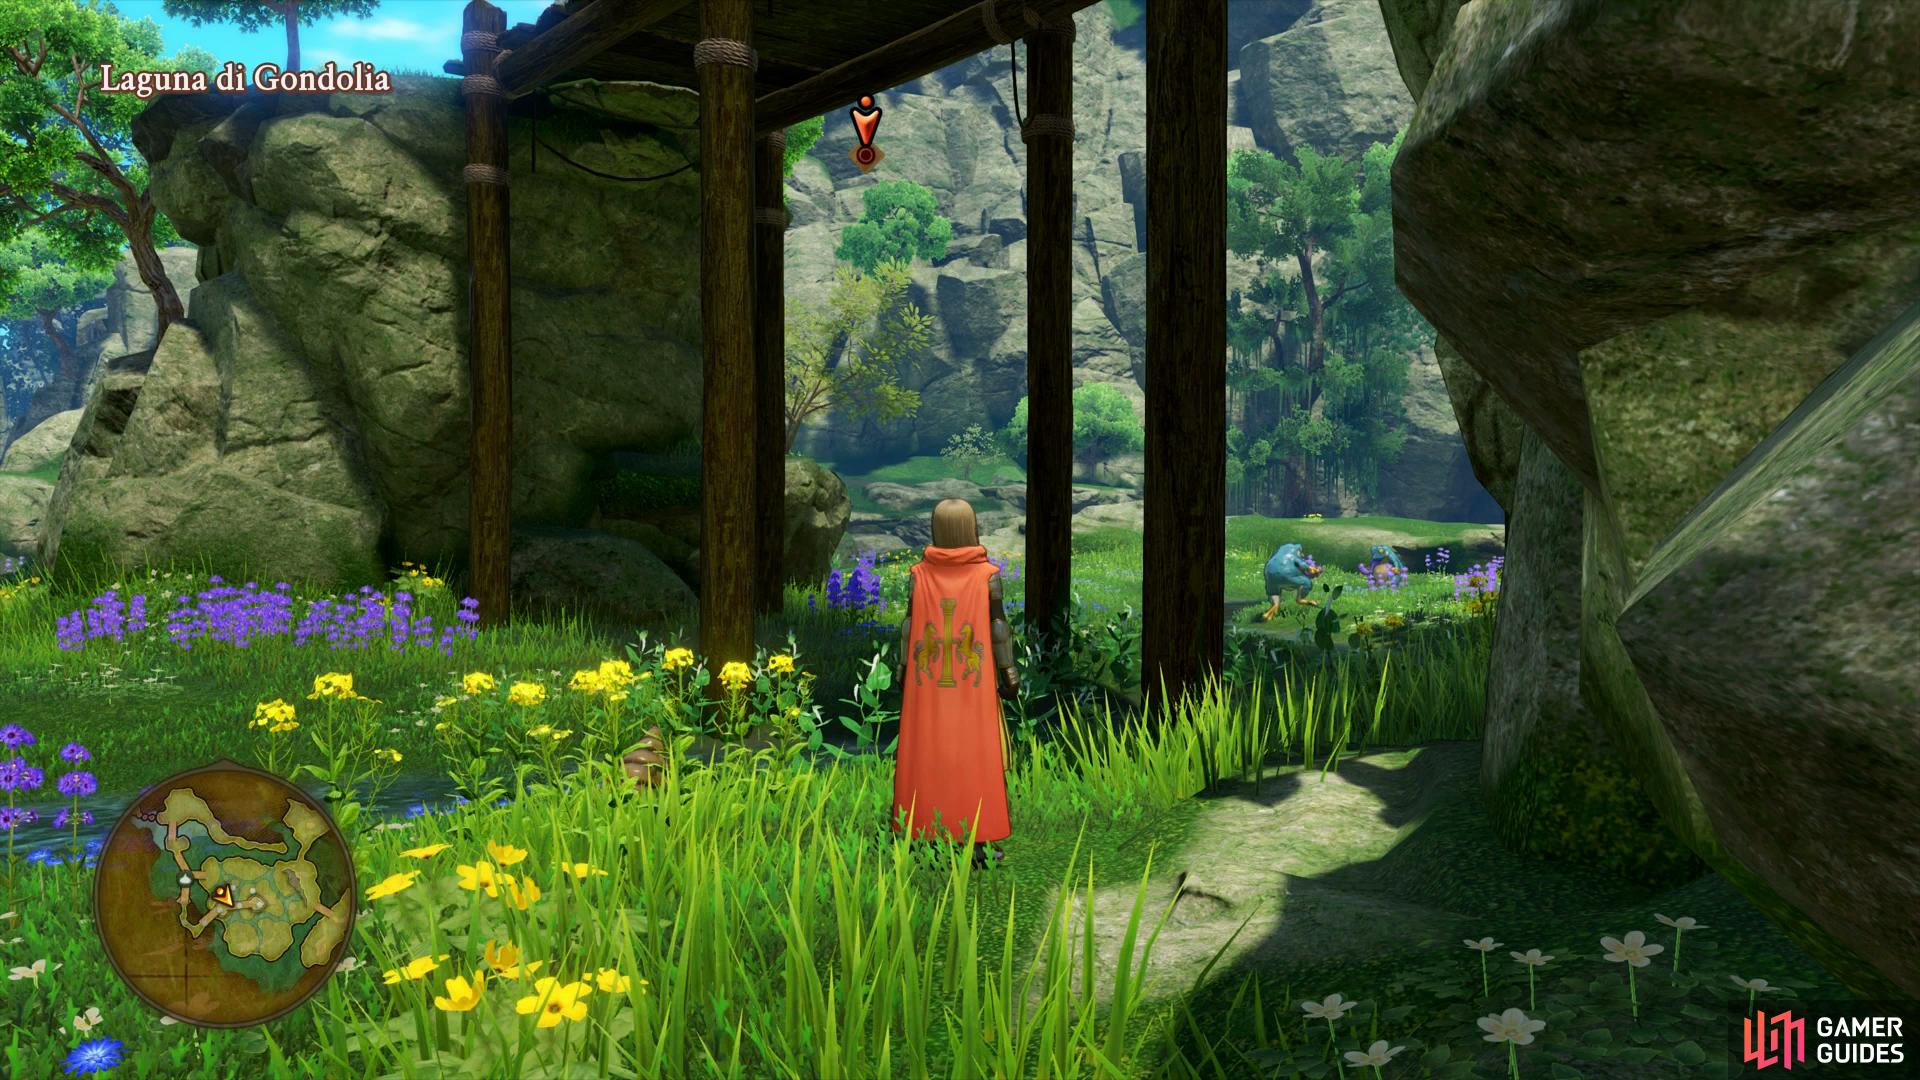
You’ll find yourself in a marshland full of small islands connected by walkways. Beware of battles containing Muddy Hands, these monsters can call for help constantly so make sure you aim for them first in any encounters. For now, take either path and head to the northwest island where you can find a Tree gathering point containing a Flurry Feather, Chimera Wing and a Pink Pine. More importantly however, is a Glittering Midnight Horknight, be sure to defeat one and claim it as a mount. This mount will allow you to fly over the waters here to the out of reach islands.
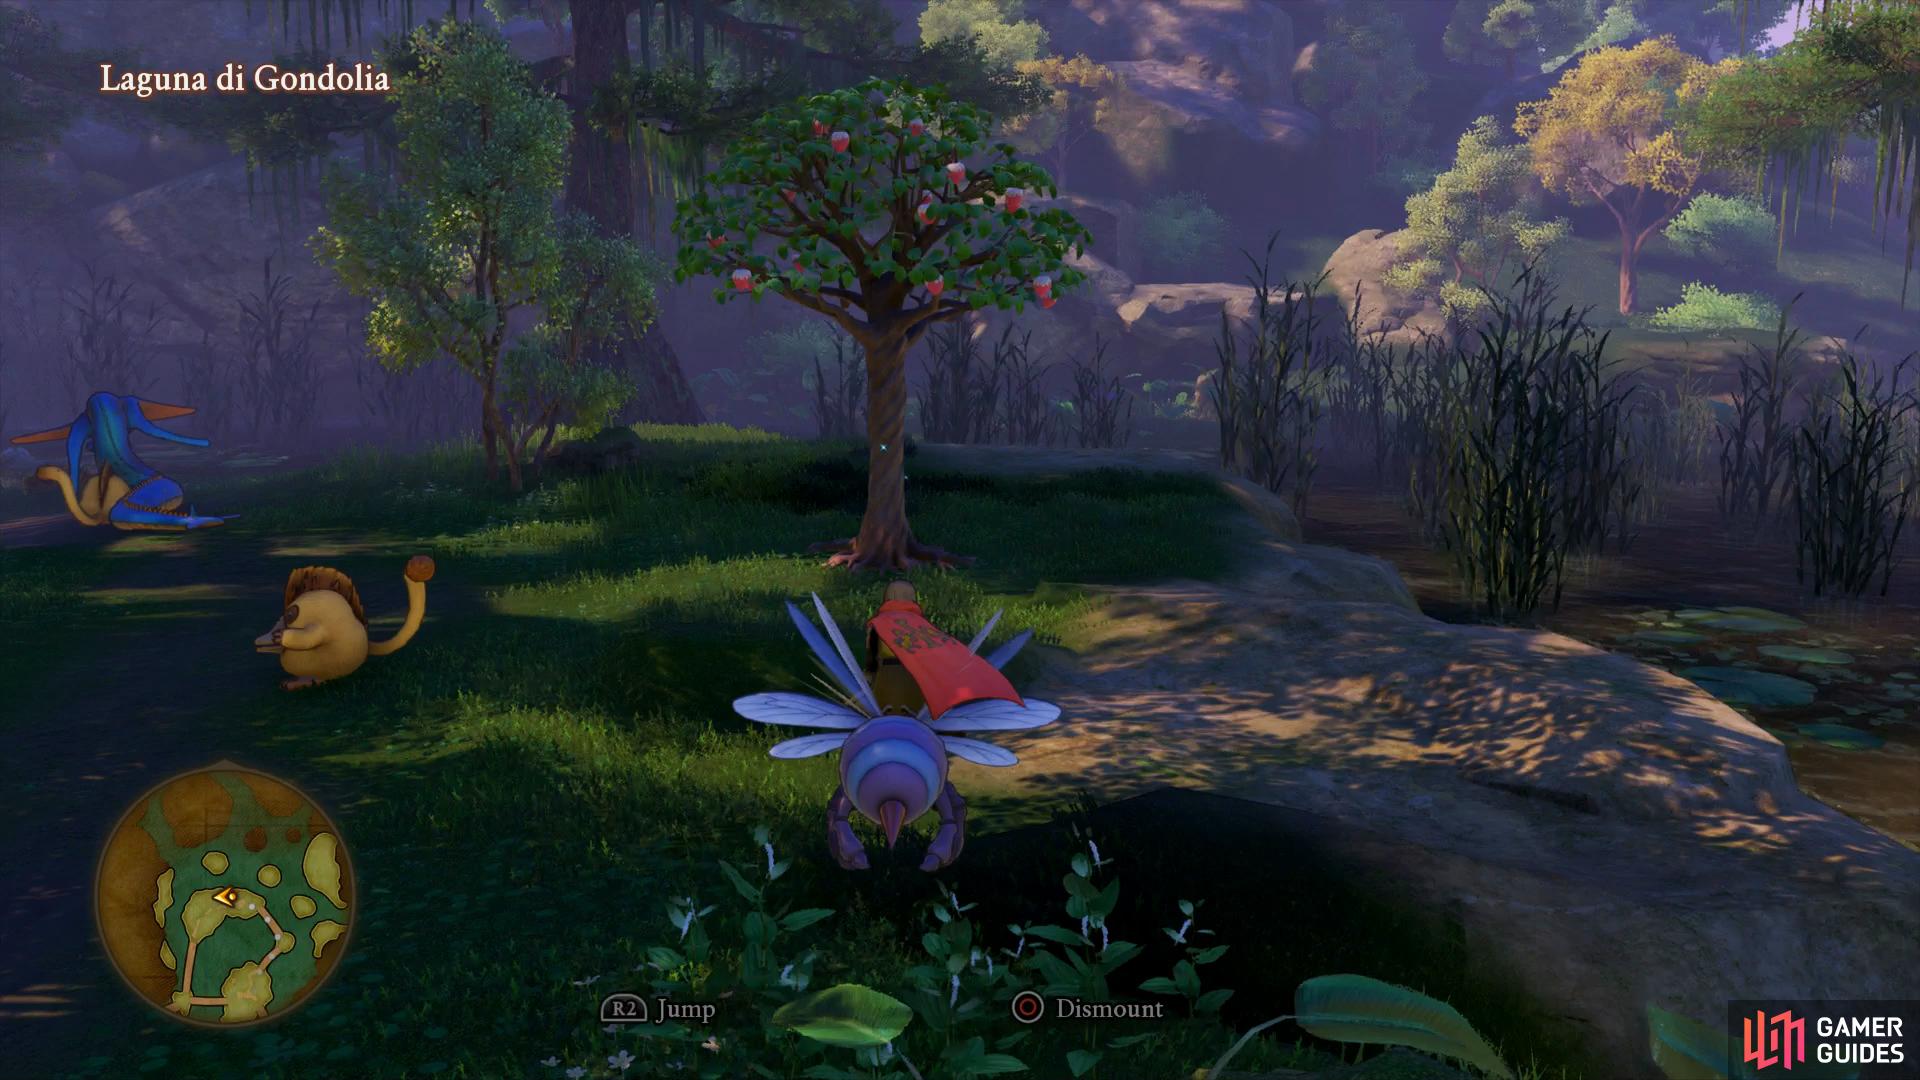
Snag yourself a Midnight Horknight mount to reach the smaller islands
one of them contains a chest with a useful Seed of Skill.
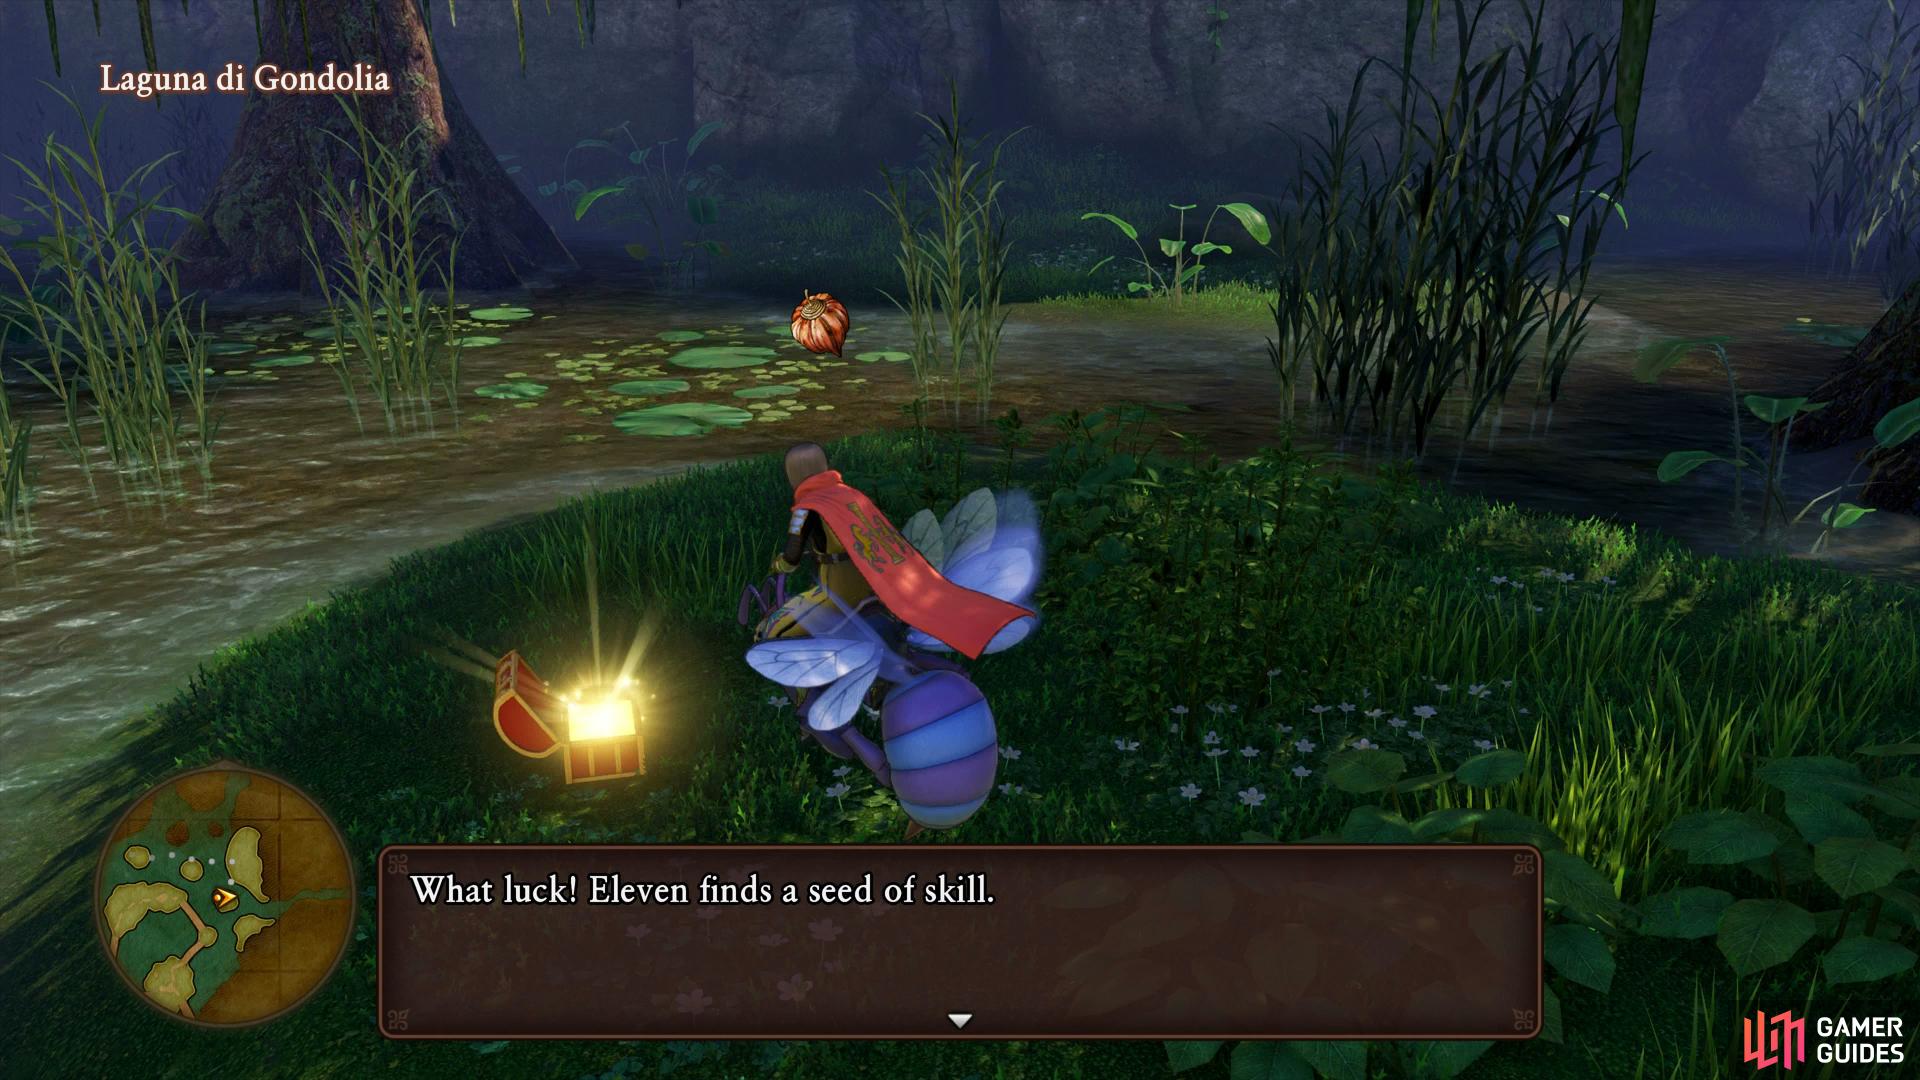
Start by flying to the small island north of your current one, there’s a Sparkly Spot here with a Celestial Skein. Fly now to the large eastern island to find another Sparkly Spot, this one contains a Royal Soil. The final item to find in this swamp is a chest on a small island southwest of your current island, open it to obtain a Seed of Skill (consider giving this to Sylvando so that he can reach Hustle Dance quicker). Exit the swamp by flying over to the west (you’ll have to leave the mount here) and follow the path to an Ore gathering point containing a Copper Ore, Iron Ore and Gold Ore.
As you reach the Central swamp, you’ll immediately see that it’s a lot larger. You’ll also spot your next Weather Cow here, go ahead and speak to it before following the linear path to the first intersection. You’ll start encountering Weartigers from this point onward, not only do these hit hard but they can also recover their HP by eating fruit, tread carefully. Take the southern path at the intersection and follow it to a Sparkly Spot containing Fresh Water. You’ll also find Midnight Horknights that you can mount here, defeat one and snag yourself a mount for this area.
Fly over to the southeast island from your current position to find the first item, a Faerie Fluff before flying on over to the western of the small islands to find a chest containing five Perfectionist Pearls. There’s nothing else to find out on the small islands so return to the platforms and make your way up to the central most platform, a chest will await you containing a Mini Medal. Take the northeast stairs here and then south up some more stairs, look on top of a pole to your right to find the second Crossbow Target. Head back to where you got the previous chest and take the western stairs down to the next intersection, turn the camera to face west to spot the third Crossbow Target hanging from a tree.

You can find the second Crossbow Target on the central platform
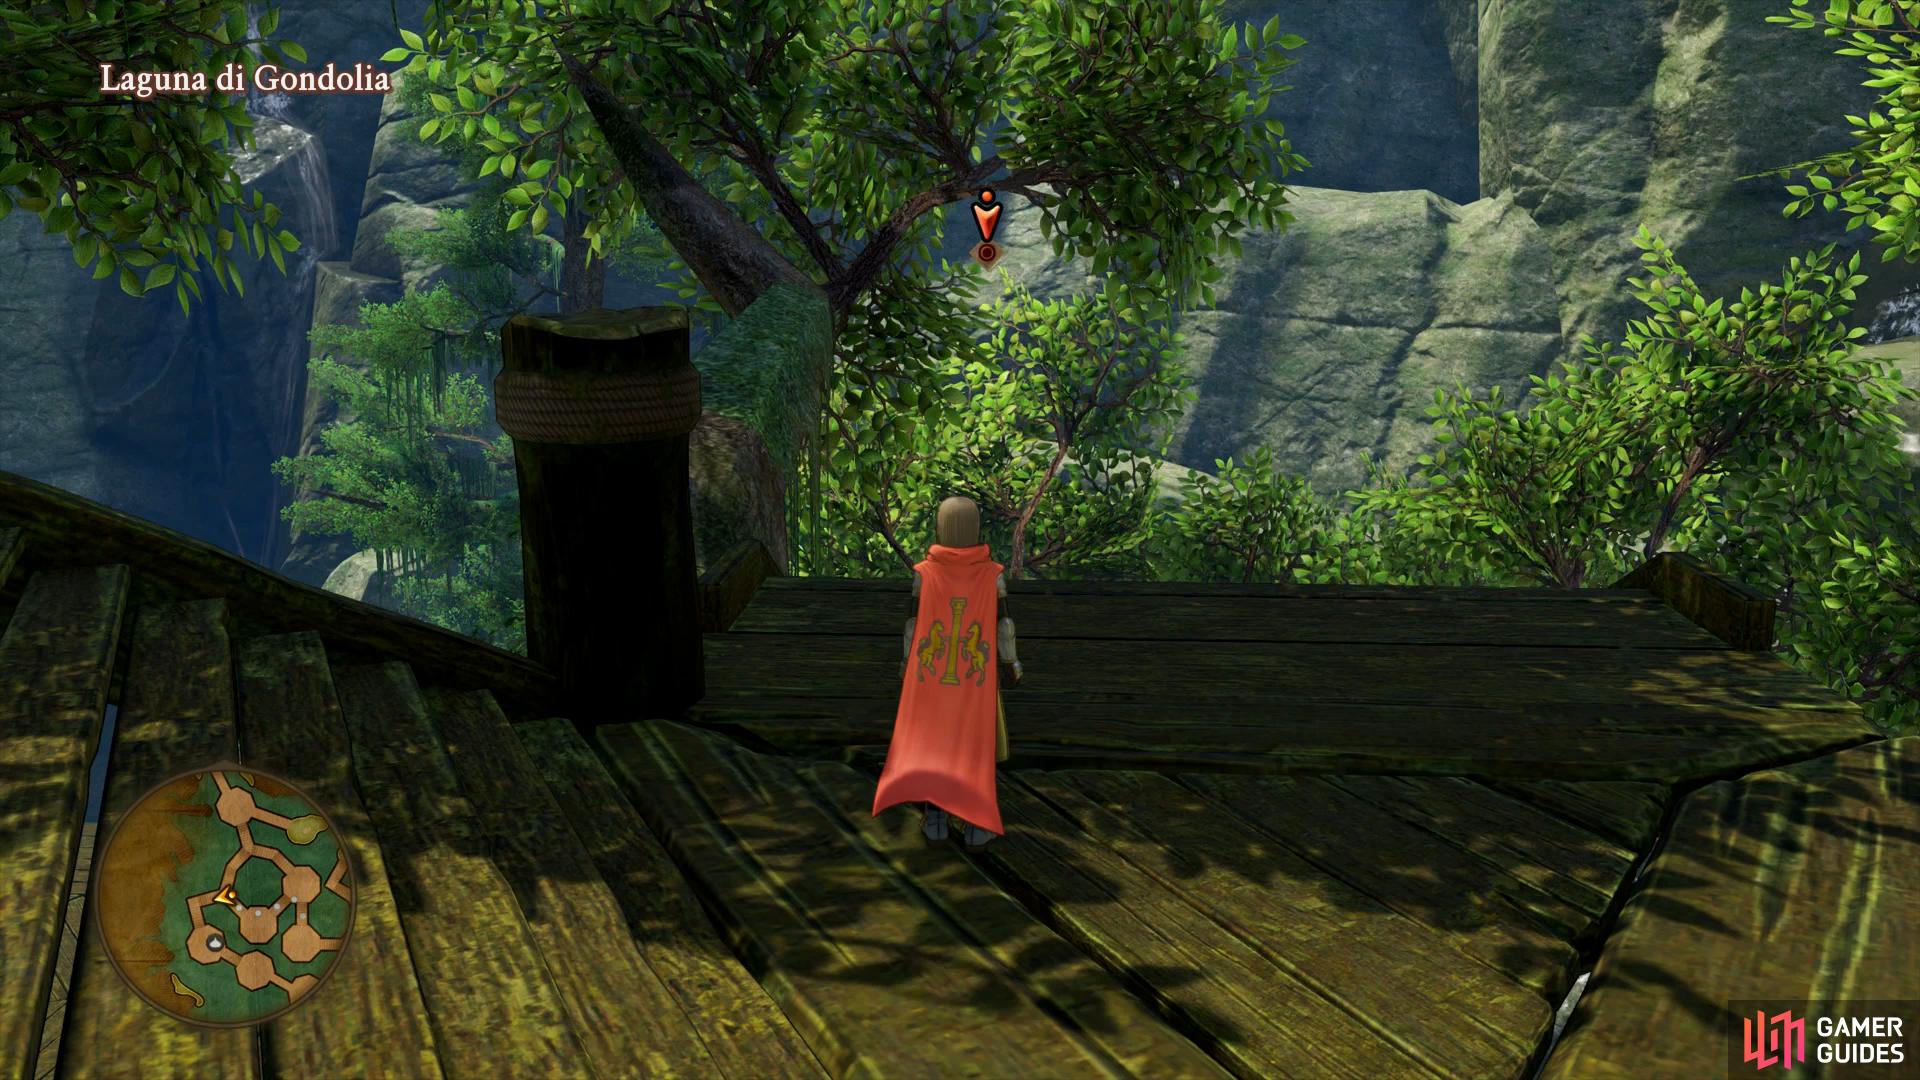
while the third is hanging from a tree to the west of the central swamp.
Continue to the northern most platform and take the east path to a small island with a chest containing your next Recipe Book, I Love Iron Armor which will allow you to craft an Iron Helmet, Iron Cuirass and an Iron Armor, very useful. The town of Gondolia lies just ahead of you to the north but for now, resist the urge to explore a new town and let’s track down the remaining items and Crossbow Targets by heading west to the Western swamp.
Follow the first island down to the southwest where you’ll find a Sparkly Spot containing a Glass Frit along with a Midnight Horknight you can mount.
Travel over to the northern island first, a Sparkly Spot containing a Moonwort Bulb can be looted here. Glide over to the west of this island to find your next Sparkly Spot with a Waveweed. There’s another Sparkly Spot just southwest of your location in the water, sitting atop a rock, loot it to obtain a Royal Soil. Return to the platforms to the west and look out to the rocks to spot the fourth Crossbow Target before heading to the southwest corner of the central landmass to find a Flower gathering point containing a Cottontop, Narspicious and a Strong Medicine. Head west into the rocks from here to discover the last Sparkly Spot containing a Gold Ore.
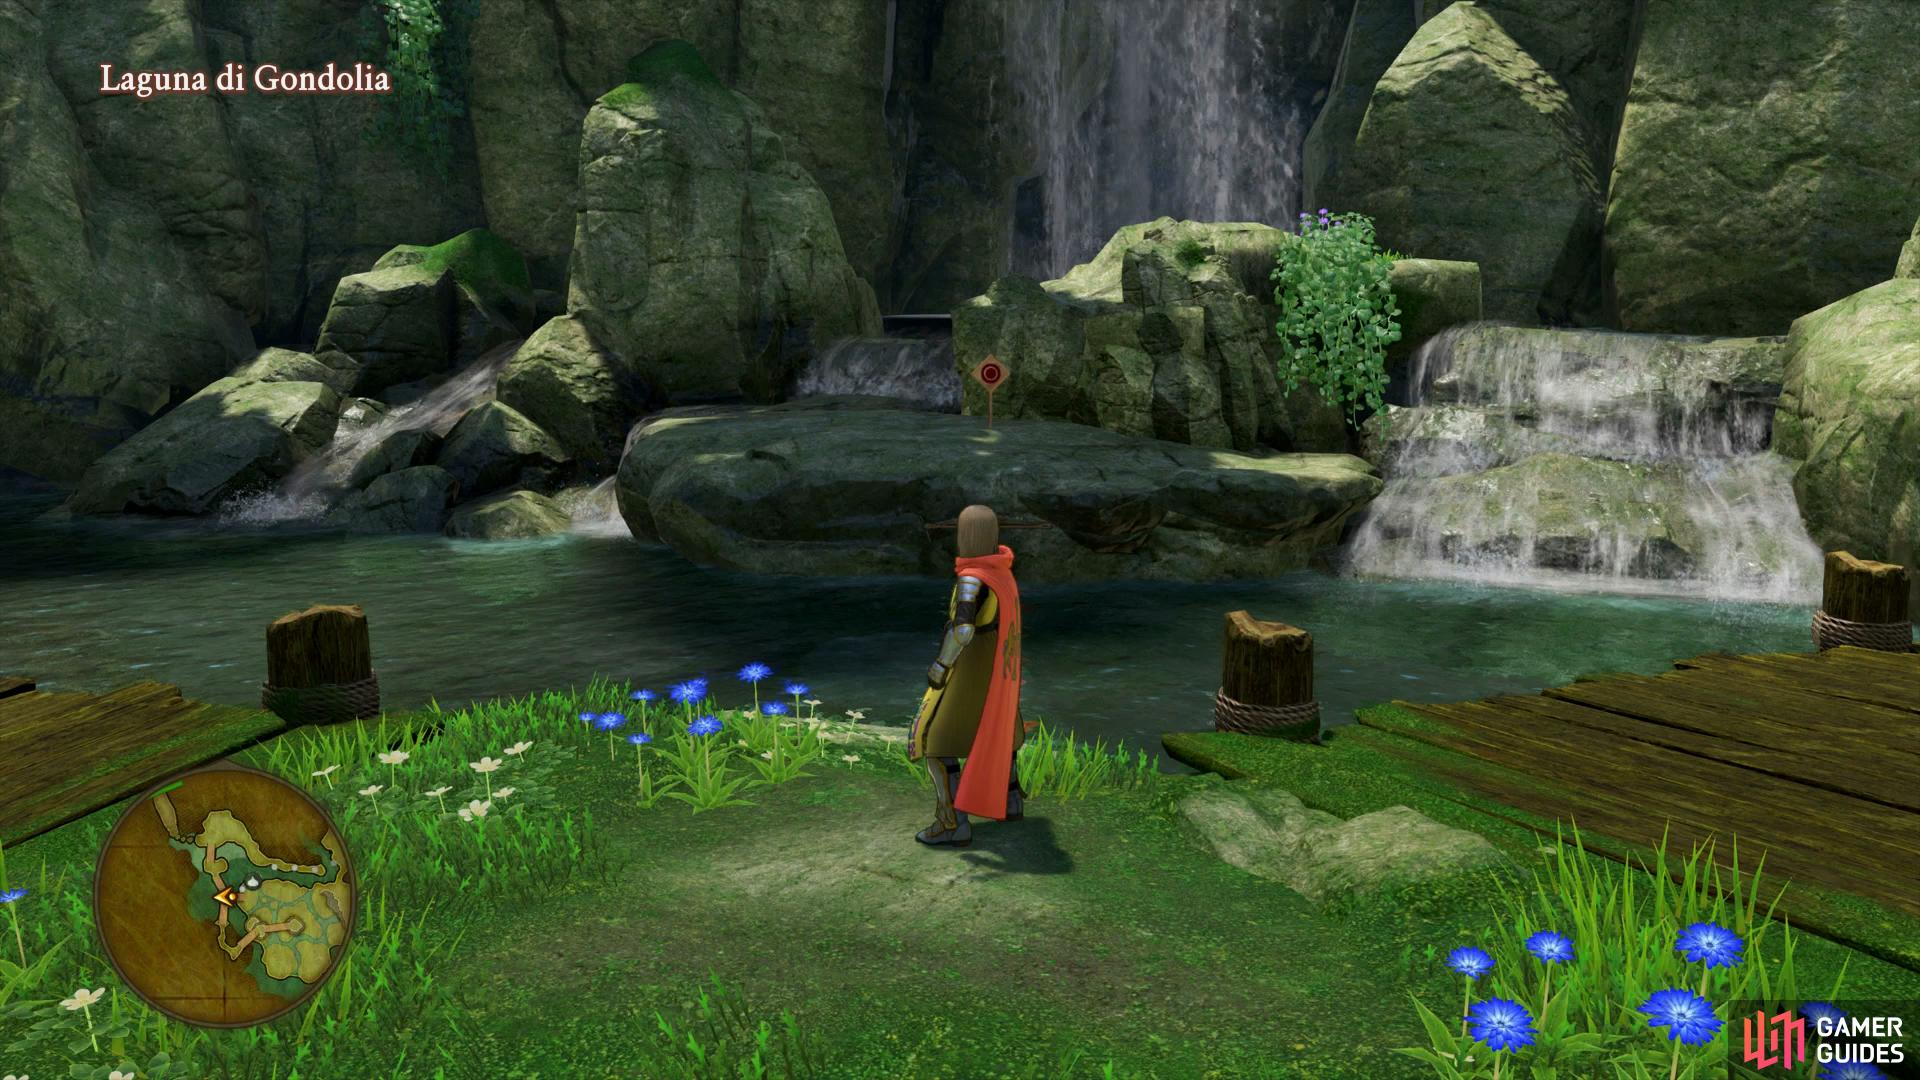
Check out the western swamp to find the fourth
and fifth Crossbow Targets.
Return to the west of the area where you can get back onto the walkway and follow it all the way to the platform in the center, a chest will be waiting here containing another Recipe Book, A Slender Sword of Solid Silver. Before you leave this area, drop down and look under the bridge, you’ll spot the fifth and final Crossbow Target. Zoom back to the Camp in this region and speak to the Bodkin Bowyer to inform him you’ve hit all five targets in this area, your reward is four Seeds of Deftness. Make use of the camp while you’re here and forge Sylvando a Silver Rapier and any other equipment that may be upgrades for your group. When you’re ready, make your way back to where the entrance to Gondolia was and head inside.
Gondolia
| Items | Area |
|---|---|
| 28G | Southeast corner, pot |
| Filigree for Fun and Profit | Church, bookshelf |
| Glass Frit | Outside Church, barrel |
| 24G | Tavern 2F, barrel |
| Moonwort Bulb | Outside Dock, barrel |
| Seed of Strength | Under western bridge, barrel |
| Sun-Bleached Seashell | Under western bridge, barrel |
| Care Rivière | Under central bridge, chest |
| Waveweed | Under eastern bridge, barrel |
| 35G | Eastern house, pot |
| Pitch Pearl | Eastern house, wardrobe |
| Single Phial | Inn, roof, pot |
| Magic Water | Eastern roof, pot |
| Medicinal Herb | Eastern roof, pot |
| 21G | Eastern roof, pot |
| Chimaera Wing | North of Mayor’s house, barrel |
| Flaxen Thread | House north of Mayor’s house, pot |
| Mini Medal | House north of Mayor’s house, wardrobe |
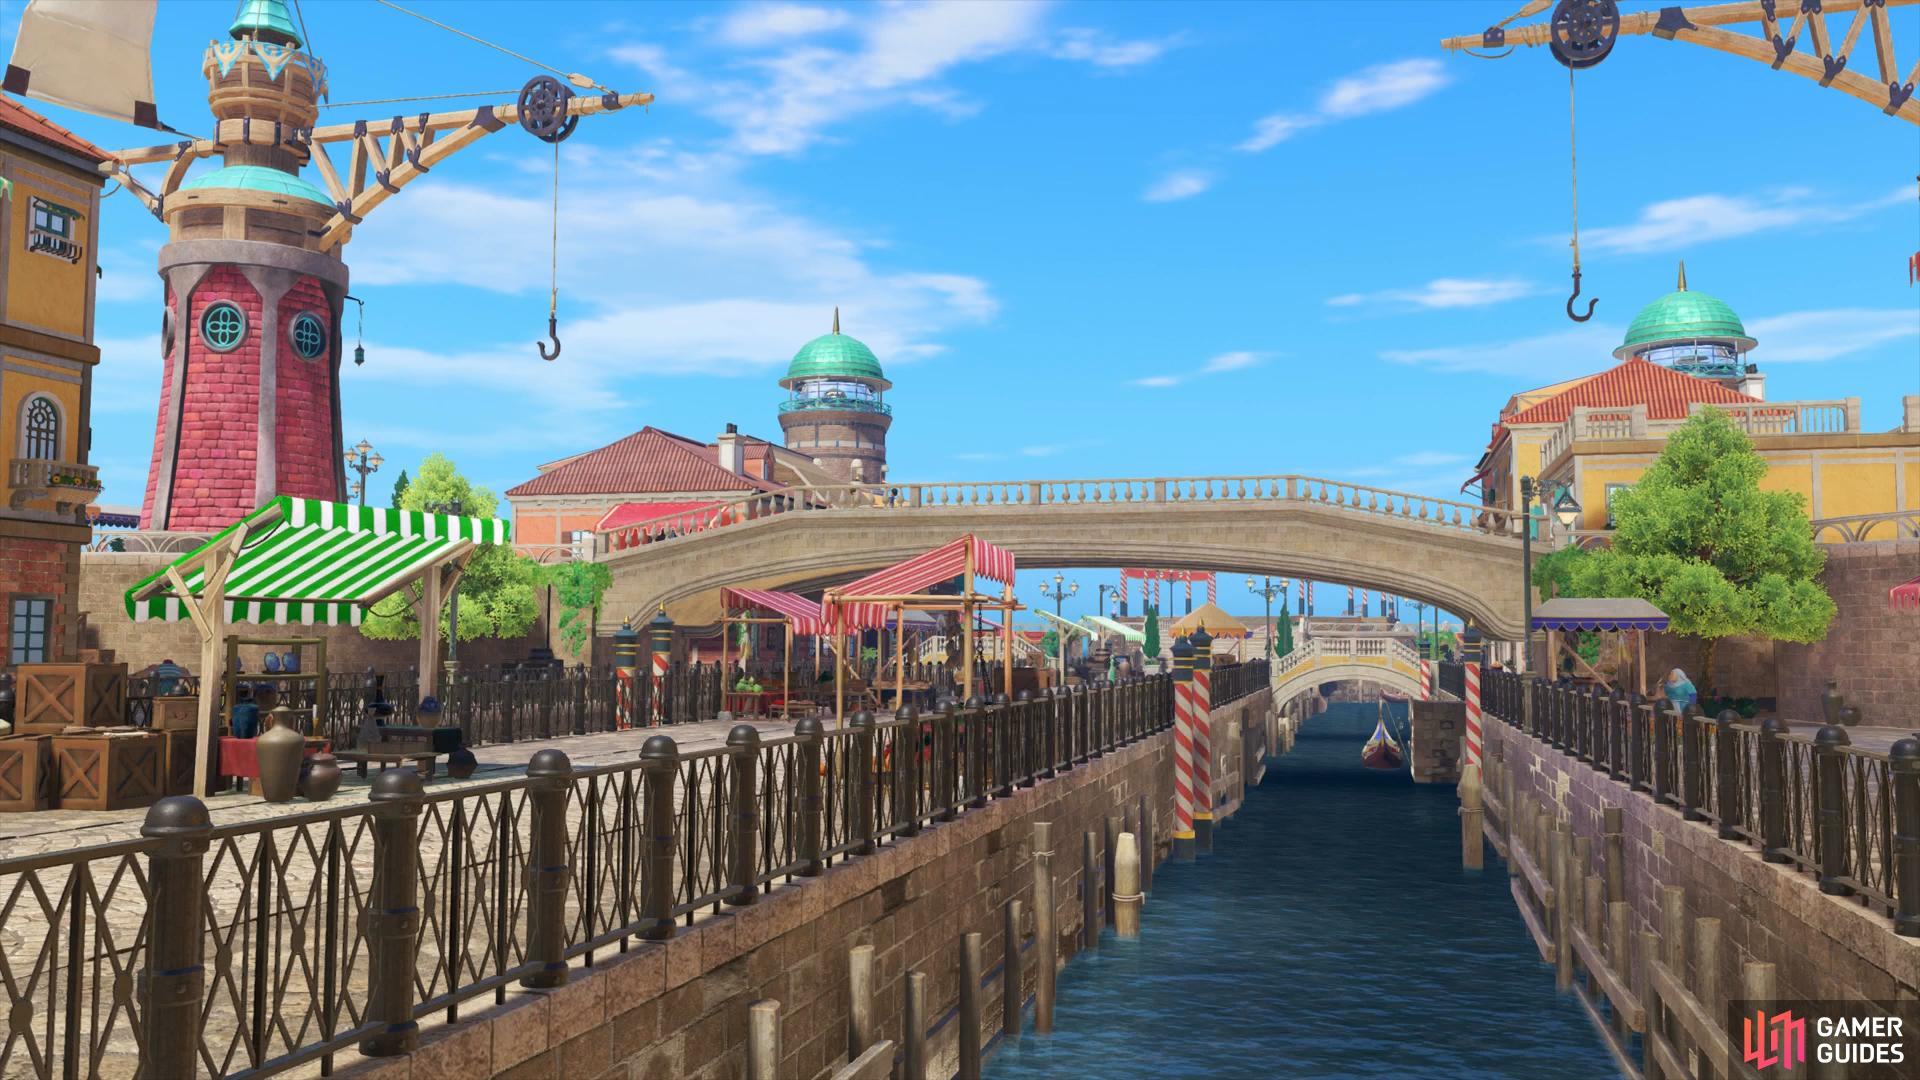
Welcome to Gondolia, home to the largest port in the world and where you’ll also find Sylvando’s ship docked. As always, there’s many items to loot in town so begin your search at the entrance. In the southeast corner you can find 28G in a pot and then head over to check out the Weapons shop. There’s a new Greatsword for the Hero to purchase, the rest of the equipment should be lower than what you already have.
Head up the west path and enter the Church, save your game if needed and then search the bookshelf to find the next Recipe Book, Filigree for Fun and Profit while will allow you to forge some new accessories. Exit the Church and head north before searching in the corner for a barrel containing a Glass Frit. Continue along to the tavern and head upstairs for another barrel with 24G inside of it. Exit out the top and go south until you find some stairs leading down on your right, take them and head to the man at the end. The dock is closed throughout the duration of the Signor Universo taking place in Gondolia at the moment so you’ll need to wait until its over. Veronica, Sylvando and Serena take this opportunity to go shopping leaving the Hero and Erik to find Doge Rotondo.
Once the scene is over, break the barrels next to the man to obtain a Moonwort Bulb and then return to where the Item shop is and check out the wares, the only item of use is the Utility Belt, purchase it if you wish and then leave the shop. Head back upstairs to the upper level and follow the path to the far north of the pier and take the west stairs down. Follow this path all the way southwest to where you will find a Gondola and three barrels, inside you’ll obtain a Seed of Strength and a Sun-Bleached Seashell.
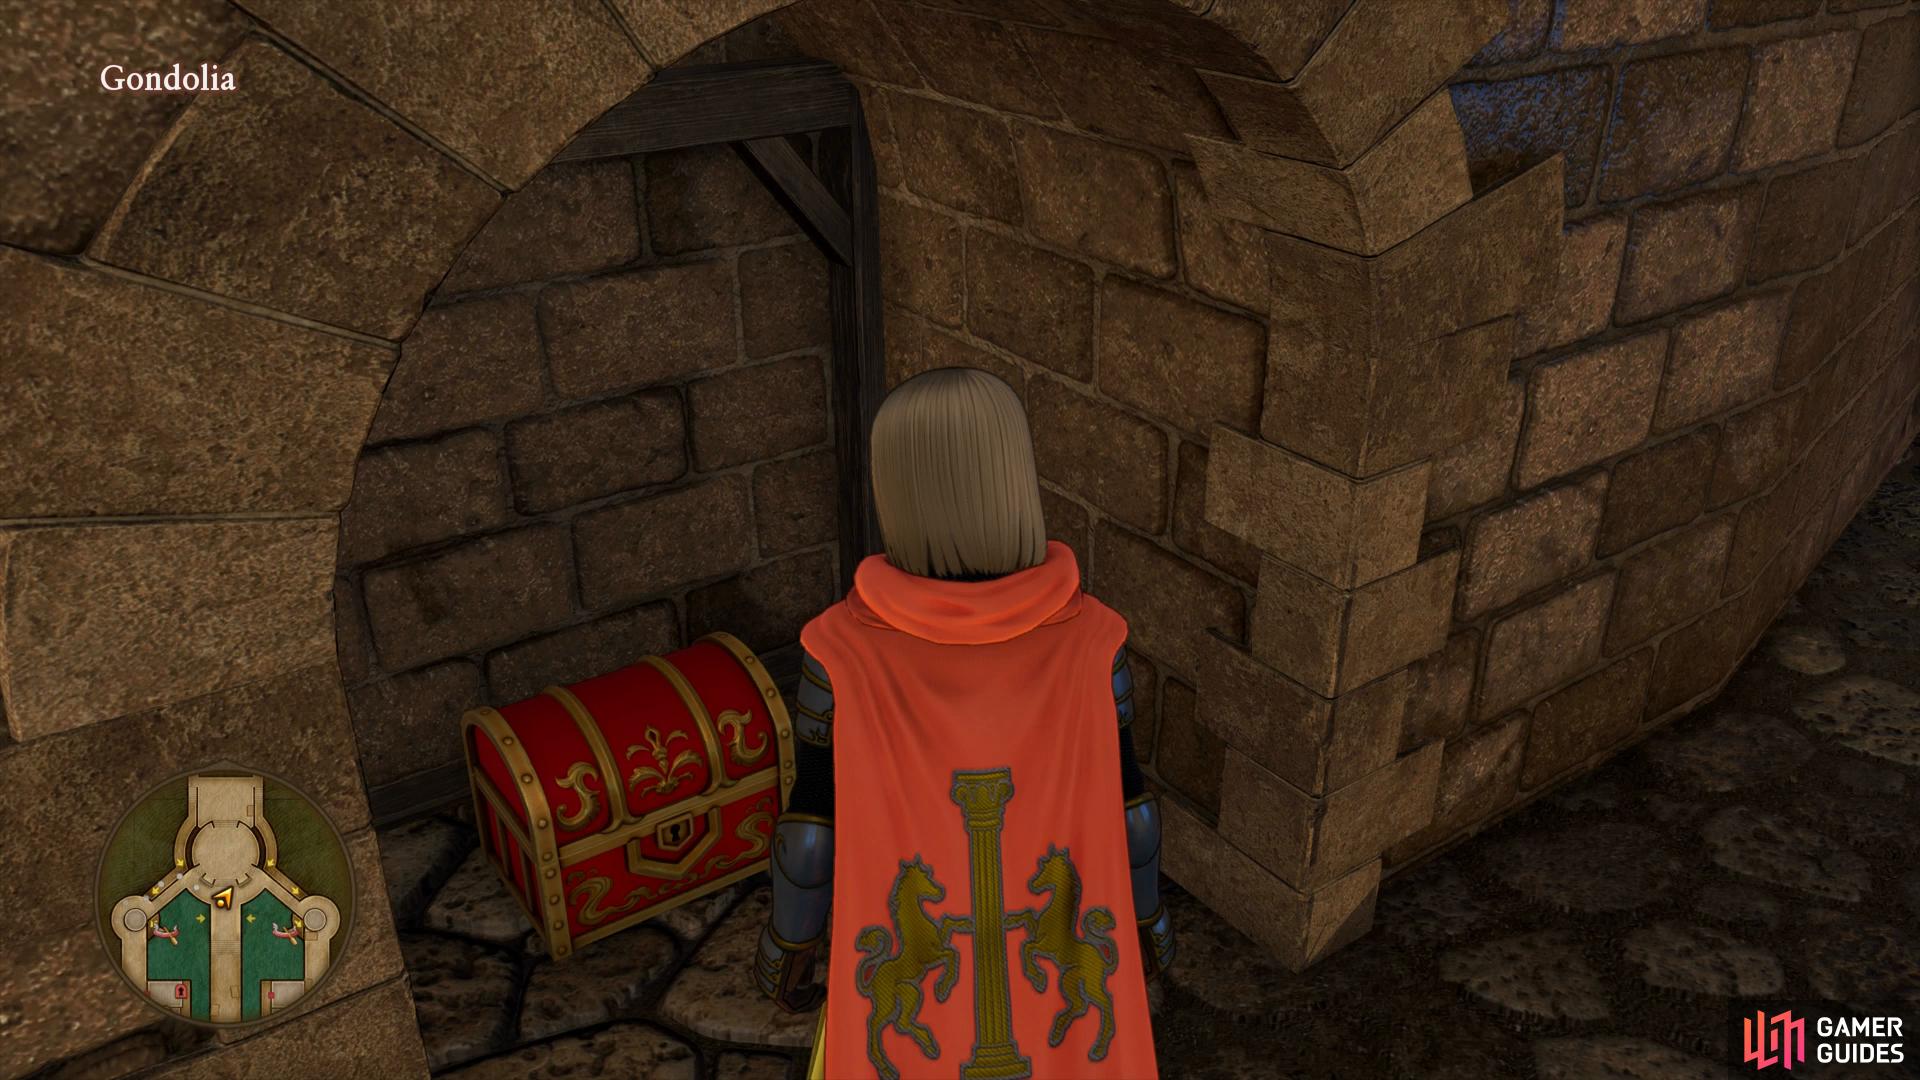
You can find a well hidden chest beneath the stage
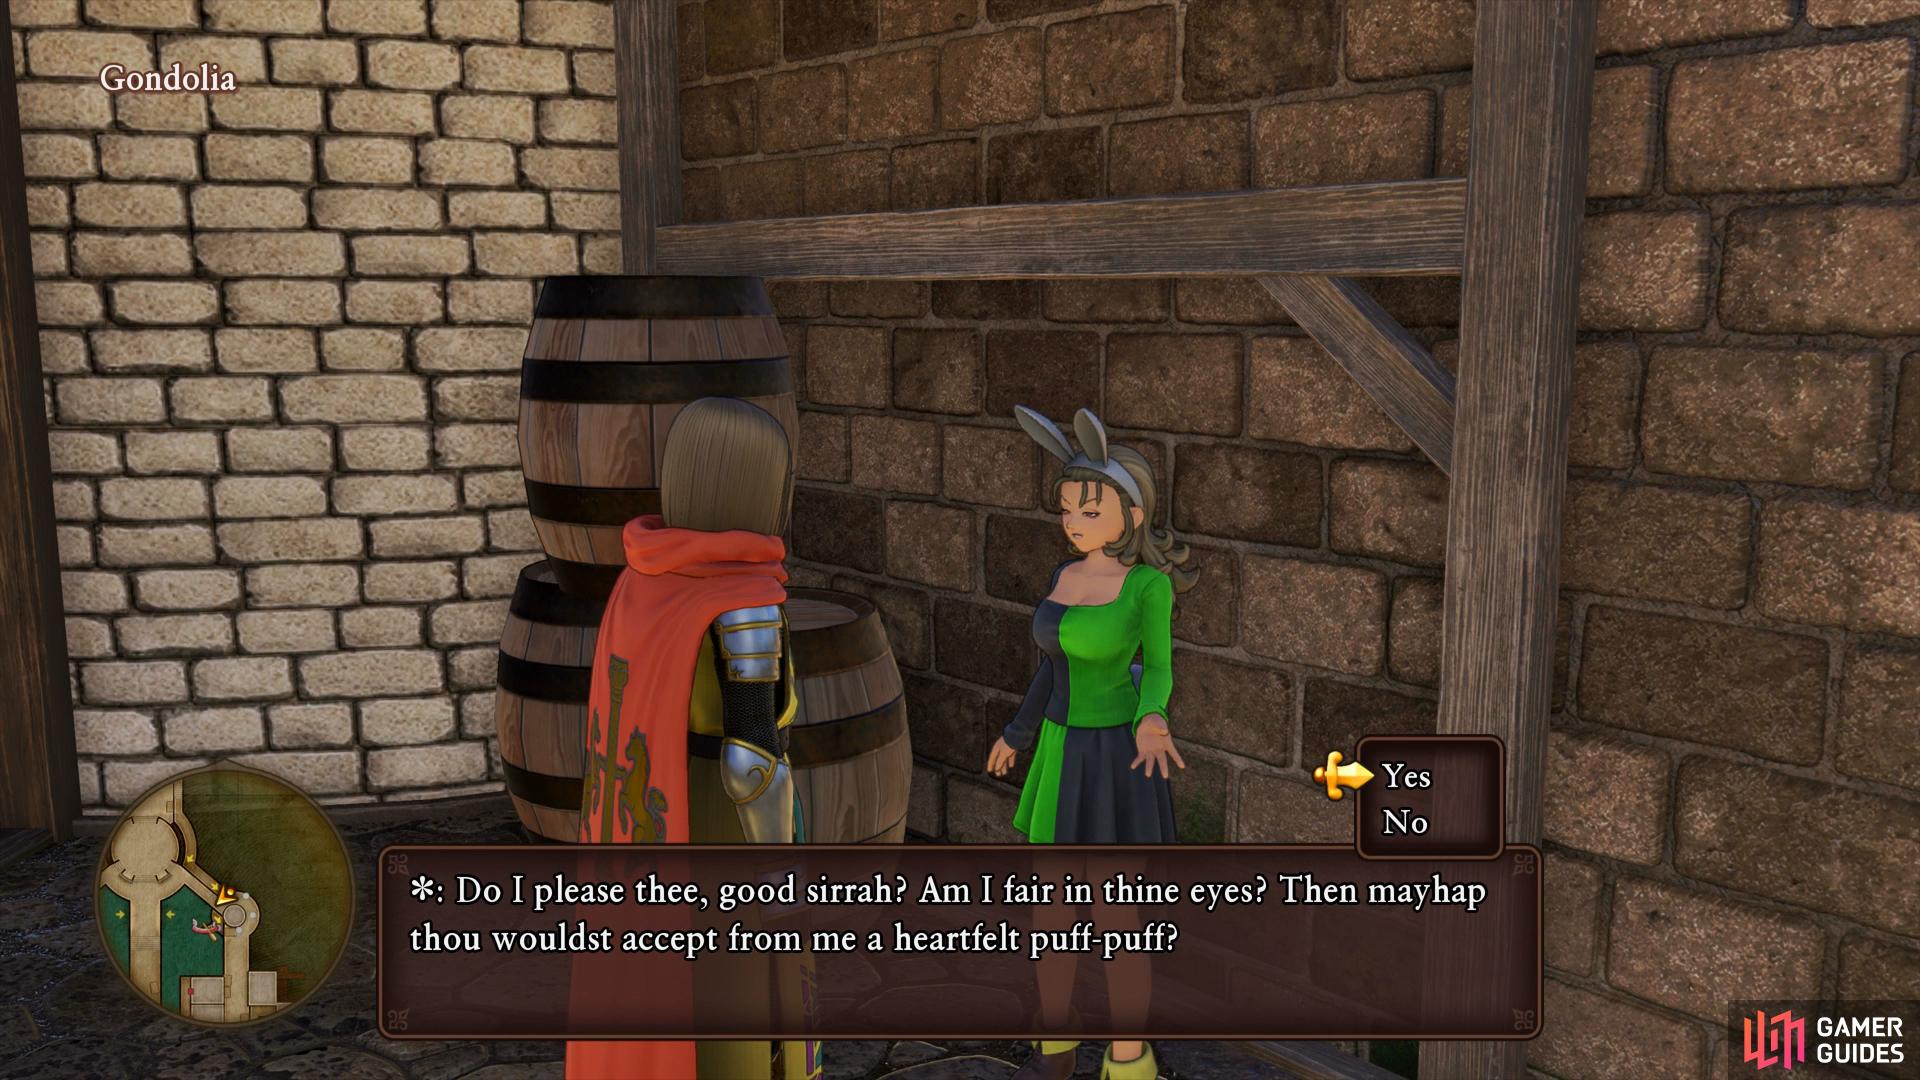
the next girl offering a Puff-puff can be found under the northeast tower.
Ignore the nearby Gondola and return the way you came until you reach the stairs leading back up and instead go east, keeping to the left wall to find a well hidden chest. Open it up to obtain a Care Rivière and then follow this path east, past the Bunny Girl and to some barrels near the east Gondola, smash them open to obtain a Waveweed. Return to the Bunny Girl you just passed up and speak to her, she will offer another Puff-Puff, go ahead and agree to receive your third Puff-Puff (the Hero seems to enjoy these!).
Take the stairs back up and then head along the eastern bridge until you reach the first house you can enter on your left. Head inside and go downstairs to find a pot containing 35G and then head upstairs to find a Wardrobe with a Pitch Pearl. Leave the house and follow the path south and down the stairs, making a brief stop at the Armor shop. The only real piece of equipment of any note is the Cat Hat for Veronica, something which you’ll see the true significance of shortly.
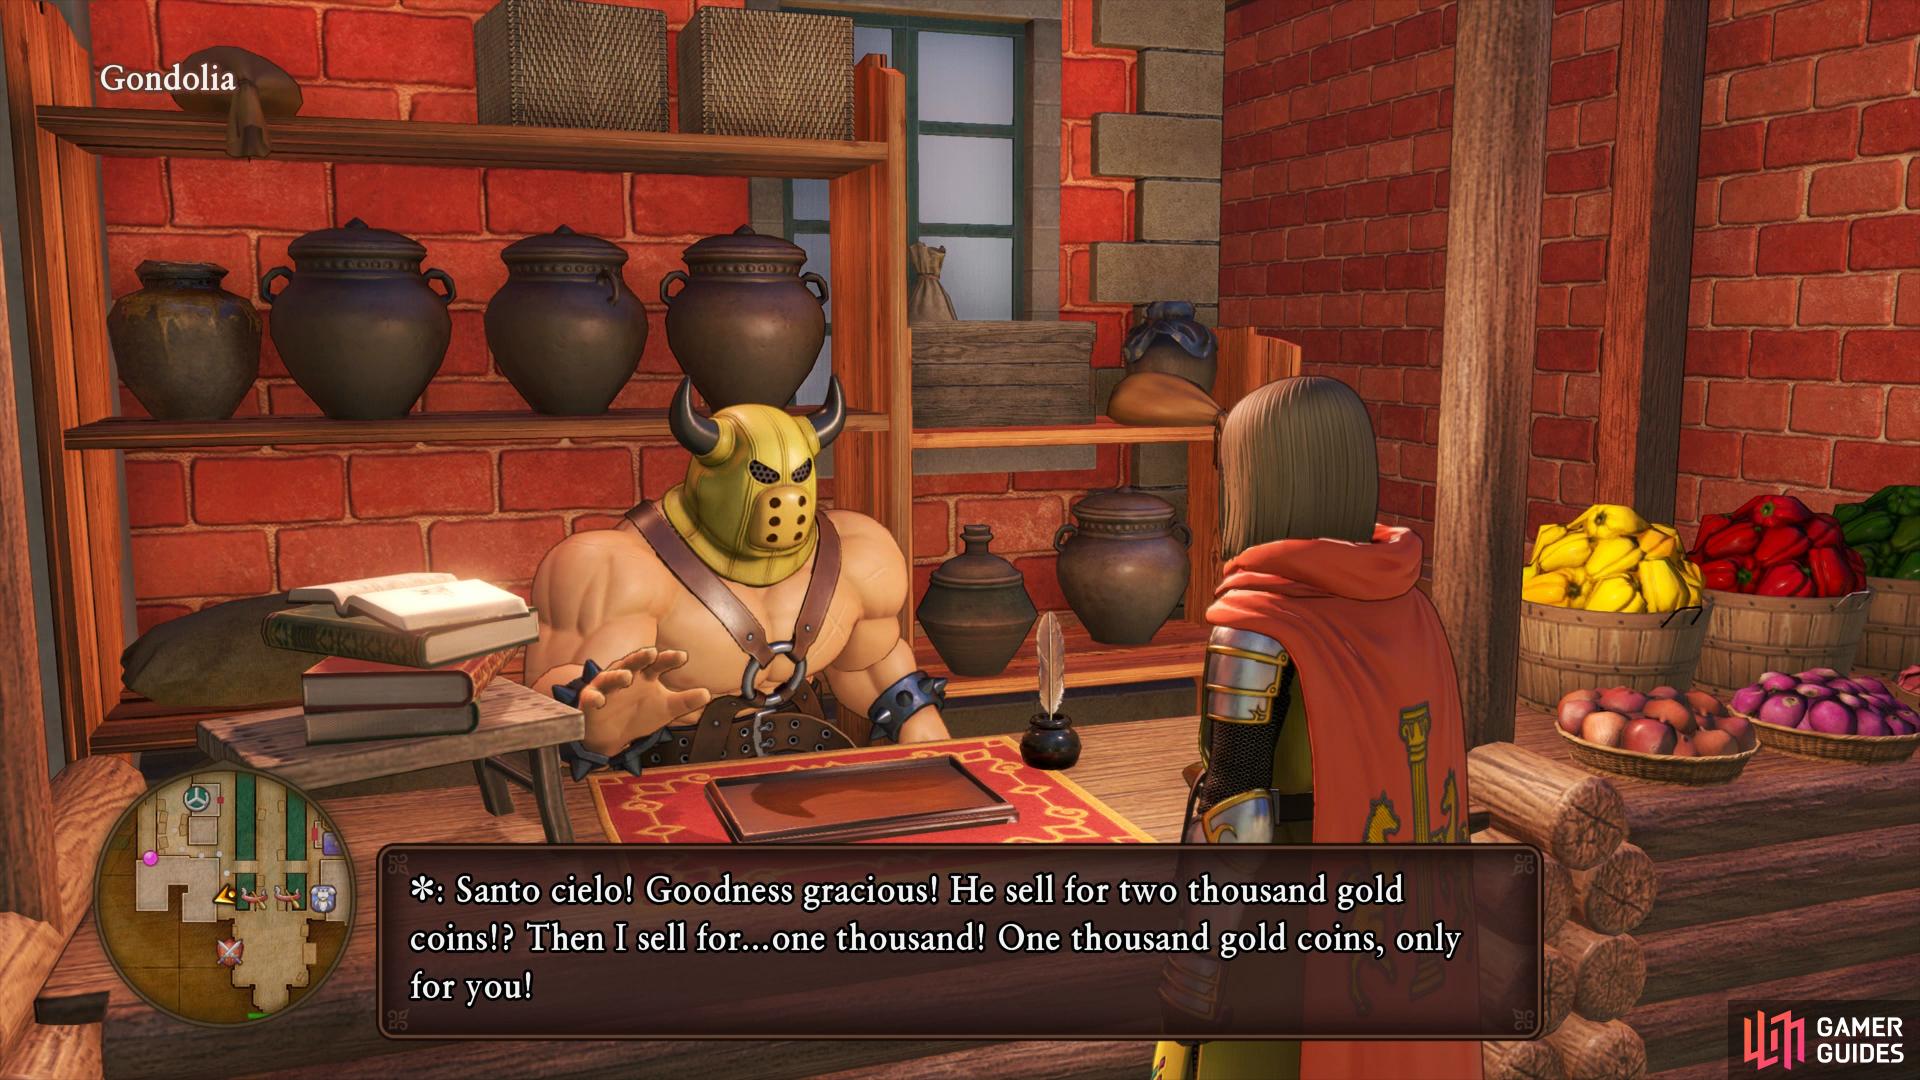
Haggle the brothers down to 1000G to snag the Cat Suit
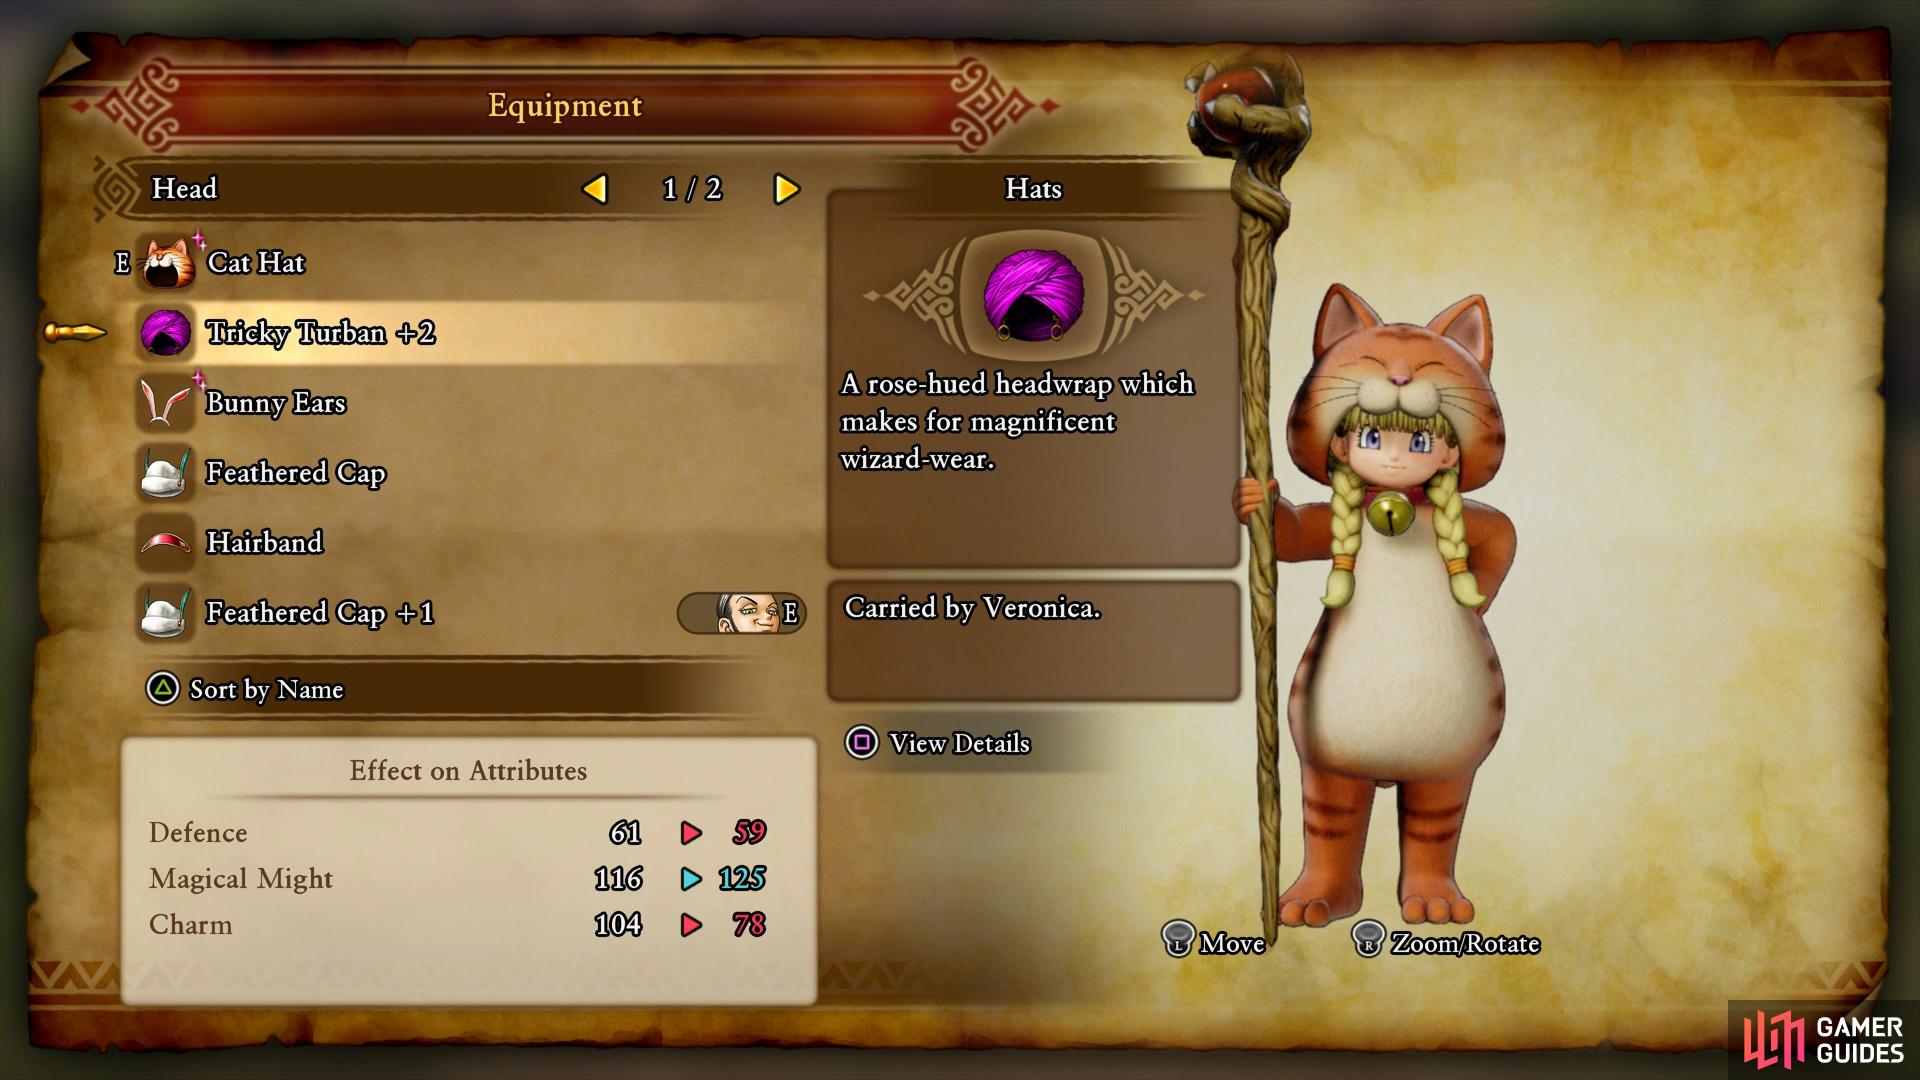
equip this with the Cat Hat purchased from the shop to change Veronica’s appearance.
Exit the shop and run back over to the westside of town and speak to the first merchant there. He’s willing to sell you the Cat Suit but is charging a hefty 10,000 Gold for it, turn him down and head upstairs to speak to the merchant in blue who is also selling the equipment. Once again, turn down the price and return to his brother who will lower his price. Continue the haggling between the two brothers and eventually you’ll lower it to 1,000G, a much more agreeable price. Equip this along with the Cat Hat you just got from the Armor shop to alter Veronica’s appearance to an adorable cat (you’ll have to sacrifice magical might from her current equipment however).
With that excursion out of the way, return to the east side of town and head into the Inn. Rest up if you need to and then head upstairs to the very top to find another door to exit from. Take the ladder to the roof and break the pots to obtain a Single Phial. Use the rope to cross over to another roof with a chest sitting on it, open it up to obtain some Magic Water (a bit underwhelming for all the work you need to do to reach this chest). There’s one more rope for you to cross here, do so and smash the pots to obtain a Medicinal Herb and 21G.
Use the gap to drop down and then head south to find the stairs back down to the lower level. Continue north past the Inn to find a woamn near a locked door. This is the woman from Quest 09, speak to her and hand over the letter receive another letter for her brother back at the guard post. Zoom back to the South Campsite in Gallopolis and head to the guard at the west checkpoint. This will complete the quest and you’ll receive the Cutting-Edge Kit Recipe Book. Zoom back to Gondolia and return to the woman once more, she’ll have a new quest for you now, Quest 10 - An Even Lovelier Letter. You’ll need to pass her letter on to Valentino in Puerto Valor, a town you’ve not been to yet.

You’ll find the girl, Akia, from Quest 09 just outside the Doge’s house
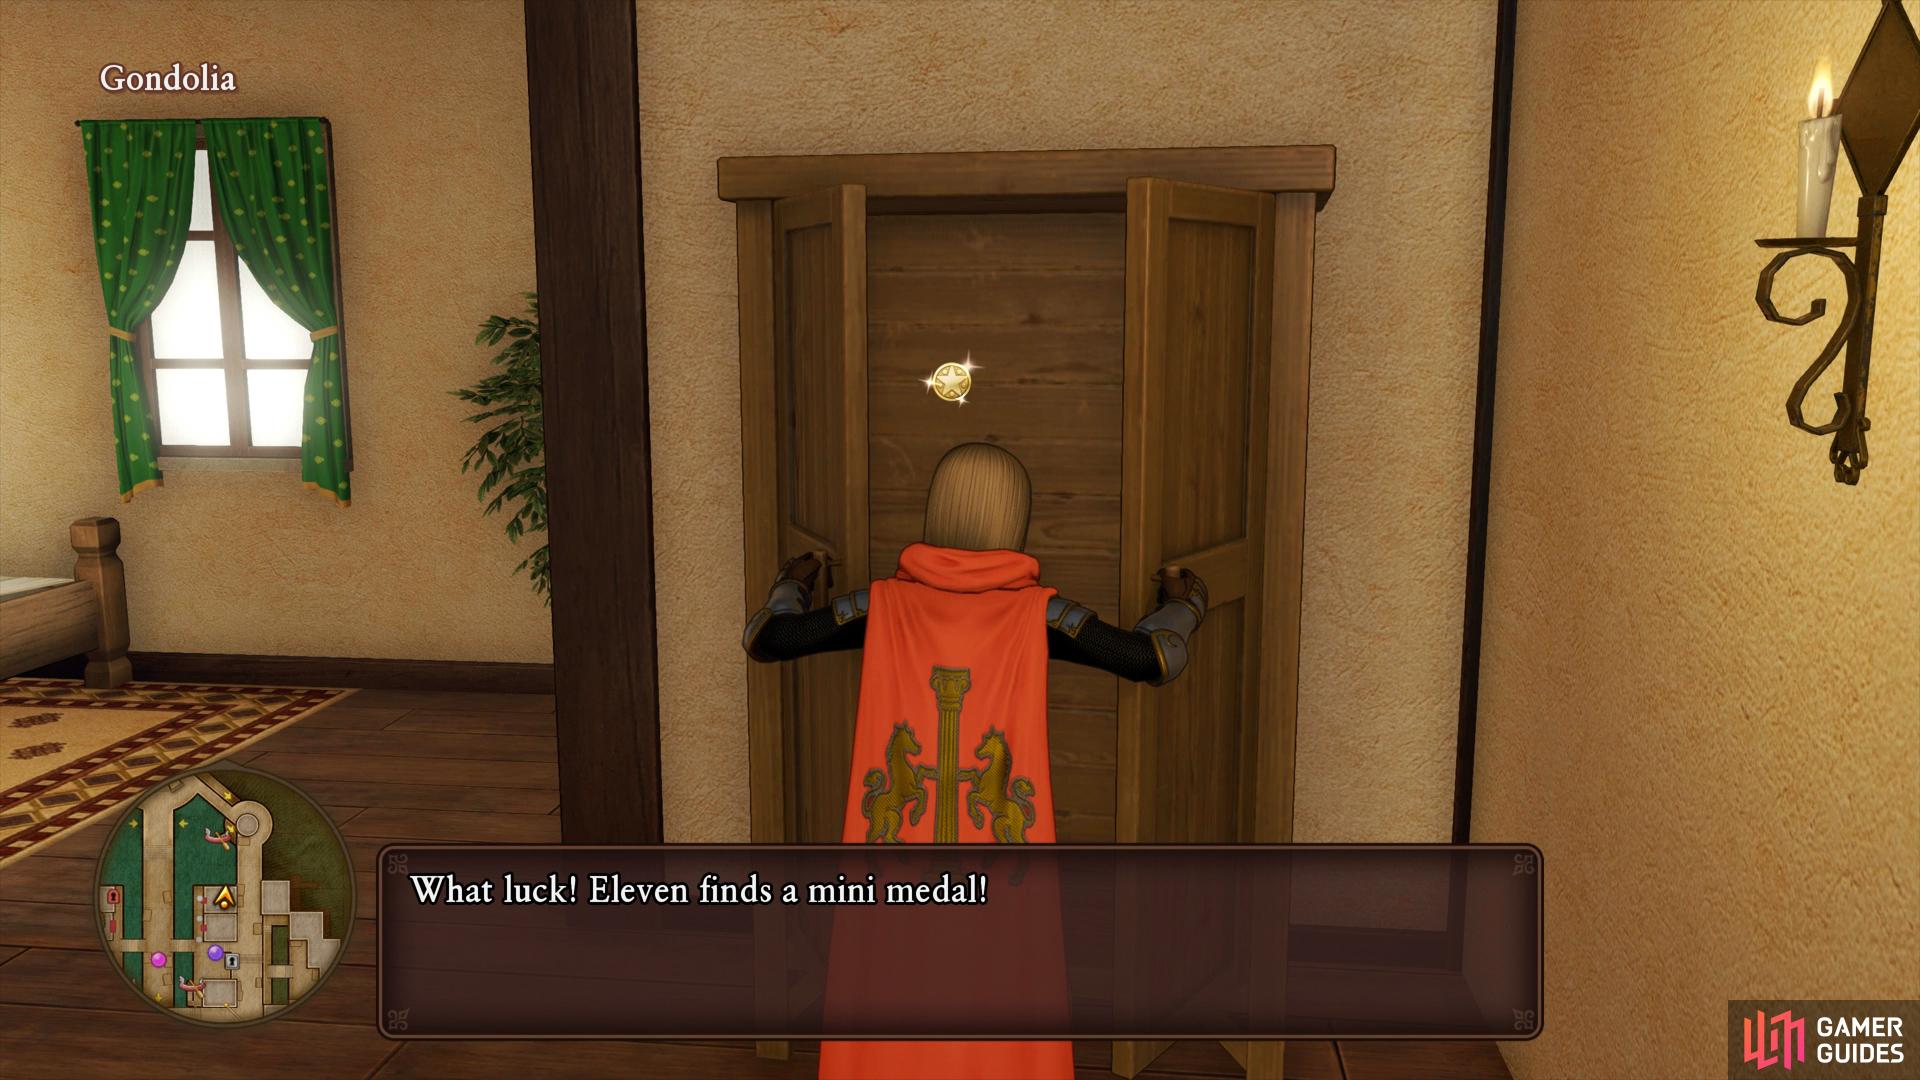
search the house north of her to find a Mini Medal in the wardrobe.
Ignore the next house north and head to the far end to find a pair of barrels, break them open to obtain a Chimaera Wing and then enter the house next to them. You’ll find a pot to smash containing a Flaxen Thread along with a wardrobe you can search upstairs for a Mini Medal. Head back outside and into the next house to finally find the Doge’s House. The Doge is reluctant to help as soon as he notices the Hero and Serena will return to ask for help with Veronica. A boy has stolen Veronica’s staff and after the following exchange, it seems the Doge’s only son, Placido, has had a curse placed on him. Serena can break the curse but only with water from a sacred fountain to make Birdsong Nectar. Benigno remarks that you should be able to find some in the cave to the west of Gondolia. Save your game and rest at the Inn if you haven’t already done so before you leave town.
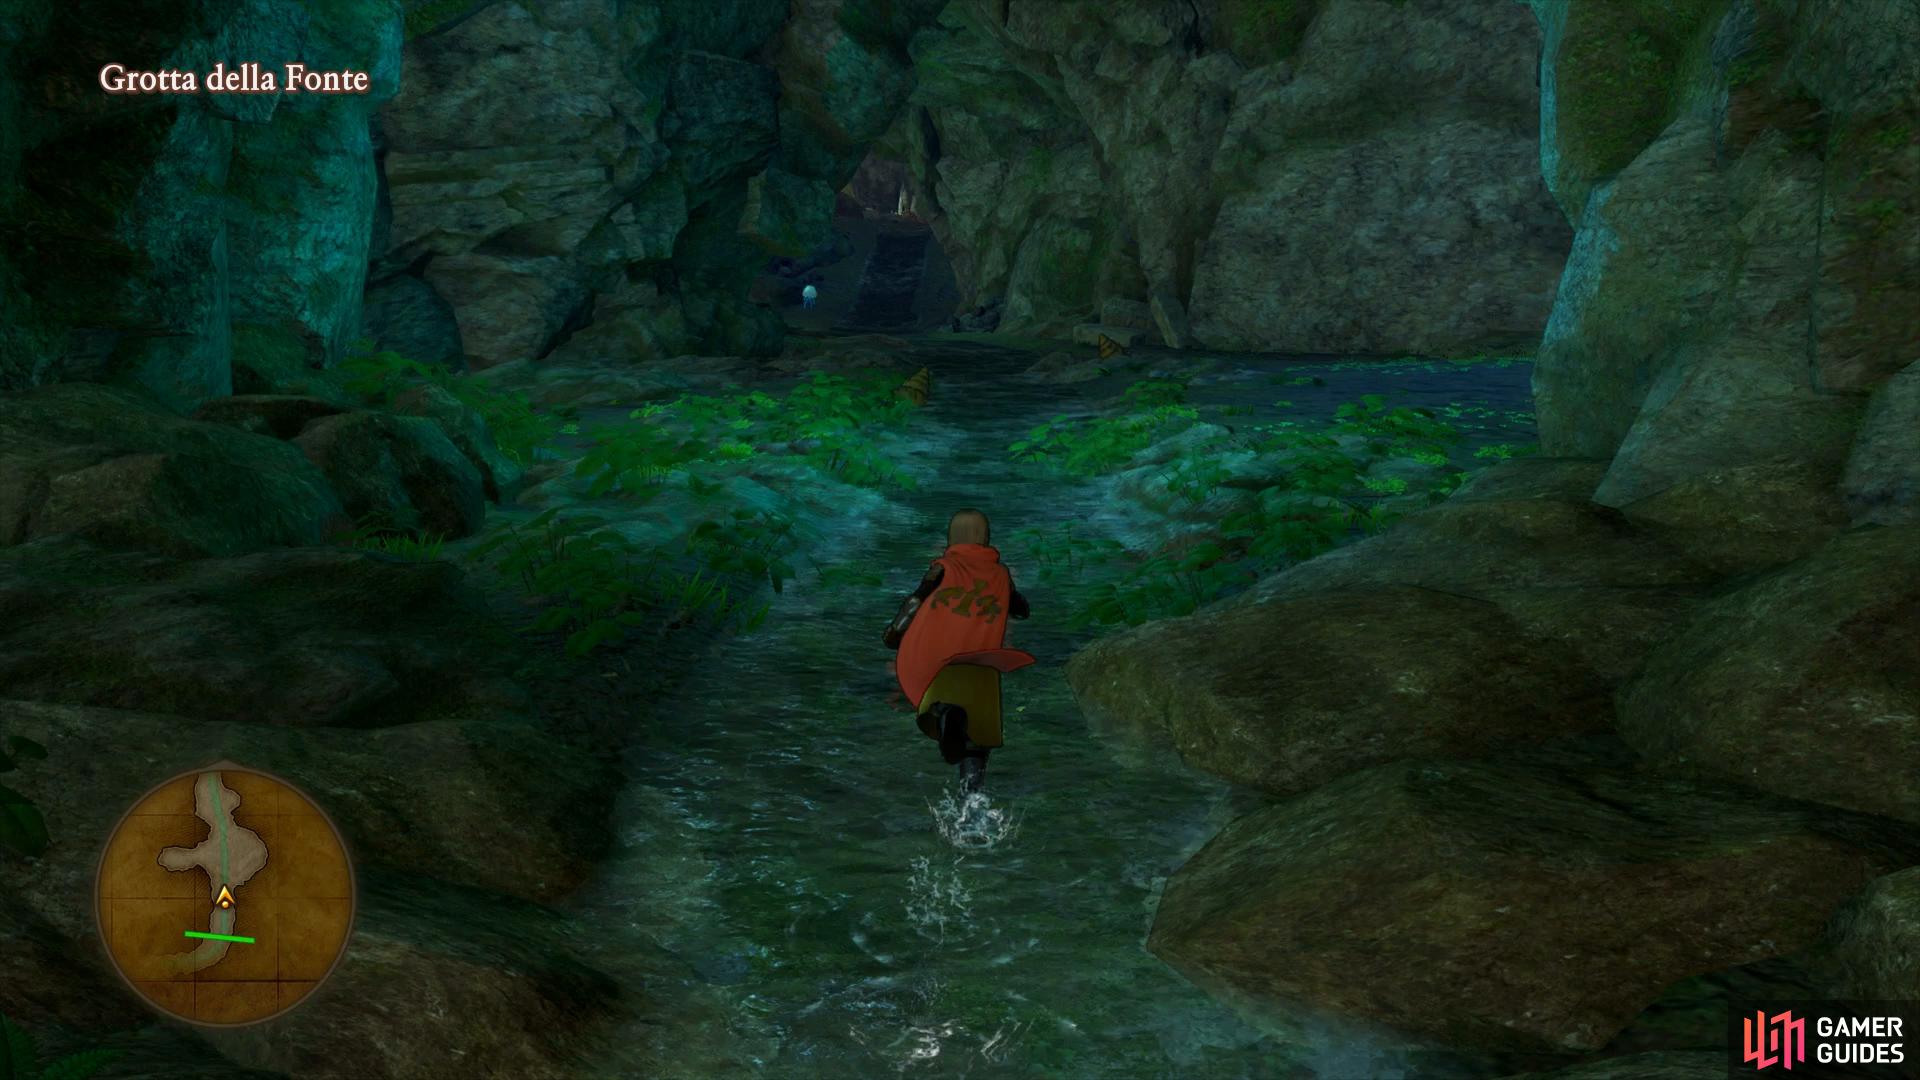
Back on the field, make your way to the north-west of the area making sure to pick up the materials that have respawned on the way. Once you reach the waterfall, take the stepping stones across and climb the rocks to enter the cave.
Grotta della Fonte
| Items | Area |
|---|---|
| Blue Eye | Southeast, chest |
| Mini Medal | South of Camp, chest |
| Pixie Pole | South of Camp, chest |
| Seed of Magic | Southeast of boss, chest |
| Green Eye | Southeast of boss, chest |
| Sparkly Spots | Area |
|---|---|
| Small Scale | West of entrance |
| Glass Frit | Southwest |
| Fresh Water | South of Camp |
| Celestial Skein | Central |
| Monsters | HP |
|---|---|
| Muddy Hand | ~45 |
| Shell Slime | ~42 |
| Toxic Toad | ~77 |
| Succubat | ~51 |
| Man o’ War | ~50 |
| Morphean Mushroom | ~61 |
| Wizened Wizard | ~55 |
Grotta della Fonte is a relatively small dungeon however make sure you’re at least Level 18 for it to be a smoother ride. Begin by searching the western tunnel to find a Sparkly Spot containing a Small Scale before continuing north to the first intersection. Head east and drop down to where a group of Morphean Mushrooms are gathered, defeat them if you wish and then open the chest to obtain a Blue Eye.
Return back to the intersection and take the western path this time, stopping to snag a Sparkly Spot containing a Glass Frit along the way. As you reach the larger area, you’ll start encountering Wizened Wizards, these monsters can hit the entire party with magic so be sure to keep an eye on your HP. Continue to the next intersection and take the north path up to the Camp.
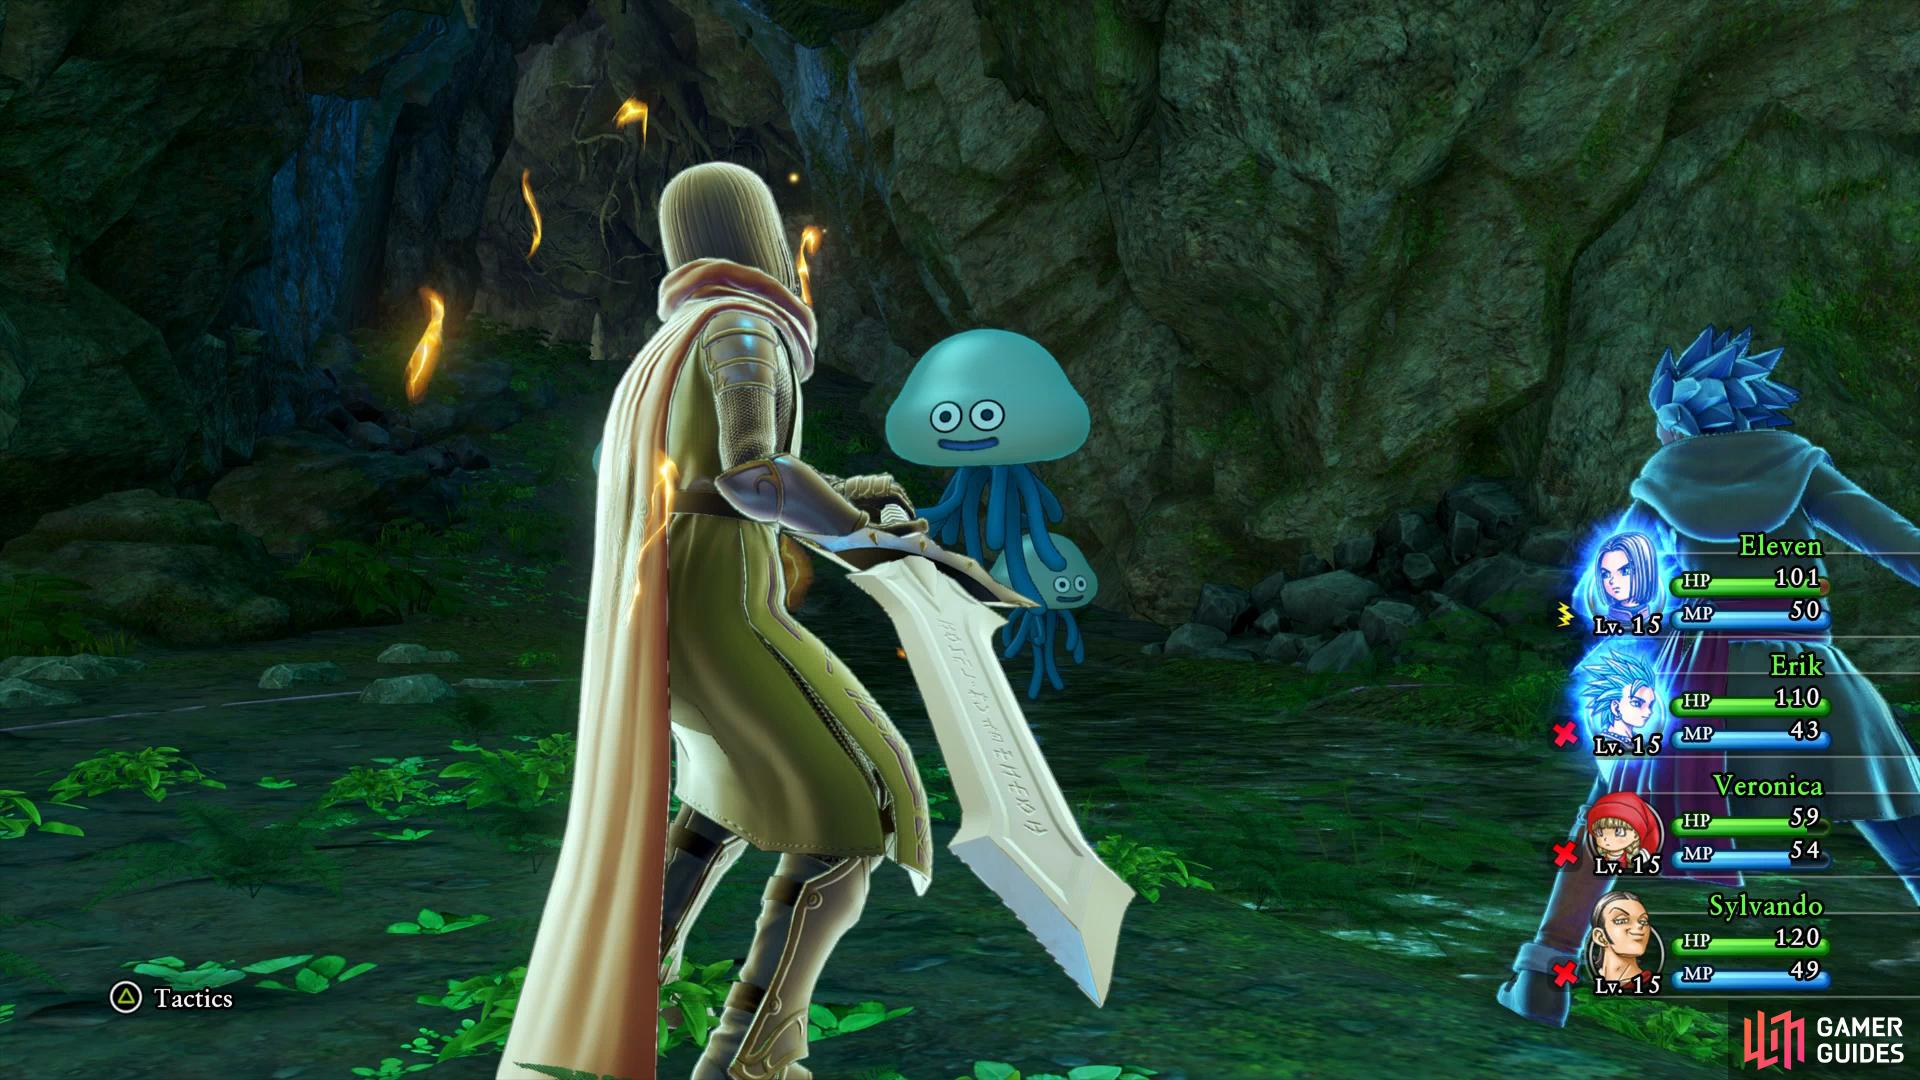
Man O’ War will stun you with regular attacks
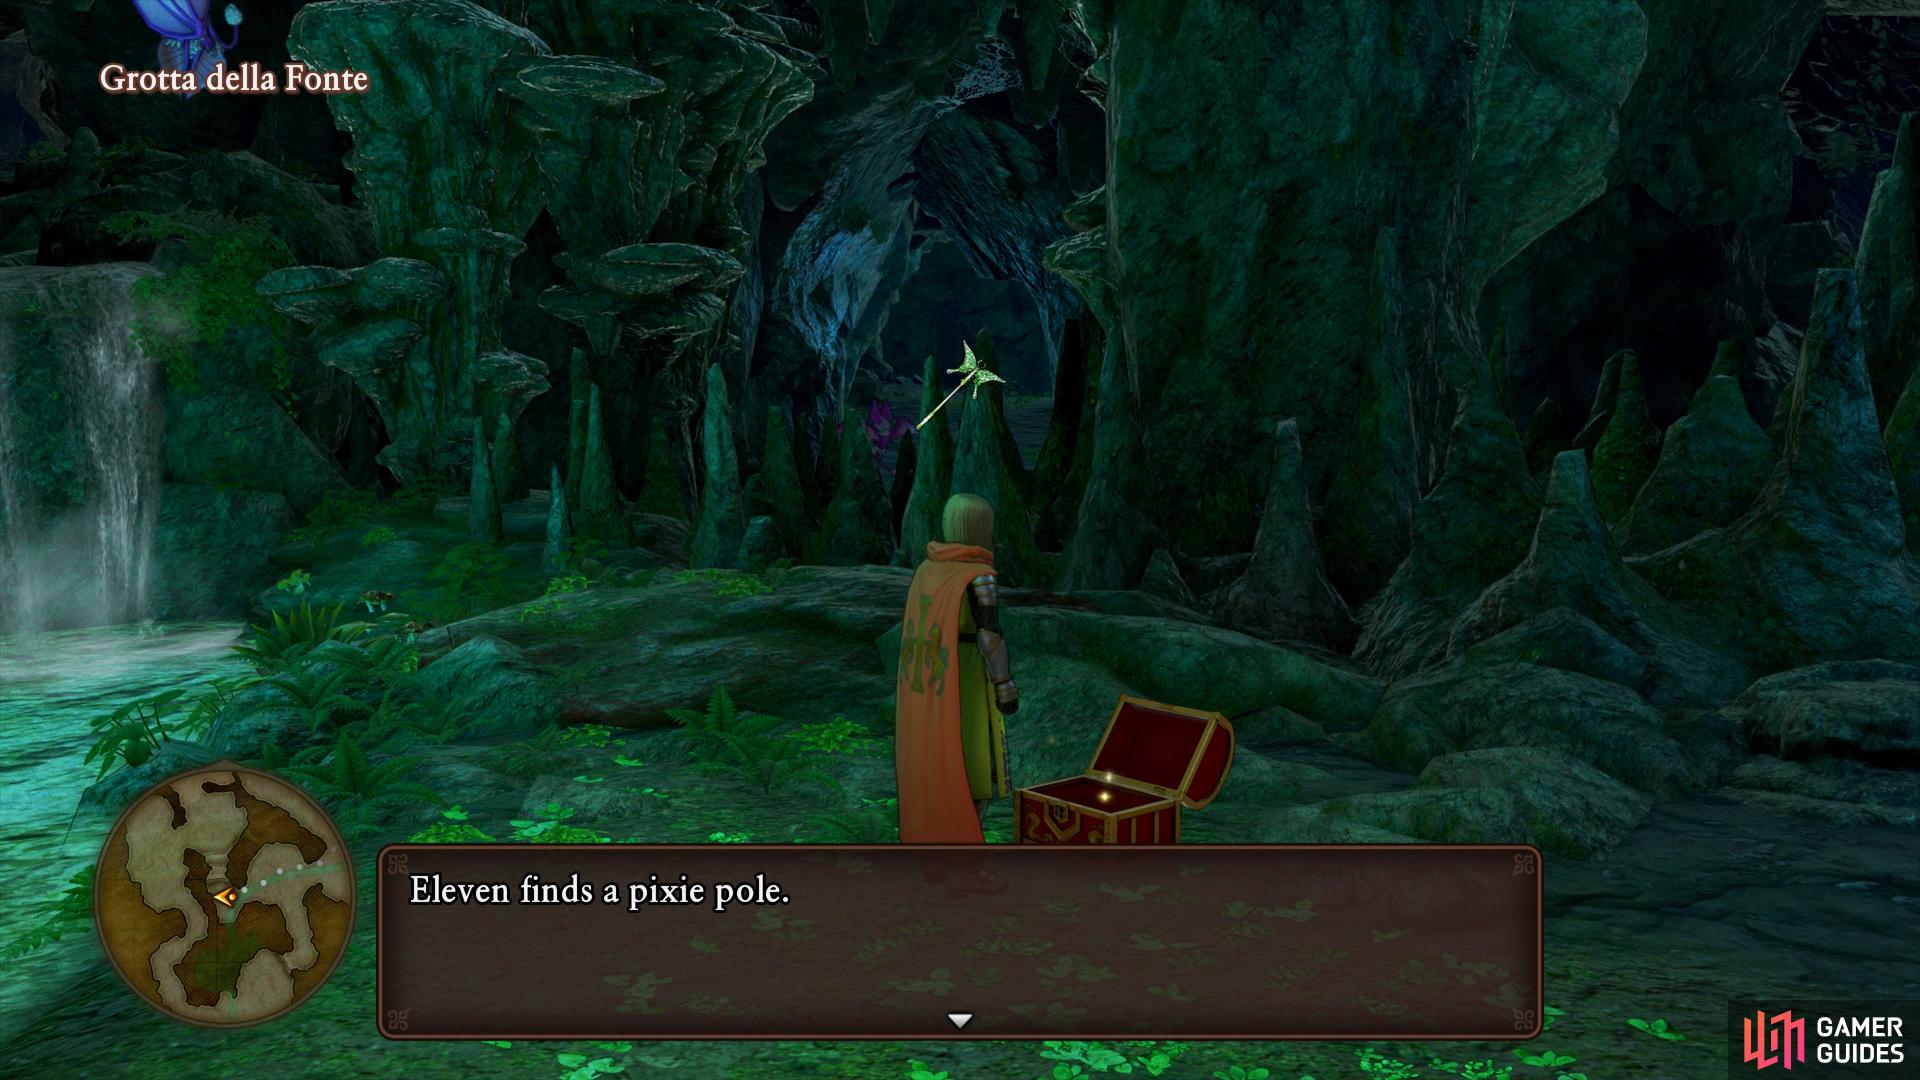
there’s a chest waiting for you with a Pixie Pole in it, an upgrade for Serena.
There’s no Merchant at this camp but you can use the forge to create some new equipment from your recent Recipe Books that you acquired earlier. Consider Gold Platters for Sylvando and Serena, a Fur Hood for Erik and an Iron Mask for Sylvando. Finally, forge an Iron Cuirass for Erik and Sylvando along with enhancing the Hero’s Greatsword if you can.
Rest at the Camp and then make your way south, searching the western wall wall for a chest containing a Mini Medal and then the eastern wall, taking care to fight or avoid the Toxic Toads to find another Sparkly Spot containing a Fresh Water. Continue to follow this path to the next intersection and take the western path twice to a chest containing a Pixie Pole, an upgrade for Serena. Return to the previous intersection and head south to find another Sparkly Spot containing a Celestial Skein but refrain from jumping down as it’s a shortcut back to the entrance. Head north and follow the path east, following it until the path starts branching north. Heal up and recover MP for all your party members, when you’re ready proceed forward.
You’ll be up against two Coralossus here and although not a boss, they still have around 230 HP each along with some heavy attacks. Their regular attacks will hit for around 40 HP so be sure to keep an eye on your health. Consider Serena in place of Sylvando if you’re struggling to keep your HP up, Sylvando’s usefullness is not as great until he unlocks Hustle Dance. As for attacking the golems, the Hero’s Zap spell will hit their weakness so be sure to use it if you have it. Alternatively, use Oomph on both Erik and the Hero to increase the damage of Sleeper Hit/Pursecutter (this will kill a Sea Golem outright) and Cutting Edge.
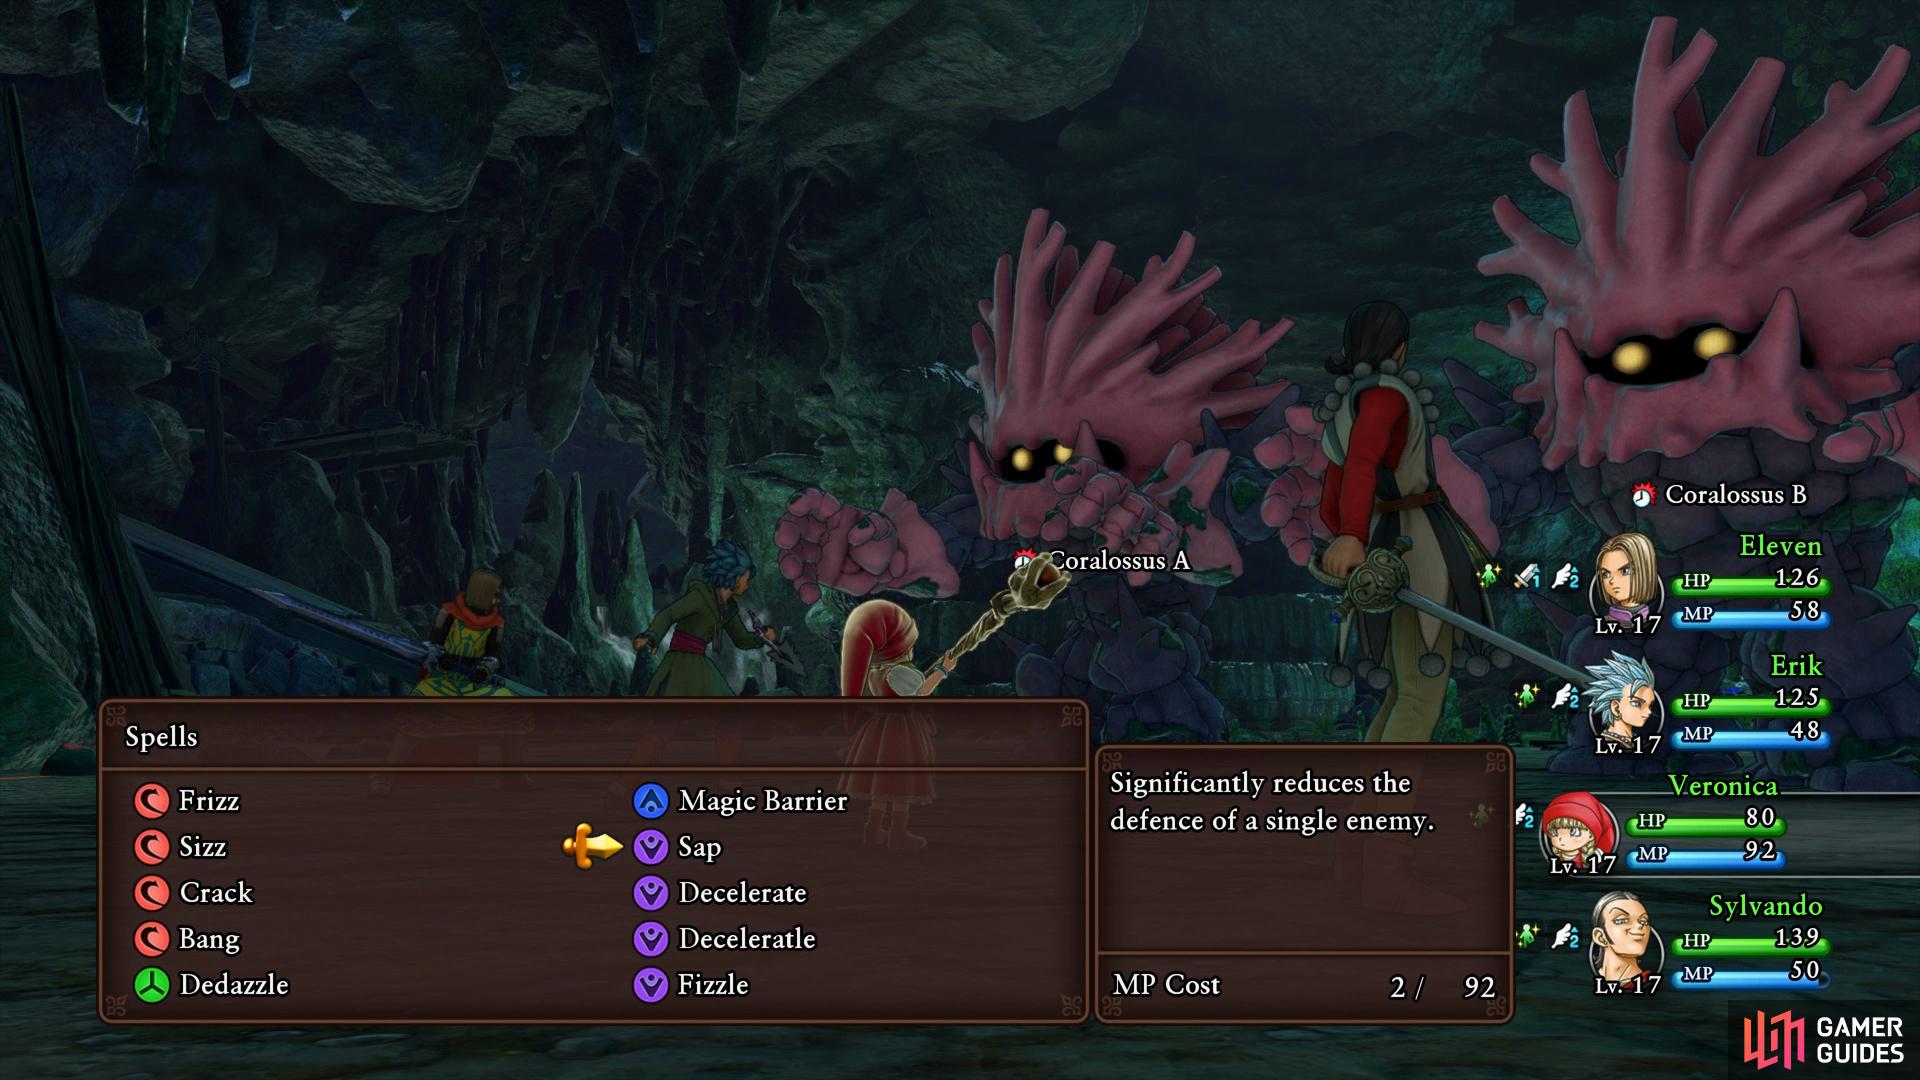
Sap the enemies to lower their defense, increasing the damage your party does against them
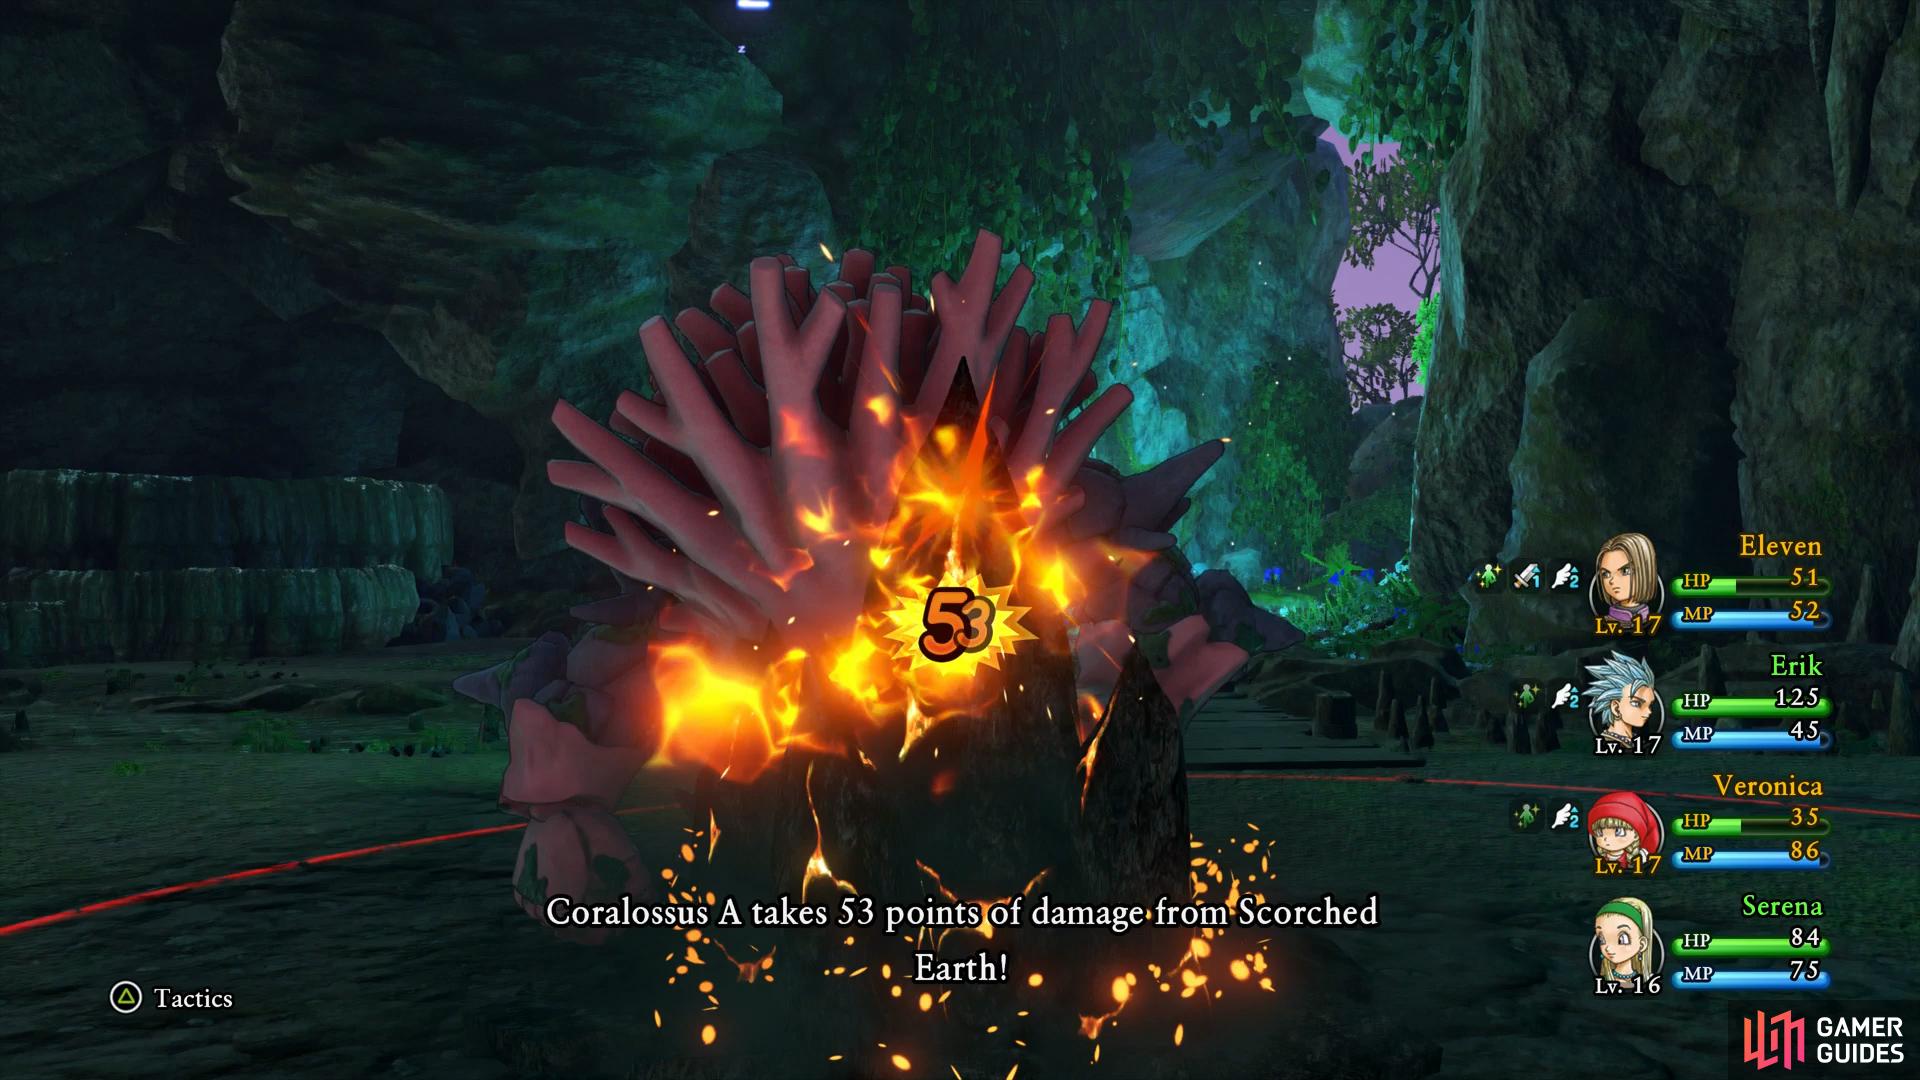
if Erik is Pepped up, use Scorched Earth.
Once the monsters fall, head over to the lake behind them where Serena will use the water here to create a Birdsong Nectar for the Doge’s son. Although you’ve found what you were looking for there’s still a few more items to grab before you leave. Climb the rope to the east to reach the ledge and follow the path until you can take a left, a chest is nestled here containing a Seed of Magic that will increase the user’s max MP. Unfortunately the nearby Morphean Mushrooms have other plans for you, defeat them or dash out of there.
Continue south along the mushroom filled path until you reach the next large area, another chest can be looted here containing a Green Eye. This should be the final item to loot in this dungeon so feel free to Zoom back to Gondolia.
Gondolia’s Signor Universo
Gondolia has changed since your last visit, the preparations for the Signor Universo are well underway. Sylvando opts to deliver the medicine with Serena and Veronica, leaving the Hero and Erik to secure a good viewing spot for the contest. Make use of the Inn if need be and then head north to the platform where the contest will take place. After the old man fails to persuade the two men into entering the contest, an old friend from Heliodor shows up. Proclaiming the Hero as the Darkspawn once more, the Hero and Erik are forced into combat.
You’ll be up against five Heliodorian Guards, enemies who you shouldn’t have too much trouble with despite only having the Hero and Erik present. Zap and Bang are very useful from the Hero to hit all the enemies at once. Have Erik focus on the two senior guards if you’re using Zap on the other group, using Sleeper Hit if possible. If you find your HP dropping low, use Heal from the Hero if you still have some MP left. If you’re fortunate to find yourselves in a Pepped up state, make use of Scorched Earth as it will increase your chances of taking the enemies out.
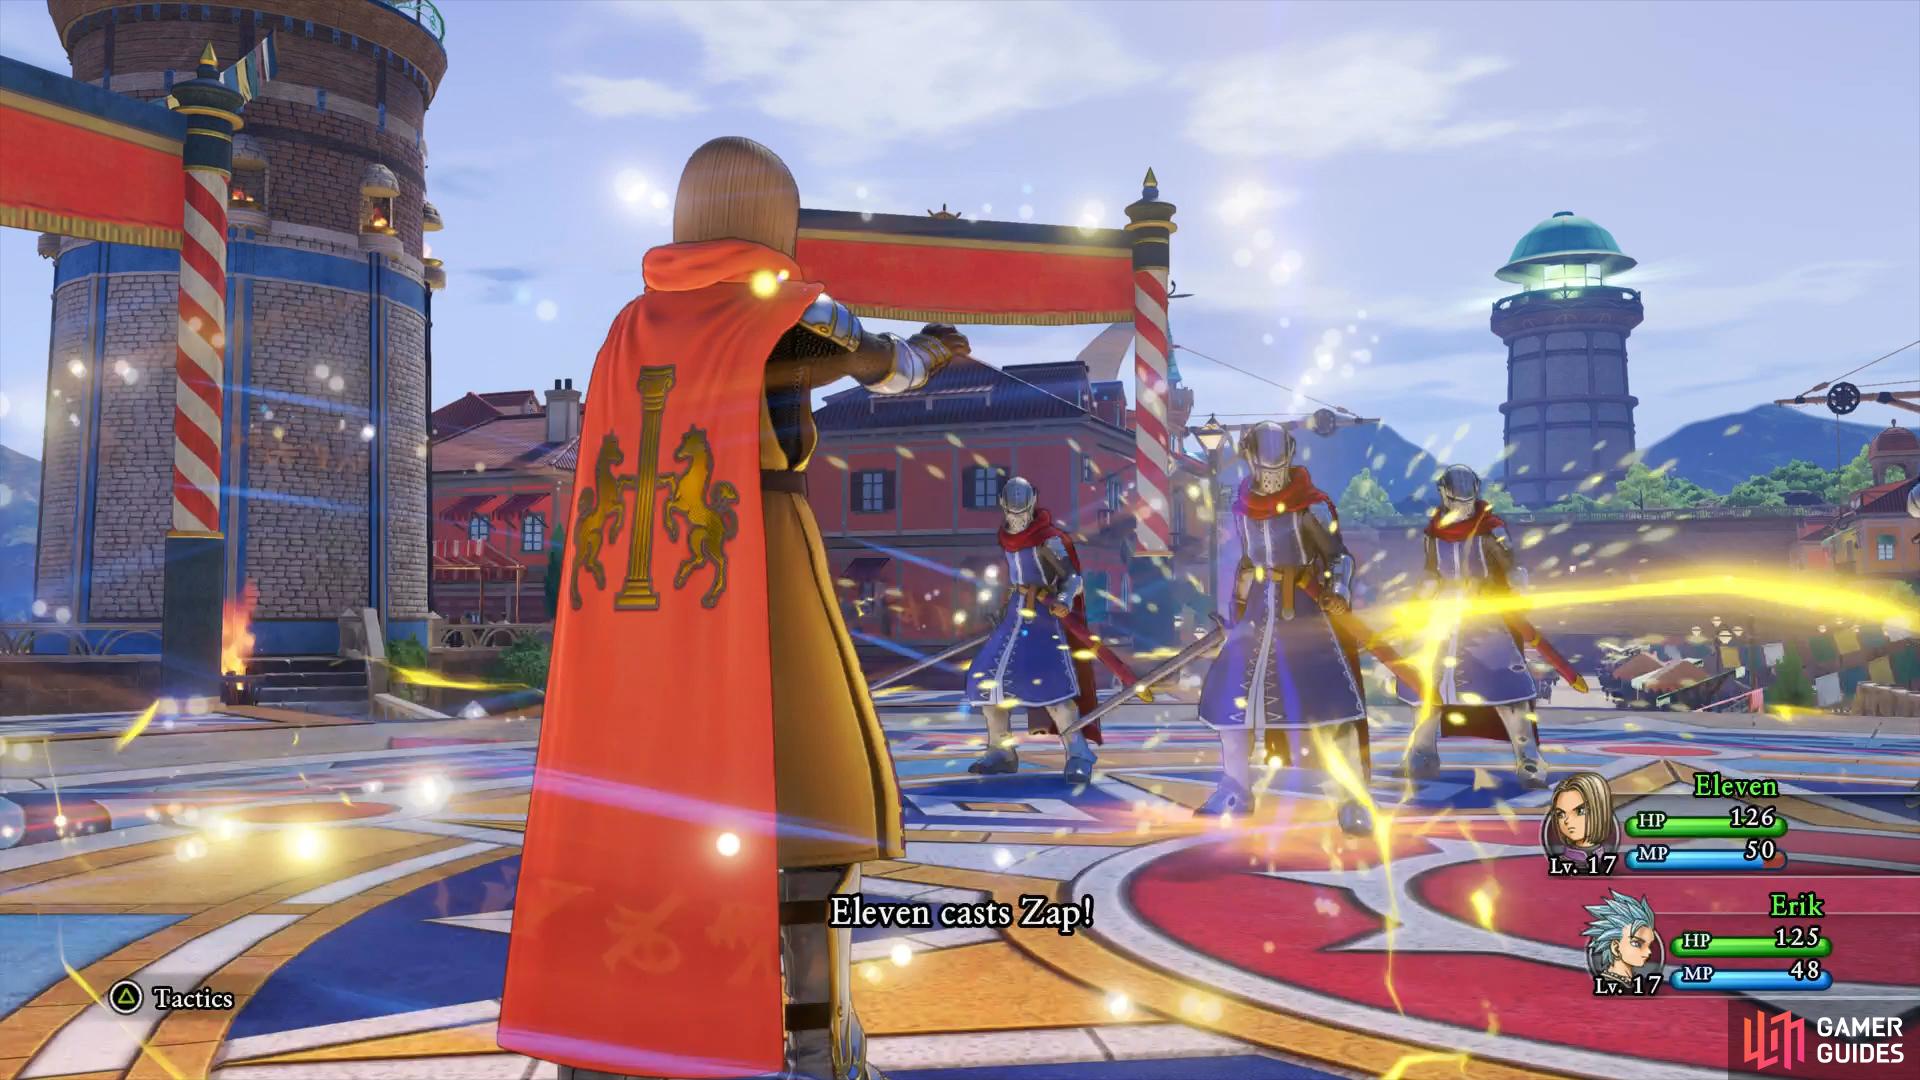
Make use of Zap against the group of three guards
![the guards can’t keep up with you if you dash past them with the [R2] button.](/assets/guides/151/Gondolia_Escape_Dragon_Quest_XI.jpg)
the guards can’t keep up with you if you dash past them with the [R2] button.
Your victory is short-lived as the duo find themselves surrounded. The aid provided from Sylvando and Veronica allows them to escape but not without Erik getting captured in the process. As night falls, the group plans to find Erik, using the buildings as cover from the Heliodor guards patrolling the town.
Your first priority is to reach the Inn, make your way upstairs and up the ladder to reach the roof. If at any point you come into contact with a patrol, you’ll have to battle a group of guards, nothing too taxing. Make use of the Inn here to recover before heading to the roof if you’ve found yourself in some battles, you’ll want to be fully rested. Use the ropes to cross the two rooftops and then drop down through the gap to reach the central bridge, head onto it.
The group spots Erik on the stage to the north of town along with Jasper, a frontal assault is too dangerous so Sylvando suggests taking a Gondola to reach the back of the stage. Examine the bridge and jump over the side to reach the main street once more. Head north until you can take the bridge to the right of you before heading back south to where the Gondola is docked. You’ll have to dock at the northwest dock, it’s the only one available and then make your way up to the back stage where Jasper awaits.
Boss: Jasper

Jasper is a tough battle with many tricks up his sleeves so you’ll need to be well prepared. He has around 630 HP but can use Sword Stance to guard most physical attacks, it’s for this reason that you want to go ahead and use magic, especially from Veronica. Jasper’s attacks with his sword for regular damage to one person, has the dark spell Zam which will inflict nasty damage and can also seal the party’s spells with Fizzle, you’ll need to be prepared to remove this as soon as possible, especially from Veronica and Serena.
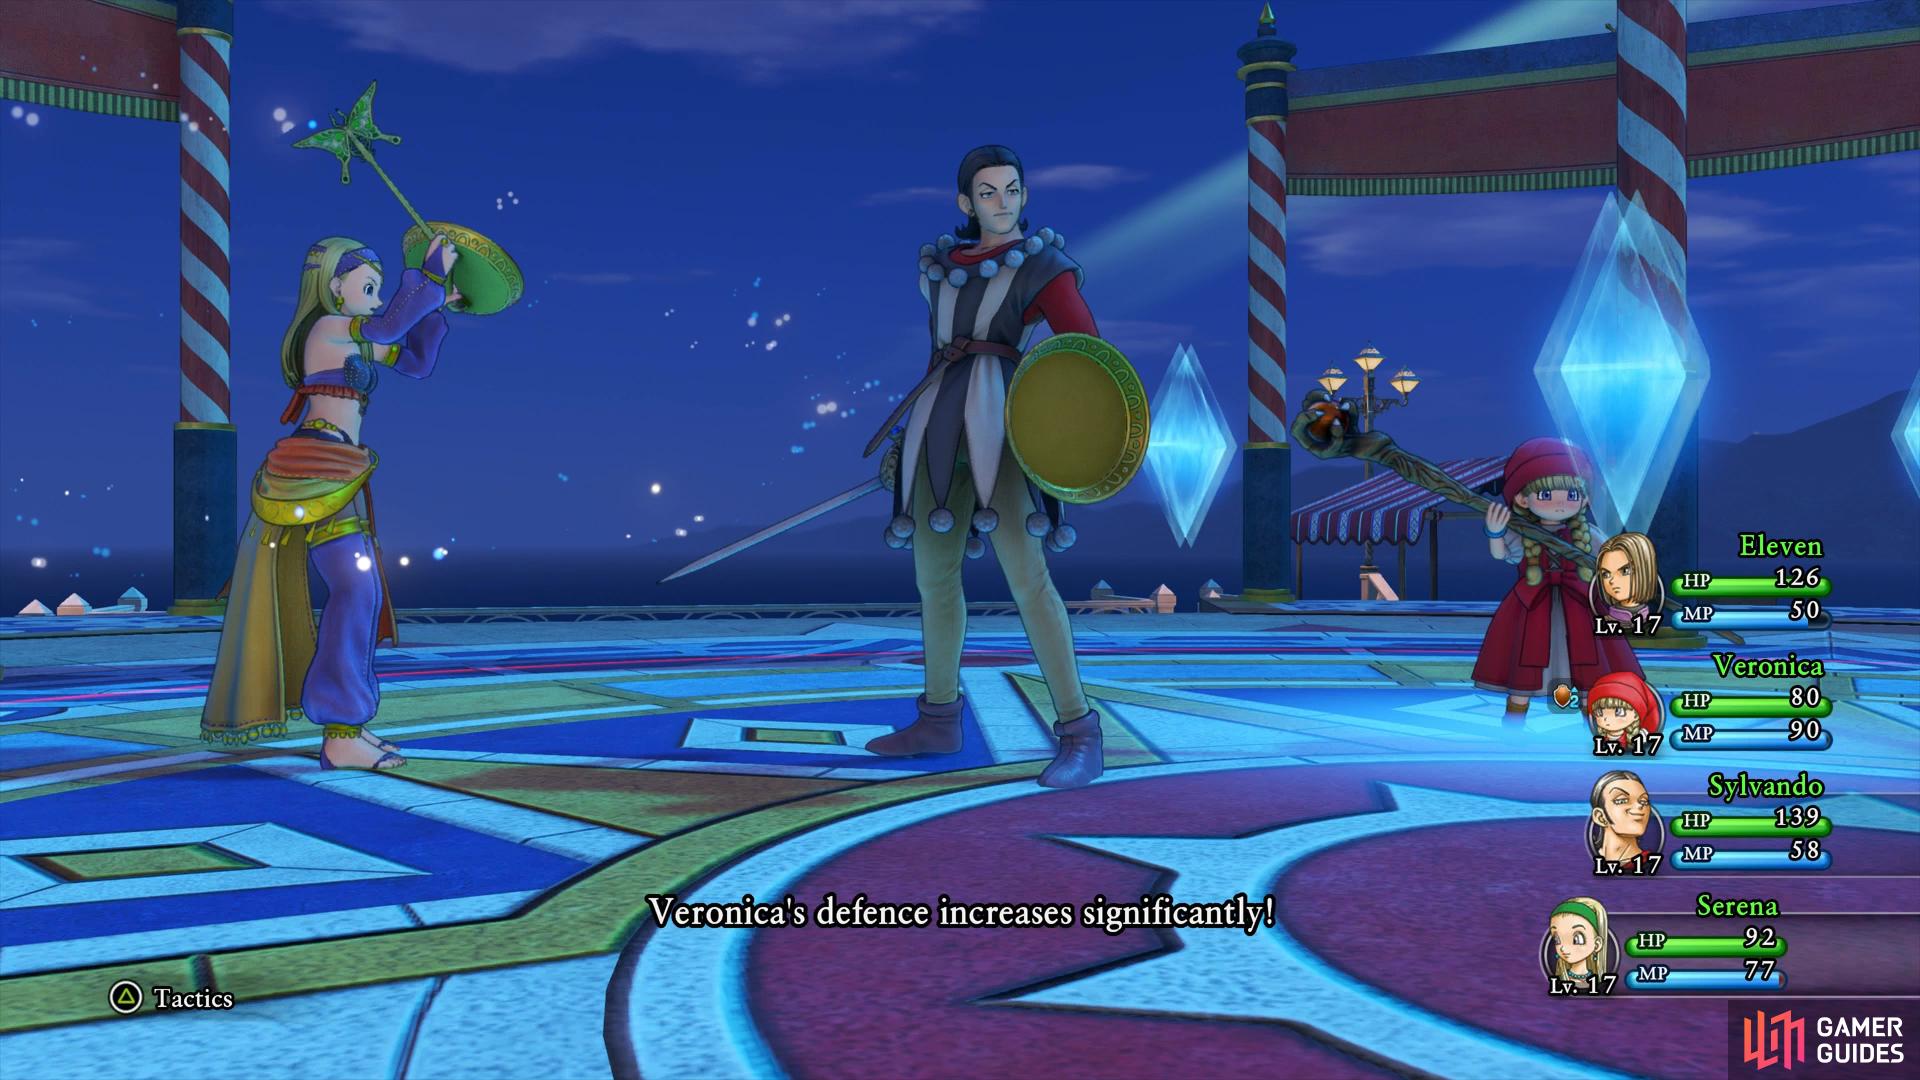
Buff Veronica at all costs, her low HP makes her a prime target to be defeated quickly
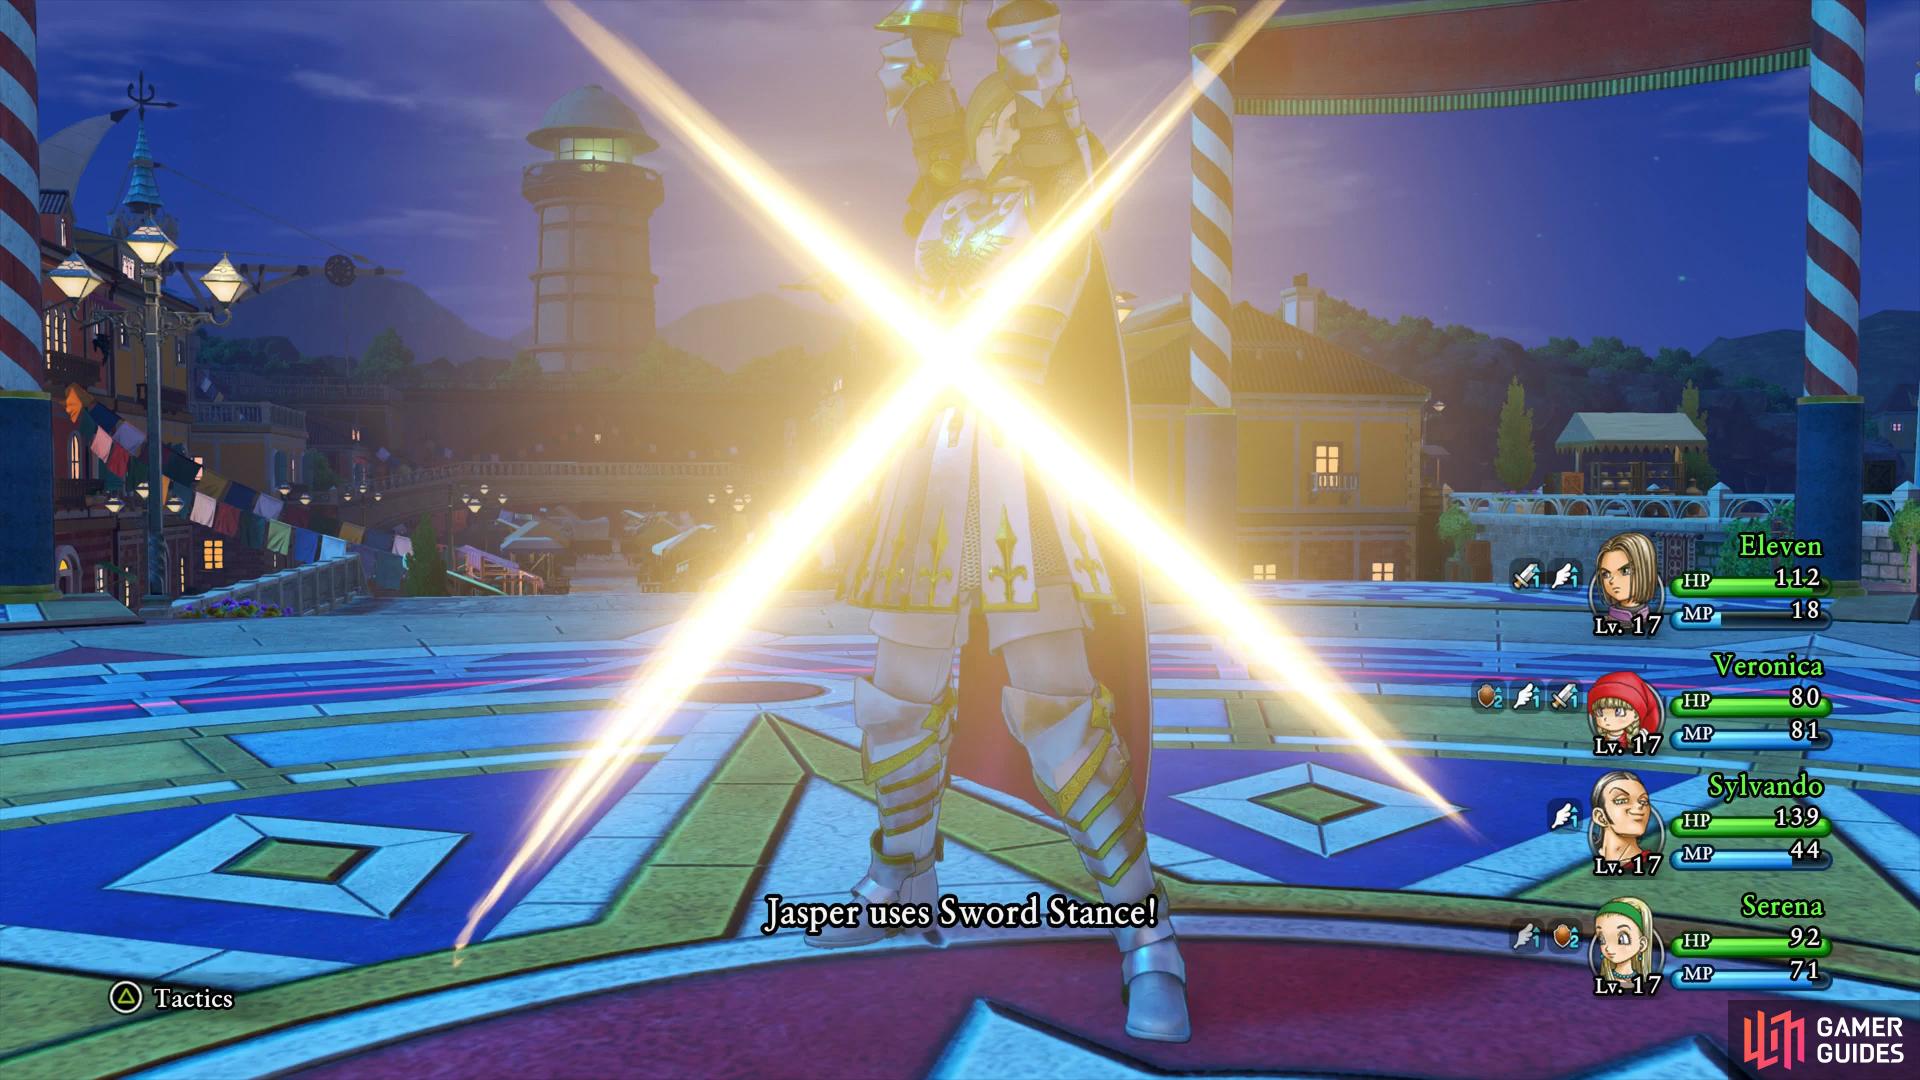
limit your physical attacks whenever Jasper uses Sword Stance.
As Zam is Jasper’s most deadly attack, you can attempt to seal his own magic with Fizzle from Serena if you’ve learnt it. As with all boss battles, Buff and Acceleratle are a must as is Decelerate and Sap on Jasper. Consider using Oomph on the Hero and Veronica too, this will increase the damage they deal with their spells. If Jasper’s Sword Stance drops then begin using Cutting Edge with the Hero to deal more significant damage. Save Serena’s MP purely for healing and supporting, don’t waste time with Woosh and let Sylvando continue to support, Veronica and the Hero are your damage dealers here. Try to keep Buff on Veronica at least for the entire battle and you should be able to do enough to whittle him down and win the battle.
Following the events, the group manages to untie Erik however they find themselves still surrounded. Thankfully, Sylvando comes through for the group aboard his ship, scooping up the party in the process. A Tentacular rises to try and put a stop to the party but the merchant ships of Gondolia led by the Doge in thanks for helping his son. You also discover that Jasper was the one responsible for cursing his son in the first place, the mysteries continue to pile up. Sylvando has managed to glean information on where the Rainbough was last seen, to the northeast. On top of all of that, you now have a ship at your command, the ocean beckons!


No Comments