
| Items | Area |
|---|---|
| Single Phial | Entrance, inside tent, pot |
| Strength Ring | Upper Level of the Temple, outside, chest |
| Templar’s Uniform | Basement 1F, chest |
| Seed of Defense | Basement 3F, chest, requires Eggsoskeleton |
| Put a Feather in your Cap | Basement 3F, chest, requires Eggsoskeleton |
| Magic Water x2 | Basement 3F, chest |
| Sparkly Spots | Area |
|---|---|
| Hardy Hide | Upper Level of the Temple, outside |
| Wing of Bat | Northeast room |
| Monsters | HP |
|---|---|
| Smog | ~25 |
| Healslime | ~25 |
| Eggsoskeleton | ~19 |
| Little Devil | ~25 |
| Mecha-mynah | ~24 |
The Search for the Red Orb
You’ve got a destination in mind now from the letters you received but first things first, it’s time to get back Erik’s Red Orb. You’ll begin at the north of the map, head south towards the nearby tent and search inside, you’ll find a pot containing a Single Phial. That’s all there is out here so make your way up the stairs ahead and into the Temple itself.
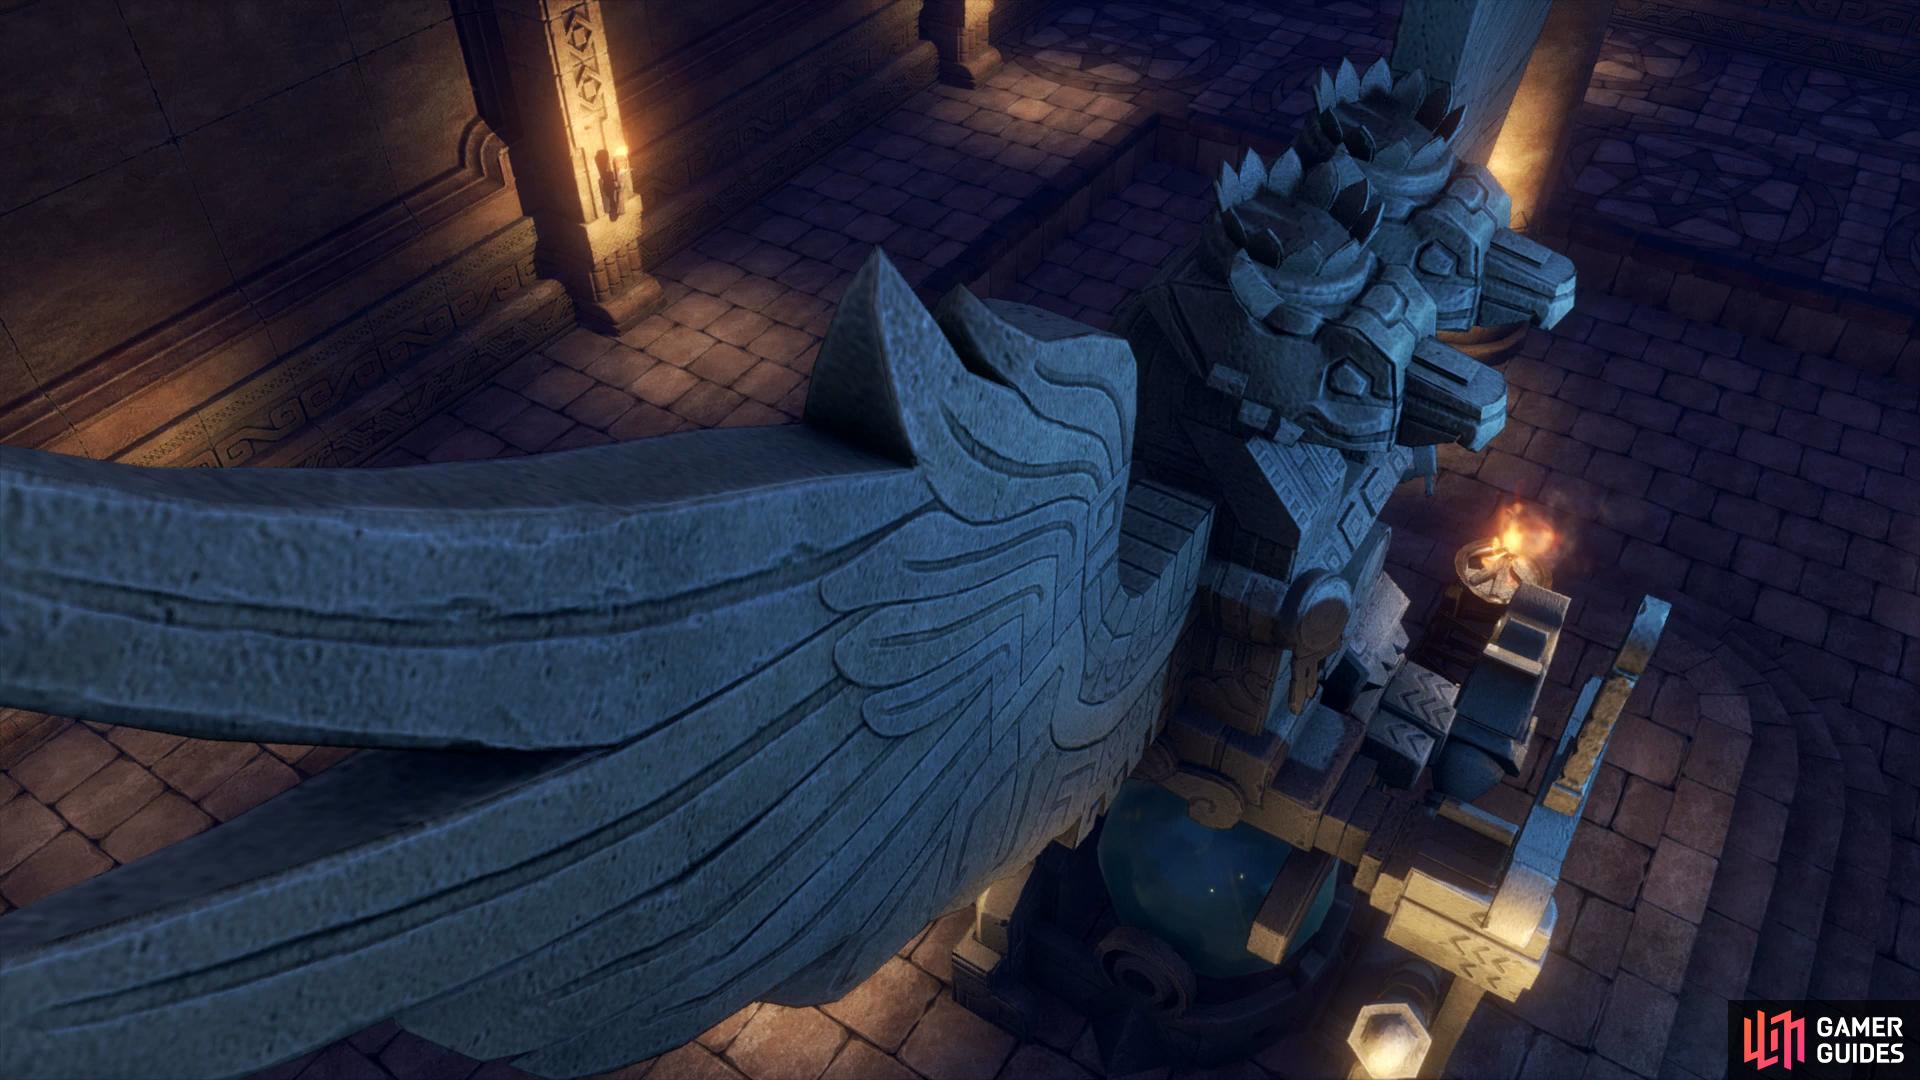
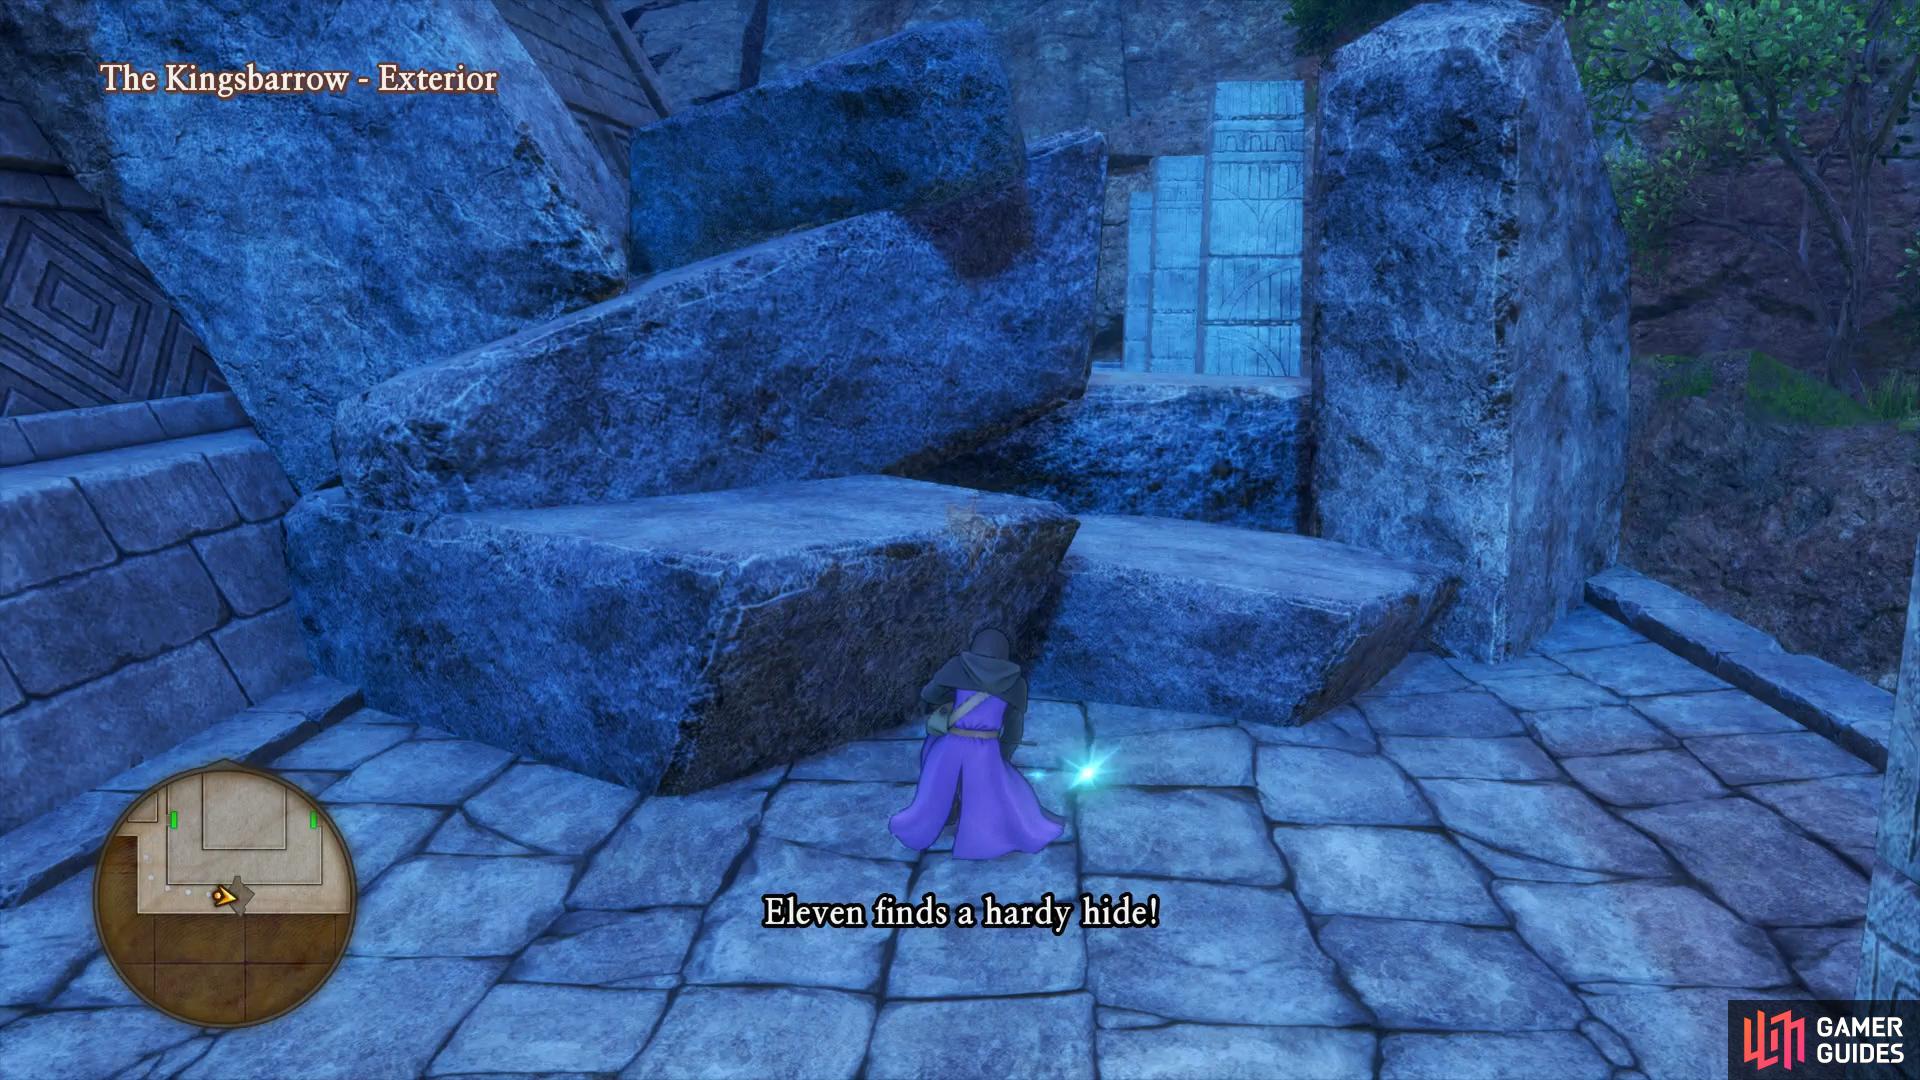
Upon entry of The Kingsbarrow, Erik rushes over to the corpses of Heliodor soldiers on the ground in front of you. The gust of wind that follows causes more unease as you notice the presence of stairs leading down. Make your way down these stairs to the next floor and follow the path to the first intersection. You’ll notice Little Devils roaming around here, watch your HP when you’re fighting more than one as they can hit you with group attacks. Take a right at this intersection and climb the ledges to find yourself back outside. Take the path to the south and follow it to the rubble where you’ll discover a Sparkly Spot containing a Hardy Hide.
Head back inside and return to the intersection, taking the path to the right. Take the time to fight the Little Devils in the next room to prevent them from chasing you around the area and then continue through the larger room until you reach then next intersection.
Search either side of the Exterior to find a Sparkly Spot

along with a chest containing a Strength Ring.
Continue on at the next intersection and then climb some ledges once again to find yourself back outside. Head south here to reach the otherside of the rubble you found the Sparkly Spot at where a chest will be waiting for you containing the useful Strength Ring. This will increase the user’s Attack by 5 and is a good shout for the Hero to make his Greatsword attacks all the more powerful.
Return to the interior of the Temple and head north, there’s another Sparkly Spot in the middle of the three Mecha-mynah’s here. Defeat all of them for some useful Exp and then pick the item up containing a Wing of Bat. Head west to exit this room and reach another intersection, continue on to find a chest behind the group of Smogs containing a Templar’s Uniform. Return to the intersection and follow the path down the stairs.
Follow the linear path down the next sets of stairs until you reach the next open area where you’ll be given a tutorial on Monster Mounts. You’ll notice at times monsters that give off a sparkle, these monsters, when defeated, will allow you to mount them. This opens up new exploration possibilities such as the Eggsoskeleton allowing you to jump higher.
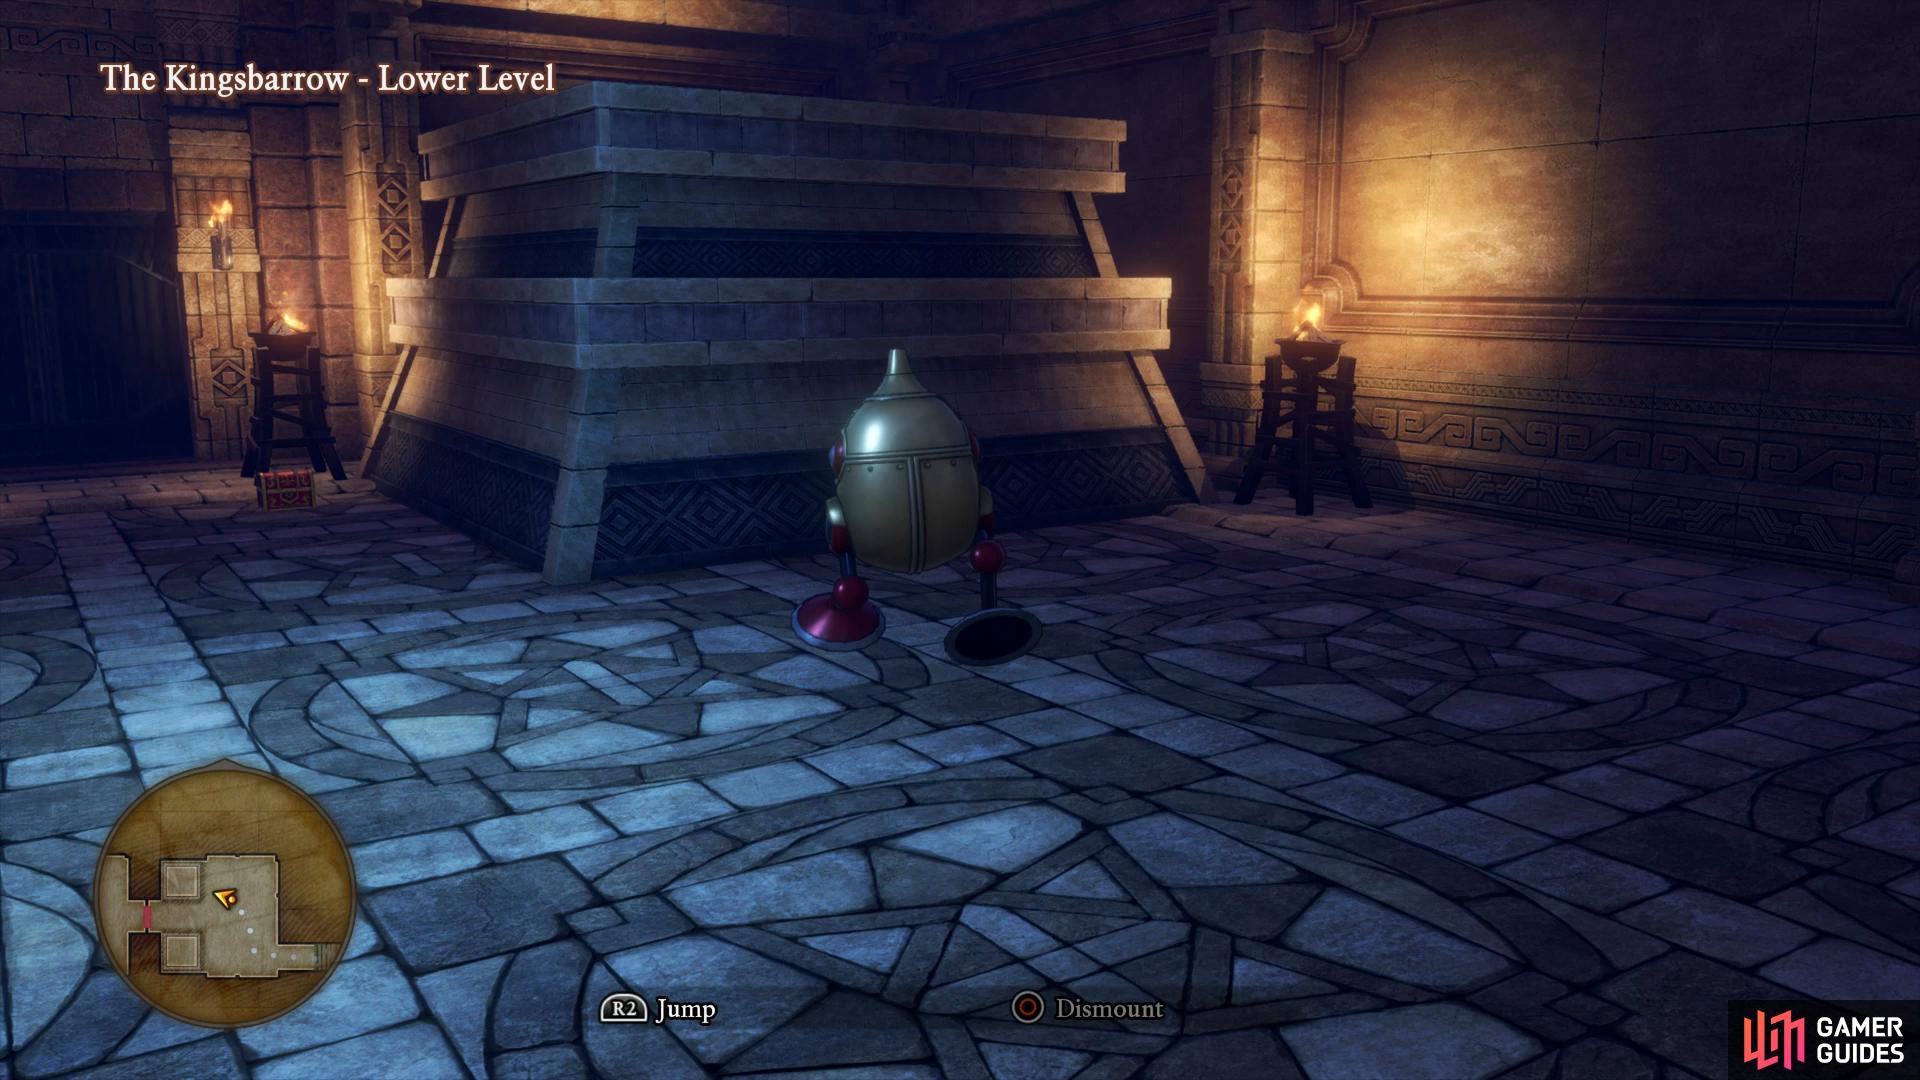
Defeating sparkling monsters will allow you to mount them
allowing you to leap up to the chests in front of you.
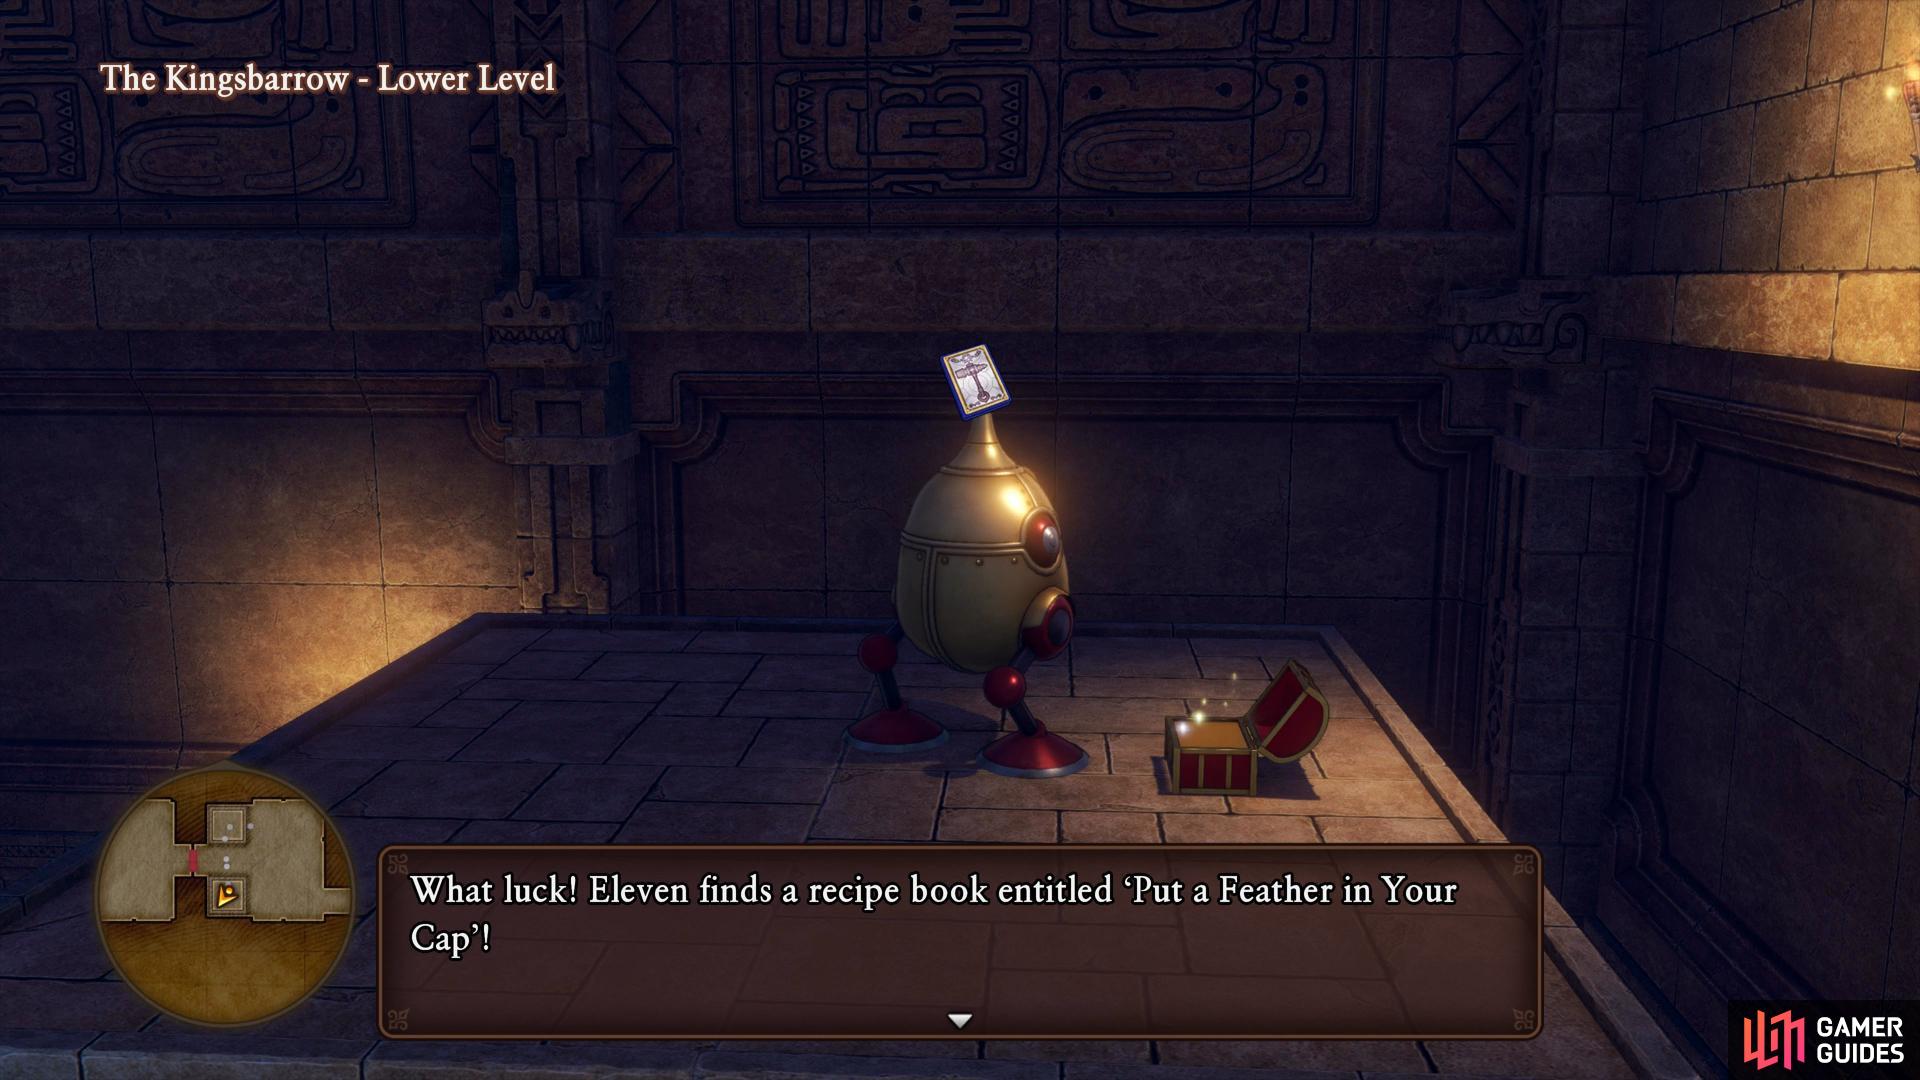
Make immediate use of this feature, head over to a sparkling Eggsoskeleton and defeat it in battle in order to mount it by interacting with it. You can now press the [R2] button to jump higher, do this to reach the right platform to find a chest containing a Seed of Defense. Jump over to the platform opposite of you now to find a second chest, this one contains your next Recipe Book, Put a Feather in Your Cap which will allow you to craft a Feathered Cap. Finally, drop down to where the door is to find the final chest, this one contains two phials of Magic Water. Before you head through the doors here, prepare yourself for a mini-boss by healing the Hero and Erik to full HP and making sure they have full of MP (thankfully you just received two Magic Waters).
You’ve managed to find the Orb but it seems you’re not the only ones here for it as you also discover the source of the bodies. If you want to take the Orb back, you’re going to need to fight for it. The Grim Gryphons are nothing special to worry about although they do have around 130HP each. You’ll want to keep your HP up, these monsters can cast Whoosh on the entire party along with slowing you down with Deceleratle. That aside, hopefully you’re fortunate enough to have both party members Pepped up and can use your new Scorched Earth ability on them. If you’ve already unlocked Sleeper Hit with Erik, you can put it to good use here by sleeping them and having the Hero bombard them with Sizz.
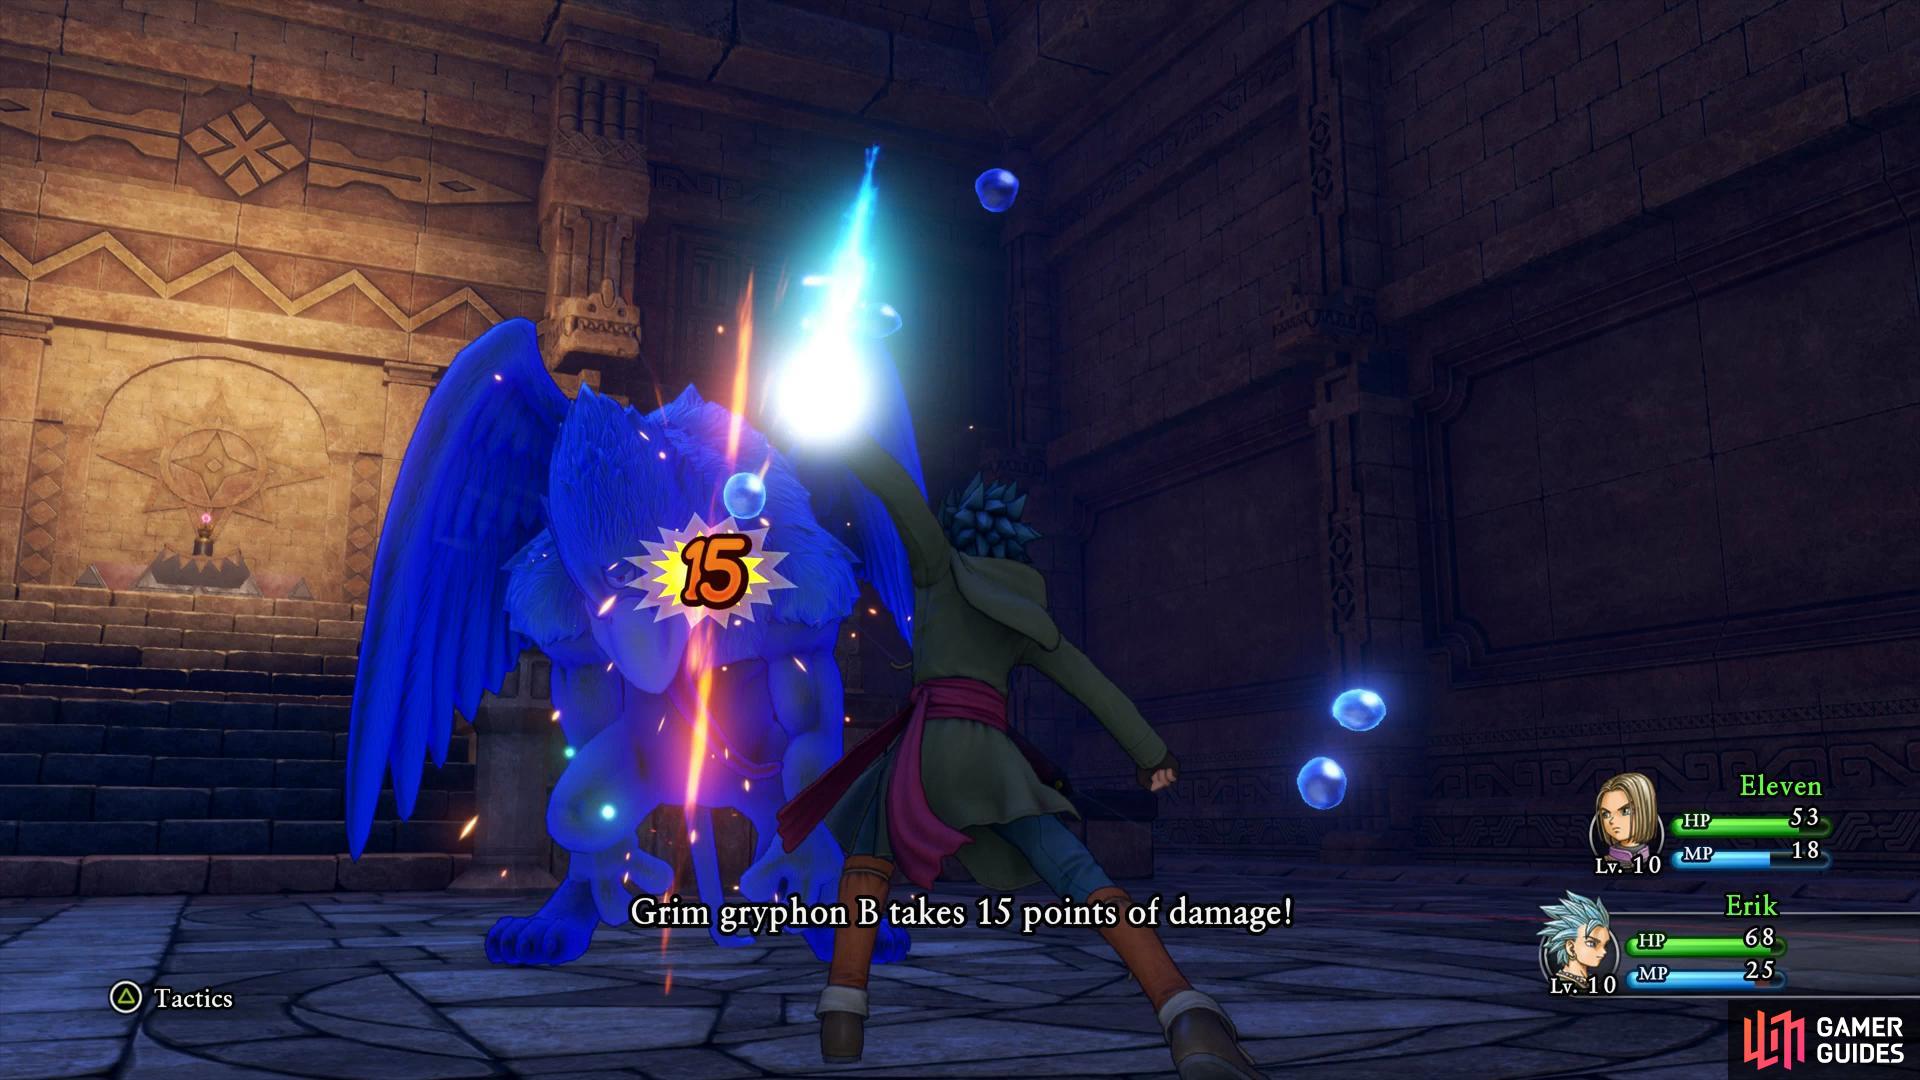
Using Sleeper Hit can allow you to focus on one enemy at a time
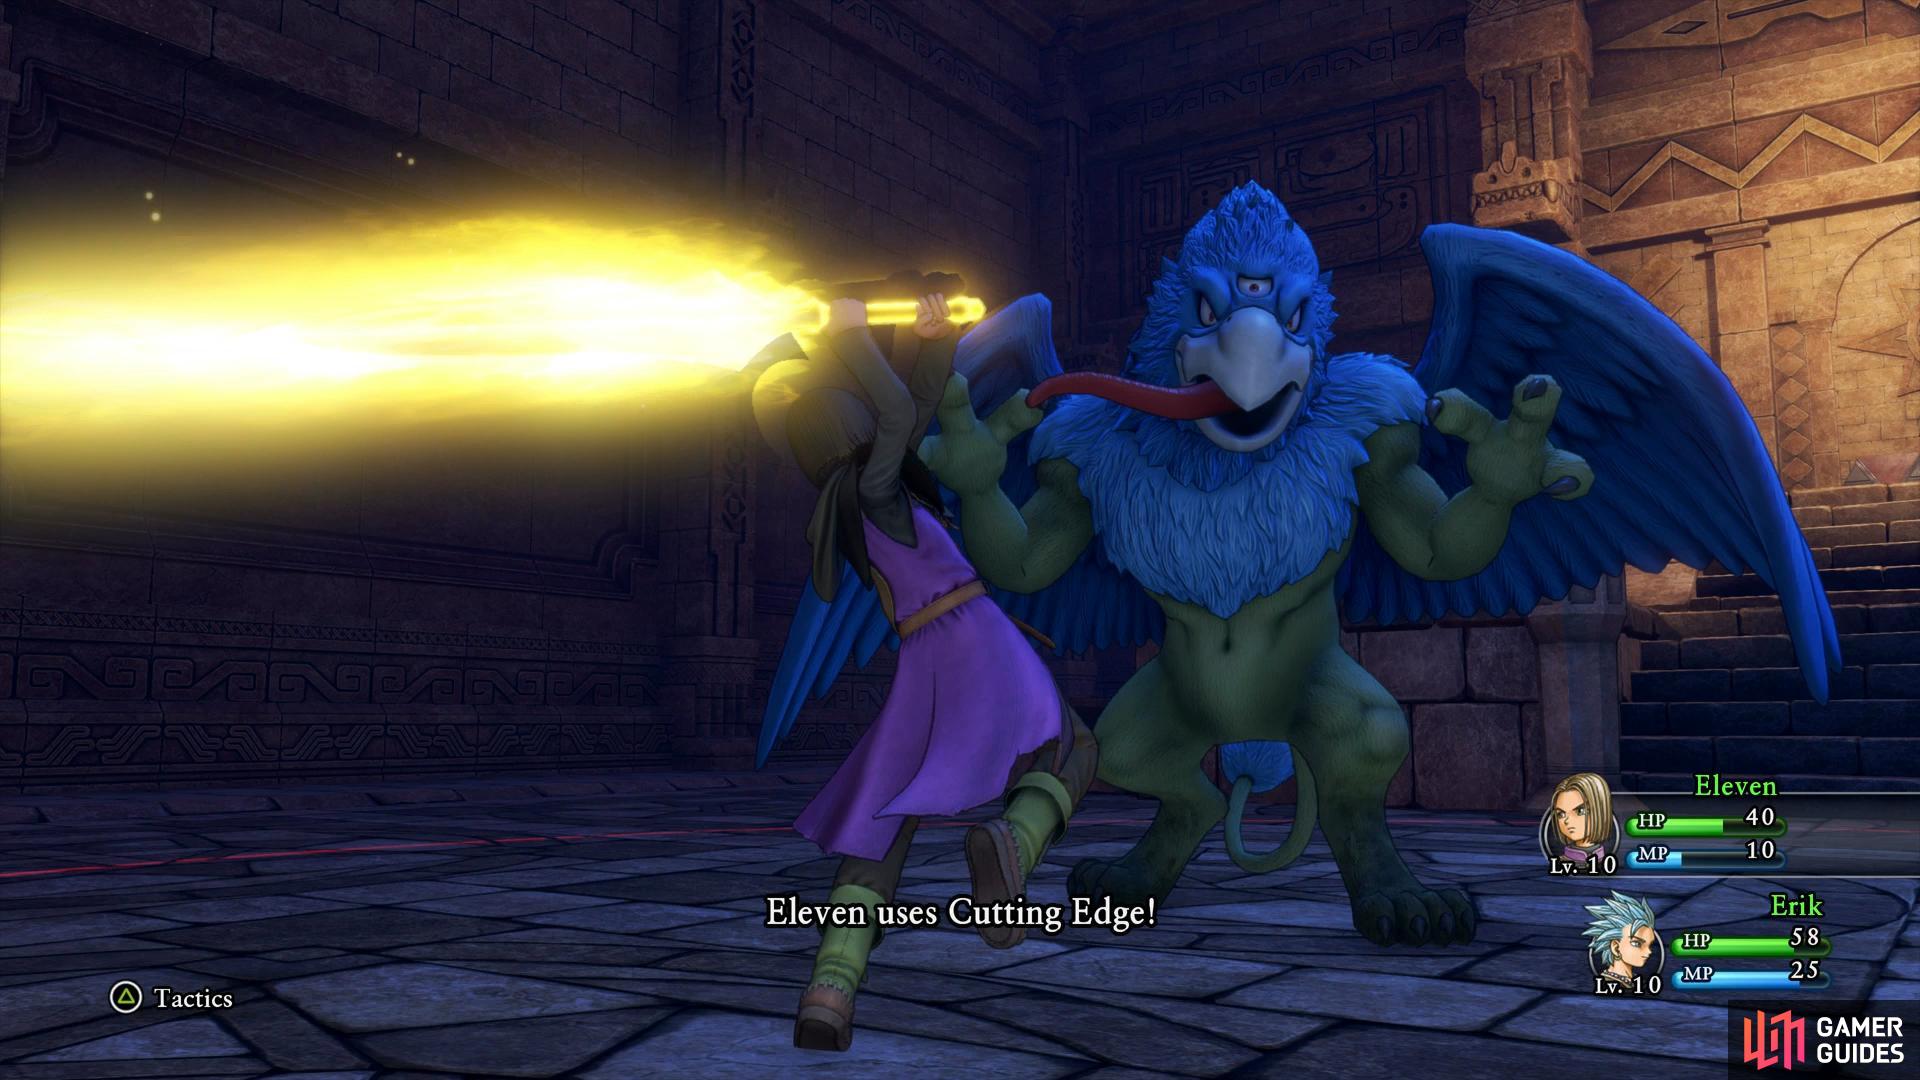
if you have Cutting Edge already, put it to use to deal major damage to the gryphons.
With the monsters out of the way, Erik finally claims the Red Orb although he questions why monsters are after it in the first place. More mysteries continue to pile up around you but for now, it’s time to heed the Hero’s grandad’s advice and make for the Door of Departure to the east. You’ll have to make your own way out of the Temple, either fight your way back for more Exp or use the Evac spell to return to the entrance.
Back outside, head back to the Camp in The Emerald Coast (or better yet, use one of the many Chimera wings you have on you) to rest up and save your game. You should notice that the forge has leveled up again and if you’re at least Level 10, your first flourish will unlock for it. This will allow you to strike at two gauges at once, very useful. Take this time to forge a Feathered Cap for both the Hero and Erik, you’ll need a Hardy Hide and a Flurry Feather for the ingredients. Be sure to equip your new armor and then begin the journey to the east as you pass under the tree to continue on. As you make your way to the Door it will dawn upon you that Hendrick has caught up to you and a chase breaks out. Erik and the Hero escape just in time to avoid Hendrick, although his words of hunting you down rings in your ears.


No Comments