
The Costa Valor
| Items | Area |
|---|---|
| Tortoise Shell | South beach, chest |
| Coral Hairpin | Northeast beach, chest |
| Pitch Pearl | Inside the well next to the Camp, chest |
| Sparkly Spots | Area |
|---|---|
| Maiden’s Favour | South beach |
| Maiden’s Favour | Eastern beach |
| Crimson Coral | Between central and northeast beaches |
| Waveweed x2, Butterfly Wing | Northern bridge, Flower gathering point |
| Narspicious (Night only) | North |
| Silver Ore | Inside the well next to the Camp |
| Silver Ore x2, Copper Ore | Southern field, Ore gathering point |
| Glimmergrass | Southwest |
| Pink Pine x2, Sparkly Sap | Southeast, Tree gathering point |
| Monsters | HP |
|---|---|
| Heal Slime | ~25 |
| Grim Gryphon | ~63 |
| Gnawchid | ~135 |
| Wizened Wizard | ~55 |
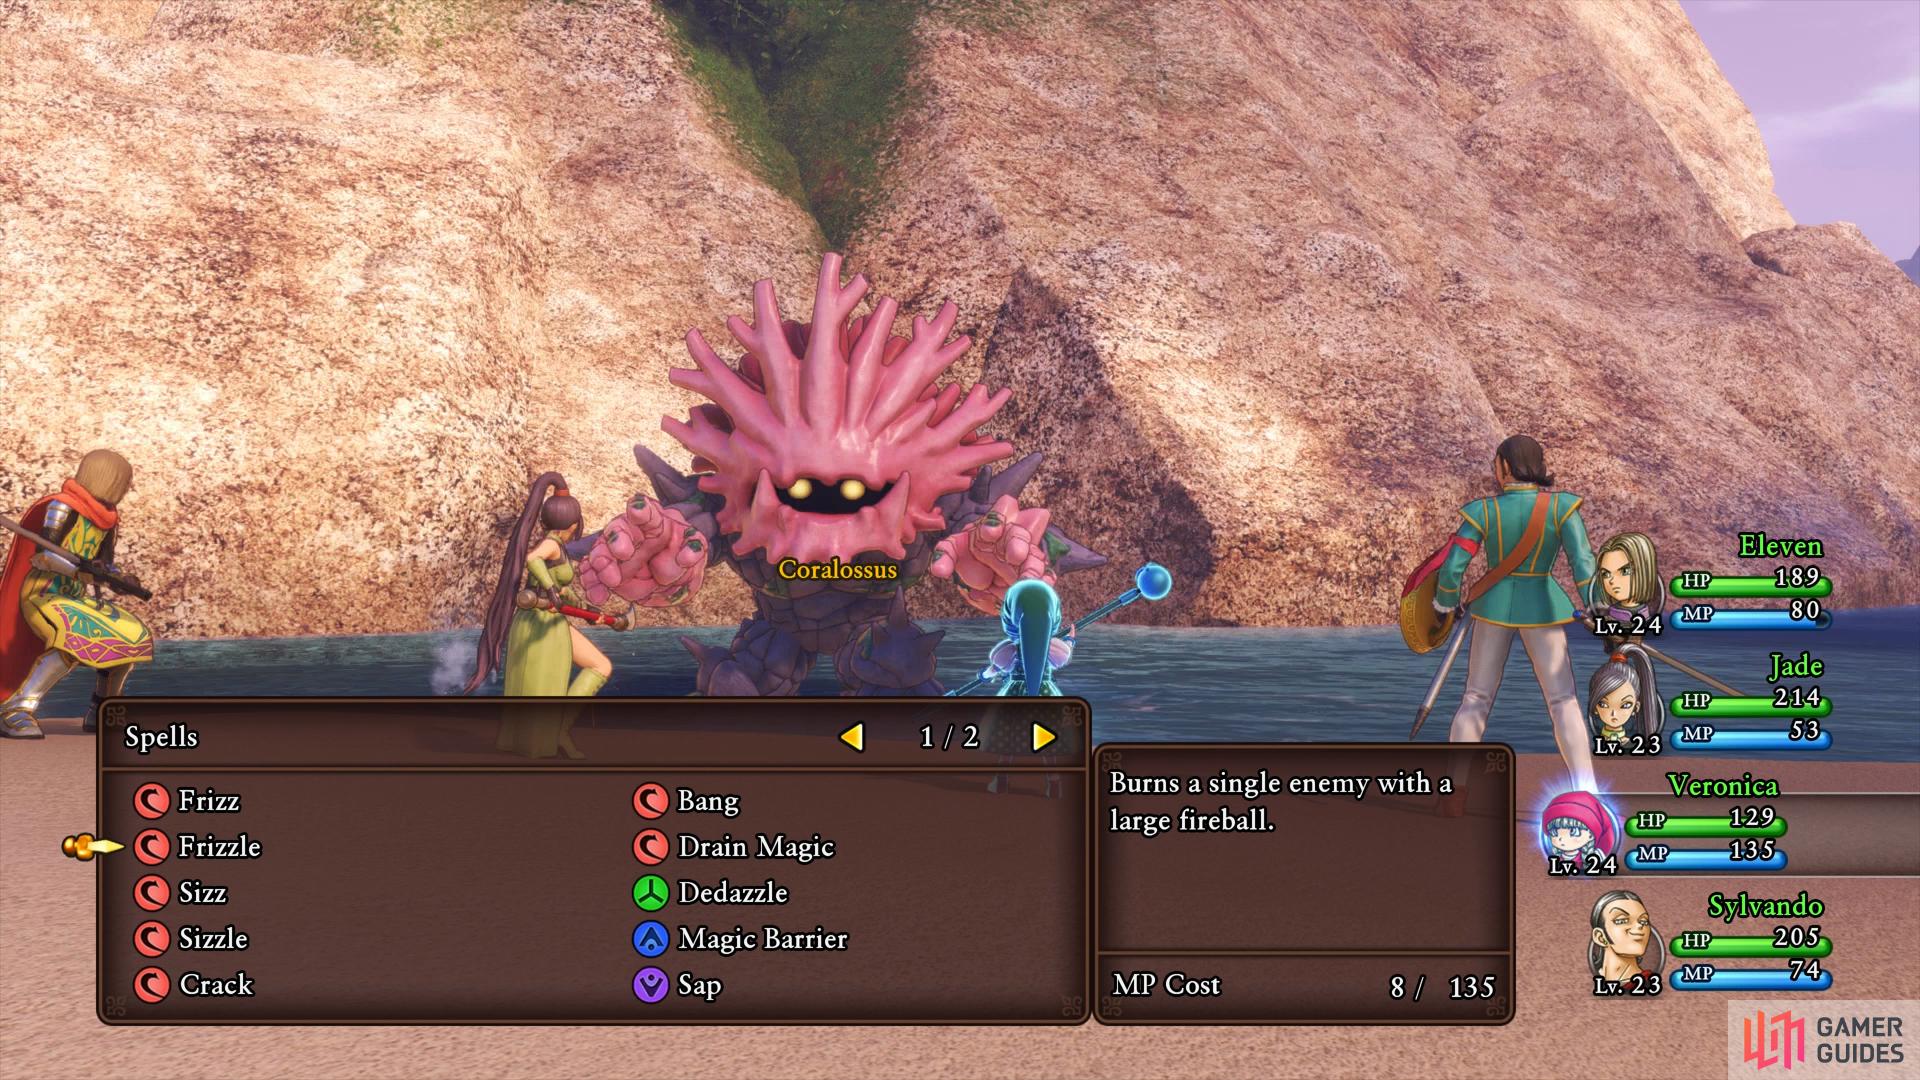
| Coralossus | ~230 |
| Merman | ~102 |
| Drake Slime | ~63 |
| Miasma | ~80 |
| Squid Kid | ~54 |
| Brollyminator | ~67 |
| Smacker | ~55 |
| Jacked Shrimp | ~285 |
| Slime Knight | ~72 |
| Heart Knight | ~616 |
| Bodkin Fletcher | ~61 |
Your next destination is The Costa Valor and you’ll need to access it by sea. Zoom back to the Gondolia dock to access your ship and sail to the northwest to another dock. The town that you’re looking for, Puerto Valor, is to the southwest of this area but first there’s many items to loot and another five Crossbow Targets to track down.
From the dock, head south through the cliff to a hidden beach where you’ll find a Sparkly Spot in the water containing a Maiden’s Favour along with a chest in the corner housing a Tortoise Shell. Return the way you came and head north to the next beach, you’ll spot a Coralossus to the northeast so head over and defeat it to loot the Sparkly Spot behind it and obtain another Maiden’s Favour.
Continue with the east of the coast and head north up the stream, snagging the Crimson Coral on your way as you reach the next beach. You’ll spot a small island out in the sea, head over to it to discover a chest containing a Coral Hairpin, a useful piece of armor for any of your spellcasters. While you’re on this island, head out to the northeast corner to find the first Crossbow Target near the corner of the rock. Head over to the west and then begin to head north, you’ll find a Flower gathering point to the right of the bridge containing two Waveweeds and a Butterfly Wing.
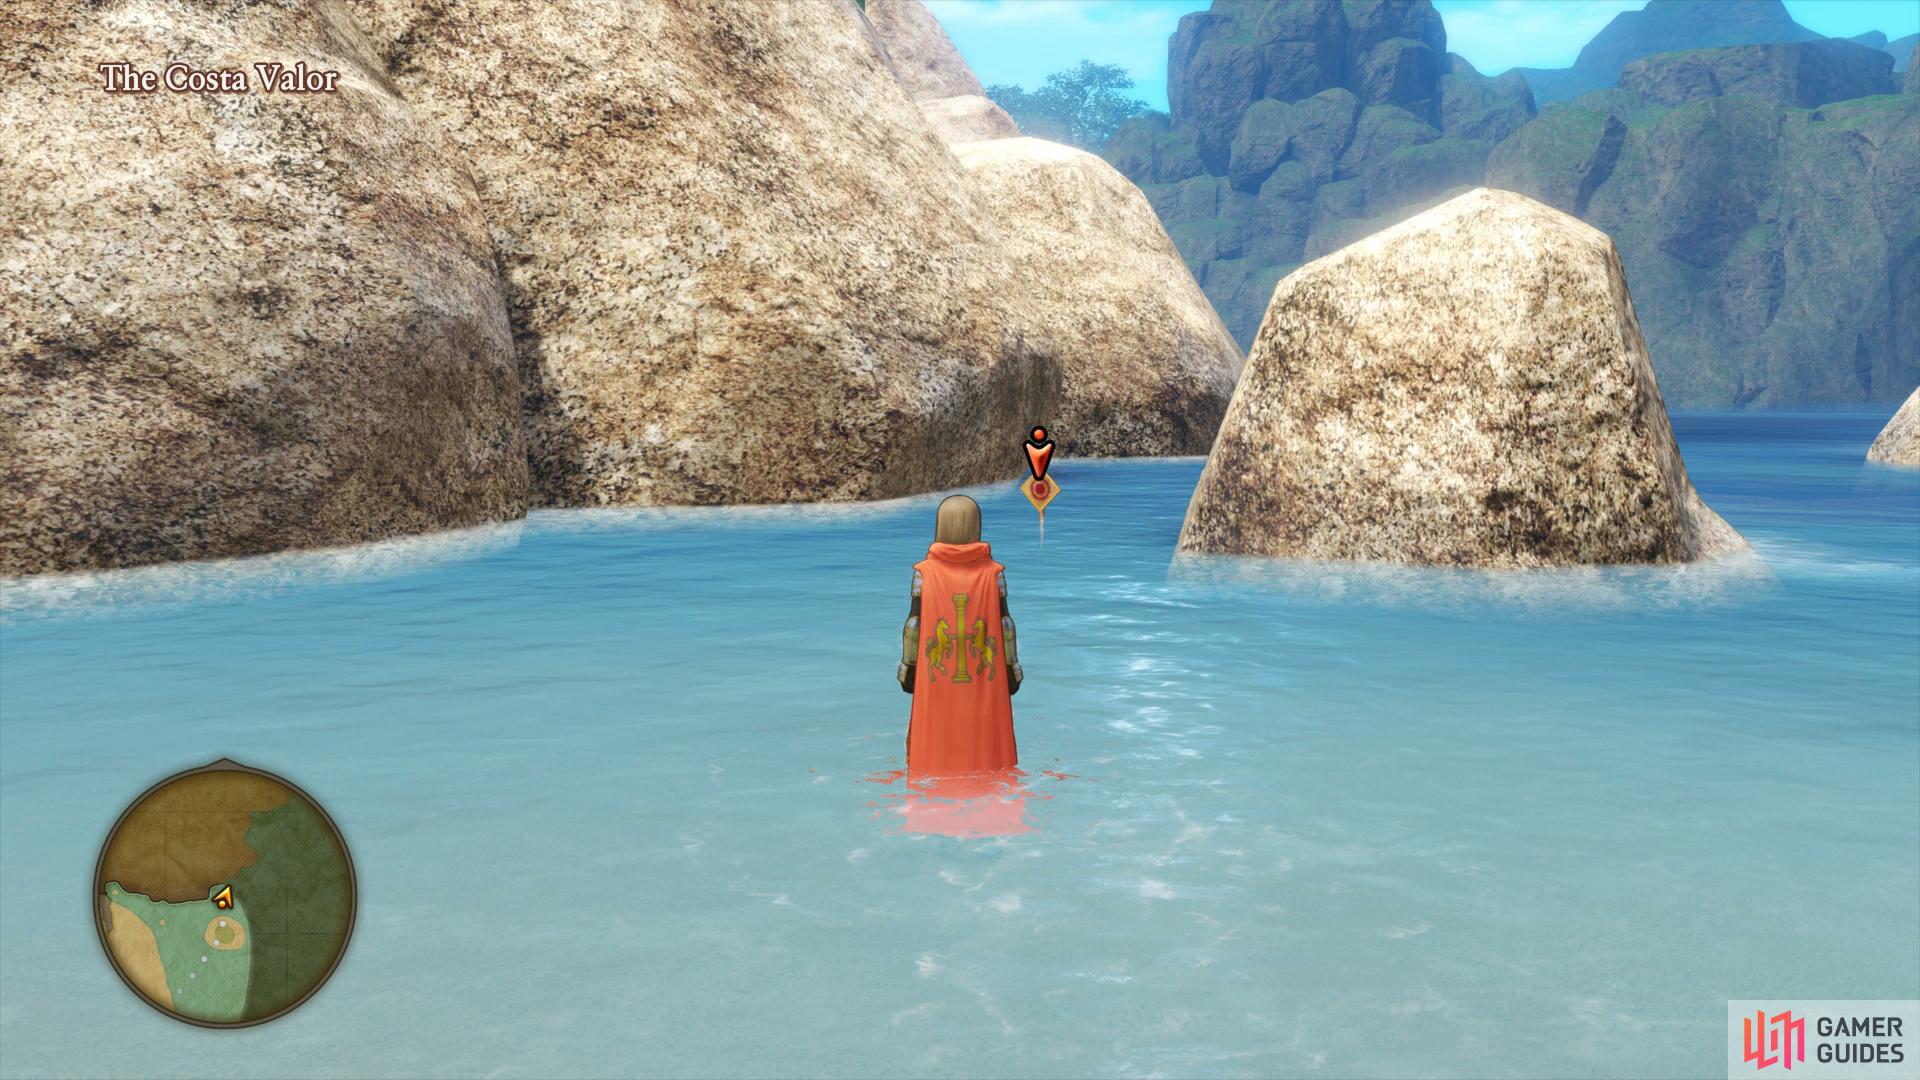
The first Crossbow Target can be found on the eastern beach
while the second can be found at the northern intersection.
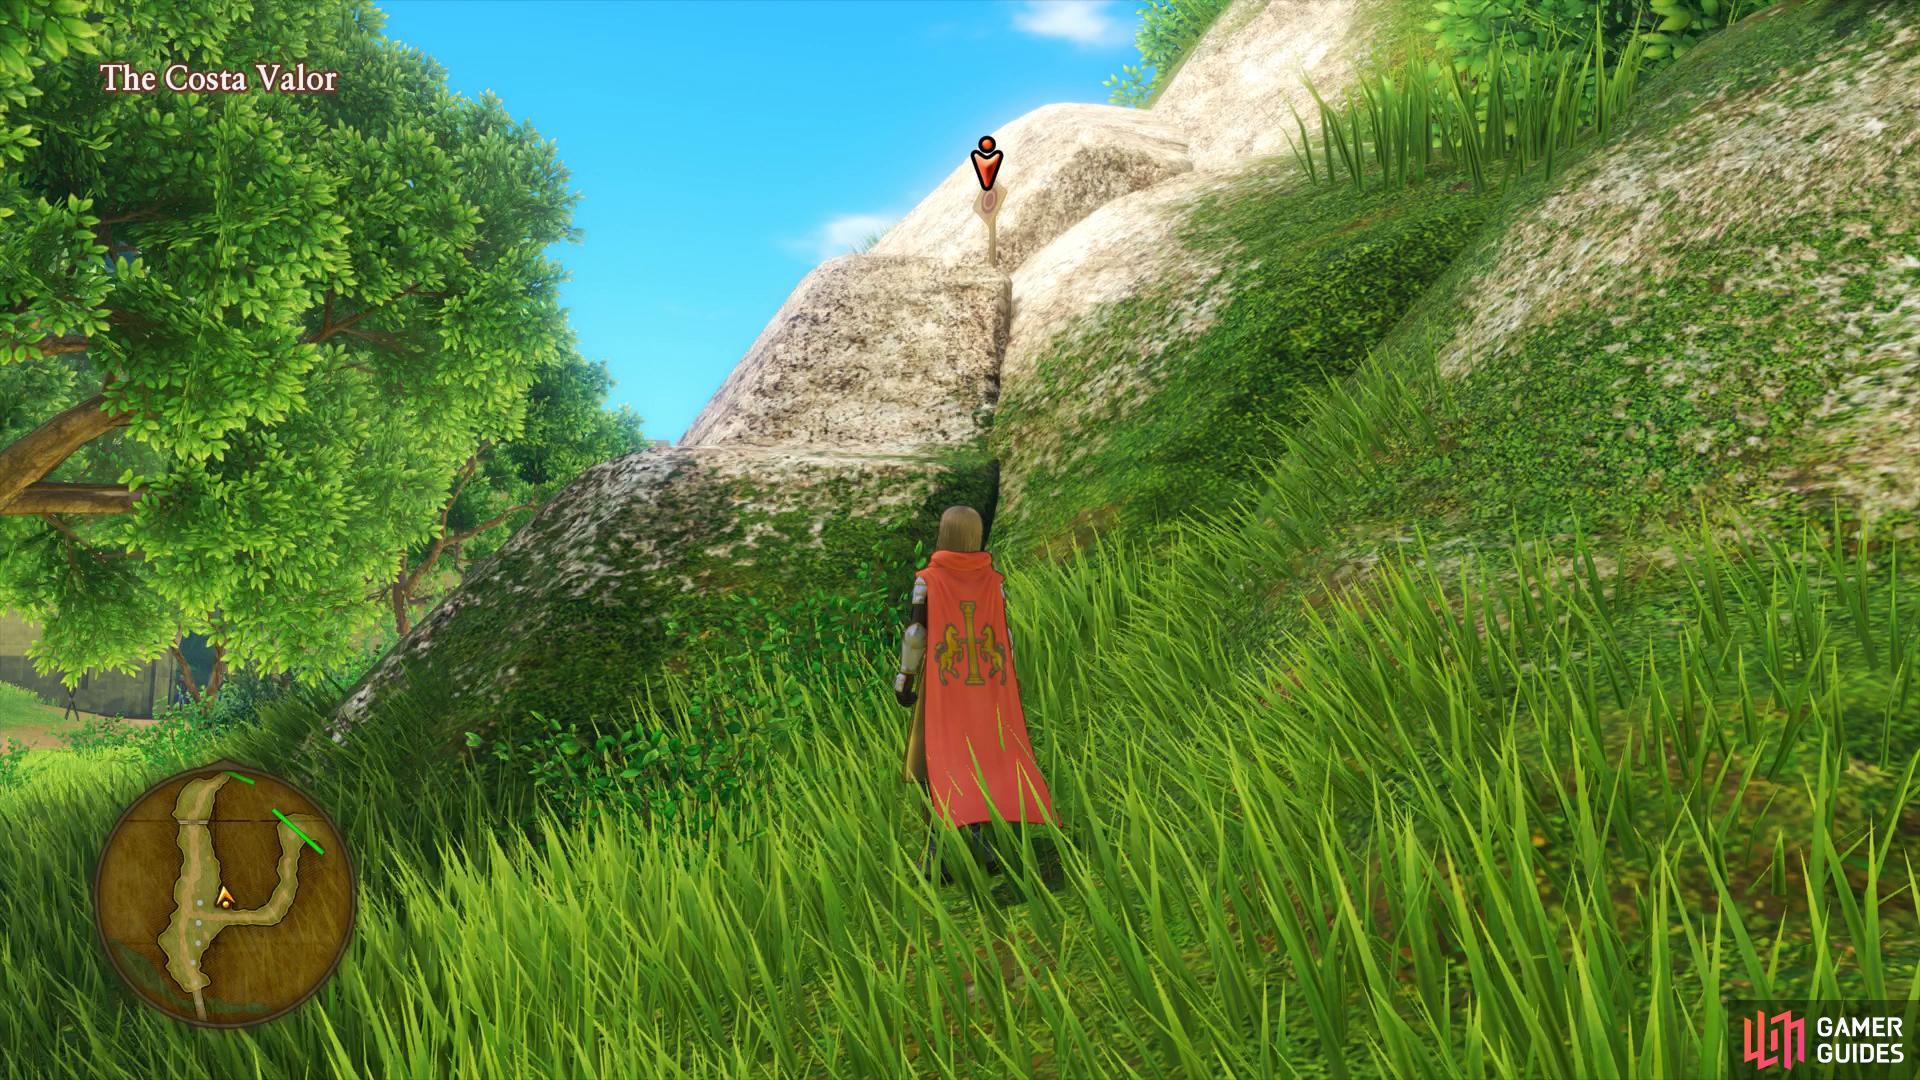
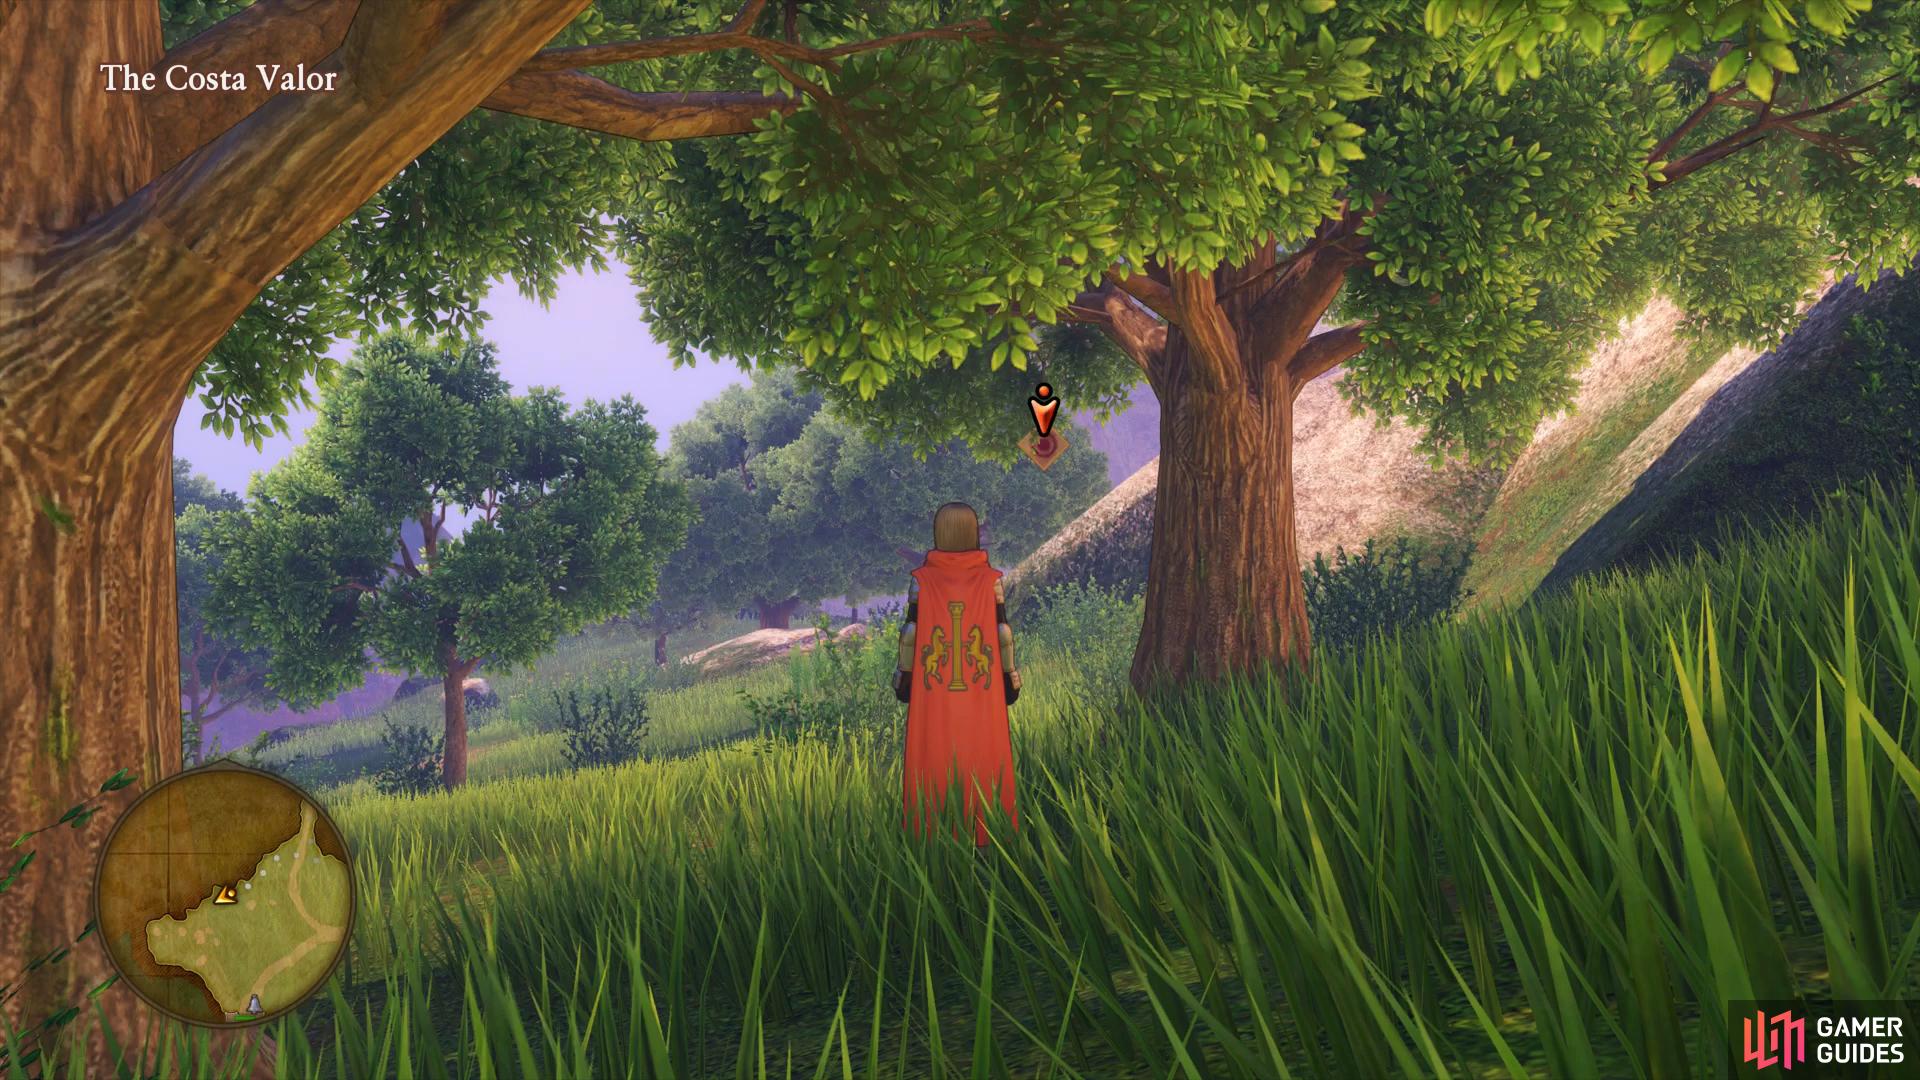
Follow this northern path to the next intersection and search behind the large tree at night to obtain a Narspicious. While you’re in this area, look up on the hill to spot the next Crossbow Target for you to shoot. There’s nothing else to discover up here so head back across the bridge to your south and then hug the north wall as the field opens up. After the first few trees you’ll come across one with another Crossbow Target in it, hit it and then head southwest to the Camp.
The Merchant here offers no new equipment but does have a good selection of materials for you to look at, buy any that you may need and then rest the night. The Recipe Book you found in the Ruins of Dundrasil contains recipes for a new armor set (and costume) for the Hero but you have no access to Platinum for now. Save your game at the Goddess Statue and then search the nearby well, you’ll find a chest to the west containing a Pitch Pearl and a Sparkly Spot to the south housing a Silver Ore.
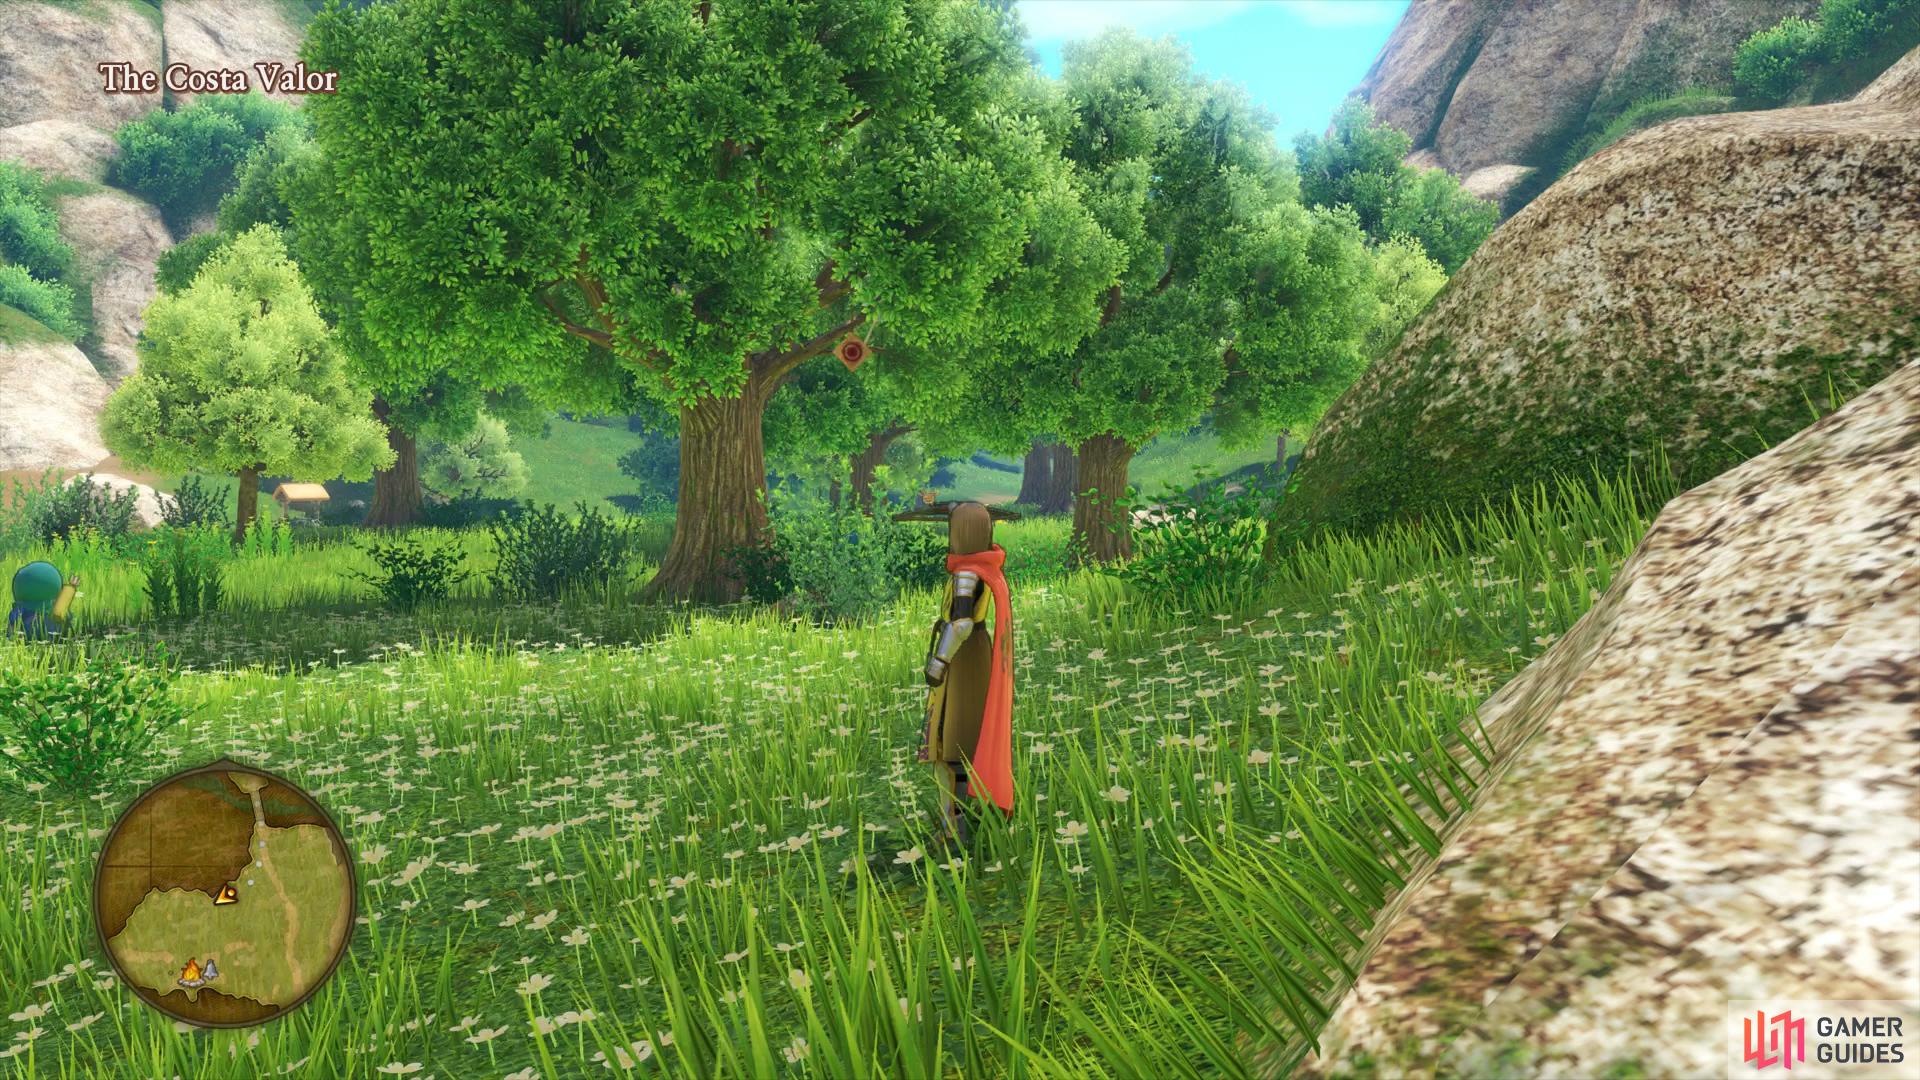
Search in a tree to the north of the Camp to find a Crossbow Target
while you’ll find the fourth target in the field to the southwest of the Camp.
Leave the well and and make your way through the passage to the south and as the southern field opens up to you, look to your left to find an Ore gathering point amongst the rocks containing two Silver Ores and a Copper Ore. Hug the western wall now as you trek south to spot another Crossbow Target in a tree and then head to the far west corner to find a Sparkly Spot containing a Glimmergrass.
Make your way directly east to the eastern wall and look up on top of the rocks to spot some trees, one of which has the final Crossbow Target. Before you Zoom back to the camp, head south to find a Tree gathering point containing two Pink Pines and a Sparkly Sap. Zoom back to the camp now and speak to the Bodkin Bowyer to inform him of your success in this region, you’ll obtain four Seed of Sorceries. Grab your horse from the nearby bell and gallop back to the south where you’ll find the town of Puerto Valor, your destination.
Puerto Valor
| Items | Area |
|---|---|
| Fresh Water | Entrance, pot |
| Wayfarer’s Clothes | Inn, wardrobe |
| 75G | Inn terrace, barrel |
| Chimaera Wing | Inn terrace, barrel |
| Finessence | Weapon shop, terrace, barrel |
| Buzzberries | West of Weapon shop, barrel |
| 1300G | Roof of the Casino, chest |
| Mini Medal | Hotel, pot |
| Green Eye | Hotel, wardrobe |
| 49G | House west of restaurant, pot |
| Your Crafting Career Starts Here | House west of restaurant, bookshelf |
| Glass Frit | Alley left of the locked door, barrel |
| Seed of Therapeusis | Stairs left of the Church, chest |
| Celestial Skein | Item shop, barrel |
| All Things Nice | Entrance, talk to man in red |
| Pretty Betsy | East of town, chest |
| Grubby Bandage | East of town, barrel |
| Red Eye | House west of the Church, wardrobe |
| Panacea | House west of the Church, pot |
| Sparkly Spots | Area |
|---|---|
| Maiden’s Favour | Southwest of the beach |
| Crimson Coral | Southeast of the beach |
| Silkblossom | Southwest of south mansion |
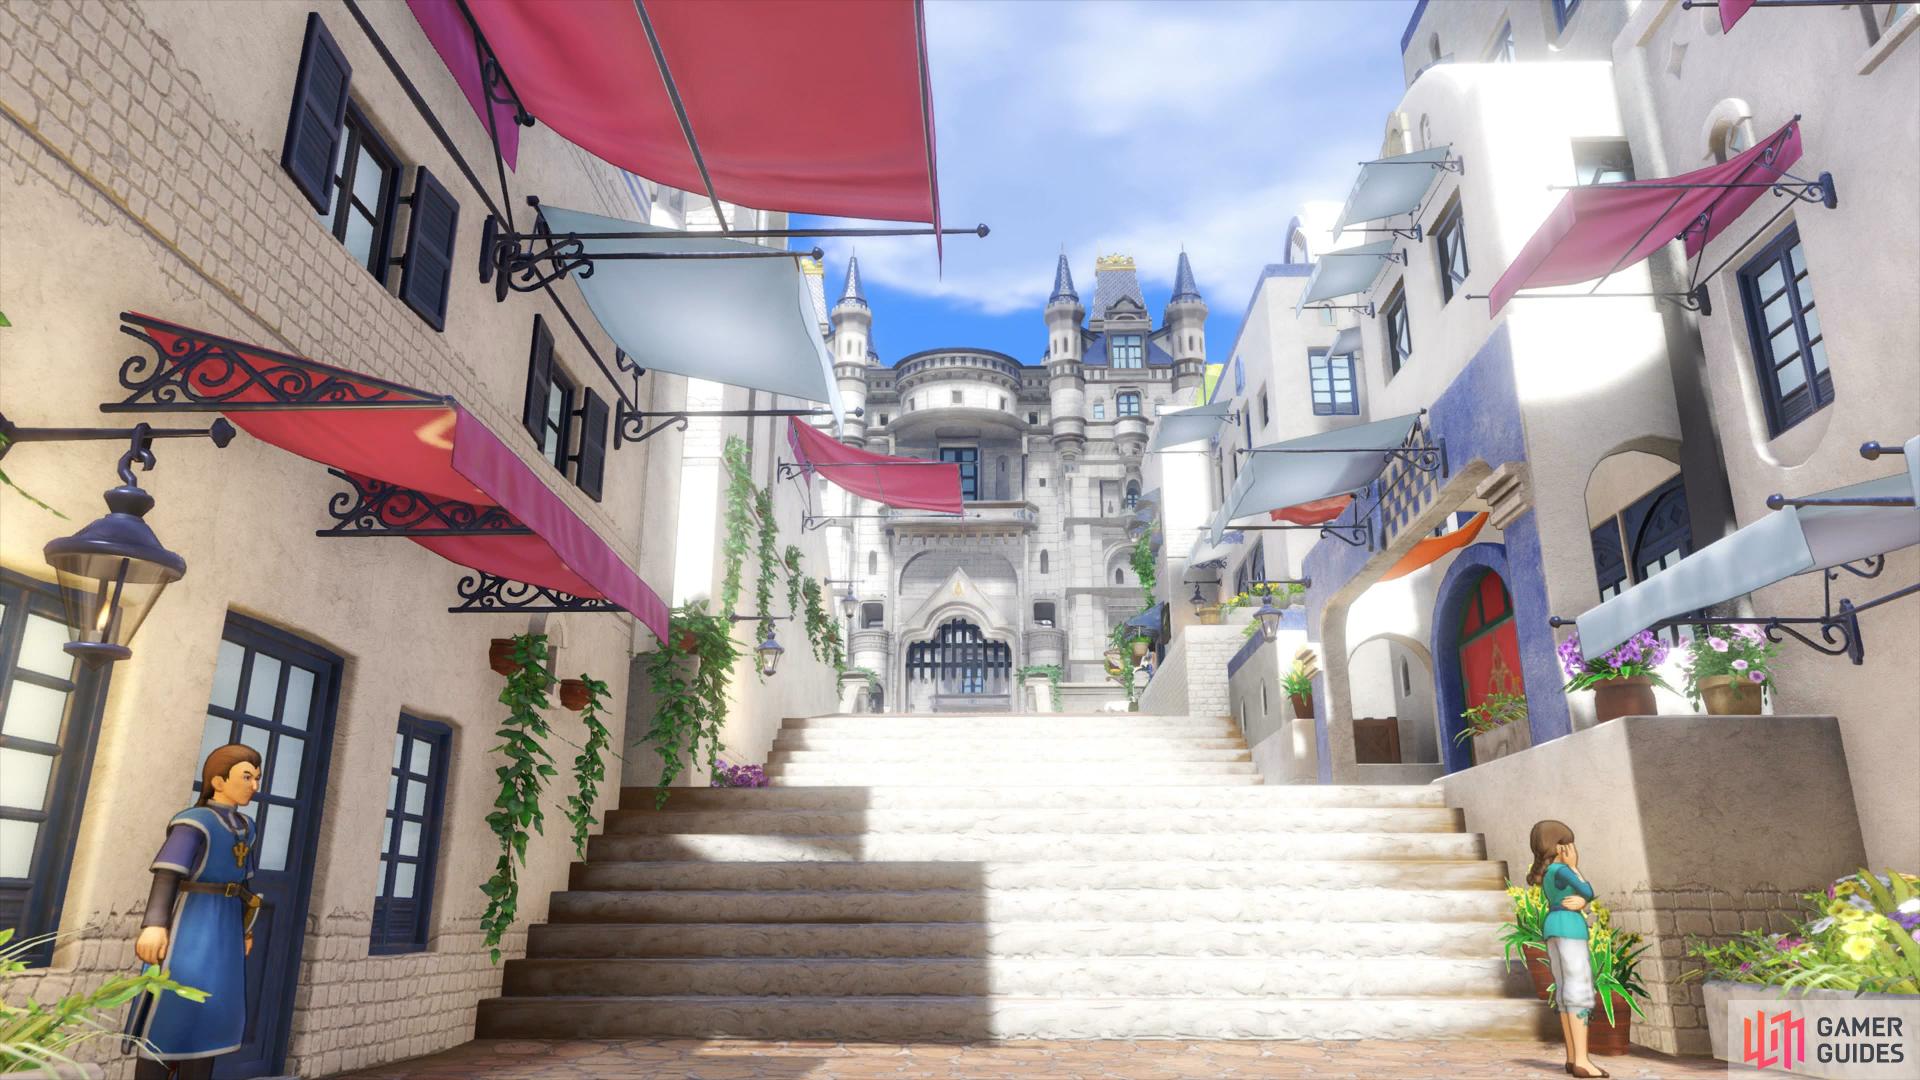
Welcome to the seaside resort of Puerto Valor, a town full of entertainment and somewhere you can finally make use of all the Mini Medals you’ve been collecting. On top of that, a Casino can be found here waiting for an adventurous gambler to swoop in and claim it’s spoils. Upon entering the town, Sylvando will rather suspiciously excuse himself and stay outside of town. Before you get too excited and go dashing off to the Casino, take the time to loot the town of all it’s riches first.
From where you enter town, search the western wall to discover a pair of pots, one of which contains a Fresh Water. Head down the stairs and enter the Inn, take the stairs to the bedroom and search in the wardrobe to find some Wayfarer’s Clothes. Open the door here to reach the terrace where some barrels lie around the corner, smash them to obtain 75G and a Chimaera Wing. Continue along to the Equipment shop and check out the wares that are on sale. There’s a new dagger on sale for Erik if he’s dual wielding otherwise nothing else is of value. As for armor, everything there should be no better than what you have if you’ve been making frequent use of the forge. Before you leave the shop however, head upstairs and out to the terrace to find some more barrels, inside you’ll obtain a Finessence.
Head back outside and search next to the man with a quest icon to discover yet more barrels waiting to be smashed, do so to obtain some Buzzberries. Speak to the man now to discover that he and his wife are on vacation but before they can leave, his wife is demanding a Floral Coral dropped from Coralossus’ on the coast, agree to assist him to begin Quest 14 - Anything for Love. Head down the nearby stairs to find the Casino, pass it by for now (reluctantly) as you’ll begin your gambling career shortly. Head up the spiral stairs to the side of the Casino however and follow the path to a hidden chest containing 1300G.
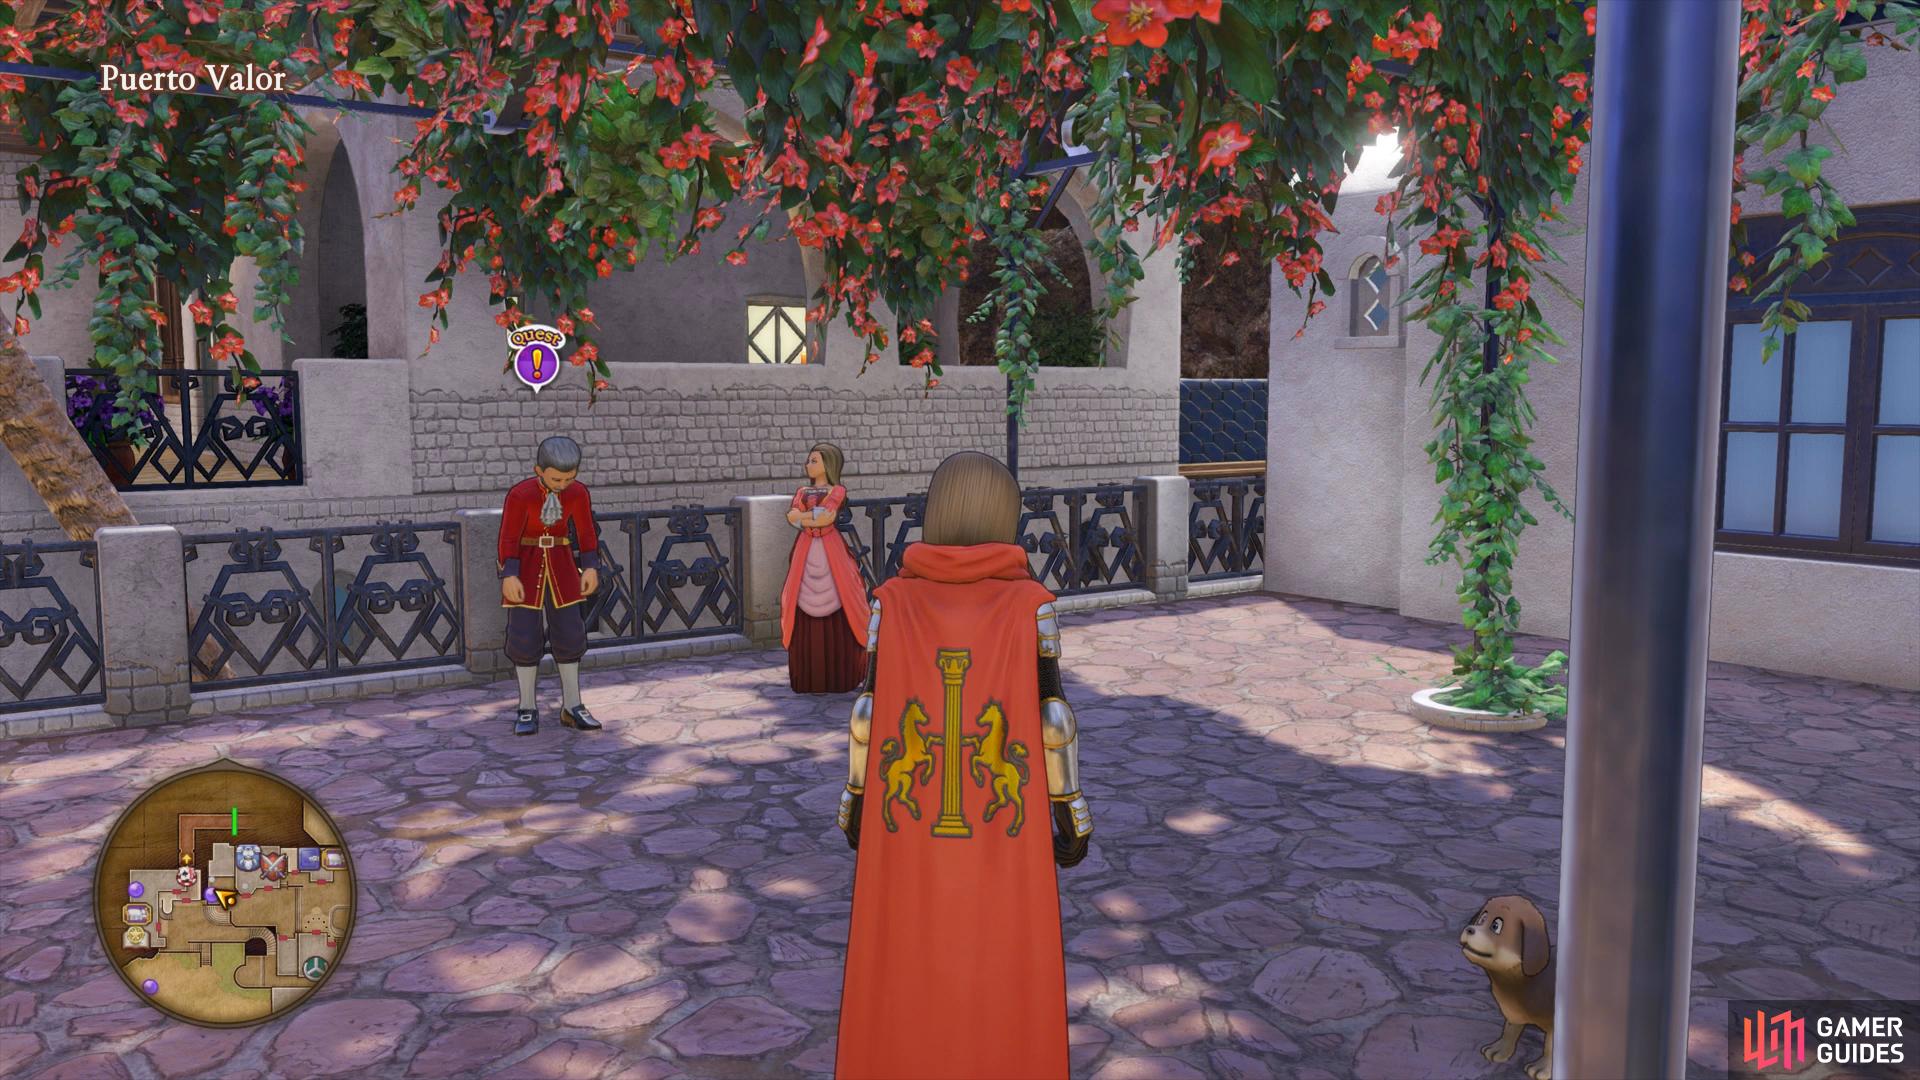
Speak to the man to the left of the equipment shops to help him track down a Floral Coral
you should have enough Mini Medals (20) to complete the first page by now.
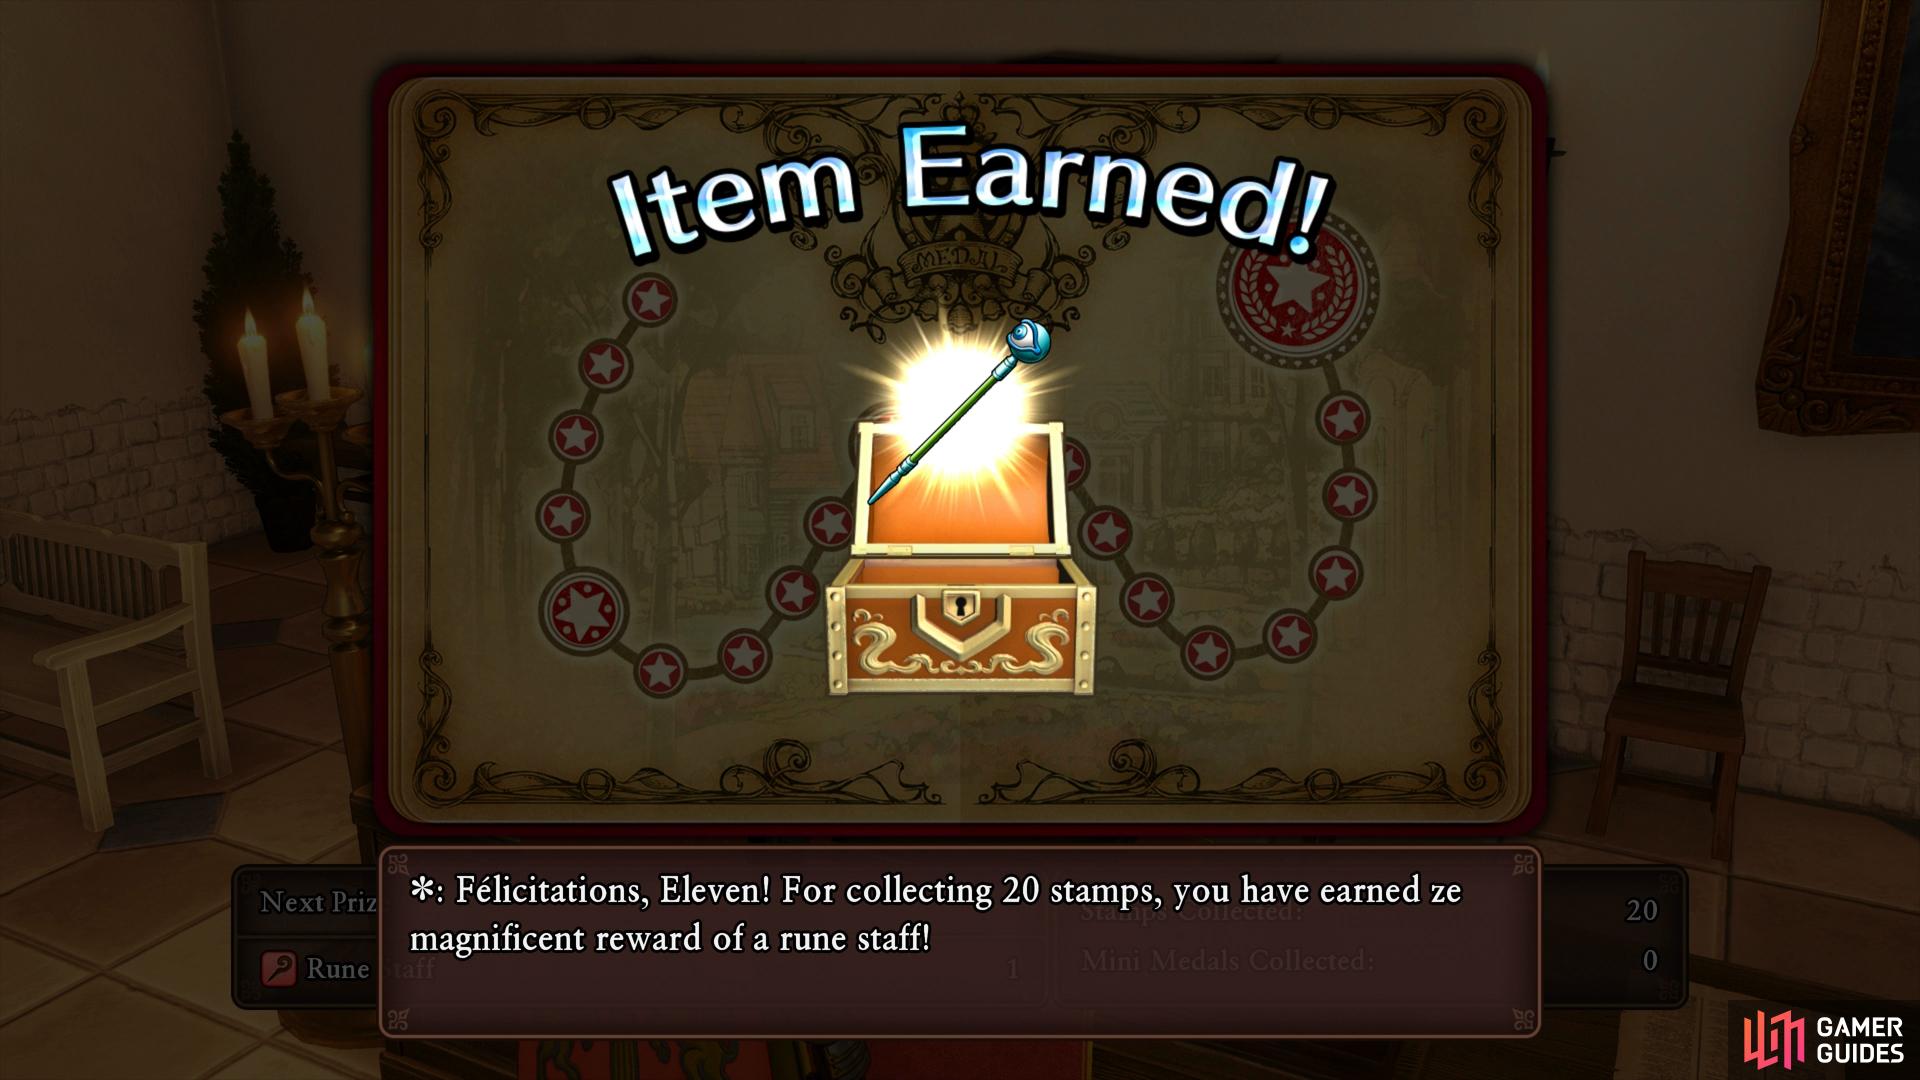
Enter the Hotel Casino from this floor to enter the bedroom, you’ll find a pot in the corner containing a Mini Medal. Ransack the other bedroom on this floor to find a wardrobe with a Green Eye and then head downstairs. You’ll find a curious Slime that you can speak to should you wish to stay the night and next to it, a woman. If you do spend the night at this inn, then you will be rewarded with a Mini Medal. Speak to her to learn about the miniature medal exchange ran by l’Academie de Notre Maitre des Medailles and receive an Album De Medailles. You can speak to the woman at the counter to add stamps to the album based on how many Mini Medals you’ve collected allowing you to obtain exclusive items. For now, you should have 20 so go ahead and exchange them to obtain a Shield-Bearer, a Hermes’ Hat and a Rune Staff. This should also complete this page, you won’t be able to go any further with this side activity for now but just remember about it and continue to be on the lookout for Mini Medals.
Before you leave the hotel, head over to the man in the kitchen and listen to his troubles. He needs the Proper Pepper thats been stolen from pirates in order to create the hotel’s famous dish, agree to assist in order to begin Quest 15 - Shiver me Timbers!. Leave the hotel now and head down the steps to the beach where you’ll find one final quest to take care of in Puerto Valor to the west. Speaking to the old man will reveal that he wishes to see a Bunny Girl that compares to his first bunny girl love when he notices Jade. He wants you to dress up Jade as a Bunny Girl (this is getting a little strange now) and show him, reluctantly agree to help the strange old man (there’s a Trophy to obtain from these quests) to accept Quest 16 - A Rush of Blood and he’ll inform you the three items needed to look like a Bunny Girl, the Bunny ears, Fishnet Stockings and of course the Bunny Suit. You have all but the suit which you can obtain from the Casino later.
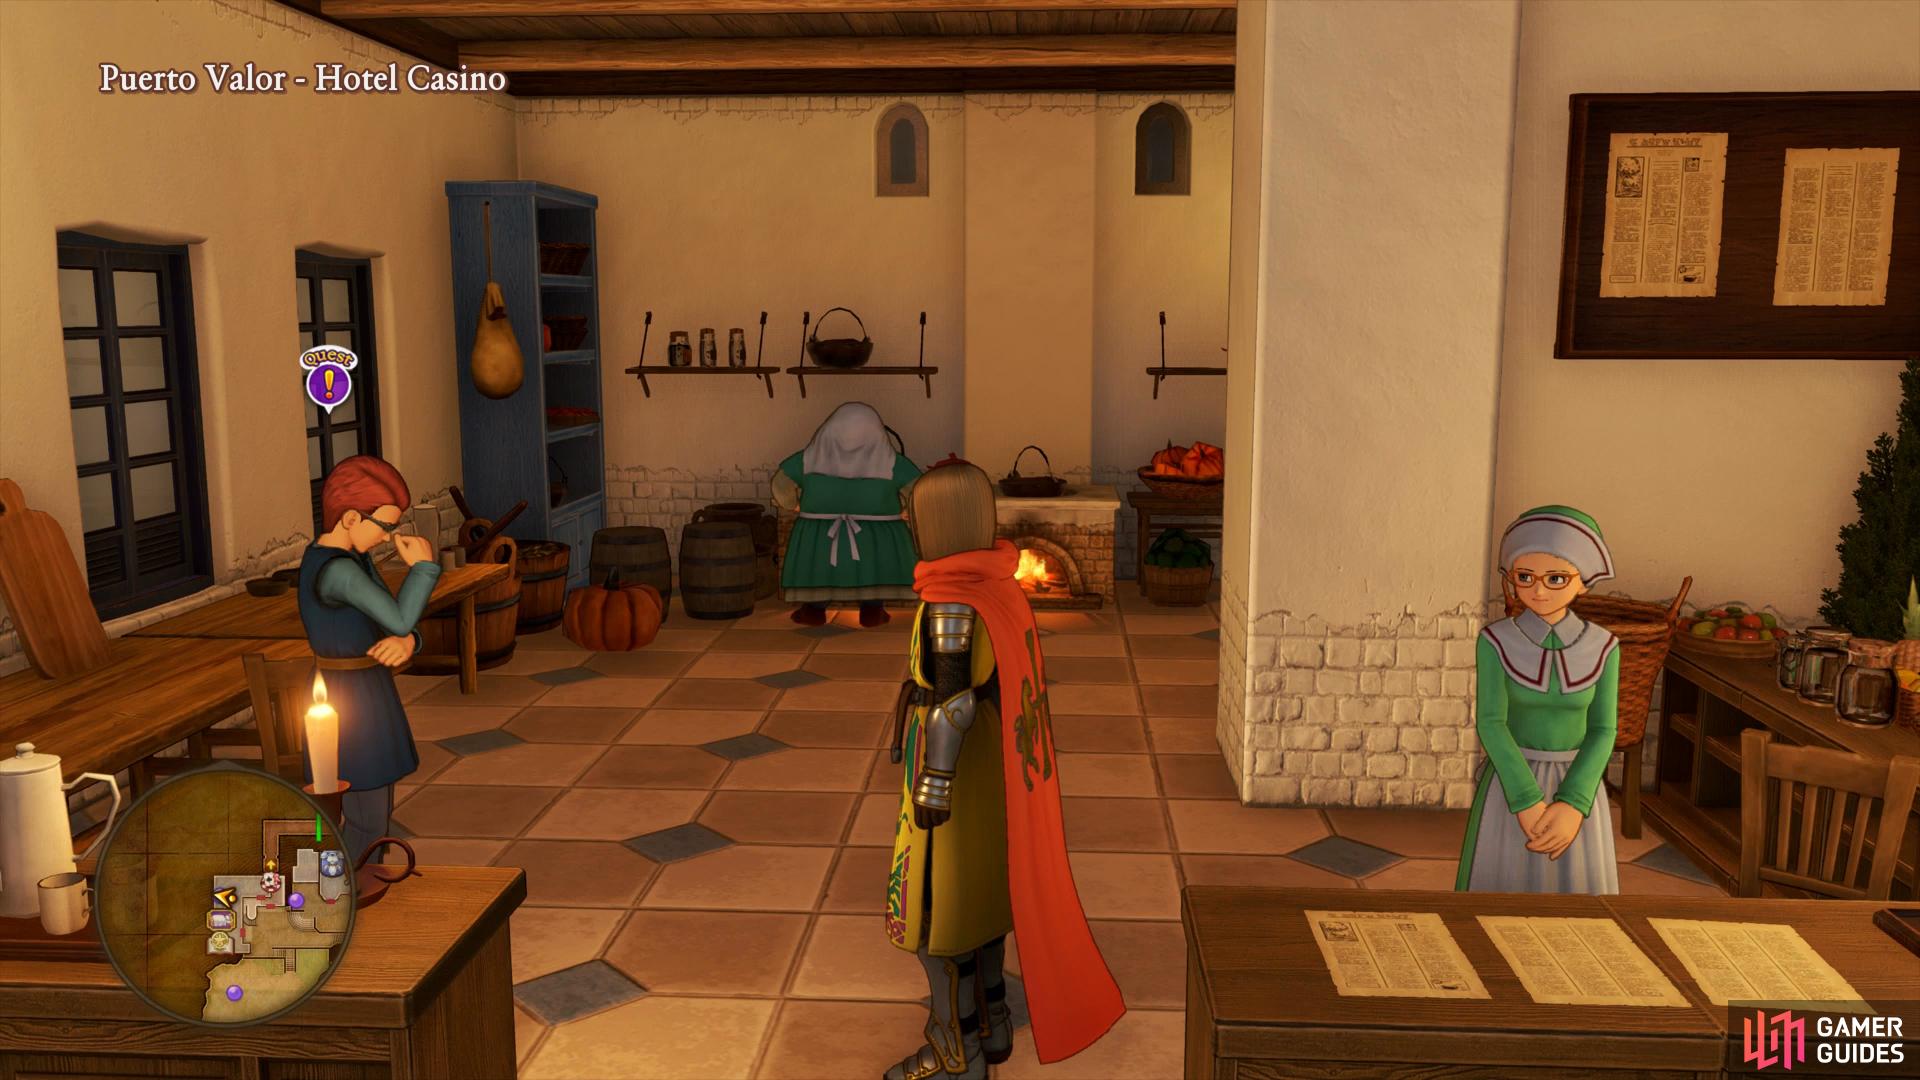
Speak to the man in the Hotel kitchen and agree to help him retrieve the Proper Pepper
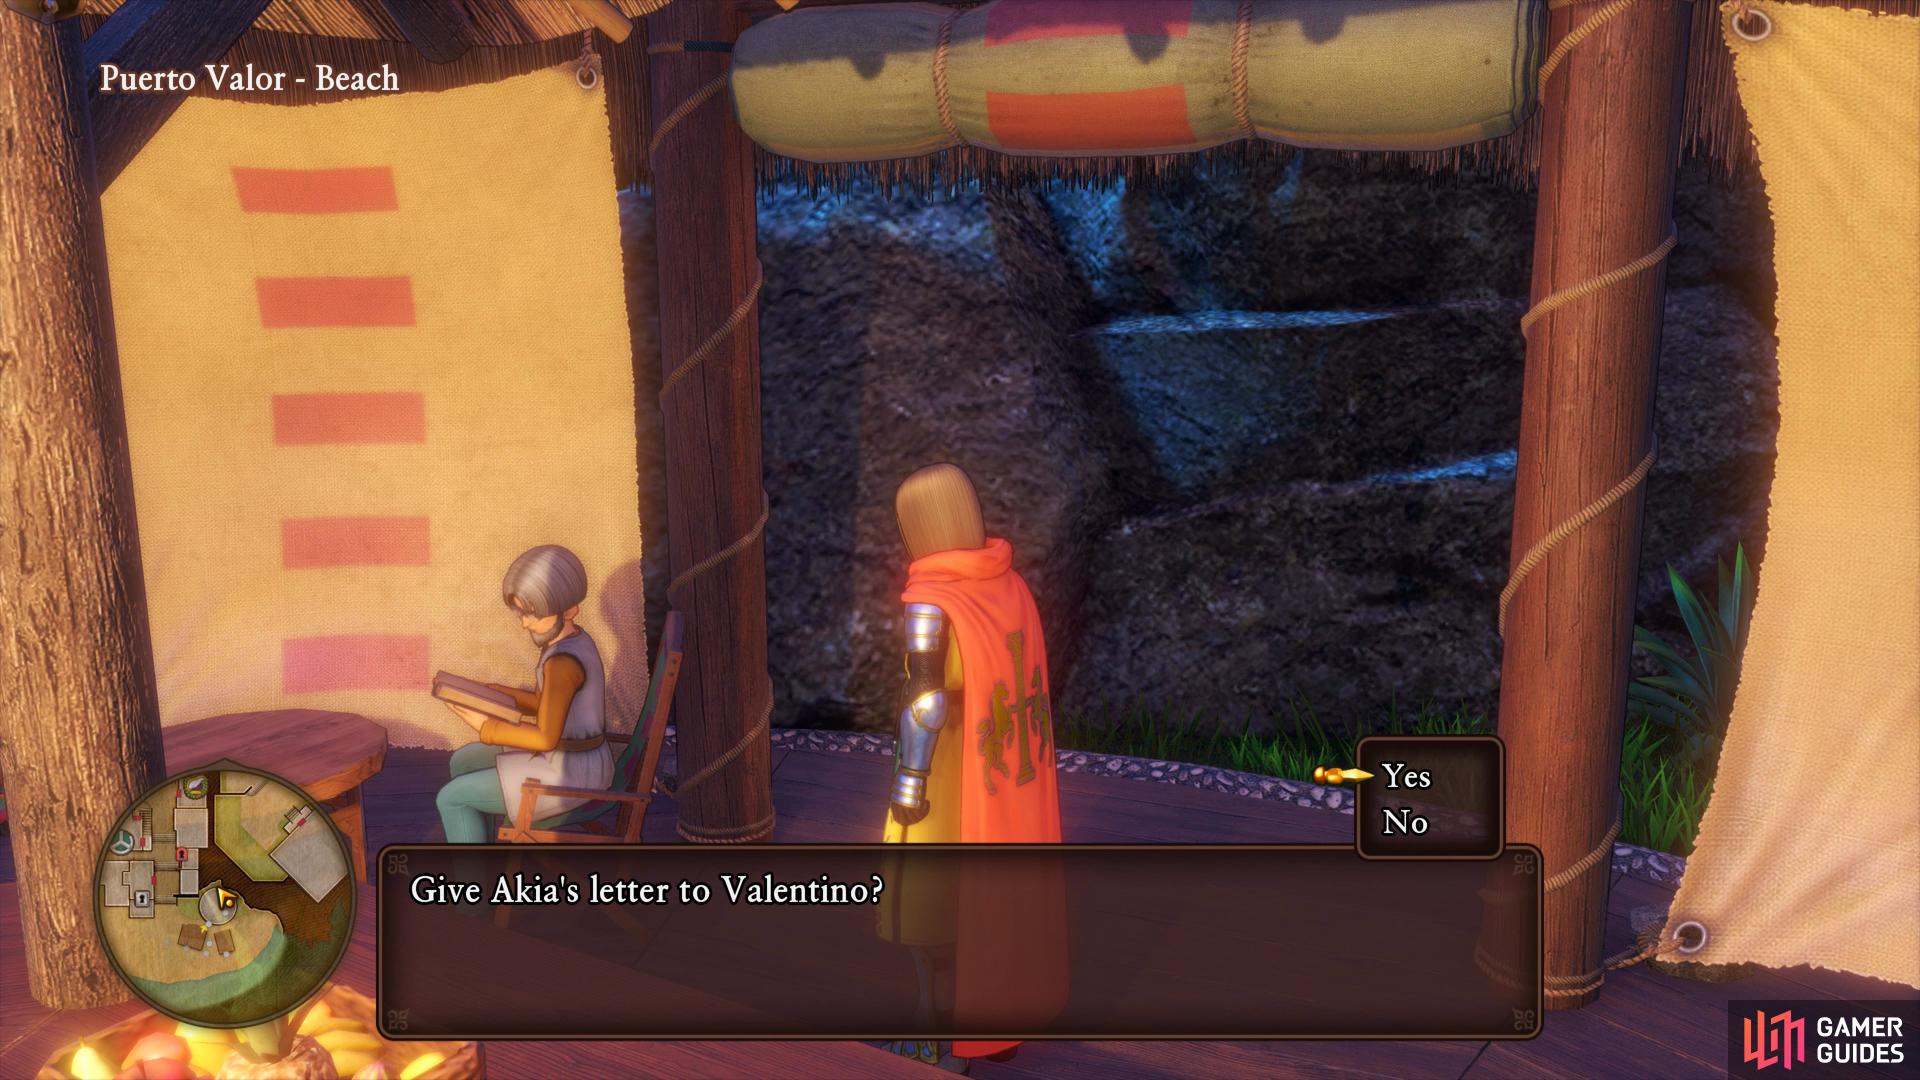
you’ll find Valentino from Quest 10 in the restaurant, be sure to deliver Akia’s letter.
Search the southwest corner of the beach to discover a Sparkly Spot containing a Maiden’s Favour. Head over to the southeast of the beach where you’ll find a restaurant, search below the tables on the beach to find another Sparkly Spot containing a Crimson Coral. Head inside the bar itself now and speak to the man at the back reading a book, this is your target for Quest 10 that you accepted back in Gondolia. You’ll need to head back to Gondolia to report your success and in return you’ll obtain another Mini Medal.
Head up the nearby steps and enter the house to your left, you’ll find some pots in the kitchen containing 49G. Head upstairs in here to find a locked door and a bookshelf with your next Recipe Book, Your Crafting Career Starts Here. Leave the house and head up the stairs until you see an alley to your left, head down there to find a barrel with a Glass Frit inside. Next up is the Church, head up the stairs to the side of it to find a well hidden chest housing a Seed of Therapeusis and then check out the house to the west of the church. You’ll find a Red Eye in the wardrobe and a Panacea in one of the nearby pots.
Head to the Item shop next where you can purchase a Gold Rosary for any of your spell casters if you wish. The Mayoress’s Mittens are also a large boost to Charm should you need it. Before you leave the shop, head upstairs to find some more barrels, smash them open to obtain a Celestial Skein.

You can find the first of two Recipe Books by searching the bookshelf of the southern most house
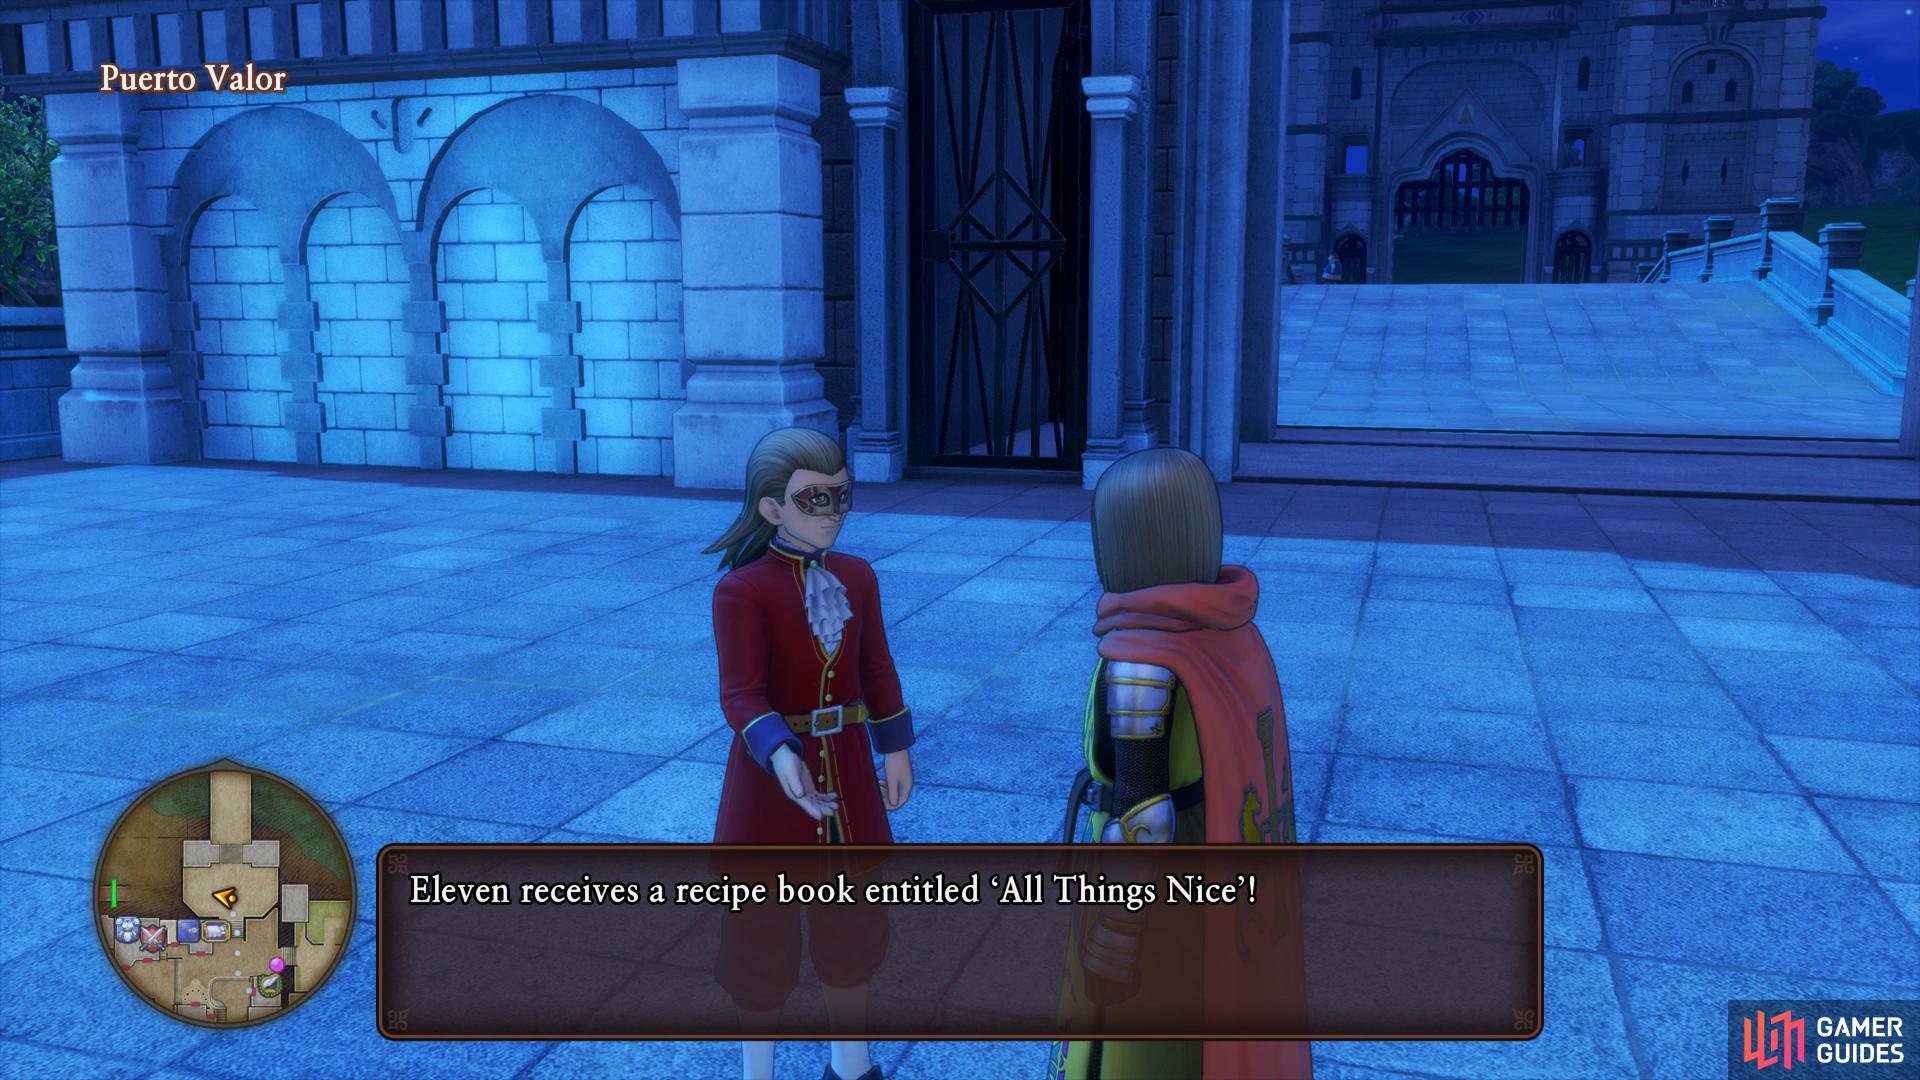
the second can be obtained by speaking to the man in red at the entrance.
Head back up the stairs to your north to spot a man in red, speak to him to obtain another Recipe Book, All Things Nice. Head east of the town now to find several large mansions, search the north garden to begin with to find another chest, this one containing a Pretty Betsy. Head to the southeast of the training yard next to find more barrels to break open, inside you’ll obtain a Grubby Bandage. Finally, search in the southwest corner of the mansion to the south to find the final Sparkly Spot containing a Silkblossom.
Tackling Quests 14 and 15
With all the items looted, take the time to knock out some of the quests that you now have. Start by returning to Gondolia to turn in Quest 10 if you haven’t already done so and then Zoom to the Gondolia dock. Head over to Insula Australis to the northeast and depart from the boat, you’ll find the pirates from the Shiver me Timbers! quest here. You’ll be up against Robbin’Ood and his Merry Men, focus your attention on the Merry Men first, a cast of Zap and Sizzle should be enough to put them down leaving you with just the leader himself. He has the ability to seal your character’s spells, cure this as needed (especially on Veronica) and continue your assault with your hardest hitting attacks. He only has around 250 HP so a few of your hardest hitting attacks such as Cutting Edge should put him down quickly. You’ll obtain a Tough Guy Tattoo for defeating him along with the Proper Pepper.
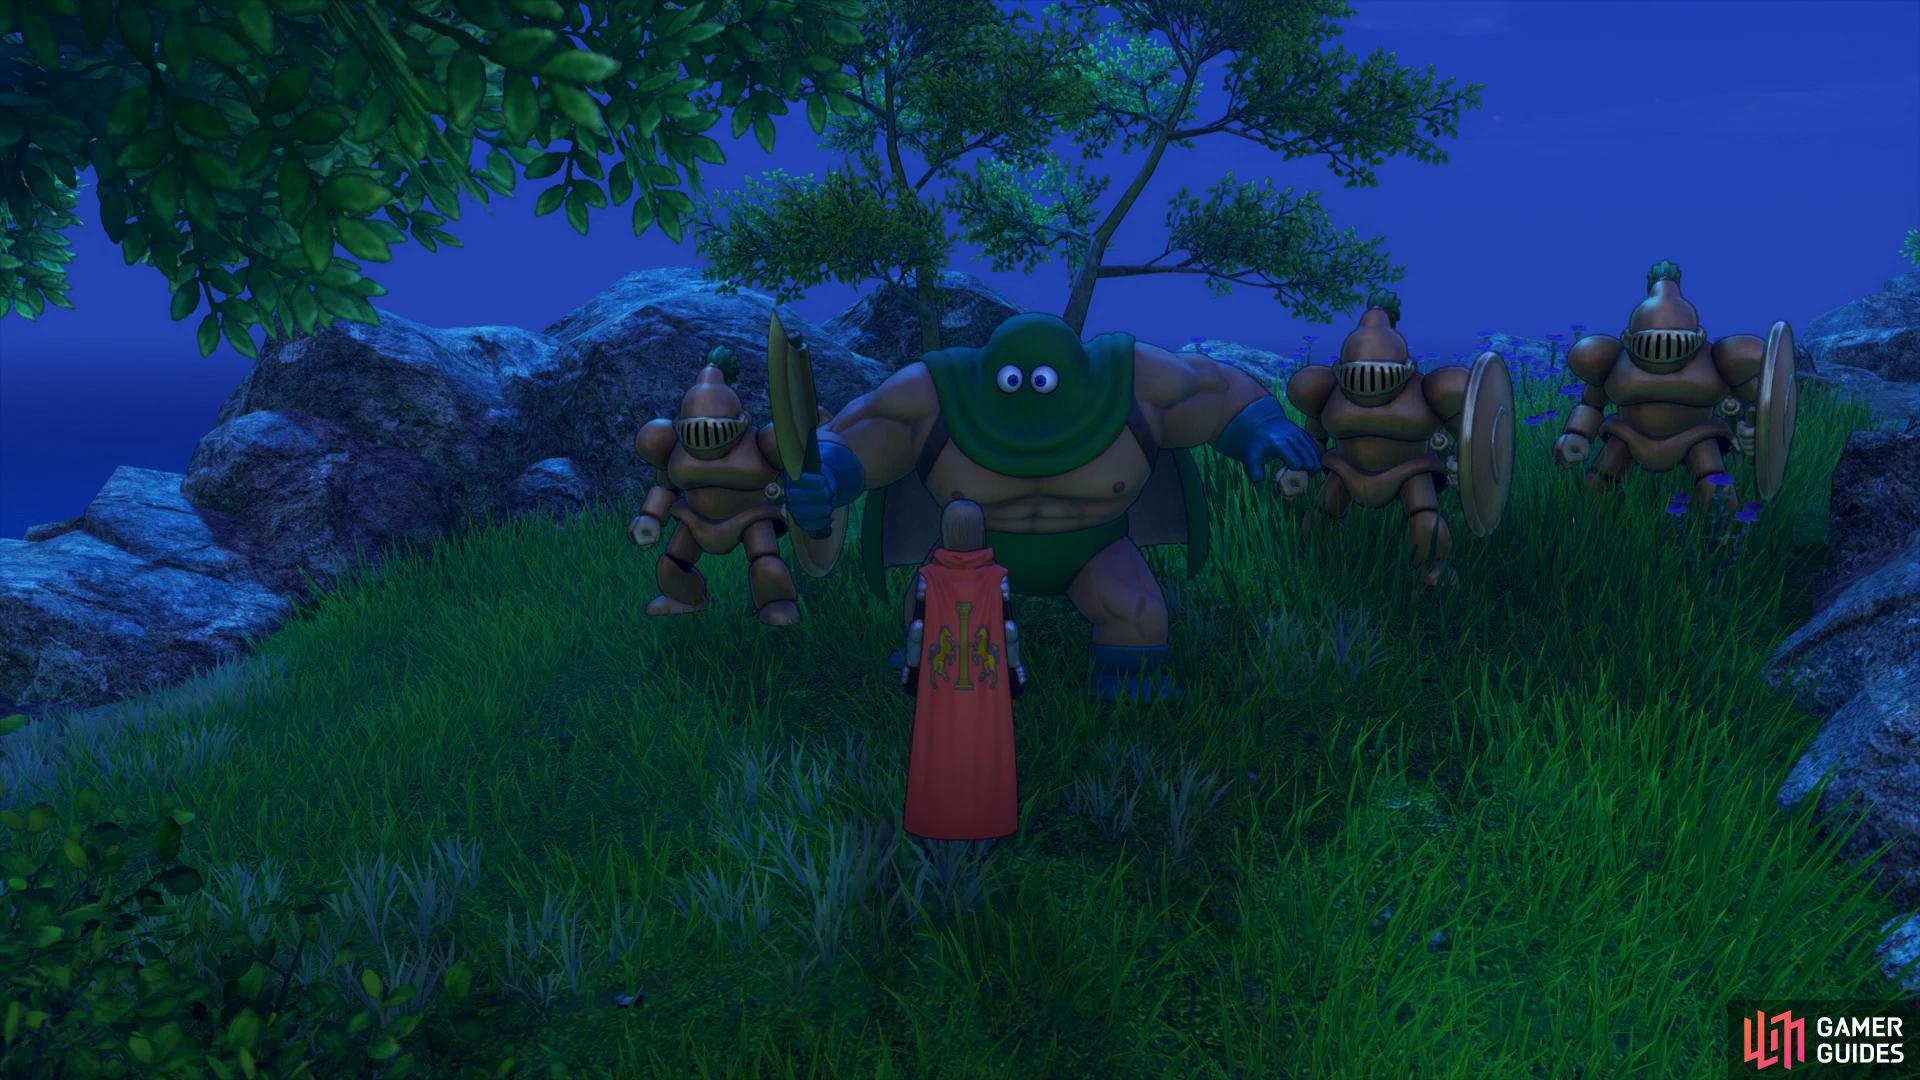
Head to Insula Australis to the northwest of Gondolia to find the pirates for Quest 15
while you can find a Coralossus for Quest 14 in the Costa Valor.
Before you head back, Zoom over to the Costa Valor Camp. While you’re at this Camp, take a look at some of the new equipment you can now forge. There’s a new Wand for Serena that you should consider and you can create a new costume for both Serena and Veronica which will give them a slight boost to their Magical Mending and Magical Might stat. Note that whoever you have wearing the Robe of Serenity equipped on may be better of with that instead for now. Alternatively, you can pass that robe on to Rab and have the twins wearing matching outfits. Finally, consider strengthening some existing gear such as the Rune Staff you just got for Veronica and the Dragon Scale the Hero should be using.
Leave the camp and head over to the beach to find a Coralossus, defeat it in battle to obtain the Floral Coral. Return to Puerto Valor once more and report your success to the two quest givers, you’ll obtain a Recipe Book to create a new Whip from Quest 14 and another Recipe Book to create a new costume for Erik (and who doesn’t want Erik to look like a Pirate!) from Quest 15. This leaves you with just one more quest to complete and you’ll obtain the means for that in the Casino, your next destination, however remember to save before entering.
Puerto Valor Casino
| Items | Cost |
|---|---|
| Down the Rabbithole | 500 |
| Mercury’s Bandana | 2500 |
| White Shield | 5000 |
| Yggdrasil Leaf | 5000 |
| Infernails | 7500 |
| Staff of Sentencing | 7500 |
| Arriviste’s vest | 10000 |
| Elevating Vest | 10000 |
| Spangled Dress | 25000 |
| Platinum Sword | 50000 |
| Lightning Lance | 75000 |
| Platinum Powersword | 100000 |
As any fan of Dragon Quest may tell you, the Casino is a fun past time used to acquire powerful equipment early on. This Casino is no different and you have a few different games at your disposal but first let’s take a look at the prizes.
Your first purchase should be the Down the Rabbithole Recpie Book as it’s needed to complete a quest and unlock a new costume for Jade. As for the other items, it’s all dependent on how long you wish to spend in the Casino to get the high ticket items. Mercury’s Bandanas are relatively cheap and are great for their Agility increase, especially useful for Erik. The Shield, Claws and Staff are only marginal increases, feel free to get one if you have some funds spare otherwise forego them for now. Likewise the Spangled Dress is a luxury item, it gives high defense for female party members but you lose out on the increases to more important stats, steer clear of this for now. Finally the Platinum Sword is somewhat useful for a Sword user such as Sylvando but again nothing too special however the Lightning Lance and Platinum Powersword are certainly worth your time if you want to stick around. The Greatsword especially is a huge increase over anything else at this point in the game and will keep the Hero set for a long time, if you’re using Draconian Mode with increased enemy stats, consider spending the time to grab this.
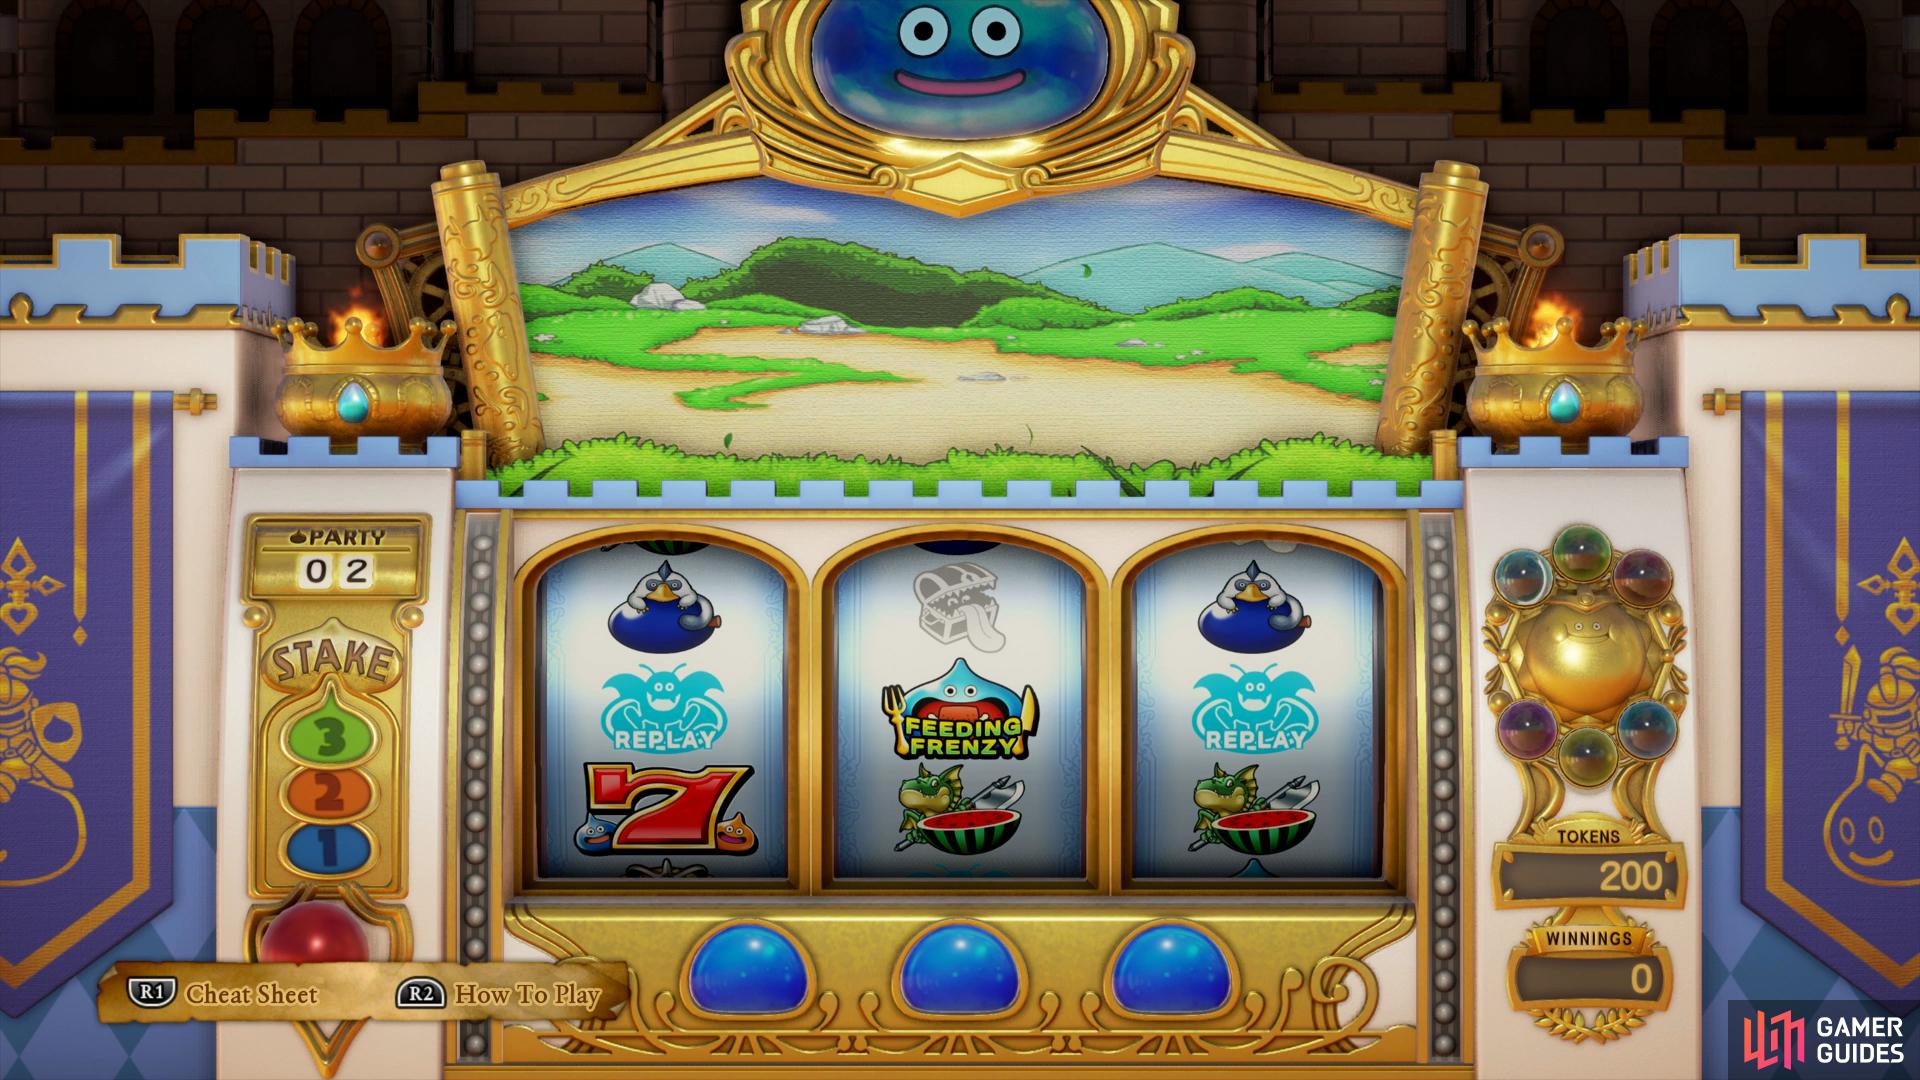
With that out of the way, let’s discuss the games that are available to you in this Casino. You have the Slots, these can be useful to get yourself started but you’ll take a long time to rake in the real tokens. If you go for the Slots, try to insert the maximum amount of Tokens per play to increase your chances of a higher payout.
Next up you have the Slime Quest Slots where you can earn Tokens based on how you guide Goolysses through a journey overcoming all manner of obstacles. If you manage to defeat a number of monsters you’ll enter Slime Time which will increase your chances of earning lots of Tokens. You don’t have too much control over the results so if you have the Tokens available then it’s better to just Auto-play if the current slot machine has favourable odds (check with the [R1] button).
Slime Quest is a good diversion if you have somewhere to be, pop it on auto spin and leave it running
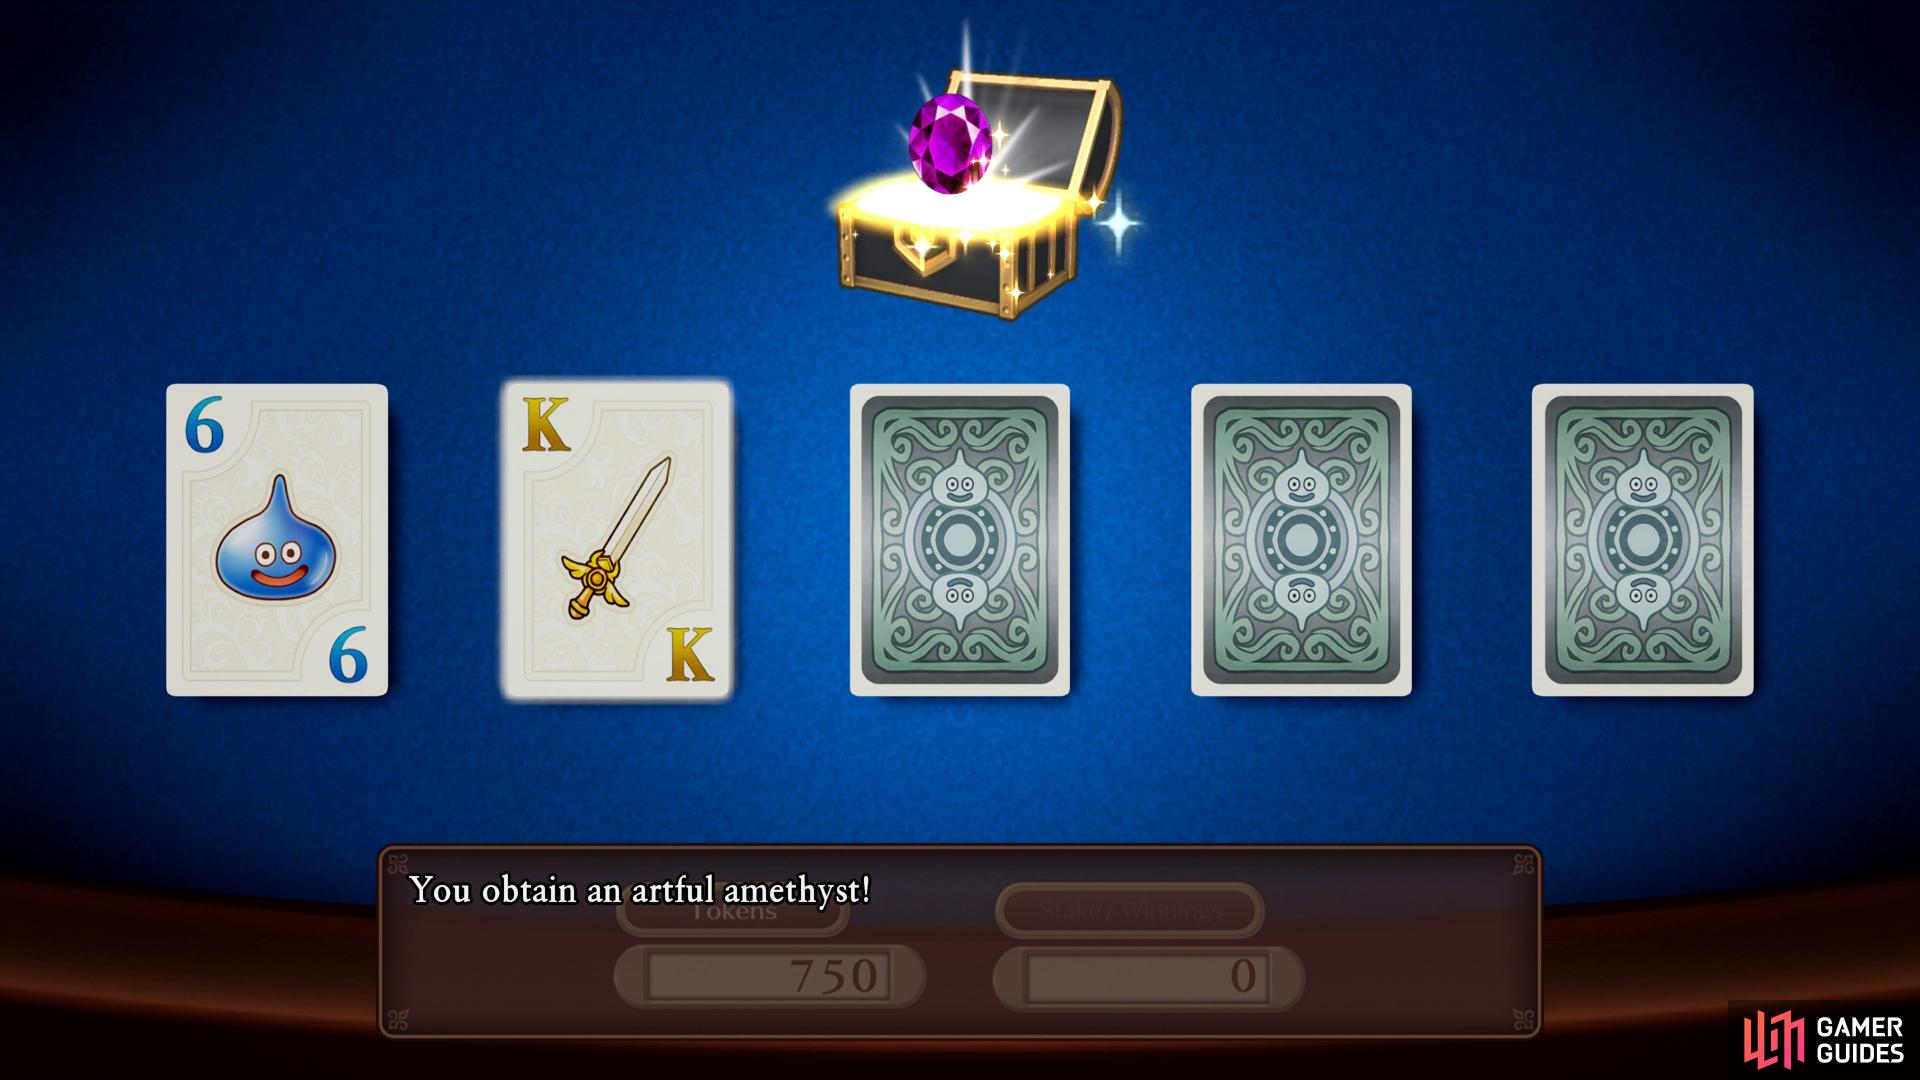
Poker however is where you will make the big wins with it’s double or nothing.
Finally for this Casino you have Poker and this should be your go to game for big prizes. When playing Poker it’s all about getting on the board for Double or Nothing, this game allows you to Double your winnings if you guess if the next card that is higher from four possible choices. To get on the board for Double or Nothing, try to aim for Pairs as three of a kind is the easiest one to succeed on. You’ll also notice during the Double or Nothing game that you can obtain a chest, these will unlock during the Double or Nothing game if you guess the correct card which can reward you with more Tokens, materials or even accessories from the Gold Chests.
However you decide to play, exchange some of your own Gold for Casino Tokens and then head out the Casino and back in to create an autosave. Make a habbit of doing this while increasing your earnings, this way you can risk it all and reload if you have a bad streak. Take the time to earn the funds needed, at the bare minimum grab the Recipe Book before you leave the Casino.
To the Outer Sea
With your new Recipe Books in hand (from the Casino and completing quests 14 and 15) Zoom back to a Camp and access the forge. Create the Bunny Suit for Jade and equip it along with the Bunny Ears and Fishnet Stockings to change her costume (to a Bunny Girl no less). You can also create a new costume for Erik if you wish to make him look more like a pirate (it also comes with an increase to Steal success rate). Once you’re done, Zoom back to Puerto Valor once more and head to the beach to speak to the old man once more. Jade will (rightfully) storm off but the old man has seen enough to be satisfied, completing the quest and rewarding you with a Garter.
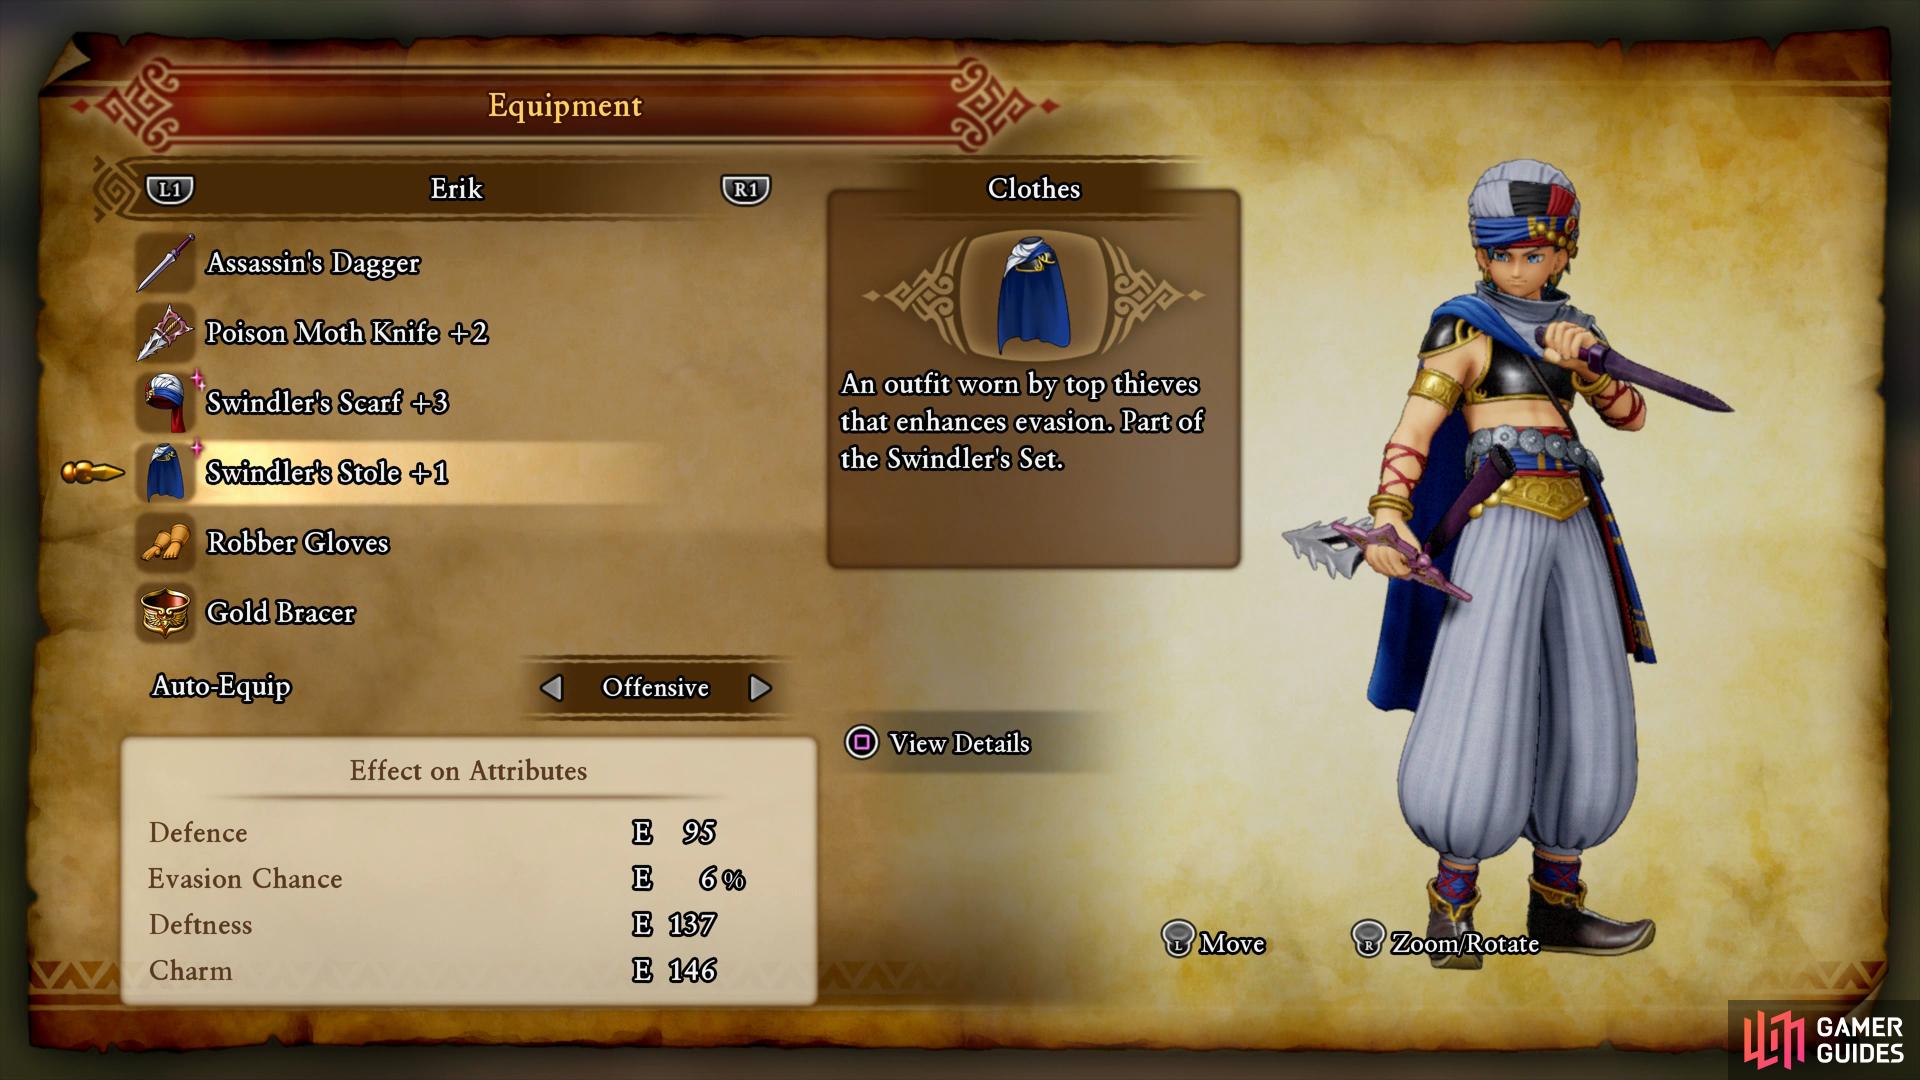
Using the Recipe from Quest 15, you can forge Erik a new costume
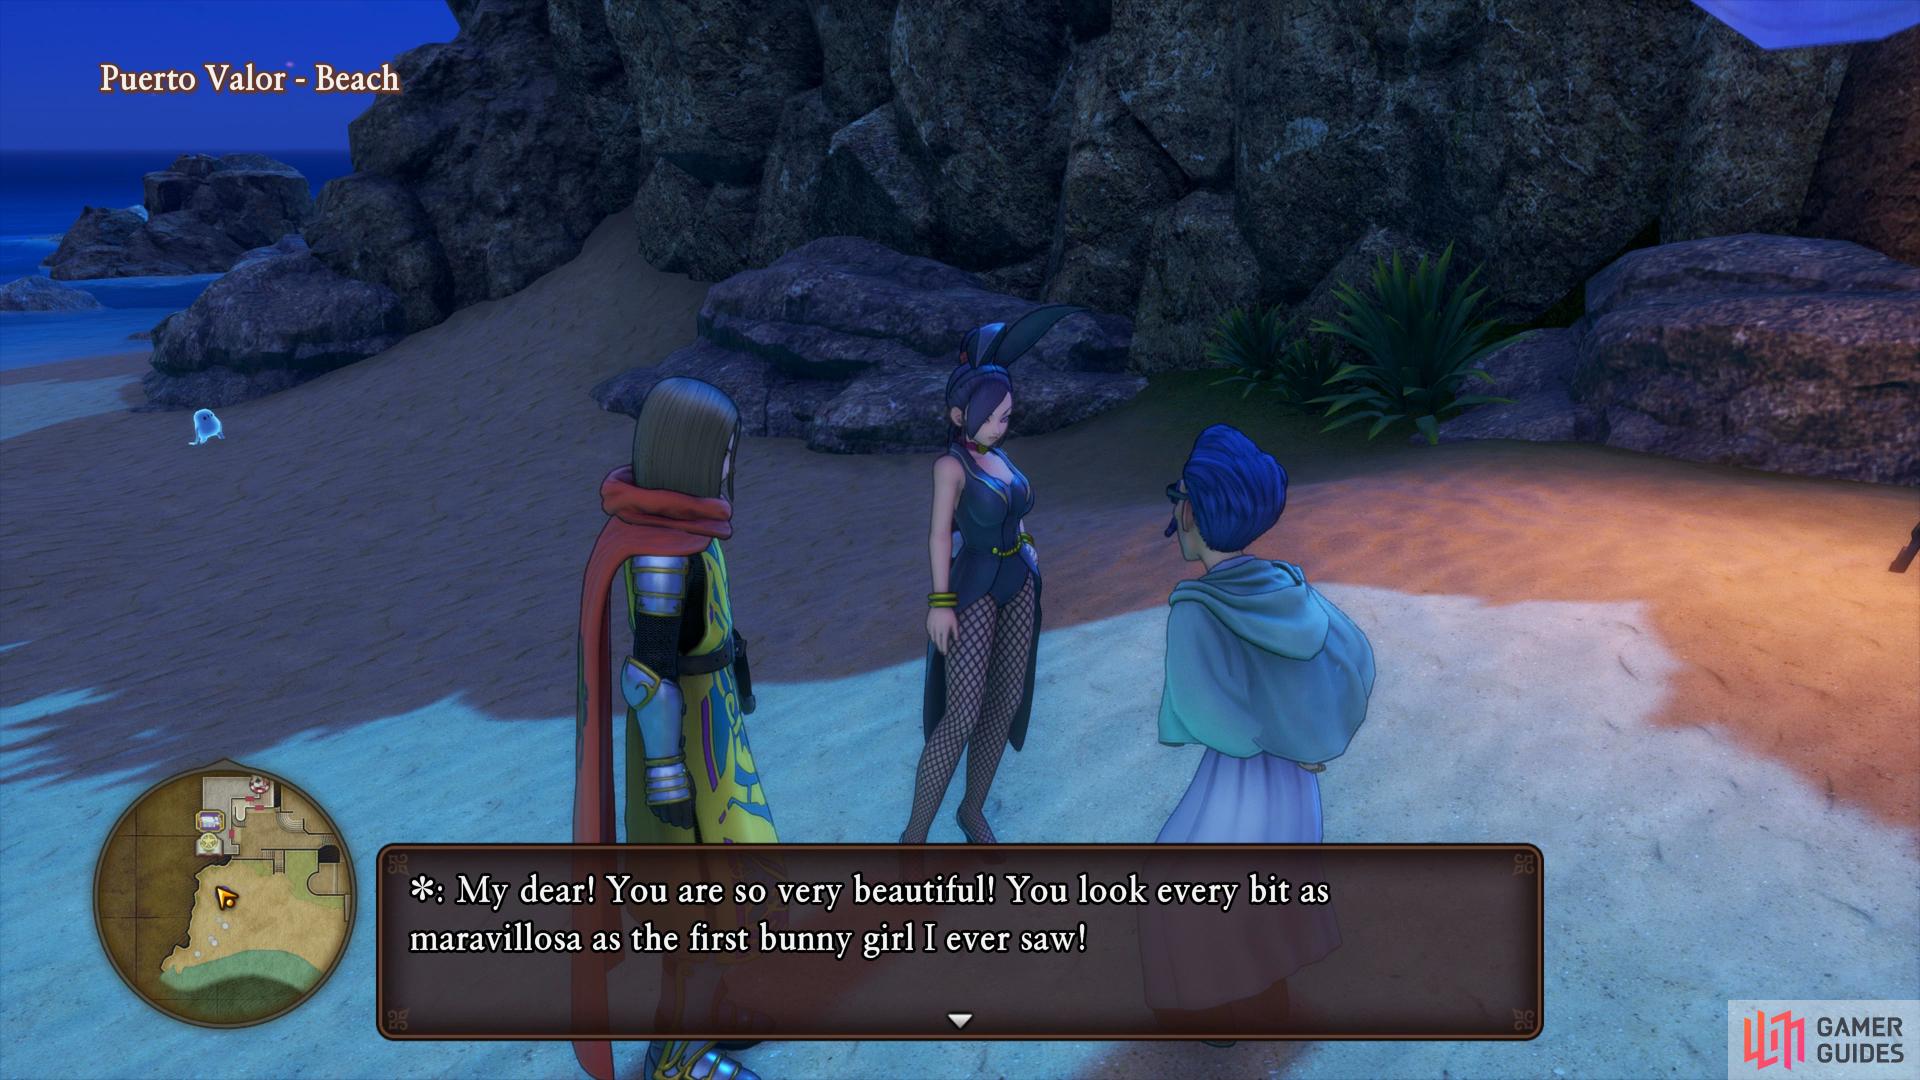
Jade doesn’t take kindly to being dressed up.
Your business is concluded in town for now however you still need to visit Rab’s friend, Don Rodrigo in town. Head over to his mansion to the east of town and enter to meet Servantes, Don Rodrigo’s butler. It appears the master isn’t in right now but Servantes will still open the sluice to allow you to pass into the outer ocean. Exit town, grab a horse from the nearby bell and ride over to where the ship is docked. Sail to the Valor-Sauvage Channel just west of town where you’ll find the gate. As promised, Servantes opens the gate, as the party thanks him Sylvando dives for cover (it appears Sylvando has something to hide from Servantes). Follow the stream out towards the ocean and the fog will take over. As the fog clears, you discover the ship has run aground and you’re on a mysterious uncharted island.


No Comments