Regional Bestiary
| Monster Name | Max HP | GIL | EXP |
|---|---|---|---|
| Silenus | 2,120 | 900 | 1,020 |
| Gaap | 1,800 | 623 | 1,020 |
| Death Claw | 3,800 | 680 | 7,500 |
| Hellish Horse | 4,360 | 690 | 8,000 |
| Chronos | 4,100 | 320 | 1,280 |
| Valefor | 4,240 | 320 | 1,280 |
| Haniel | 3,400 | 1,450 | 1,280 |
| Vassago | 4,440 | 320 | 1,280 |
Again, it is nice to have a Dark Knight along to smash into dividing enemies with the Dark Swords, making them disperse before they can multiply.

As the name suggests, there’s a lot of black areas in this dungeon. So don’t be fooled!
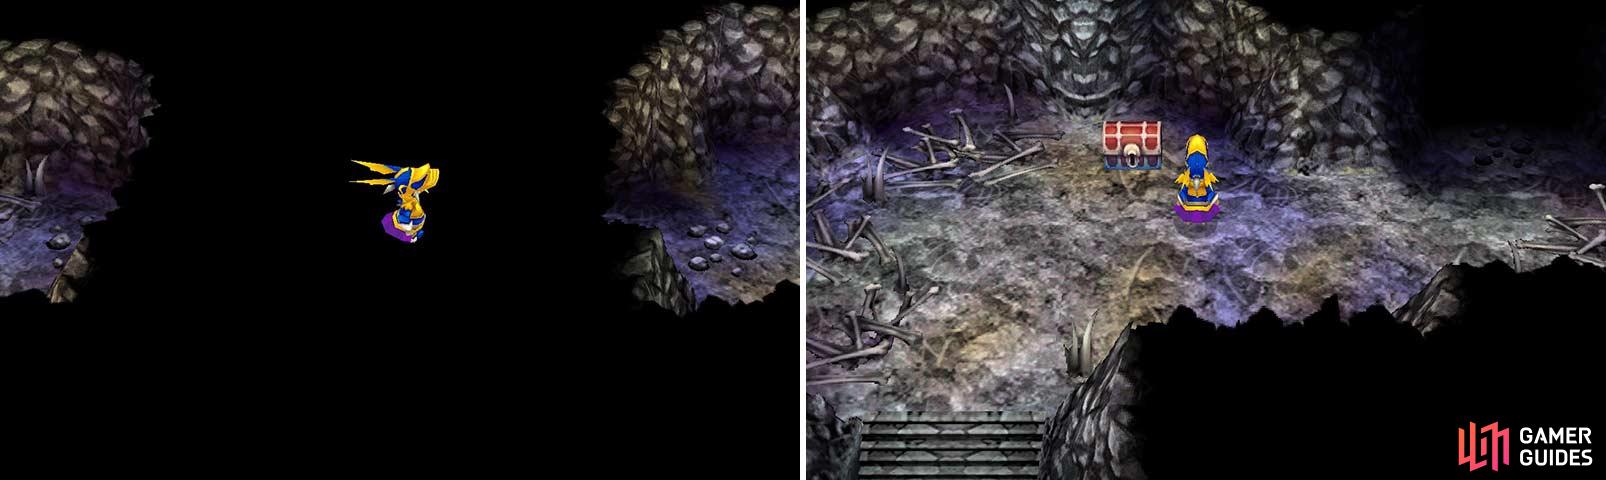
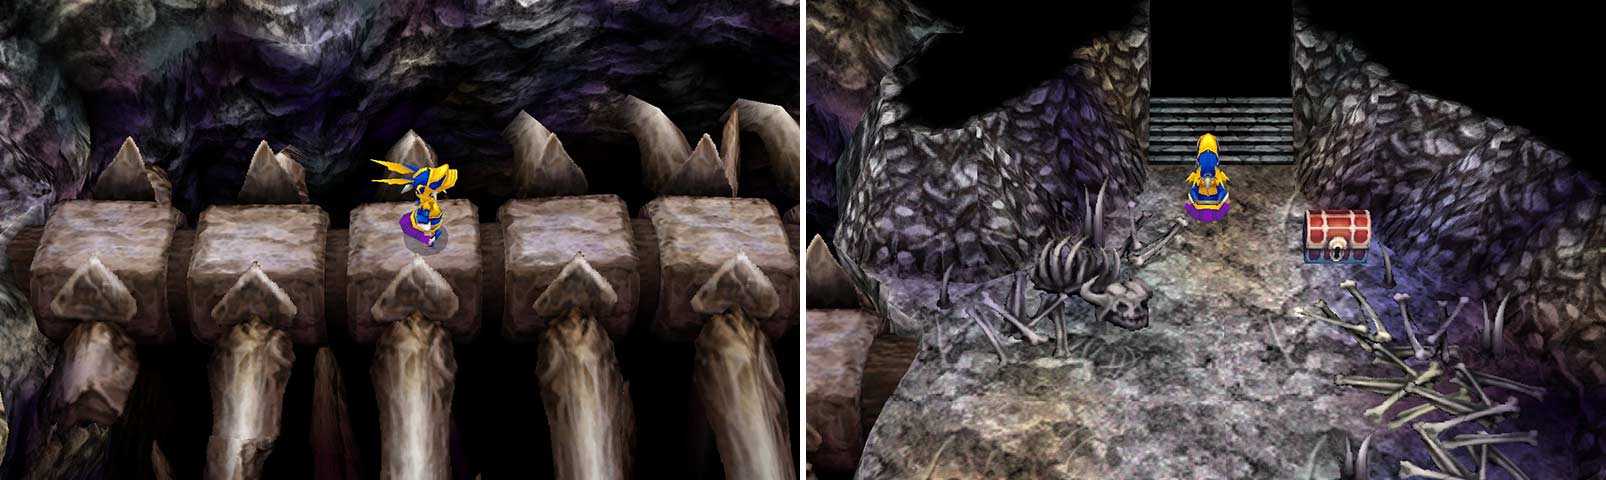
Once you enter the dungeon, first go east to find a Black Musk on the north side of this room.
There is also a lot of Dark Knight-related equipment here.
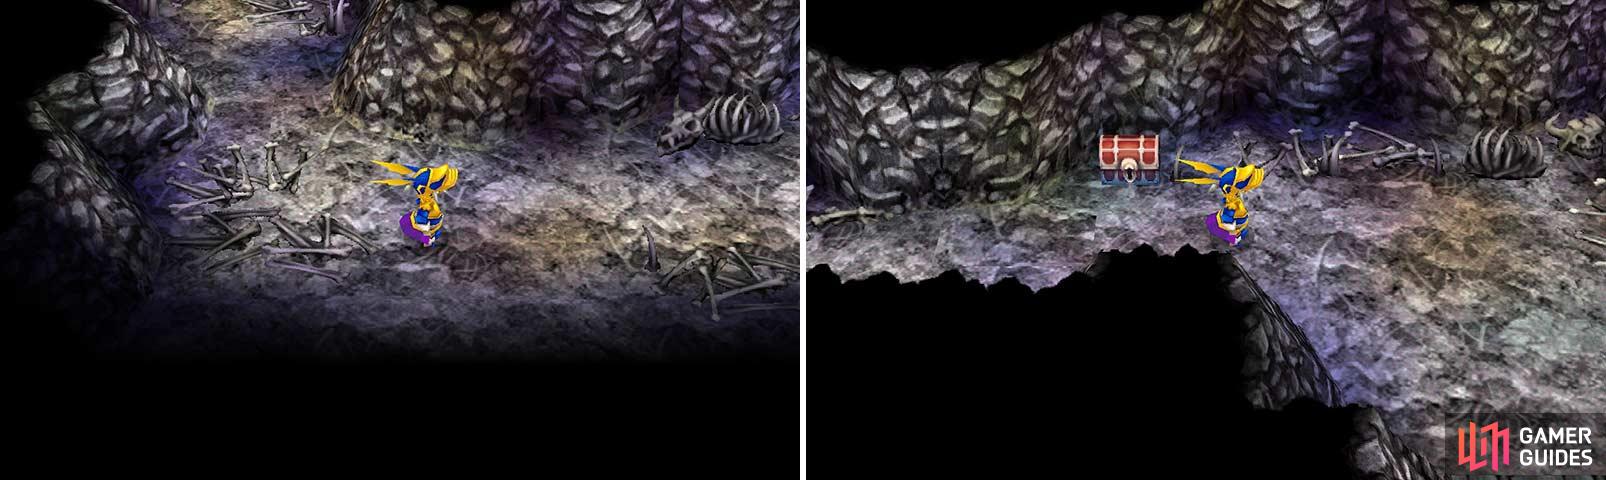
Return to the previous room and go south, then east. Get the Dark Claws from the chest.
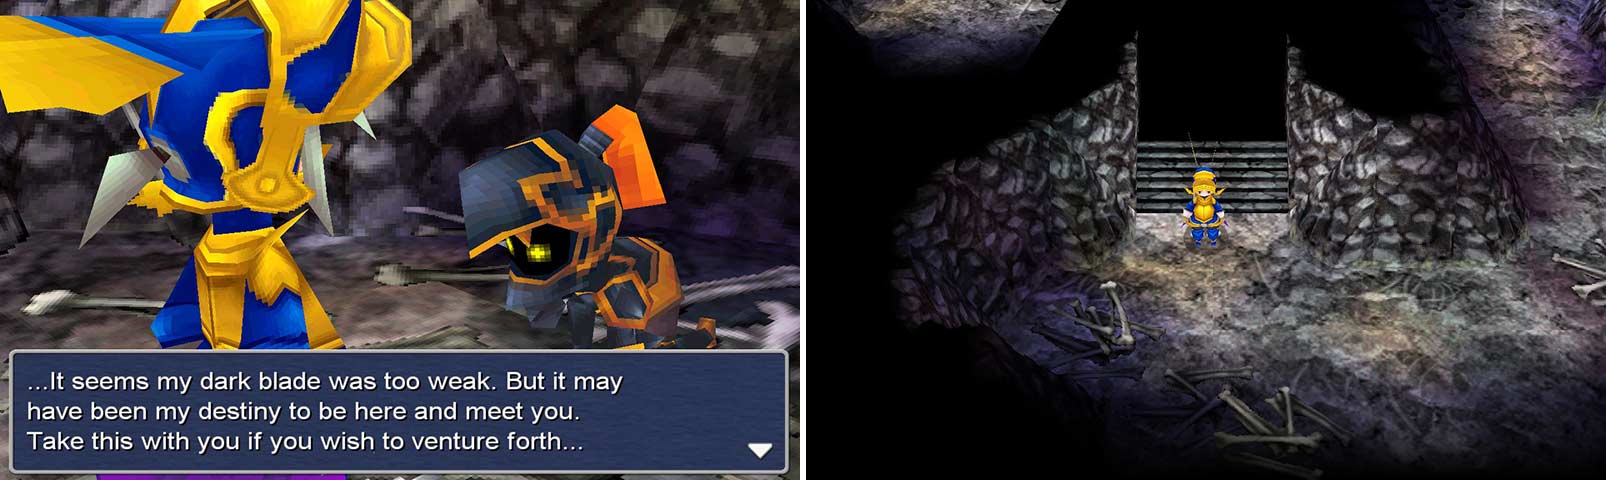
Ouch. Poor guy.
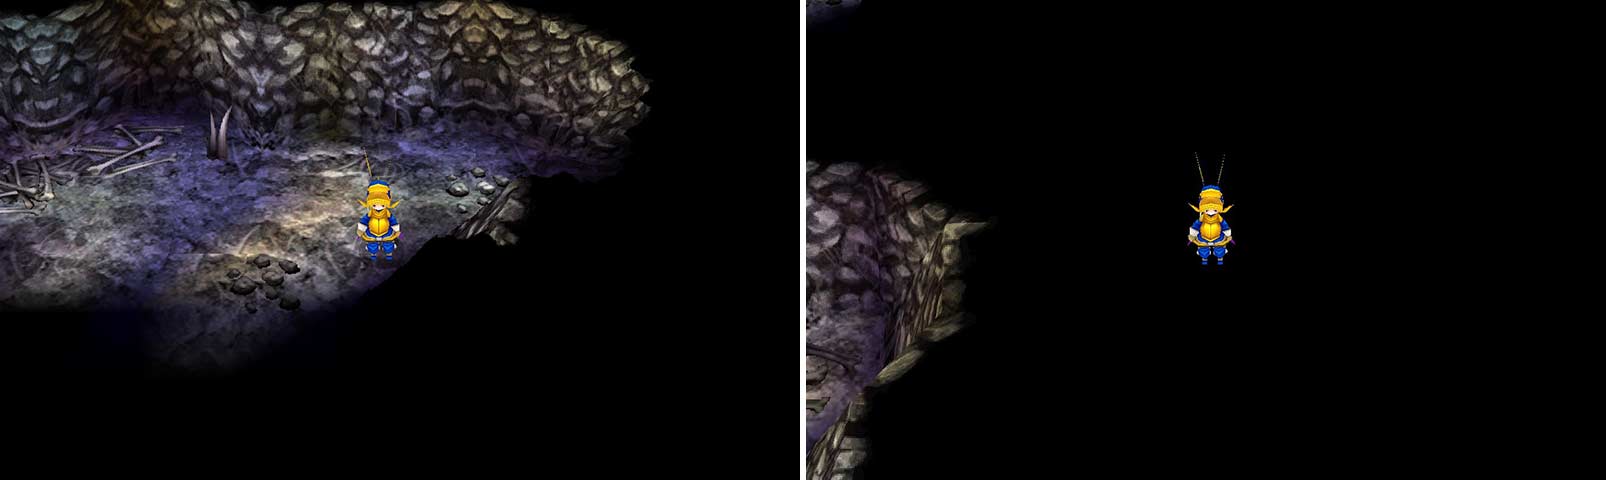
Speak with the wounded Dark Knight to get a Kotetsu . Go south to the next area.
Persevere through the darkness!
Here, go east and north. As you do, about halfway to the curve, ram into the wall to find a small room with a Tranquilizer in a chest.
More hidden items!
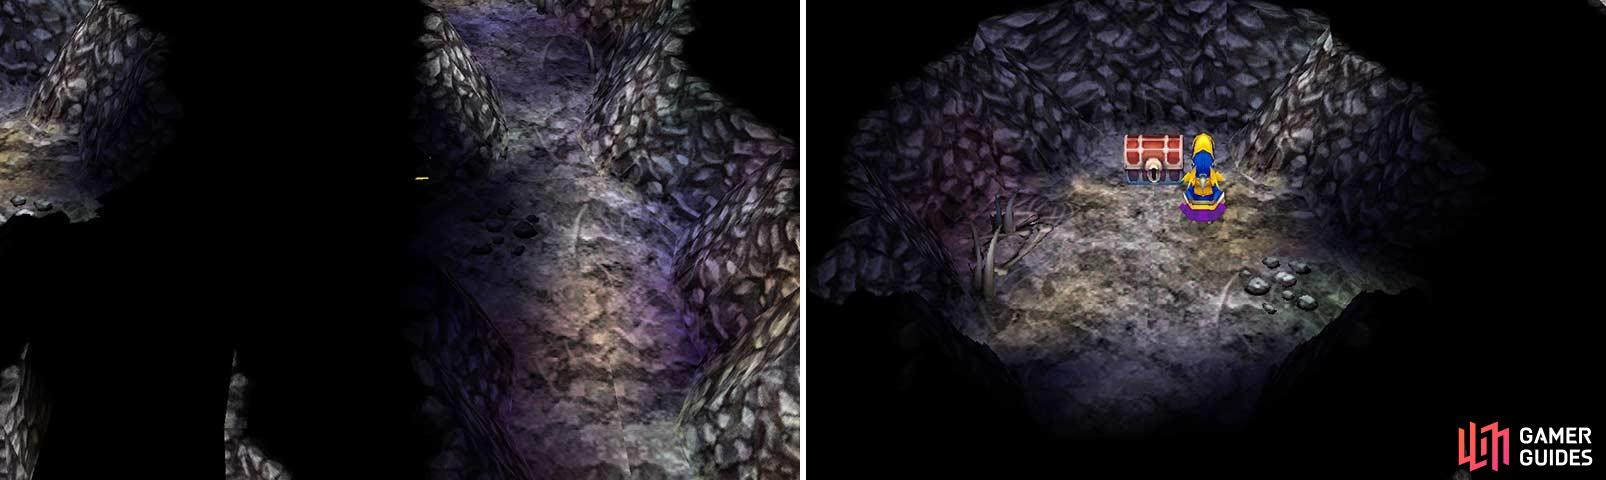
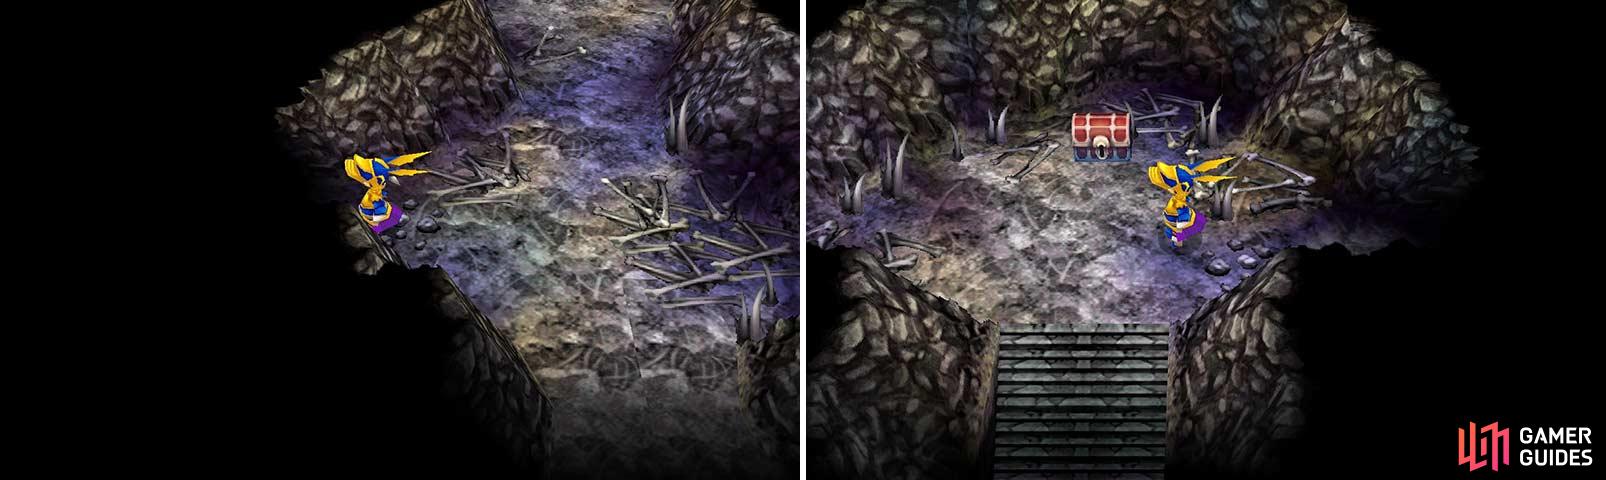
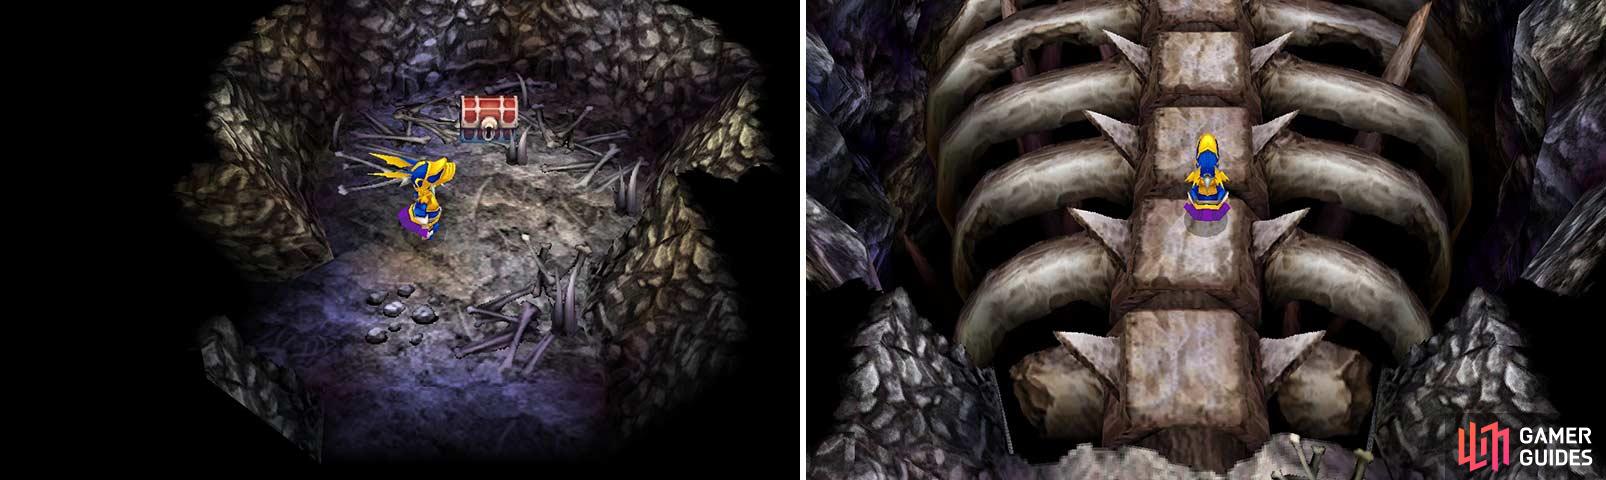
Return to the main hall and go along the path and through the walls at the dead end. You’ll find a Lilith’s Kiss on the other side. Go south and along the path to the next area.
Here, go south, west, and north to find what appears to be a dead end. Go east once you bump into the northern wall to find the way to the next area.
More gear for your team.
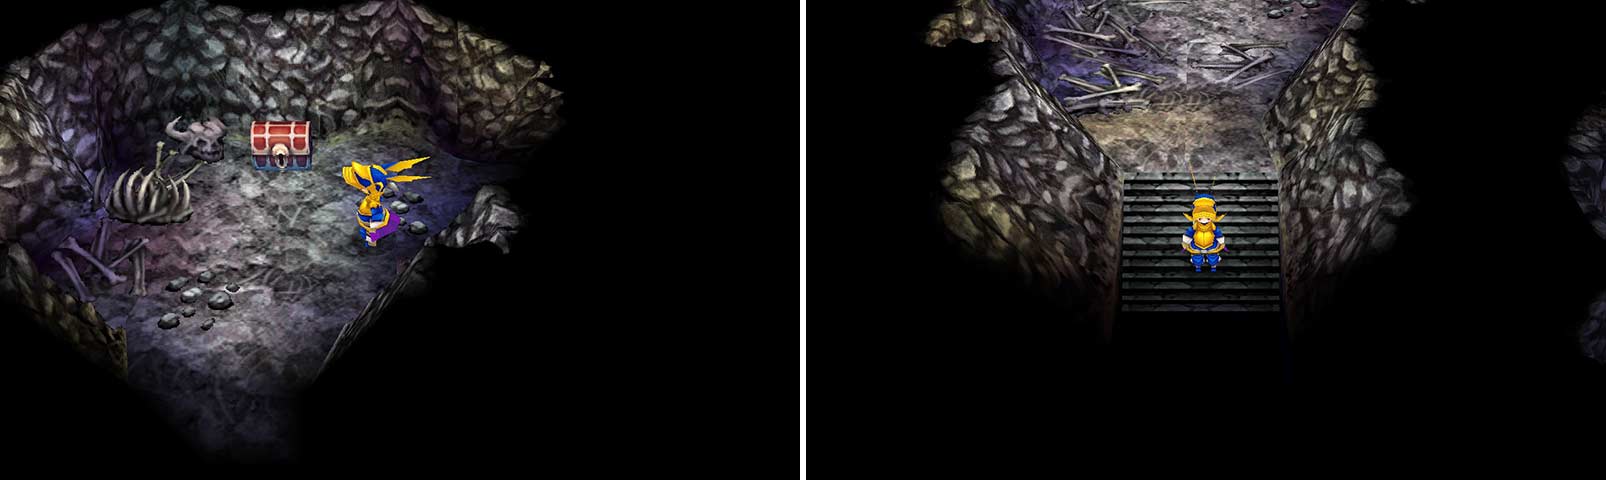
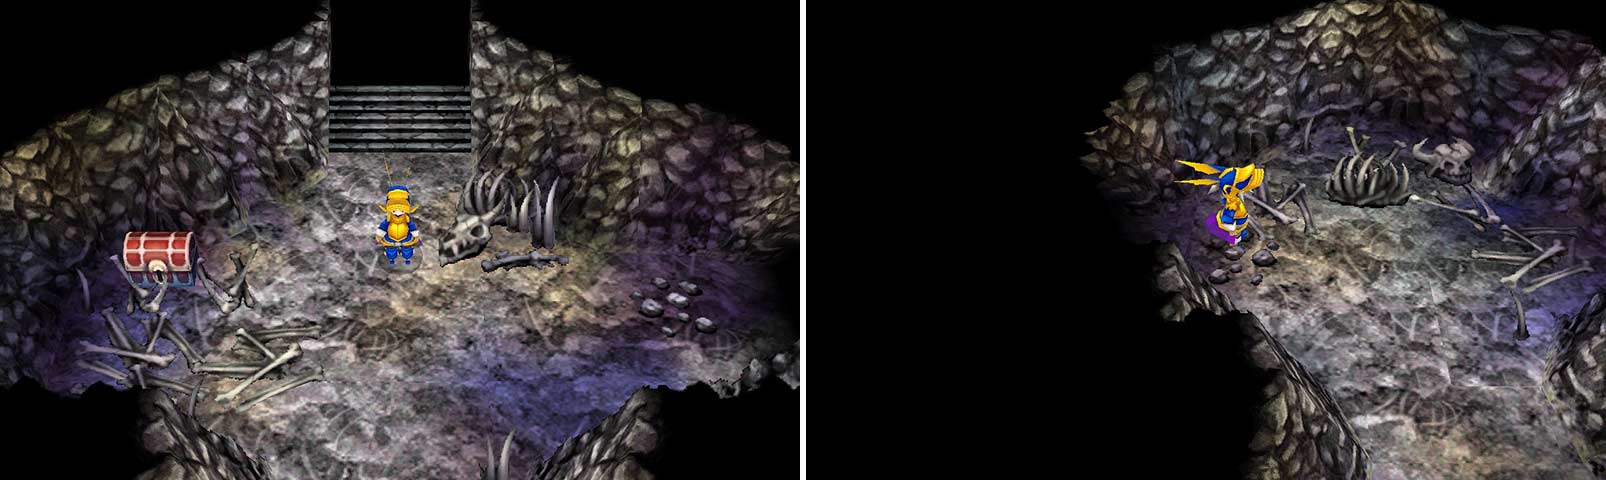
Once you enter this area, go east and through the northeastern walls of this room. Once you see a southbound path, use it and you’ll eventually reach a chest. Open it for some Genji Gloves and continue to the next area.
Don’t let the illusions fool you!
There, simply go south and along the path until you reach another illusary dead end. Go through the wall to reach a small room.
Leave it to the south and go along the path and through another wall to reach another room. Leave it going south to reach another one. Exit it to the northwest via the wall and go along the path to the next area.
There, go east into the wall. Note that you’ll want to try going through that wall at the very northern bit and go down a little until you do. Once you do, continue due east to another larger rom. Go south and exit it via the southwestern corner by using a fake wall.
If you get lost use these treasure chests as “landmarks”.
Go west to a smaller room where you’ll find a chest with a Kiku-ichimonji inside. Go south to the next area.
This area is similar to the last one so navigate it similarly.
Here, you’ll find an odd repeat of the previous area, but the chest is actually near where you enter the area and contains a Genji Shield.
Ooooh is this a skeleton???
Go east for a bit to eventually find a chest that contains a Genji Helm . Then go through the nearby entryway.
This is the last item. The boss is right ahead of you.
Here, hug the southern wall and go east through the wall, and you’ll make your way to another smaller room, this one having a Genji Armor chest. Go back to the other side of the hidden path and go a fair way north to reach your next boss.
Boss: Hecatoncheir
| Attribute | Stat |
|---|---|
| Level | 43 |
| Max HP | 28,000 |
| EXP Earned | 14,400 |
| Gil Earned | 8,000 |
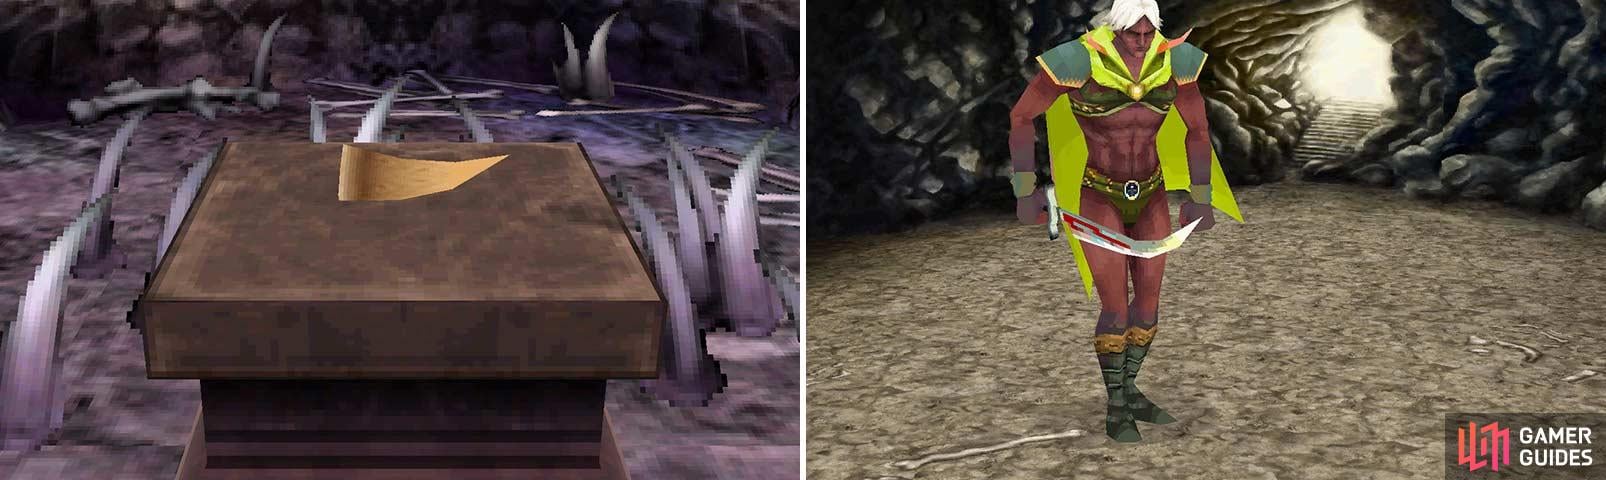
I question his fashion preferences.
This boss has an unexceptional set of moves, pretty much being one of this area’s basic enemies but with more HP. He does have Quake, but it is laughably weak.
Unlike some previous bosses, this boss can be handled by your usual go-to strategy, be that a well-rounded team, magic focus, a bunch of Dragoons or Dark Knights, etc. Just make sure you keep an eye on your MP and HP and you’re golden.
After you defeat the boss, you’ll receive the final Fang, the Fang of Earth . We now own all four fangs.
No Comments