Regional Bestiary
| Monster Name | Max HP | GIL | EXP |
|---|---|---|---|
| Dira | 5,000 | 610 | 3,280 |
| Chimera Mage | 1,540 | 615 | 3,280 |
| King Lizard | 1,560 | 620 | 3,280 |
| Pterodactyl | 1,570 | 640 | 3,280 |
| Wyvern | 1,825 | 1,300 | 6,000 |
| Behemoth | 12,650 | 4,668 | 6,900 |
| King Seahorse | 1,405 | 680 | 3,600 |
| Dragon | 11,000 | 9,000 | 7,200 |
No Zelda jokes allowed!
There are a few locked doors so have a Thief at hand.
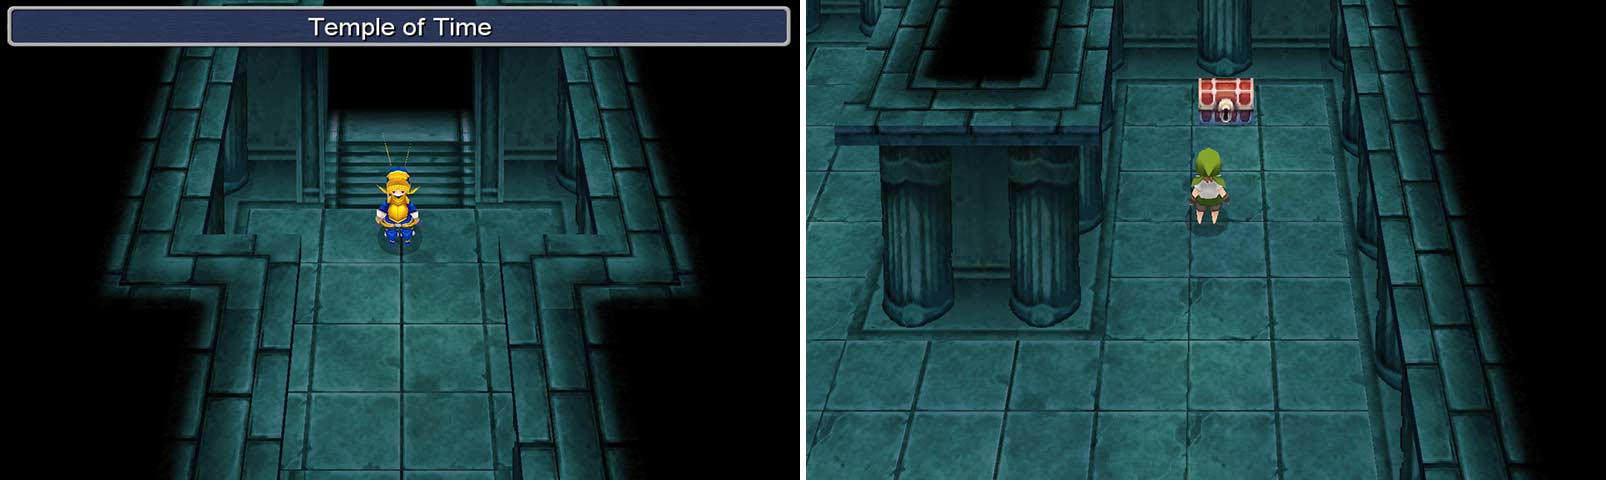
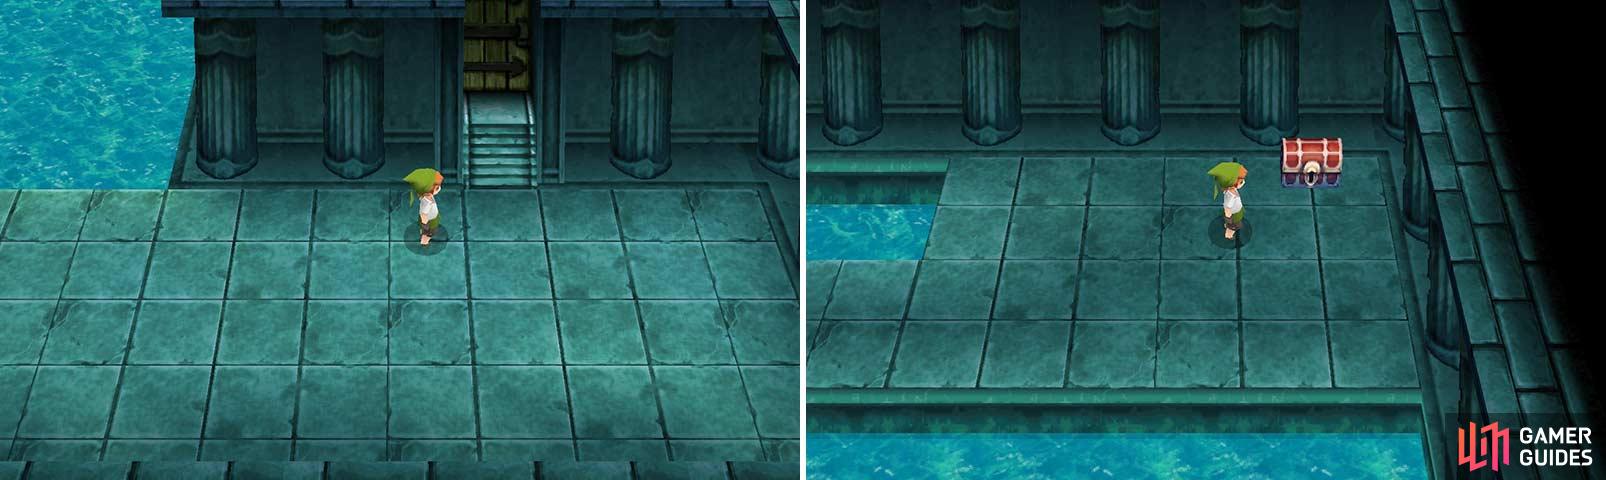
Once you arrive, go south, then west when first possible. As you go along, there will be an entranceway in the northern wall. Go through and, at the end of the path there, you’ll find a Diamond Helm .
This will be a huge armor upgrade.
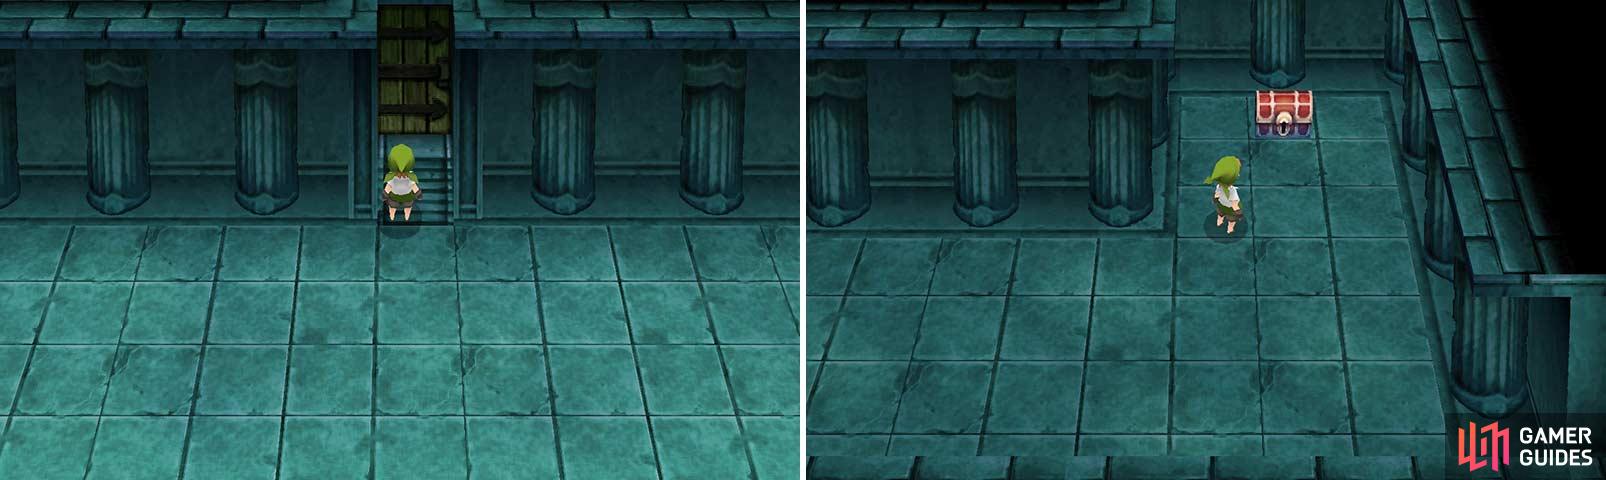
Backtrack to the previous area and go west, ignoring the southbound path for now, to find the way into another area on the north wall. Go through and you will find some Diamond Bracers .
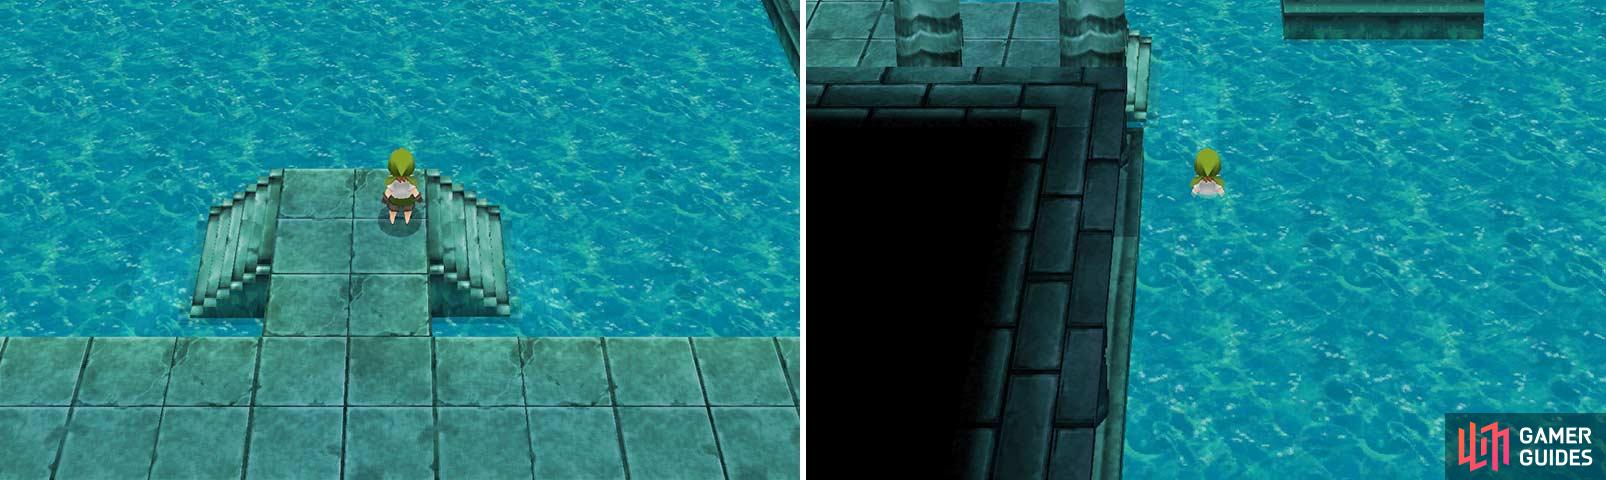
There’s a lot of water so you can easily get confused, just stick to the walls for landmarks.
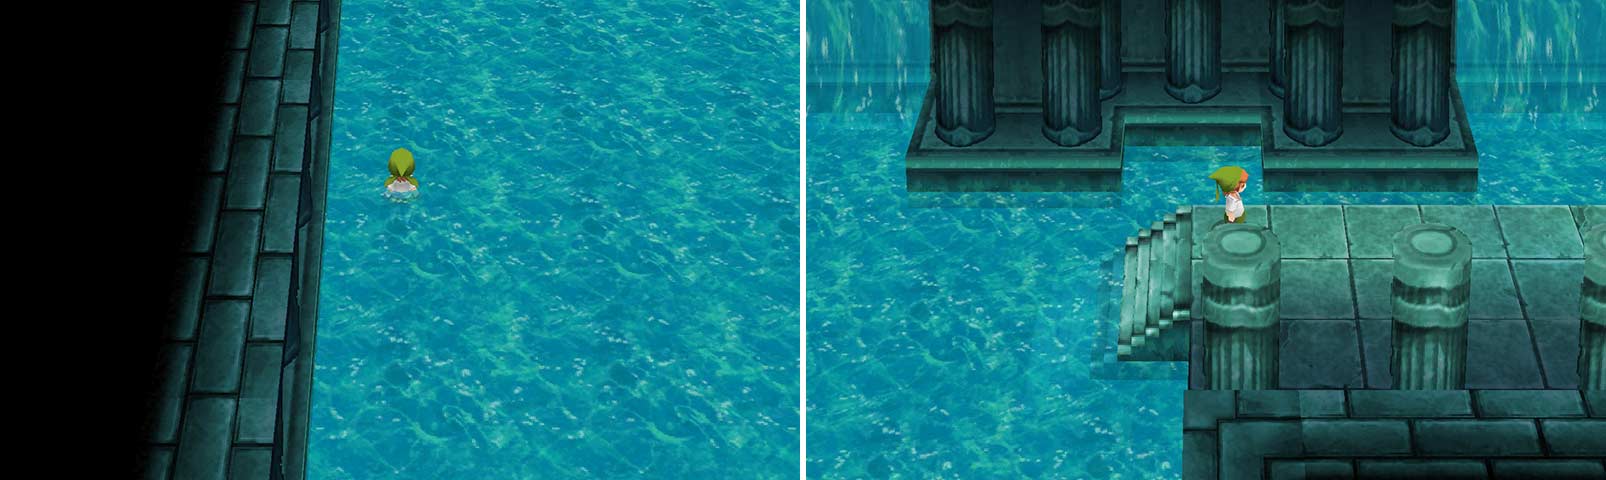
Return to the previous area and use the southbound path we skipped previously, then go north and east when possible the second time to find the path to the next area. Let’s continue.
More gear!
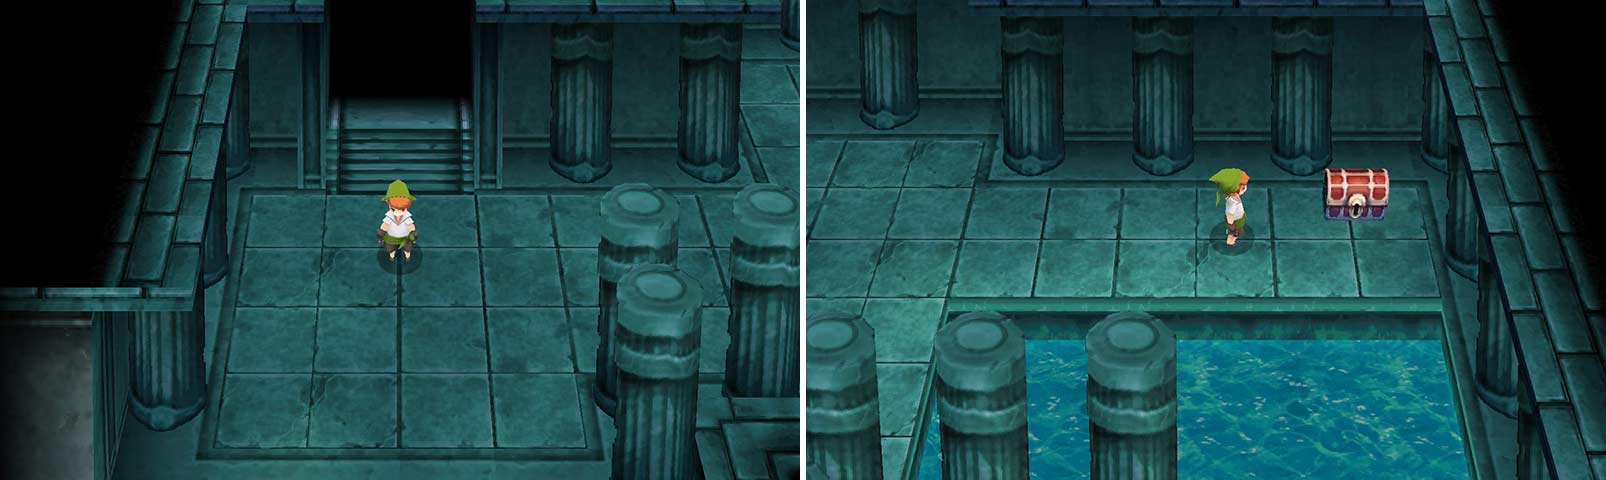
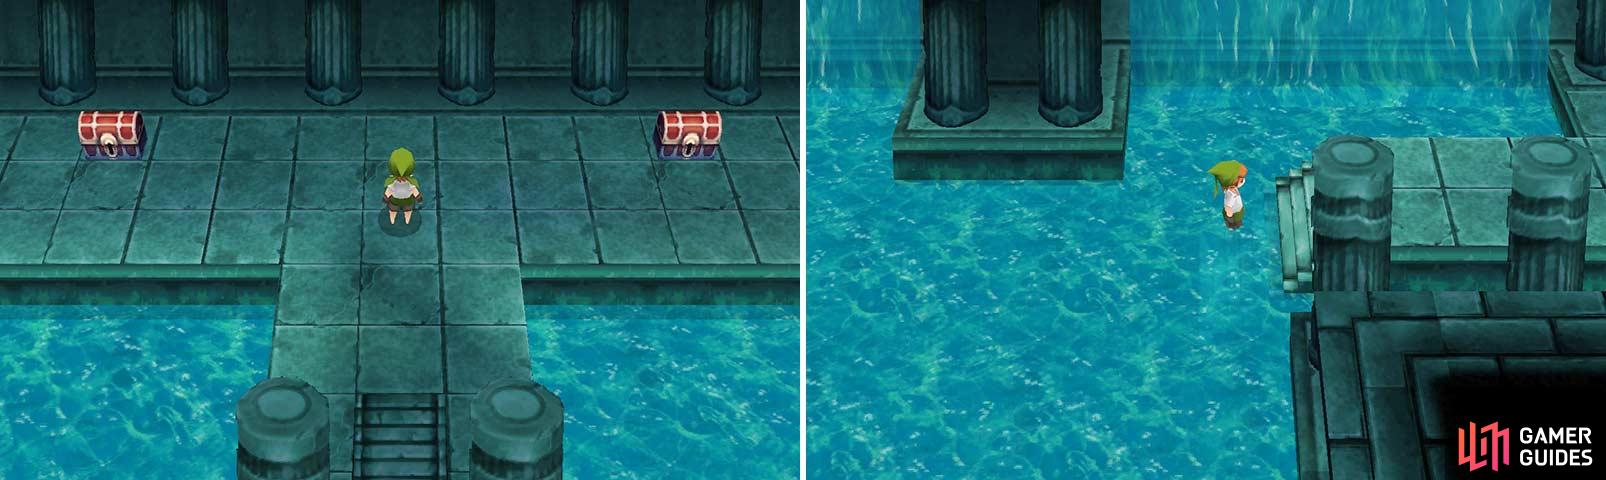
Here, go to the far eastern portion of the room to find a chest with a Defender within. Go west along the southern wall and you’ll reach the way to the next area.
More upgrades!
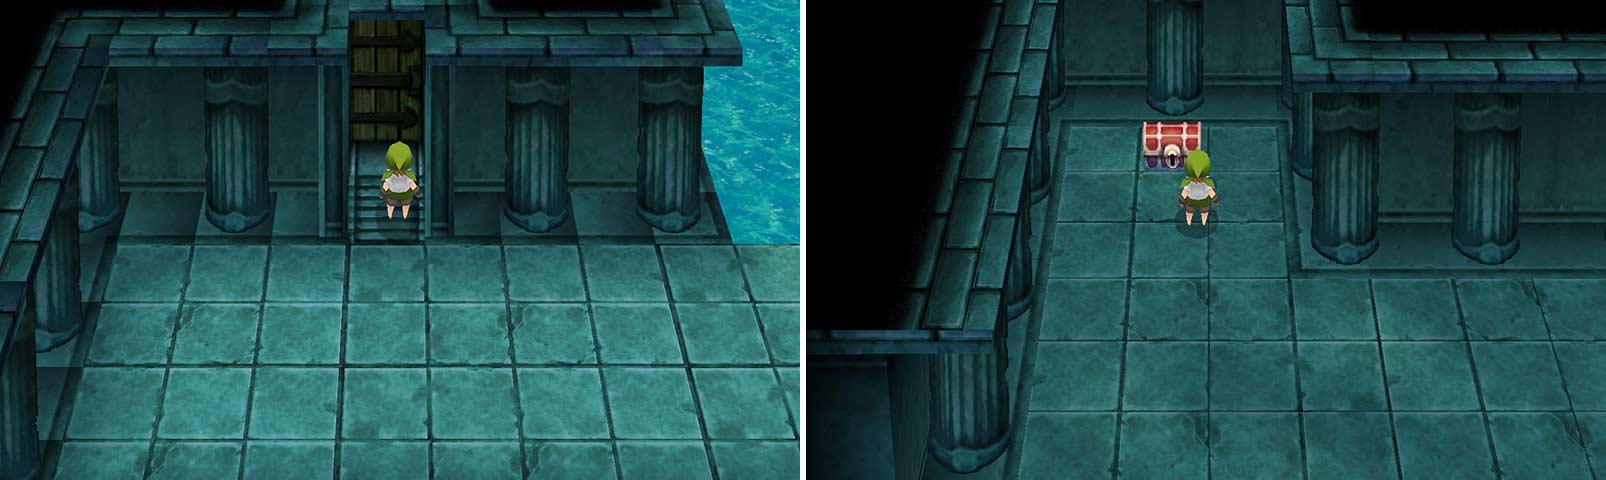
There, go as far east as possible, ignoring the northbound path, and you’ll find another doorway. Use it and grab the nearby Diamond Armor to your northeast. Backtrack to the previous area.
Here is the fork.
There, go west and use the northbound path from before. Make your way northwest to the next area. There, go north to reach a fork.
We’re about halfway through.
Go east to find a Behemoth Knife , and west to find the Diamond Gloves . Back in the previous area, head due east to find the entrance to another area.
There, go along the path north, east, and south to the next area.

More amazing gear. Your Dragoons will love the Spear.
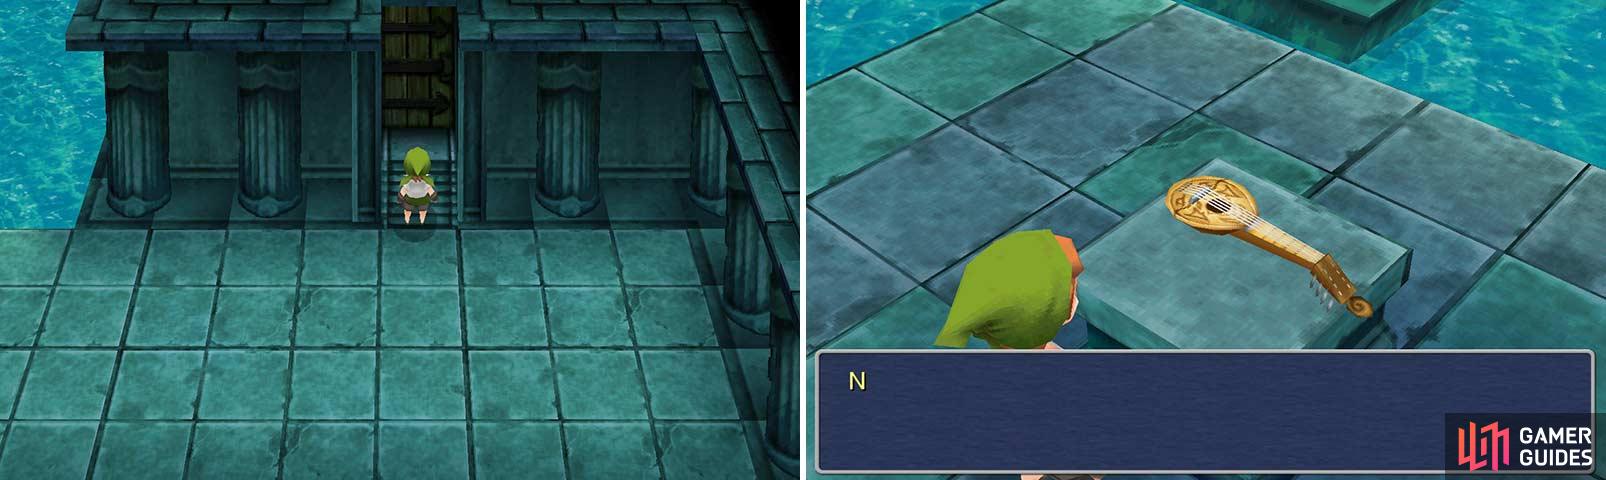
Here, when you arrive, go east and through the northeastern corner of this rectangular room to find a hidden path. Go east, north, east, south, then west and north at the room edge to find three chests; open them for a Blood Spear , Protect Ring , and Lamia Harp . Backtrack to the entrance of the area.
We’re almost there.
Go south as far as possible through the rooms until you bump into the wall. There, go west and north to another area, where you’ll end up finding a chest with the Diamond Shield to the west and north.
No boss? No problem!
Return to the previous area and go east and through the unused entranceway to find another chest, this one containing Noah’s Lute .
That’s what we came for! No boss, no epic scenes…sorry! Time to go.
No Comments