Regional Bestiary
| Monster Name | Max HP | GIL | EXP |
|---|---|---|---|
| Balloon | 386 | 125 | 450 |
| Myrmecoleon | 494 | 130 | 500 |
| Crocotta | 800 | 270 | 500 |
| Adamantoise | 800 | 270 | 700 |
| Red Marshmallow | 510 | 140 | 500 |
Firstly, you’ll be fighting a lot of Fire-based enemies here. The use of your Ice equipment is now recommended. Ice-based attacks, such as Blizzard, Blizzara, Ice Staves, Ice Arrows (with any kind of Bow, obviously), and so on, will do extra damage towards all enemies here but the Myrmecoleon, so feel free to use those for an easier time (but watch your MP).
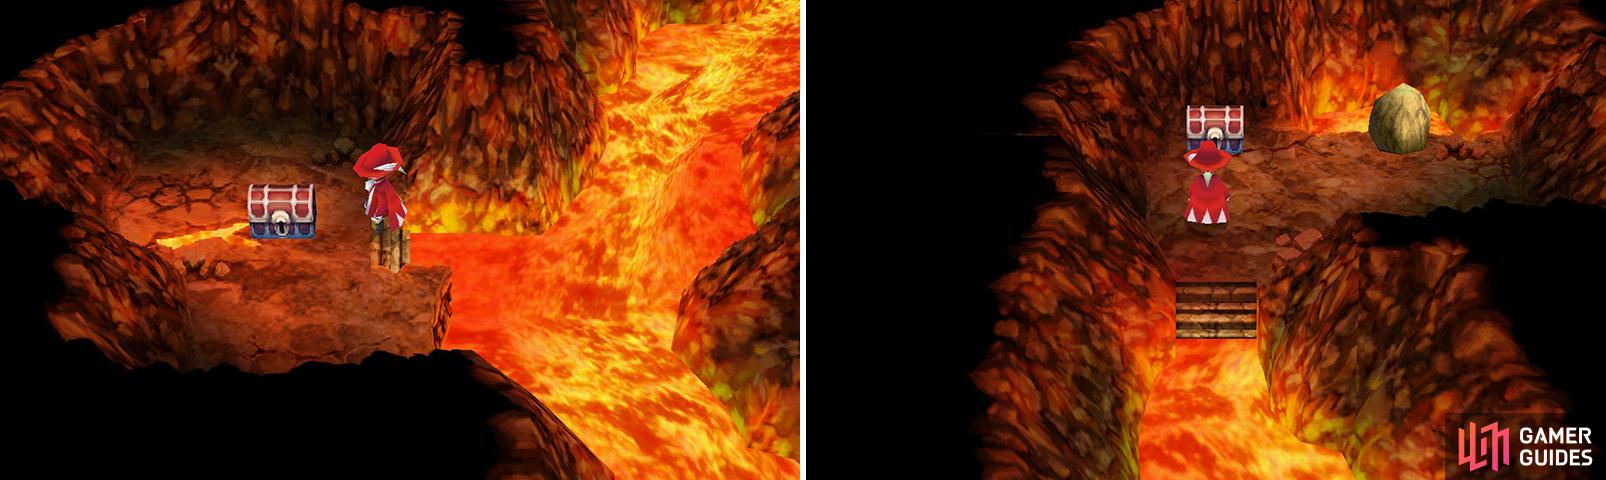
Secondly, you’ll find a fair amount of lava in here. As would be expected, it will damage your HP in the field. There’s enough lava here that the damage will rack up. I would suggest bringing along Potions to restore lost HP in the field to save MP from using Cure all the time.
You finally prepared? Good, let’s tackle this dungeon.
How does the Antarctic Wind not melt?
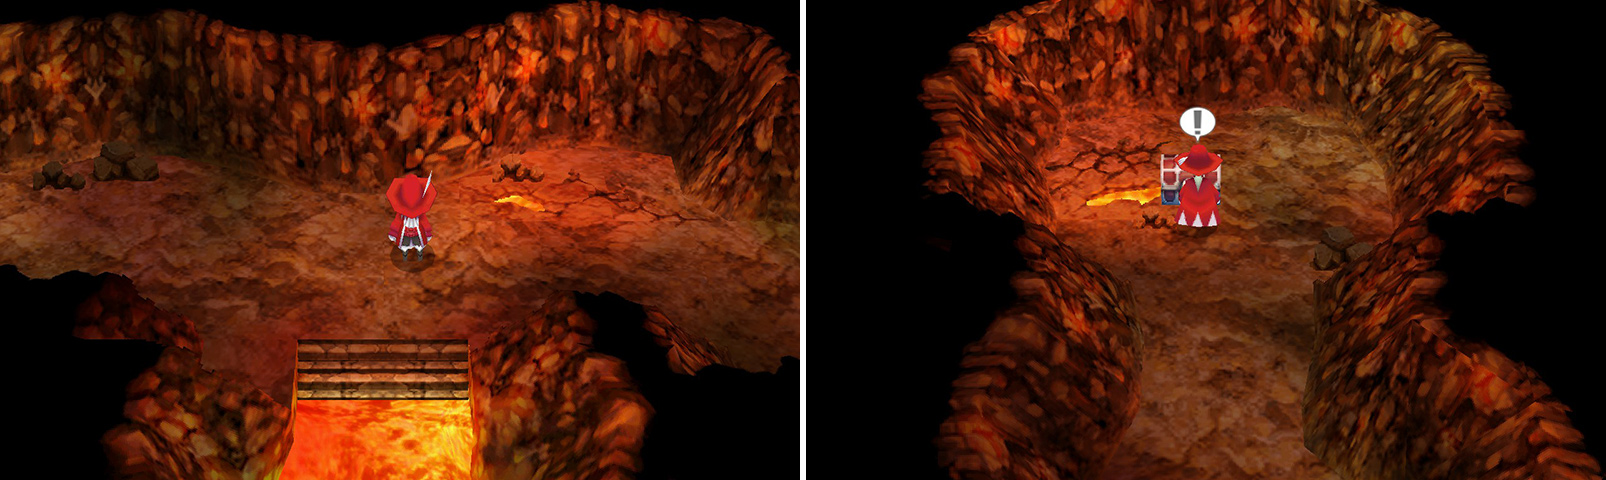
Once you arrive, go south, then west along the hall. As you go, you’ll notice some lava to the south. Skip it and continue to the end of this path to find an Antarctic Wind .
Another Antarctic Wind! Yay!
Backtrack to the lava now. Go south and you’ll reach a fork; go southeast and along the path to another Antarctic Wind , then go along the other path for a bit to reach the next area. Nice of this dungeon to gift us with Ice-based spells.
This weapon is very useful here.
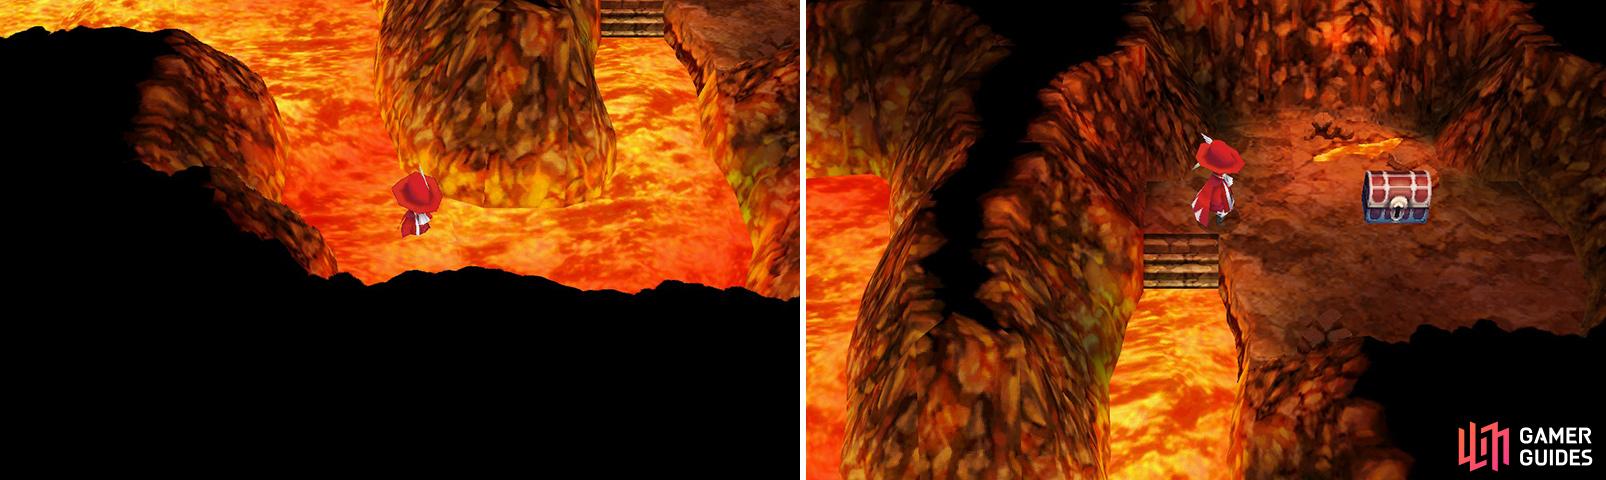
Go along the path here and you’ll eventually reach a west/south fork. Go south and grab the Freezing Blade. It is Ice-based, so put it on your strongest Warrior/Red Mage/Freelancer. Backtrack to the fork and head west past the “lava-fall” (it’s a waterfall of lava so we call it the lava-fall).
More loot!!
Go south to find a Hi-Potion , then go back to the lava-fall and north to a north/west fork. Go north for the Phoenix Down , then return to the fork and go west and south to find the entrance to the next area.
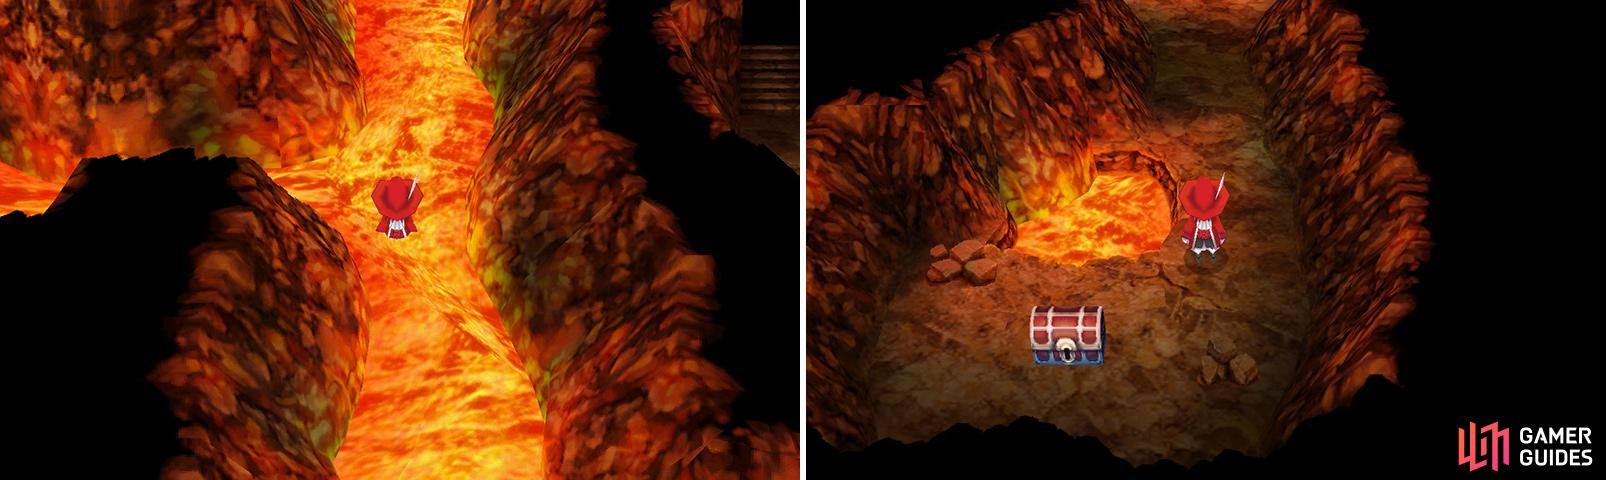
We’re almost to the end.
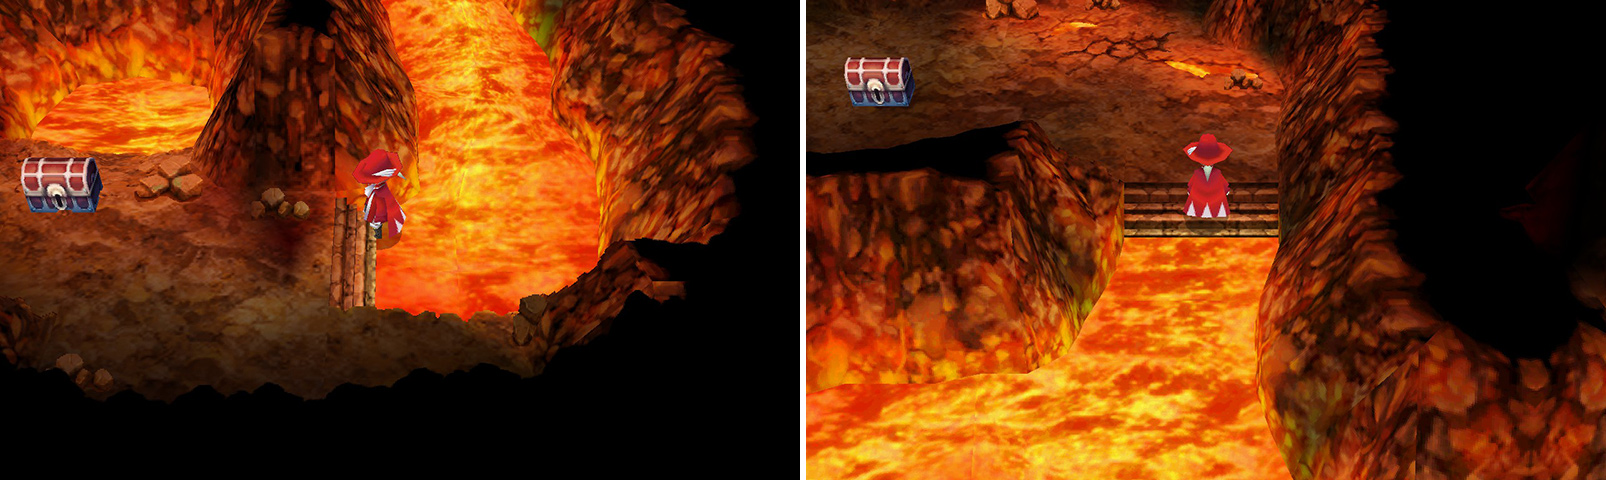
There, travel along the lava road for a bit. To the west, as you begin turning northwest, you’ll find the Impact Claw . Keep going north and open the chest at the end to find another Phoenix Down .
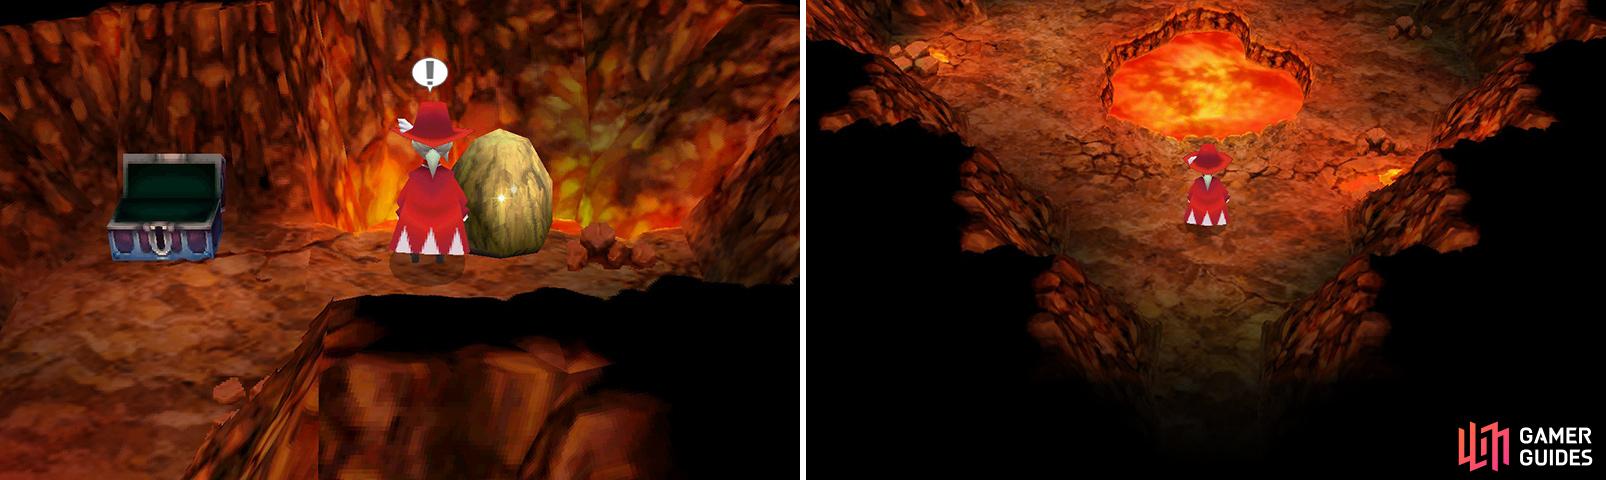
Given that the rock is an odd color it does stand out.
Zoom in with the camera and examine the suspicious rock, which opens a path to the west. Go on in.
In the next area, go north to another room. Heal up before going in, then prepare to fight another boss.
Boss: Salamander
| Attribute | Stat |
|---|---|
| Level | 19 |
| Max HP | 5,700 |
| EXP Earned | 2,744 |
| Gil Earned | 3,700 |
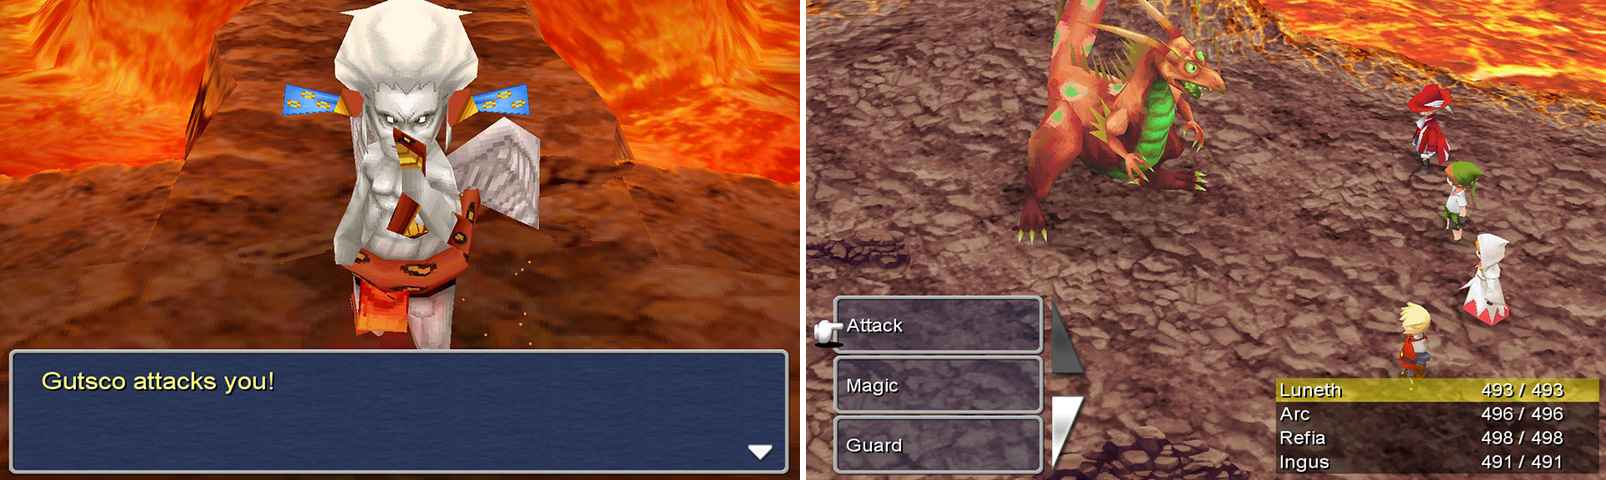
Now just how you see a humanoid and then fight a dragon is beyond me. A wizard did it!
Salamander has a unique gimmick: It will end up doing two moves each turn, often hitting an ally two times, and thus often killing them if you lack Ice-based gear (and didn’t we tell you to equip Ice gear?). He has a few Fire elemental attacks, not to mention the fire breath attack and a basic physical strike.
This boss is almost mind-blowingly easy if you’ve got Ice equipment, especially the Freezing Blade which the dungeon conveniently provided you with. You should have your Mages first focus on casting Blizzara and Blizzard, and your physical units Attack/Advance. You could use your Antarctic/Artic Winds, but let’s not until you’ve run out of options. They are very useful into the endgame so save them if you can. Do as you will, though, as they can easily deal upwards of 750 damage.
White Mages should focus on healing for the most part, using Aero when a free turn has come up. Your Warrior/Red Mage with the Freezing Blade definitely needs to keep up the attacks, and any spare Ice Staves can be used as items for great damage as well.
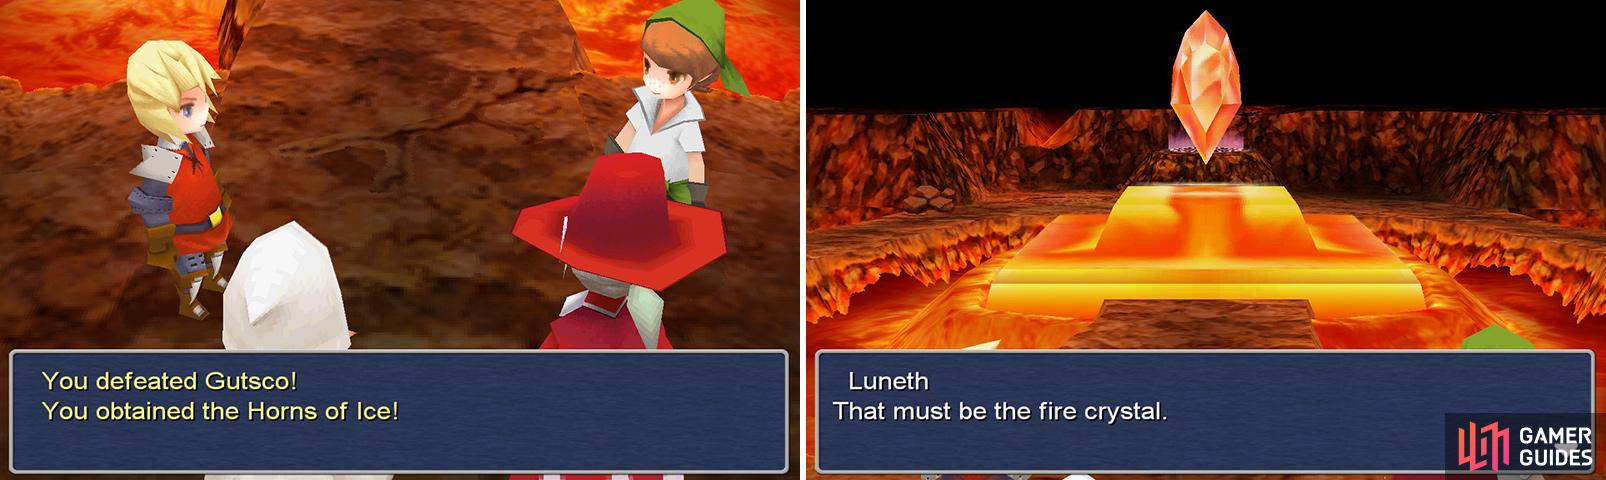
You’ve now awakened 2/4 crystals!
After the battle, you’ll end up meeting with the Fire Crystal and getting some more jobs!
The Ranger is an expert archer. They come with a Barrage ability that lets them hit four times. This damage is randomly distributed, and is about 80% the overall norm until around Job Level 21.
The Knight is the defensive post for your job selection. They can use White Magic and can use a Defend ability to raise Defense and cover for allies.
Scholars can use the Study ability, which is basically Libra without MP cost, and it will have the effect of Dispel. Items are doubly-effective, and they can use Level 3 White and Black Magic.
The Geomancer is able to harness nature itself with their Terrain ability, which has various attacks depending upon the terrain. For example, use Whirlpool while sailing the seas and watch your opponents melt before your very might!
We’ve completed the long Fire Crystal section! On to the Water Crystal.
No Comments