
This quest is acquired from the Corrupted Tombs, a dungeon located beyond the Ghost Pass in the region of Chersonese.
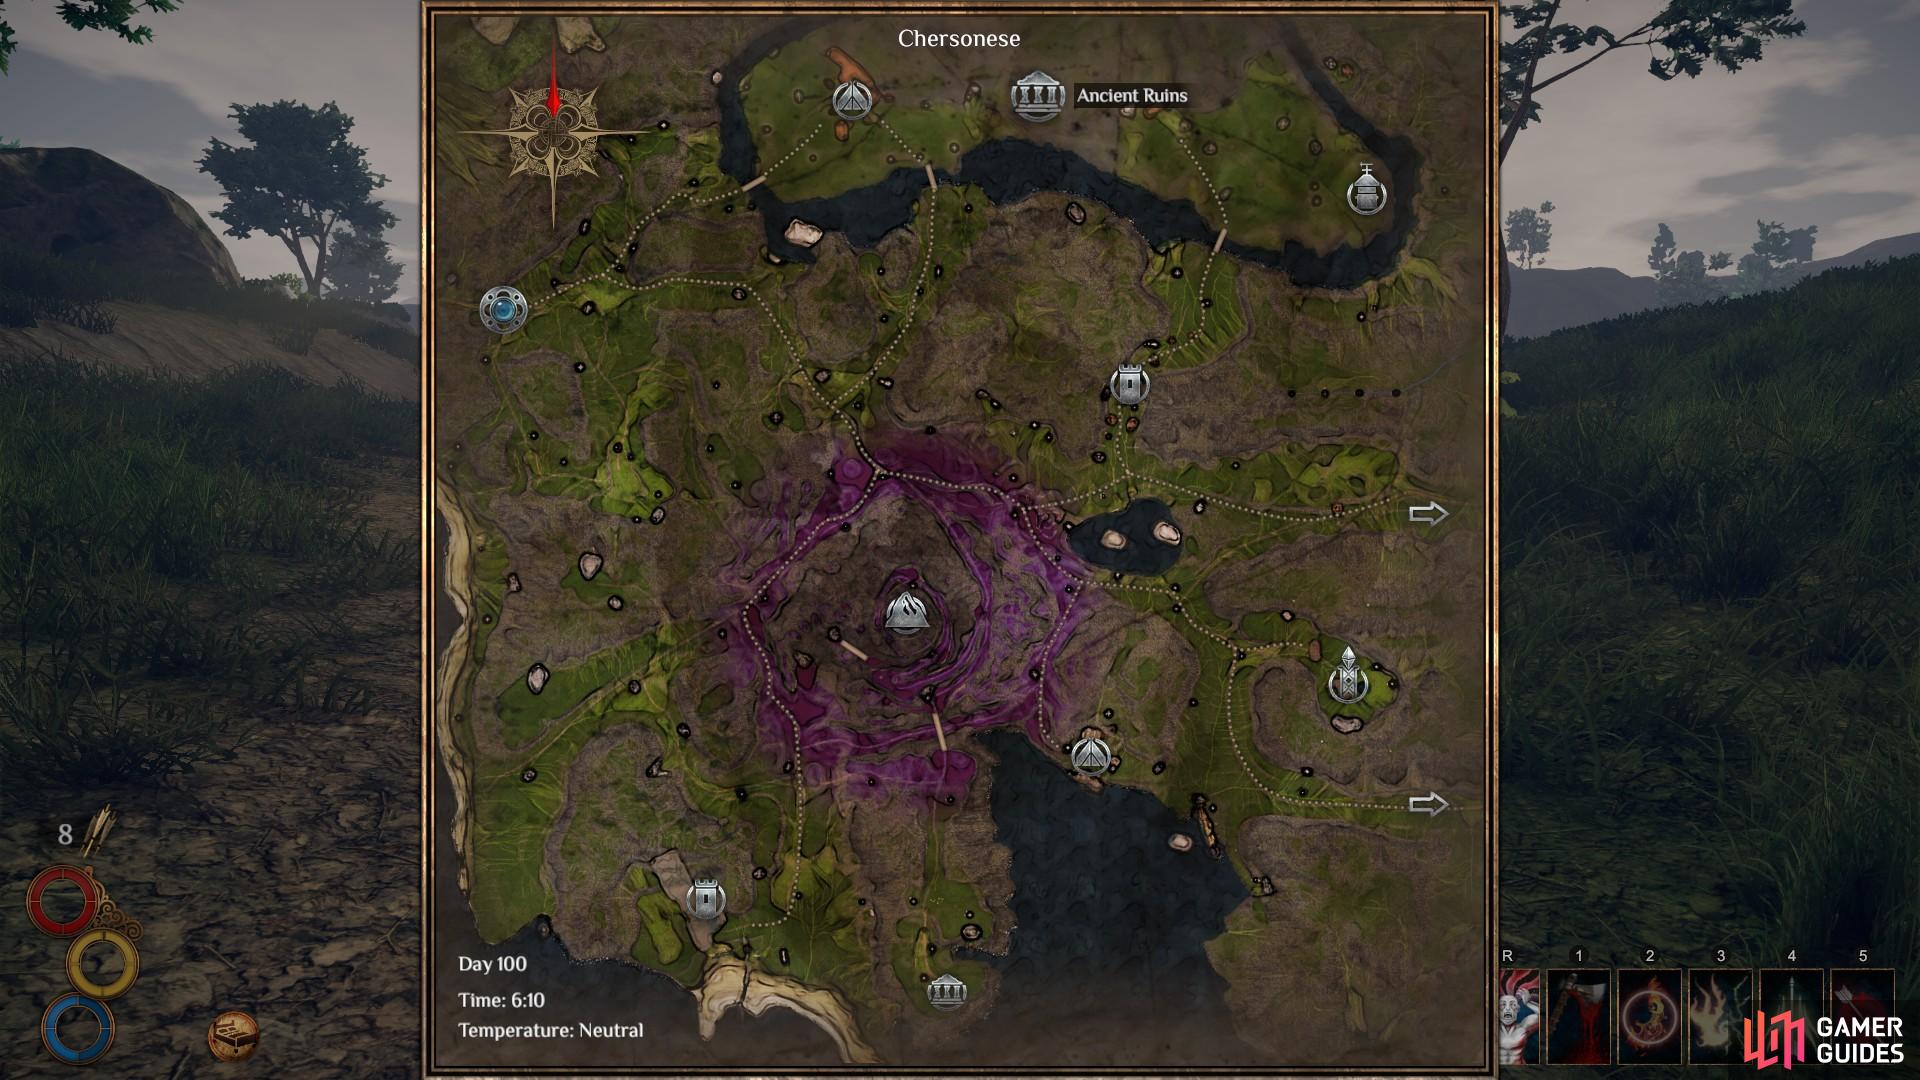
The location of the Corrupted Tombs in the northeastern region of Chersonese, marked on the map as ‘Ancient Ruins’.
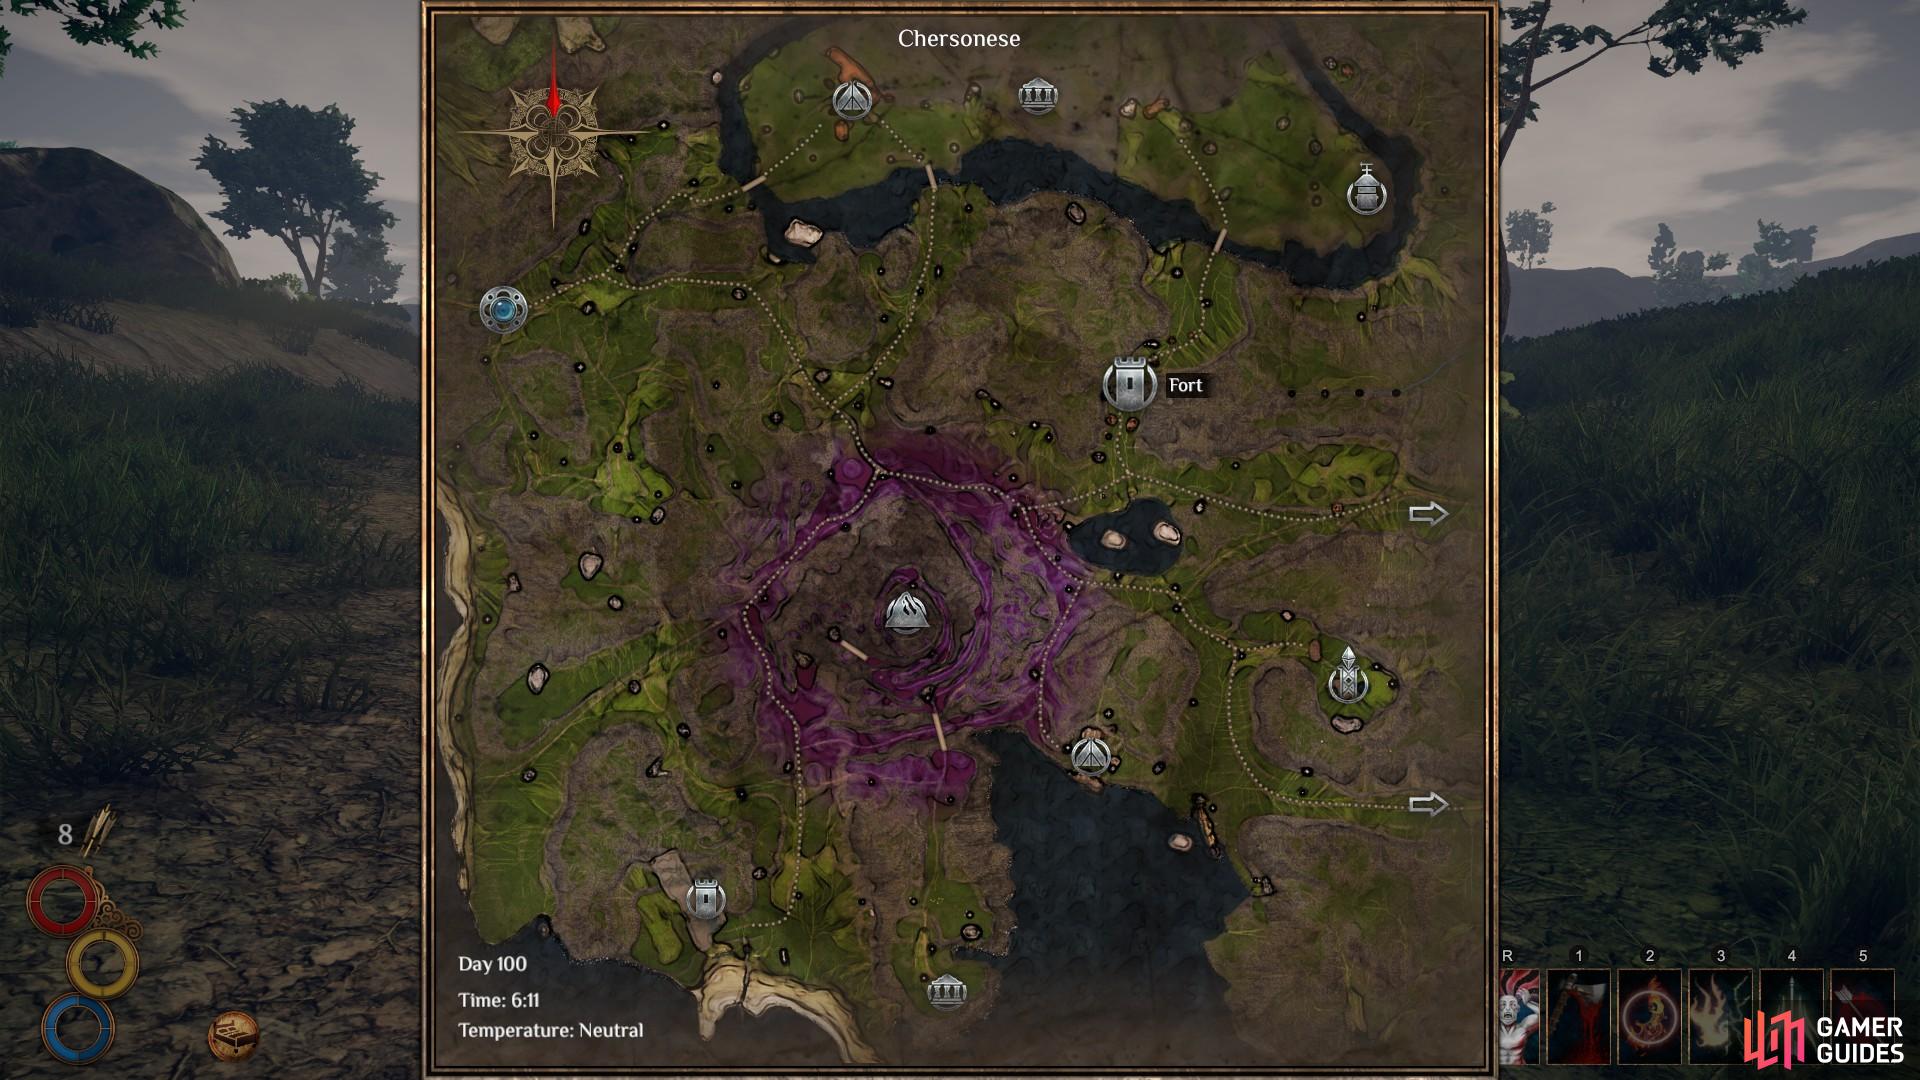
The location of the Ghost Pass in the Chersonese region, marked on the map as ‘Fort’. Take the road south east of Cierzo to reach it.
To gain access to the Corrupted Tombs, you will need to travel through the Ghost Pass, as marked on the map above. As you approach the southern entrance to the Ghost Pass you will encounter some regular bandits. They are easily dealt with and can be killed before you proceed. Alternatively, just run directly north until you appraoch the door to the Ghost Pass.
Once you’re inside the fort, you can either choose to kill everything and clear it or run straight through to the other side. In the first room you encounter you will find some Spiritual Varnish on the table to the south and beside a cell to the west. This can be used for increased effectiveness in combat against the ghosts. If you interact with the cell gates they will automatically open, so be prepared to fight the ghosts if you wish.
Once you’ve defeated the ghost in the cell to the west, head east and follow the staircase downward. At the bottom of the path you will find another ghost waiting, and another beyond that to the west. As you run westward, loot the cells to your left and right for any randomly generated loot or resources. Continue west until you reach the end of a tunnel with two iron gates, as shown below.
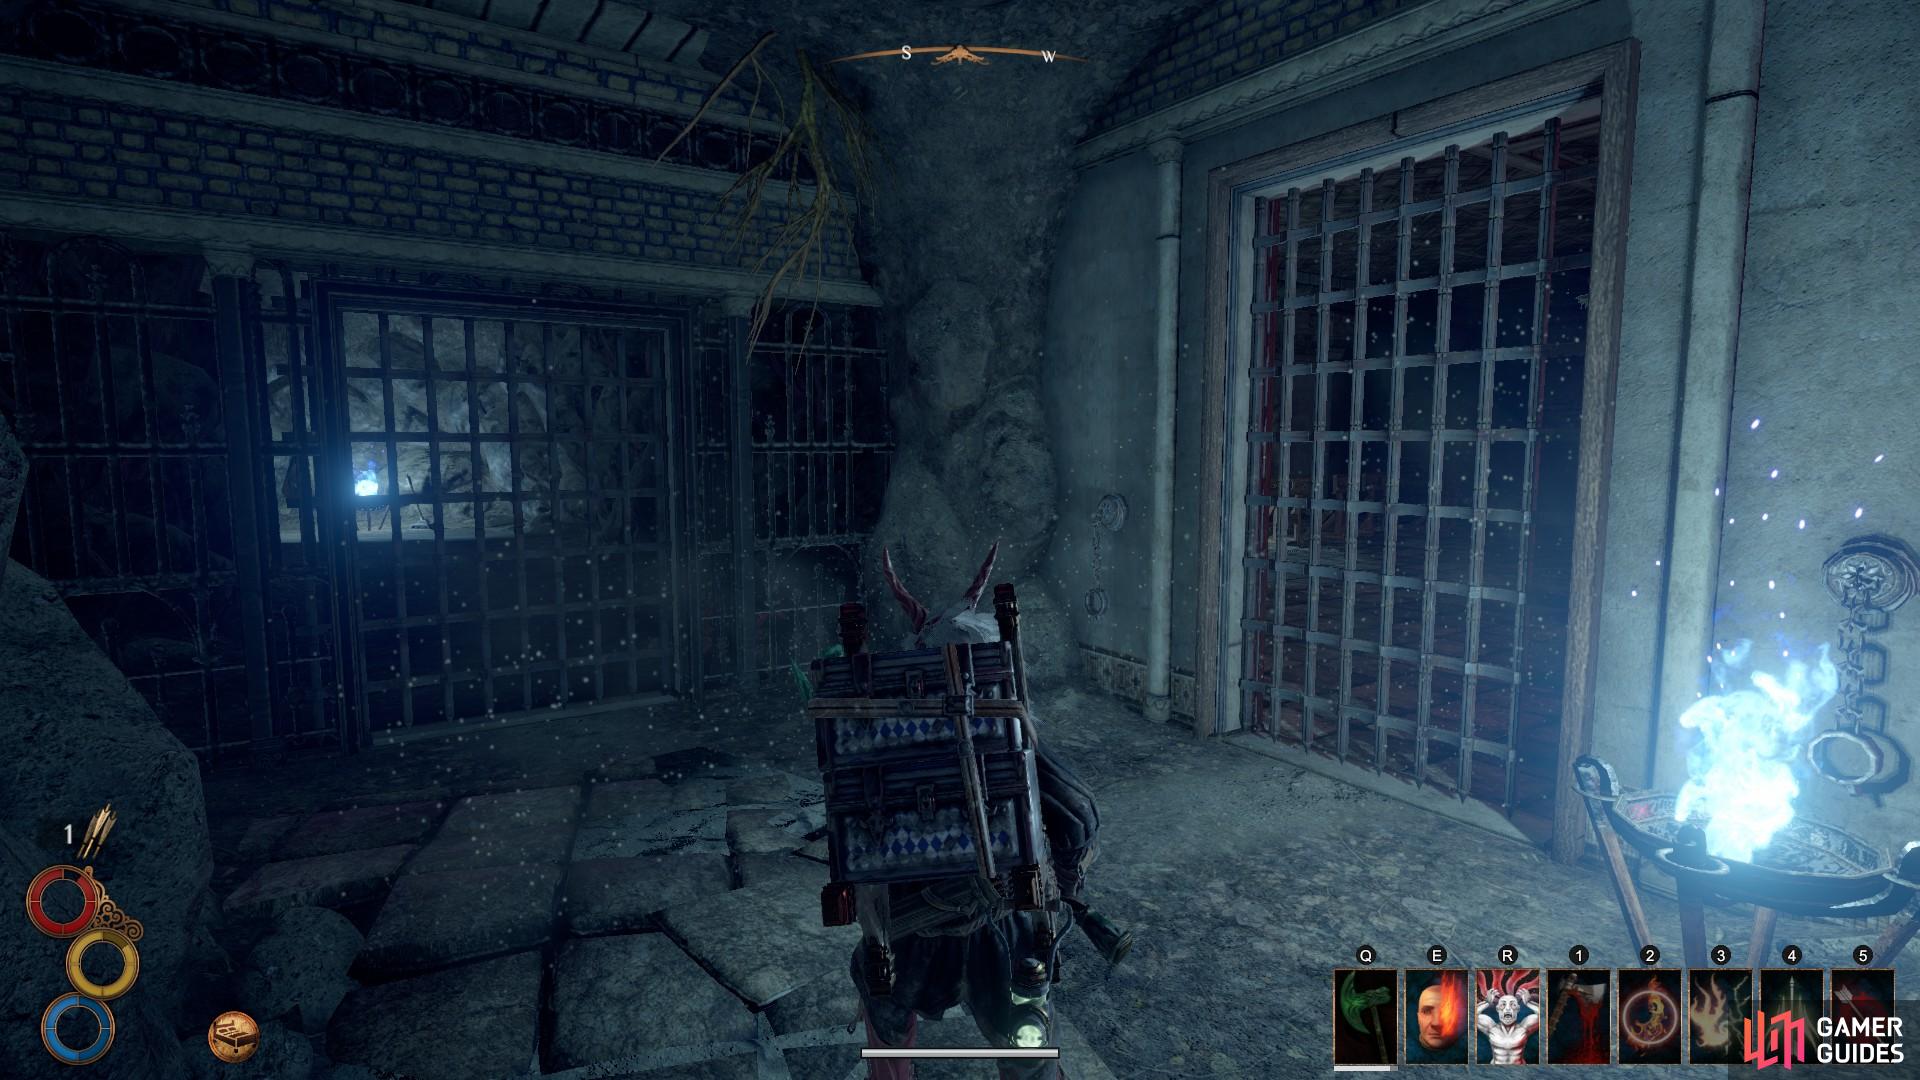
If you took the correct path you should see these two iron gates at the end of the tunnel.

The lever to the south which can be accessed once you’ve opened the gate.
Here, you can interact with the gate to the west to open it. Beyond it there will be a powerful ghost that you can choose to fight or flee from. If you choose to flee, immediately turn left when you enter the room and pull the lever next to the brazier, as shown above. You can now leave the room and pass through the gate to the south. If you don’t wish to fight the ghosts, follow the path east until you come to the end of the tunnel, at which point you can turn left until you come to a final lever. Pull this to activate a lift mechanism. At the top of the lift, exit the Ghost Pass using the door to the south.
You are now in the northeastern region of Chersonese, and can take the path north west, leading to the Corrupted Tombs. When you first enter the tombs, you will find yourself in an ice chamber. There is a powerful Wendigo at the bottom of this chamber which you will need to kill now or later. It has a great deal of health and fast attack speed, but a high impact weapon can render both attributes useless. Alternatively there is plenty of space to kite the Wendigo as you whittle down its health with spells or arrows, but you will need some decent armour to sustain multiple hits.
Whether or not you kill the Wendigo now, head south out of the ice chamber and into another which is populated by Illumination Horrors. Head directly east through a tunnel until you are stopped by a voice which is calling to your right. Here you will find a skull with one eye on top of a box. Interact with it to begin ‘A Myriad of Bones’. Completing it will open the magic barrier in the ice chamber at the beginning of the tombs, granting access to an Ornate Chest.
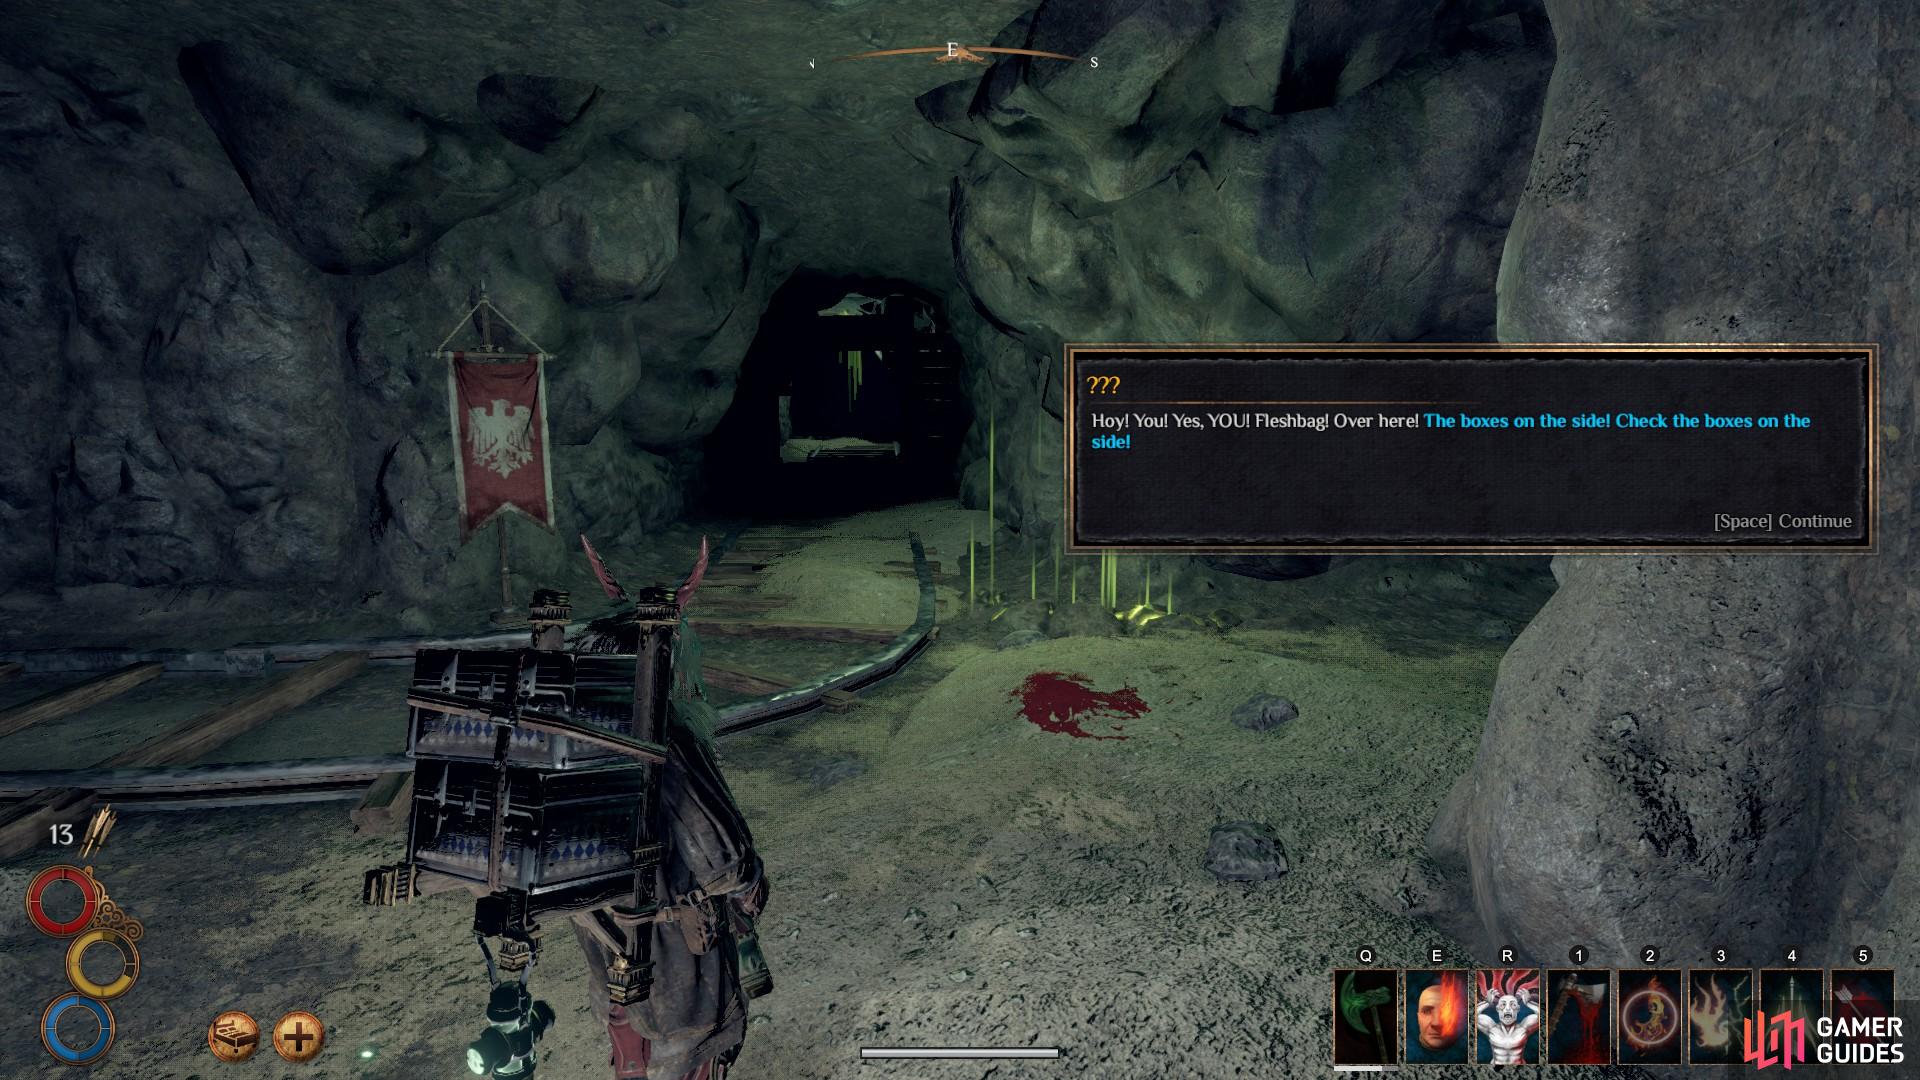
As you head west through the tunnel, a voice will hearken you to turn right.
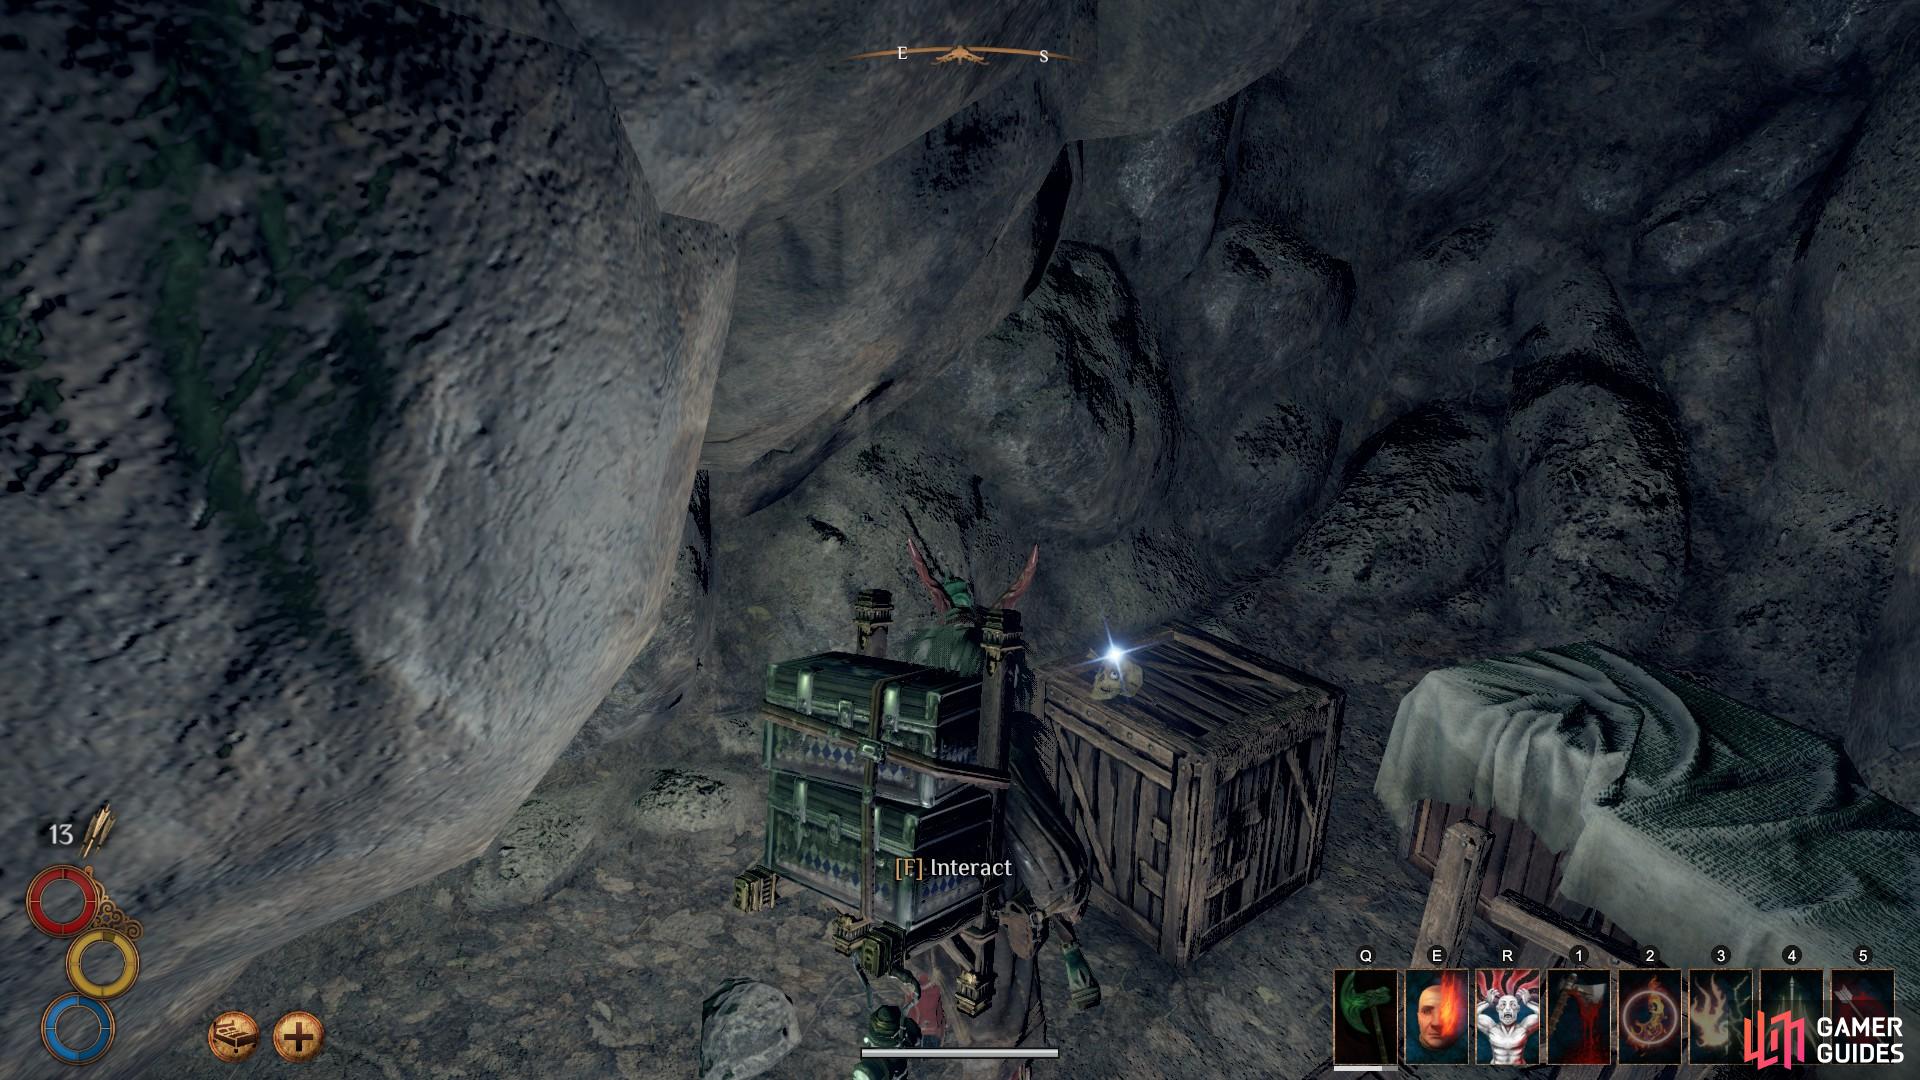
Interact with Myriade’s skull to begin the quest.
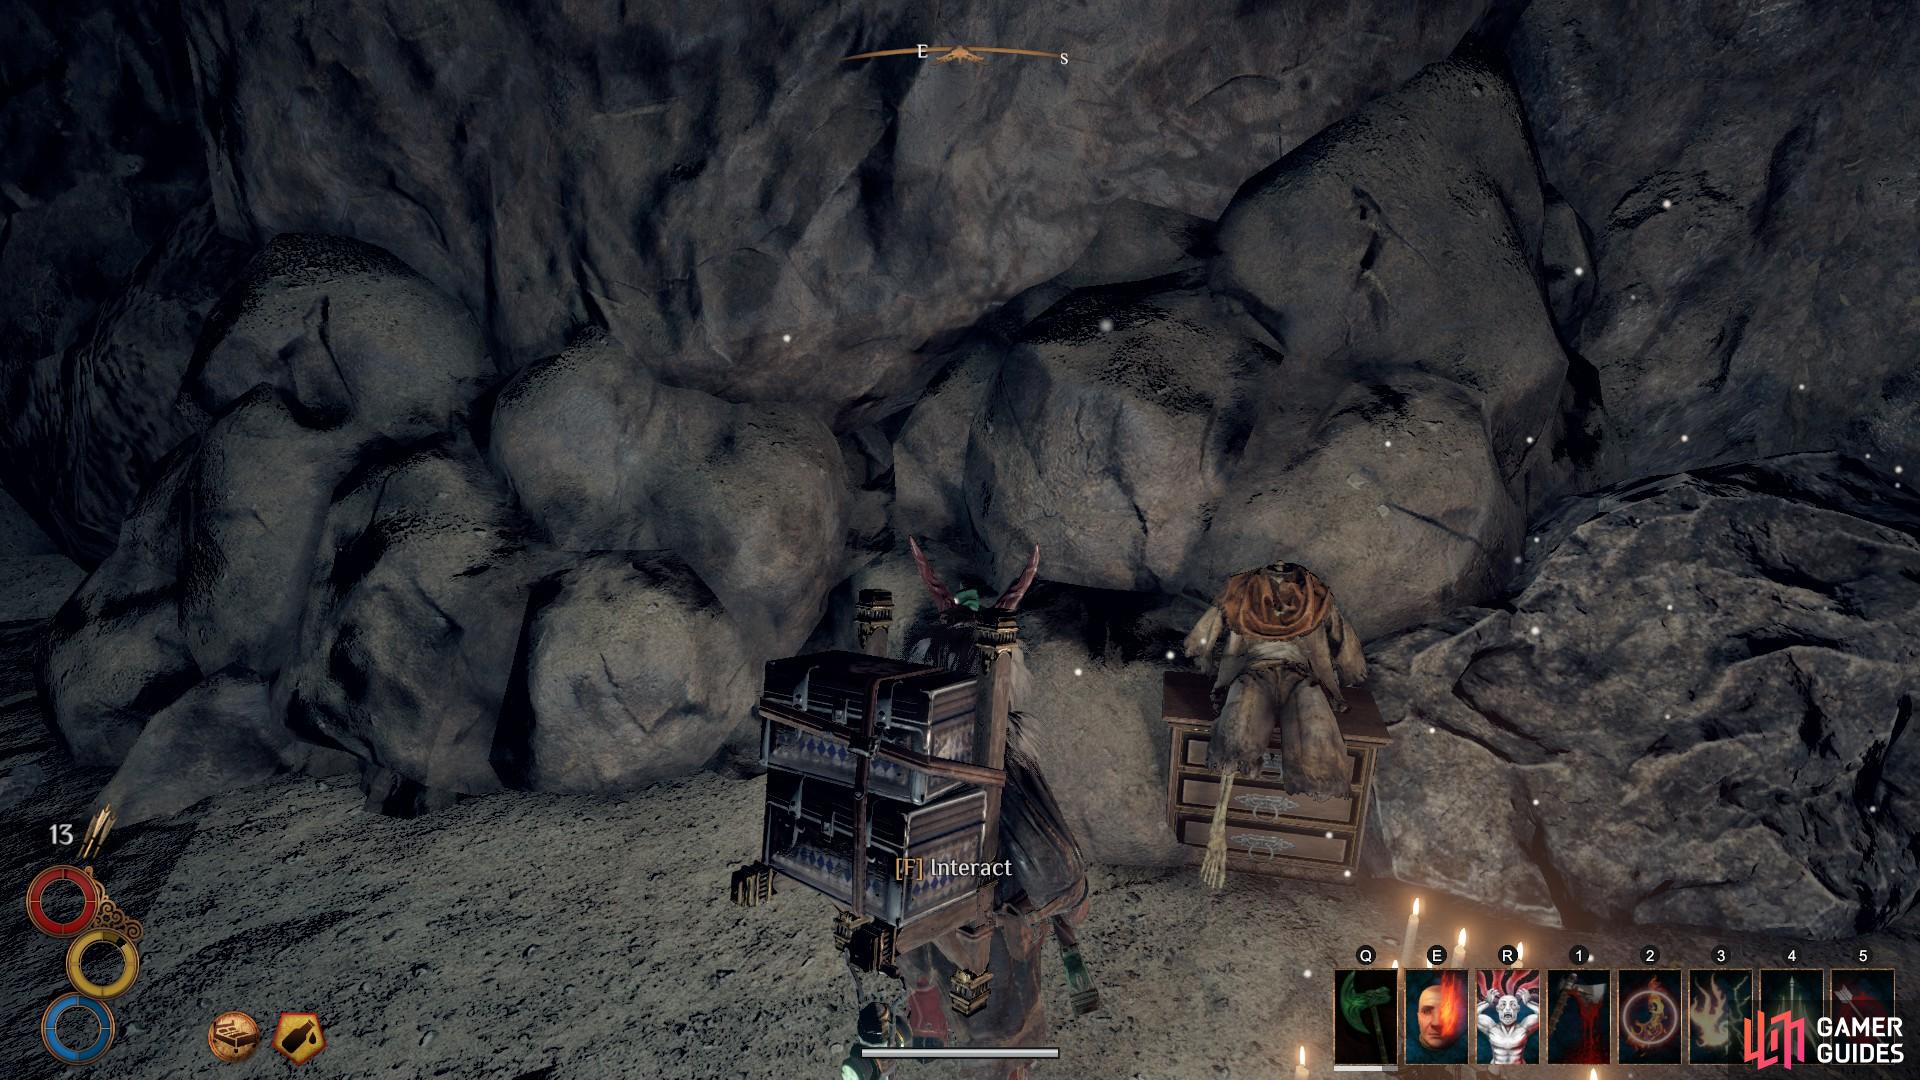
At this point you can choose to smash the skull and open the magic barrier immediately by force, or you can choose to help the skull to find the rest of the skeleton. If you choose to help the skull, you will need to follow the tracks further east and take the first right to the south. At the end of the tunnel you will encounter the torso. Interact with it to proceed. The skull (Myriade) will now inform you of where to find the other skeleton parts.
To find the first arm, head back north through the tunnel until you are able to turn east. When you pass the mining cart two Animated Skeletons will charge at you from the darkness, so be prepared to deal with them in whatever way you see fit. They are not too difficult and have no special abilites. Continue east along the tracks until you’re able to turn north, then turn east again until you enter a room with two green ghosts. They are weaker than the blue or red ghosts and therefore should be easily dealt with. The arm can be found at the end of the room beyond the mana veins.
Now head back the way you came to where you first encountered Myriade. Continue east into the chamber with the Illumination Horrors. Turn right and follow the path along the stone bridge heading south. At the end of the bridge there will be a small drop leading to a stone platform, upon which is the other arm. From this location head directly west until you reach a wall with wooden structures built into it. Now turn south until you reach another small drop. Here you will find Myriade’s leg. You can now return the bones to Myriade at the location of his torso, being careful to avoid any drops into the abyss.
Upon returning the bones Myriade will head to the ice chamber. You can now pass through the entrance where the magic barrier was and loot the Ornate Chest. From here you can choose to head east and speak with Myriade, but the quest will already be complete and there are no further actions necessary.
No Comments