
There’s a lot to take in when you first start playing Sons of the Forest, but the most important thing is surviving your first night in the wilderness, keeping yourself fed and watered while escaping the clutches of the cannibals! We’ll give you some quick tips on how to survive in the early stages of the game on this page.
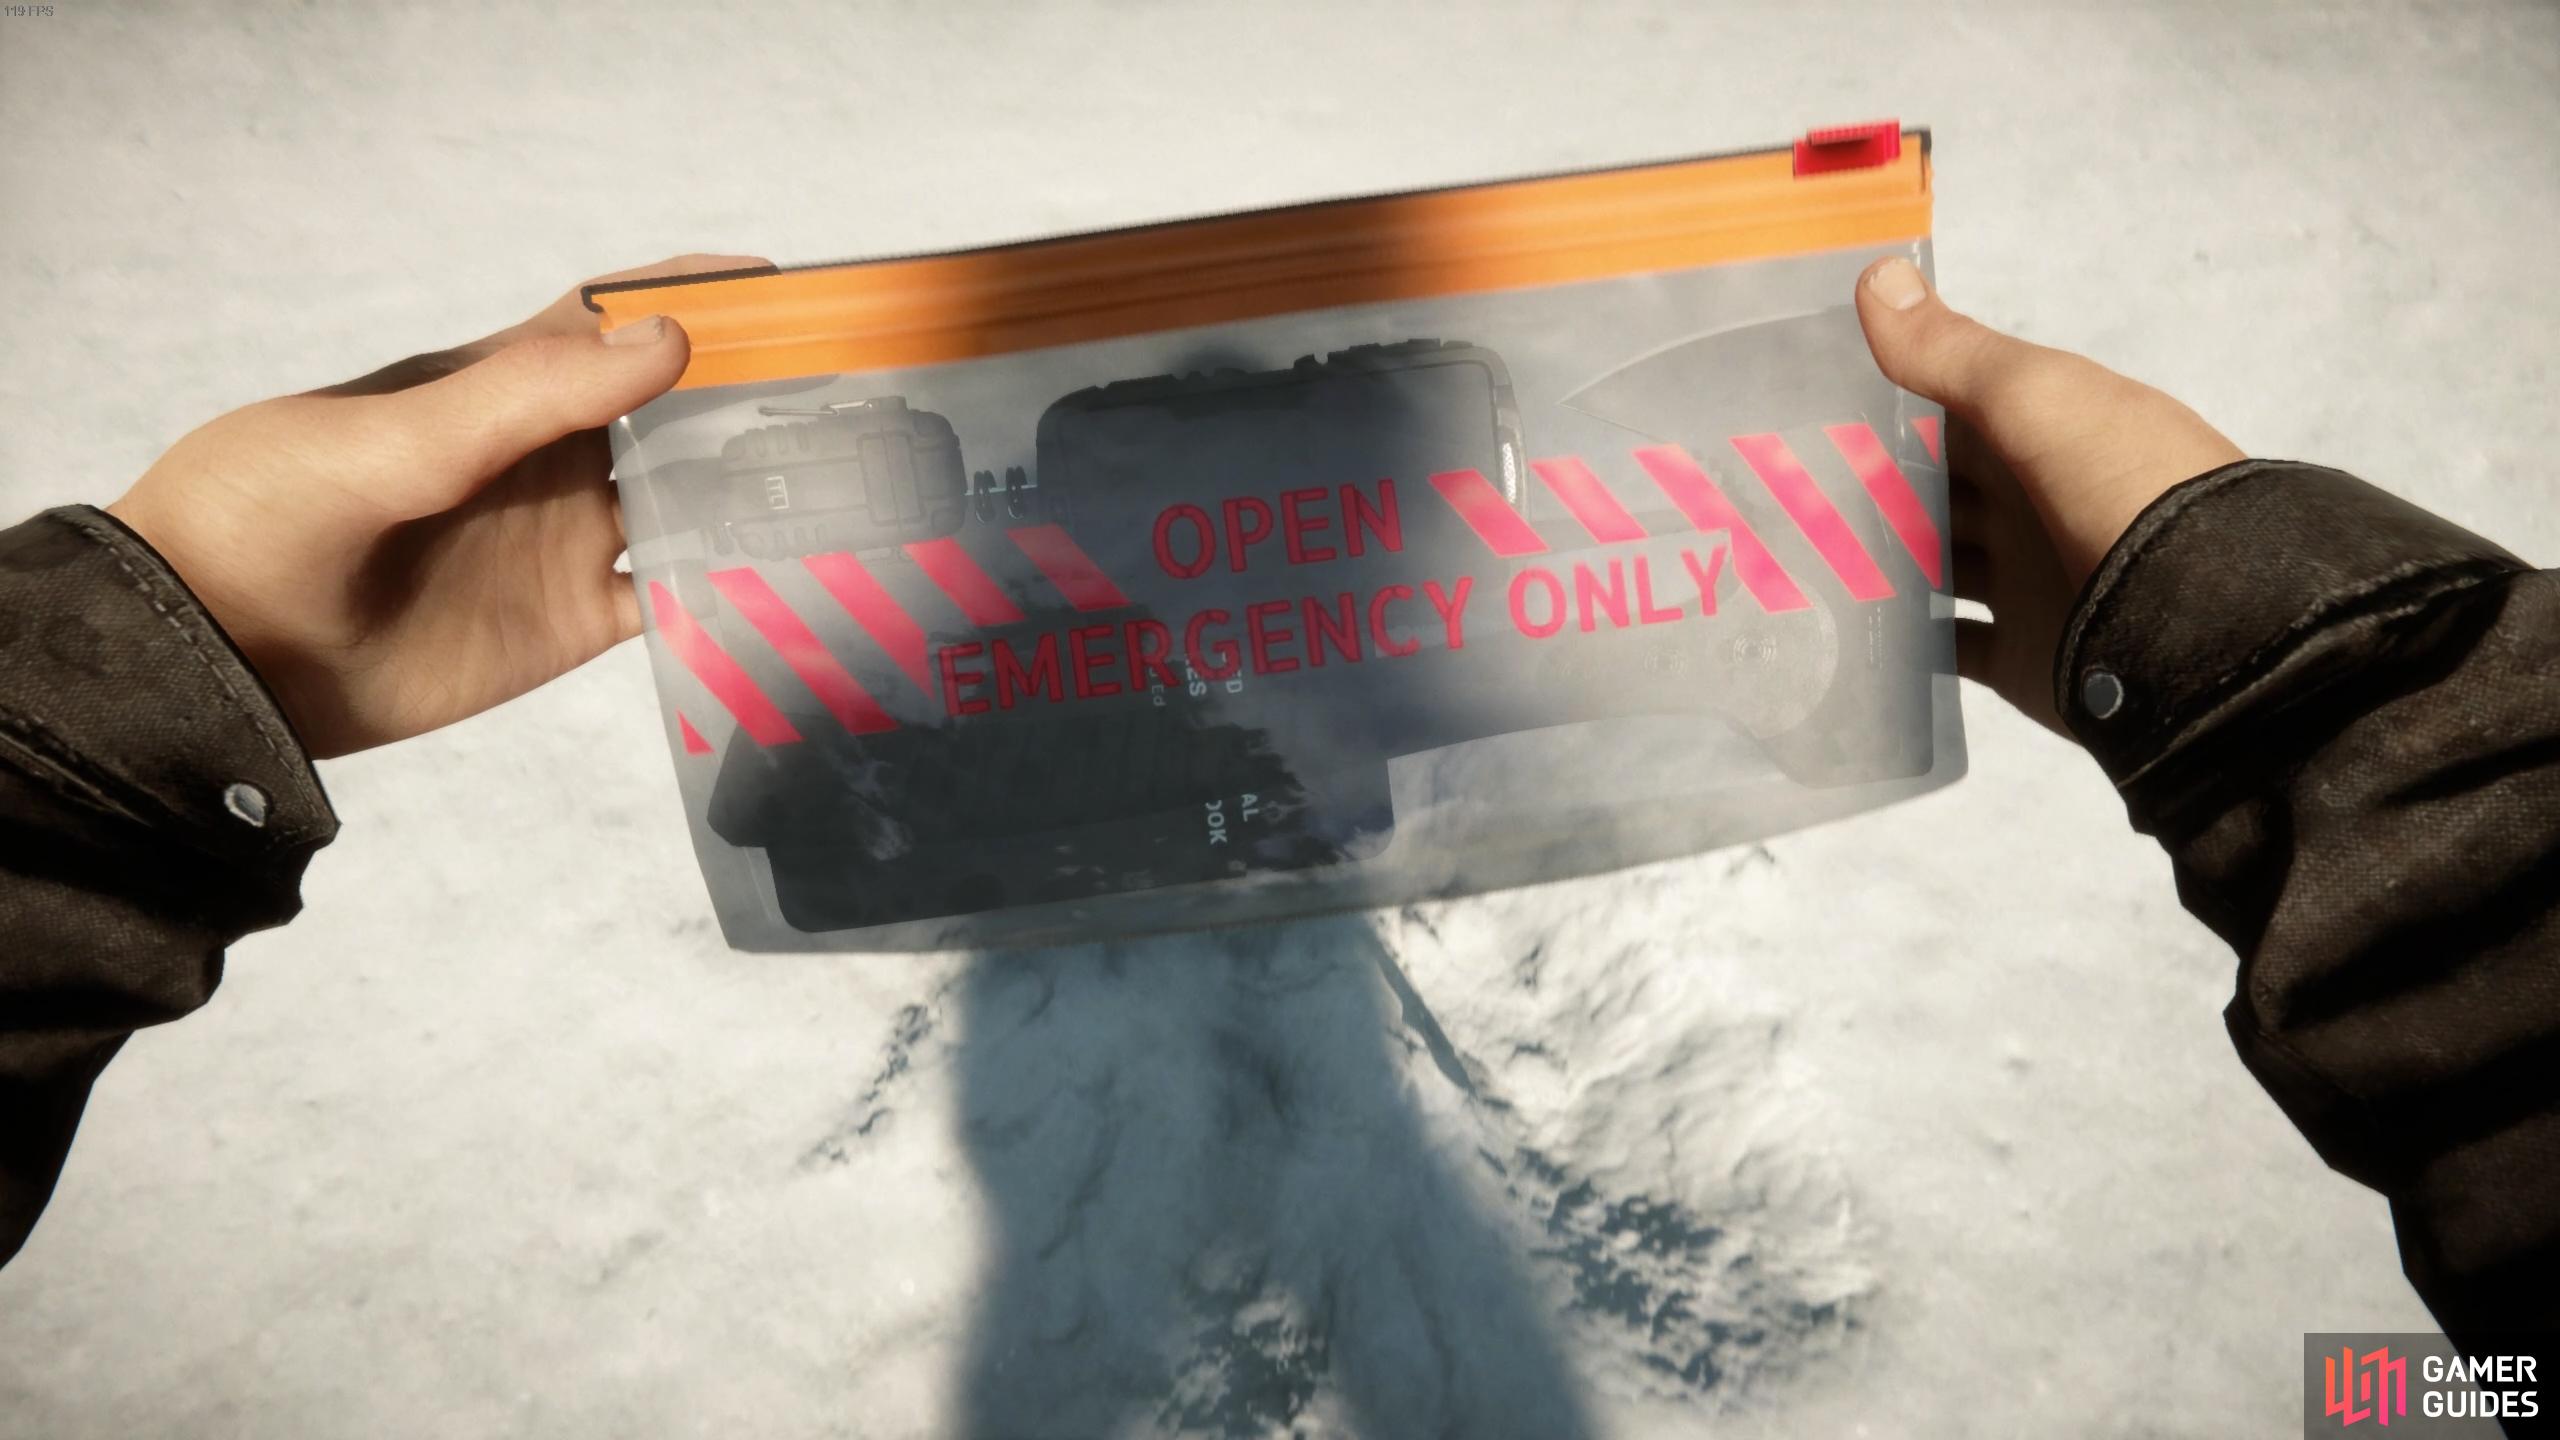
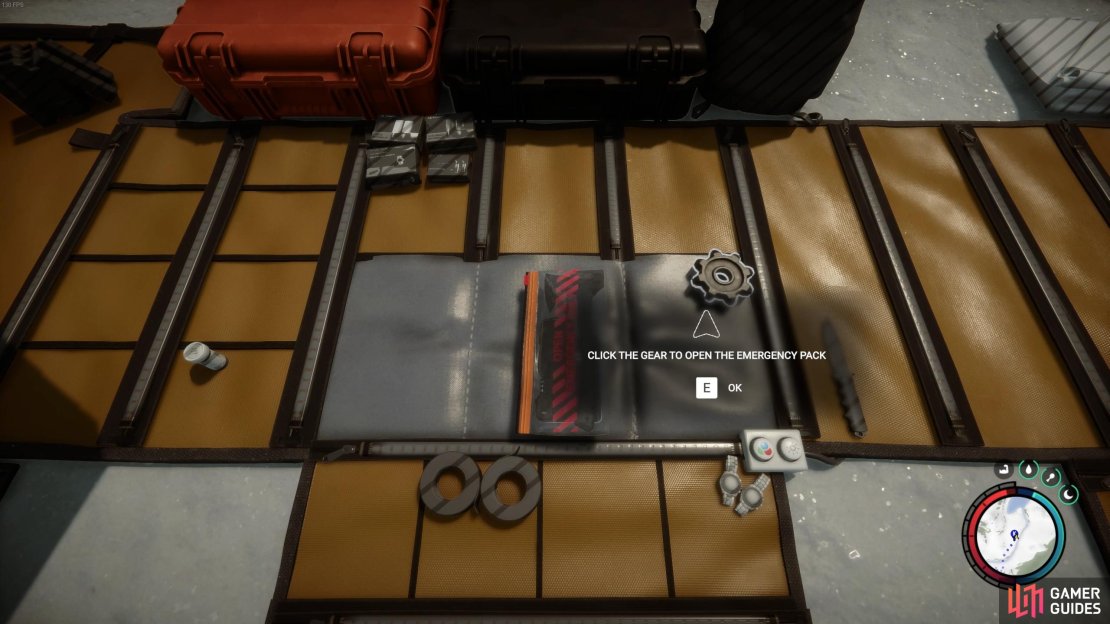
You’ll need to open the Emergency Pack from your inventory.
How to Stay Alive in the Early Game - Sons of the Forest
Sons of the Forest is the kind of game that doesn’t like to hold your hand through the experience too much. Instead, you’ll need to figure out the basics using a few essential tools. One of the most important of these is your Guide Book, which can be accessed from the inventory (aka mat). Alternatively you can press  to access the Guide Book quickly without having to check your inventory first.
Using the Guide Book, Combining Items to Craft, and How to Heal
The Guide Book will give you access to some basic build recipes and templates for structures and items. However, the easiest way to learn new crafting recipes is to acquire the items from the world yourself, then click combine in the inventory and hover over the gear in the top right. This will give you a list of all the items you can currently craft by combining them with other materials. For example, you can craft a Torch by combining a Stick with some Cloth, or you can craft a Spear by combining two Sticks, one Utility Knife, and some Tape. You’ll see the gear in your inventory turn from white to black with each item that you add for a specific recipe.
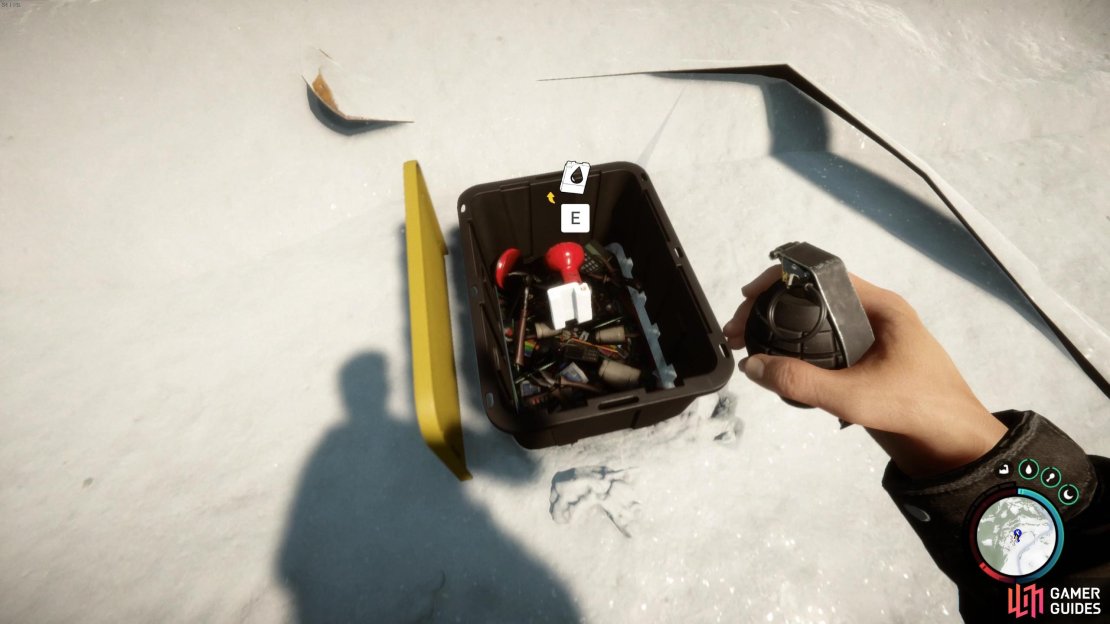
It’s a good idea to start looting all the boxes and containers that you come across in the game, especially at the beginning around the crash site of the helicopter. These will provide you with some essentials such as snacks, medication to heal, vodka bottles and ammunition which will be useful later. You can use some of the pills already to heal yourself from the damage sustained during the crash, then thoroughly explore the surrounding area for other useful items such as tin can openers. You should also have a lighter that you acquired from the Emergency Pack mentioned above, which can serve as a minor light source in caves, and provides a way to start a basic fire.
If you’re looking for a more detailed guide on how to heal yourself in different ways during the early stages of the game, see our page on How to Heal in the Sons of the Forest here.
How to Make Use of Kelvin, Your First Companion
There’s one more thing you should familiarize yourself with before you leave the crash site: learn how to make use of your companion, ![]() Kelvin. You will have been introduced to him automatically as part of the story at the beginning. You can interact with him by getting close and pressing
Kelvin. You will have been introduced to him automatically as part of the story at the beginning. You can interact with him by getting close and pressing  . You’ll then get the option to give him specific instructions, which include basics such as “Follow Me”, but you can also ask him to build a fire or a shelter, collect sticks and logs, or clear an area of materials within 5, 10, or 20 meters. Kelvin should follow you wherever you go from now on, unless you ask him to stay put using the notebook to communicate with him. You can cycle through the commands using the


 keys.
keys.
Now that you’ve met Kelvin and you know the basics of the Emergency Pack, and once you’ve looted the area around the crash site, you should start exploring to find a convenient place to set up a shelter and camp. If you check your map you should be able to spot areas where there’s some fresh water, whether it be a pond, river, or larger lake. It’s useful to set up camp near one of these so that you have a source of fresh drinking water which is easily accessible.
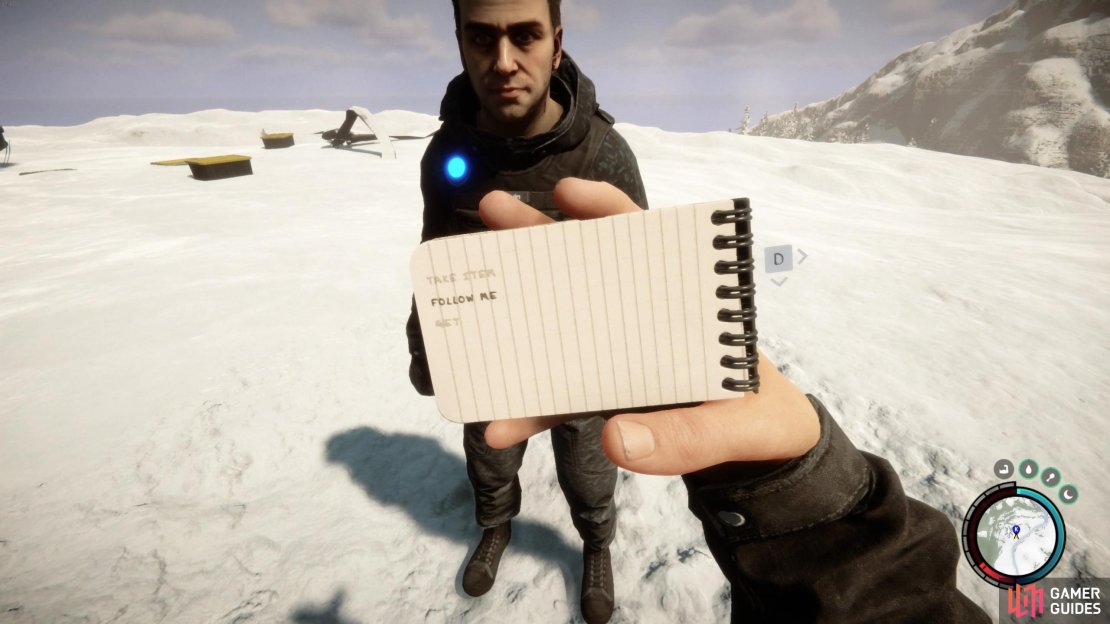
(1 of 4) Stand in front of Kelvin and press E to interact with him and issue commands via the notepad.
How to Find Fresh Drinking Water
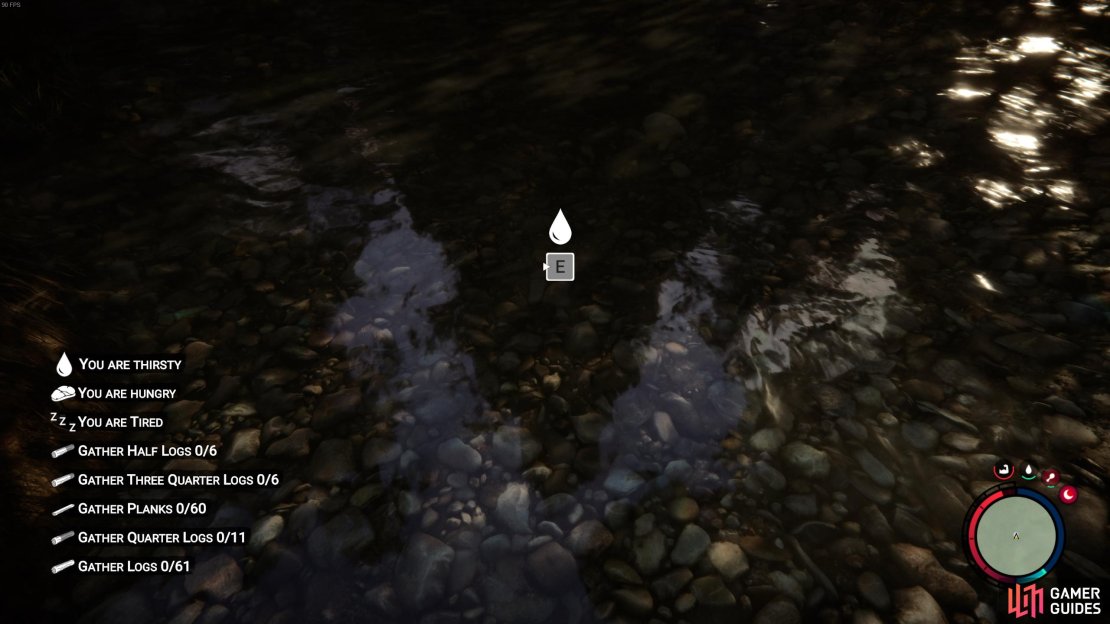
As mentioned above, the easiest way to find fresh drinking water at the beginning of the game is to locate a water source such as a small pond, river, or lake. You can do this using the GPS Tracker map, and don’t forget that you can zoom in and out of the map by pressing the middle mouse scroll button  . Once you’ve identified a source of water, make your way there to set up camp, and be sure to collect any berries and other food that can be gathered along the way. It’s important to note that you can’t drink from any water source that you find. Only those which are deep enough provide a way to drink from them, but so long as you find one of these all you need to do is walk up to them and press to interact and drink from it.
How to Find Food
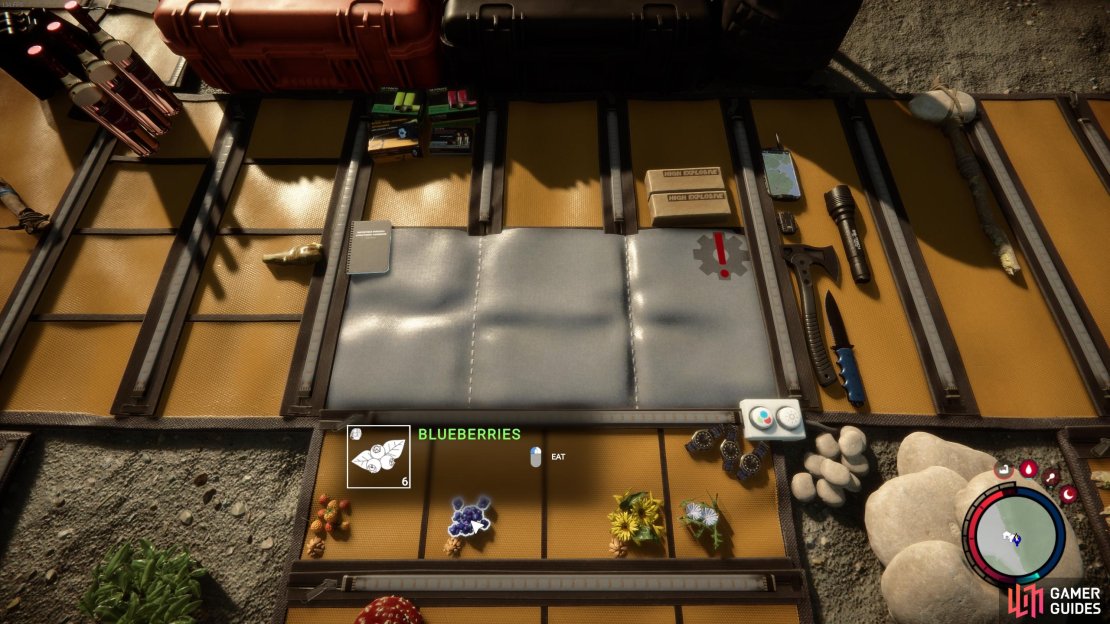
The main sources of food that you’ll come across in the early game come from snacks that you loot from containers, and berries that you gather while exploring. The snacks come in all sorts of forms: energy bars, cereal boxes, tinned food, etc. You can access and consume them from your inventory when you need it. Be sure to collect as many berries as you can while exploring, and make a habit of eating them as you go, since they only stack to a limited number. They will provide a steady source of food and water replenishment as you go about your day.
As mentioned above, it’s a good idea to use the Backpack for any items that you want to access quickly. This should include things like berries and other food items that you can quickly consume to replenish hunger and improve your max stamina. You should have plenty of food with the snacks looted from containers and berries gathered for the first day and night.
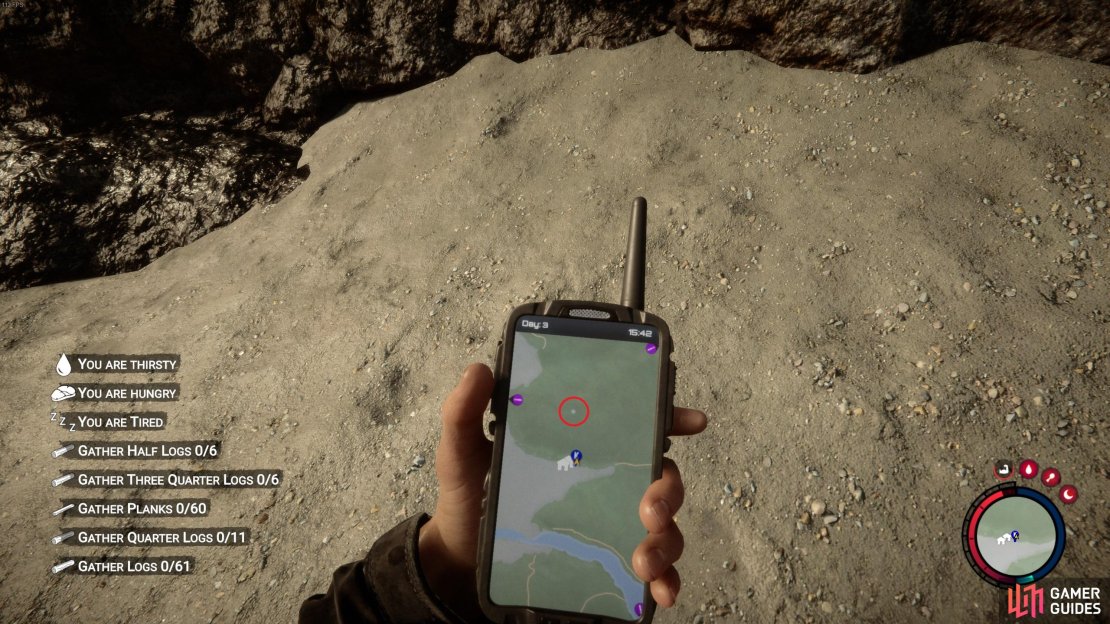
(1 of 3) Look for patches of water like the one highlighted on the map here to drink from.
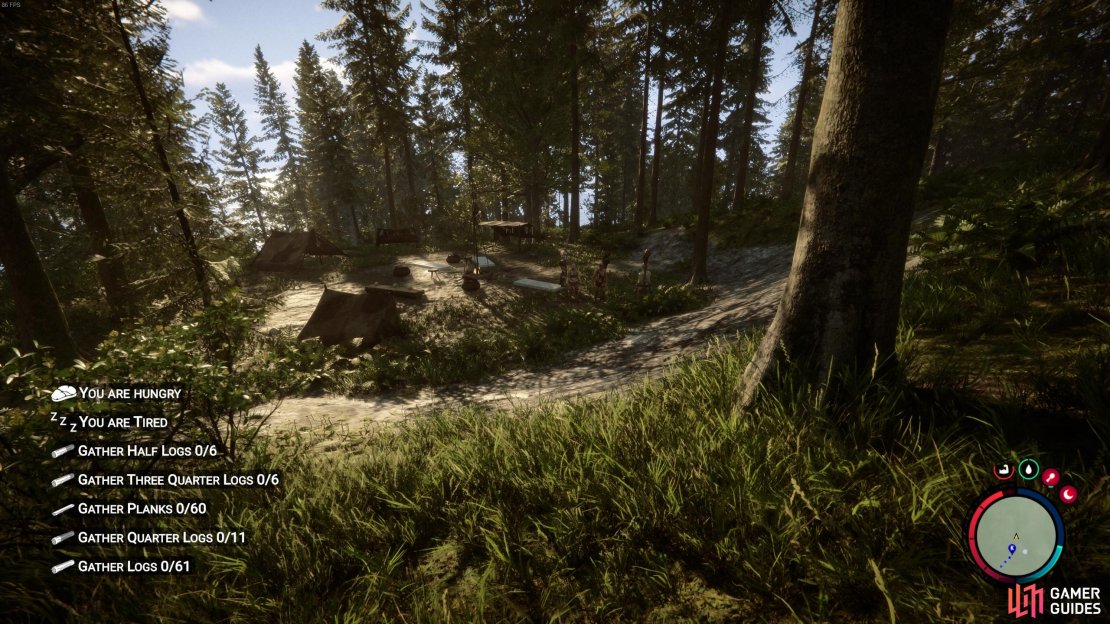
Explore Points of Interest
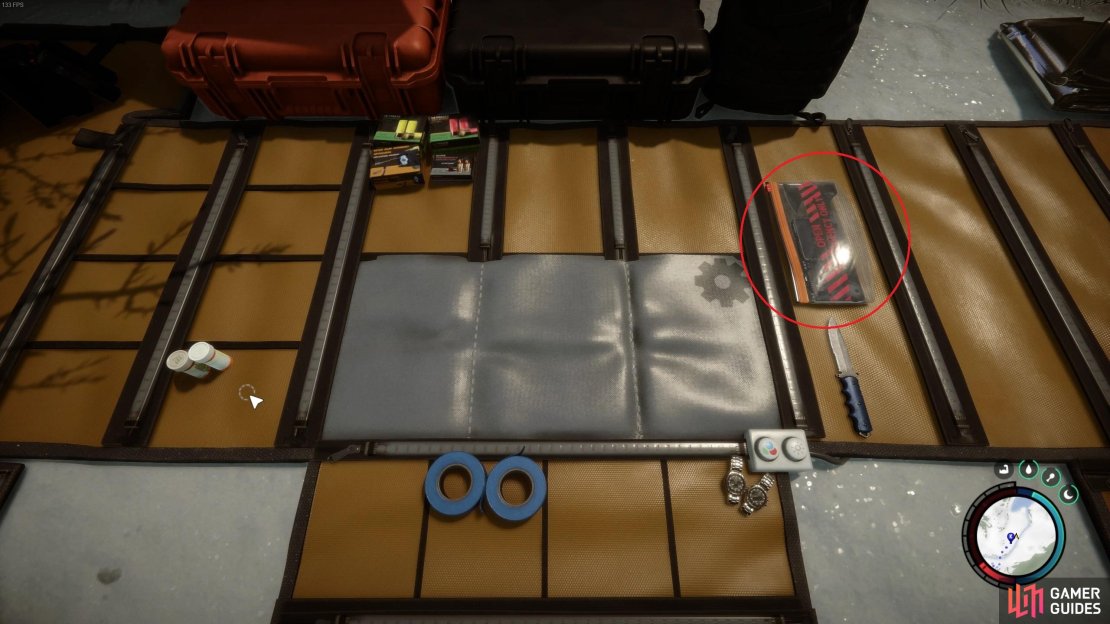
Now that you’re properly healed, fed, and watered, you can explore one of the nearby points of interest. You’ll be prompted to find three of your team mates who are lost in the wilderness, but you should only expect to find one of them before it gets dark. You can head to the closest marker on the GPS Tracker map which will be highlighted as a purple icon with an exclamation mark on it. You’ll also notice green and white circular markers which are pulsating. These indicate points of interest where previous human activity has occurred. You should aim to explore at least one of these before it gets dark, since they often provide useful items such as Cloth, Tarp, Tape, and if you’re lucky more snacks and / or energy drinks.
Avoid Cannibals
As you go about your business exploring the wilderness, you’re likely to encounter some cannibals, or they’ll find you. It’s important to understand that these cannibals aren’t rabidly aggressive as you might expect. They’re usually cautious and they won’t attack unless you attack them first, though they might throw rocks at you. If you encounter some on your first day, it’s best to stay away from them and keep exploring. If you attack one, the others will become more aggressive, and you don’t need that kind of heat right now.
There will be plenty of opportunities to kill cannibals later on in the game, but you’ll fare better with more armor and weapons than you initially start with.
How to Build a Fire and a Shelter
By the time you’ve found your first lost team mate and done exploring your first point of interest, it’ll soon be getting dark. You need to do two main things to survive the darkness of night, when aggressive Cannibal activity tends to increase: build a fire and build a shelter. You can be lazy and ask Kelvin to do it for you, or you can check your Guide Book to see what you need for these basic skills. Remember that you can cycle between modes in the Guide Book by pressing and holding  - one mode provides more blueprints for building preformed structures, while the other tells you how to build more freeform structures.
In terms of building your own shelter, it’s as simple as placing a tarp on the ground (you should have one in your inventory if you looted all the areas mentioned above), then facing the corners of the tarp and pressing  to raise it. You only need to raise one corner with a stick for it to count as a shelter, but you’ll need to make sure that you already have sticks in your inventory for it to work.
How to Save in Sons of the Forest
Once you’ve built a fire and a shelter, you should be able to see your immediate surroundings and you can interact with the shelter to save your game by pressing , or sleep by pressing  . The easiest way to survive your first day / night in Sons of the Forest is to simply sleep the night away in this basic shelter. You’ll find it much easier to navigate your surroundings in a new day, and you should know all the basics about how to stay alive from now on!


(1 of 3) Most cannibals will leave you alone if you leave them alone!
After your first day, you can start getting stuck into finding some of the many useful items in the game, often found in caves which have markers on the map by default. Be sure to check our guides for where to find the following useful early game items:
No Comments