Surface Shrines - The Legend of Zelda: Tears of the Kingdom Database
| Icon | Title | Category | Subcategory |
|---|
Surface Shrines
| Icon | Title | Details | Screenshots | |||||||||||||||||||||||||||||||||||||||||||||||||||||||||||||||||||||||||||||||||||||||||||||||
|---|---|---|---|---|---|---|---|---|---|---|---|---|---|---|---|---|---|---|---|---|---|---|---|---|---|---|---|---|---|---|---|---|---|---|---|---|---|---|---|---|---|---|---|---|---|---|---|---|---|---|---|---|---|---|---|---|---|---|---|---|---|---|---|---|---|---|---|---|---|---|---|---|---|---|---|---|---|---|---|---|---|---|---|---|---|---|---|---|---|---|---|---|---|---|---|---|---|---|

|
Anedamimik Shrine |
Map(s)
|
||||||||||||||||||||||||||||||||||||||||||||||||||||||||||||||||||||||||||||||||||||||||||||||||

|
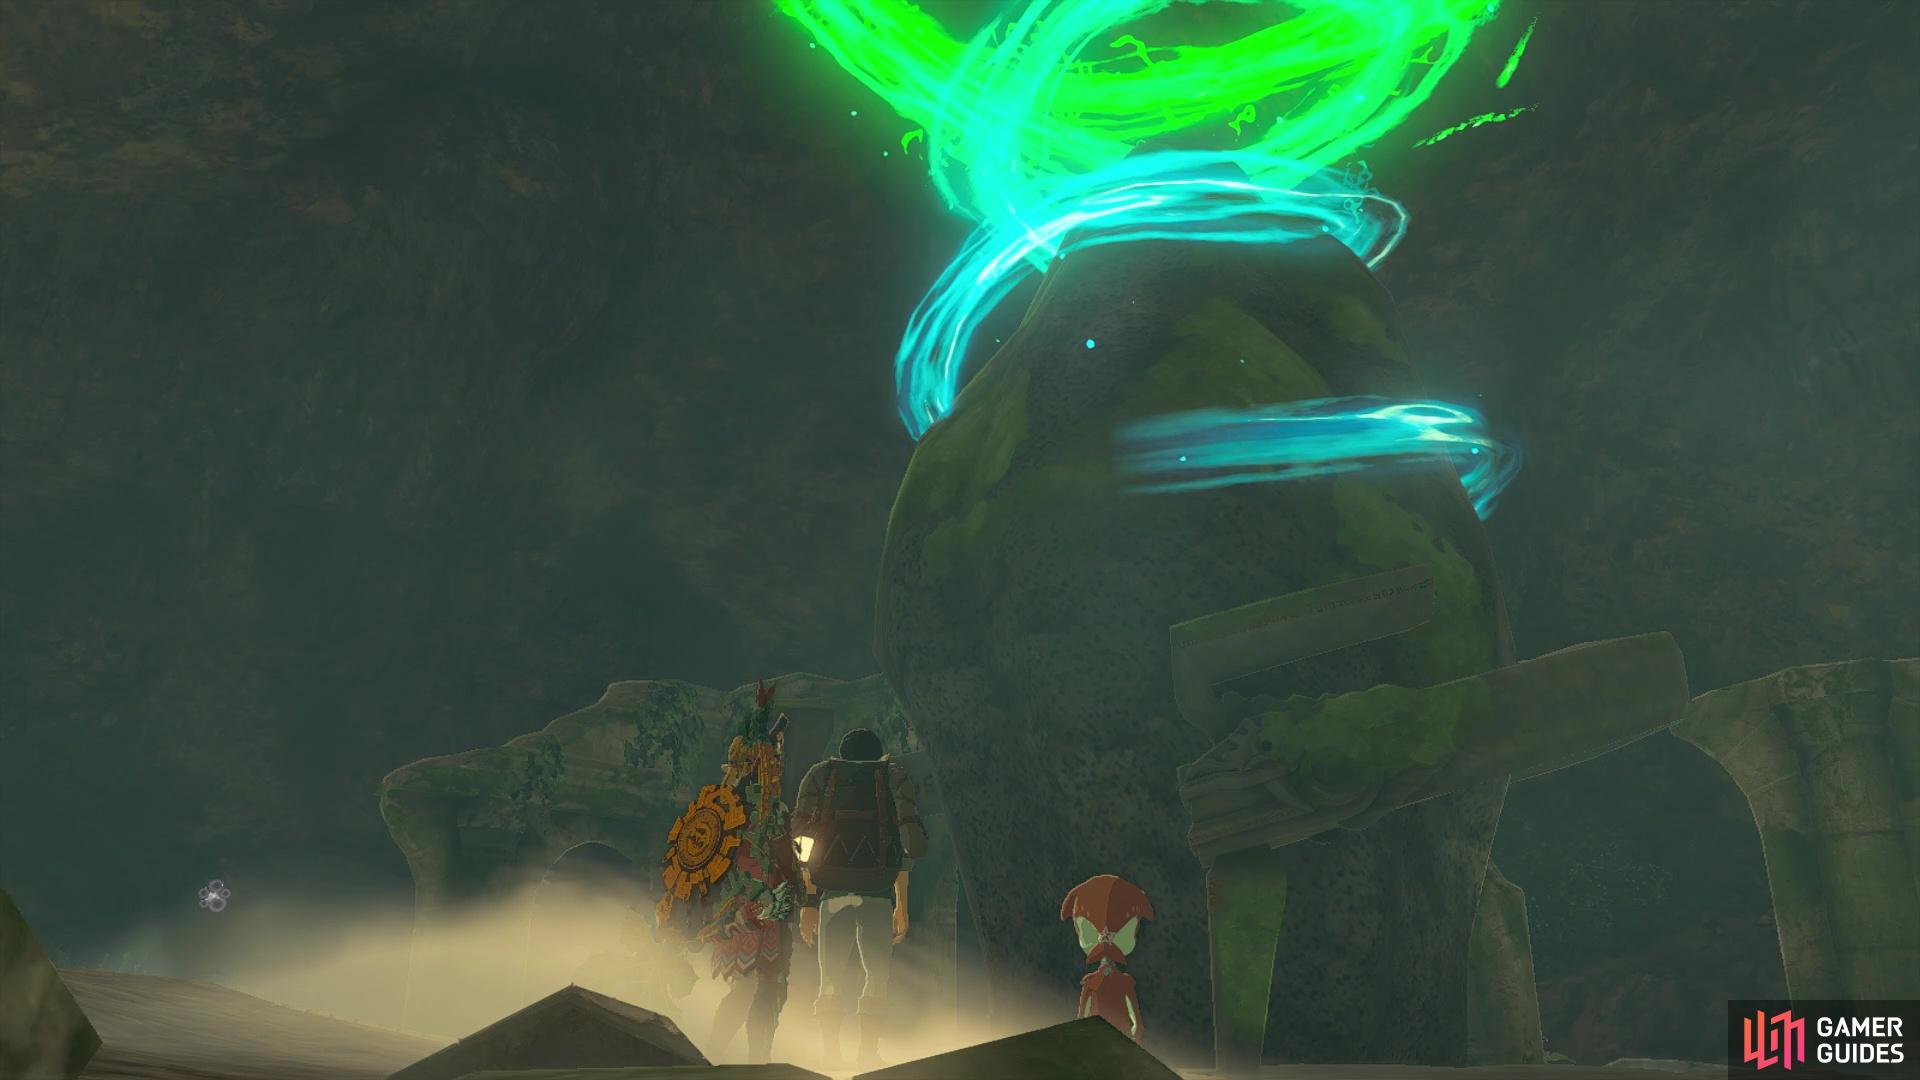
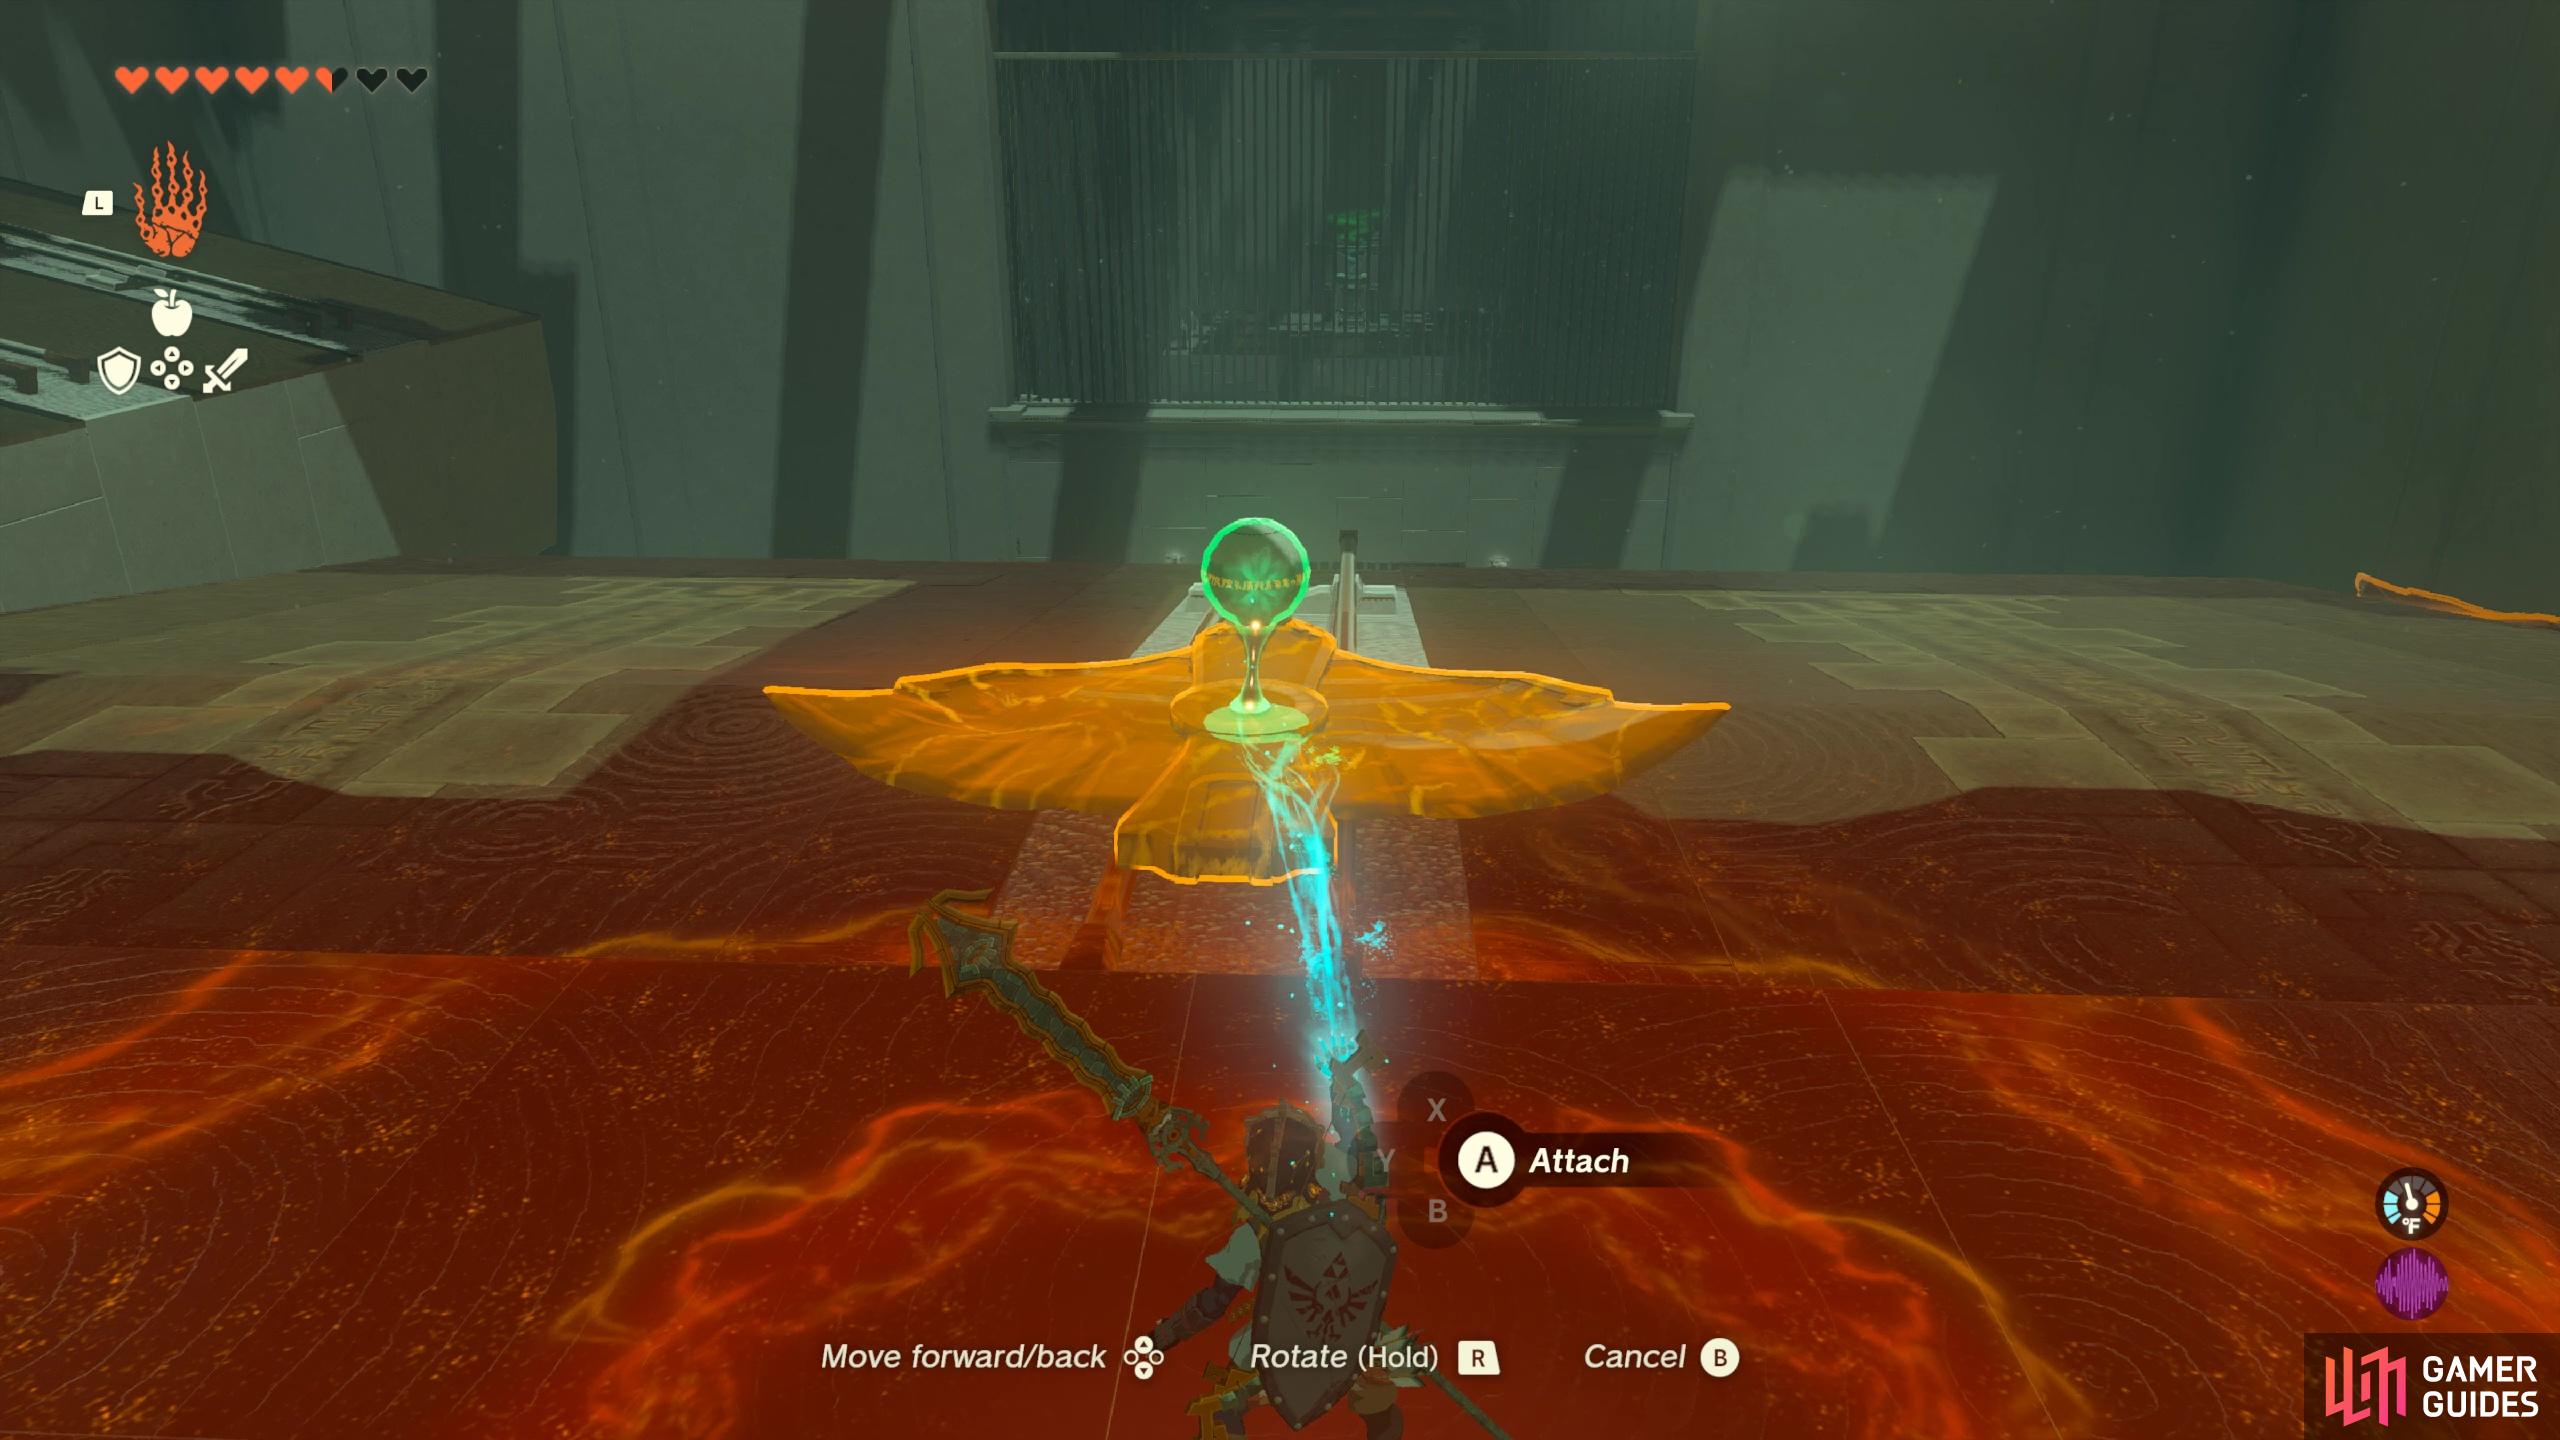
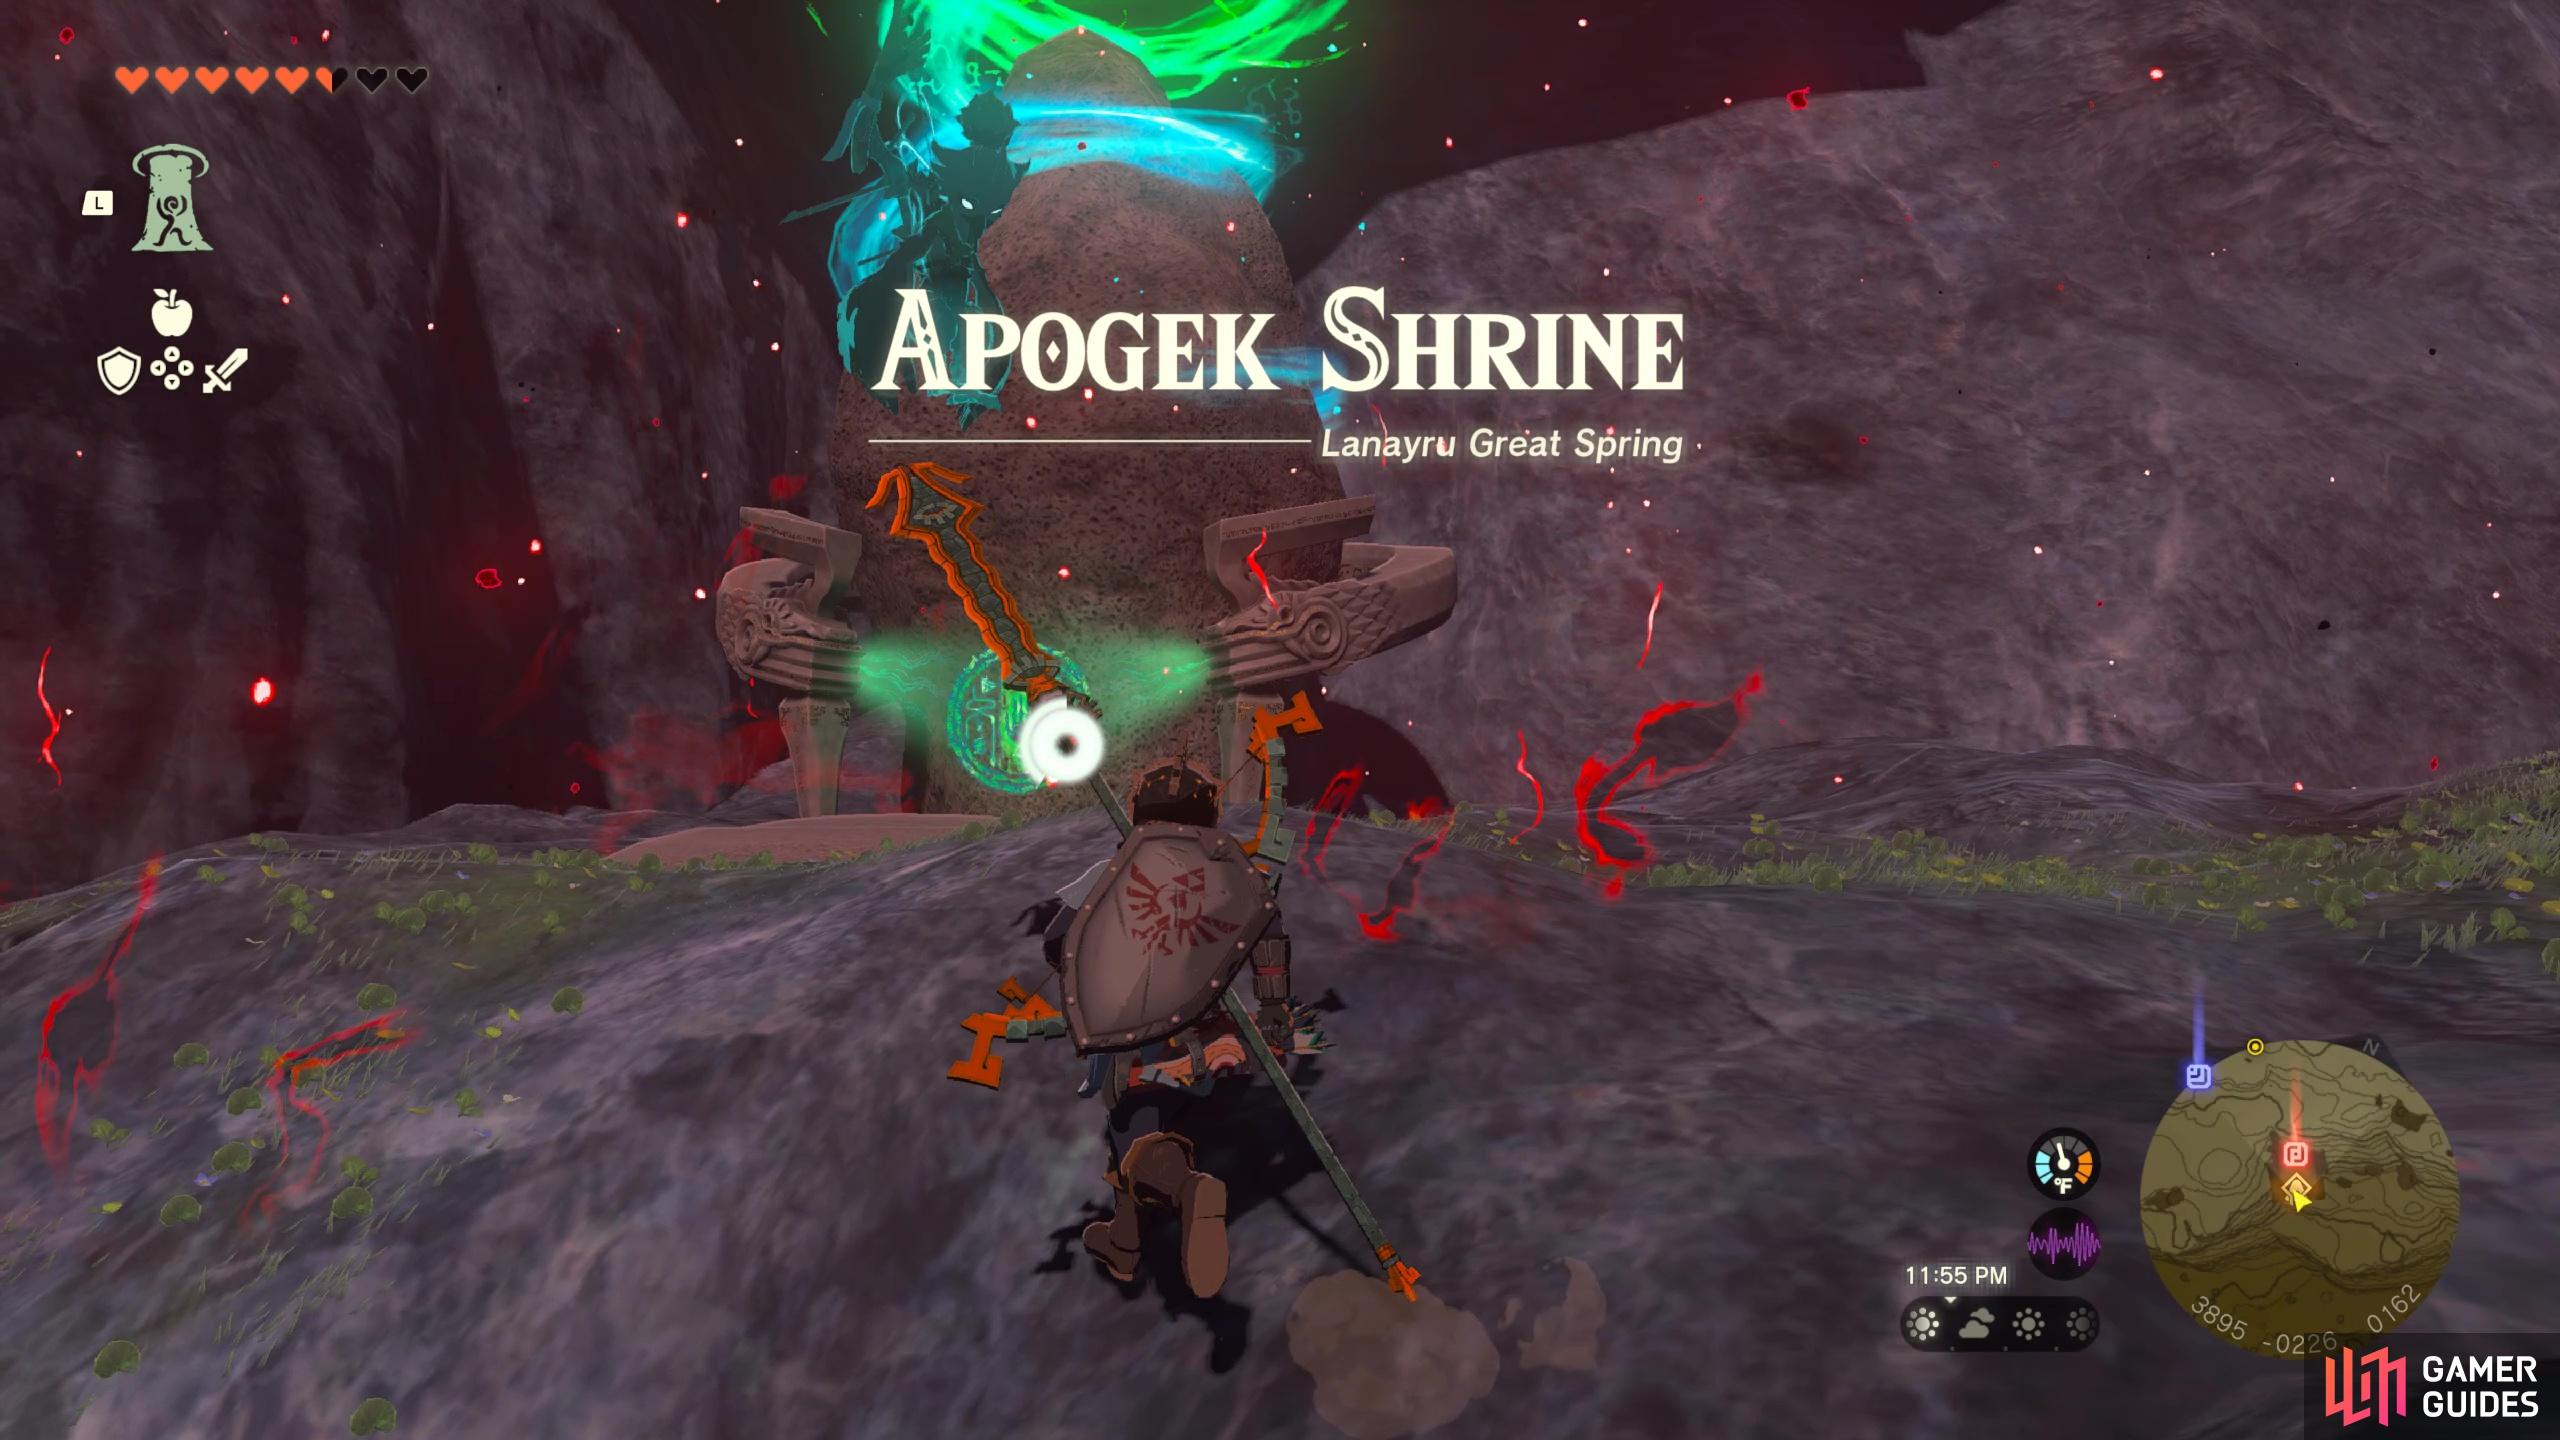
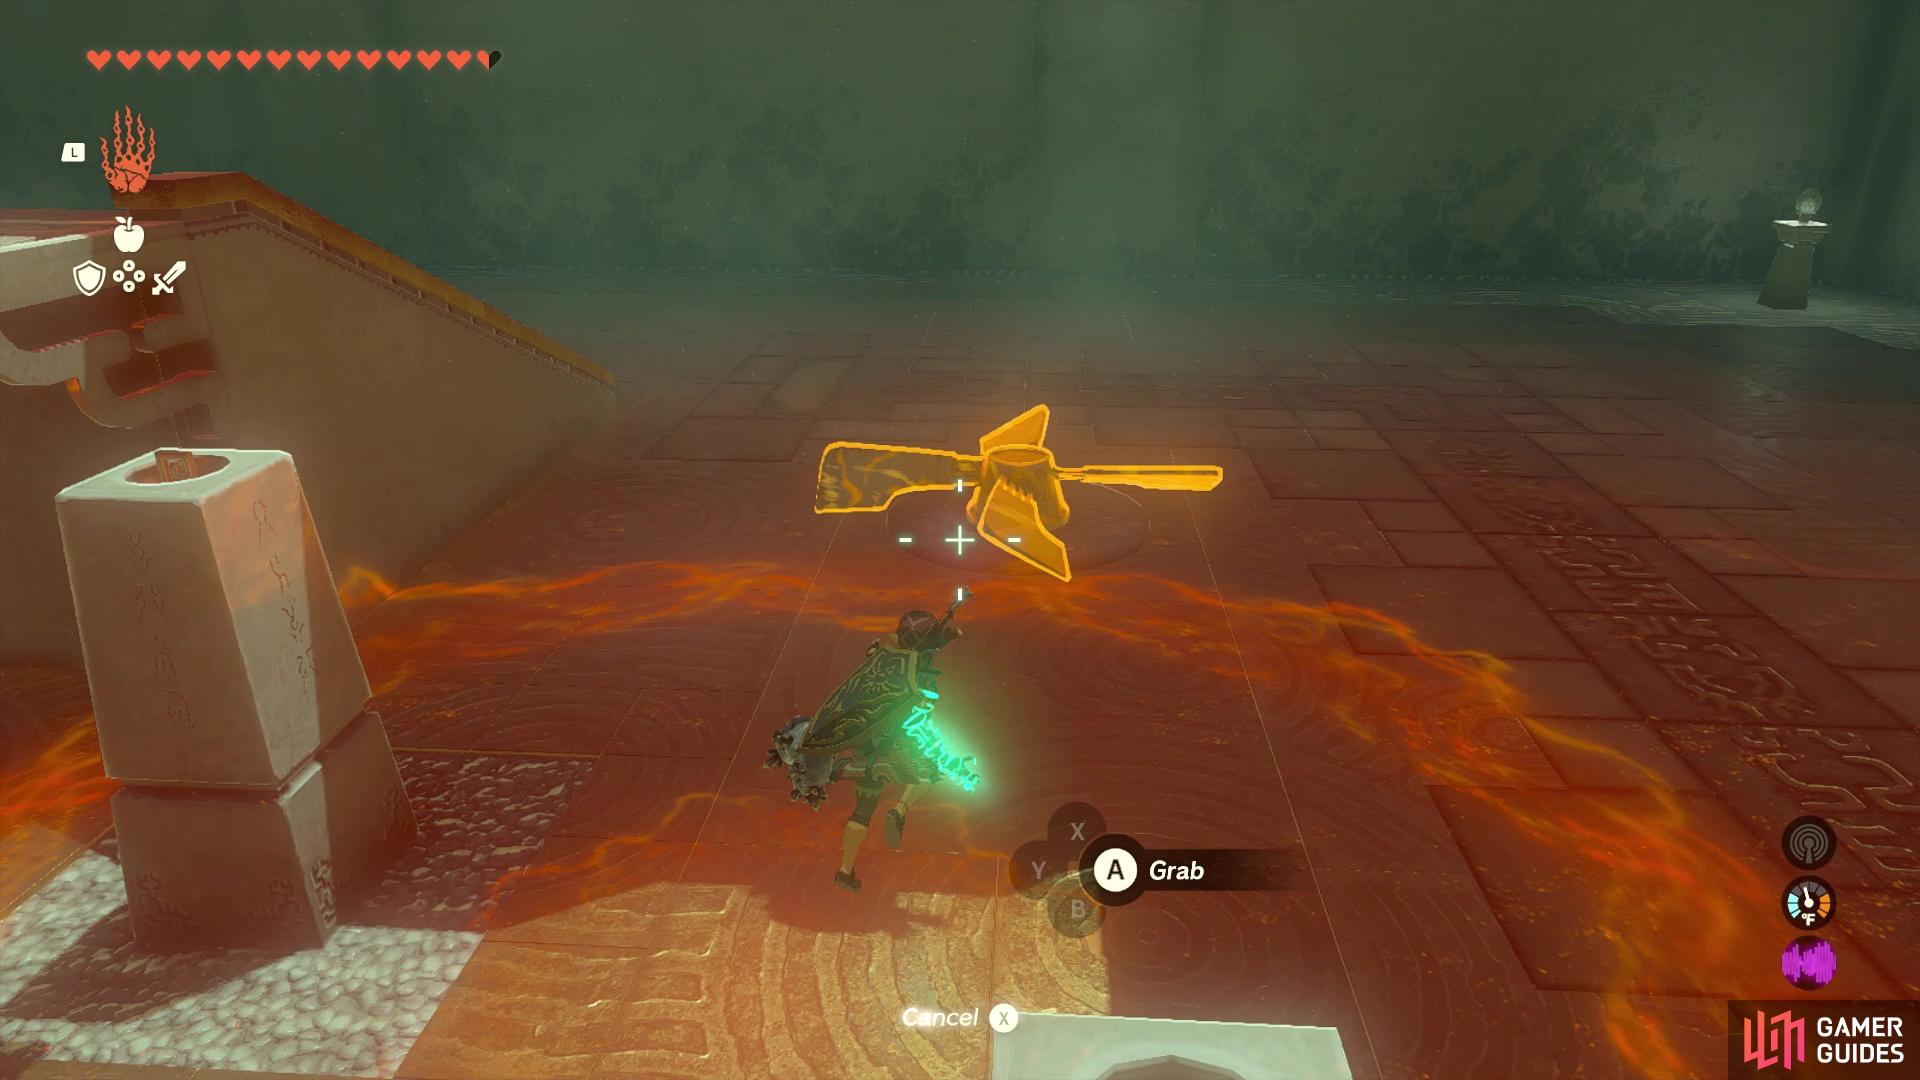
Apogek Shrine |
This shrine is found between Brynna Plains and Ja’Abu Ridge in the Lanayru Great Spring area. To complete this shrine, you’ll need to solve a series of puzzles relating to the Zonai Wing device. Head over to our guide for the solutions!
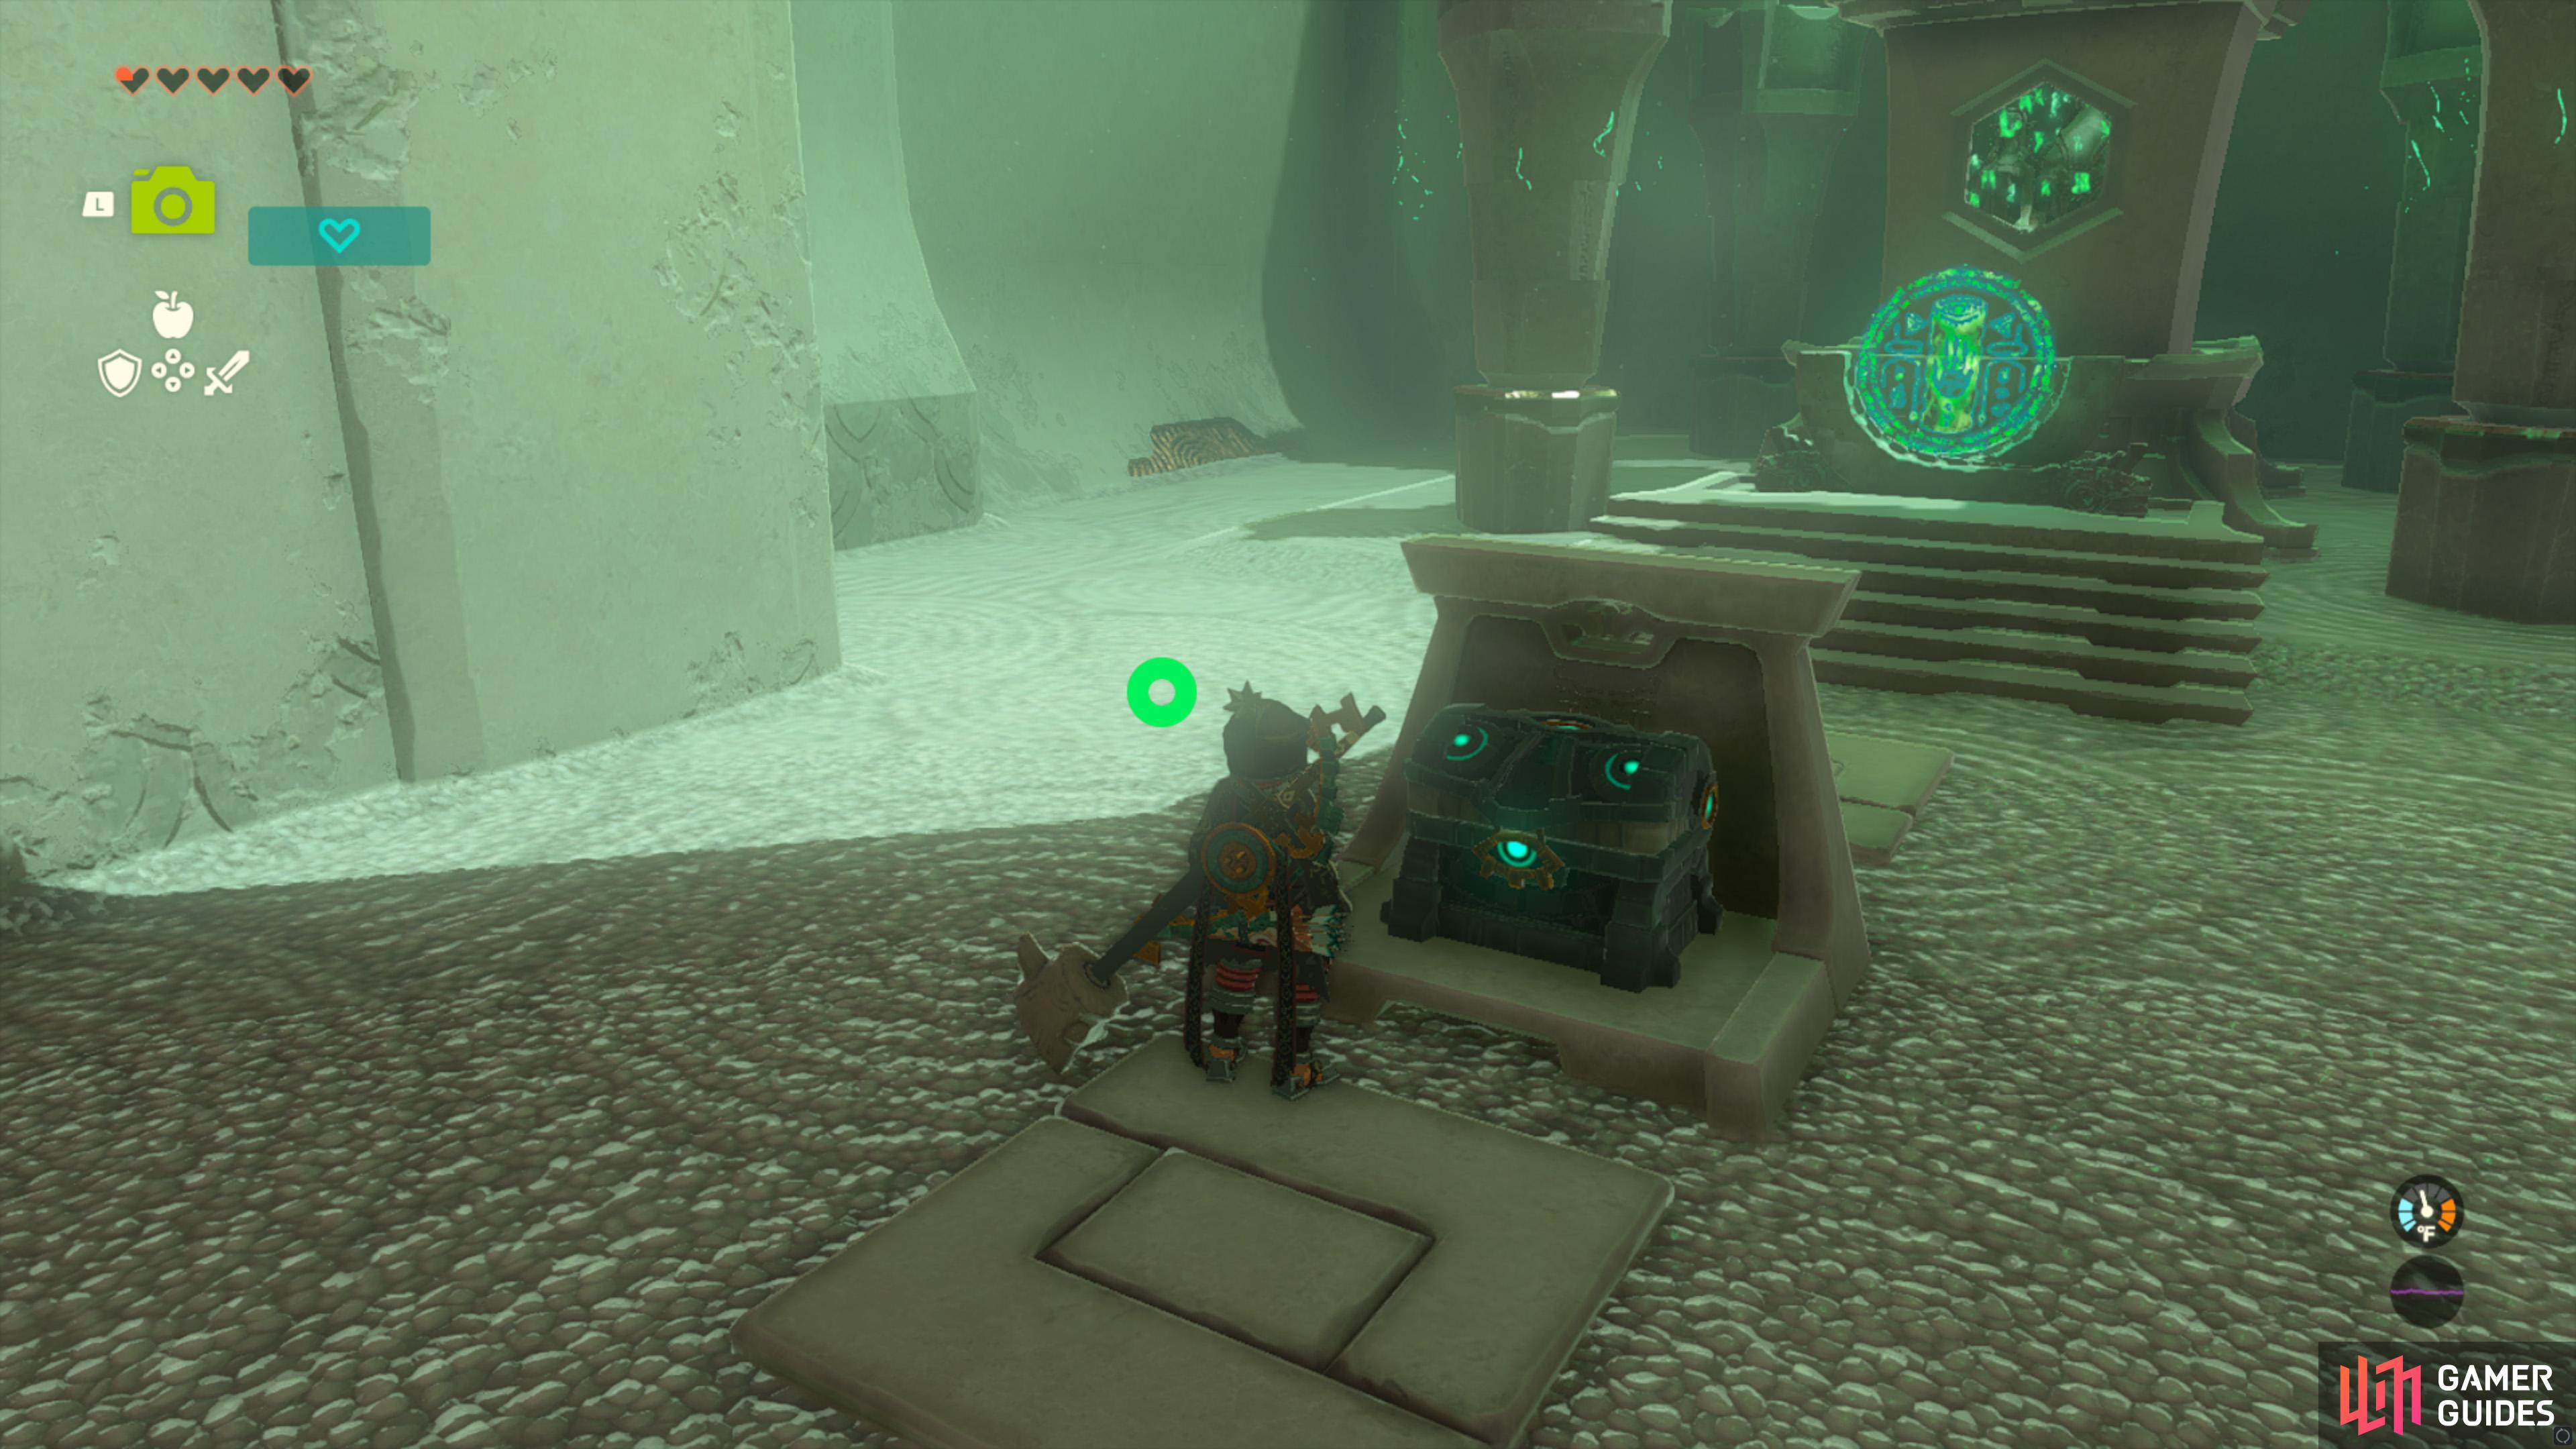
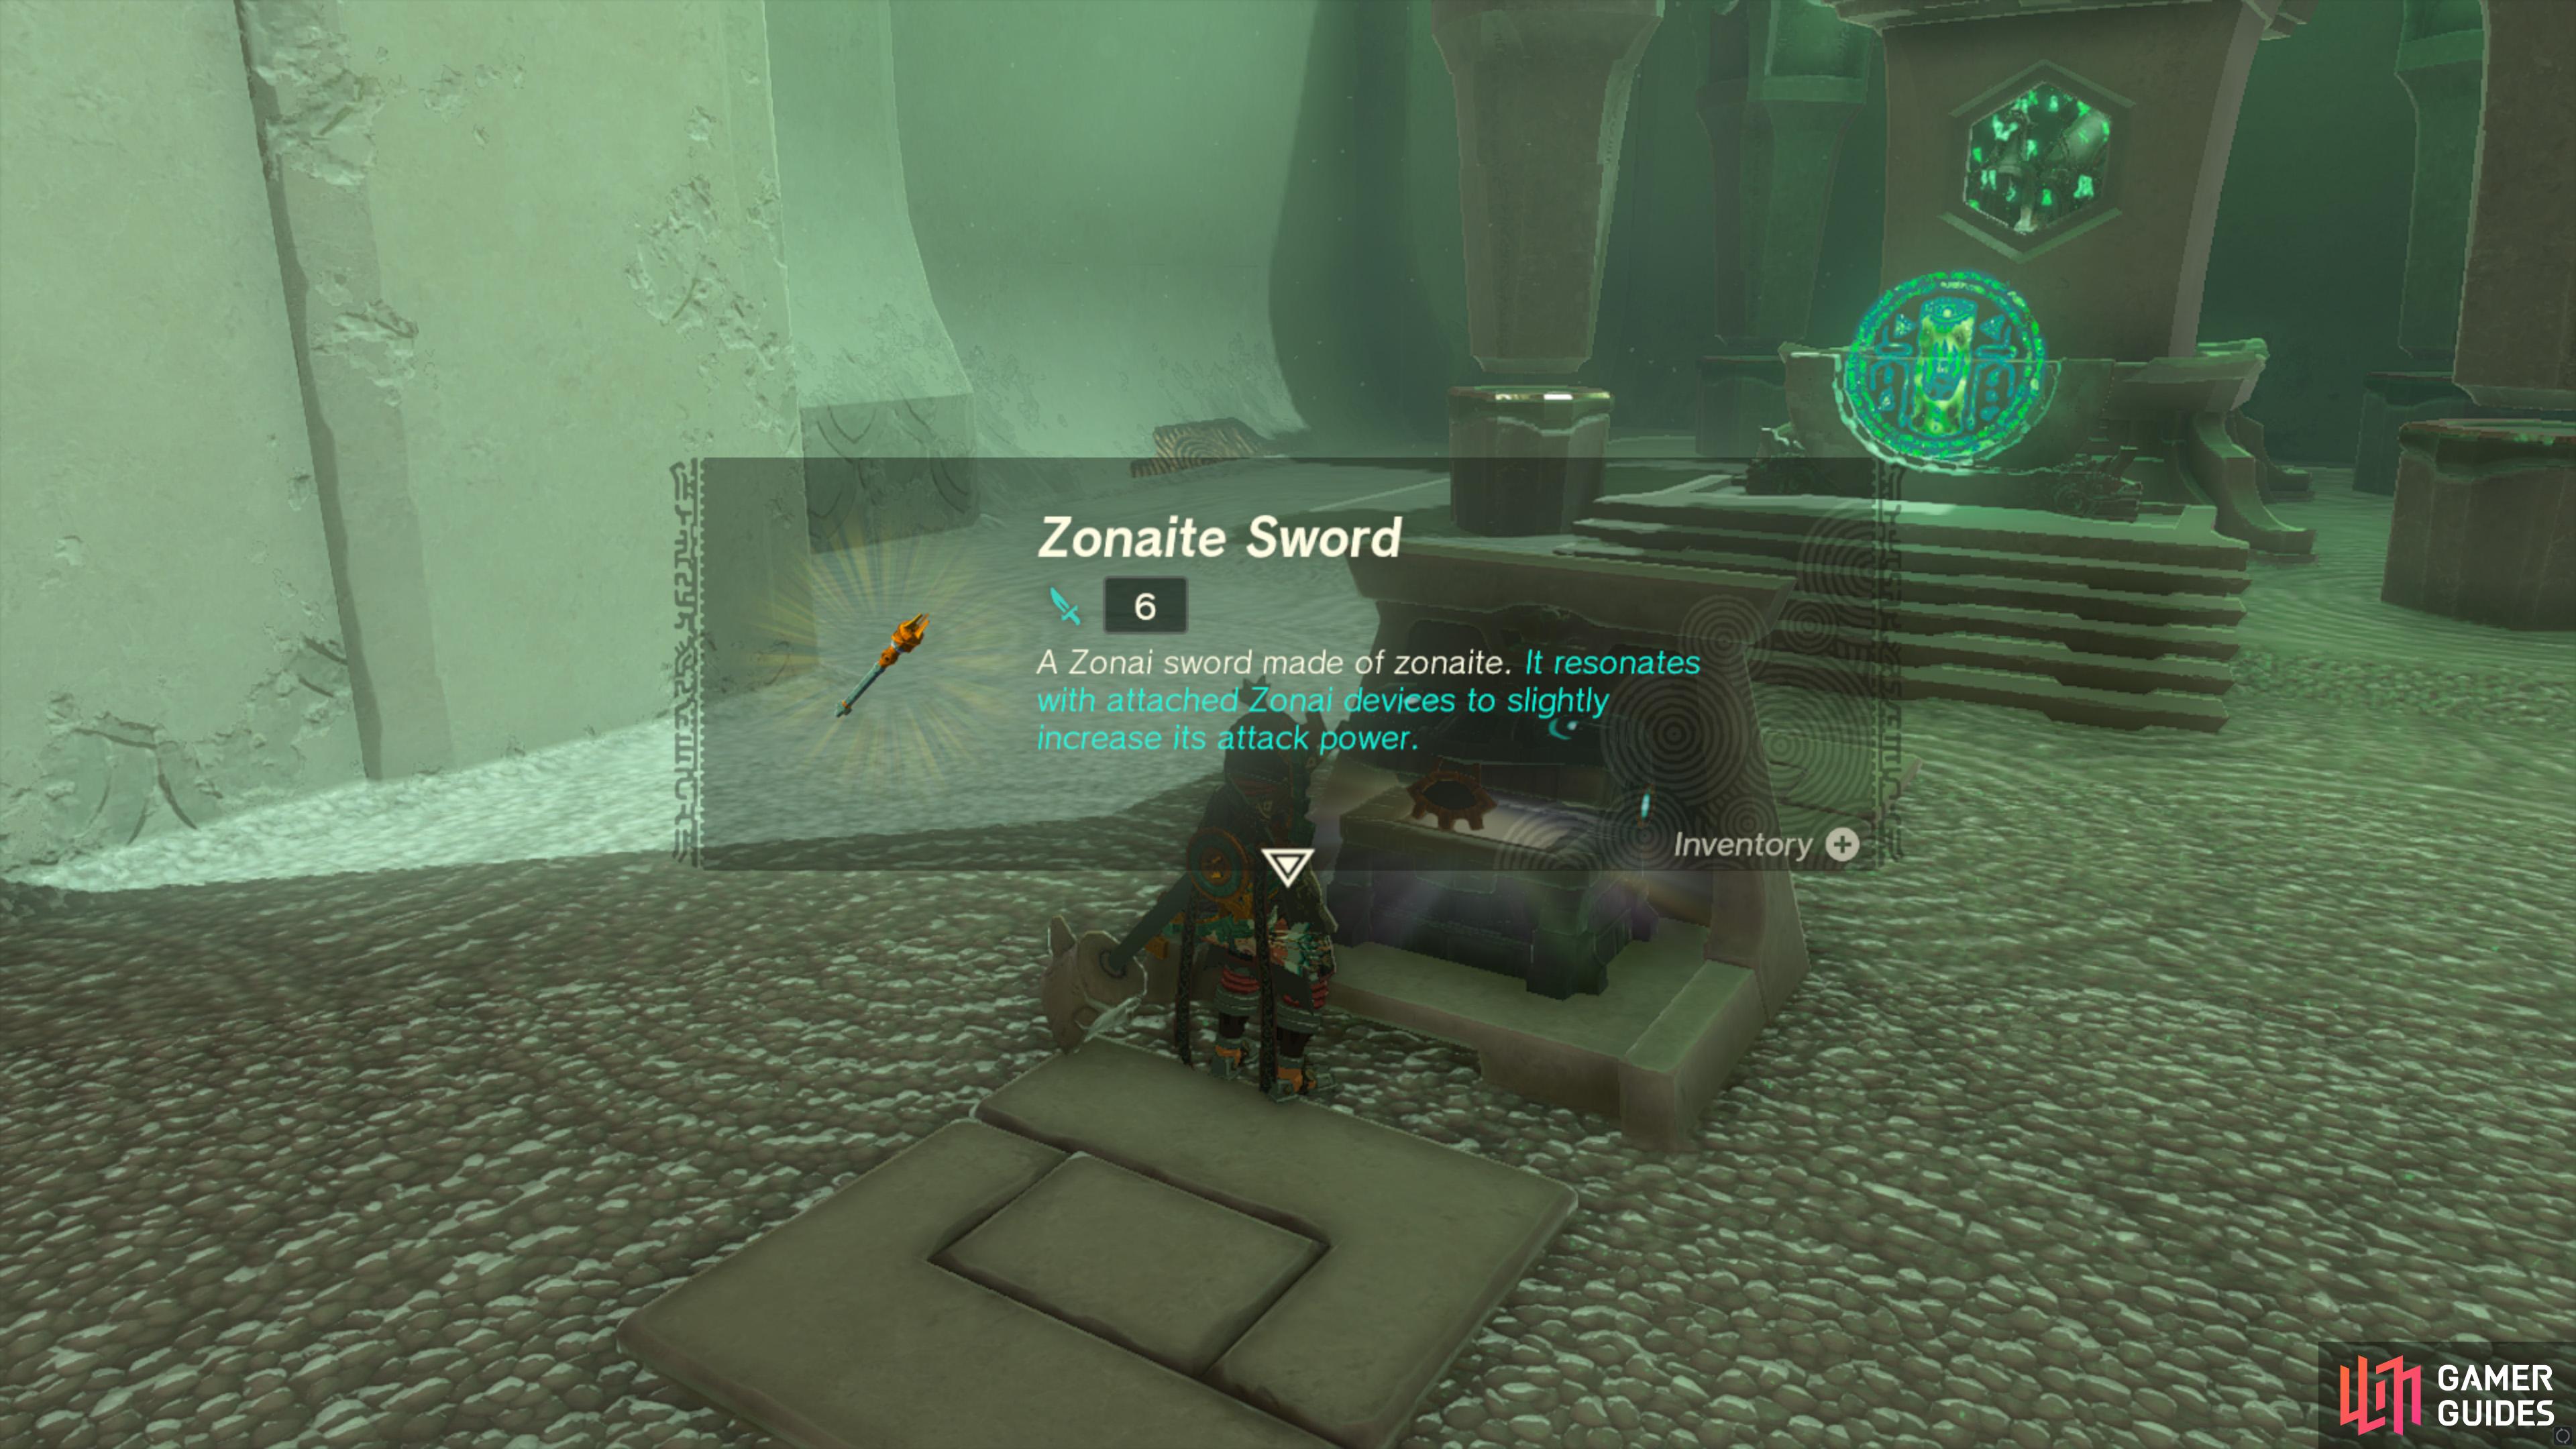
Chest Rewards
1×
|

|
|||||||||||||||||||||||||||||||||||||||||||||||||||||||||||||||||||||||||||||||||||||||||||||||

|
Bamitok Shrine |
Map(s)
|
||||||||||||||||||||||||||||||||||||||||||||||||||||||||||||||||||||||||||||||||||||||||||||||||

|
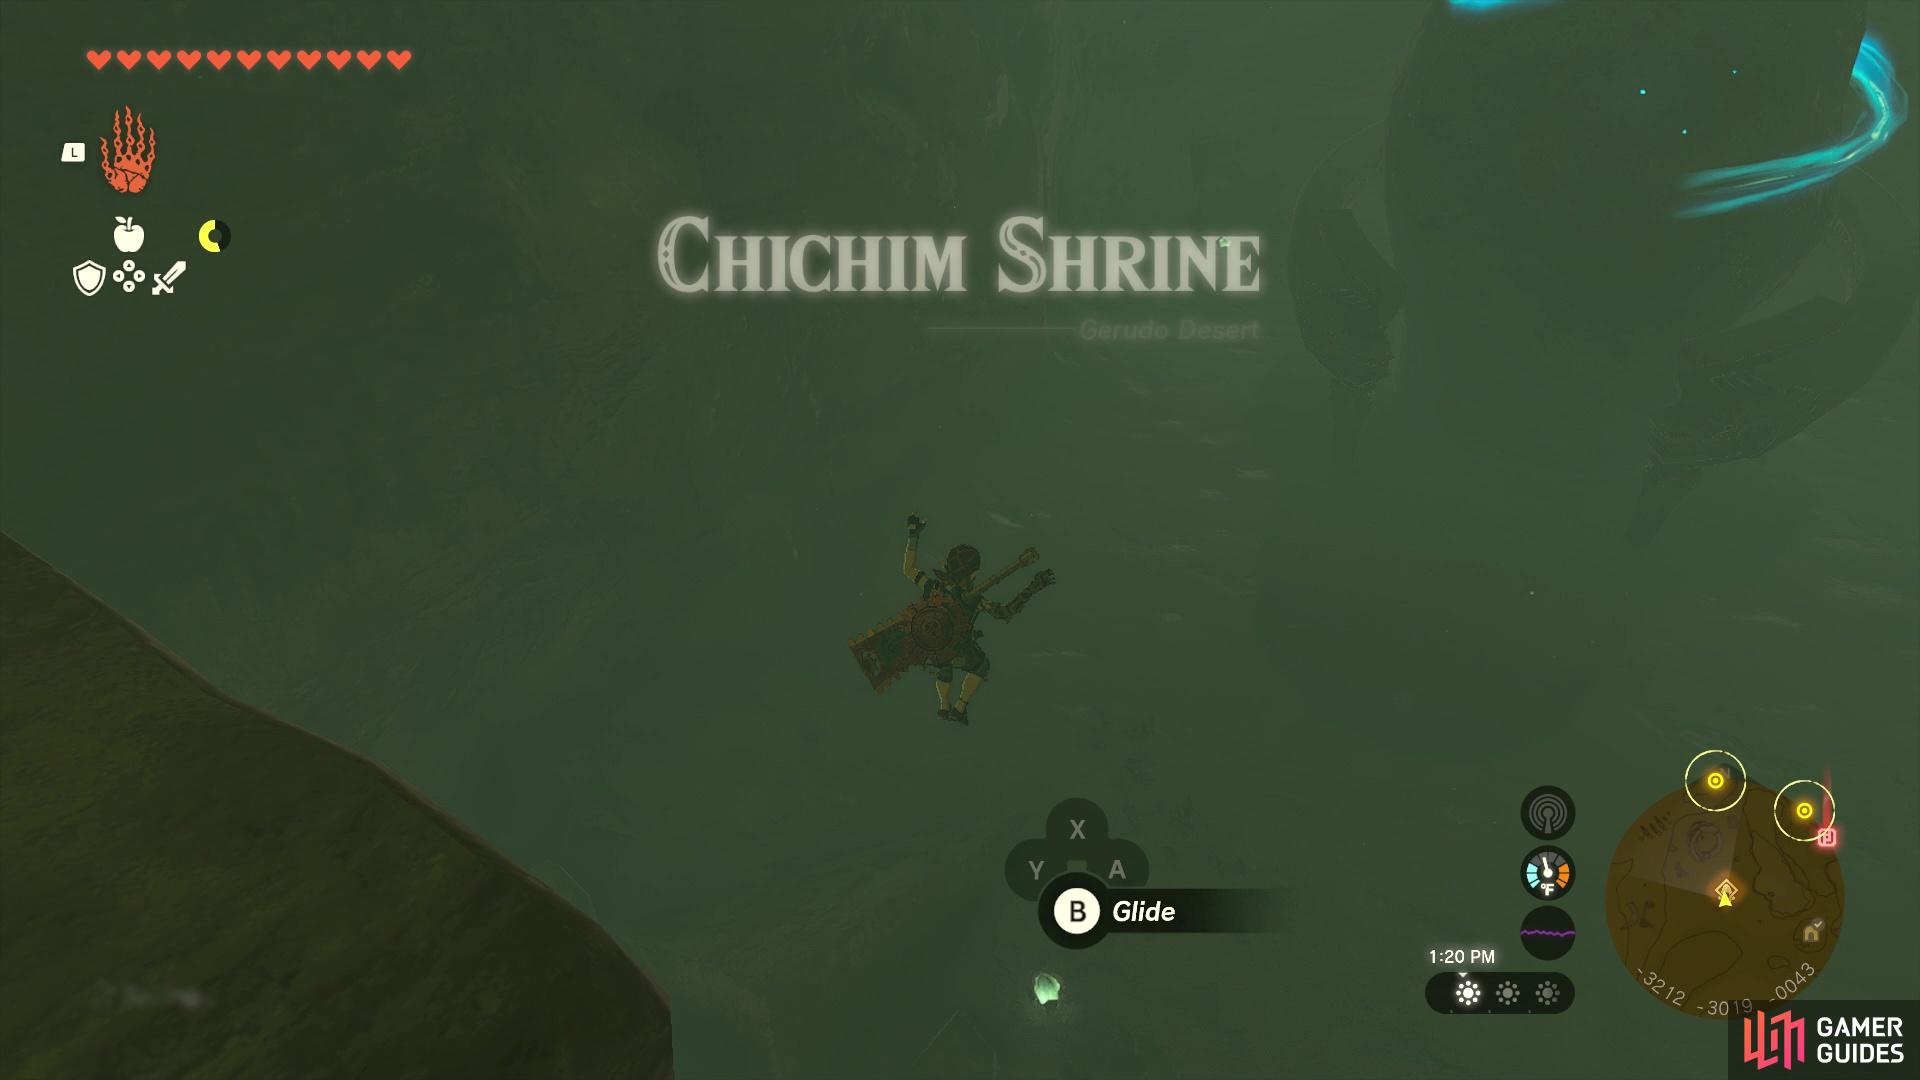
Chichim Shrine |
Chichim Shrine is located inside the
Map(s)
Chest Rewards
Completion Reward
|
|
|||||||||||||||||||||||||||||||||||||||||||||||||||||||||||||||||||||||||||||||||||||||||||||||

|
Ekochiu Shrine |
The The challenge here is called Rise And Fall and here is our related guide on how to complete it.
Map(s)
|
||||||||||||||||||||||||||||||||||||||||||||||||||||||||||||||||||||||||||||||||||||||||||||||||

|
En-oma Shrine |
Map(s)
|
||||||||||||||||||||||||||||||||||||||||||||||||||||||||||||||||||||||||||||||||||||||||||||||||

|
Eshos Shrine |
Map(s)
|
||||||||||||||||||||||||||||||||||||||||||||||||||||||||||||||||||||||||||||||||||||||||||||||||

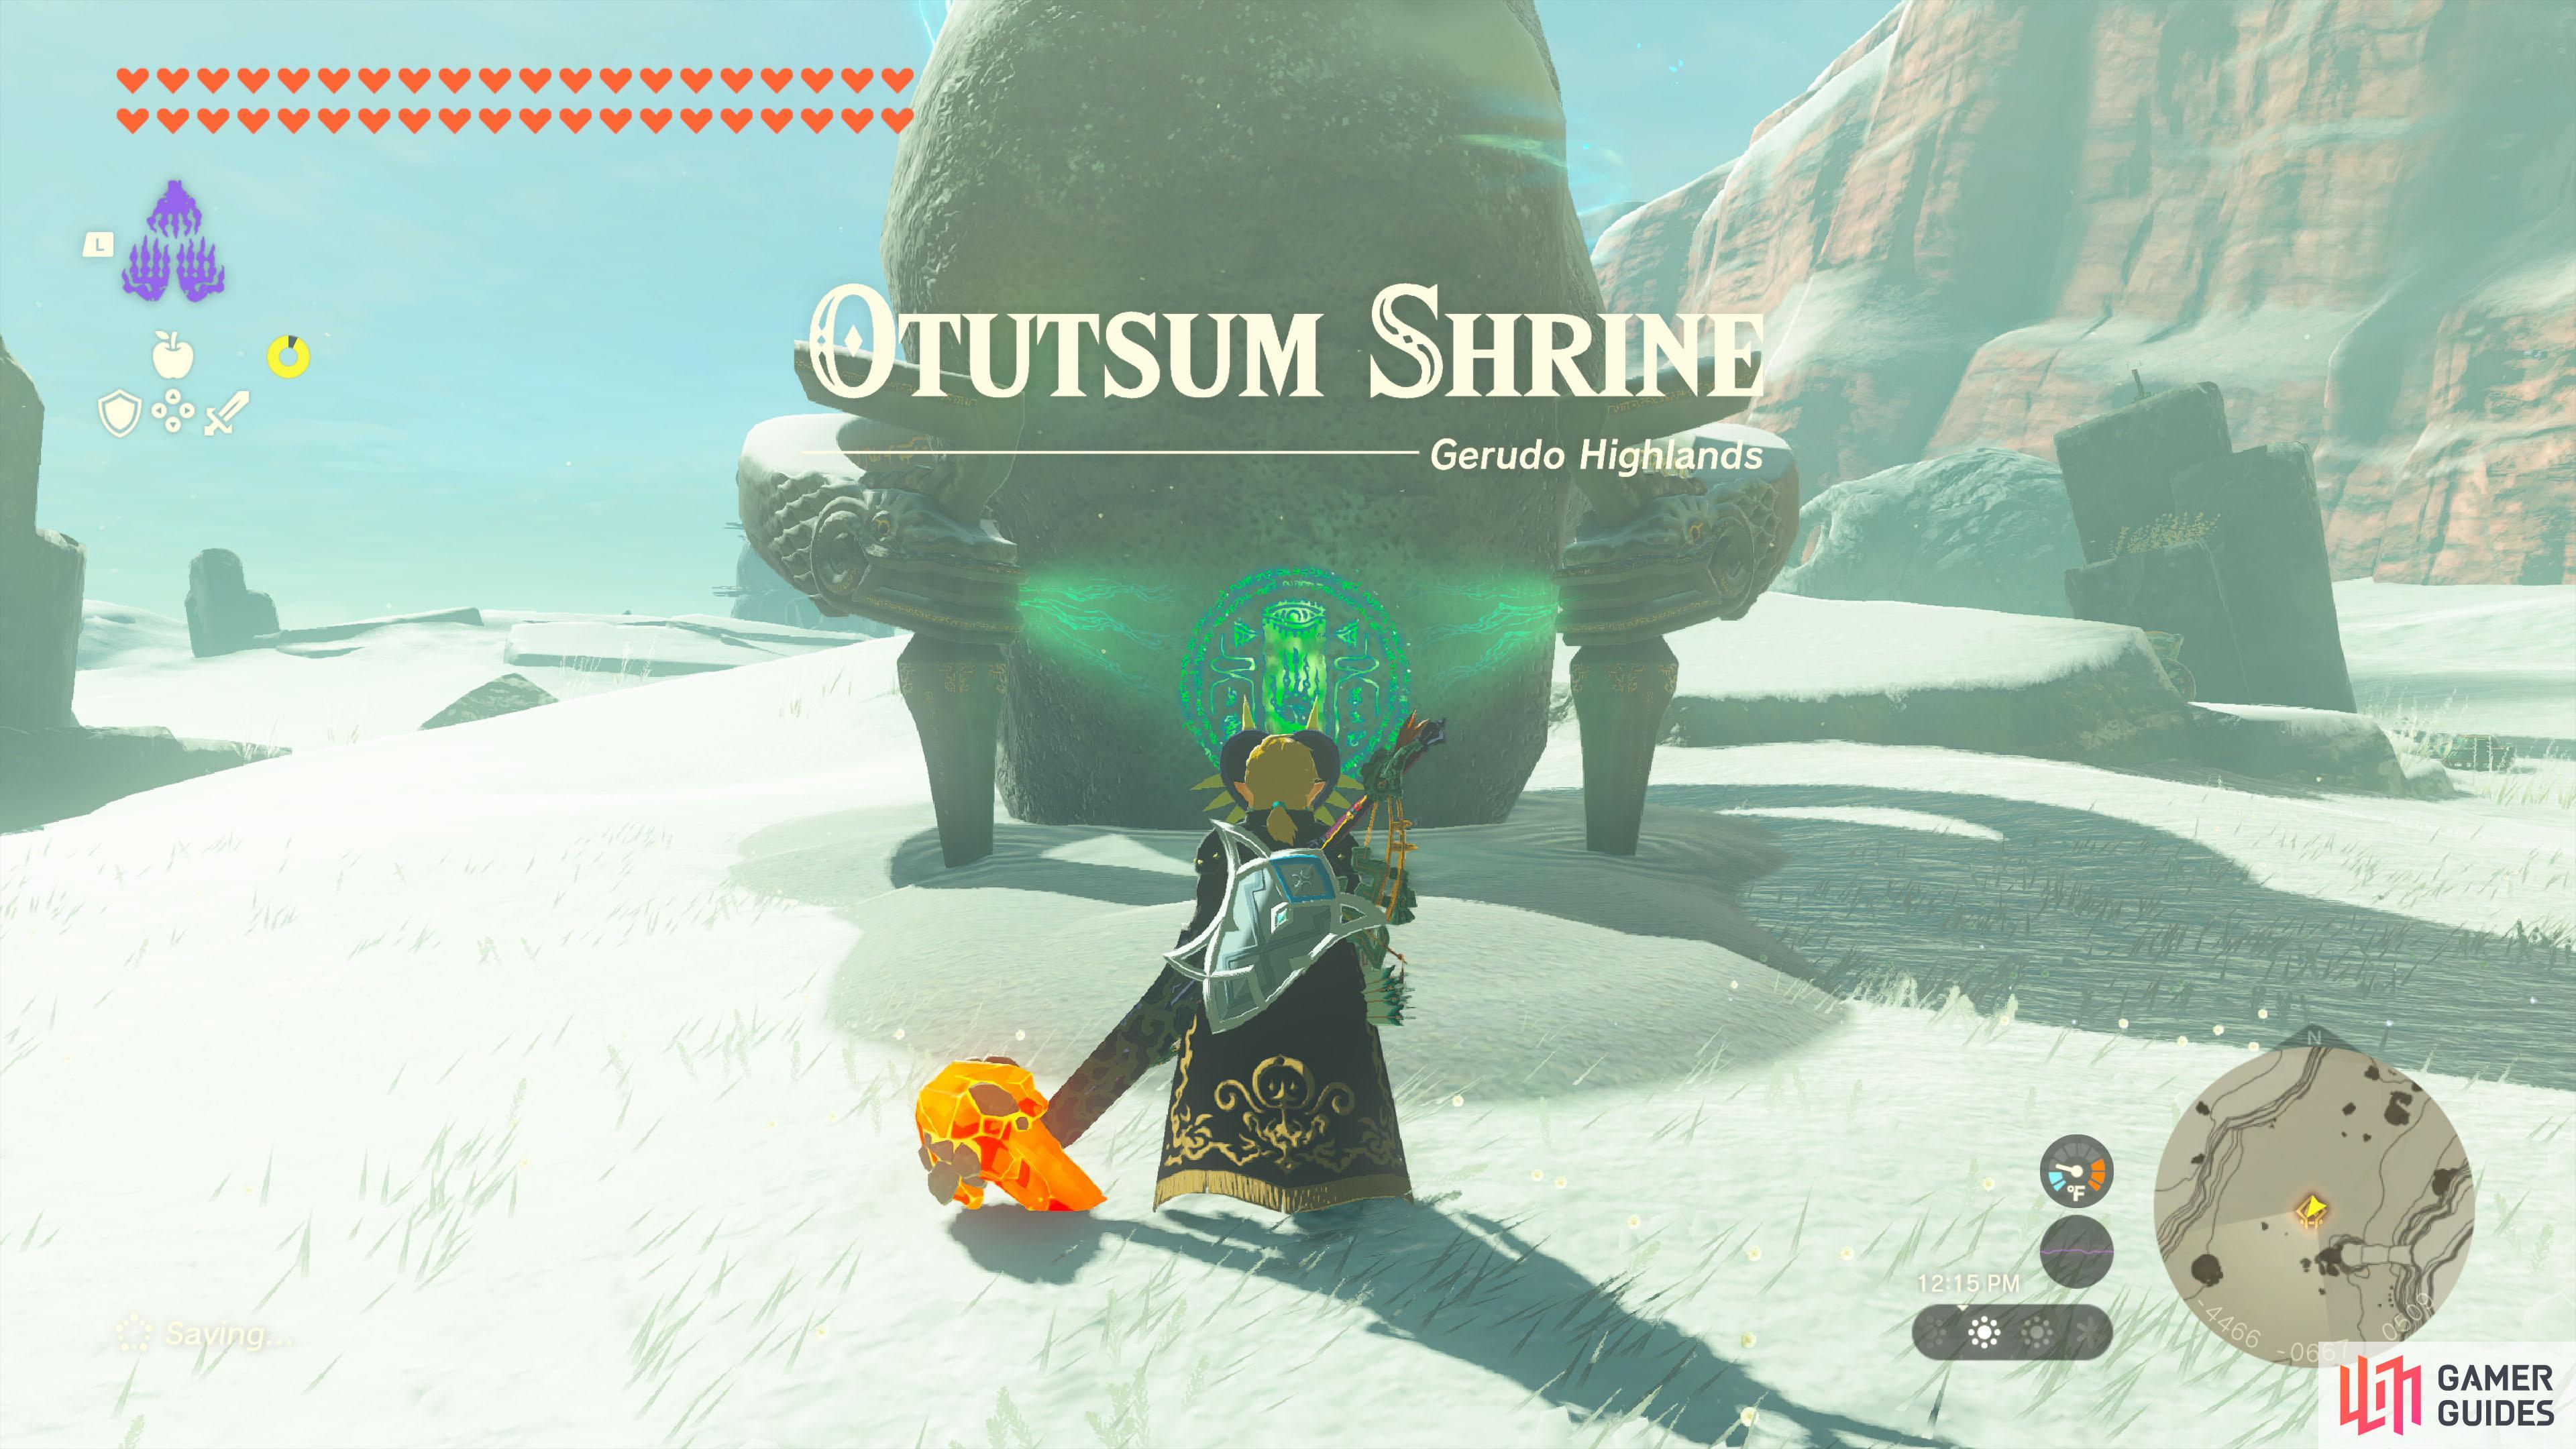
|
Eutoum Shrine |
The Here is our related guide on how to complete it.
Map(s)
|
||||||||||||||||||||||||||||||||||||||||||||||||||||||||||||||||||||||||||||||||||||||||||||||||

|
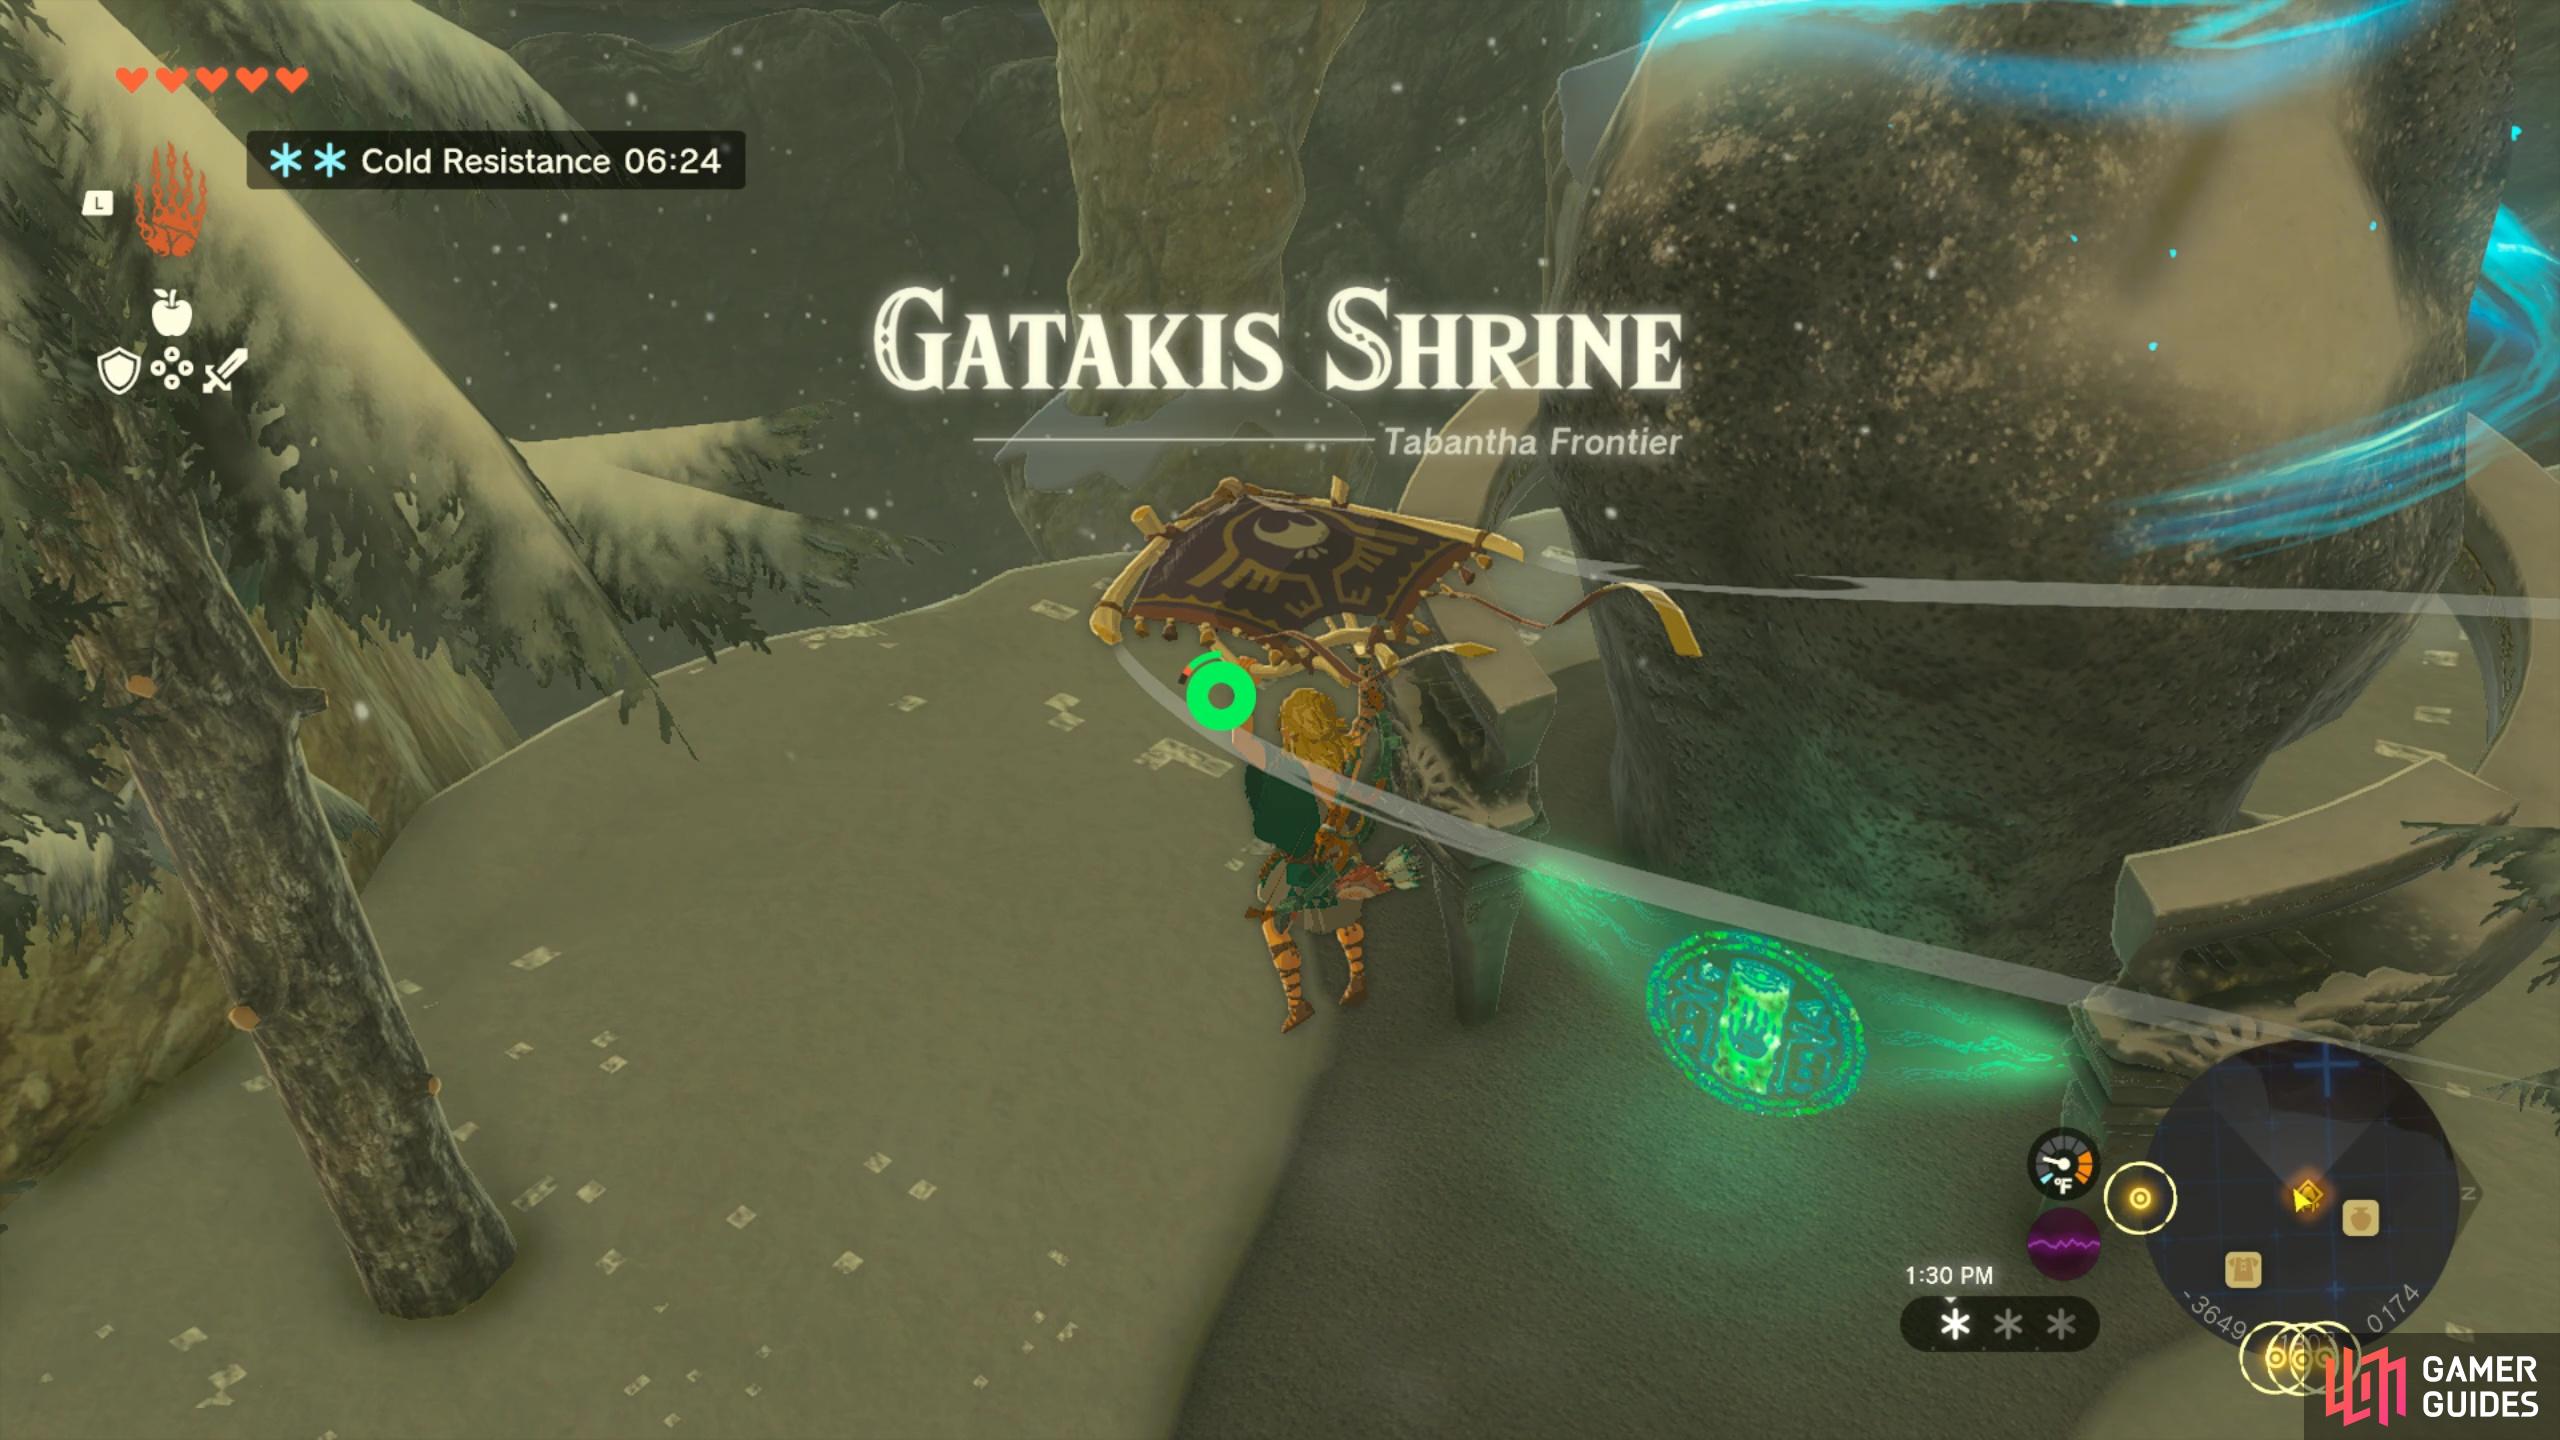
Gatakis Shrine |
This shrine is found in Rito Village. During this shrine, you’ll need to use the gusts of wind to traverse through the shrine. Head over to our guide on how to complete Gatakis Shrine for more information!
Map(s)
|
|
|||||||||||||||||||||||||||||||||||||||||||||||||||||||||||||||||||||||||||||||||||||||||||||||

|
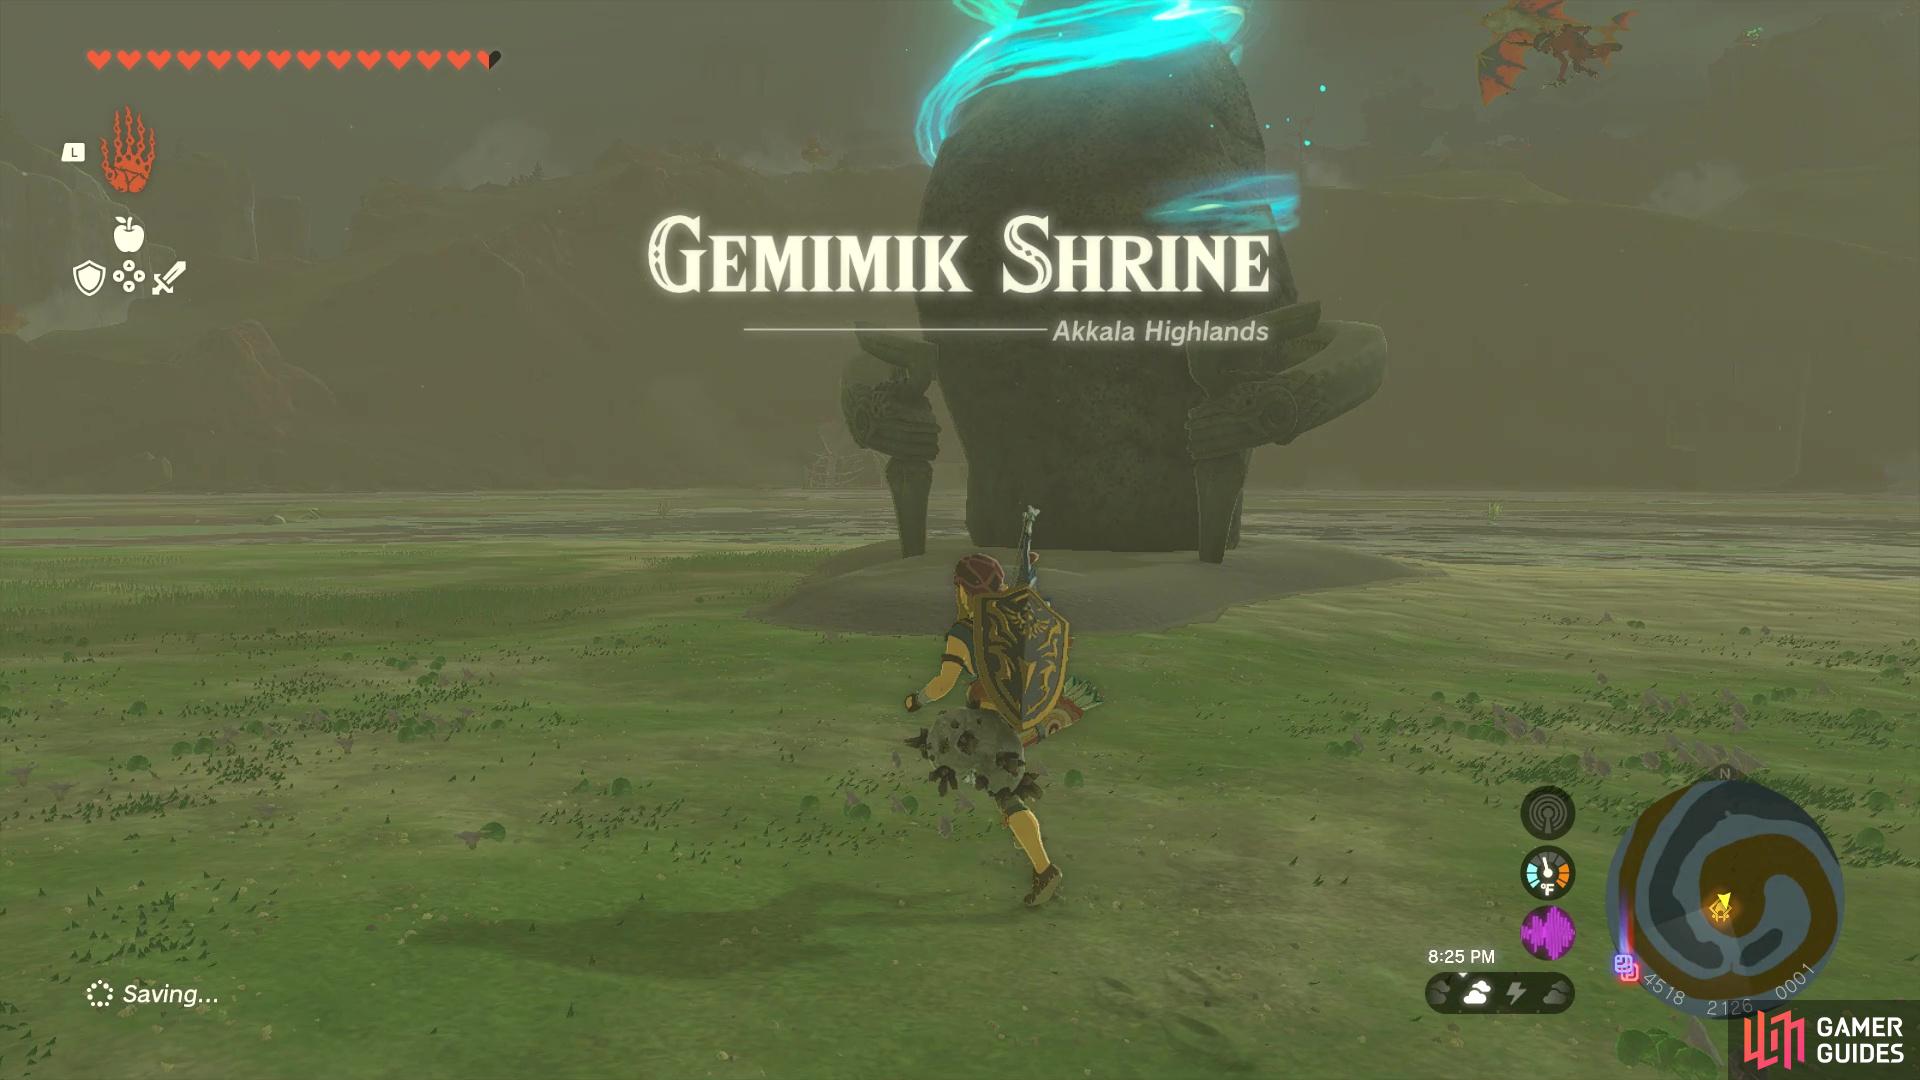
Gemimik Shrine |
Found at the center of the Rist Peninsula, the spiral piece of land found in the Akkala Region. You can follow the path on land, or by sea, to get to the shrine, although you will find enemies along the way. For a full walkthrough of the shrine’s puzzle, visit the How to Complete the Gemimik Shrine page.
Chest Rewards
Completion Reward
|
|
|||||||||||||||||||||||||||||||||||||||||||||||||||||||||||||||||||||||||||||||||||||||||||||||

|
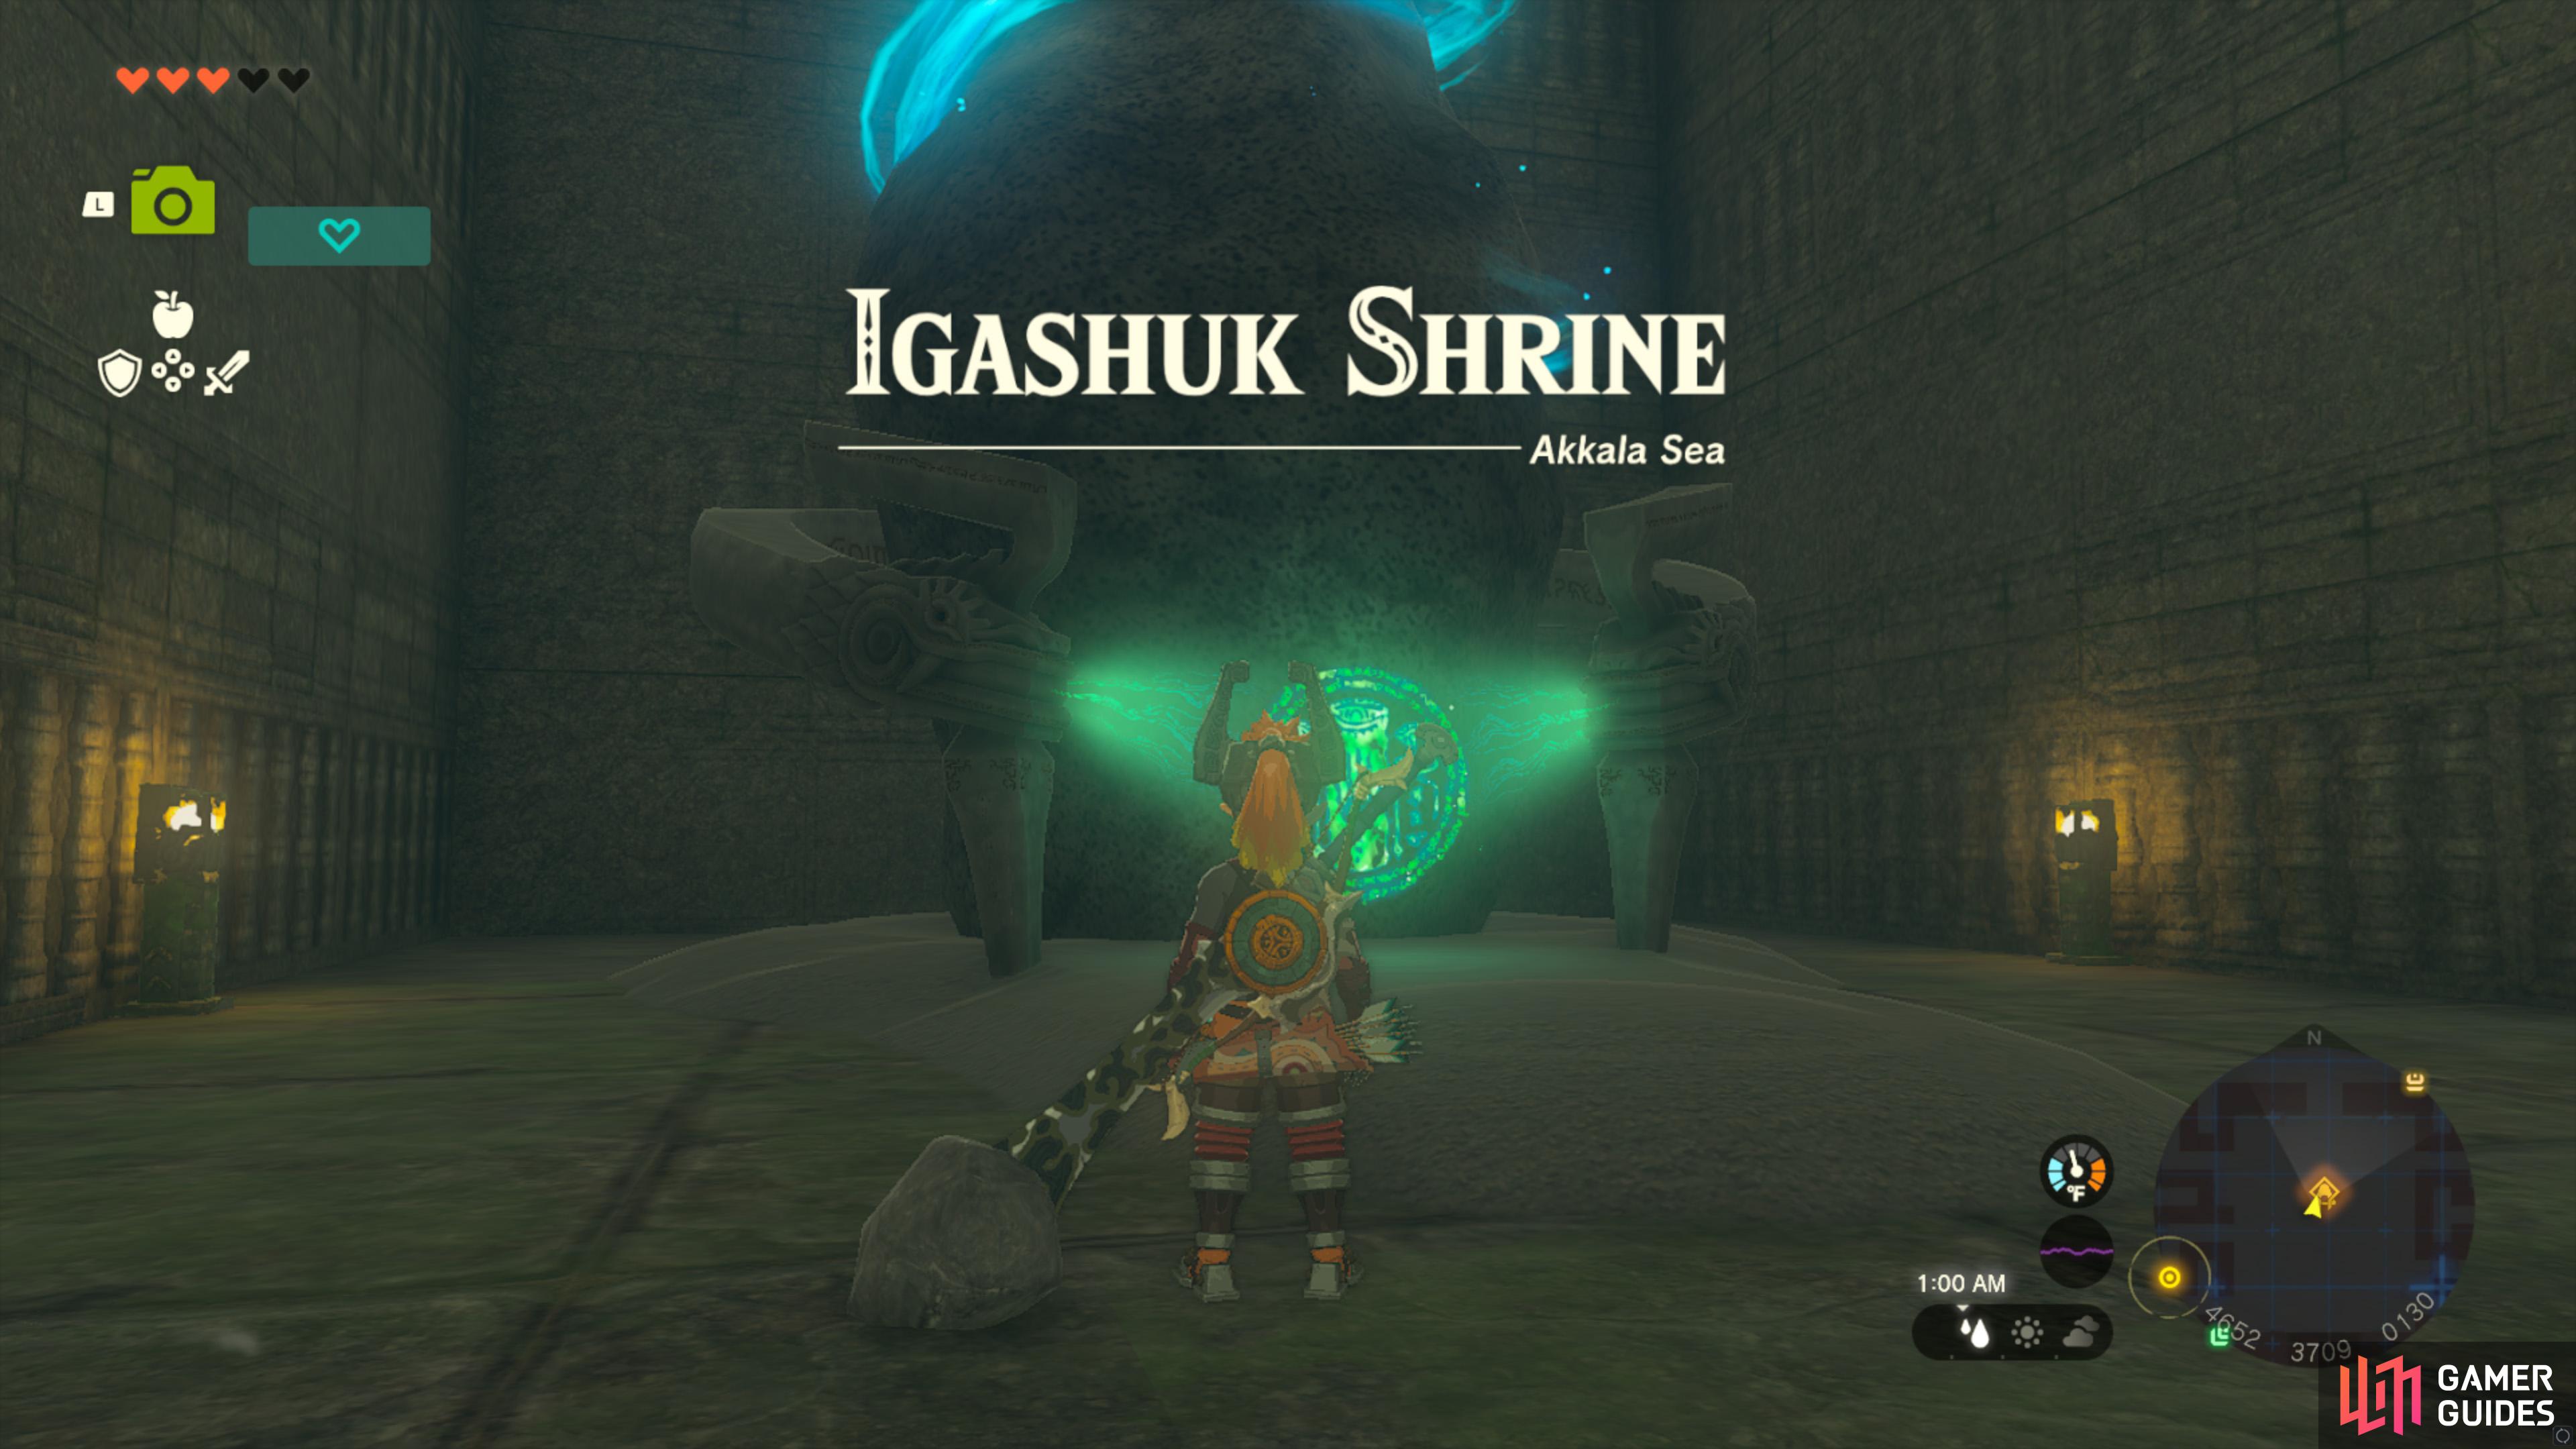
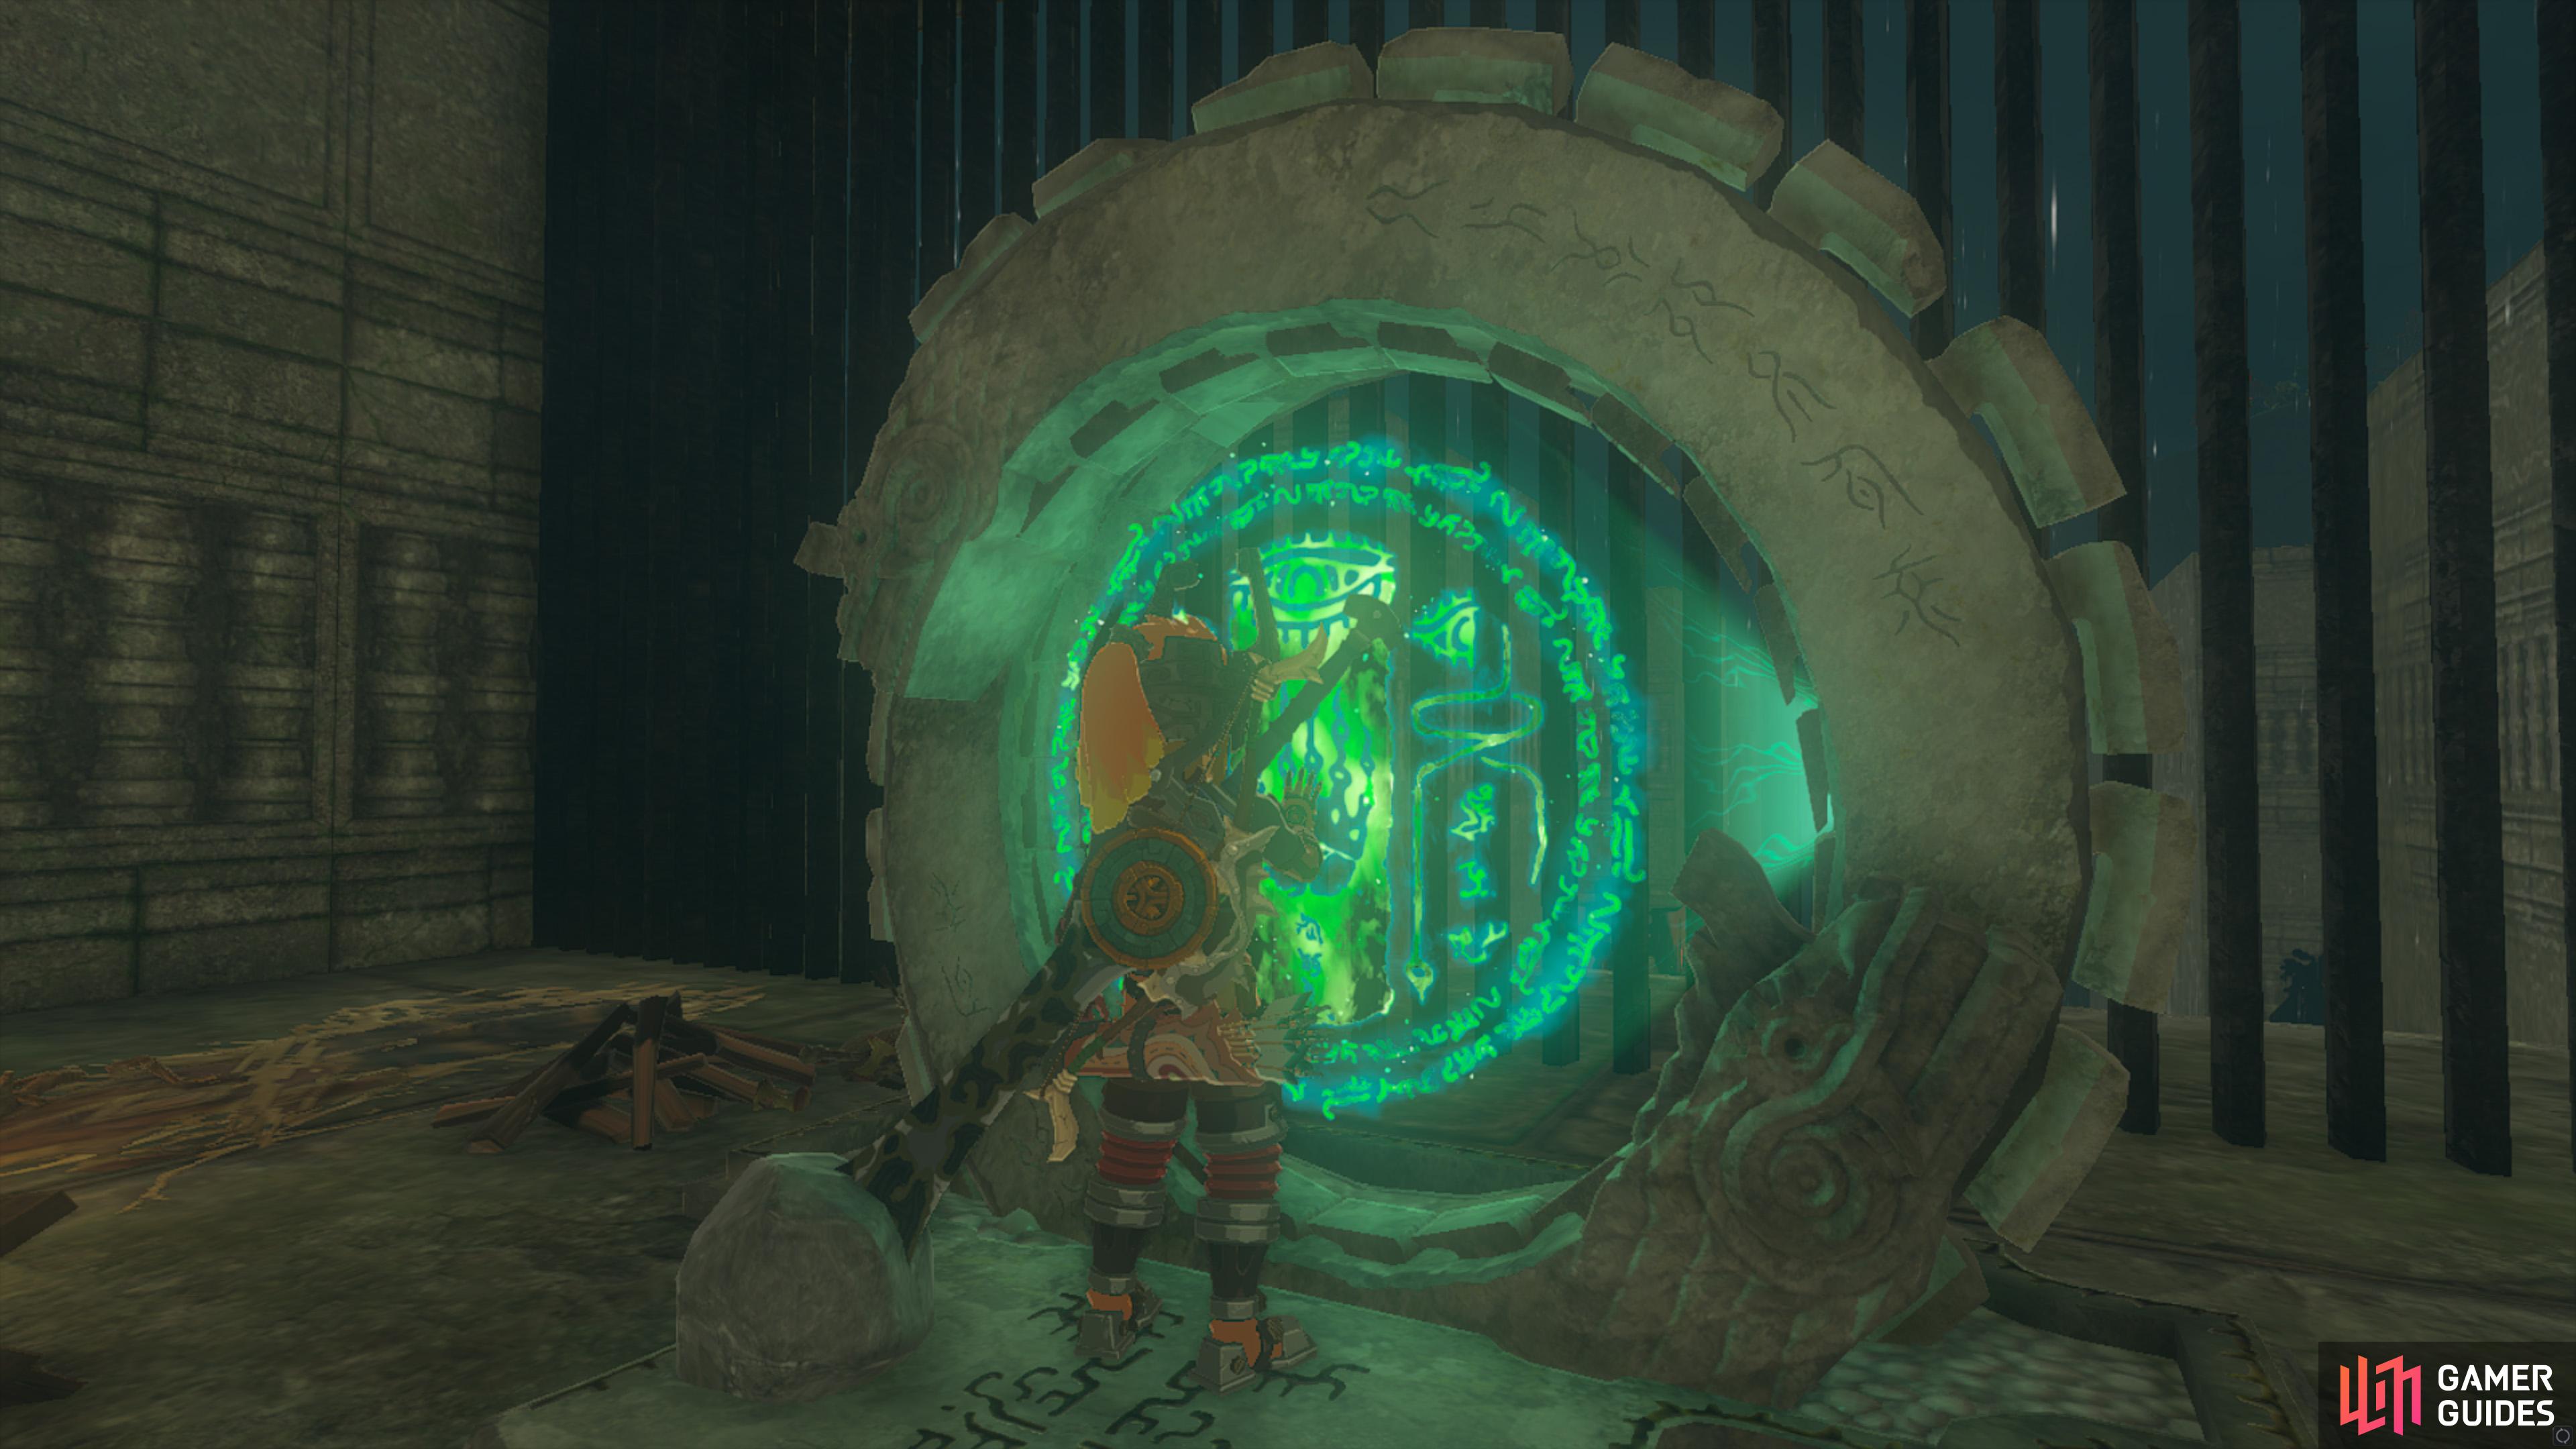
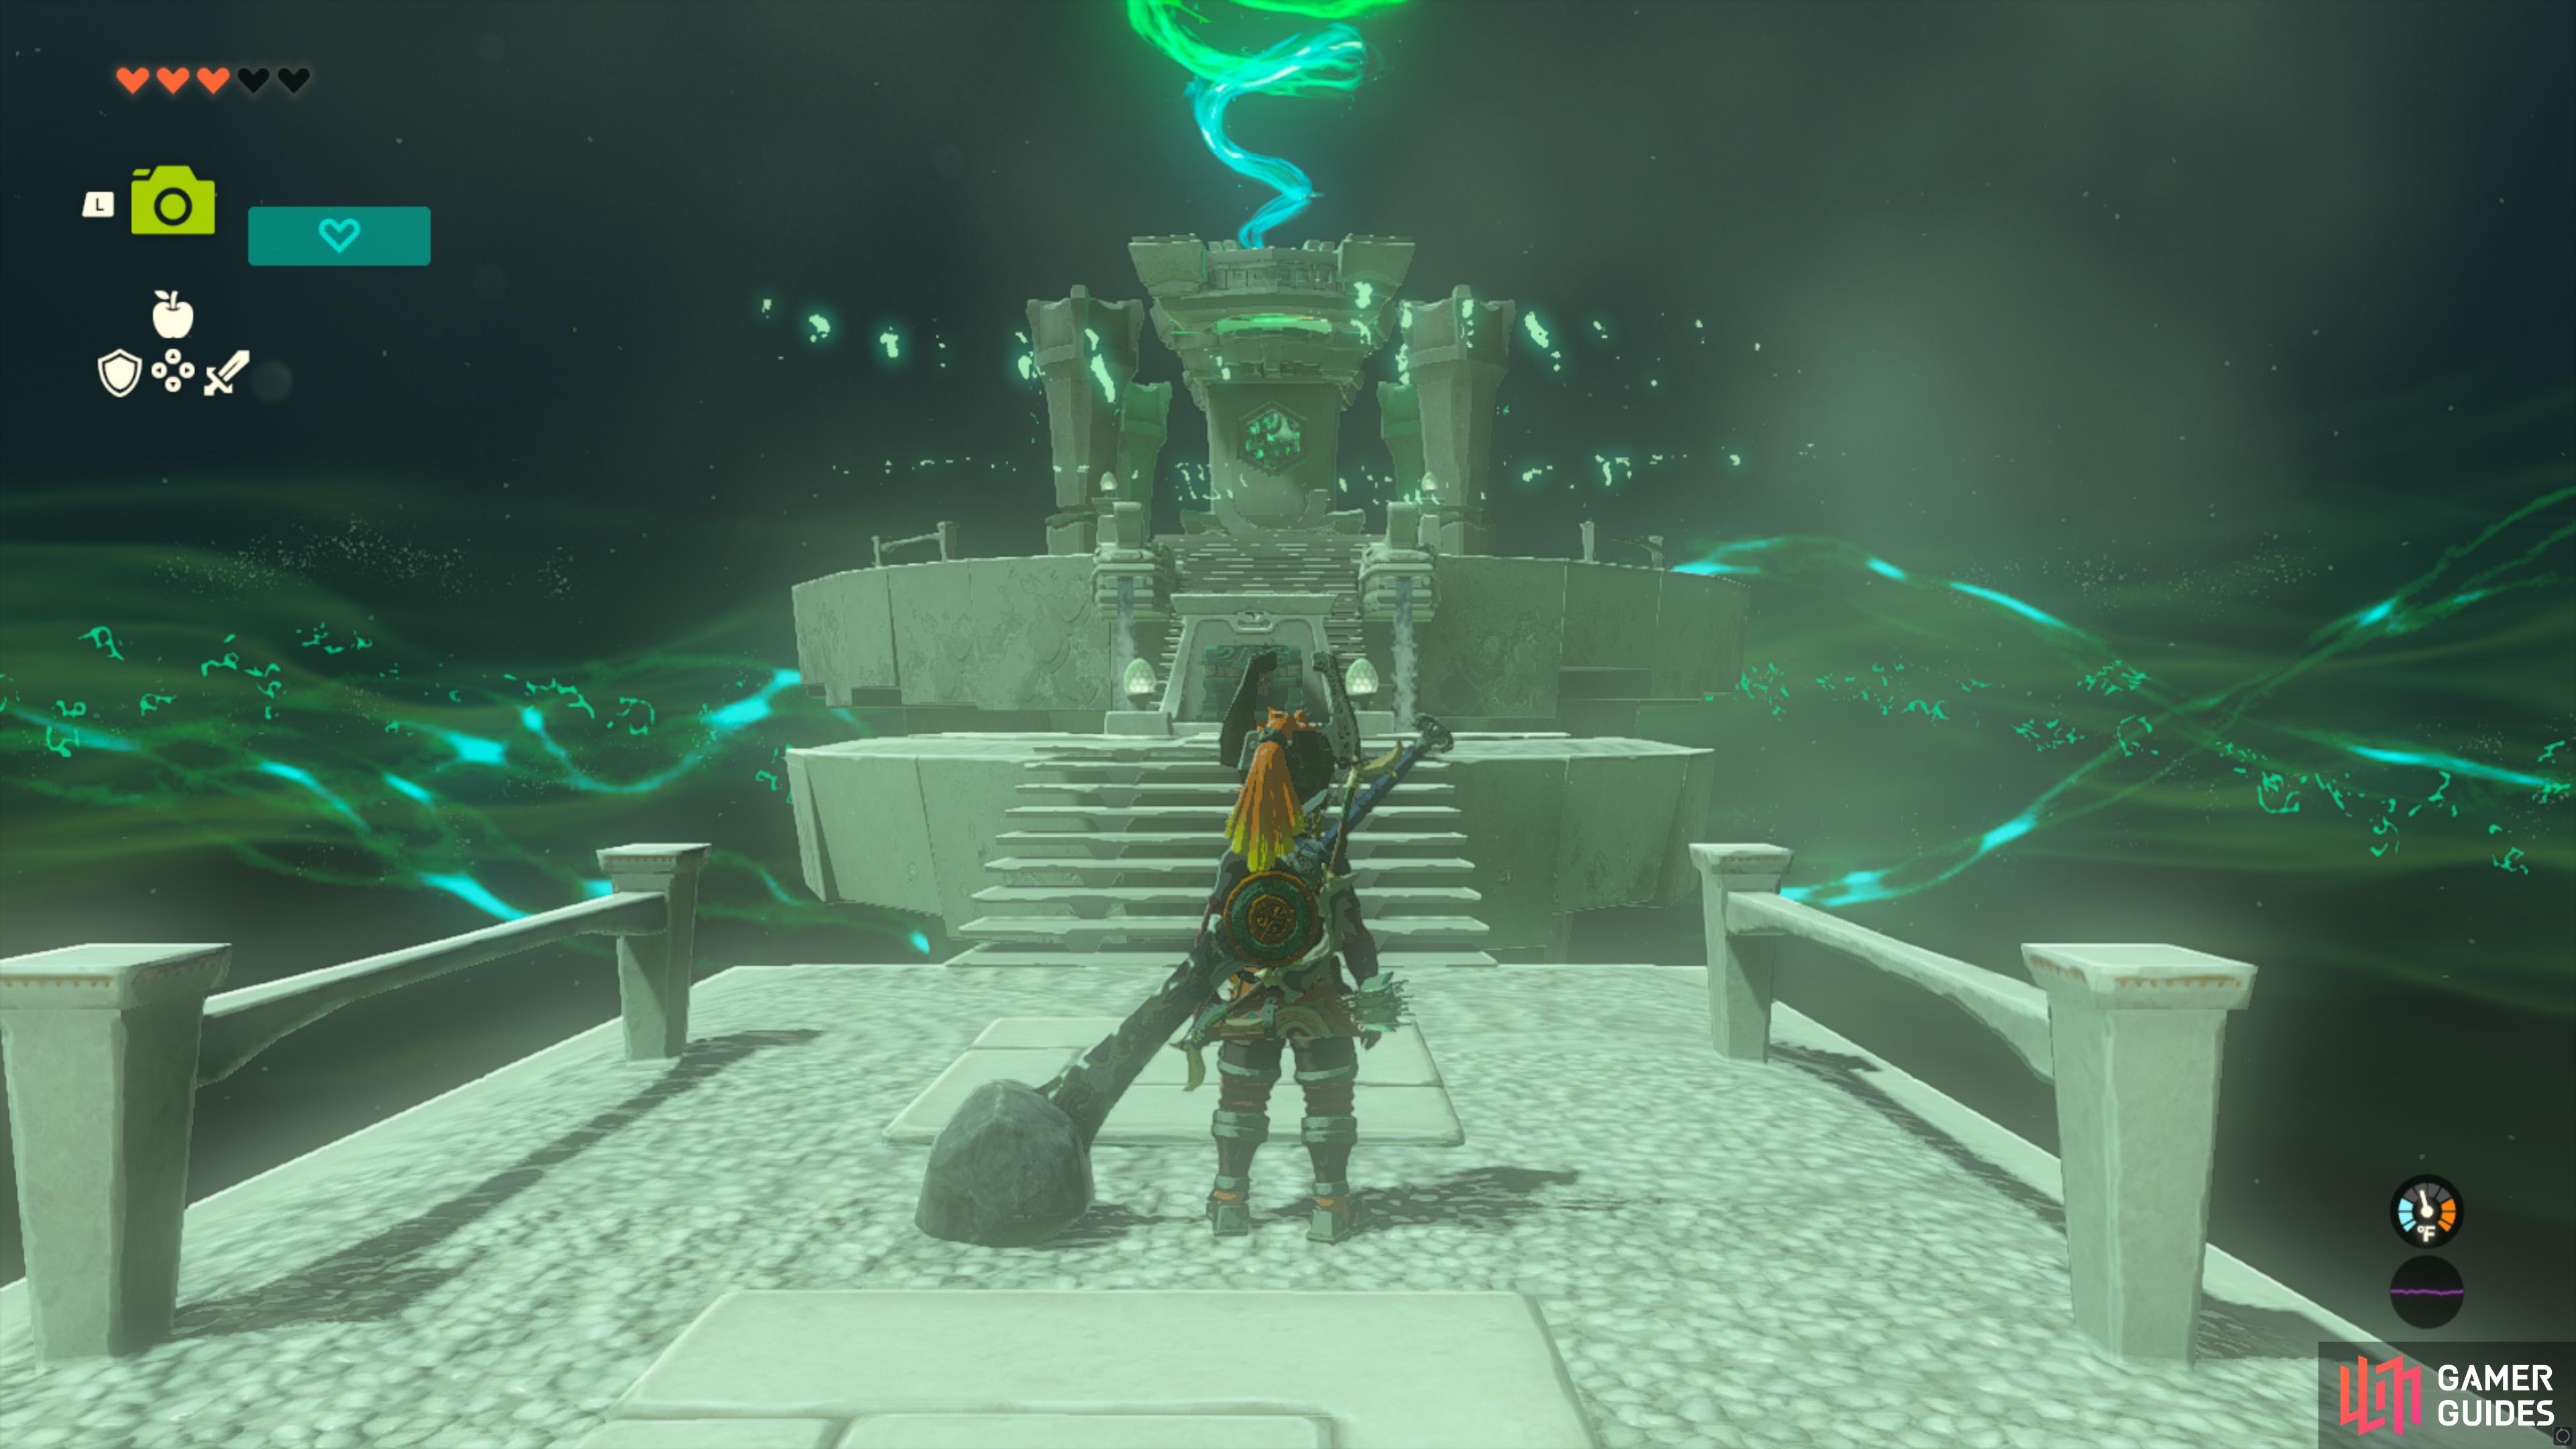
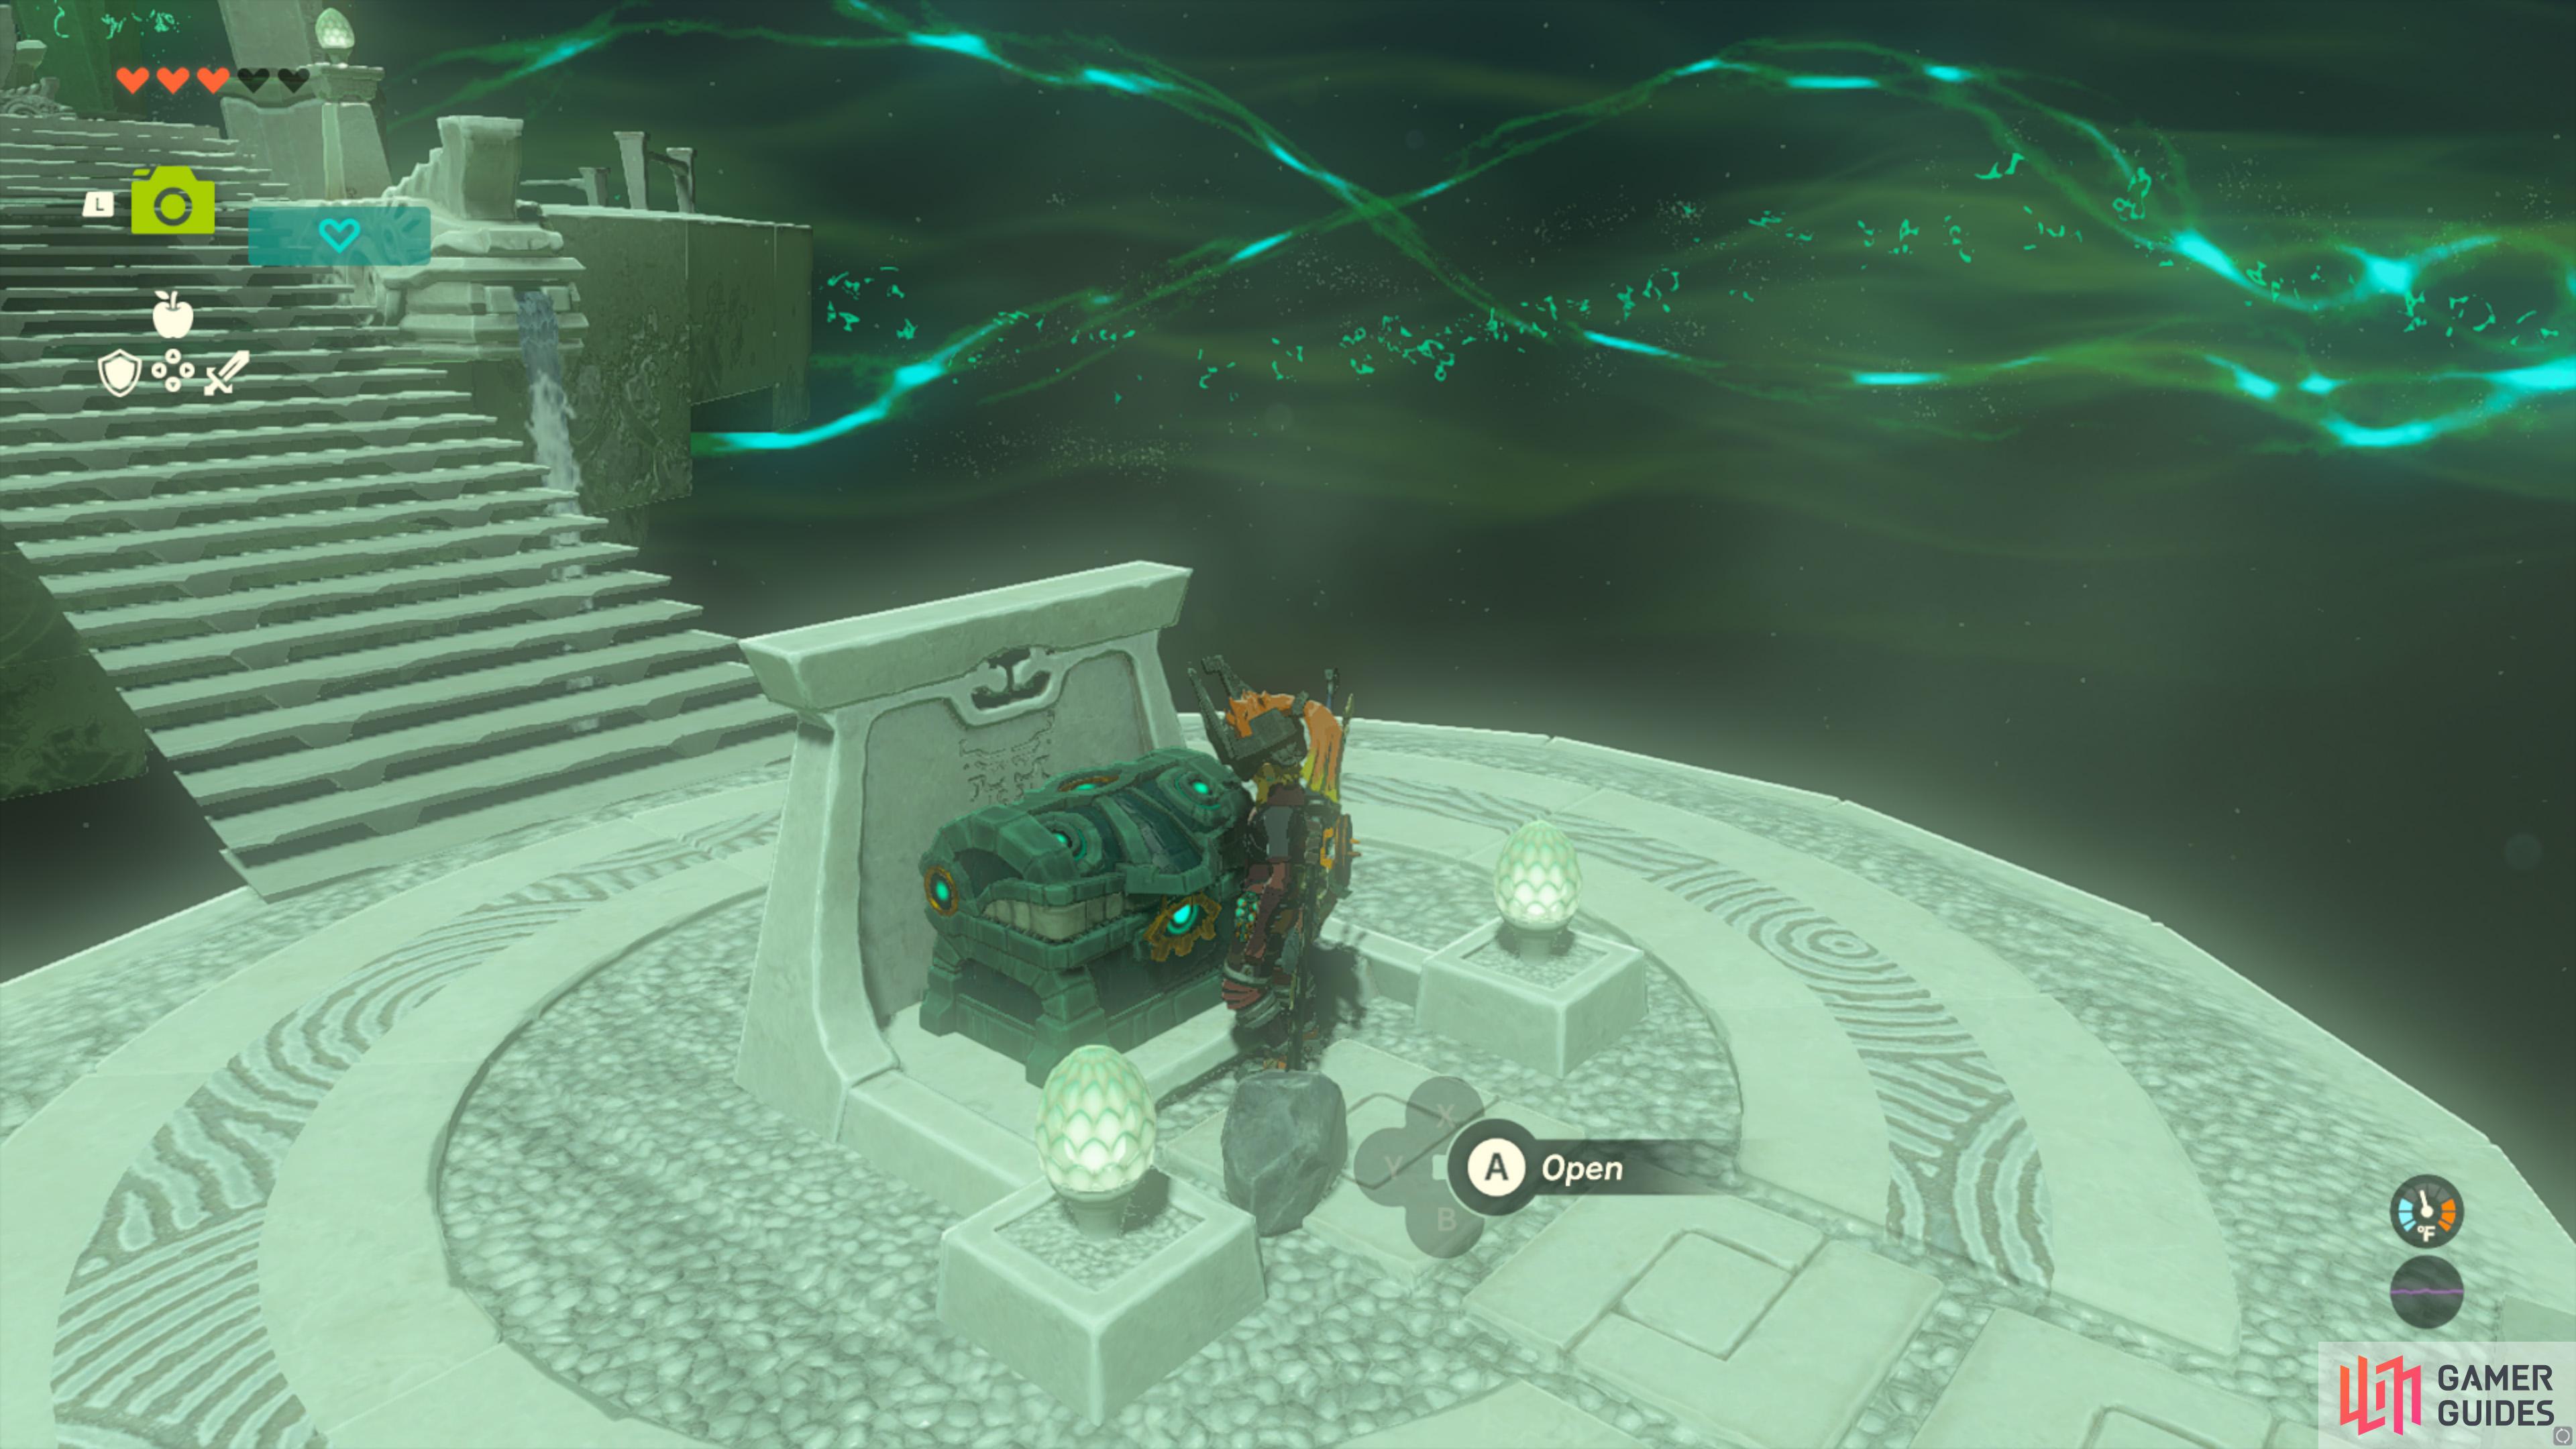
Igashuk Shrine |
Found inside the Lomei Labyrinth Island. You can enter the inner area by navigating to the ladder located here. This essentially just a reward dungeon for completing the maze. You will unlock a
In-game Description
Map(s)
Chest Rewards
Completion Reward
|
|
|||||||||||||||||||||||||||||||||||||||||||||||||||||||||||||||||||||||||||||||||||||||||||||||

|
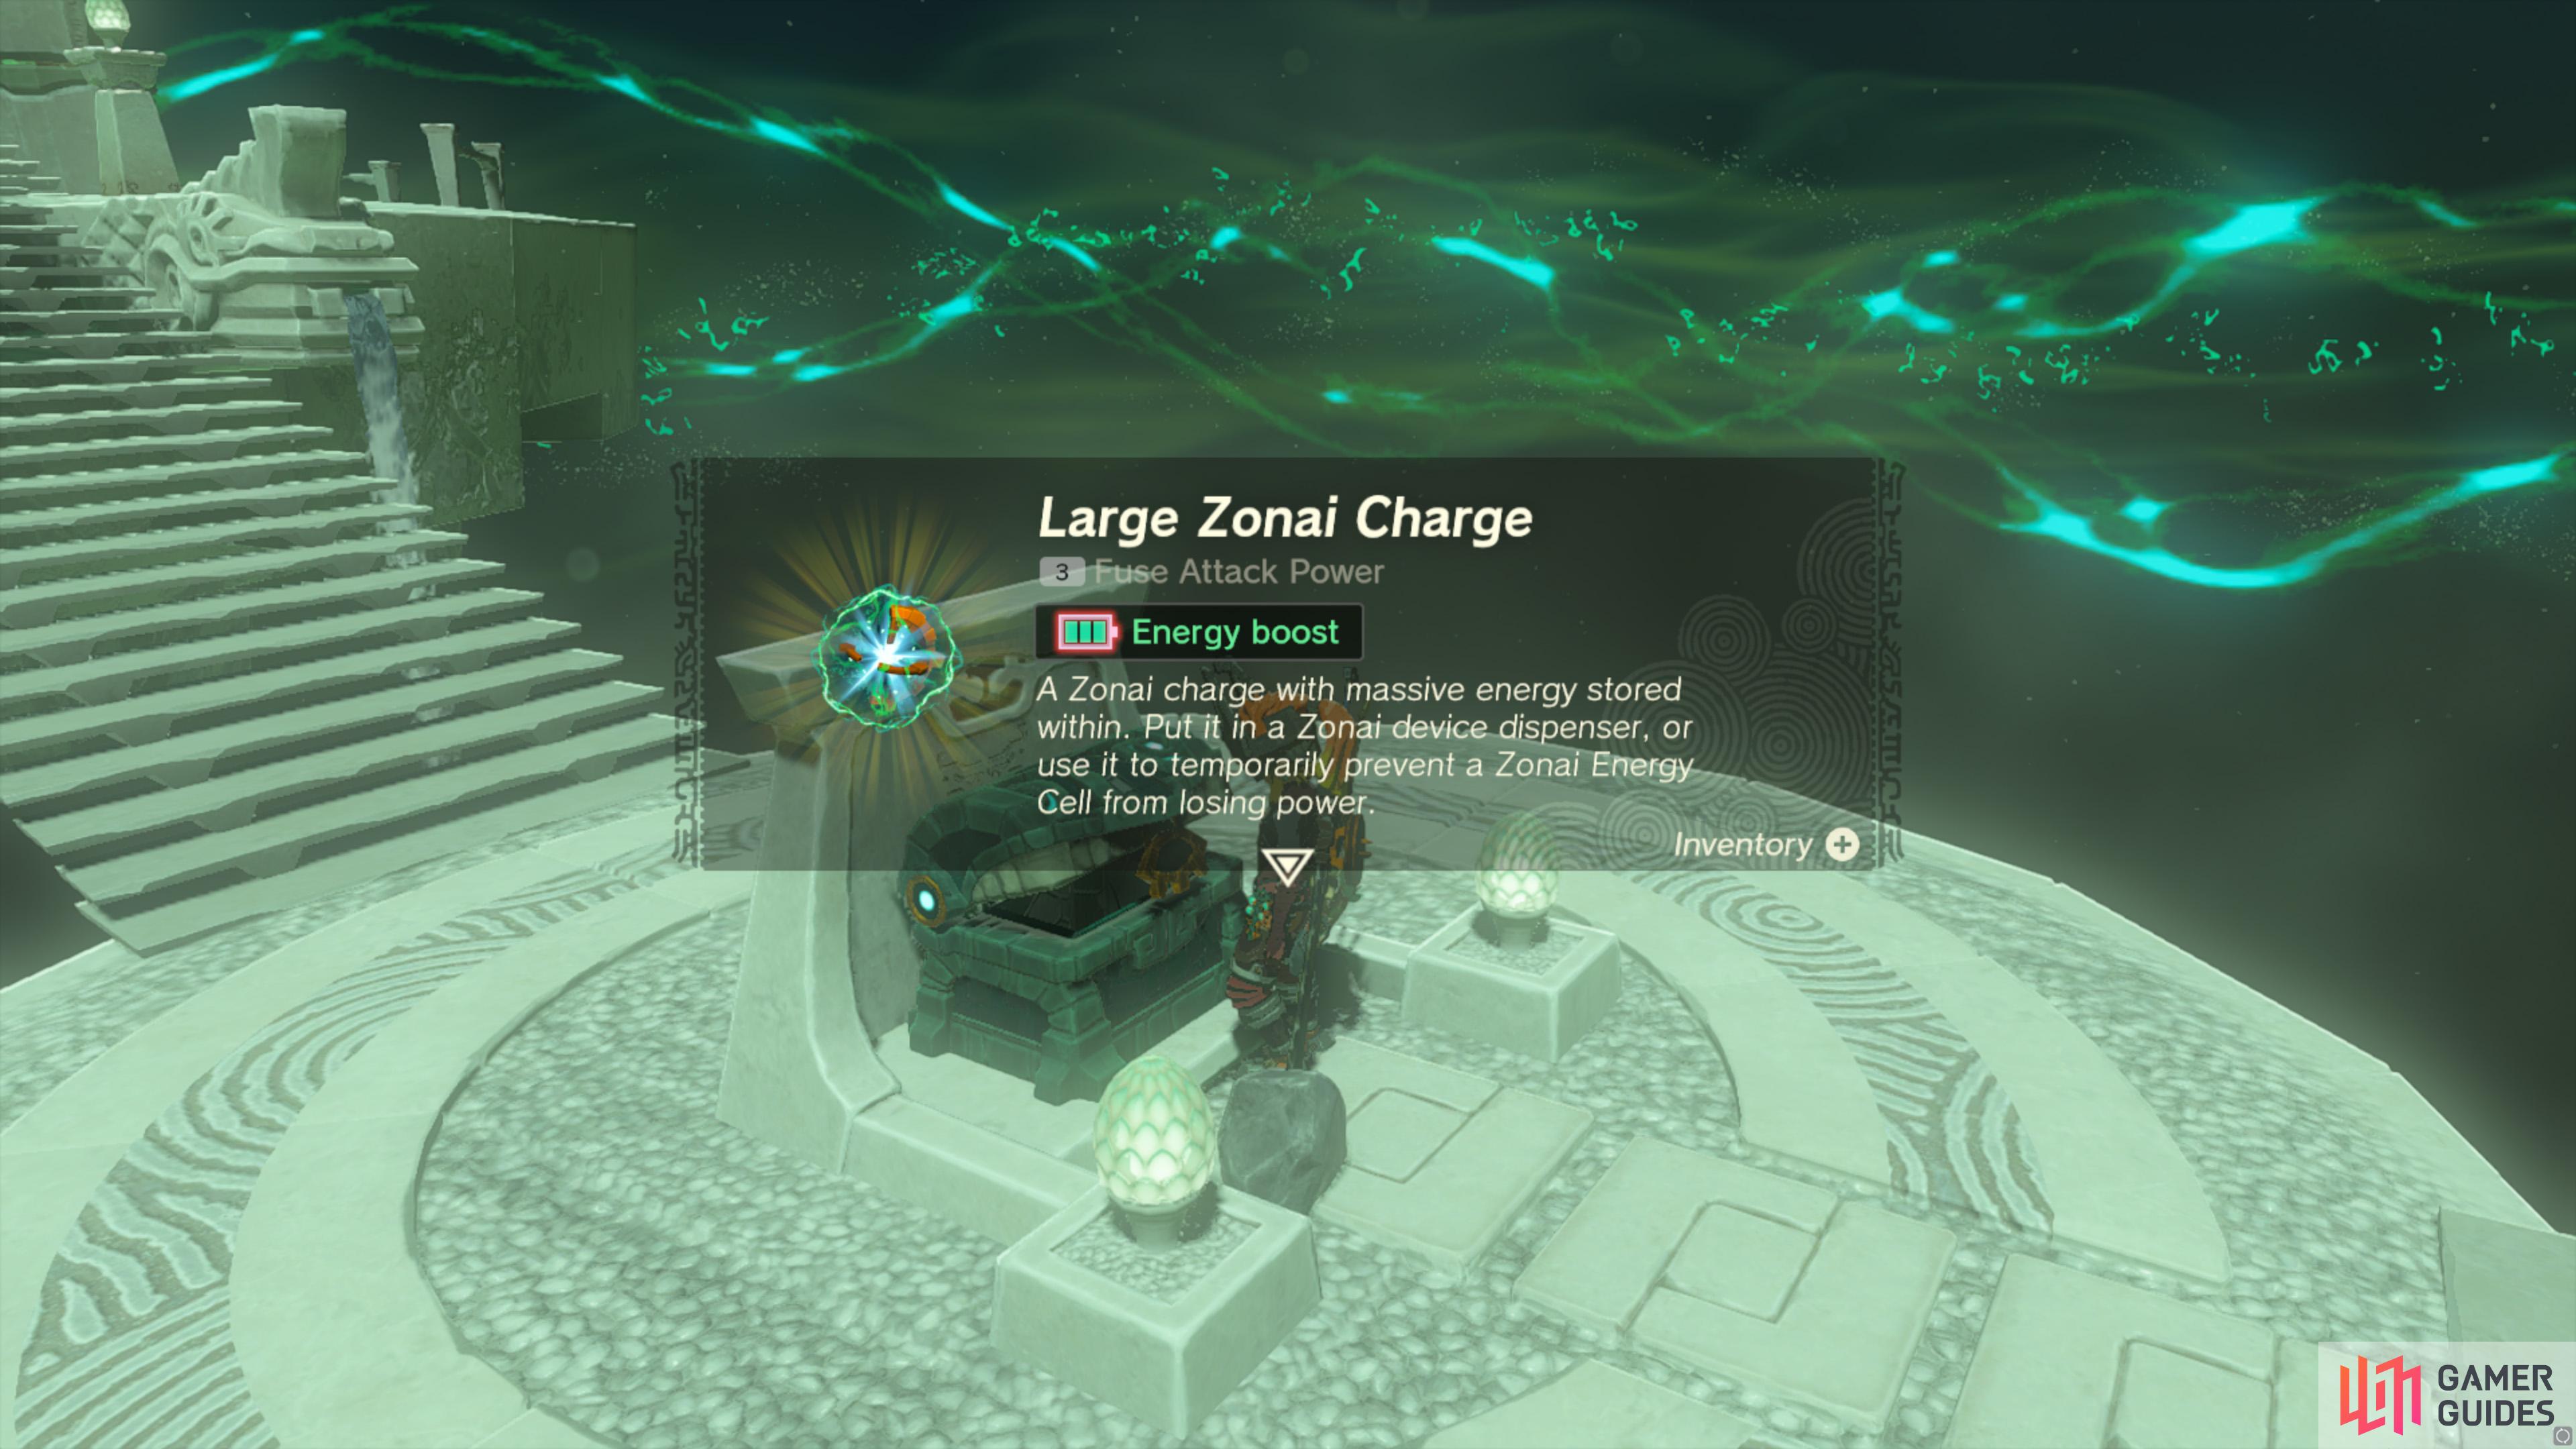
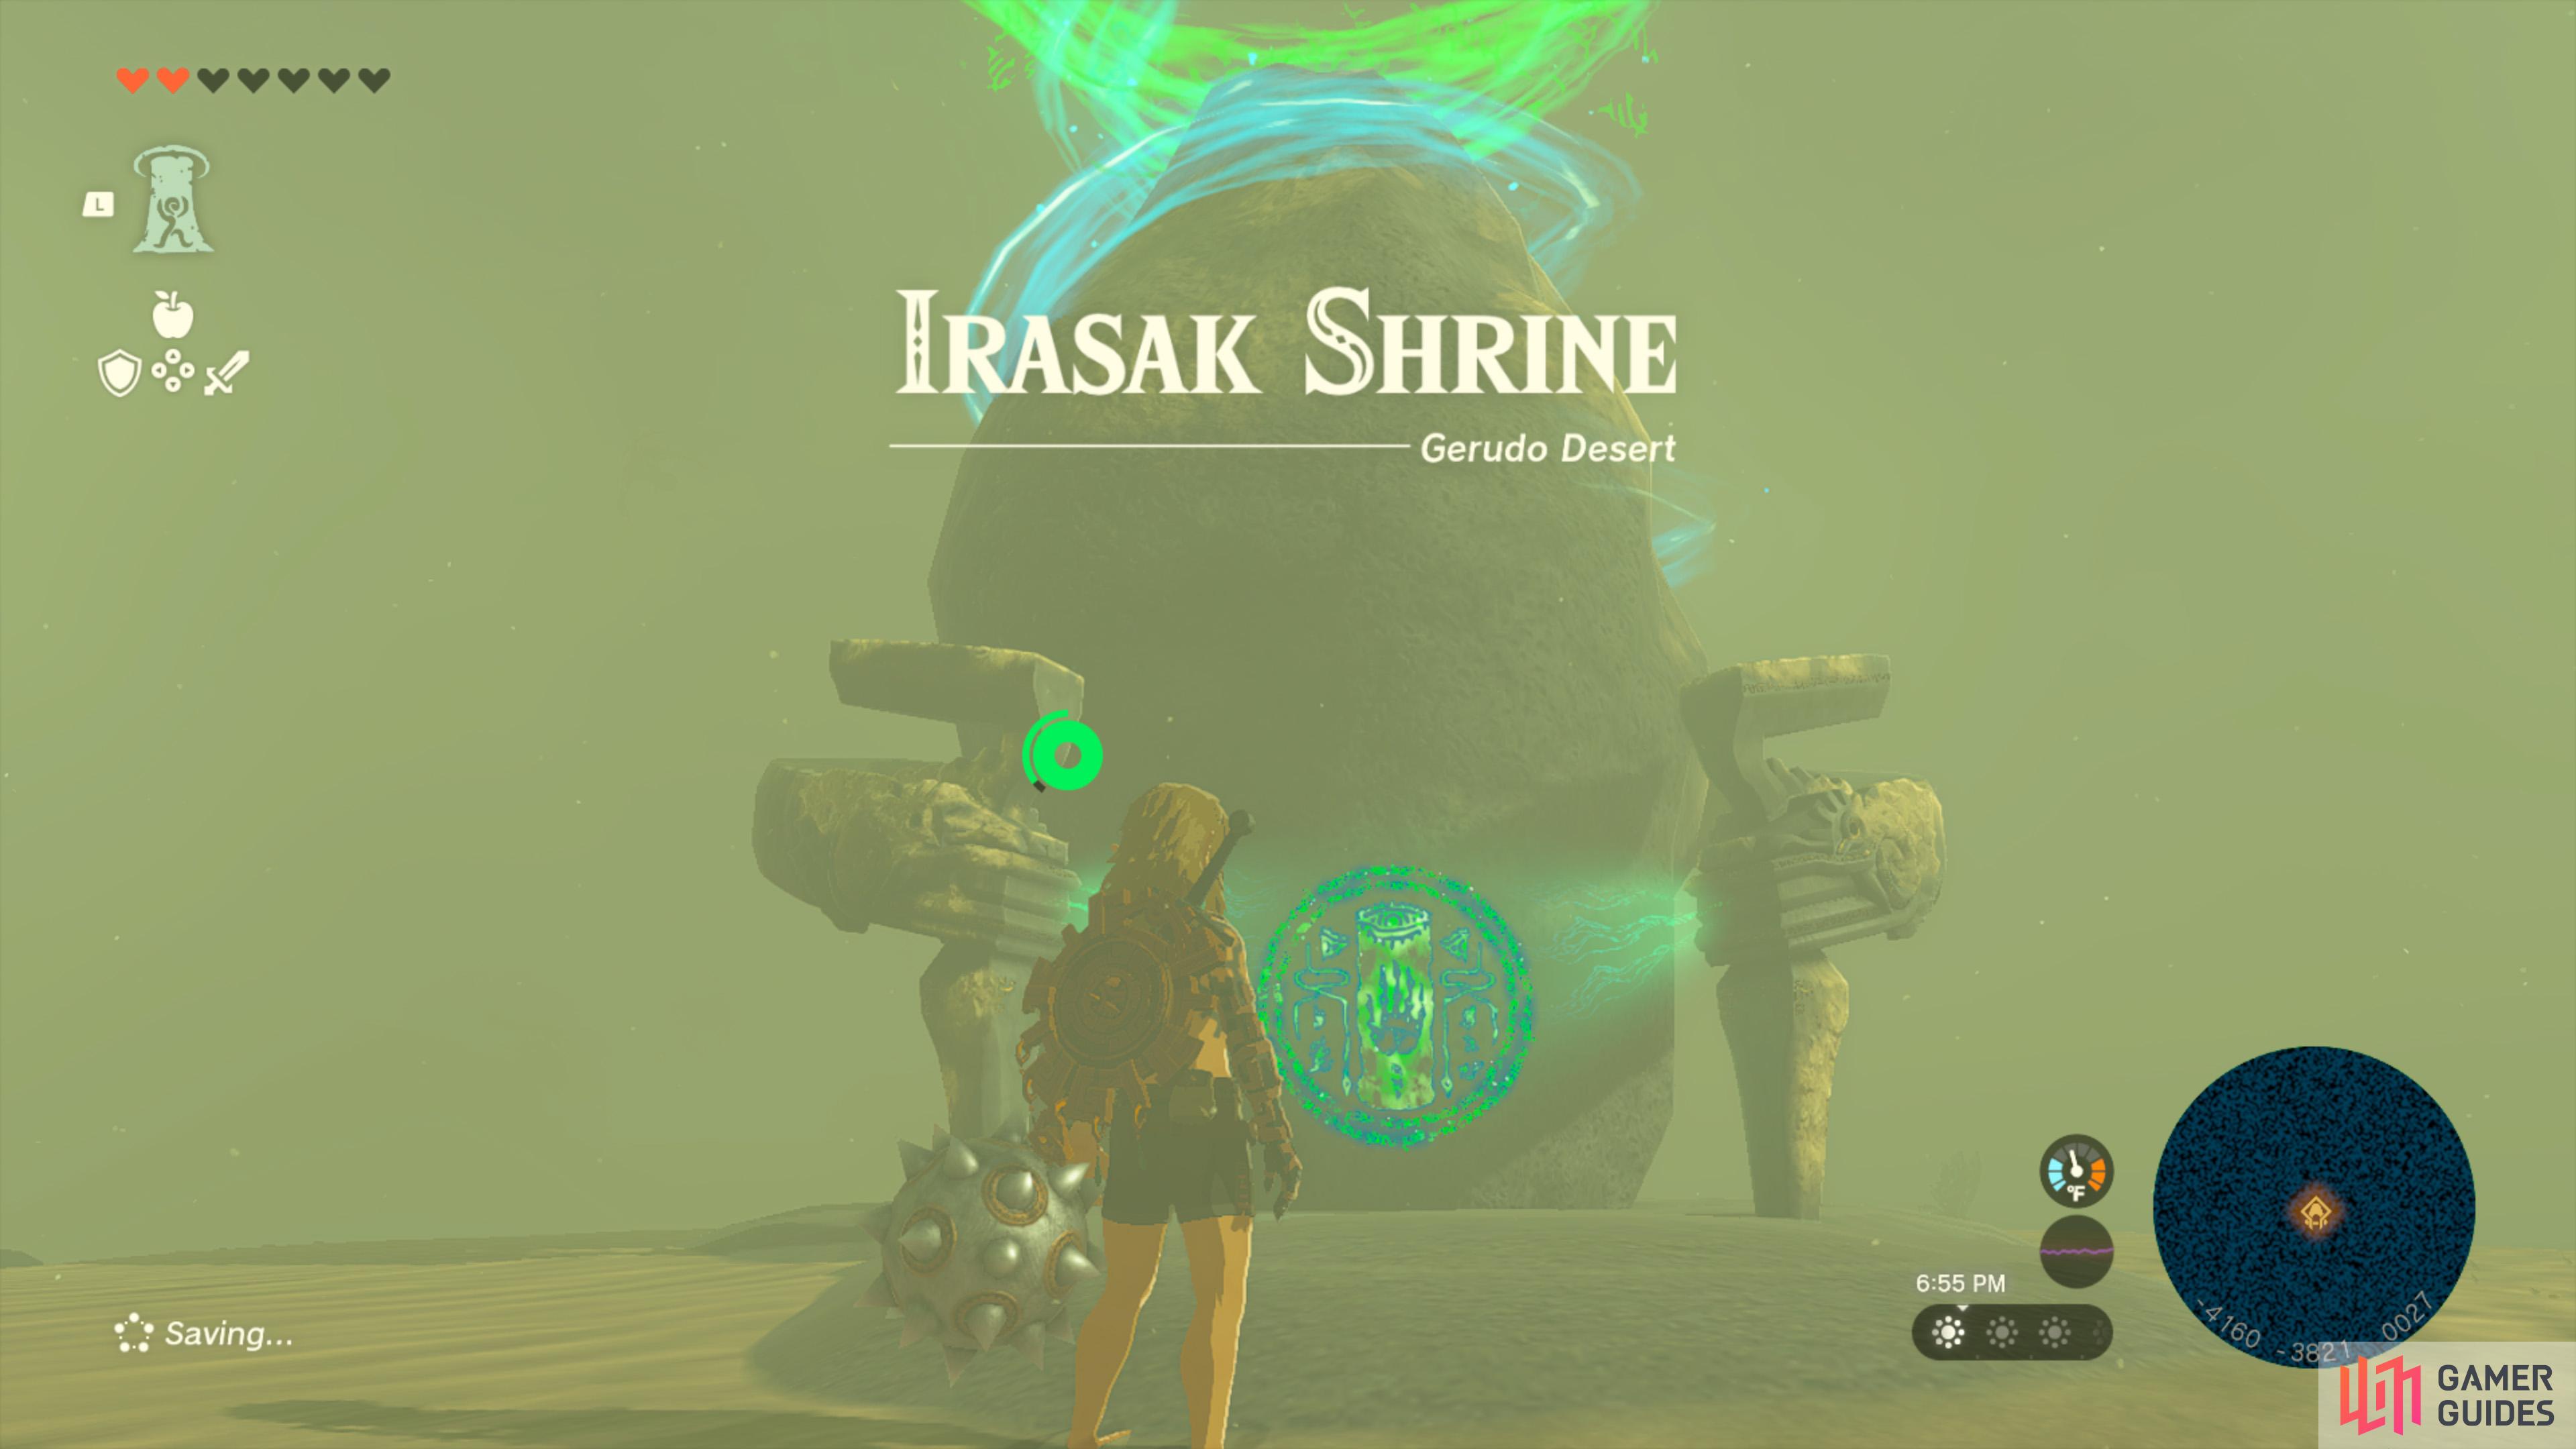
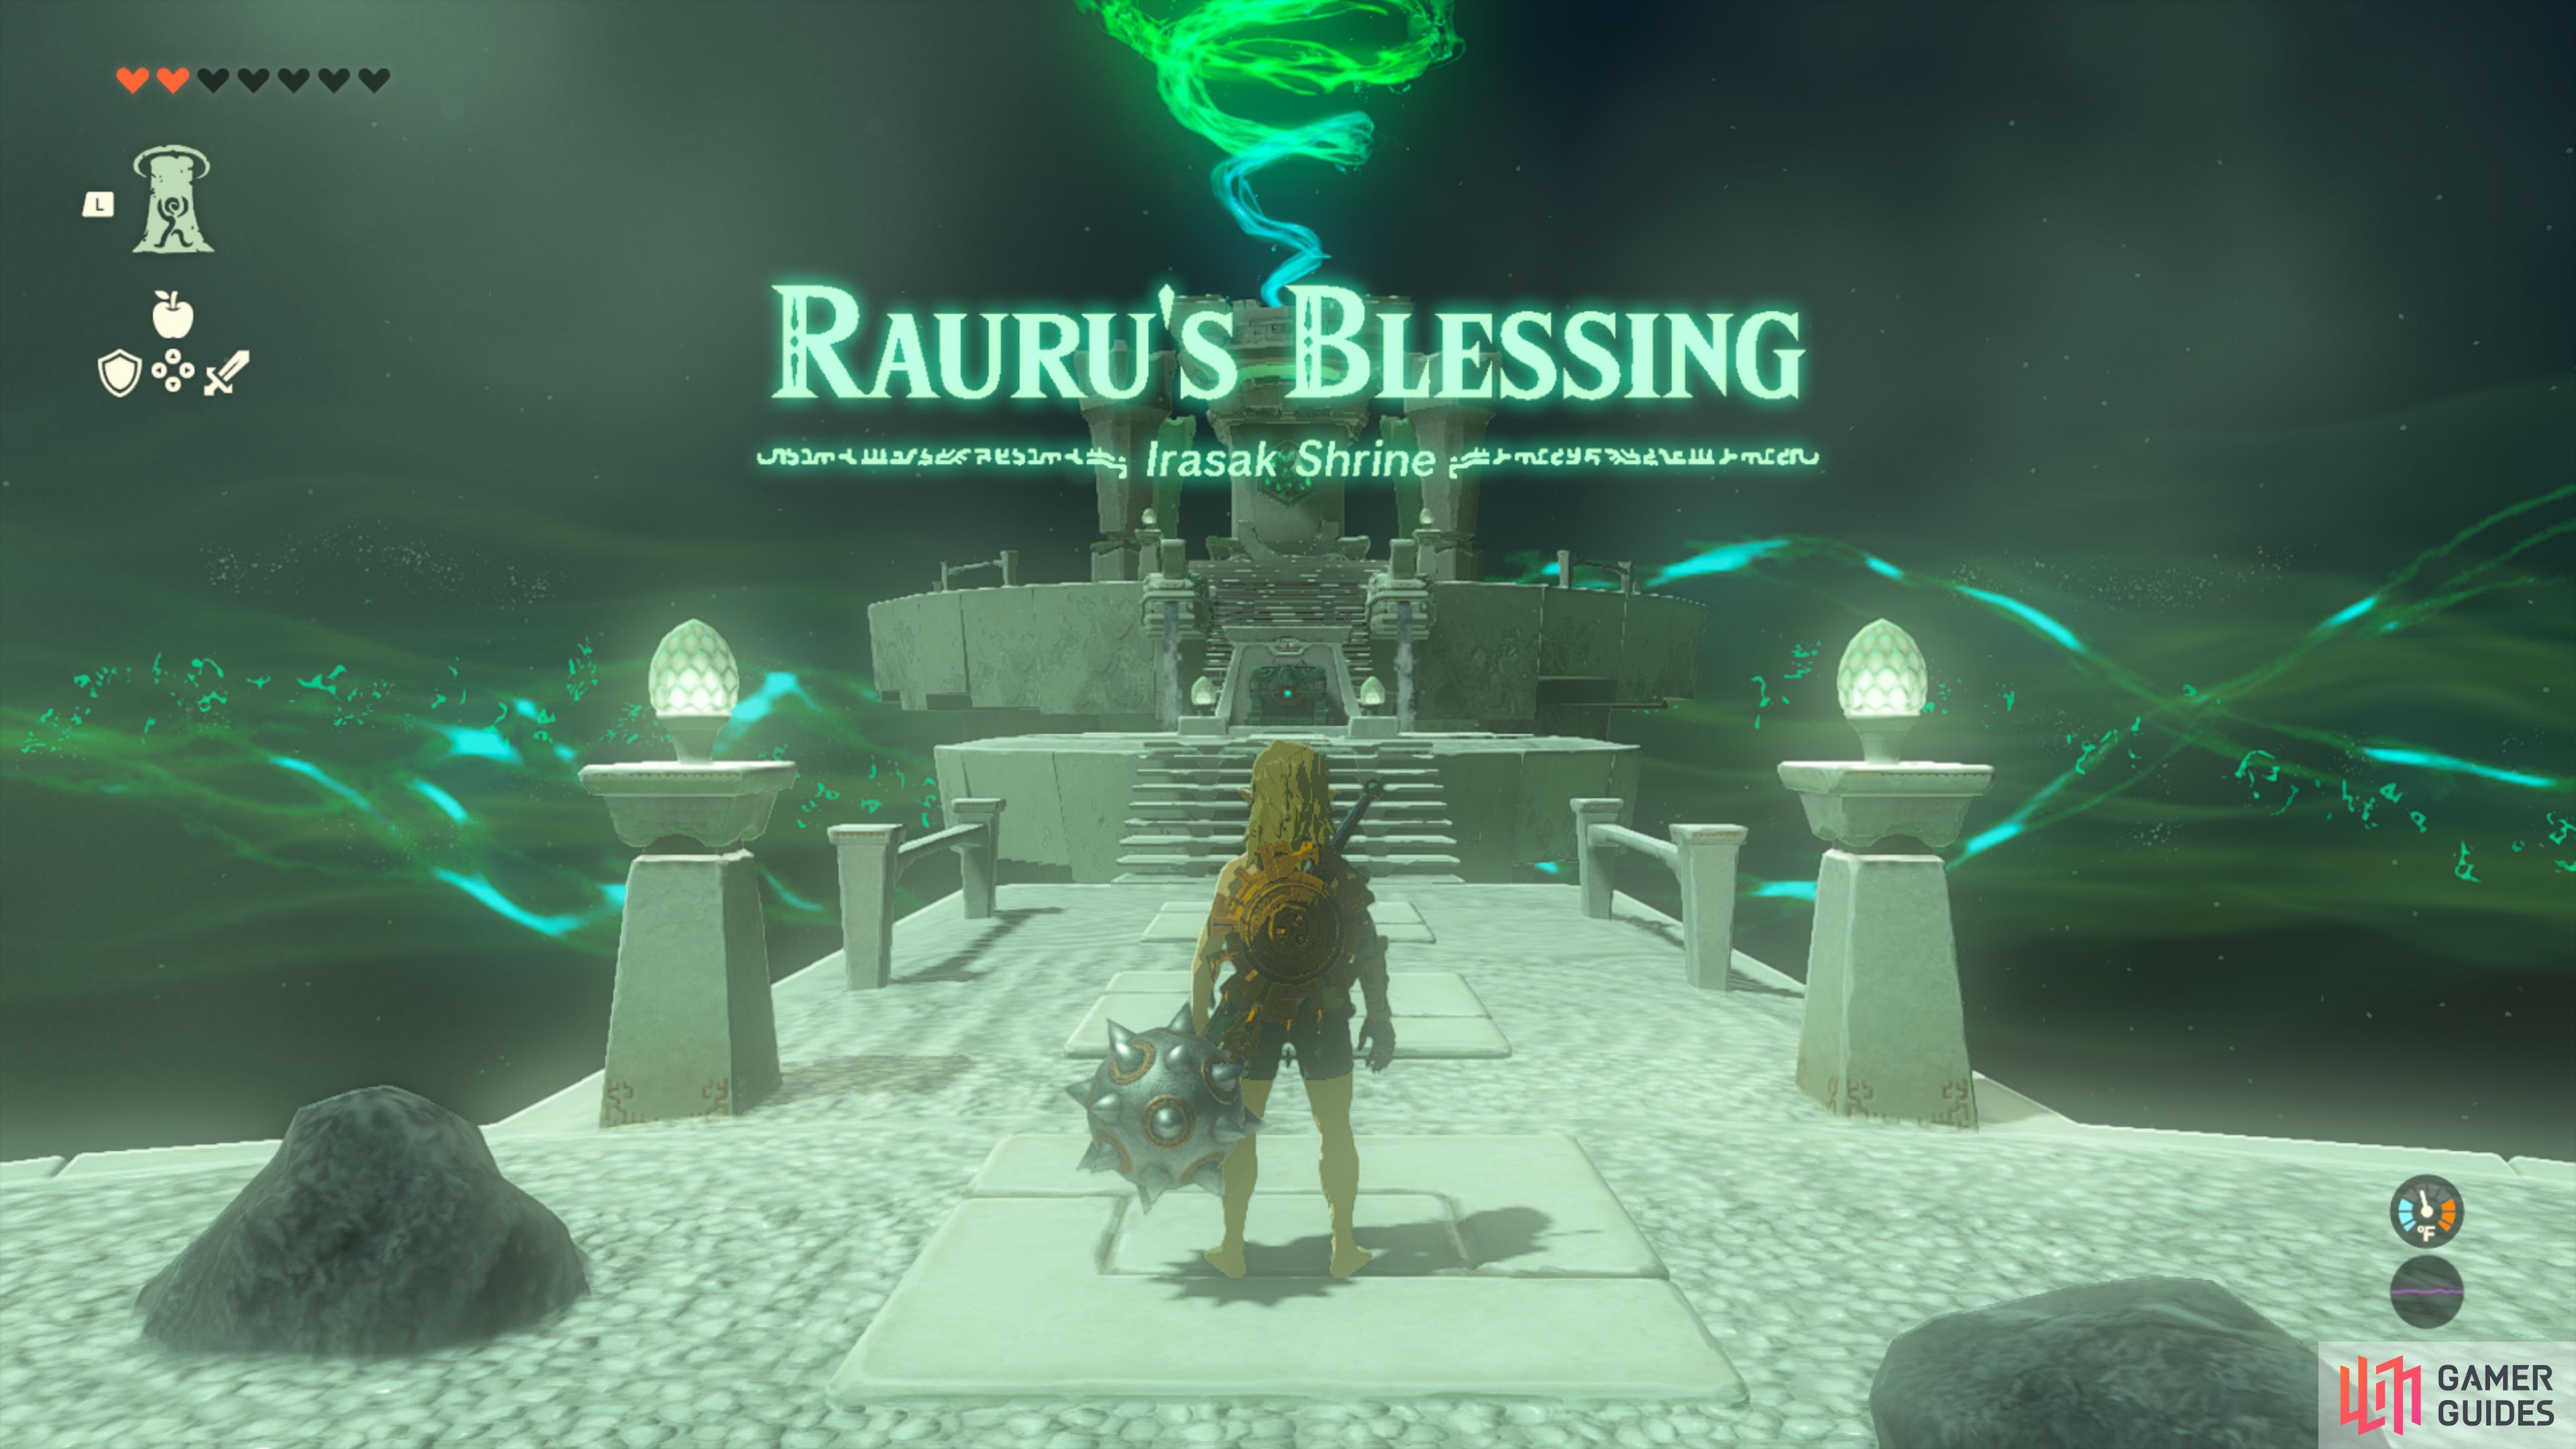
Irasak Shrine |
Irasak Shrine is just southeast of the Lightning Temple, but it is surrounded by fast moving sand that quickly drains your stamina. You can get to the shrine in a variety of ways:
Map(s)
Chest Rewards
Completion Reward
|
|
|||||||||||||||||||||||||||||||||||||||||||||||||||||||||||||||||||||||||||||||||||||||||||||||

|
Ishodag Shrine |
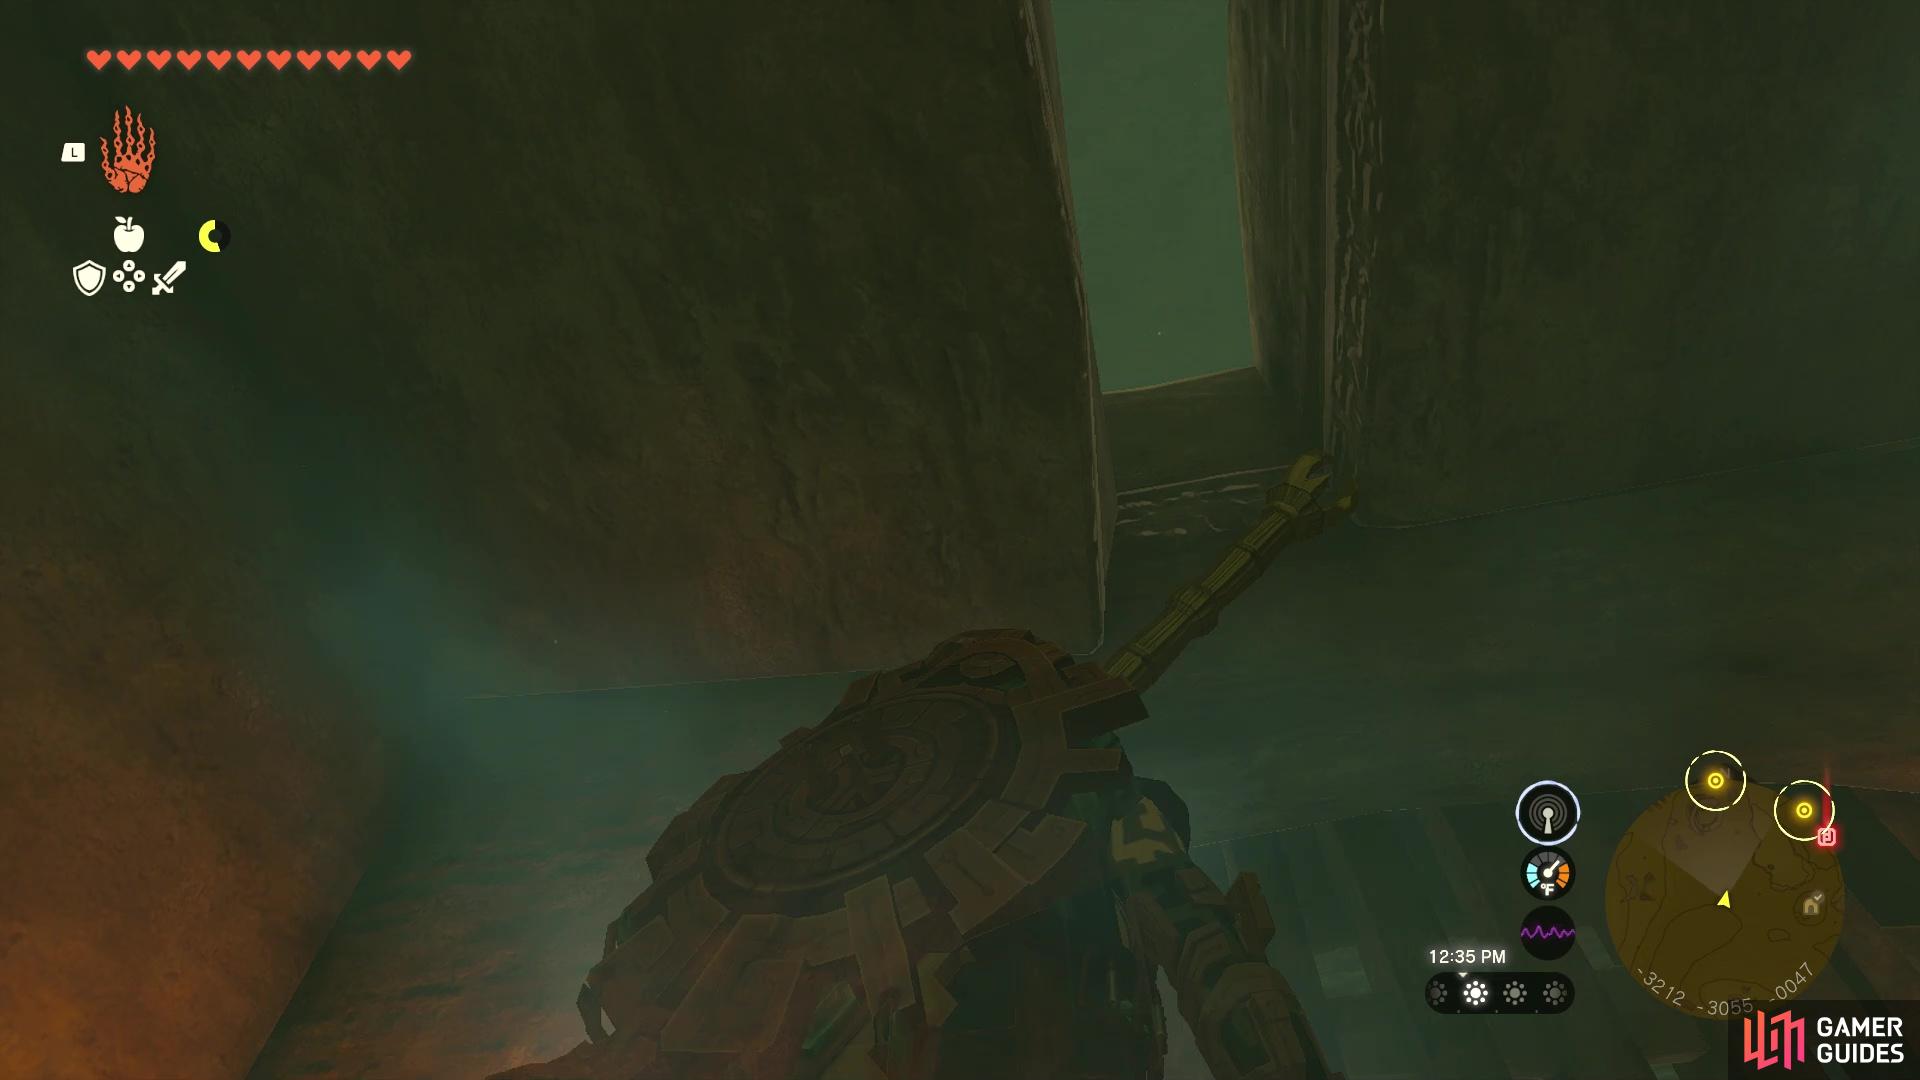
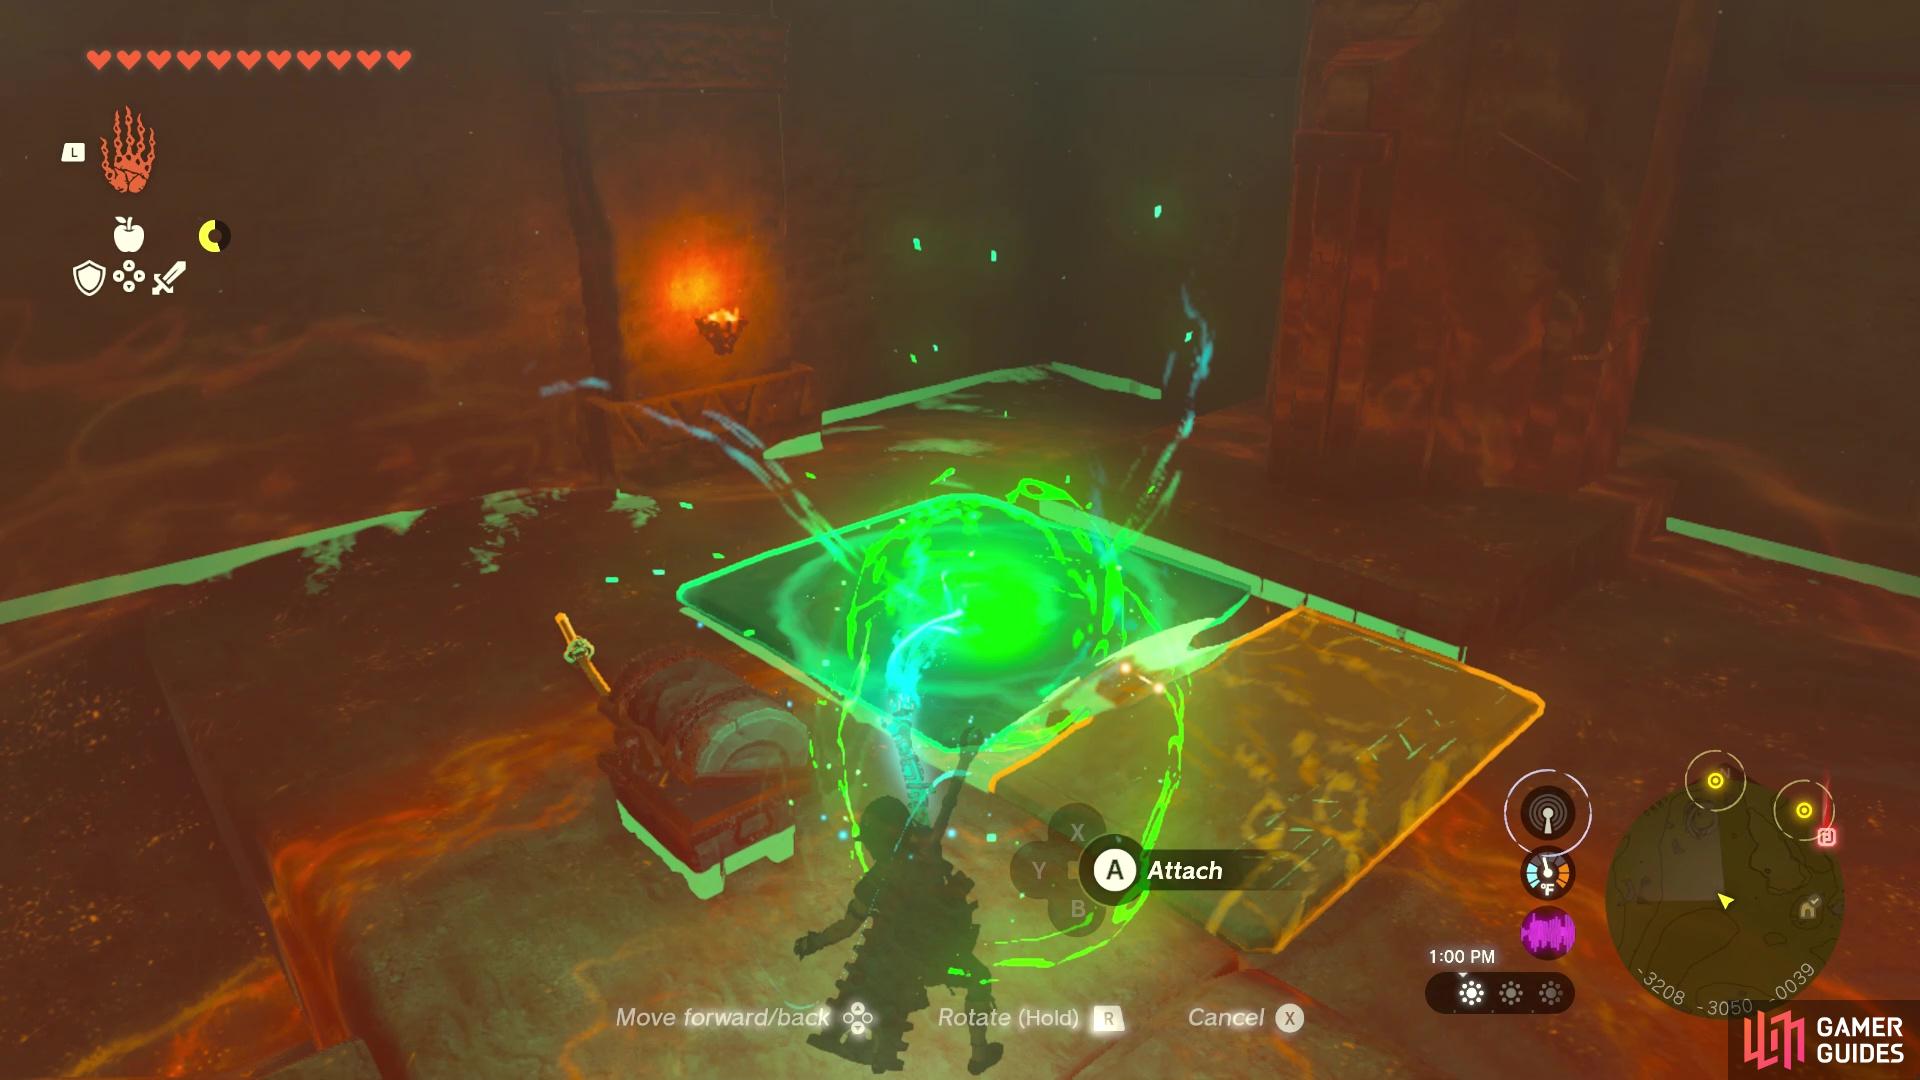
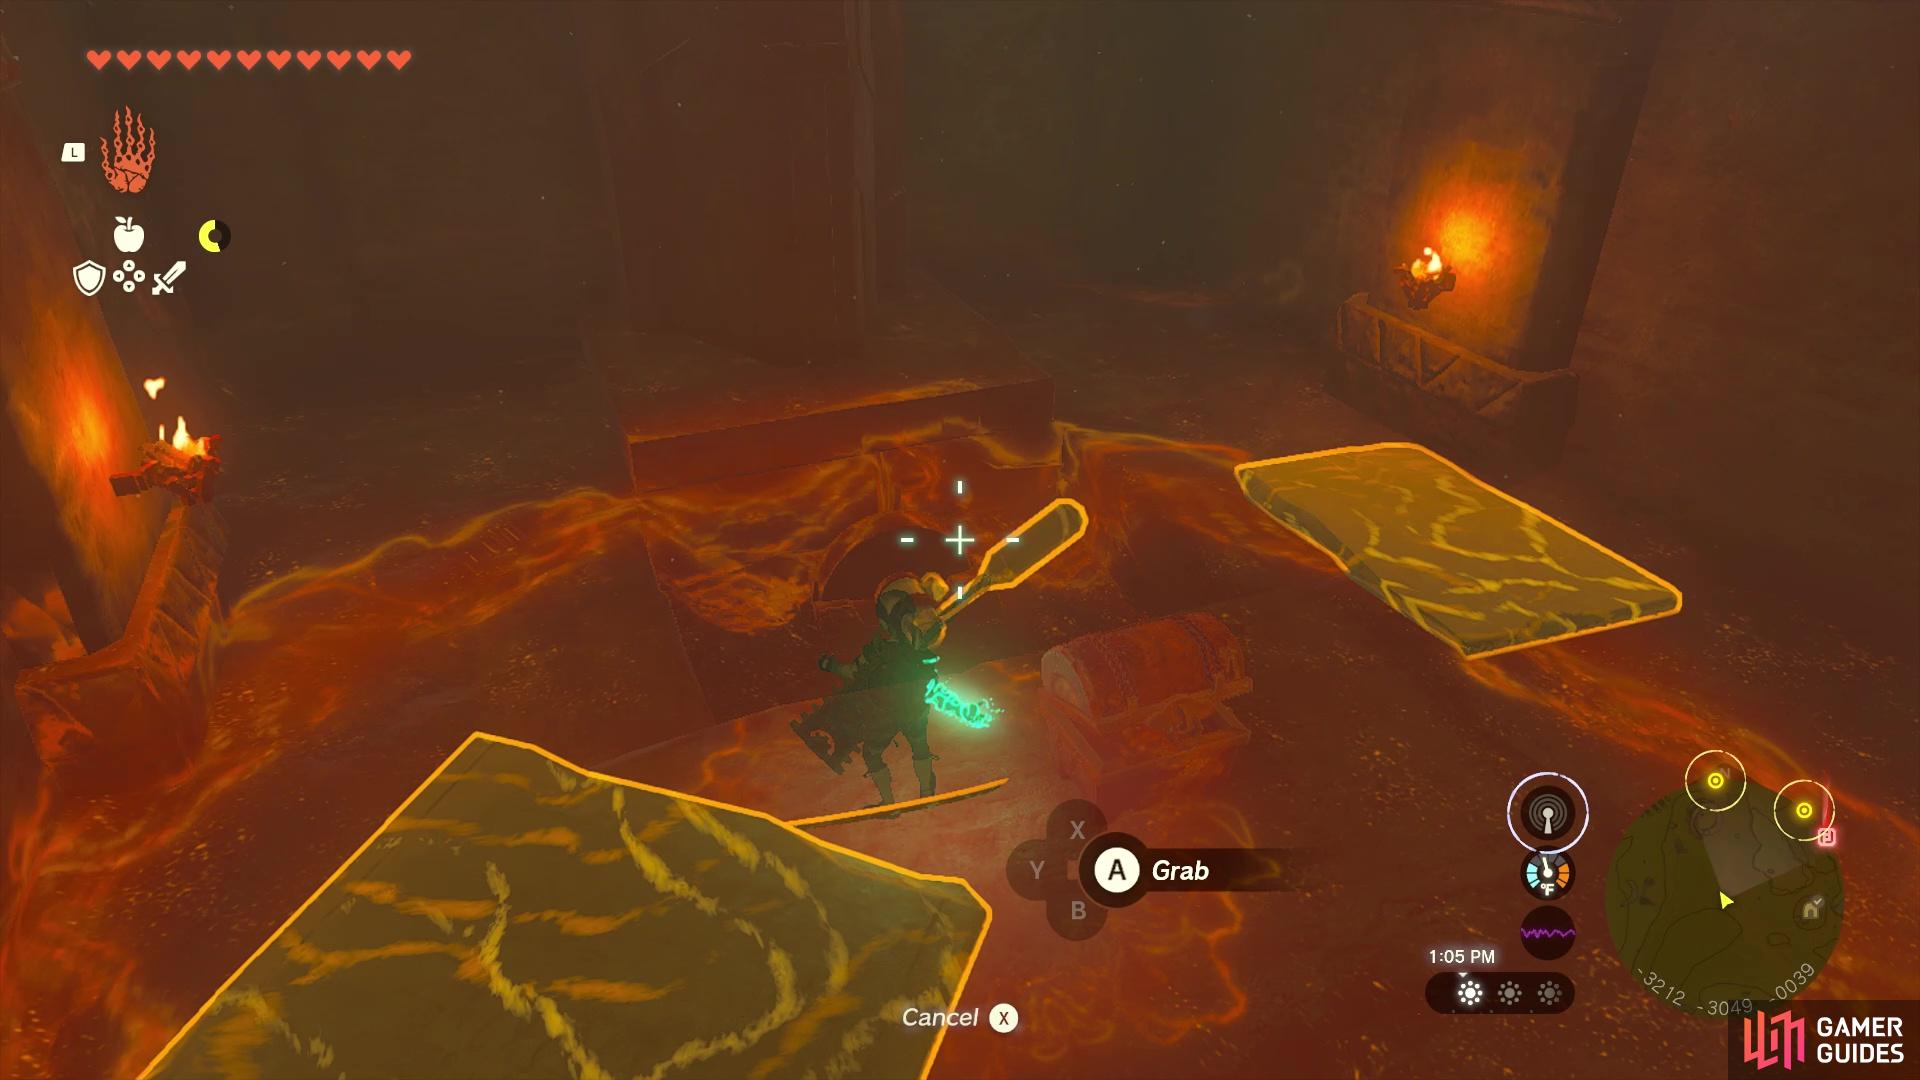
This Shrine can be found in Hyrule Field, to the northwest in Quarry Ruins. This Shrine is focused on using wind-powered devices. You’ll need to solve several puzzles using ultrahand and ascend.
Map(s)
|
||||||||||||||||||||||||||||||||||||||||||||||||||||||||||||||||||||||||||||||||||||||||||||||||

|
Ishokin Shrine |
Map(s)
Completion Reward
|

|
|||||||||||||||||||||||||||||||||||||||||||||||||||||||||||||||||||||||||||||||||||||||||||||||

|
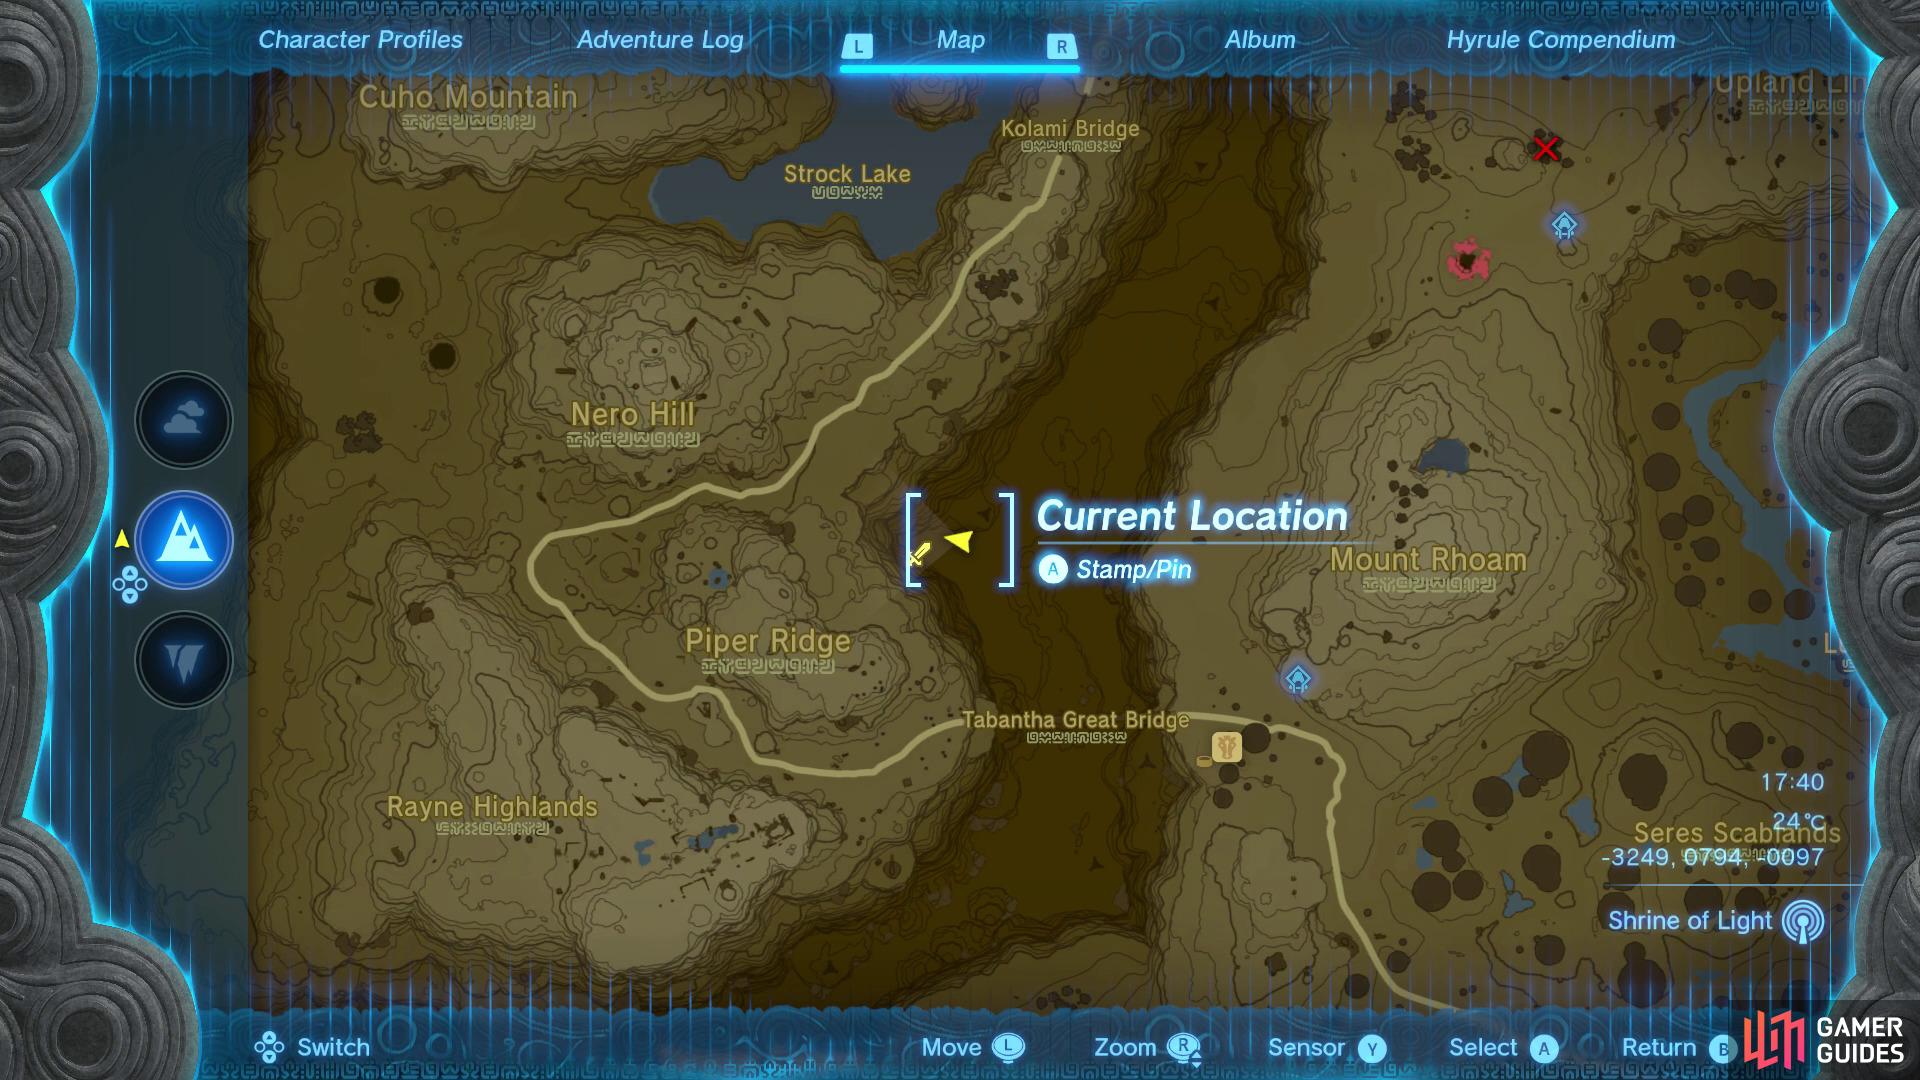
Iun-orok Shrine |
This shrine can be found in a cave that is located between the Piper Ridge and Mount Rhoam Islands. To complete this shrine, you’ll need to solve a series of puzzles relating to the
Map(s)
|

|
|||||||||||||||||||||||||||||||||||||||||||||||||||||||||||||||||||||||||||||||||||||||||||||||

|
Jikais Shrine |
Map(s)
|
||||||||||||||||||||||||||||||||||||||||||||||||||||||||||||||||||||||||||||||||||||||||||||||||

|
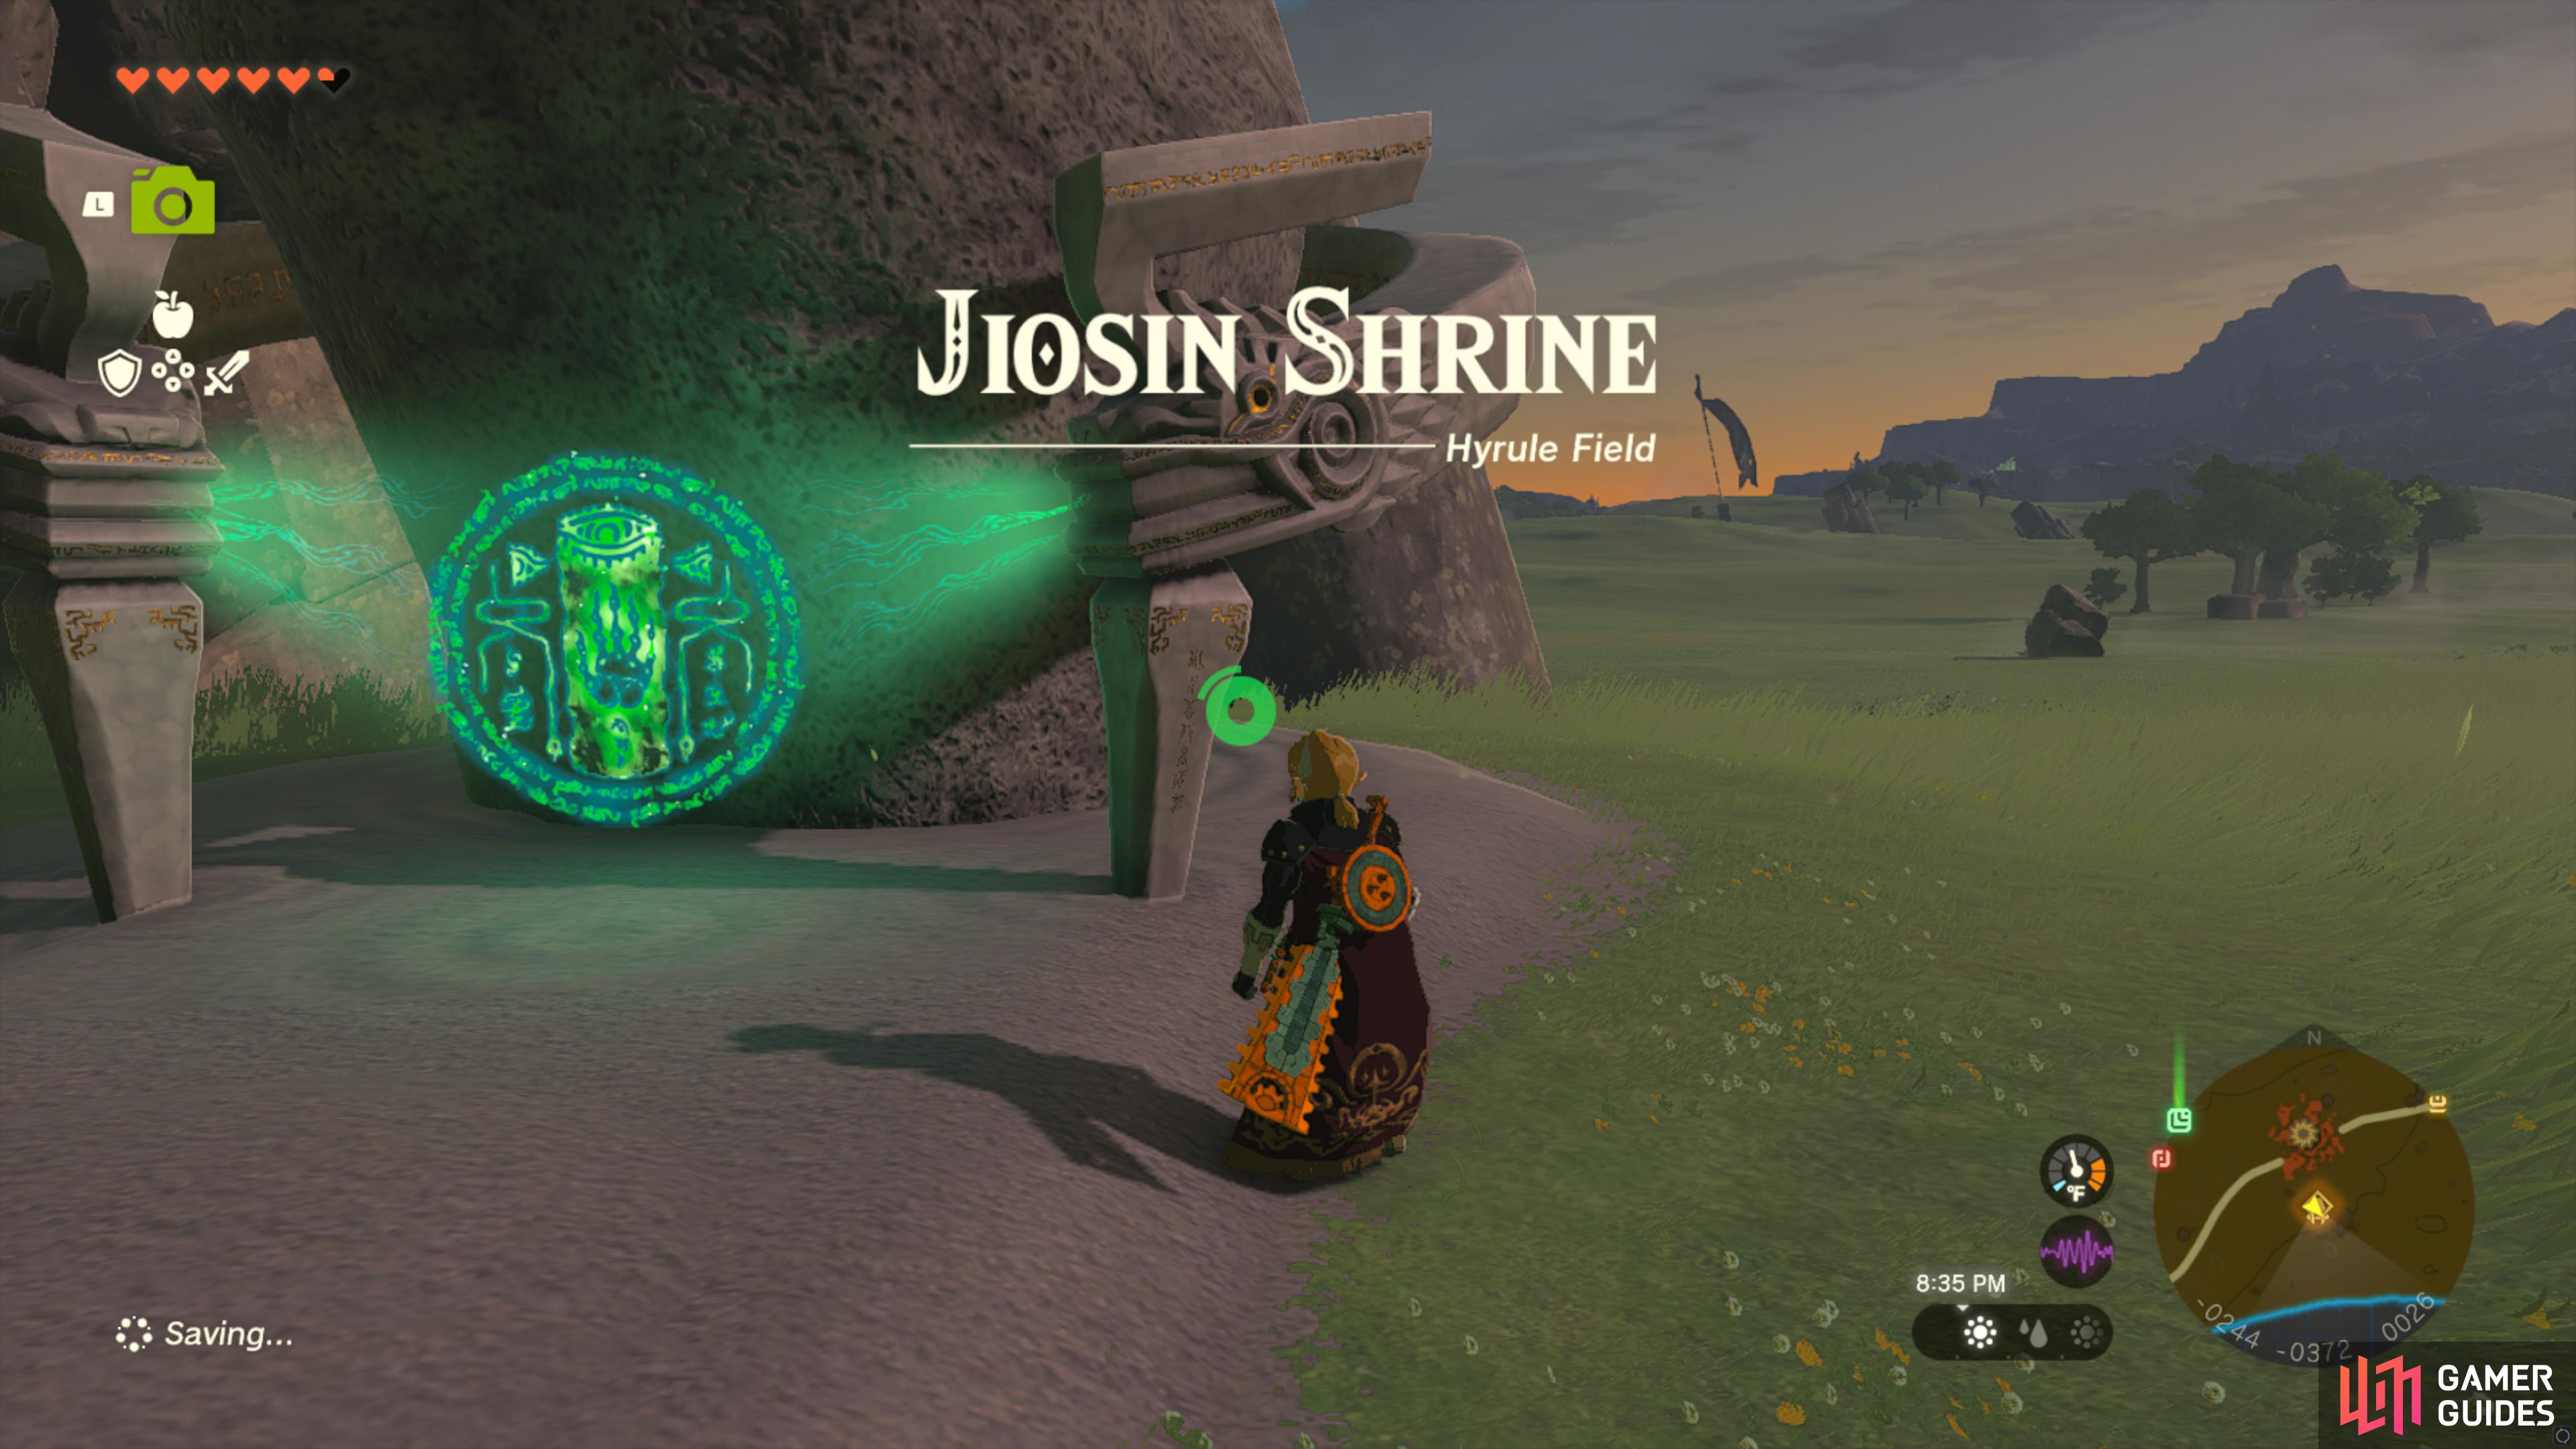
Jiosin Shrine |
A Shrine found in Hyrule Field. During this shrine trial, you’ll need to
Map(s)
|
|
|||||||||||||||||||||||||||||||||||||||||||||||||||||||||||||||||||||||||||||||||||||||||||||||

|
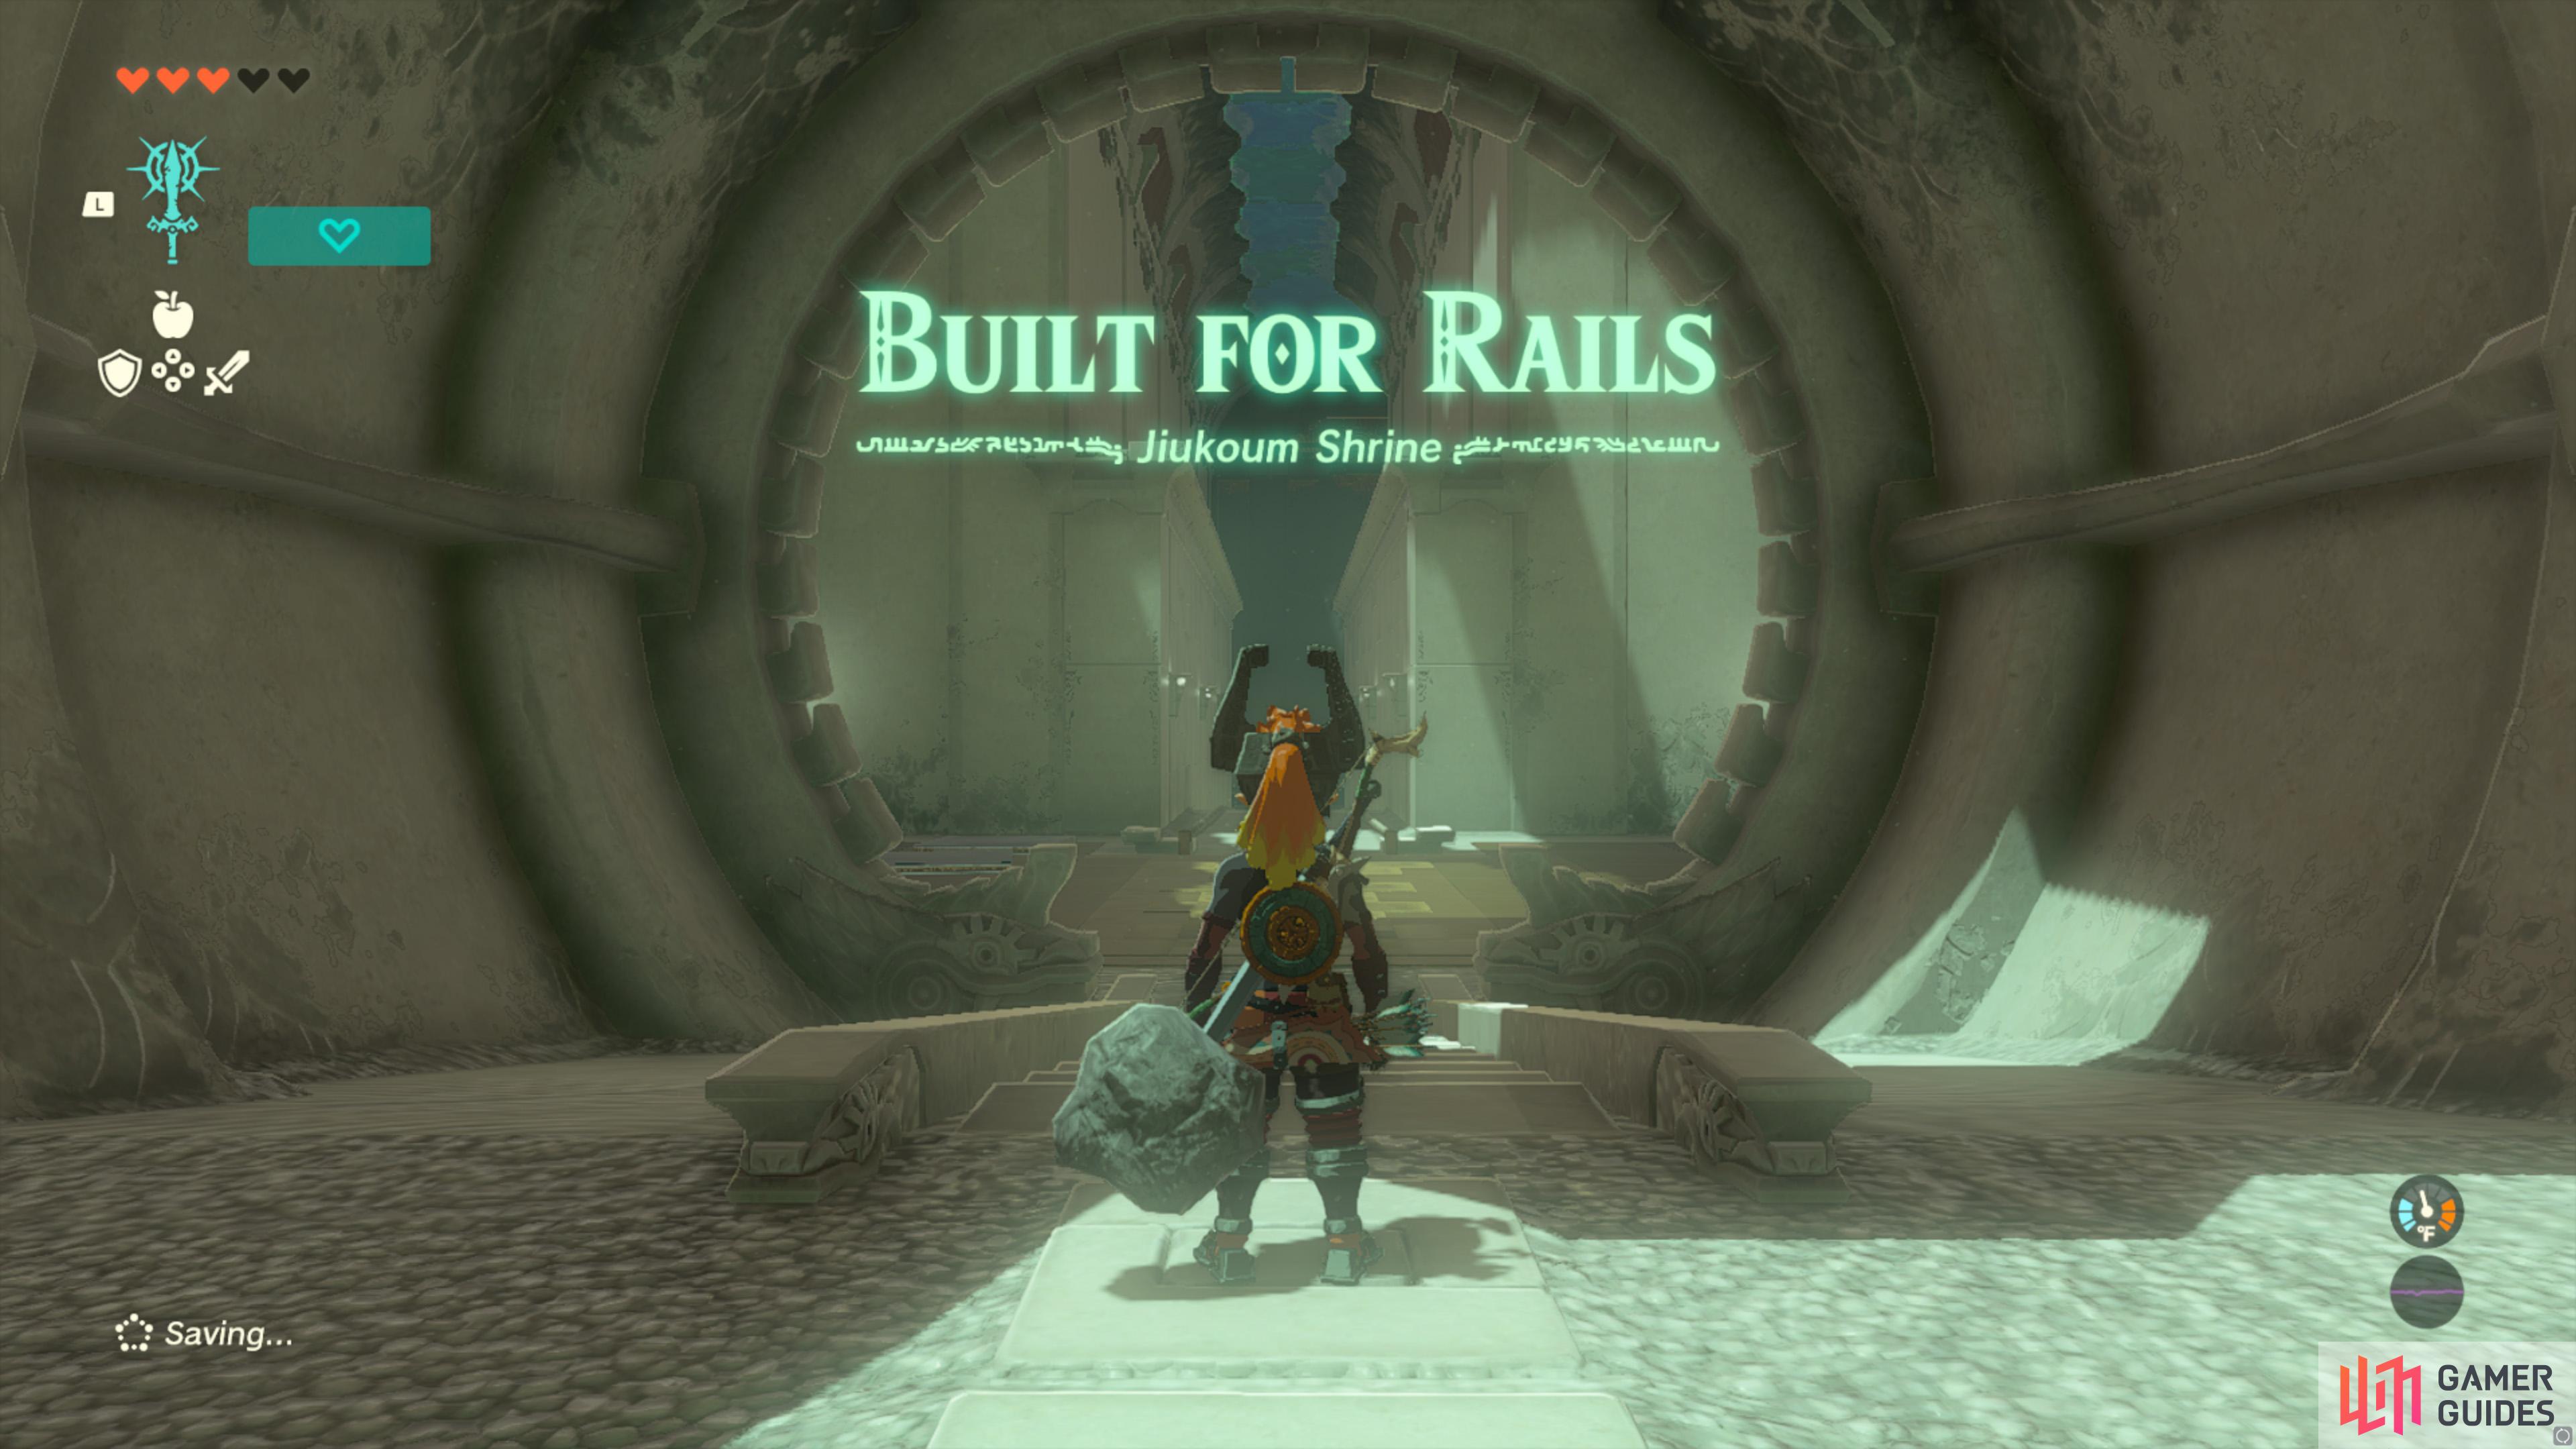
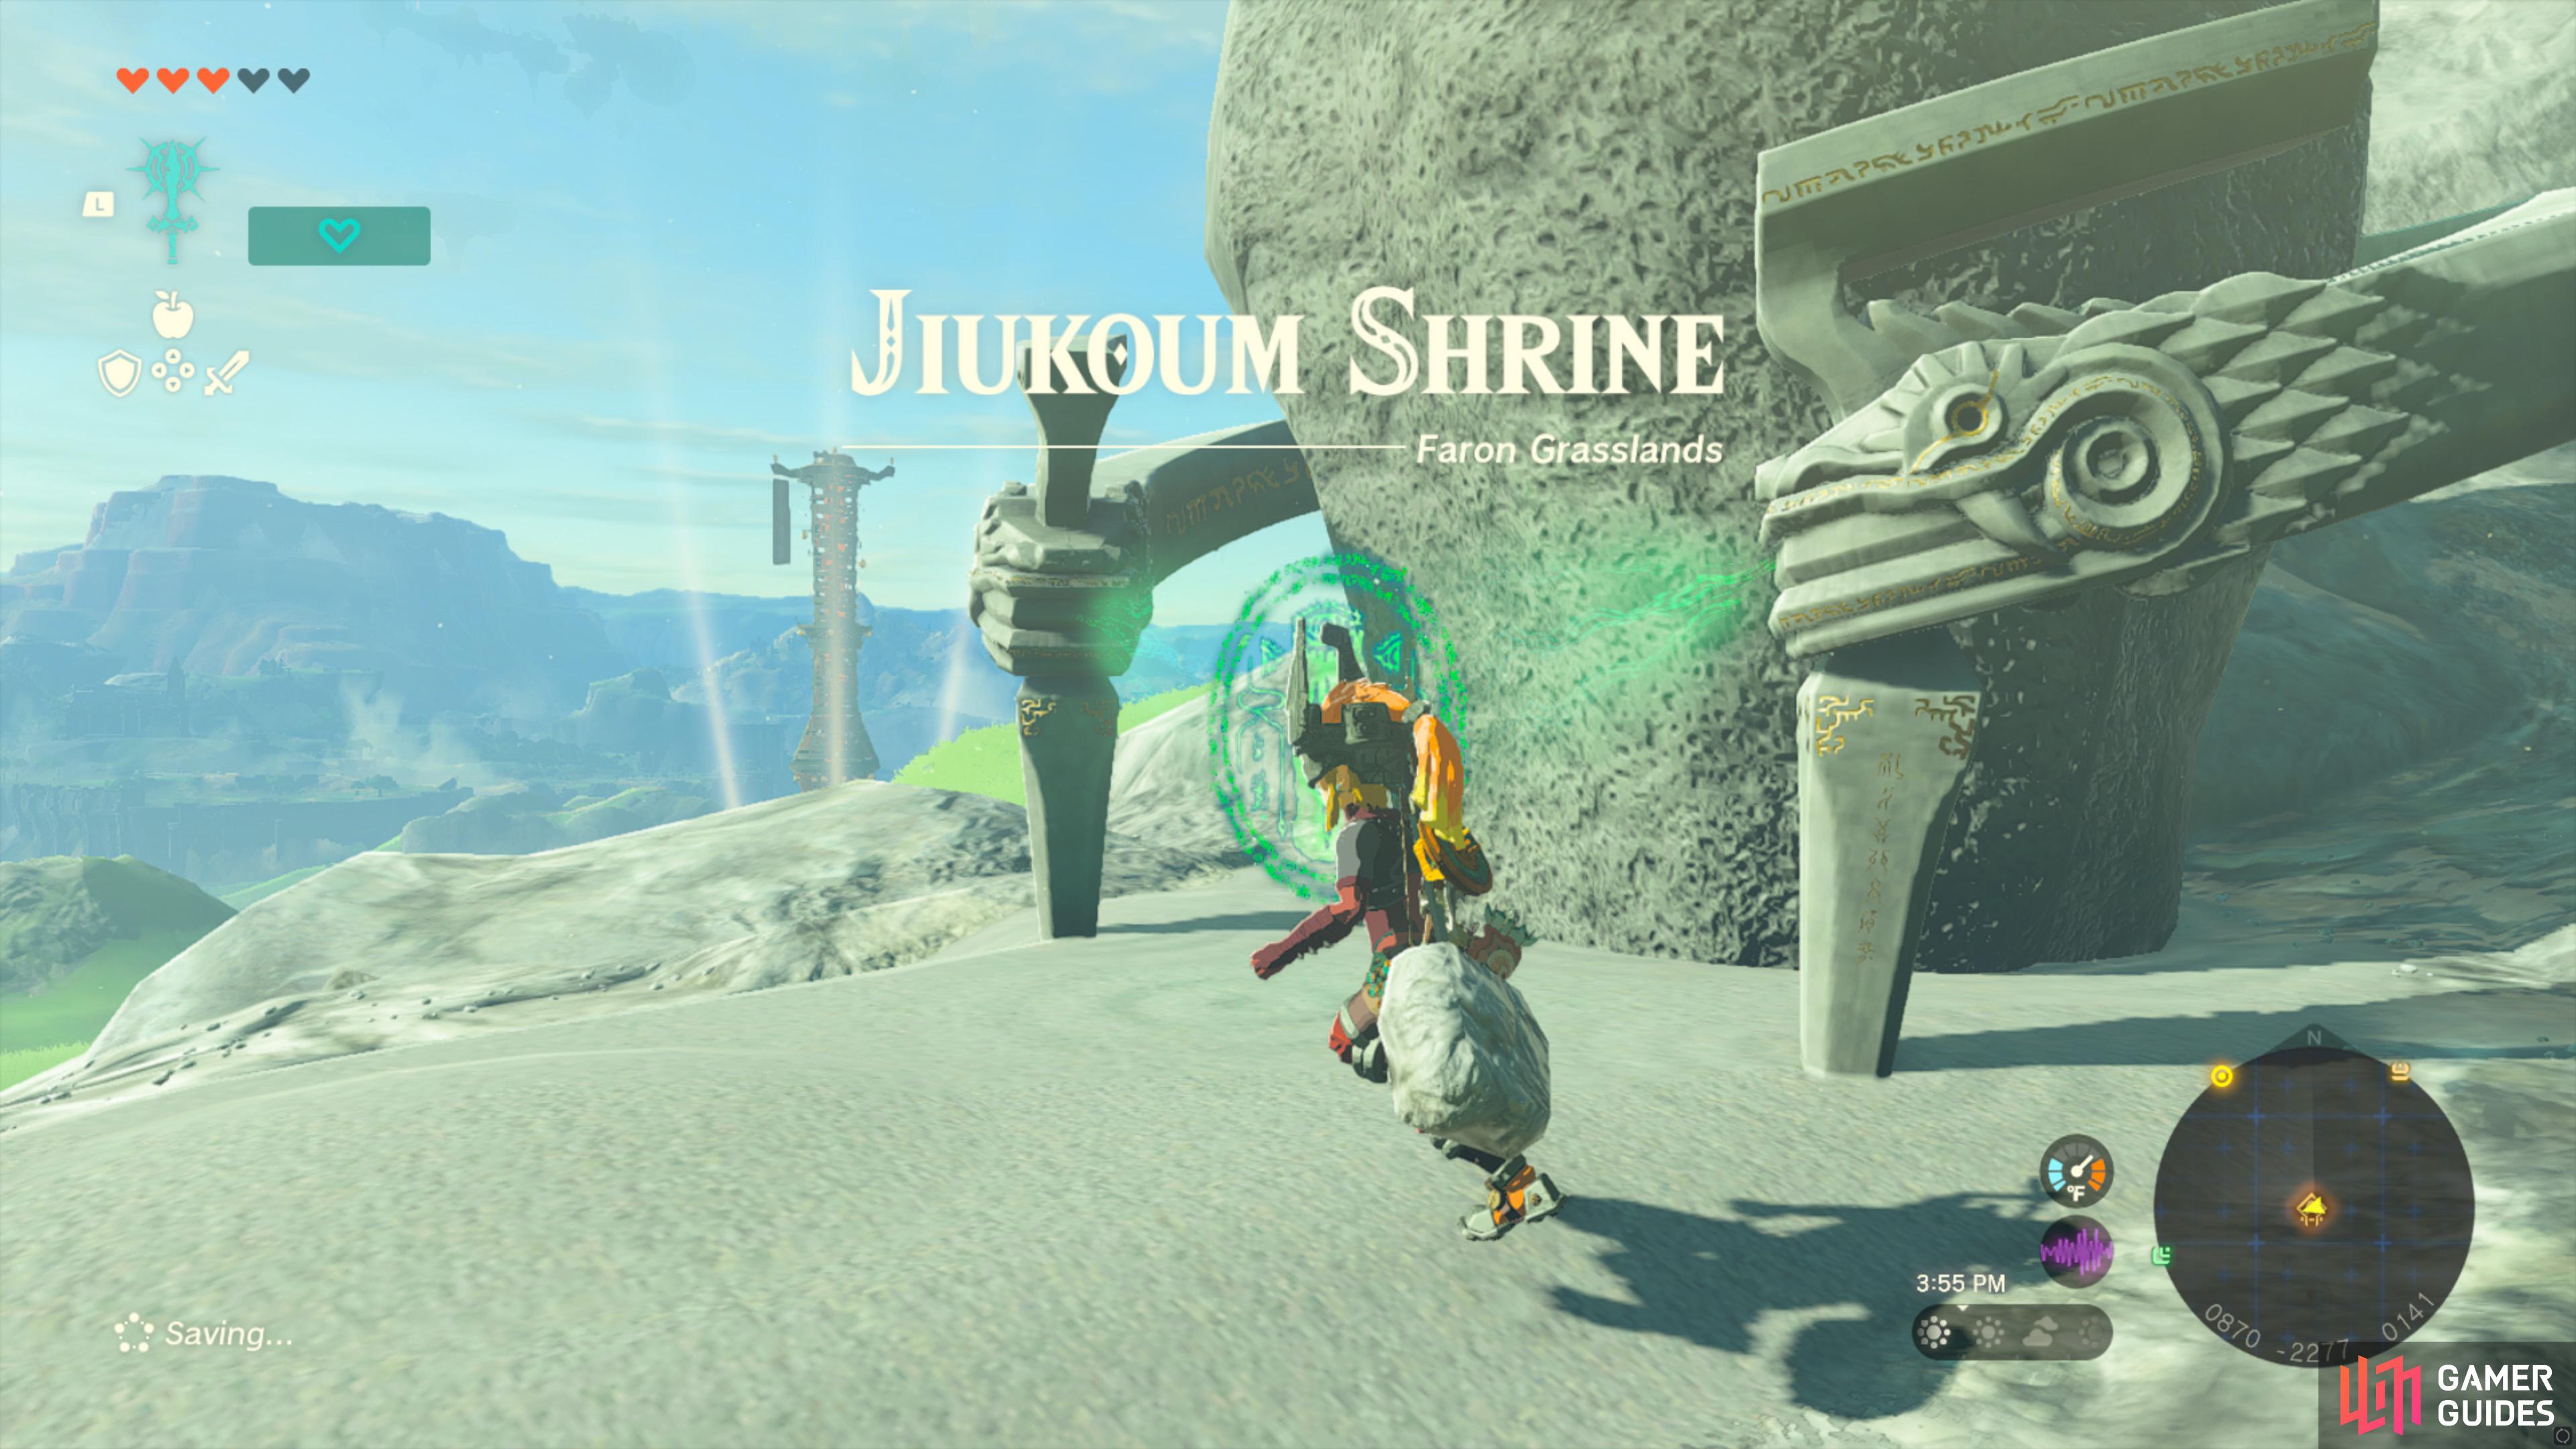
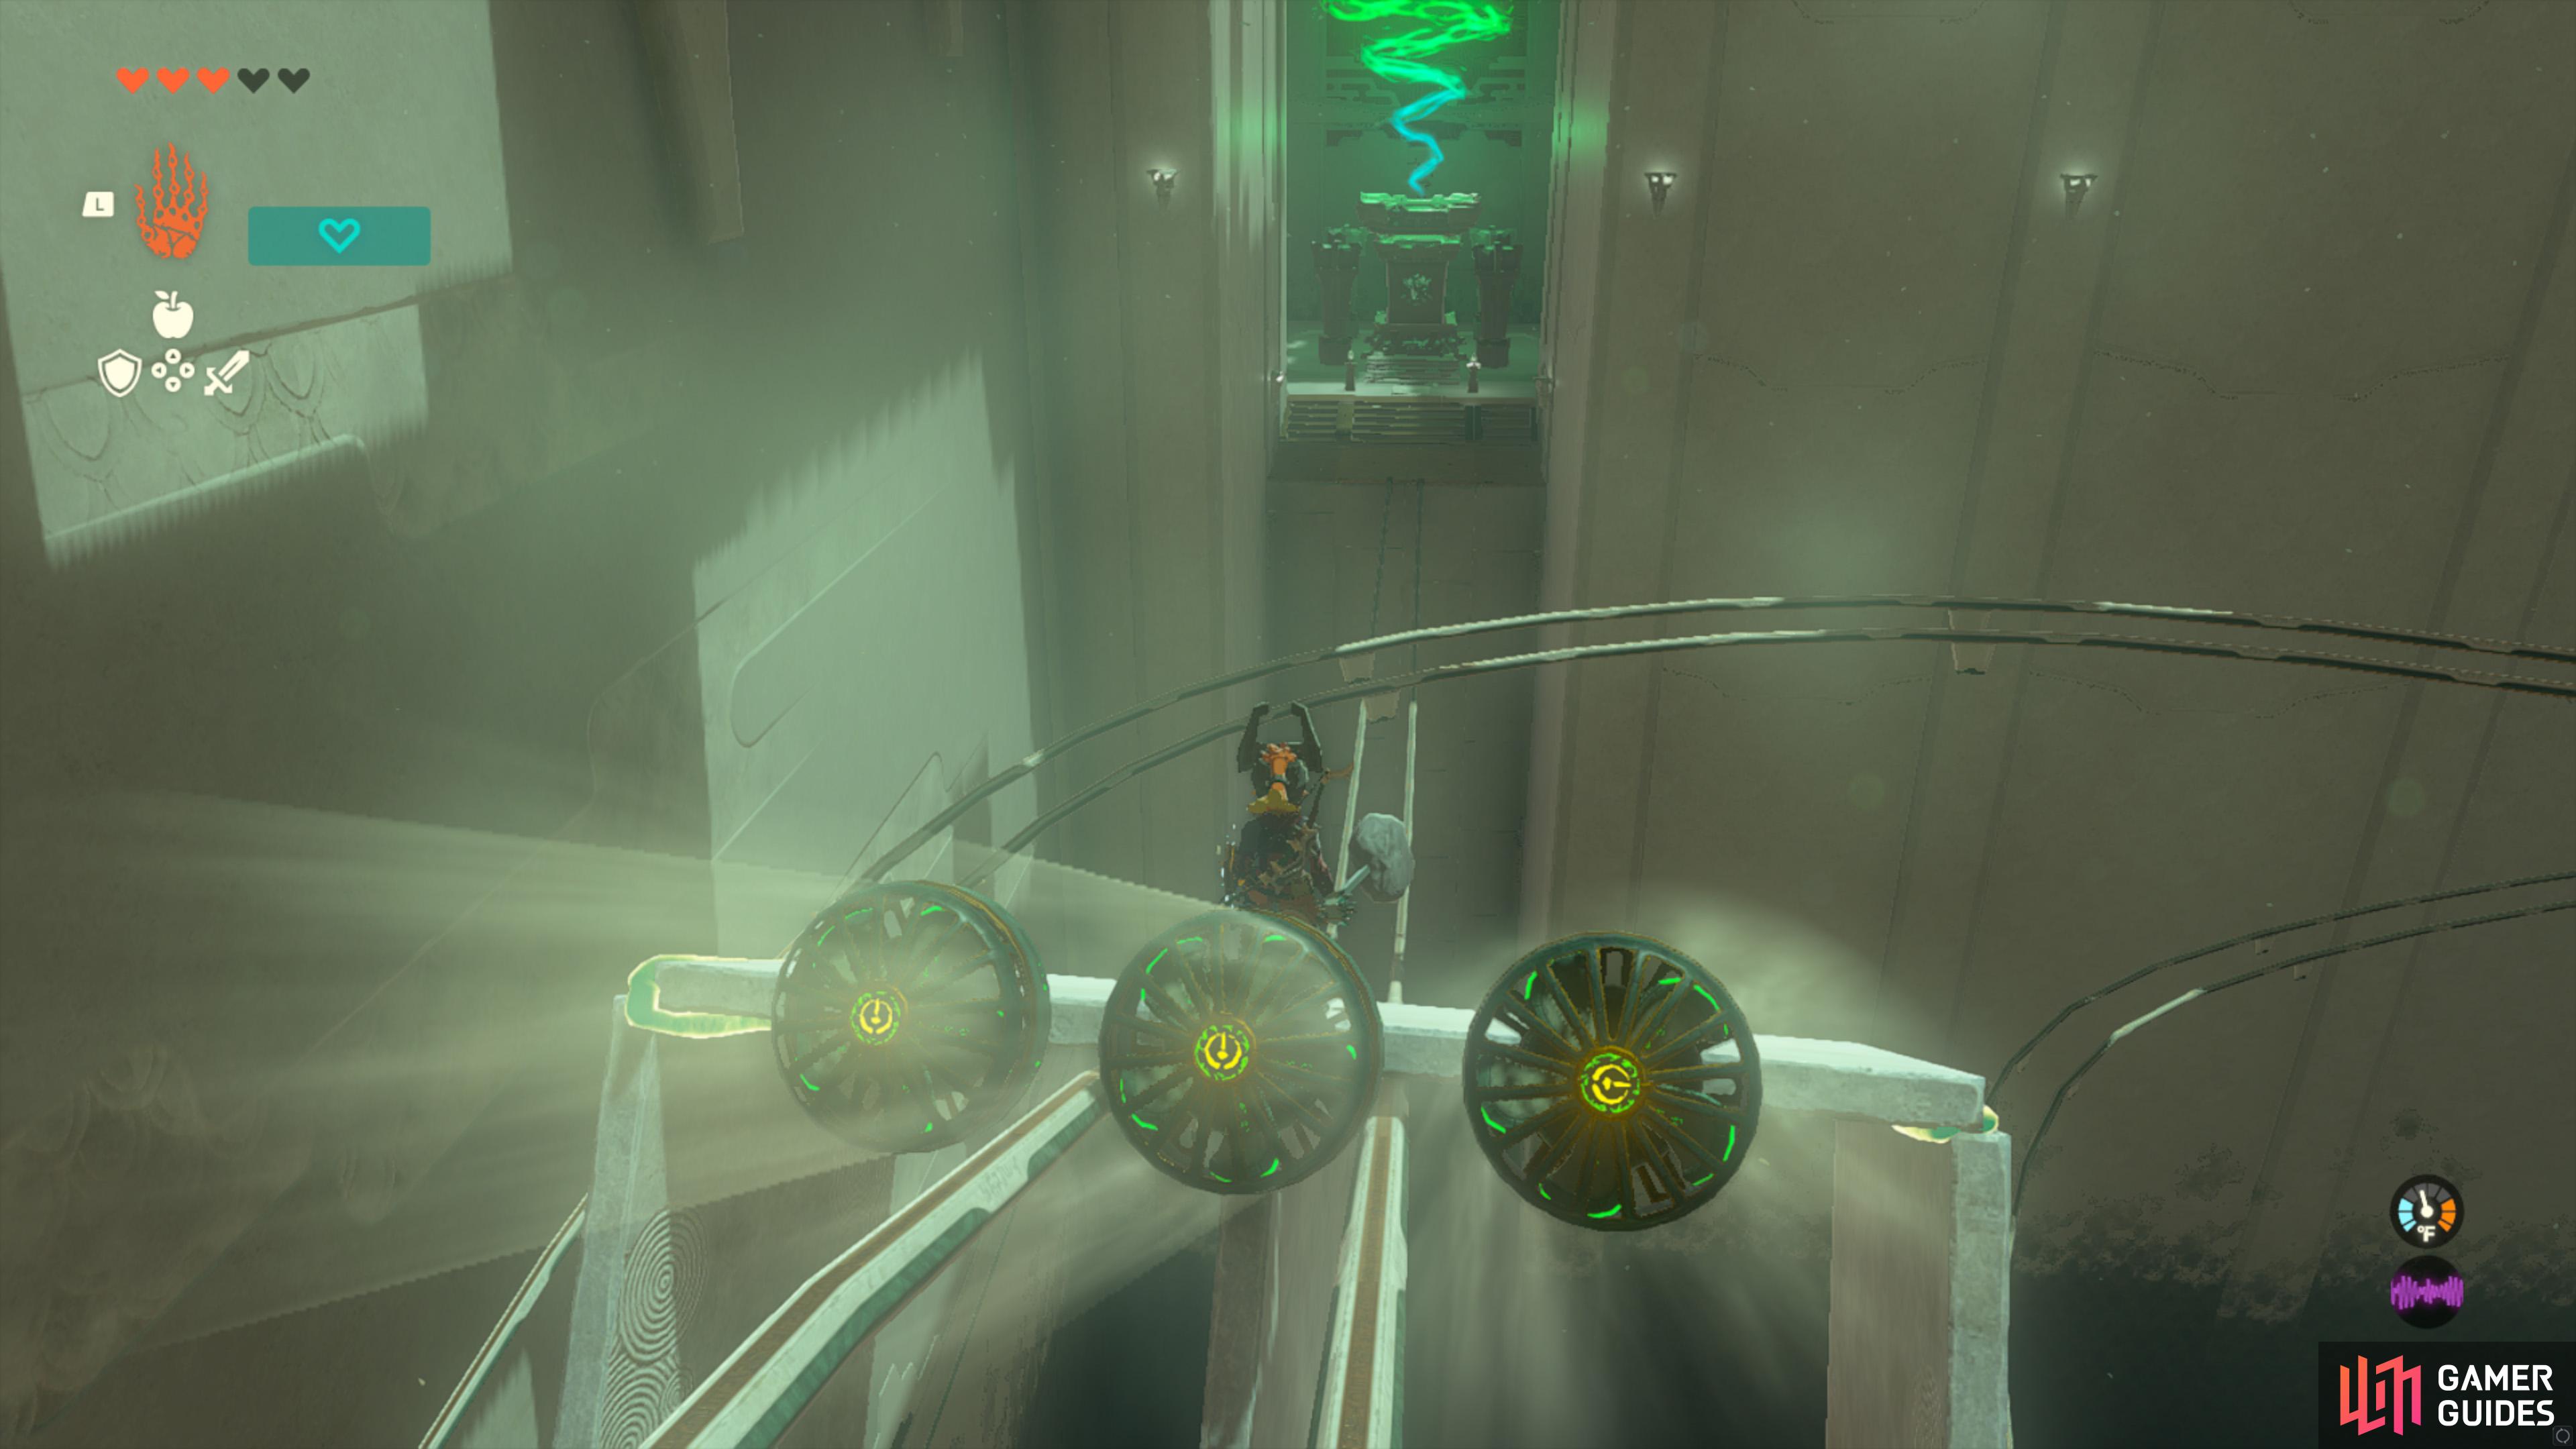
Jiukoum Shrine |
Built for Rails.
Map(s)
Location
Chest Rewards
1×
Completion Reward
1×
|
|
|||||||||||||||||||||||||||||||||||||||||||||||||||||||||||||||||||||||||||||||||||||||||||||||

|
Jochi-ihiga Shrine |
Map(s)
|
||||||||||||||||||||||||||||||||||||||||||||||||||||||||||||||||||||||||||||||||||||||||||||||||

|
Jochisiu Shrine |
You must complete the nearby
Map(s)
|
||||||||||||||||||||||||||||||||||||||||||||||||||||||||||||||||||||||||||||||||||||||||||||||||

|
Jogou Shrine |
Map(s)
|
||||||||||||||||||||||||||||||||||||||||||||||||||||||||||||||||||||||||||||||||||||||||||||||||

|
Joju-u-u Shrine |
Map(s)
|
||||||||||||||||||||||||||||||||||||||||||||||||||||||||||||||||||||||||||||||||||||||||||||||||

|
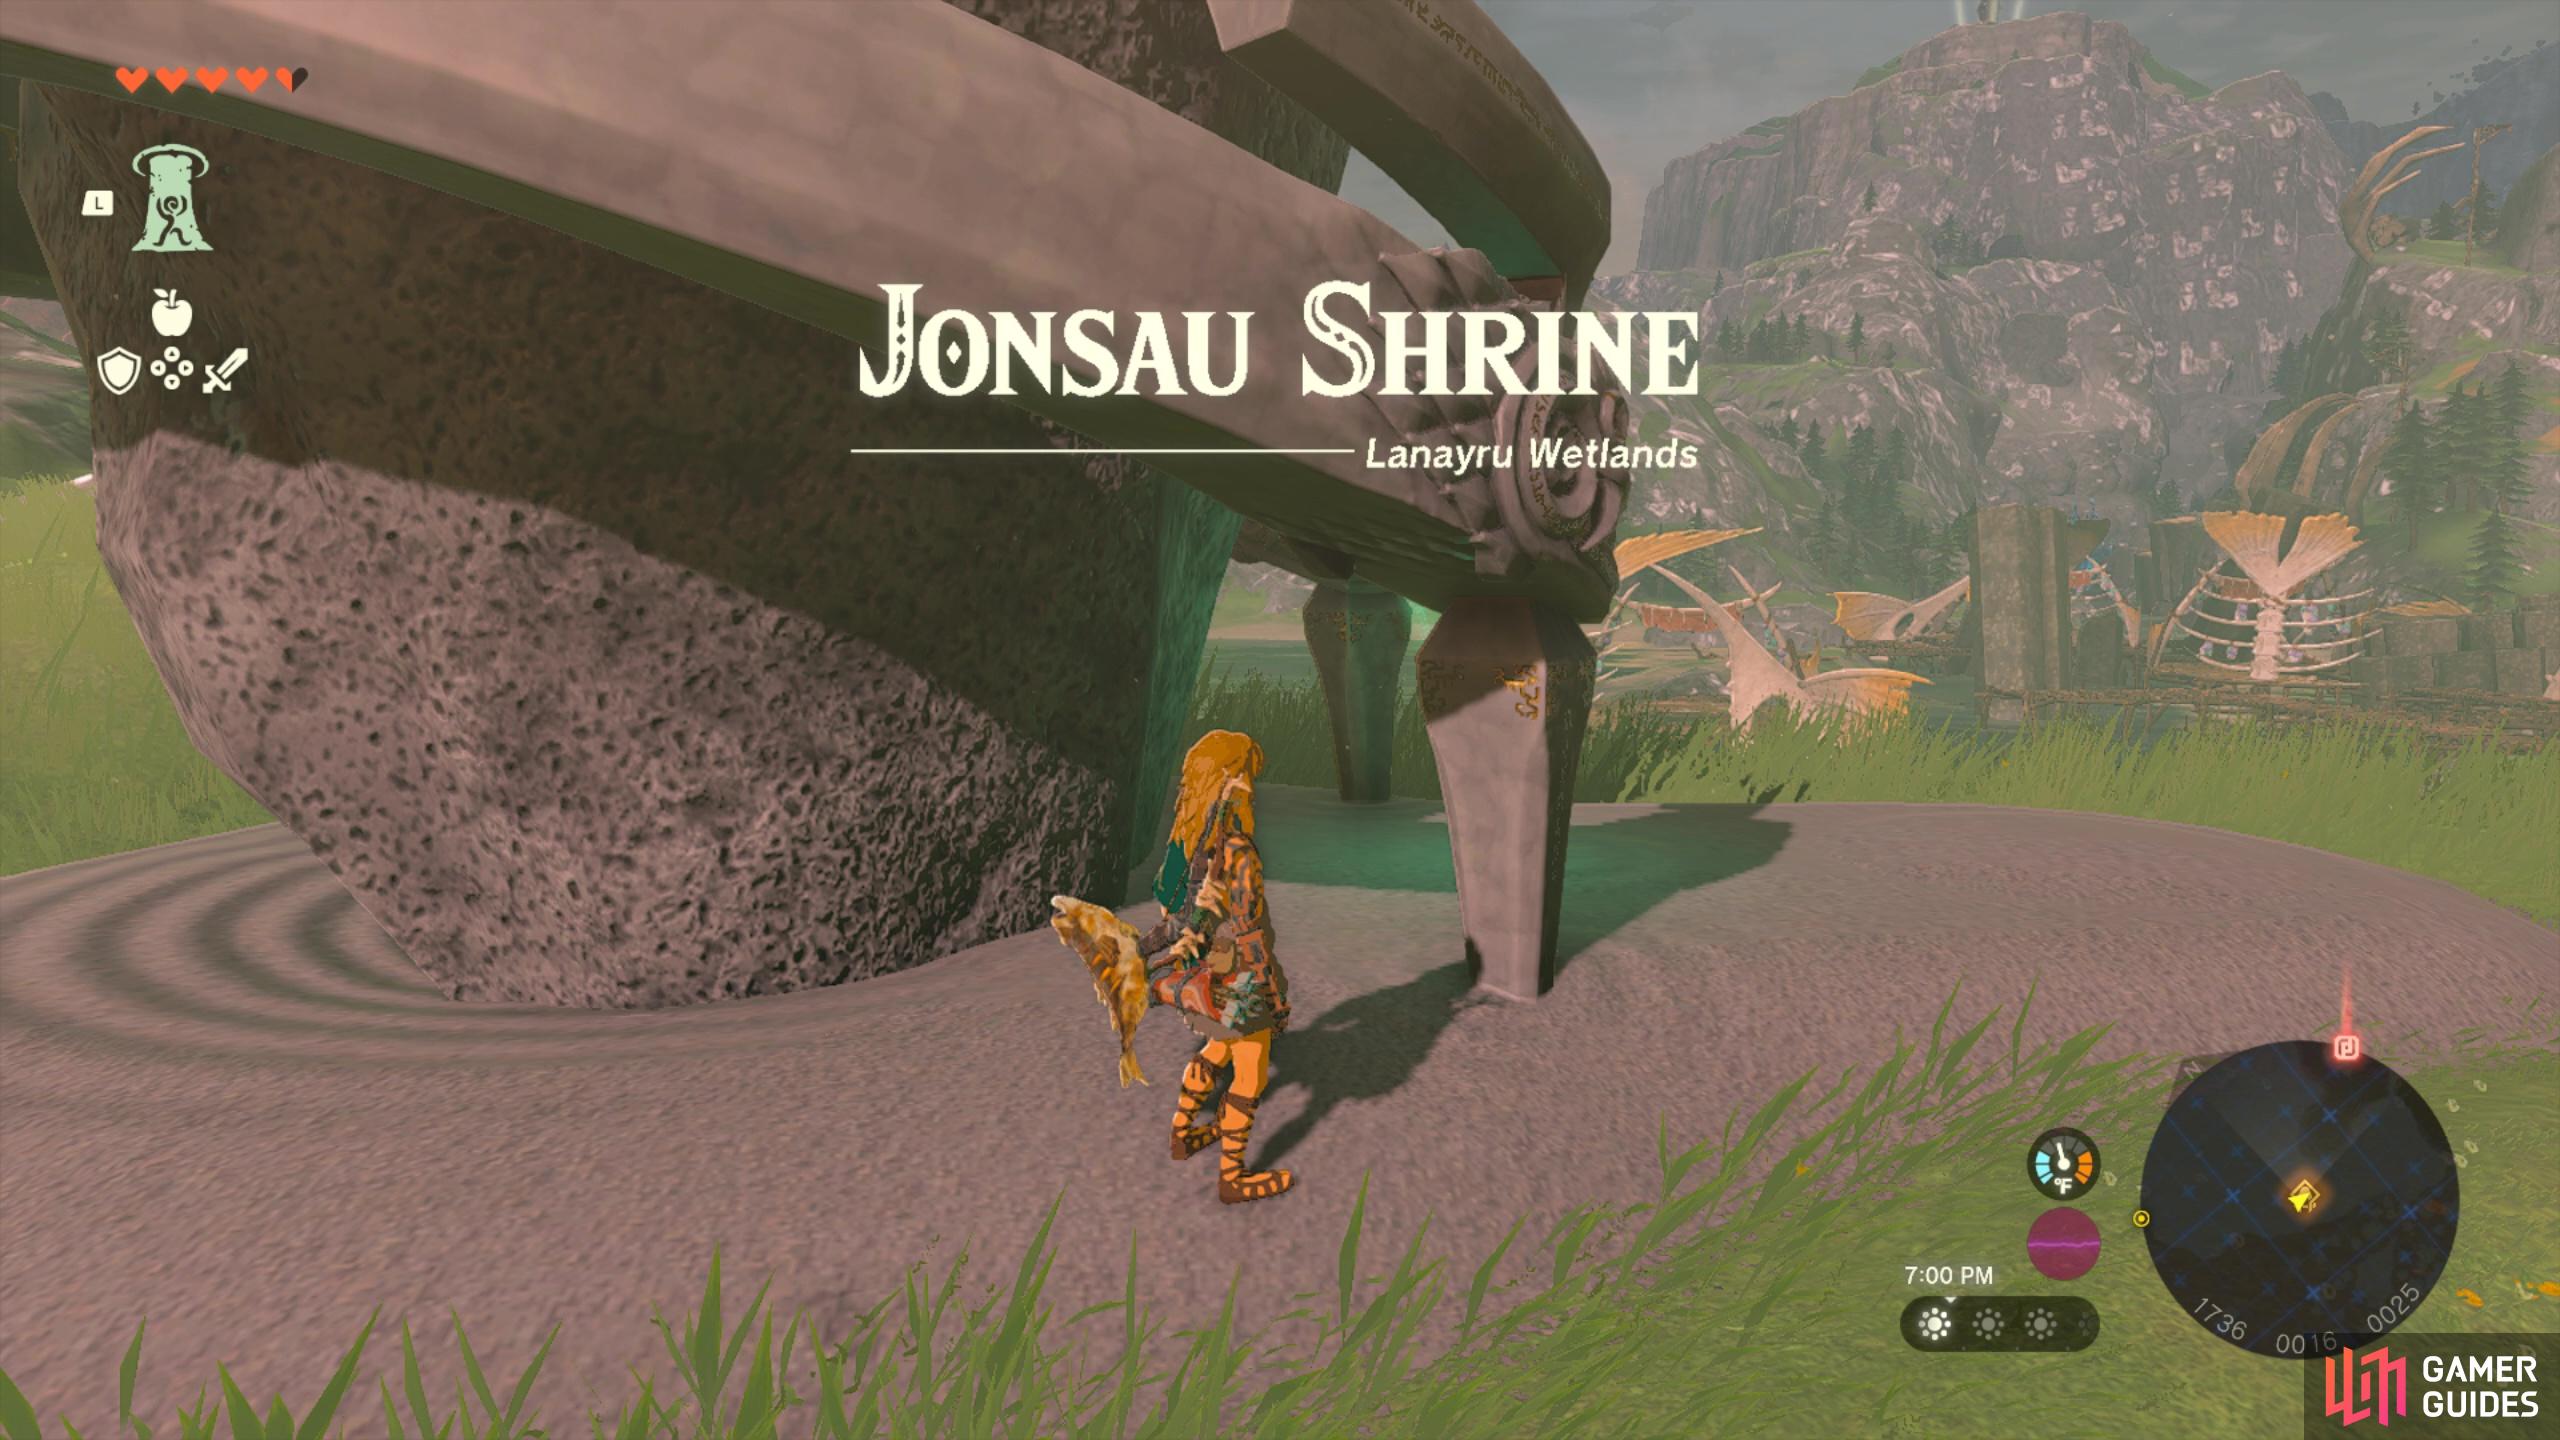
Jonsau Shrine |
This shrine is found in Lanayru Wetlands. To complete this shrine, you’ll need to complete a series of puzzles using floating/bouncing objects. Head over to our guide on how to complete Jonsau Shrine for more information.
Map(s)
|
|
|||||||||||||||||||||||||||||||||||||||||||||||||||||||||||||||||||||||||||||||||||||||||||||||

|
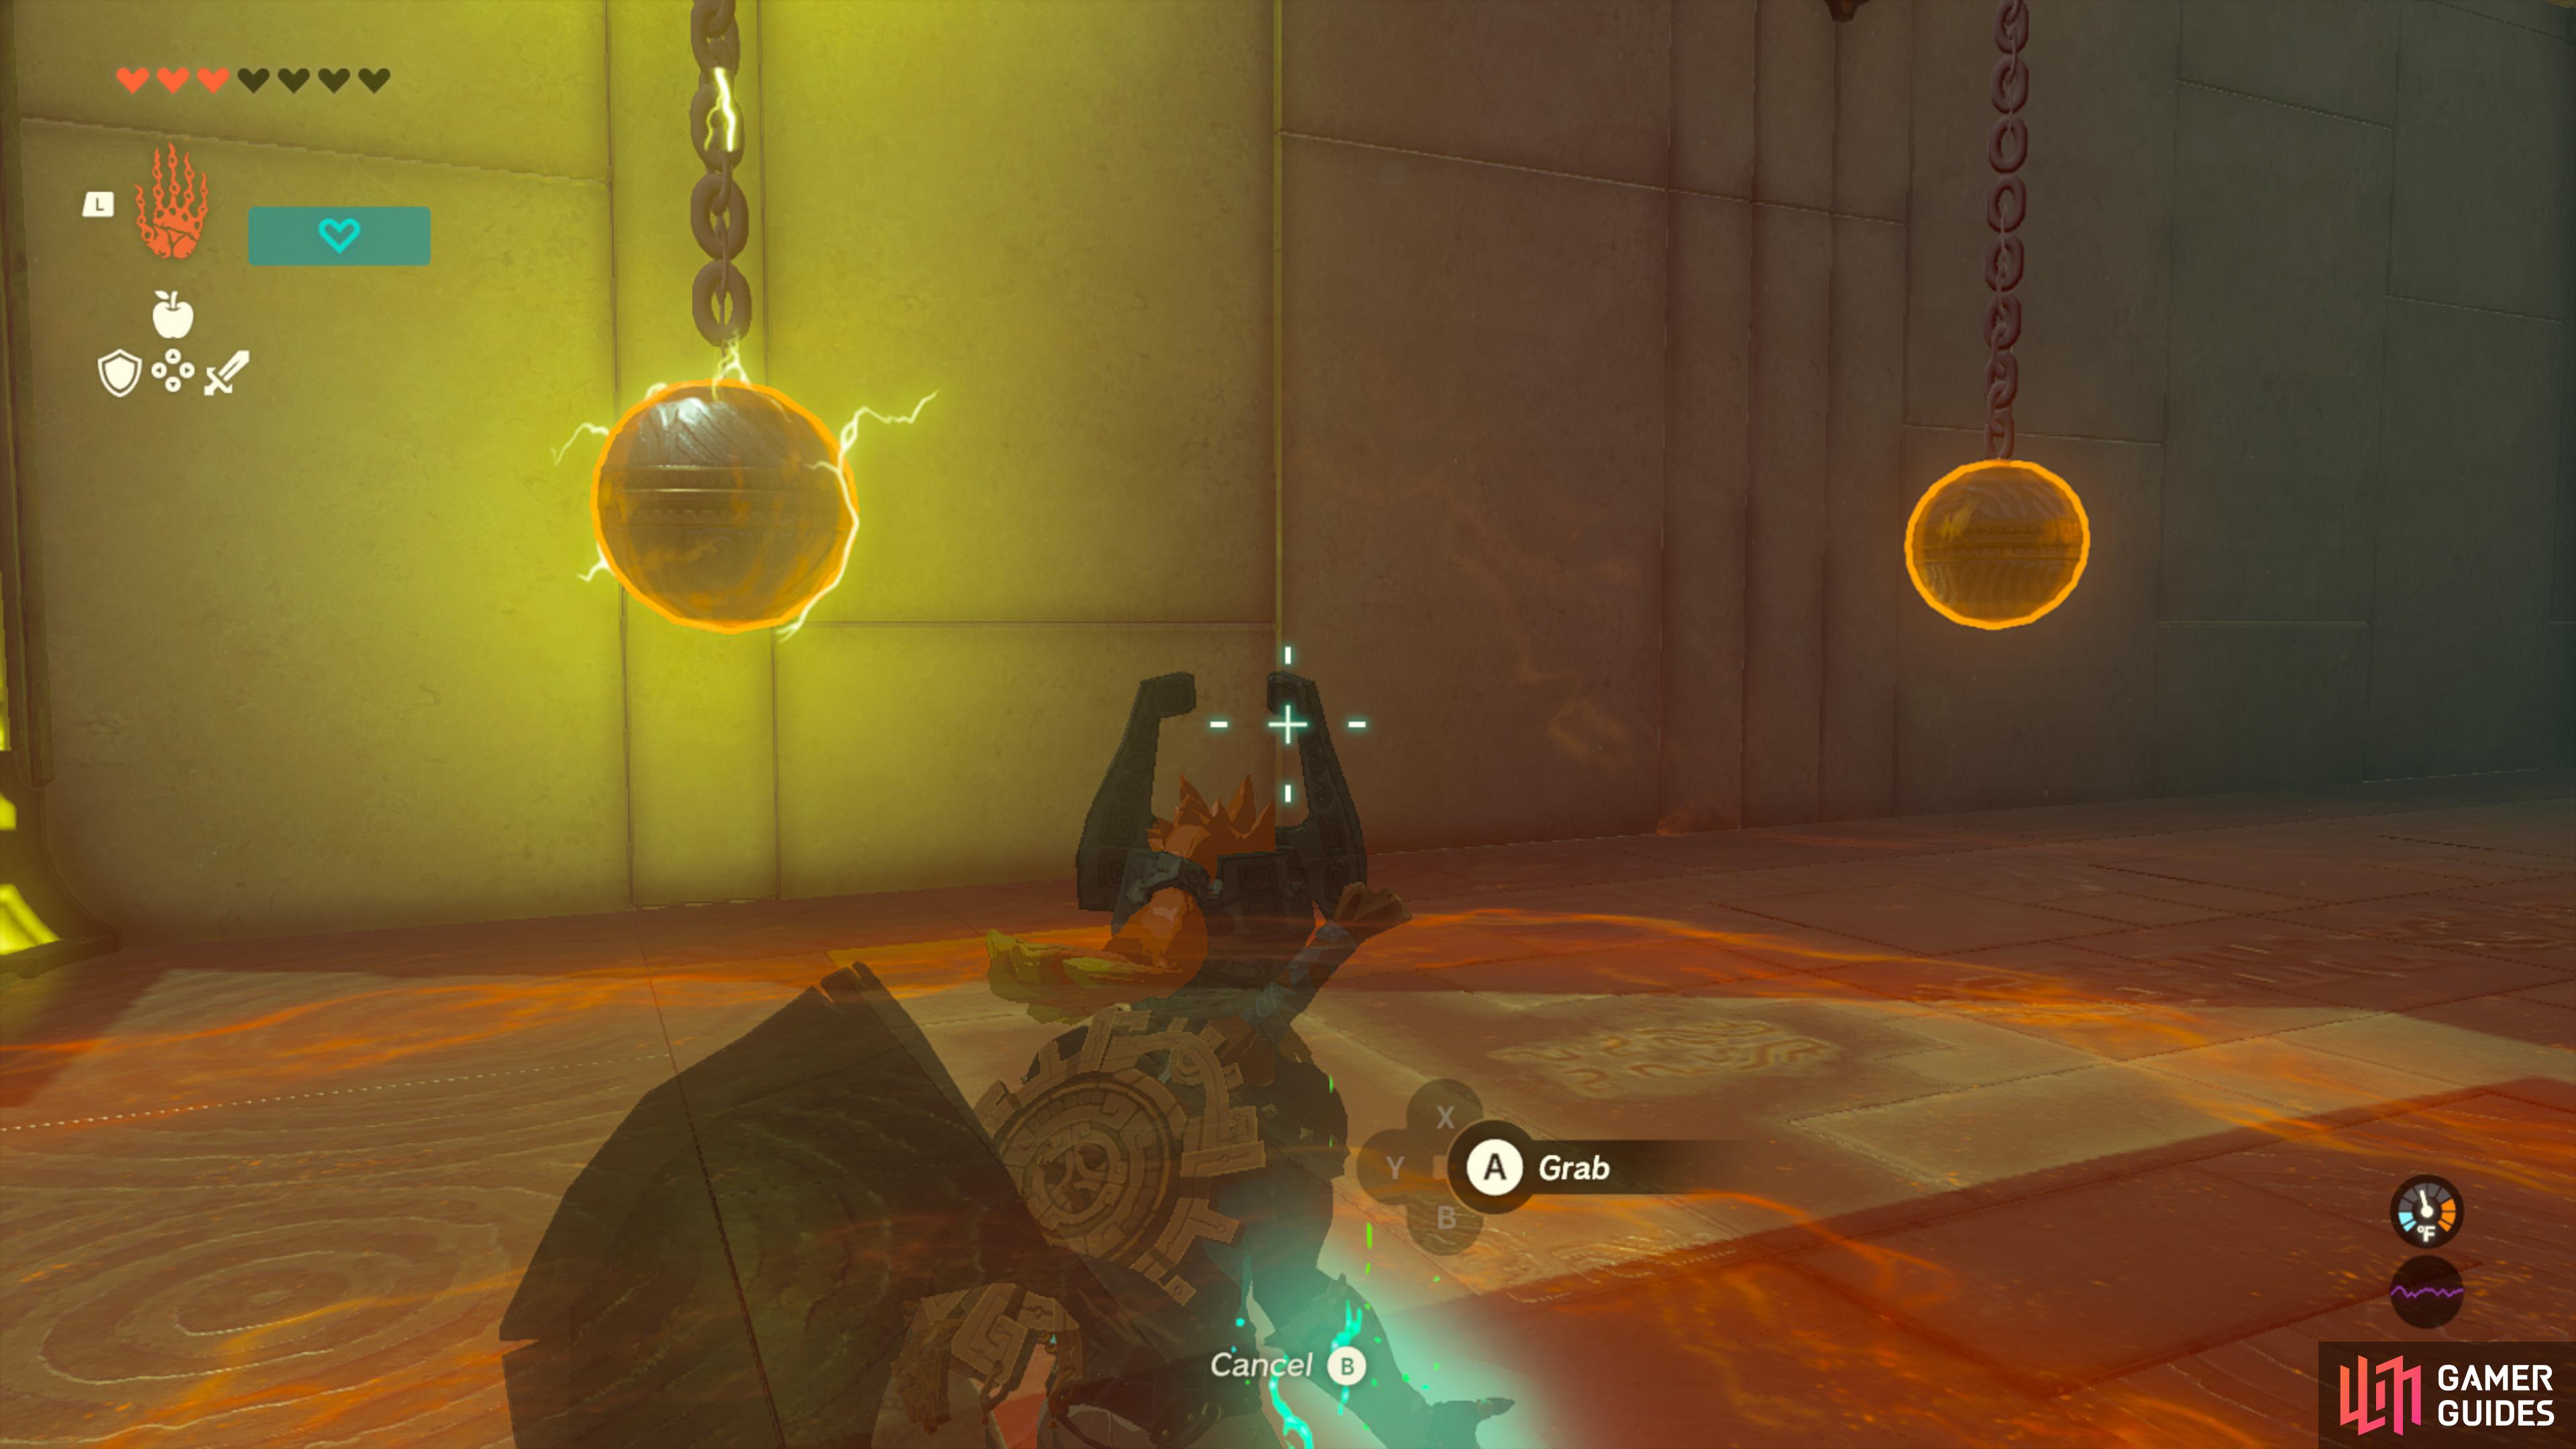
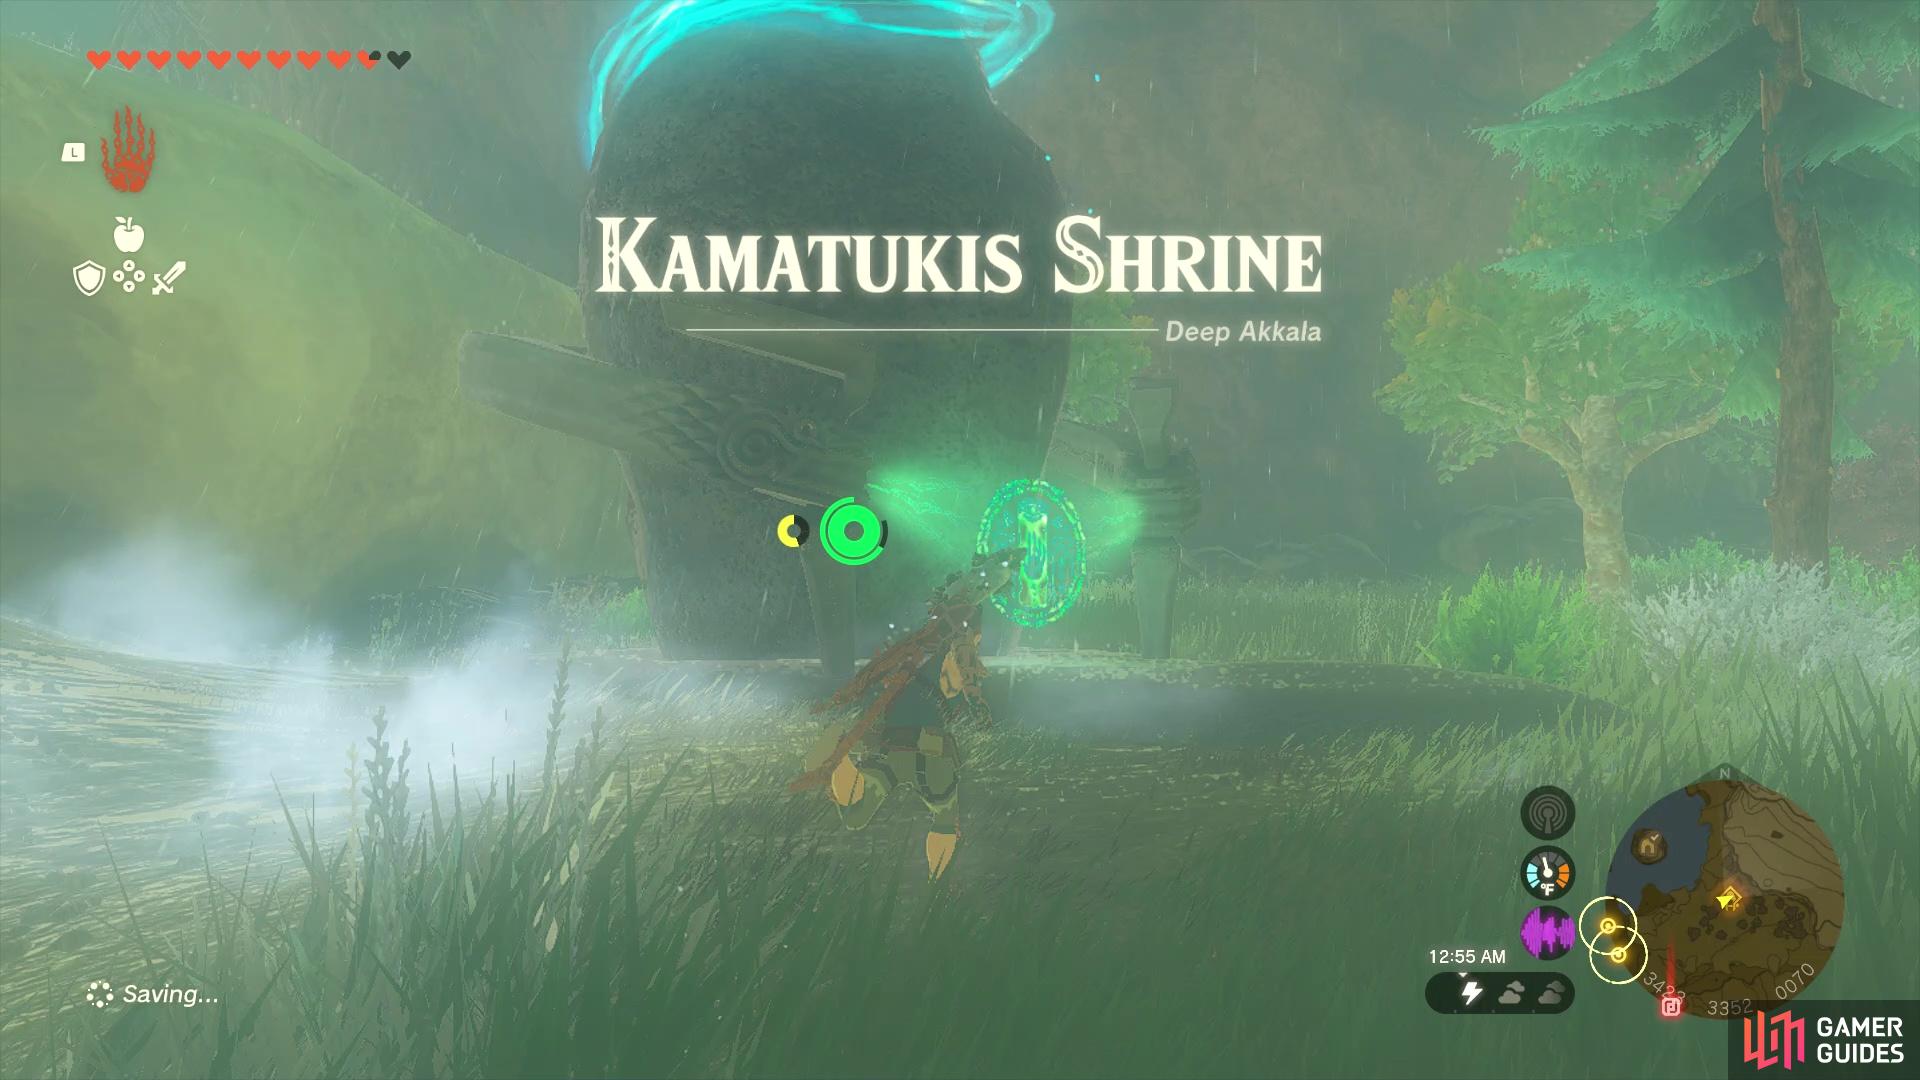
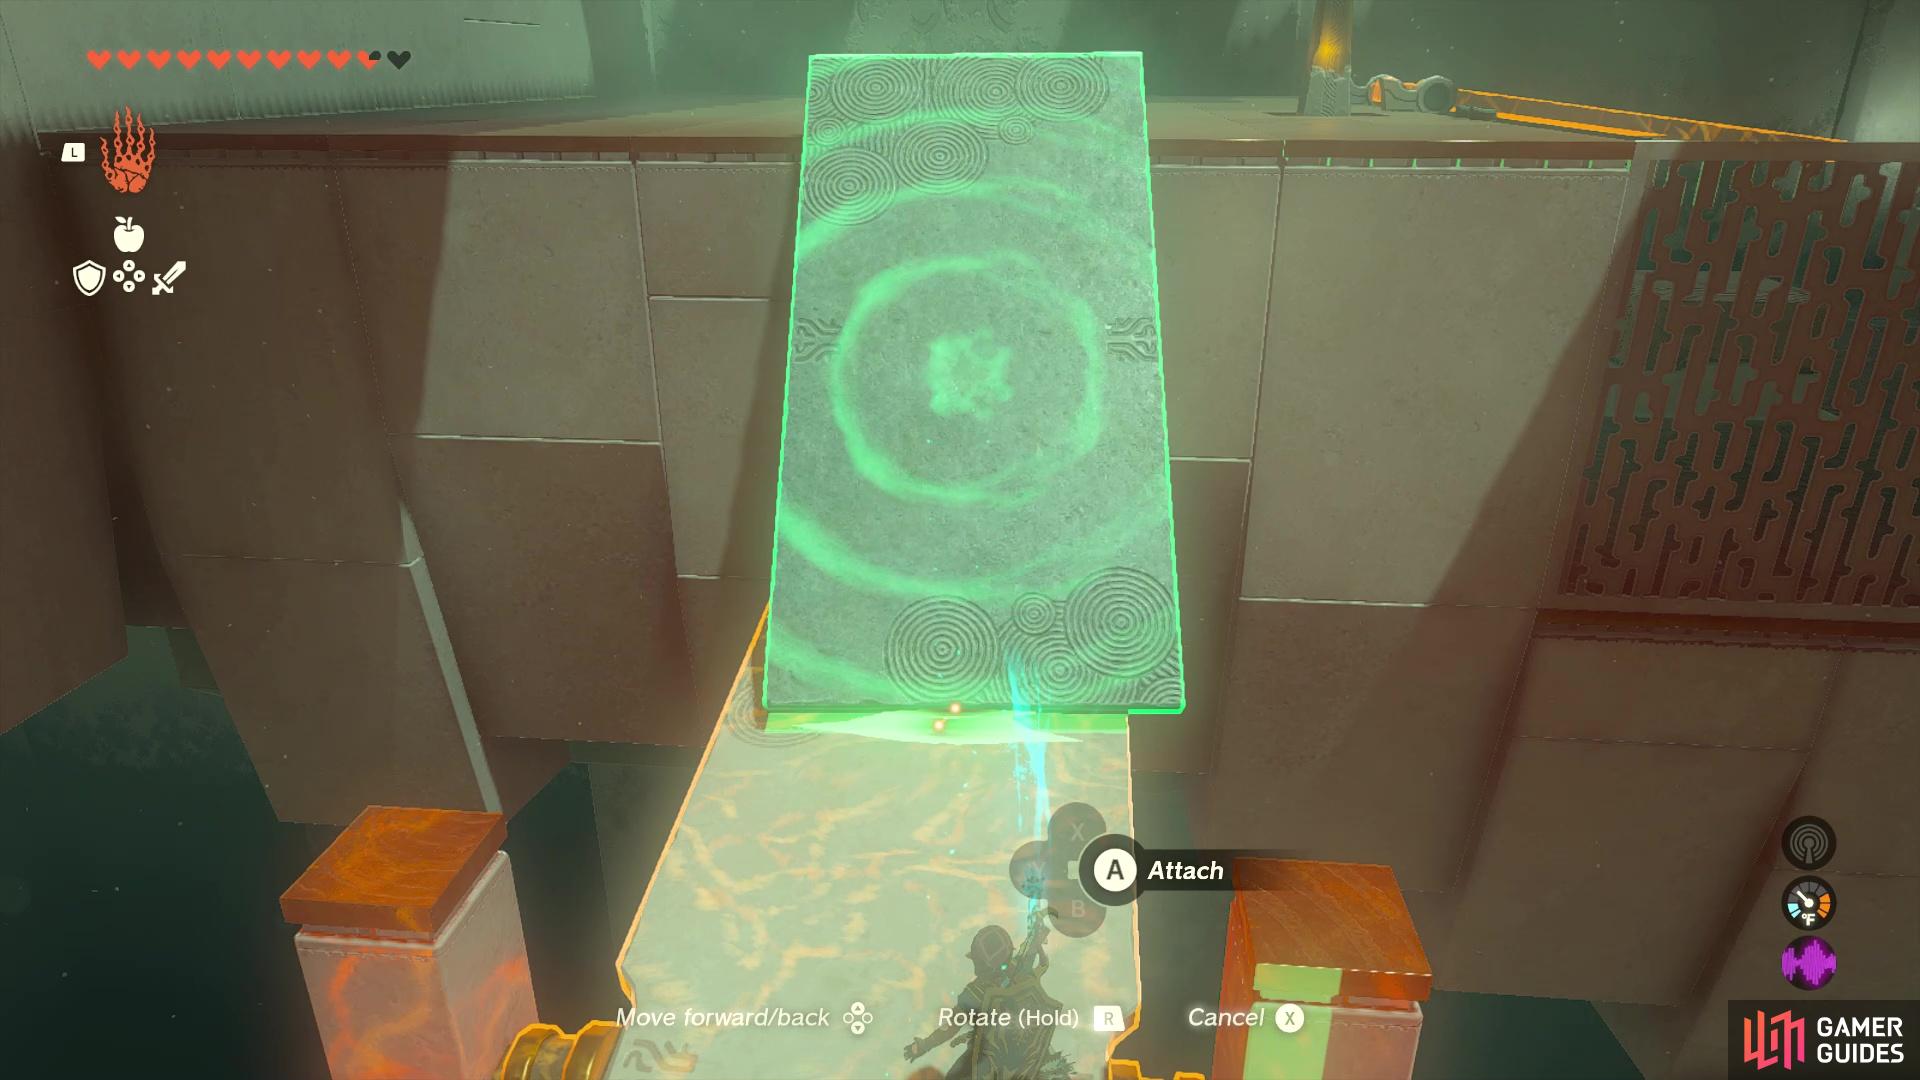
Kamatukis Shrine |
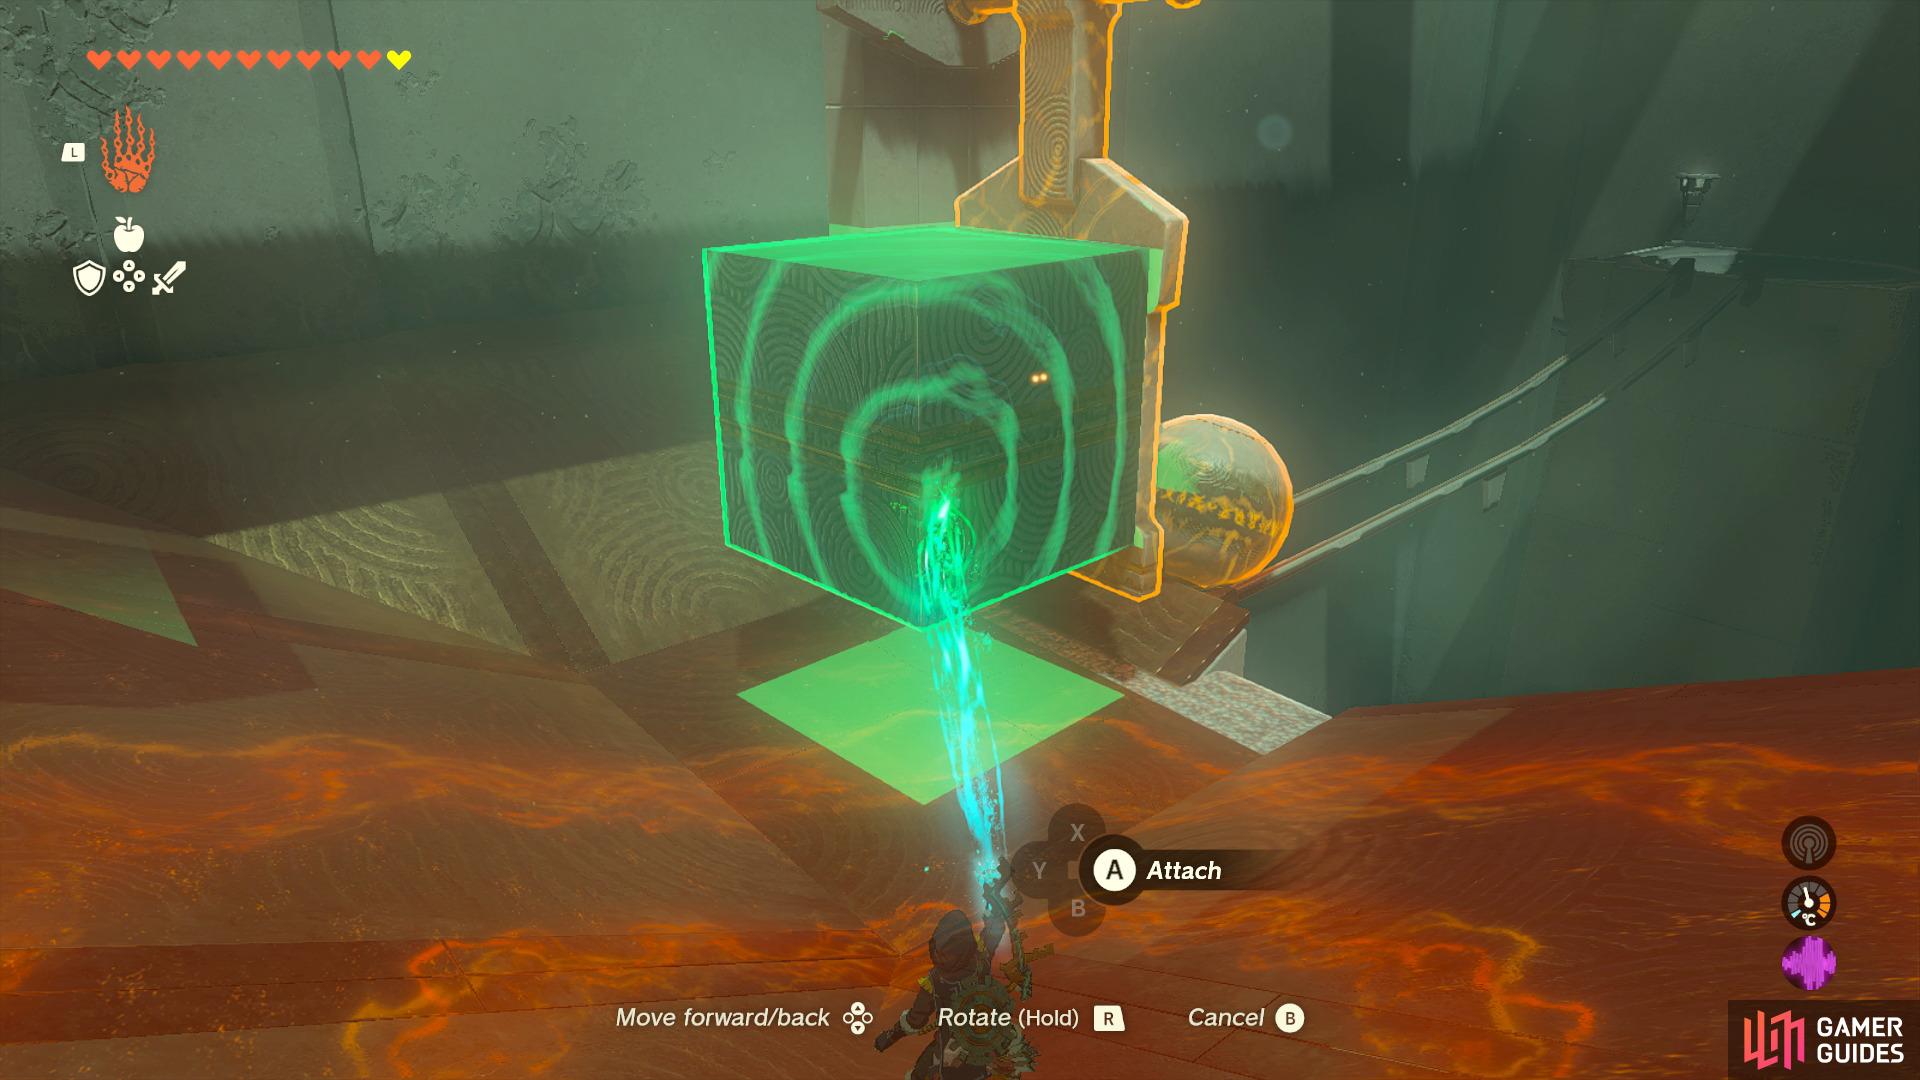
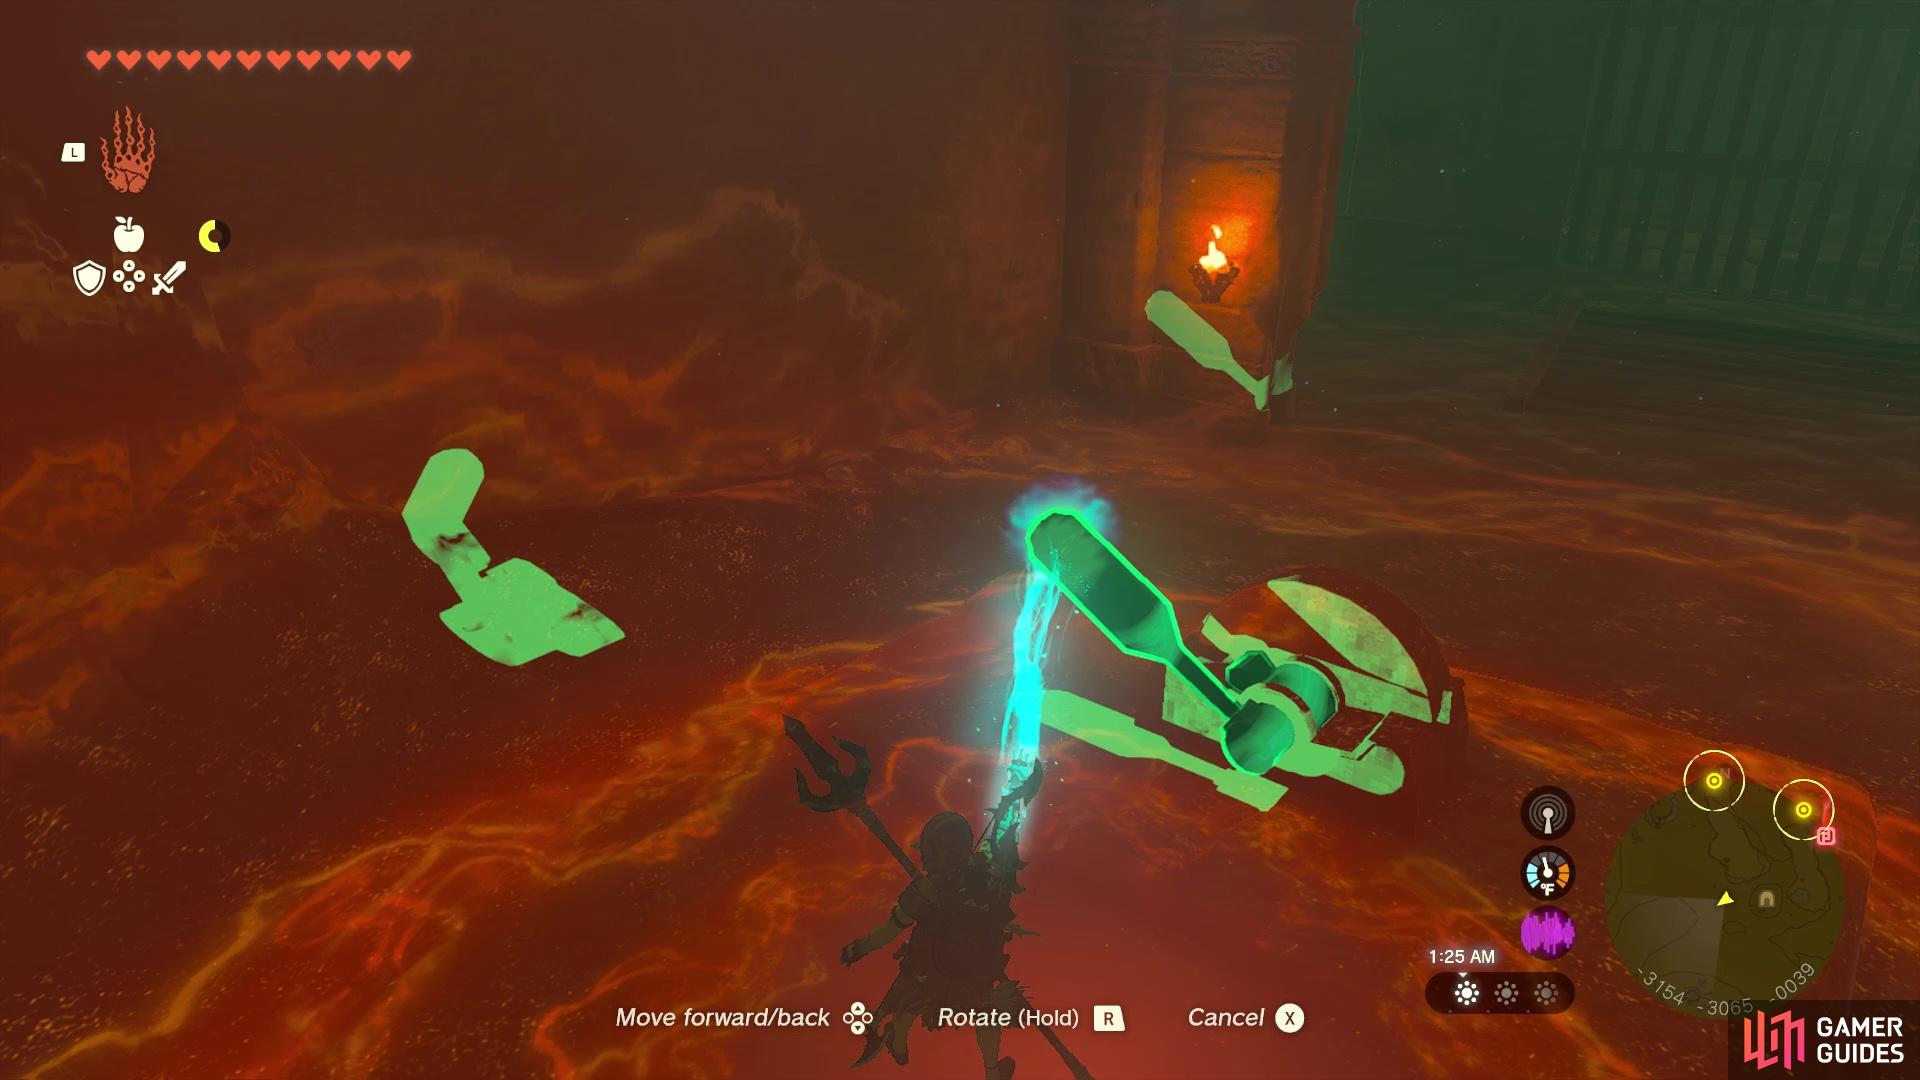
Found right next to Skull Lake, in the Akkala Region. Attach the block to the swinging device, then pull it back and let go, with it hitting the ball. The goal is to hit the ball into the hole. It may take a few tries, as you never know how your ball will move, so there is a bit of randomness to it.
Map(s)
Chest Rewards
Completion Reward
|
|
|||||||||||||||||||||||||||||||||||||||||||||||||||||||||||||||||||||||||||||||||||||||||||||||

|
Kamizun Shrine |
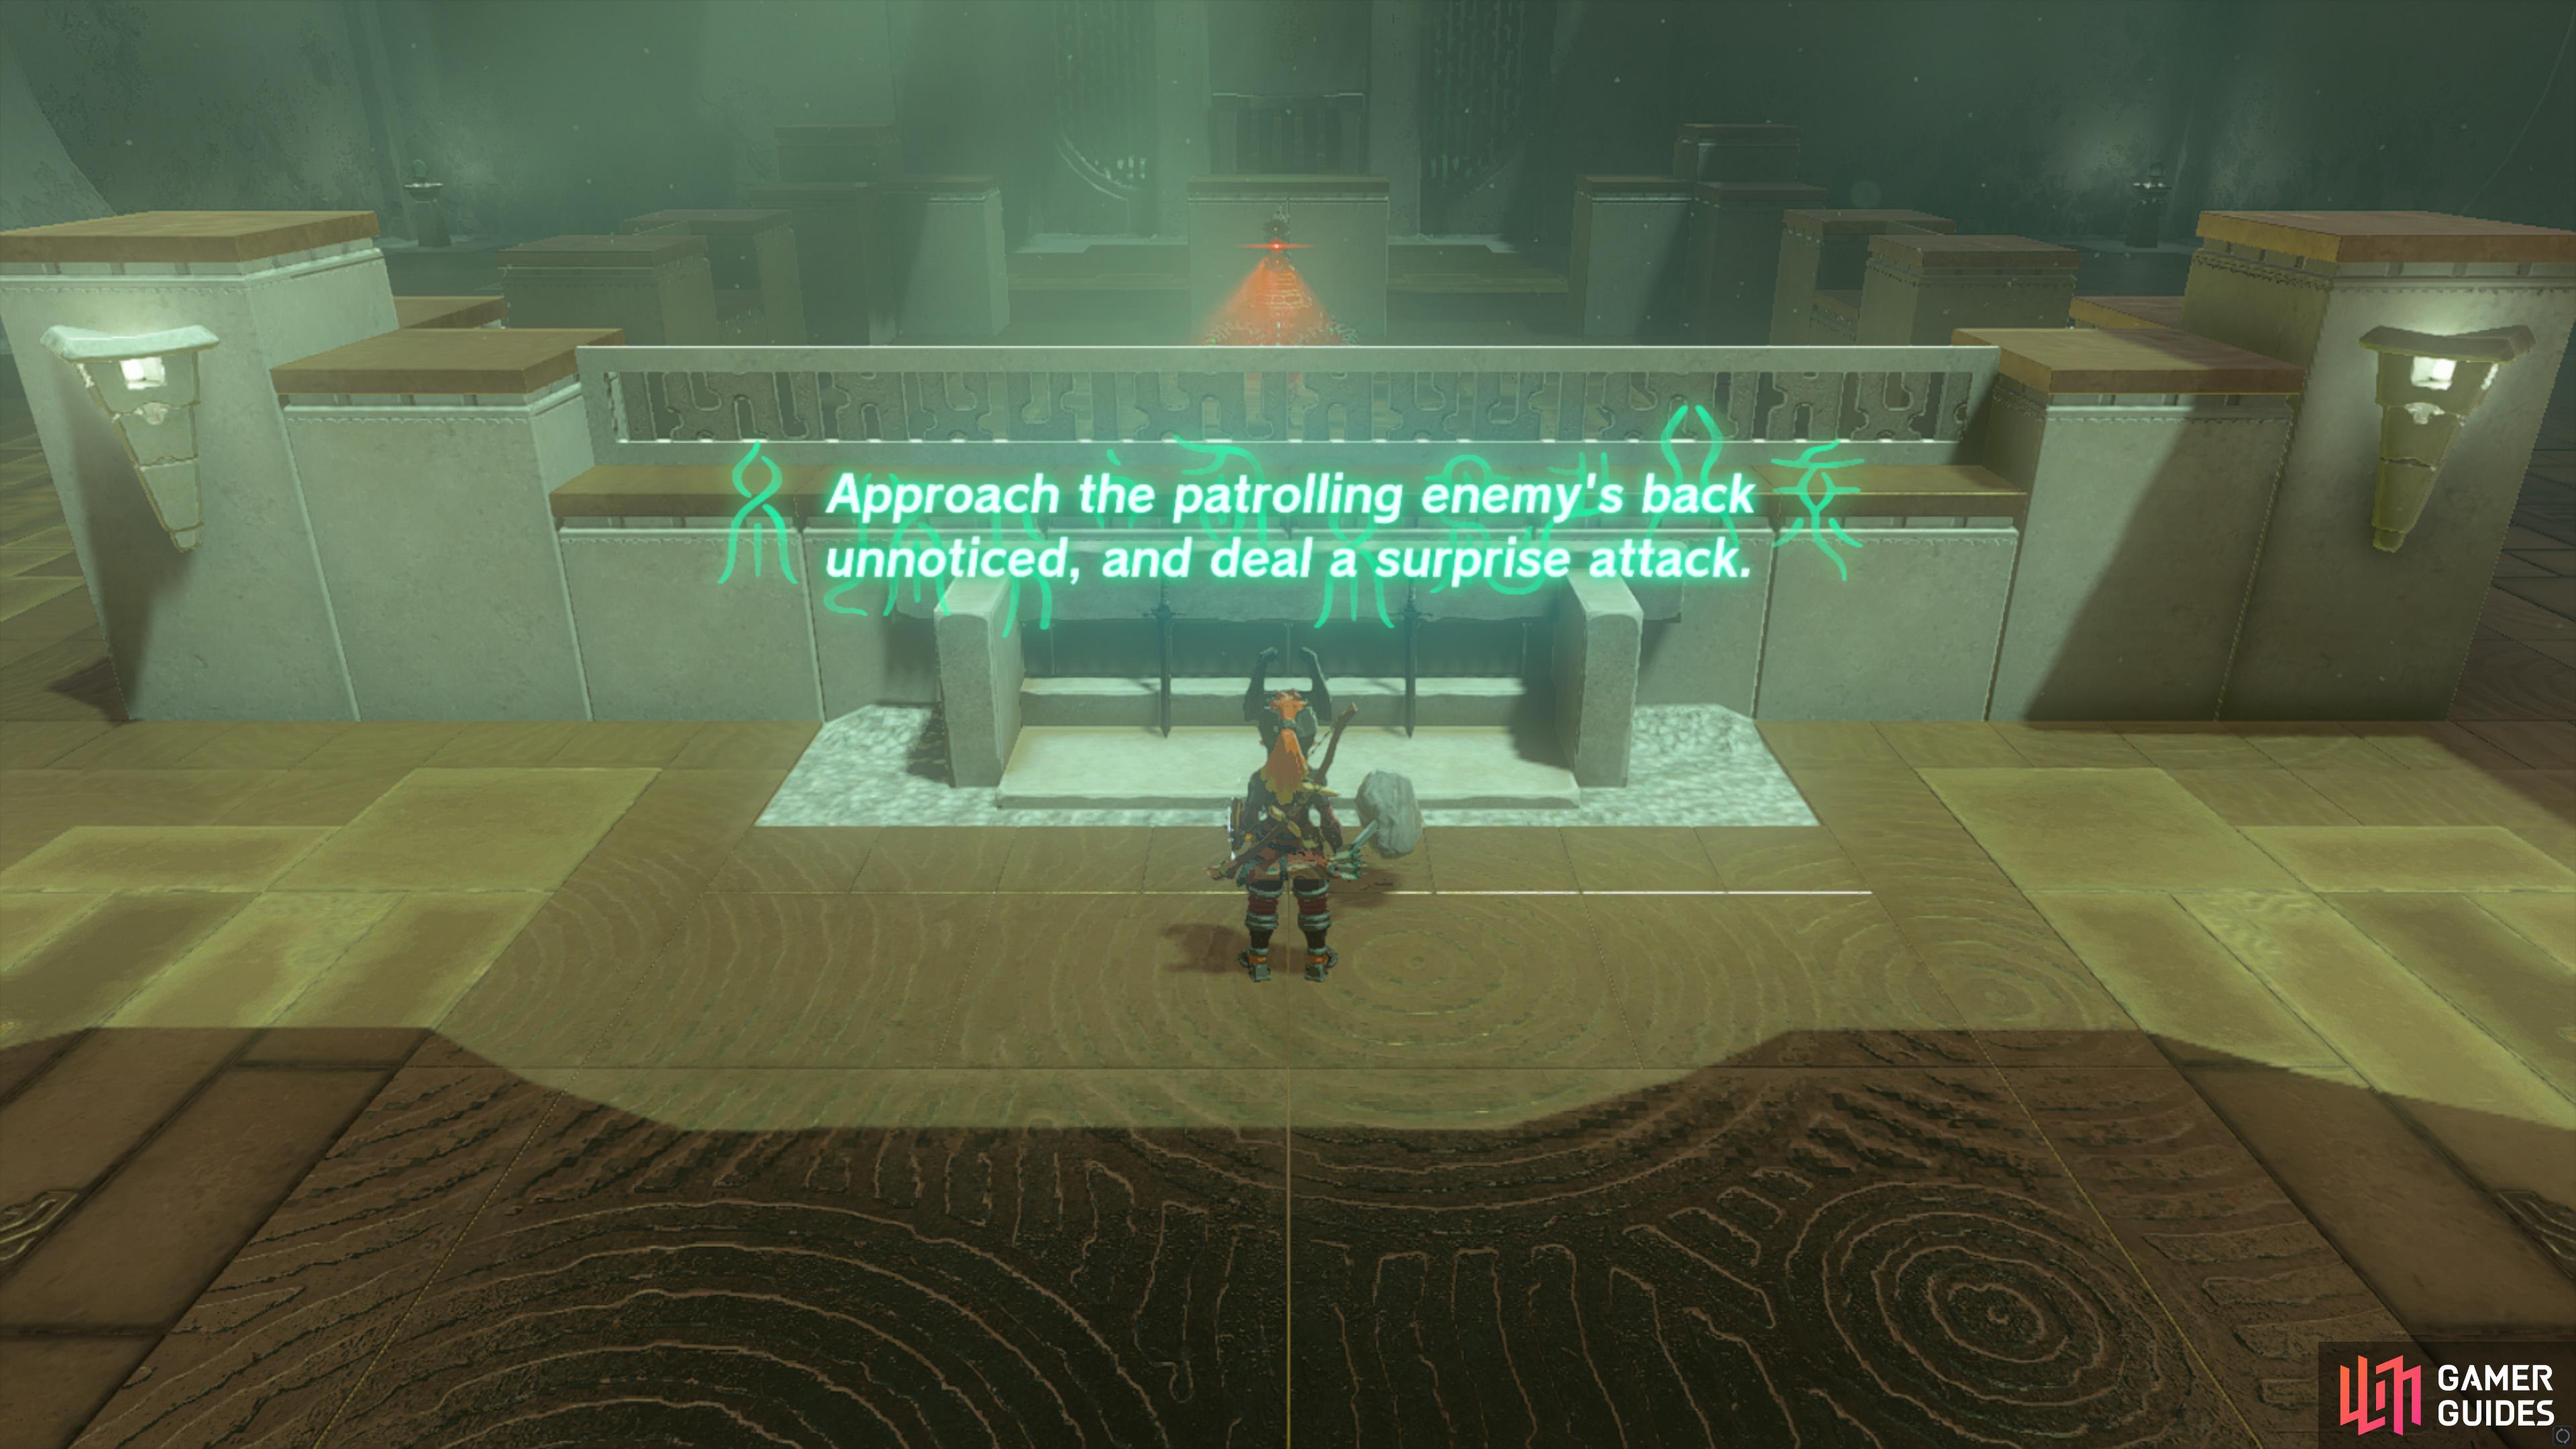
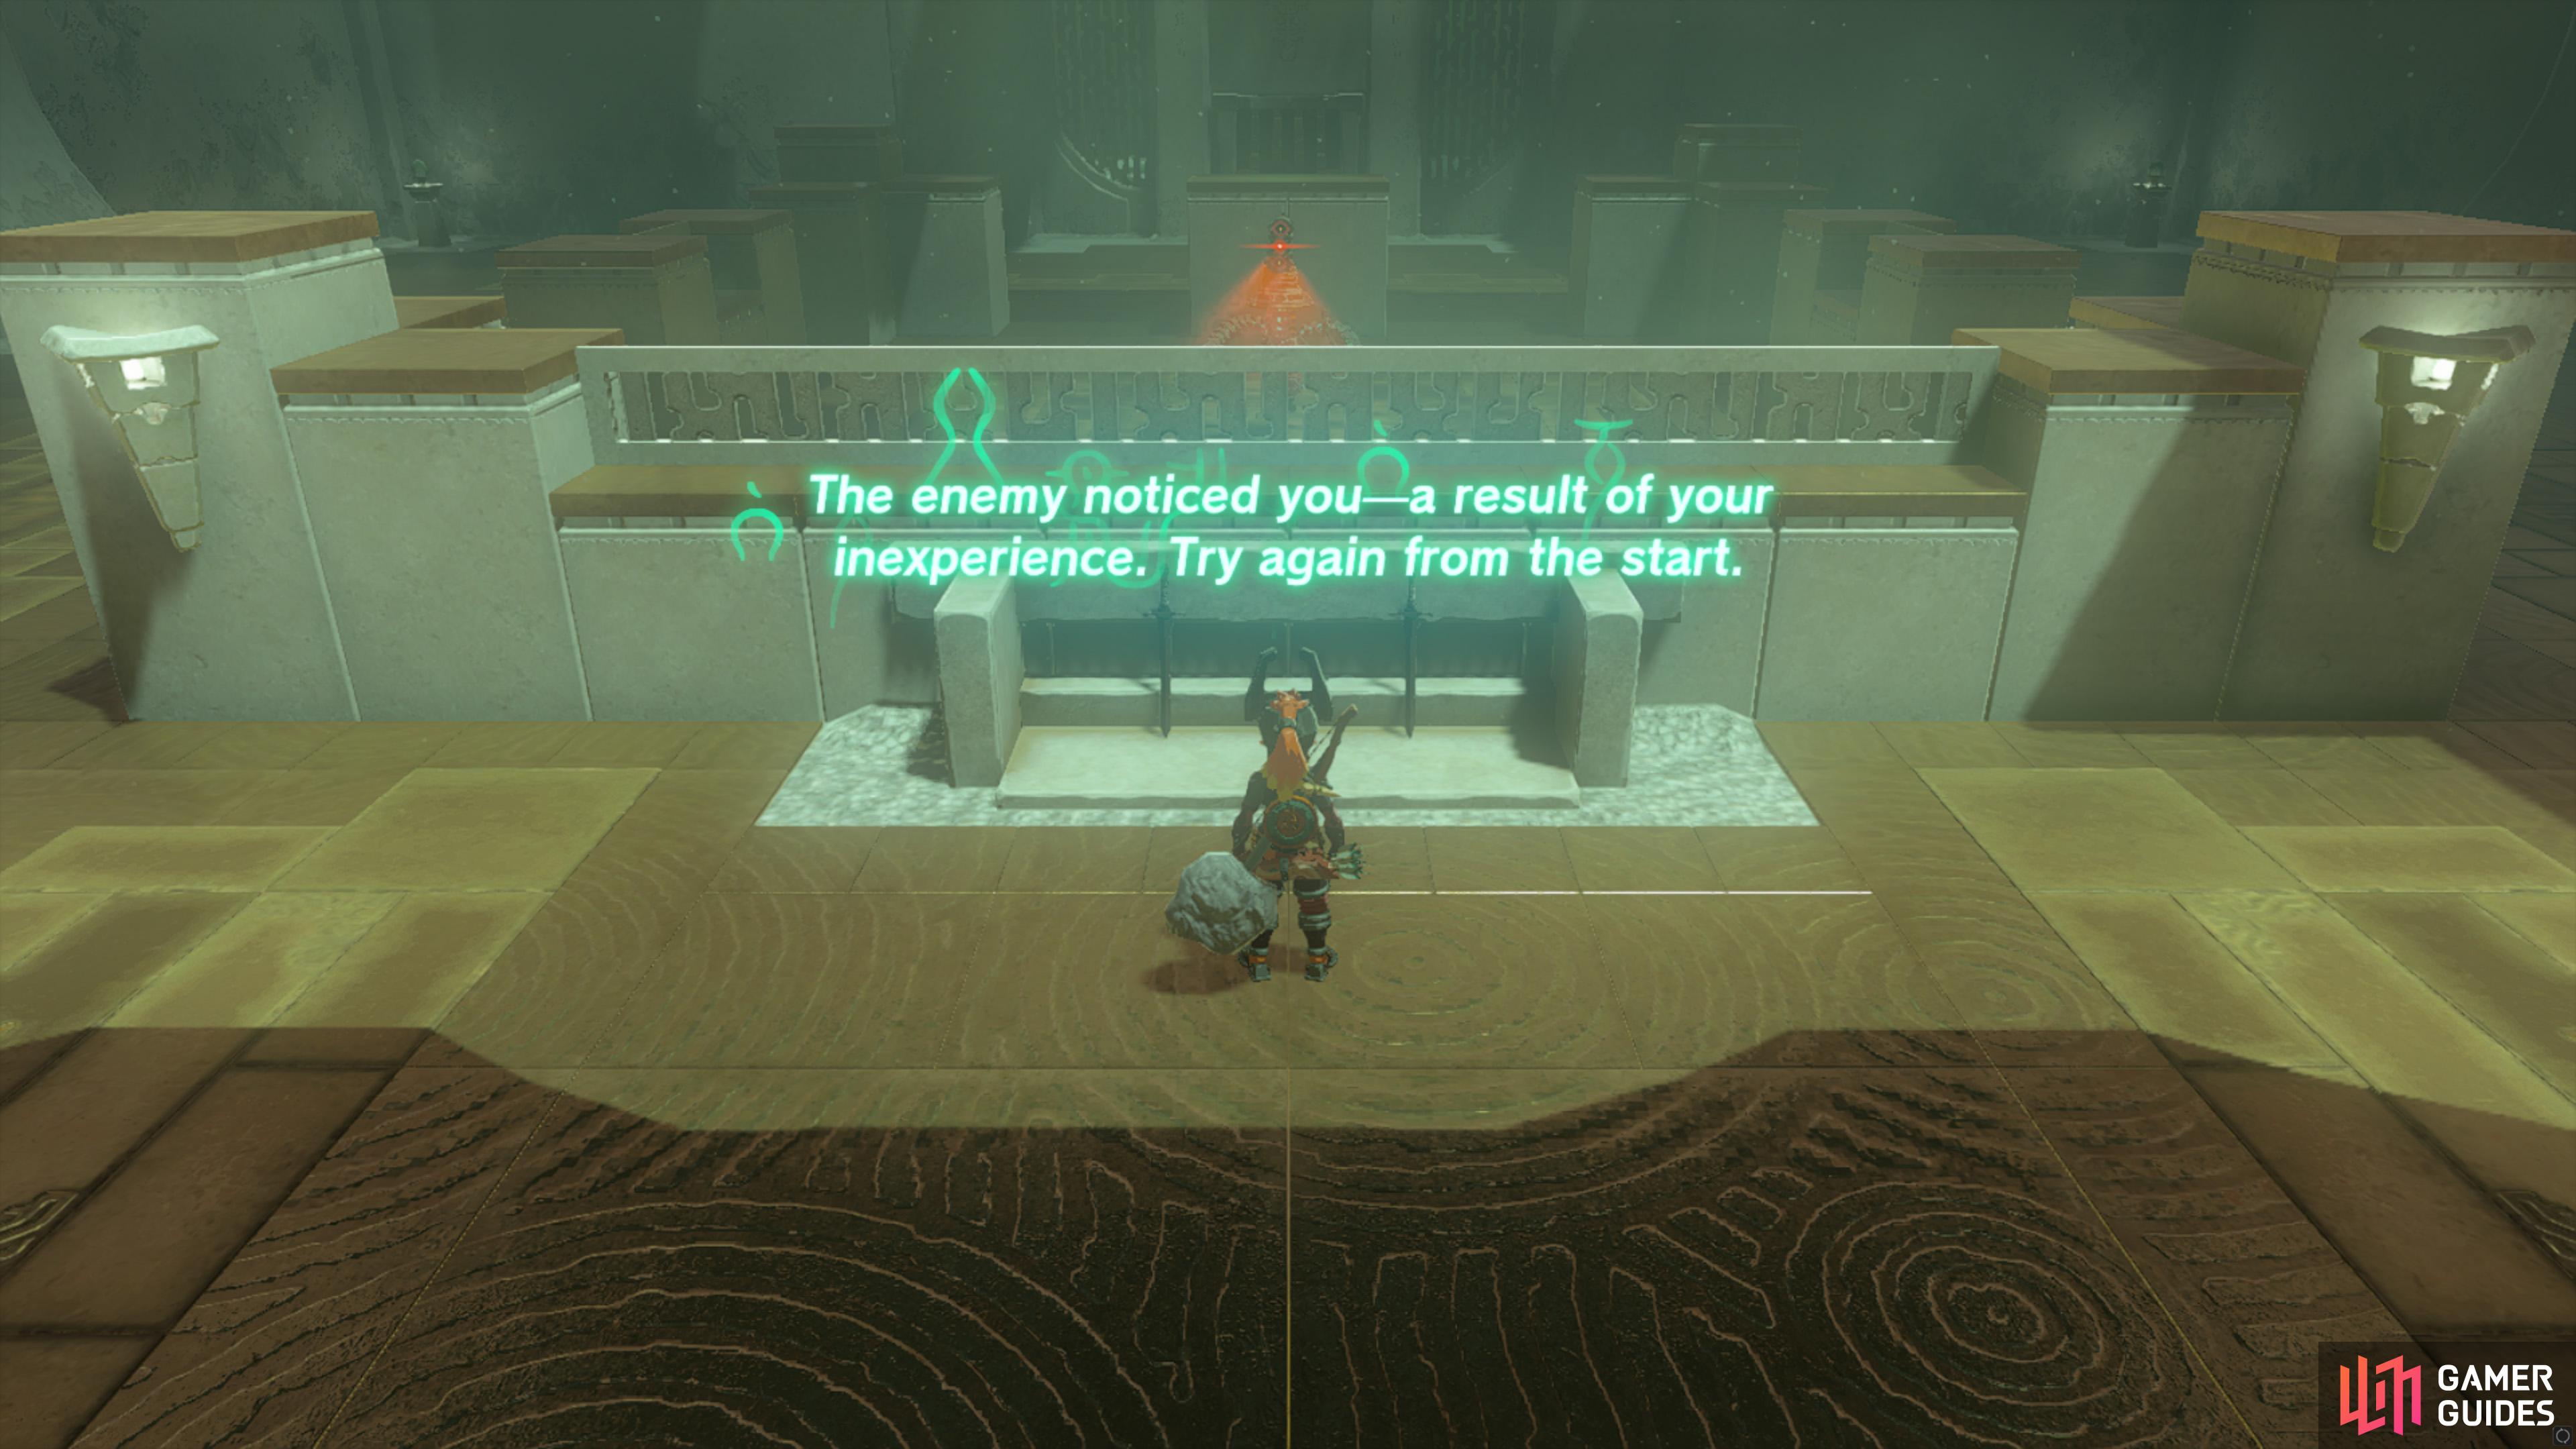
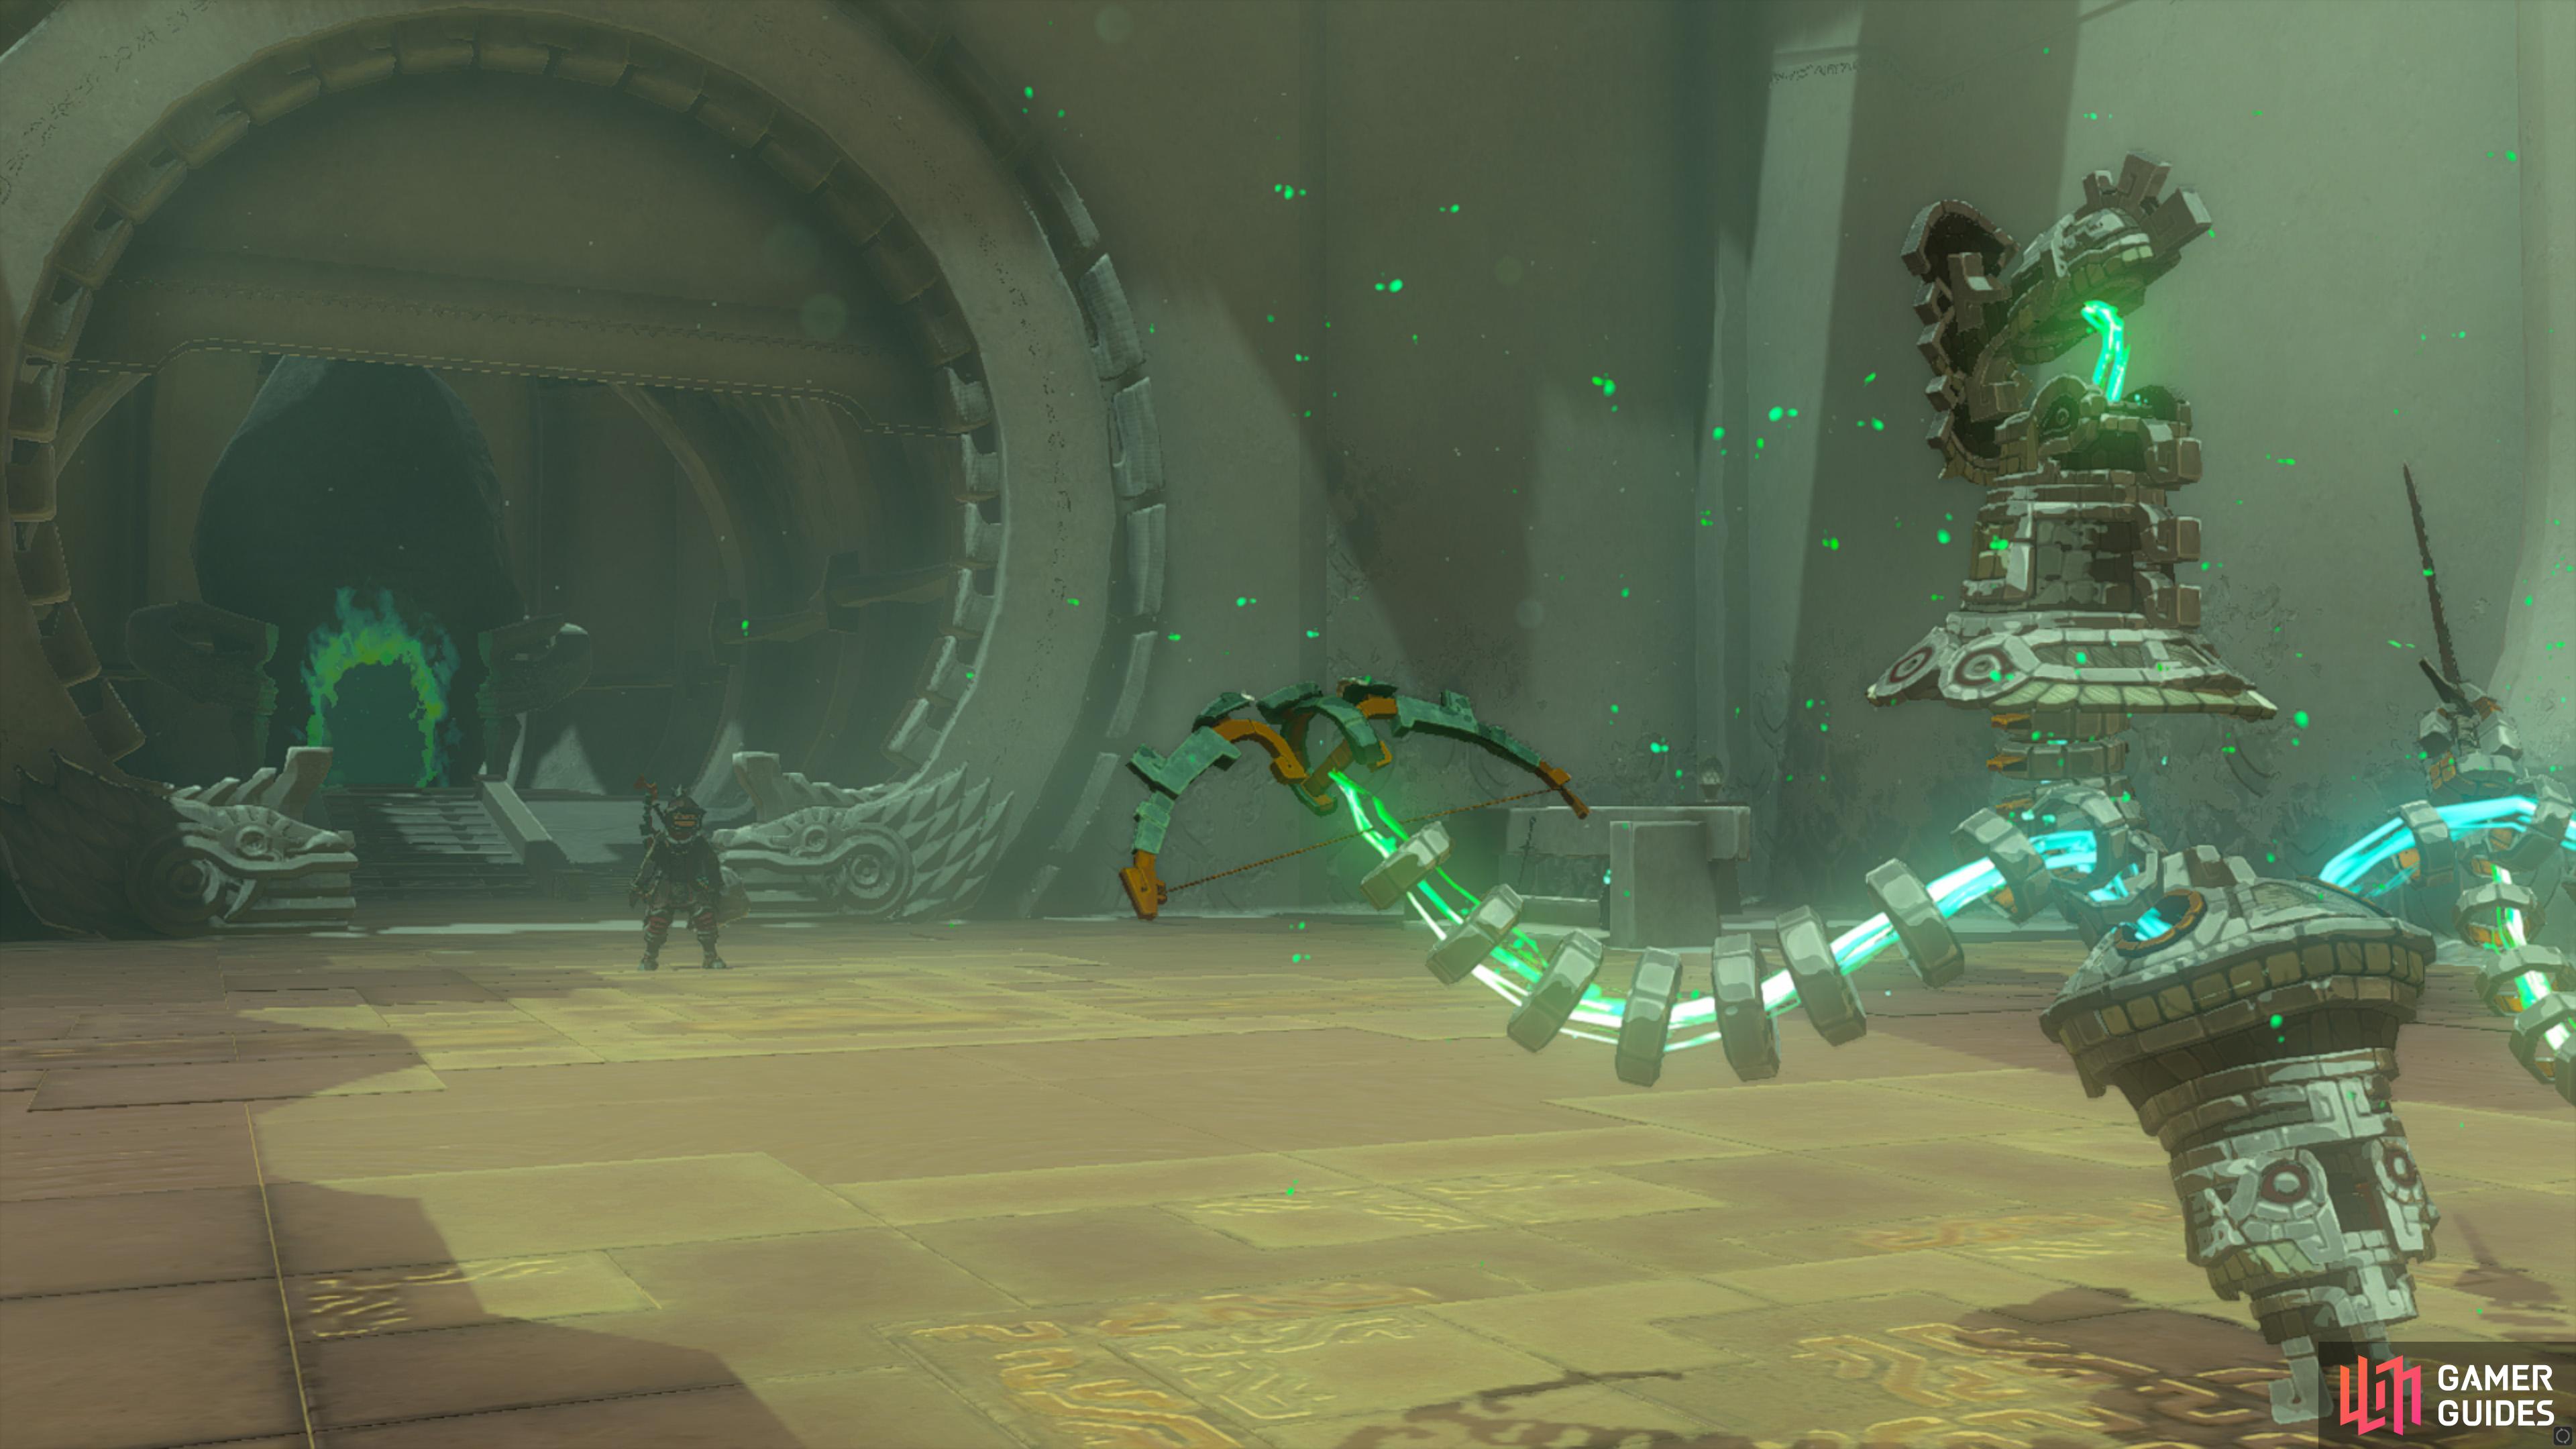
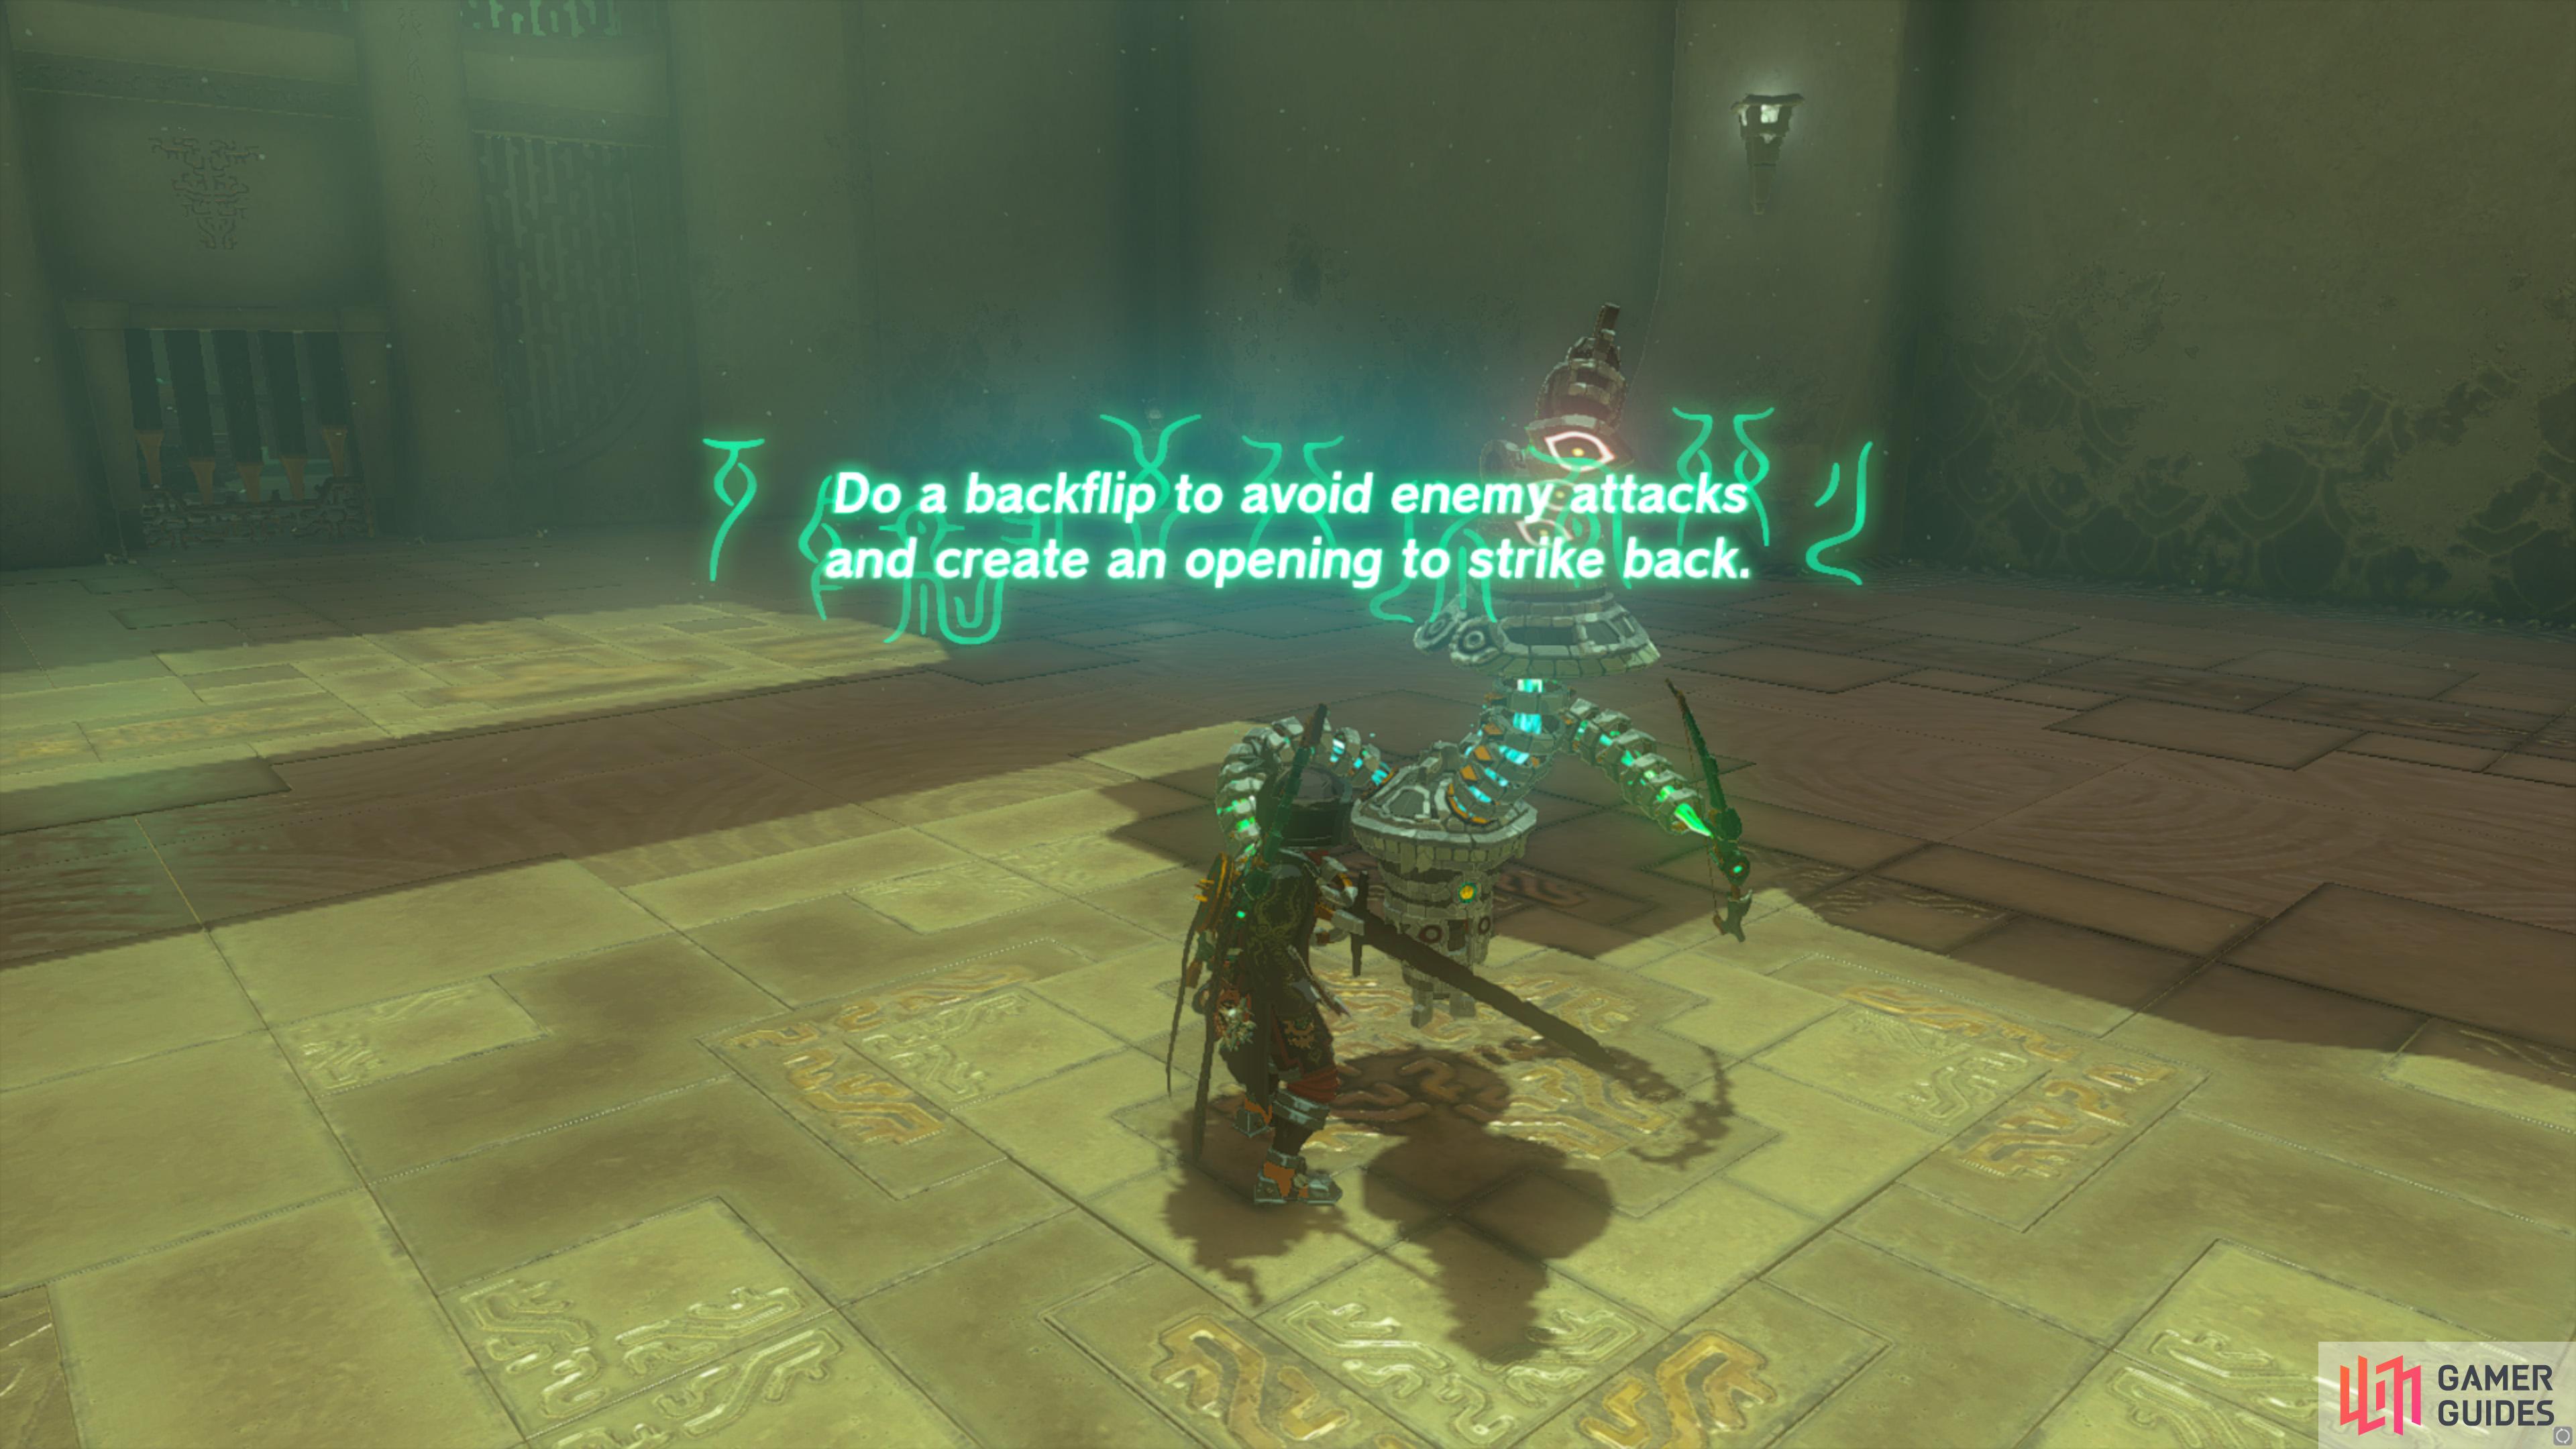
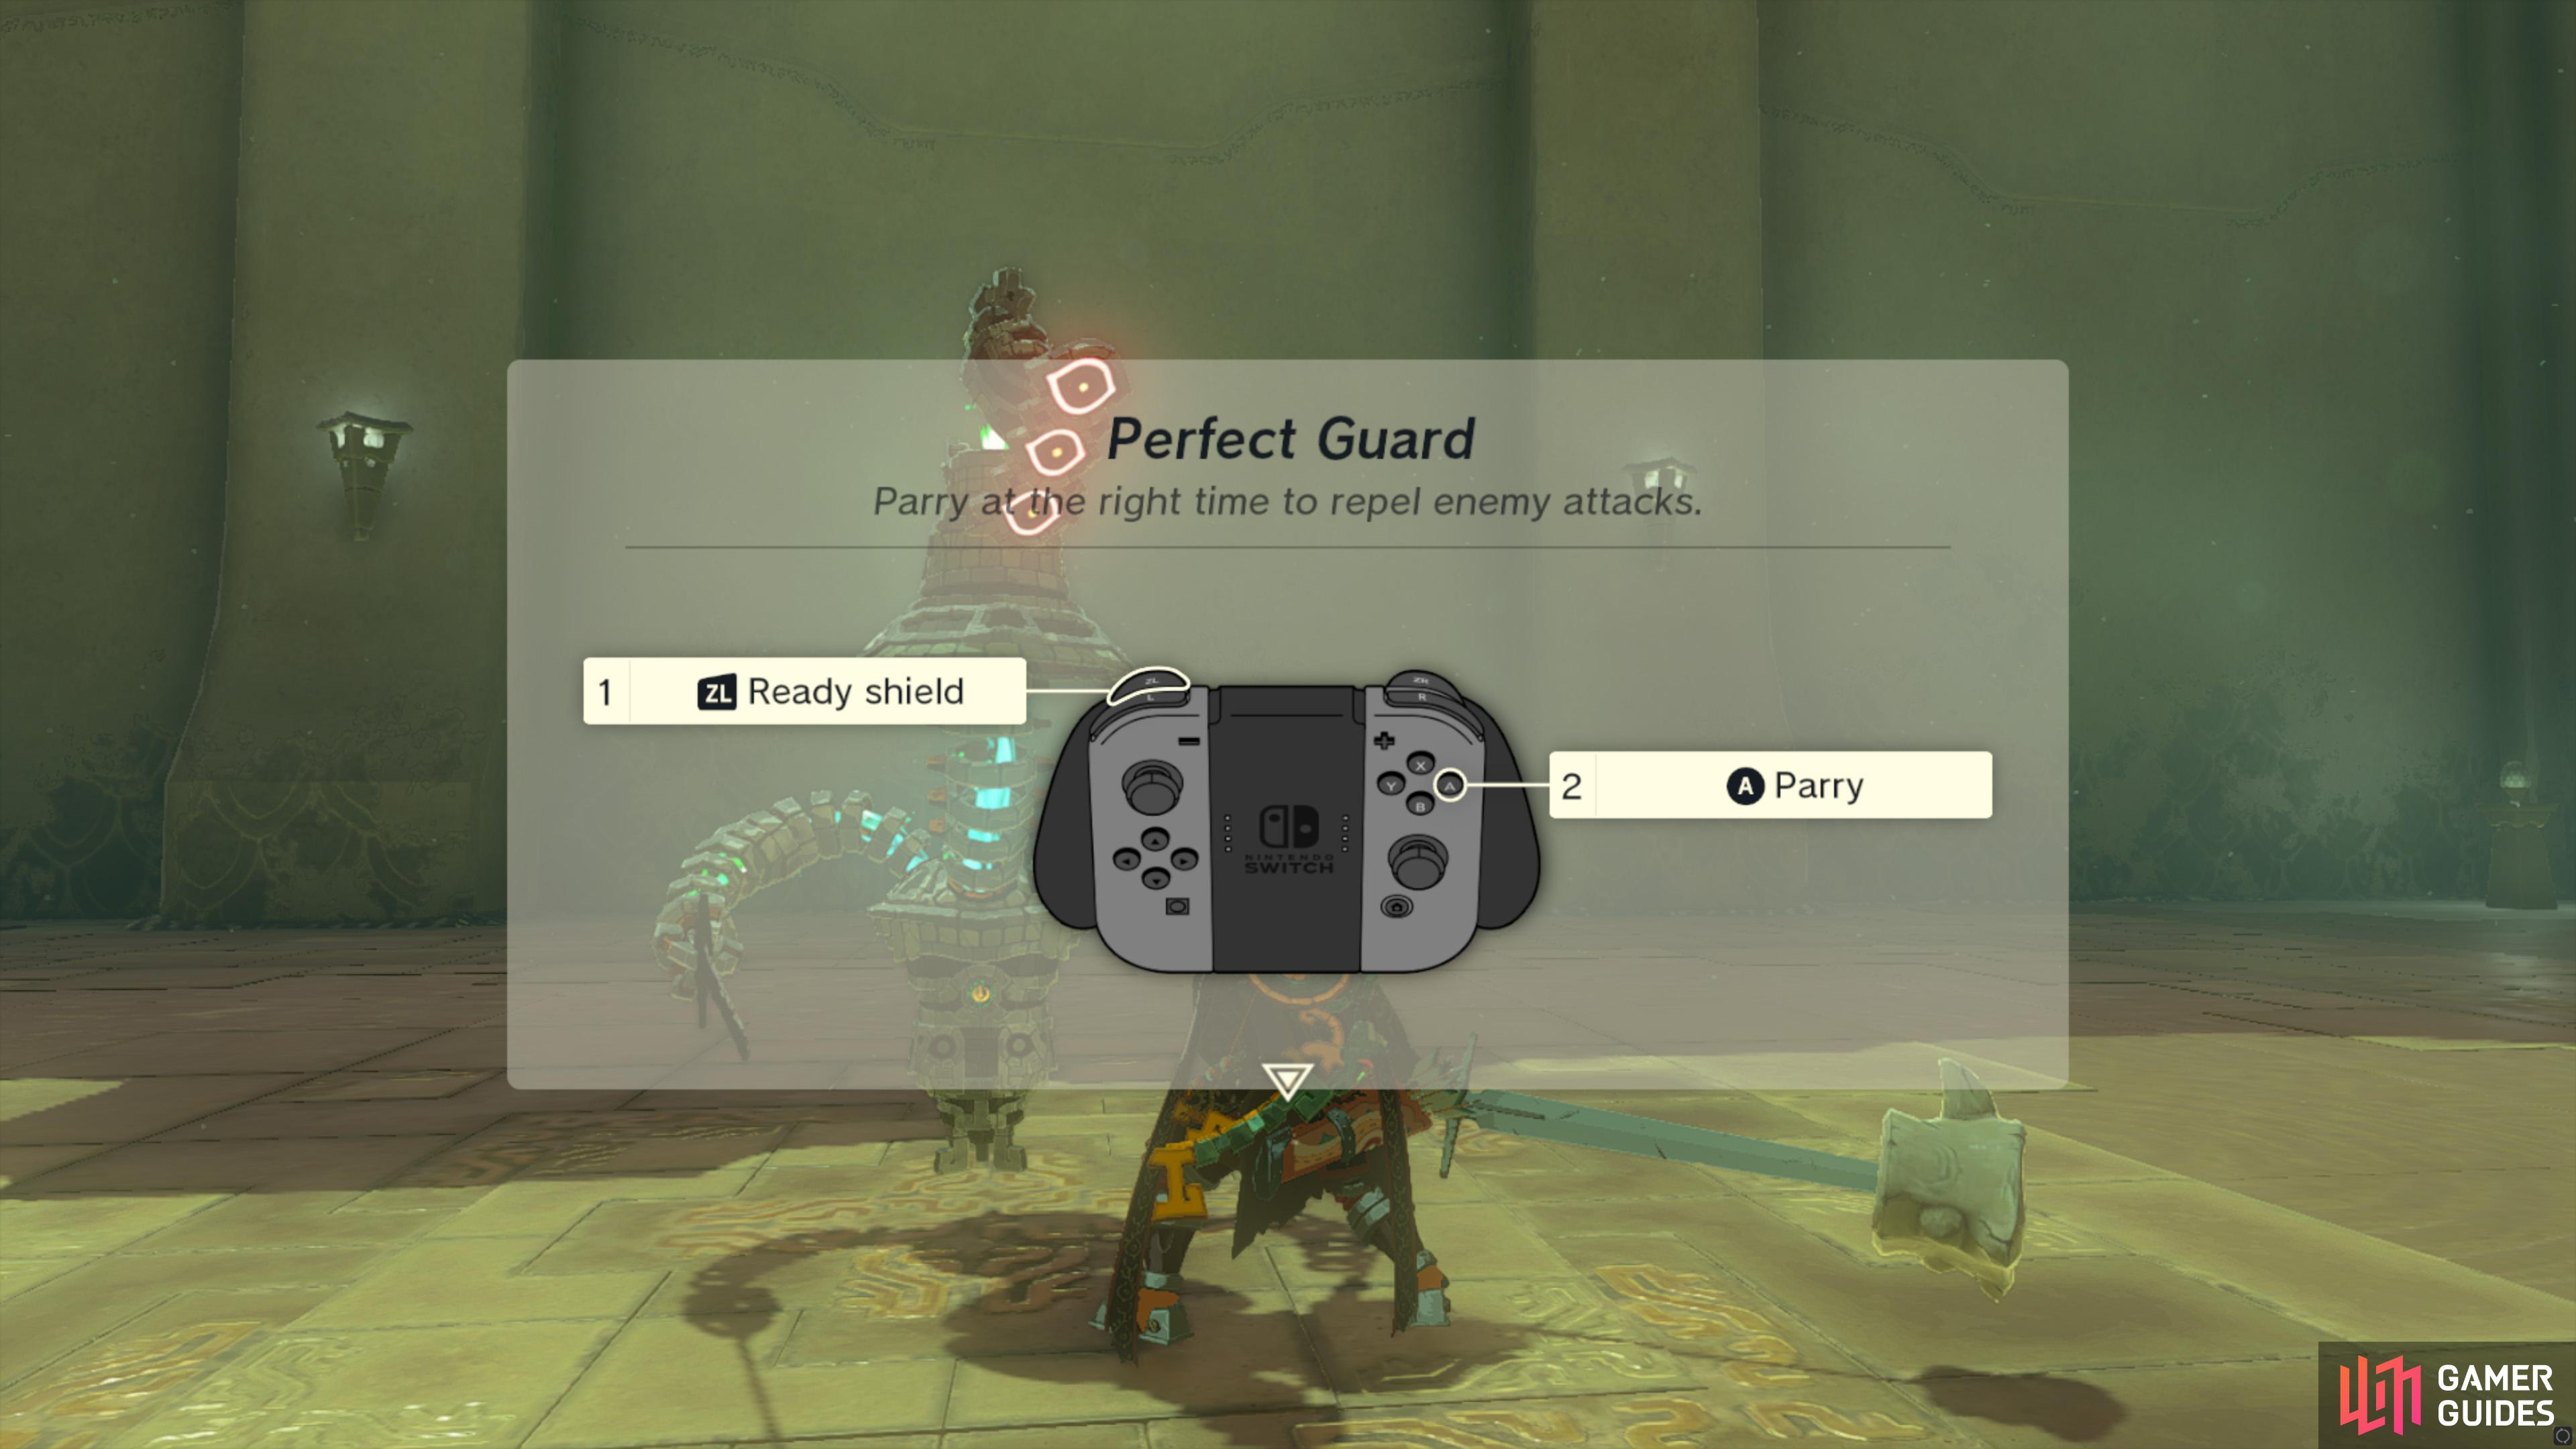
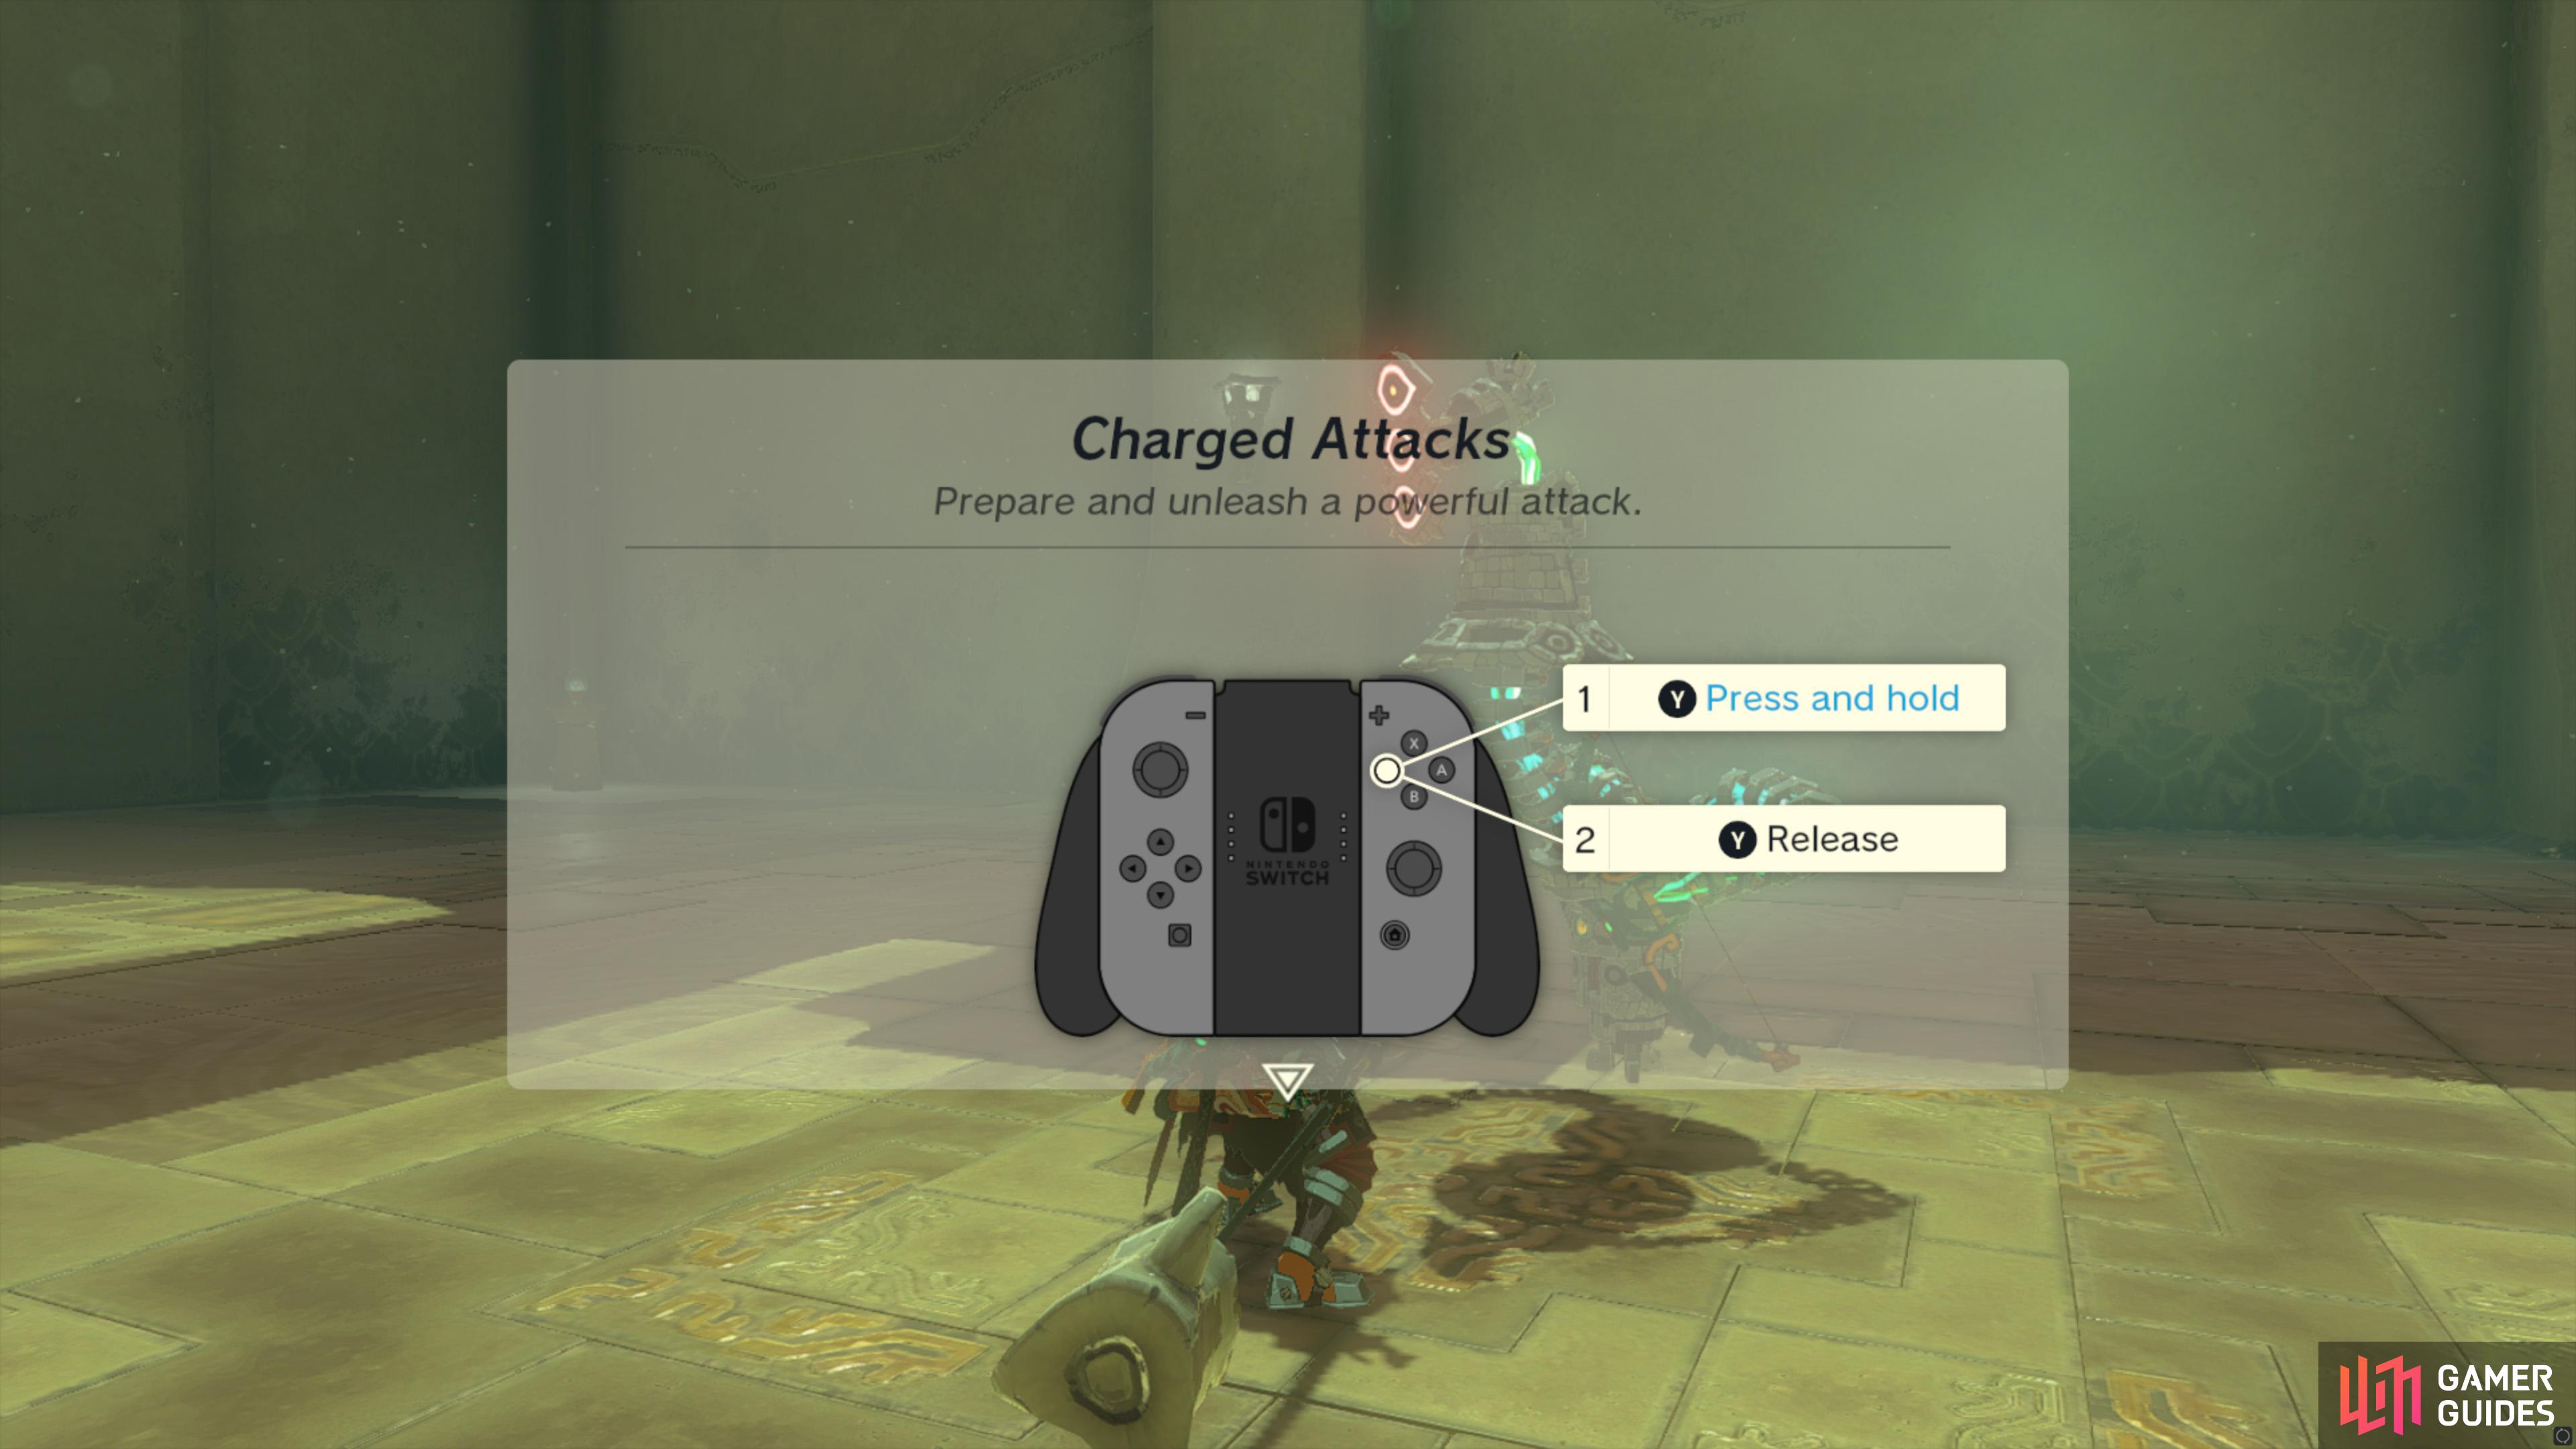
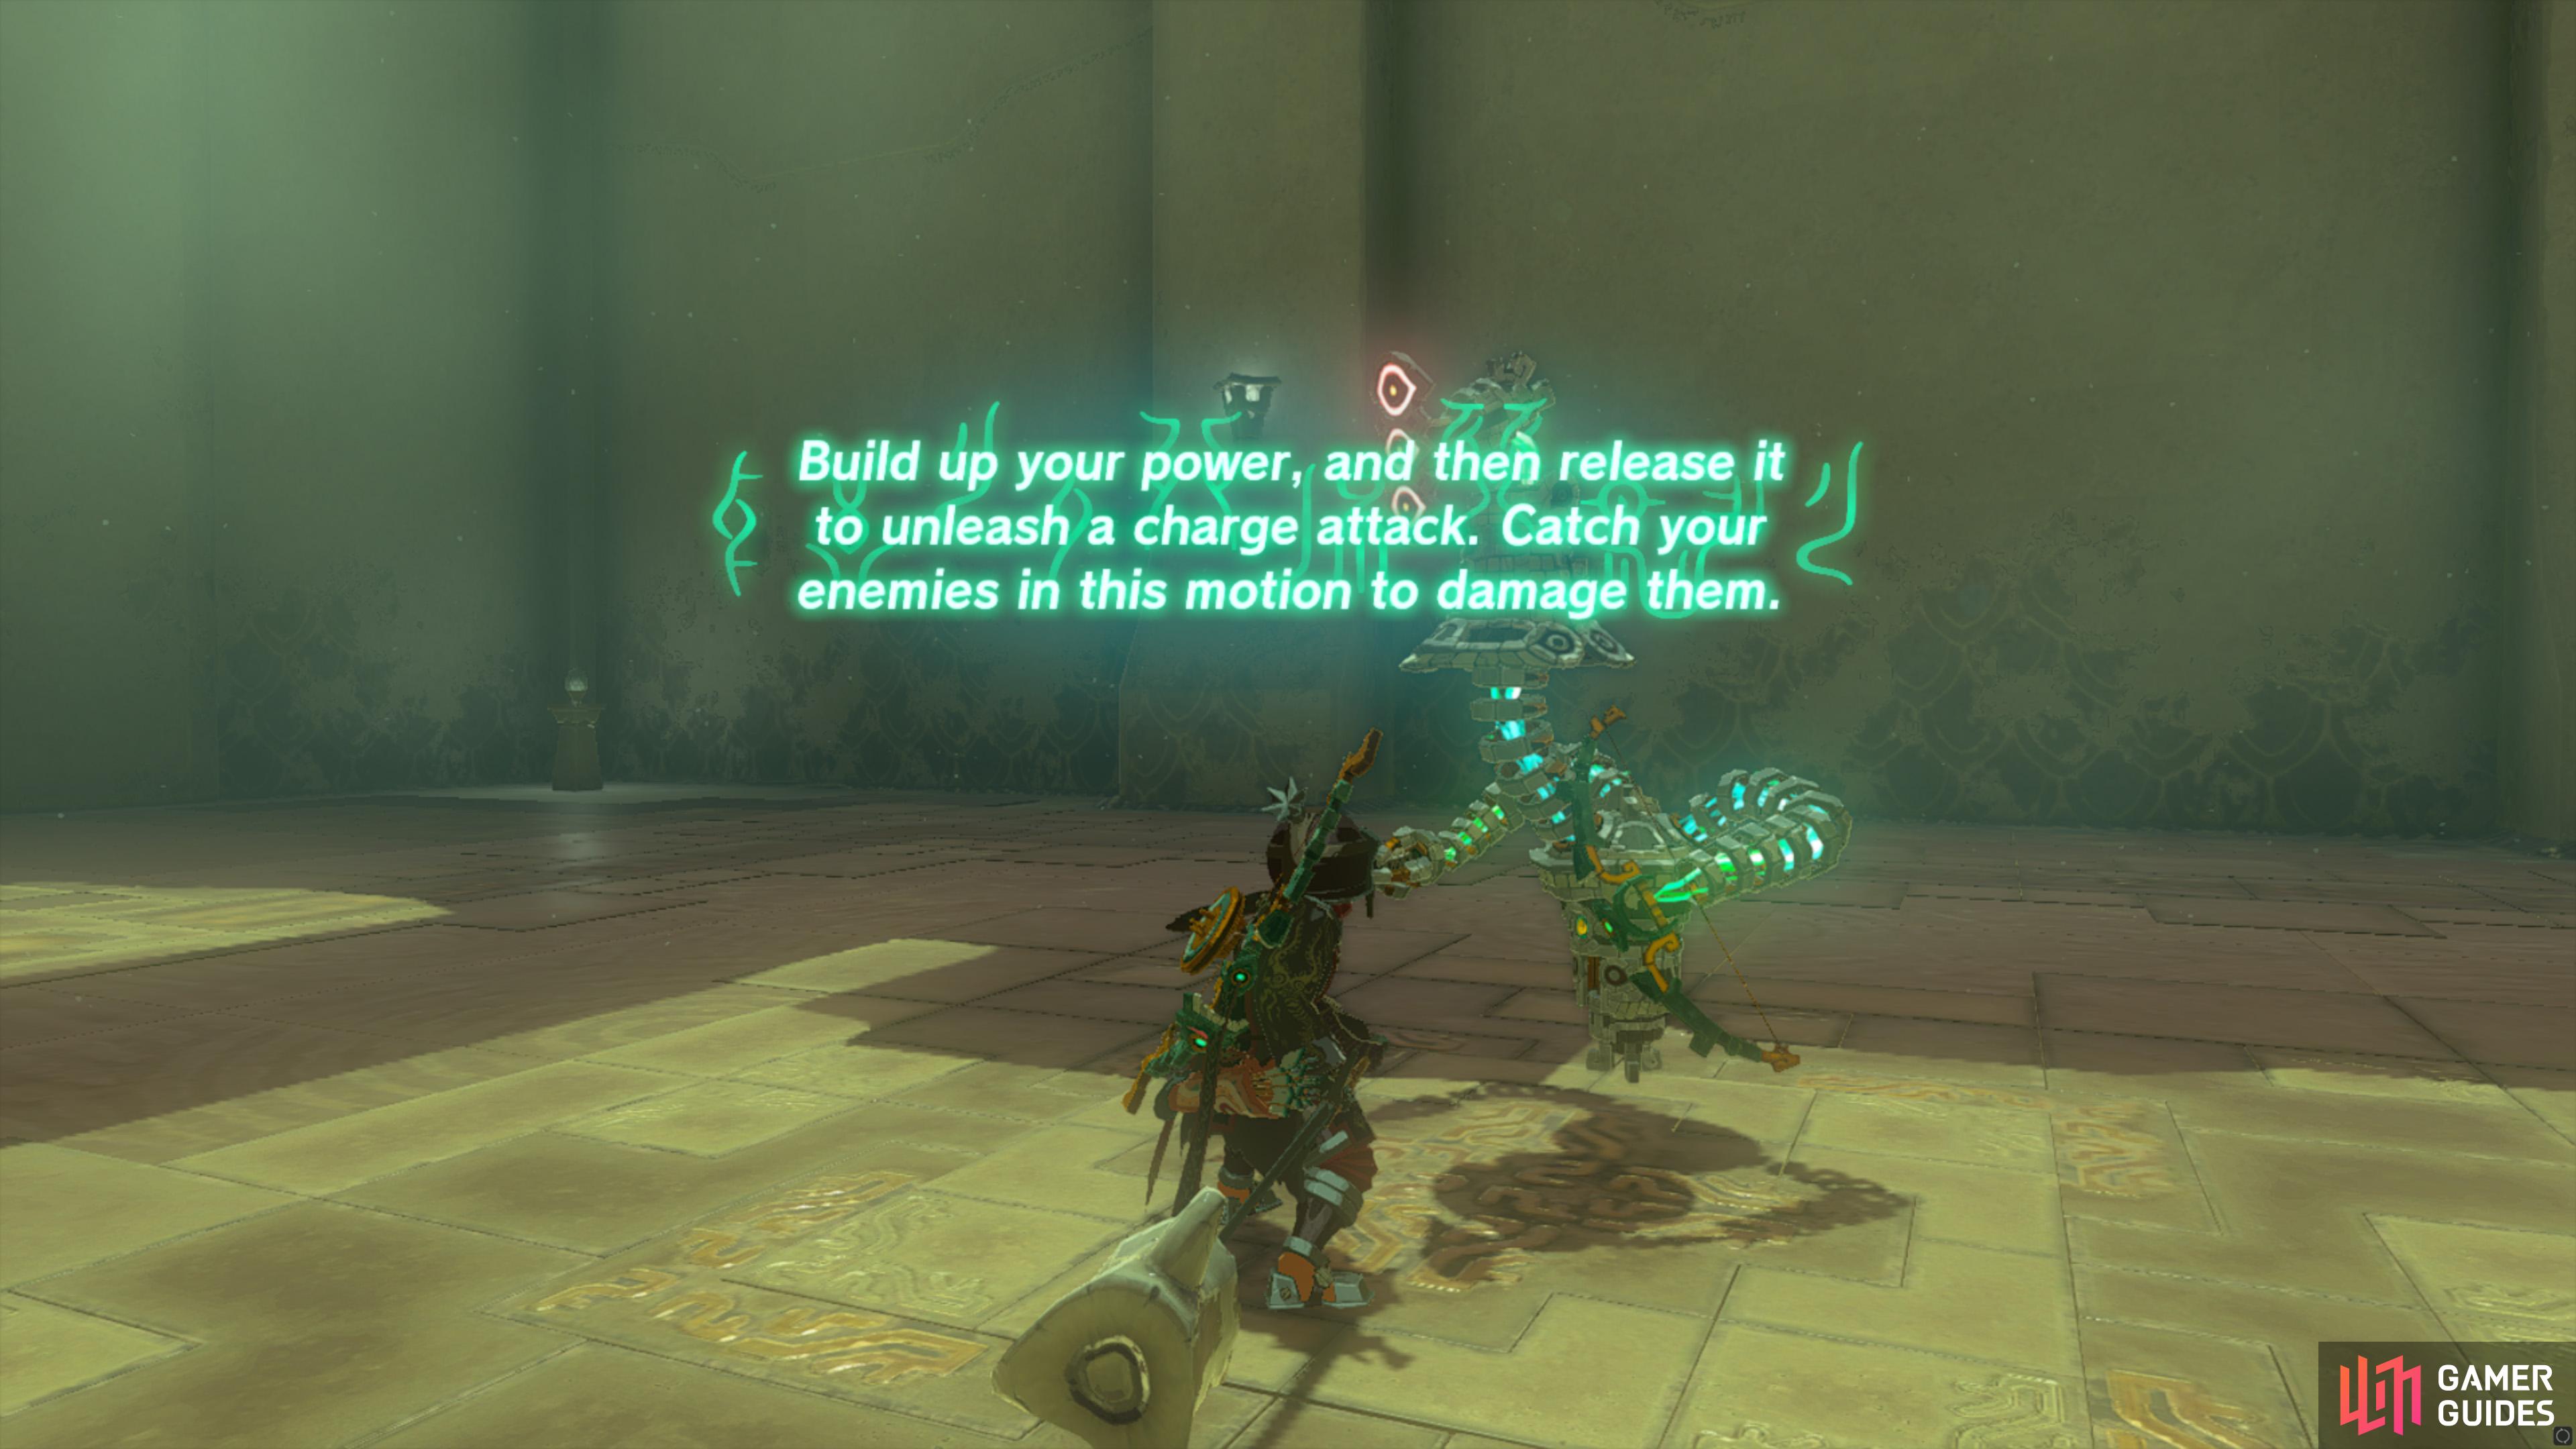
A shrine found in the Hyrule Fields region. You’ll need to complete a combat trial with the gear provided.
Map(s)
|
||||||||||||||||||||||||||||||||||||||||||||||||||||||||||||||||||||||||||||||||||||||||||||||||

|
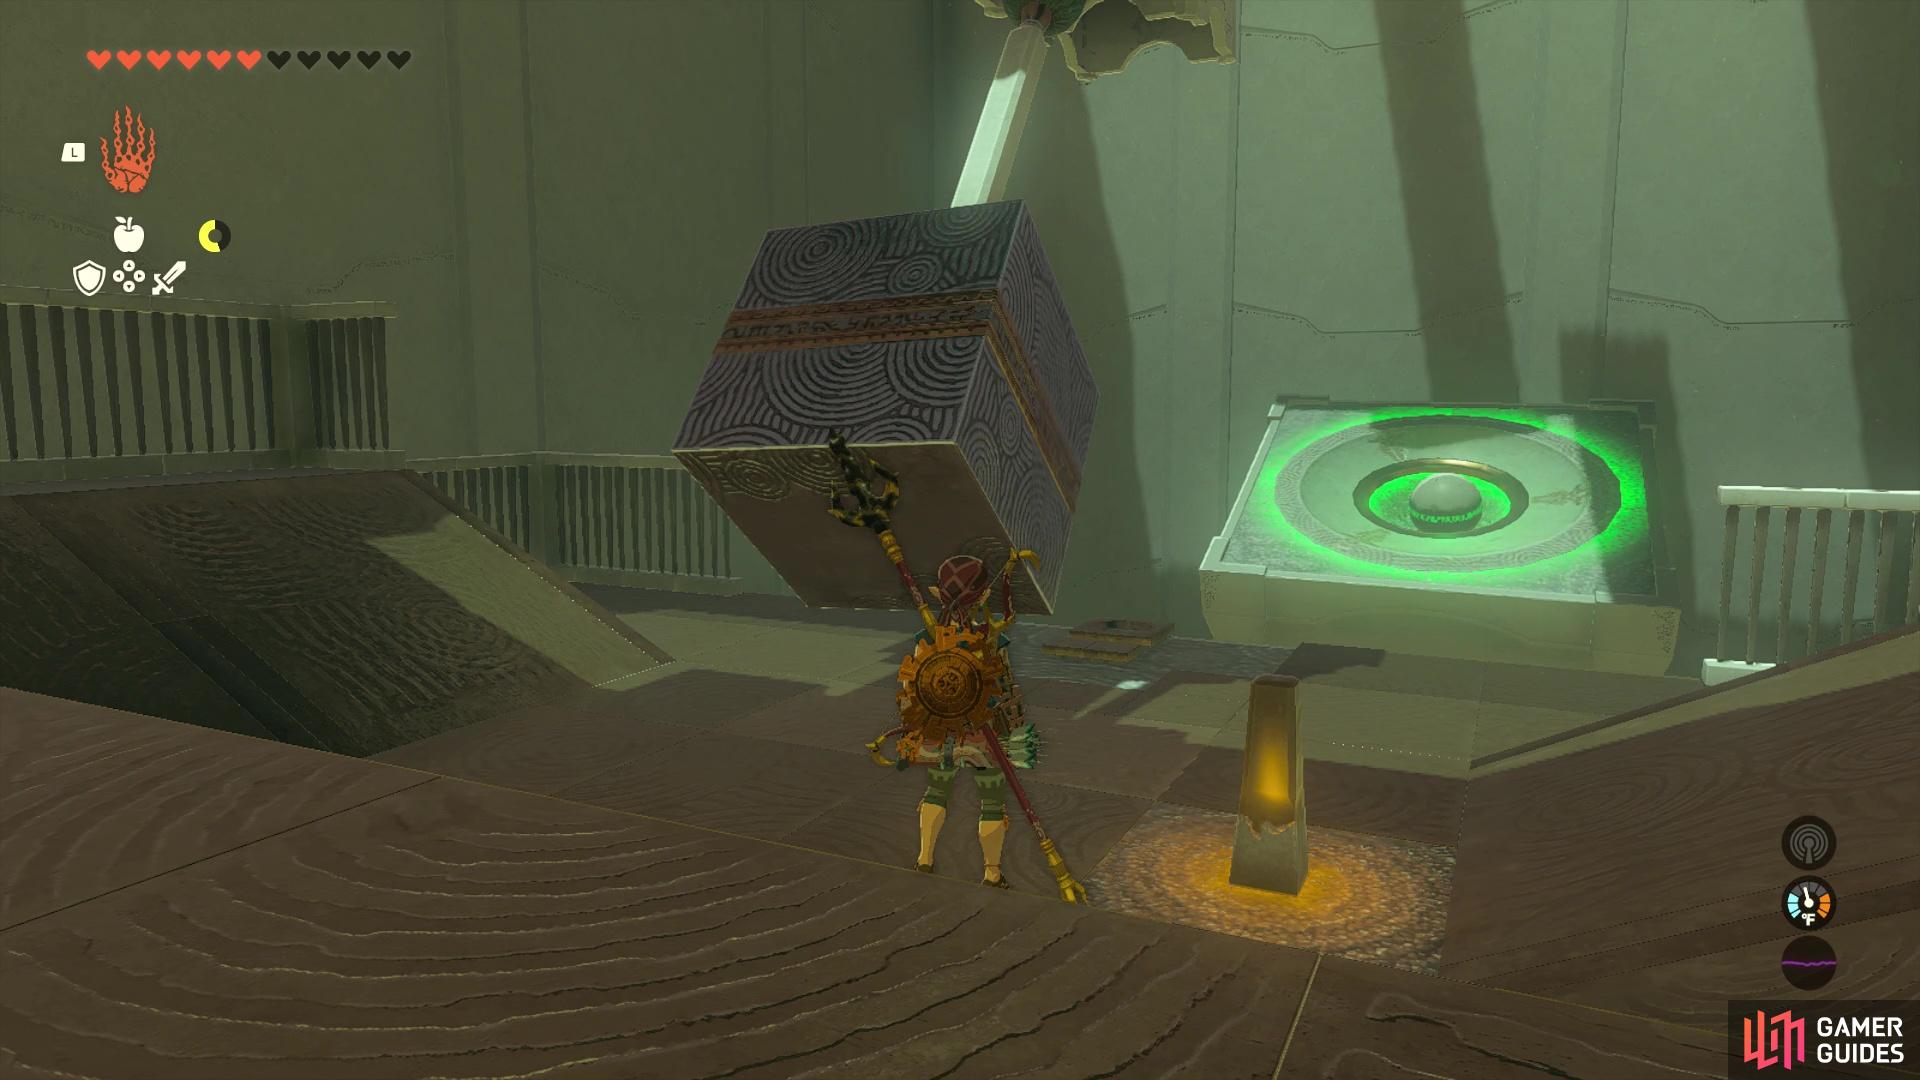
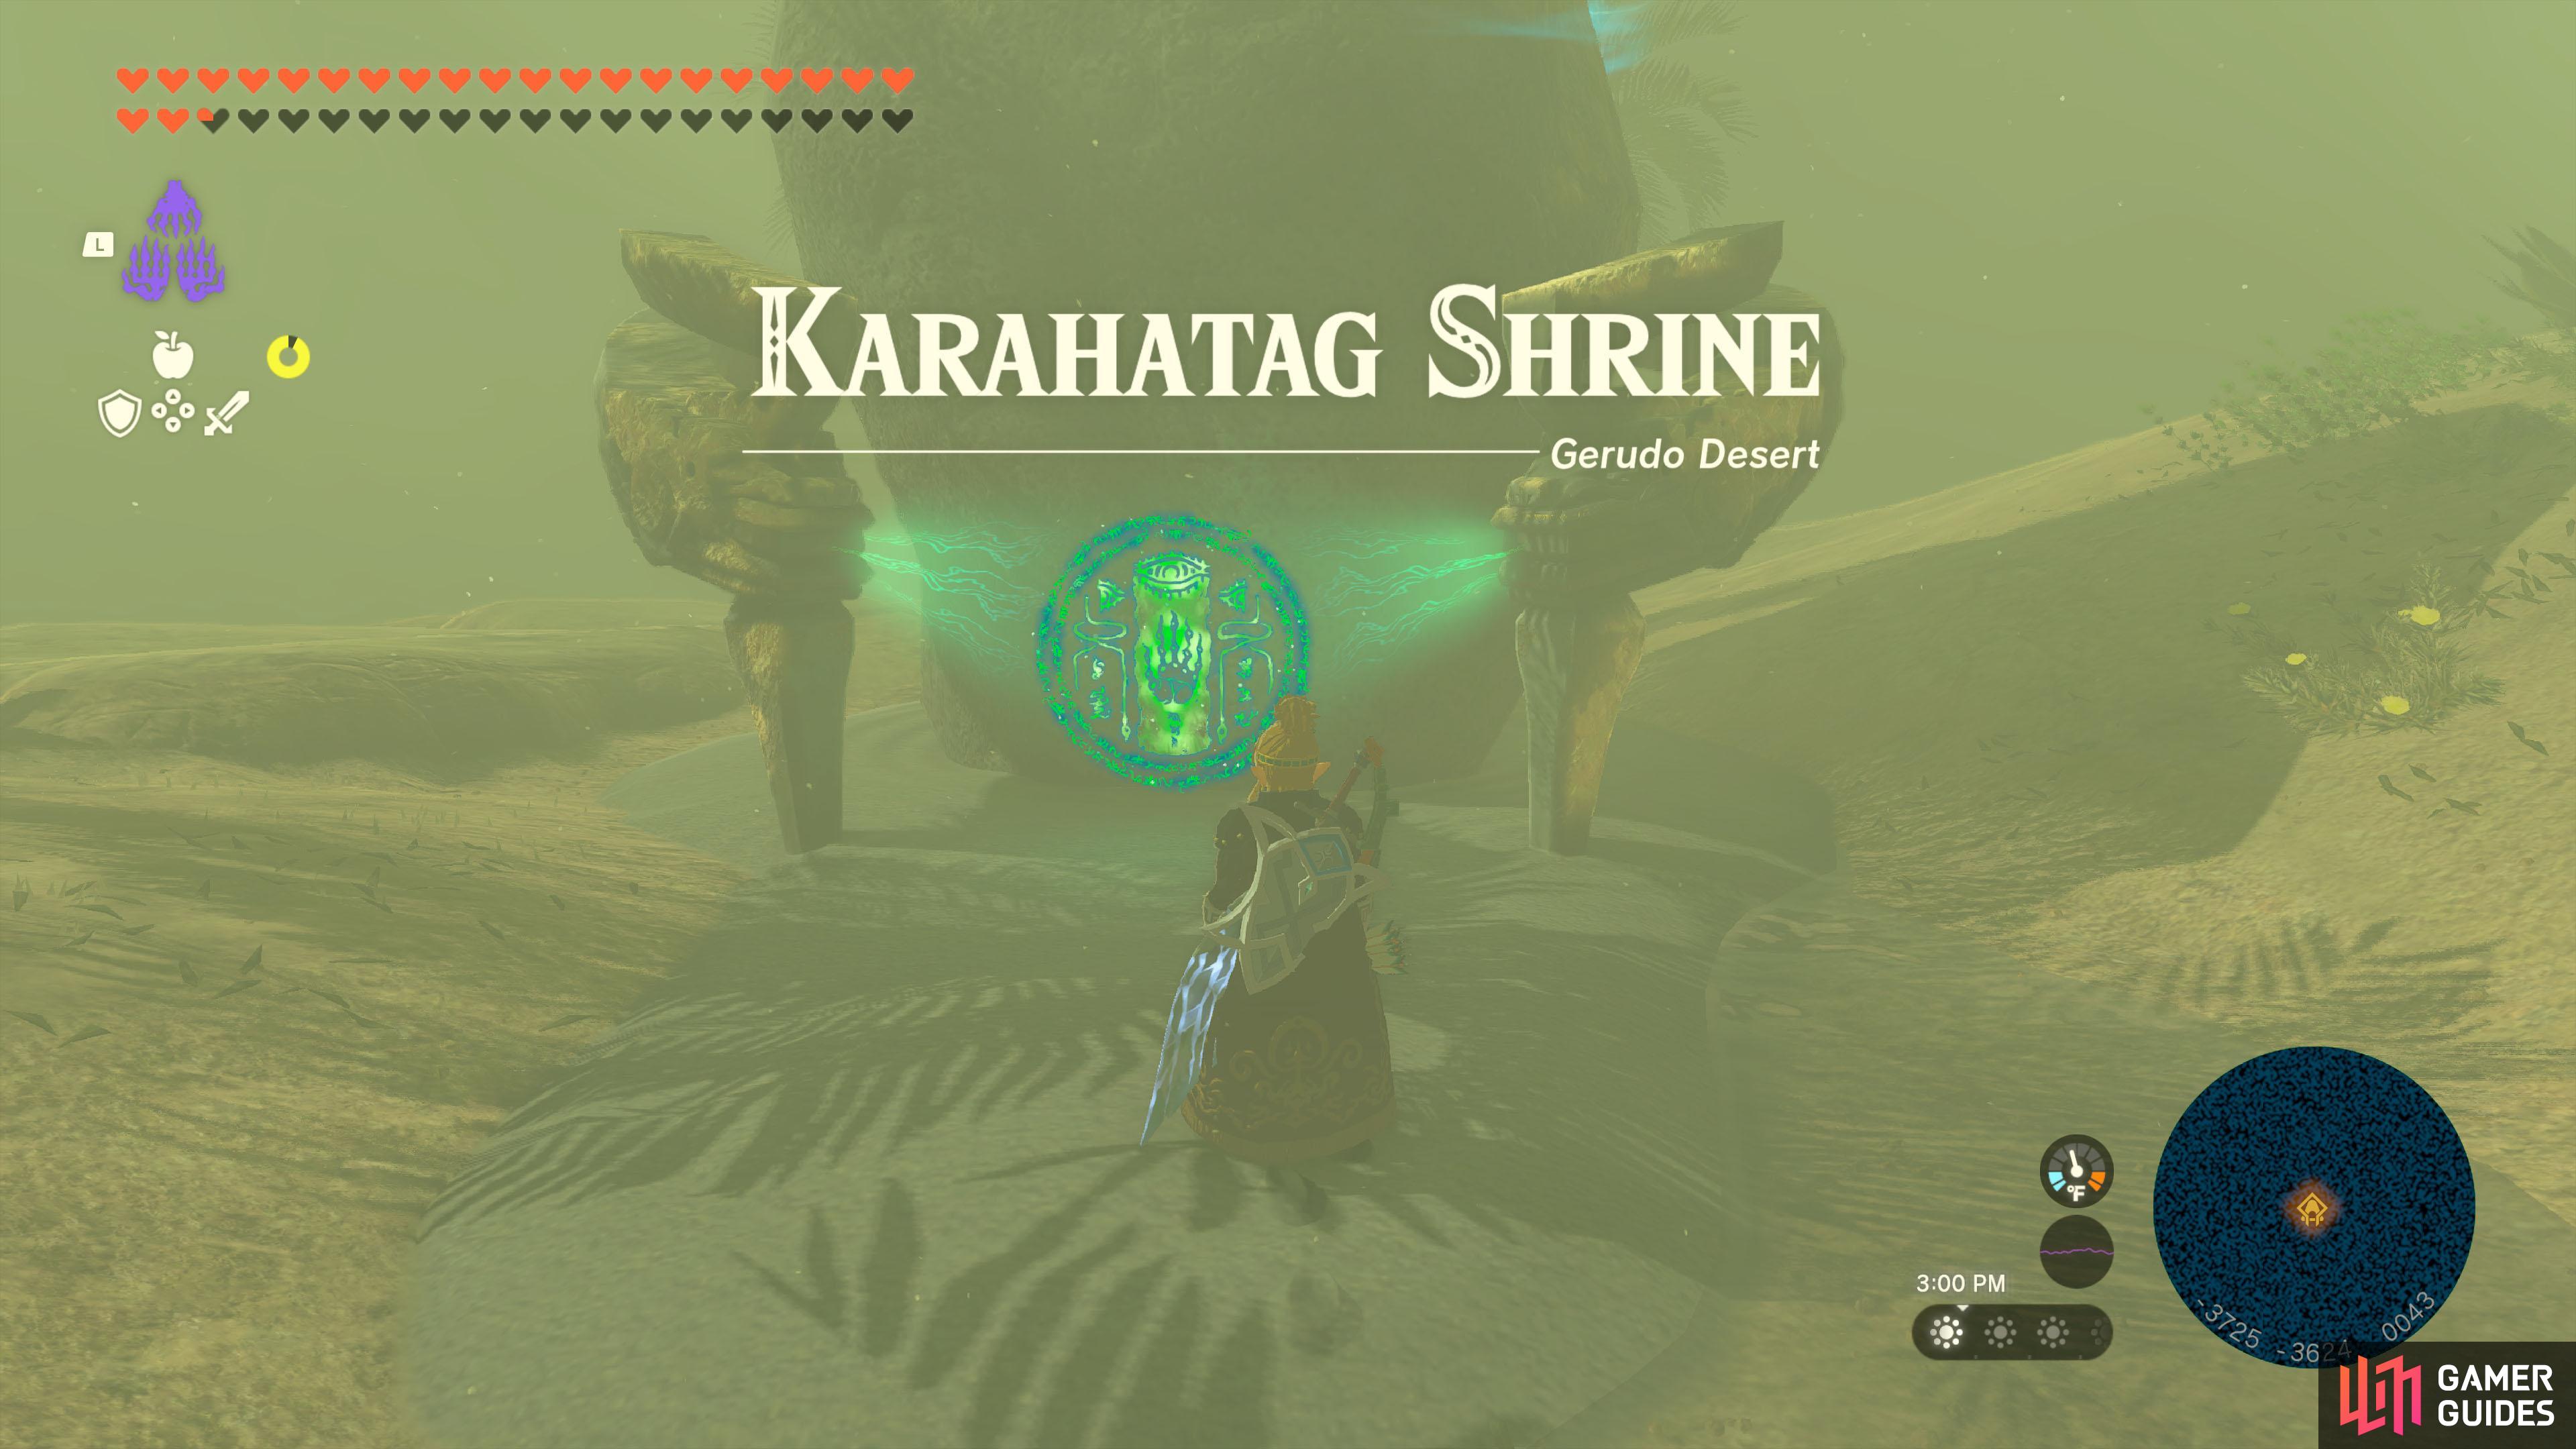
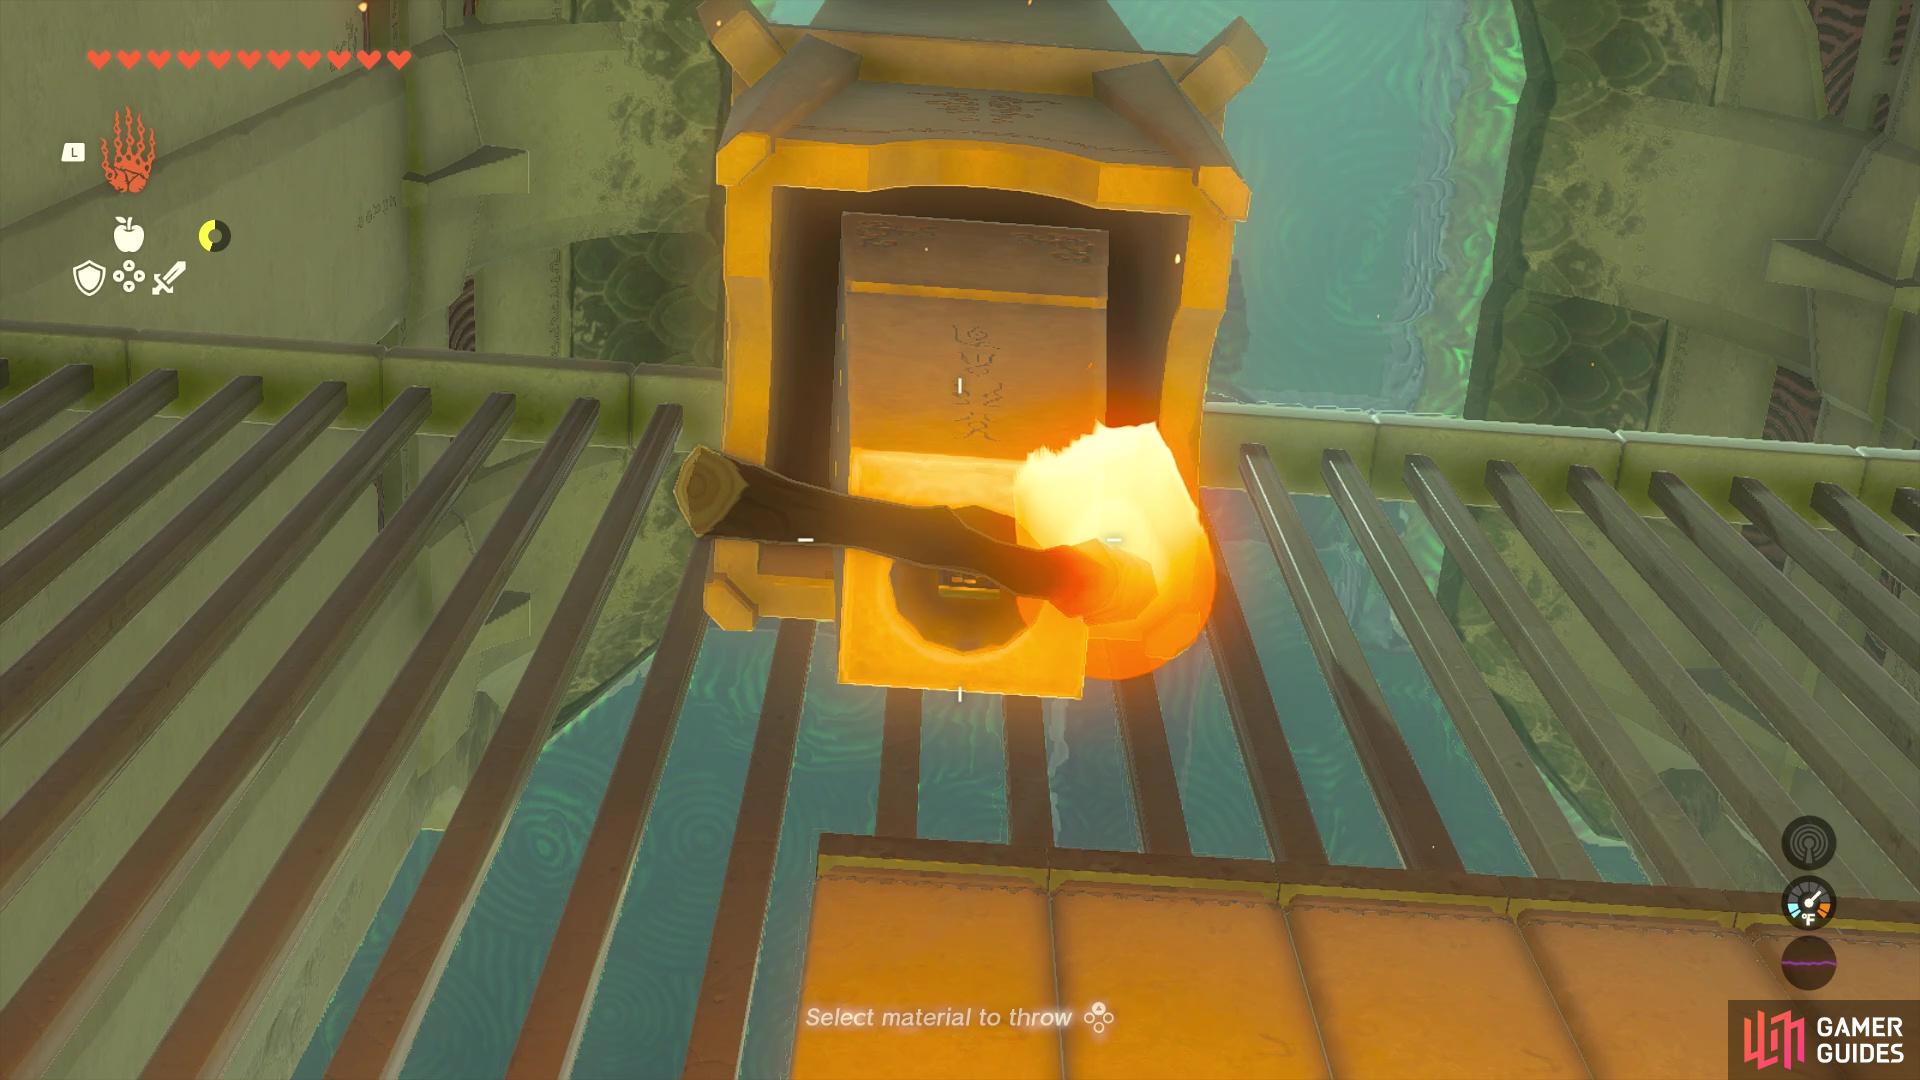
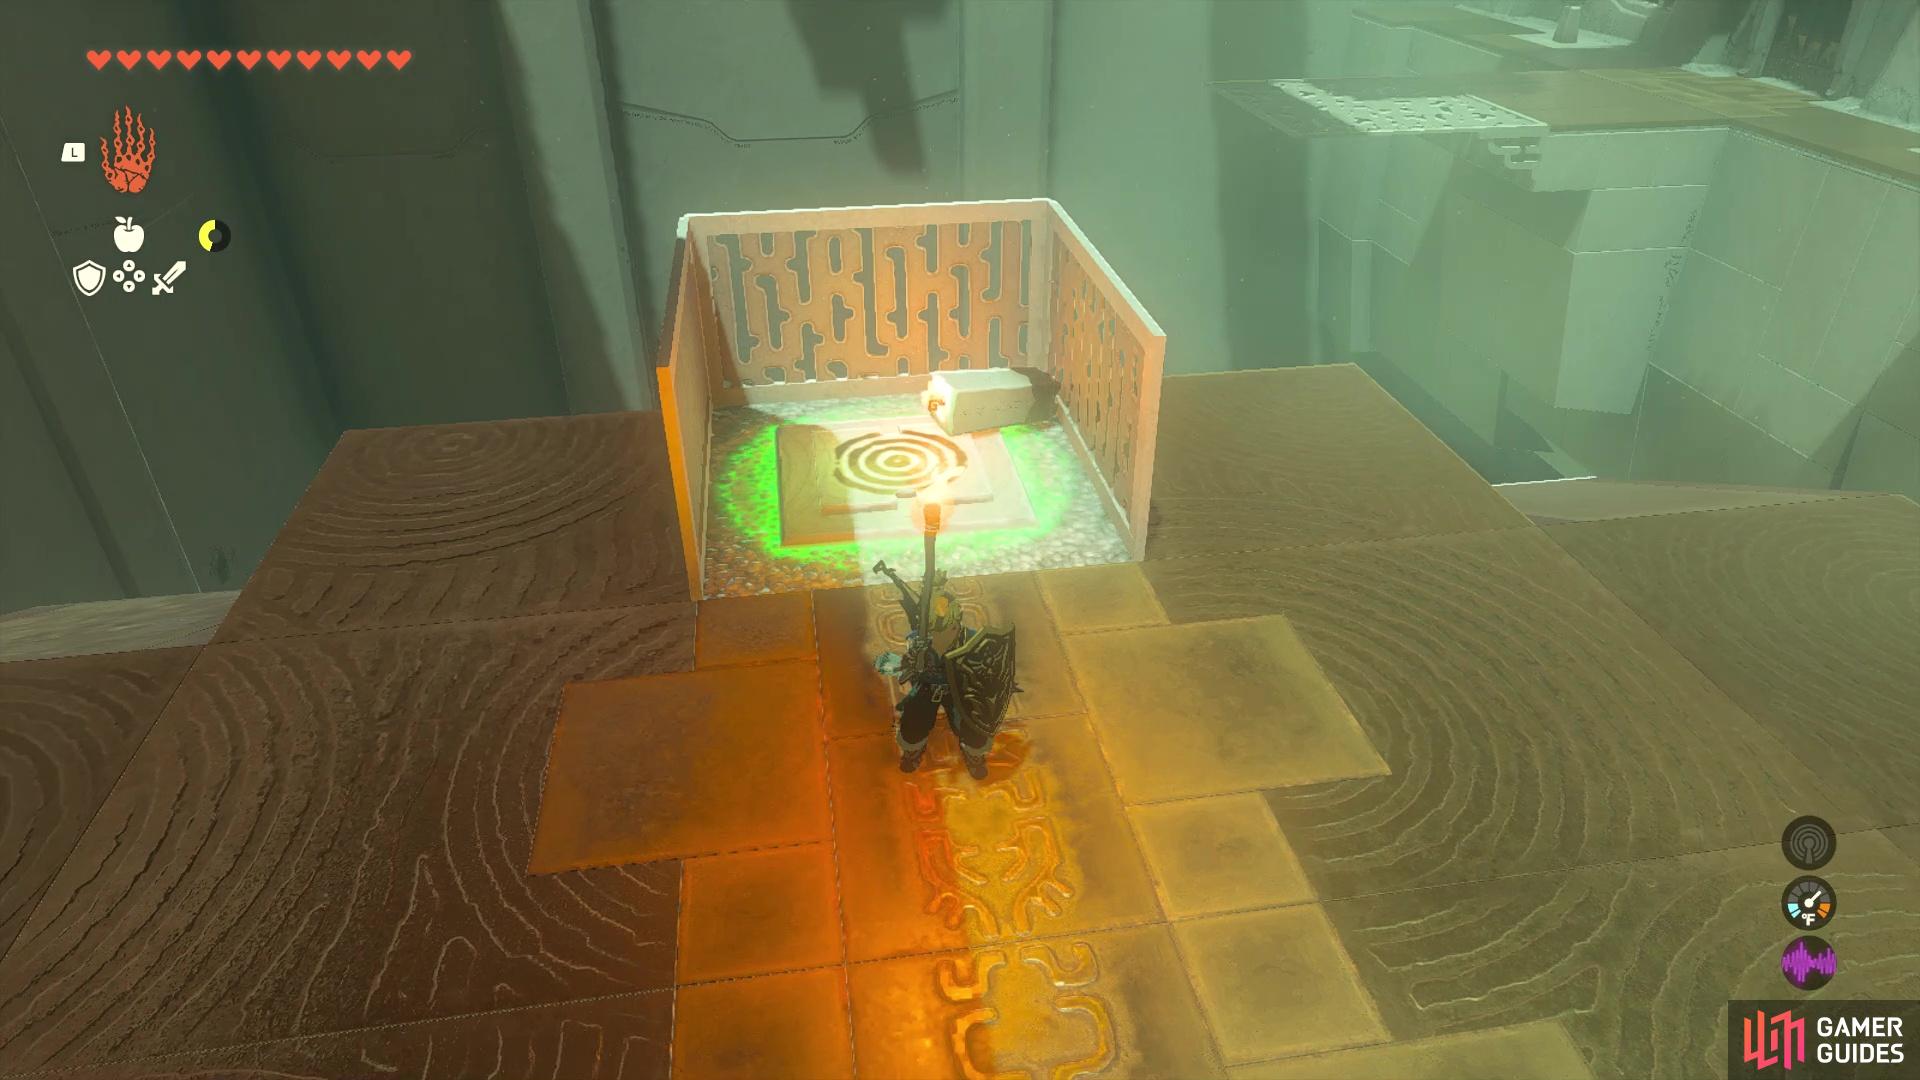
Karahatag Shrine |
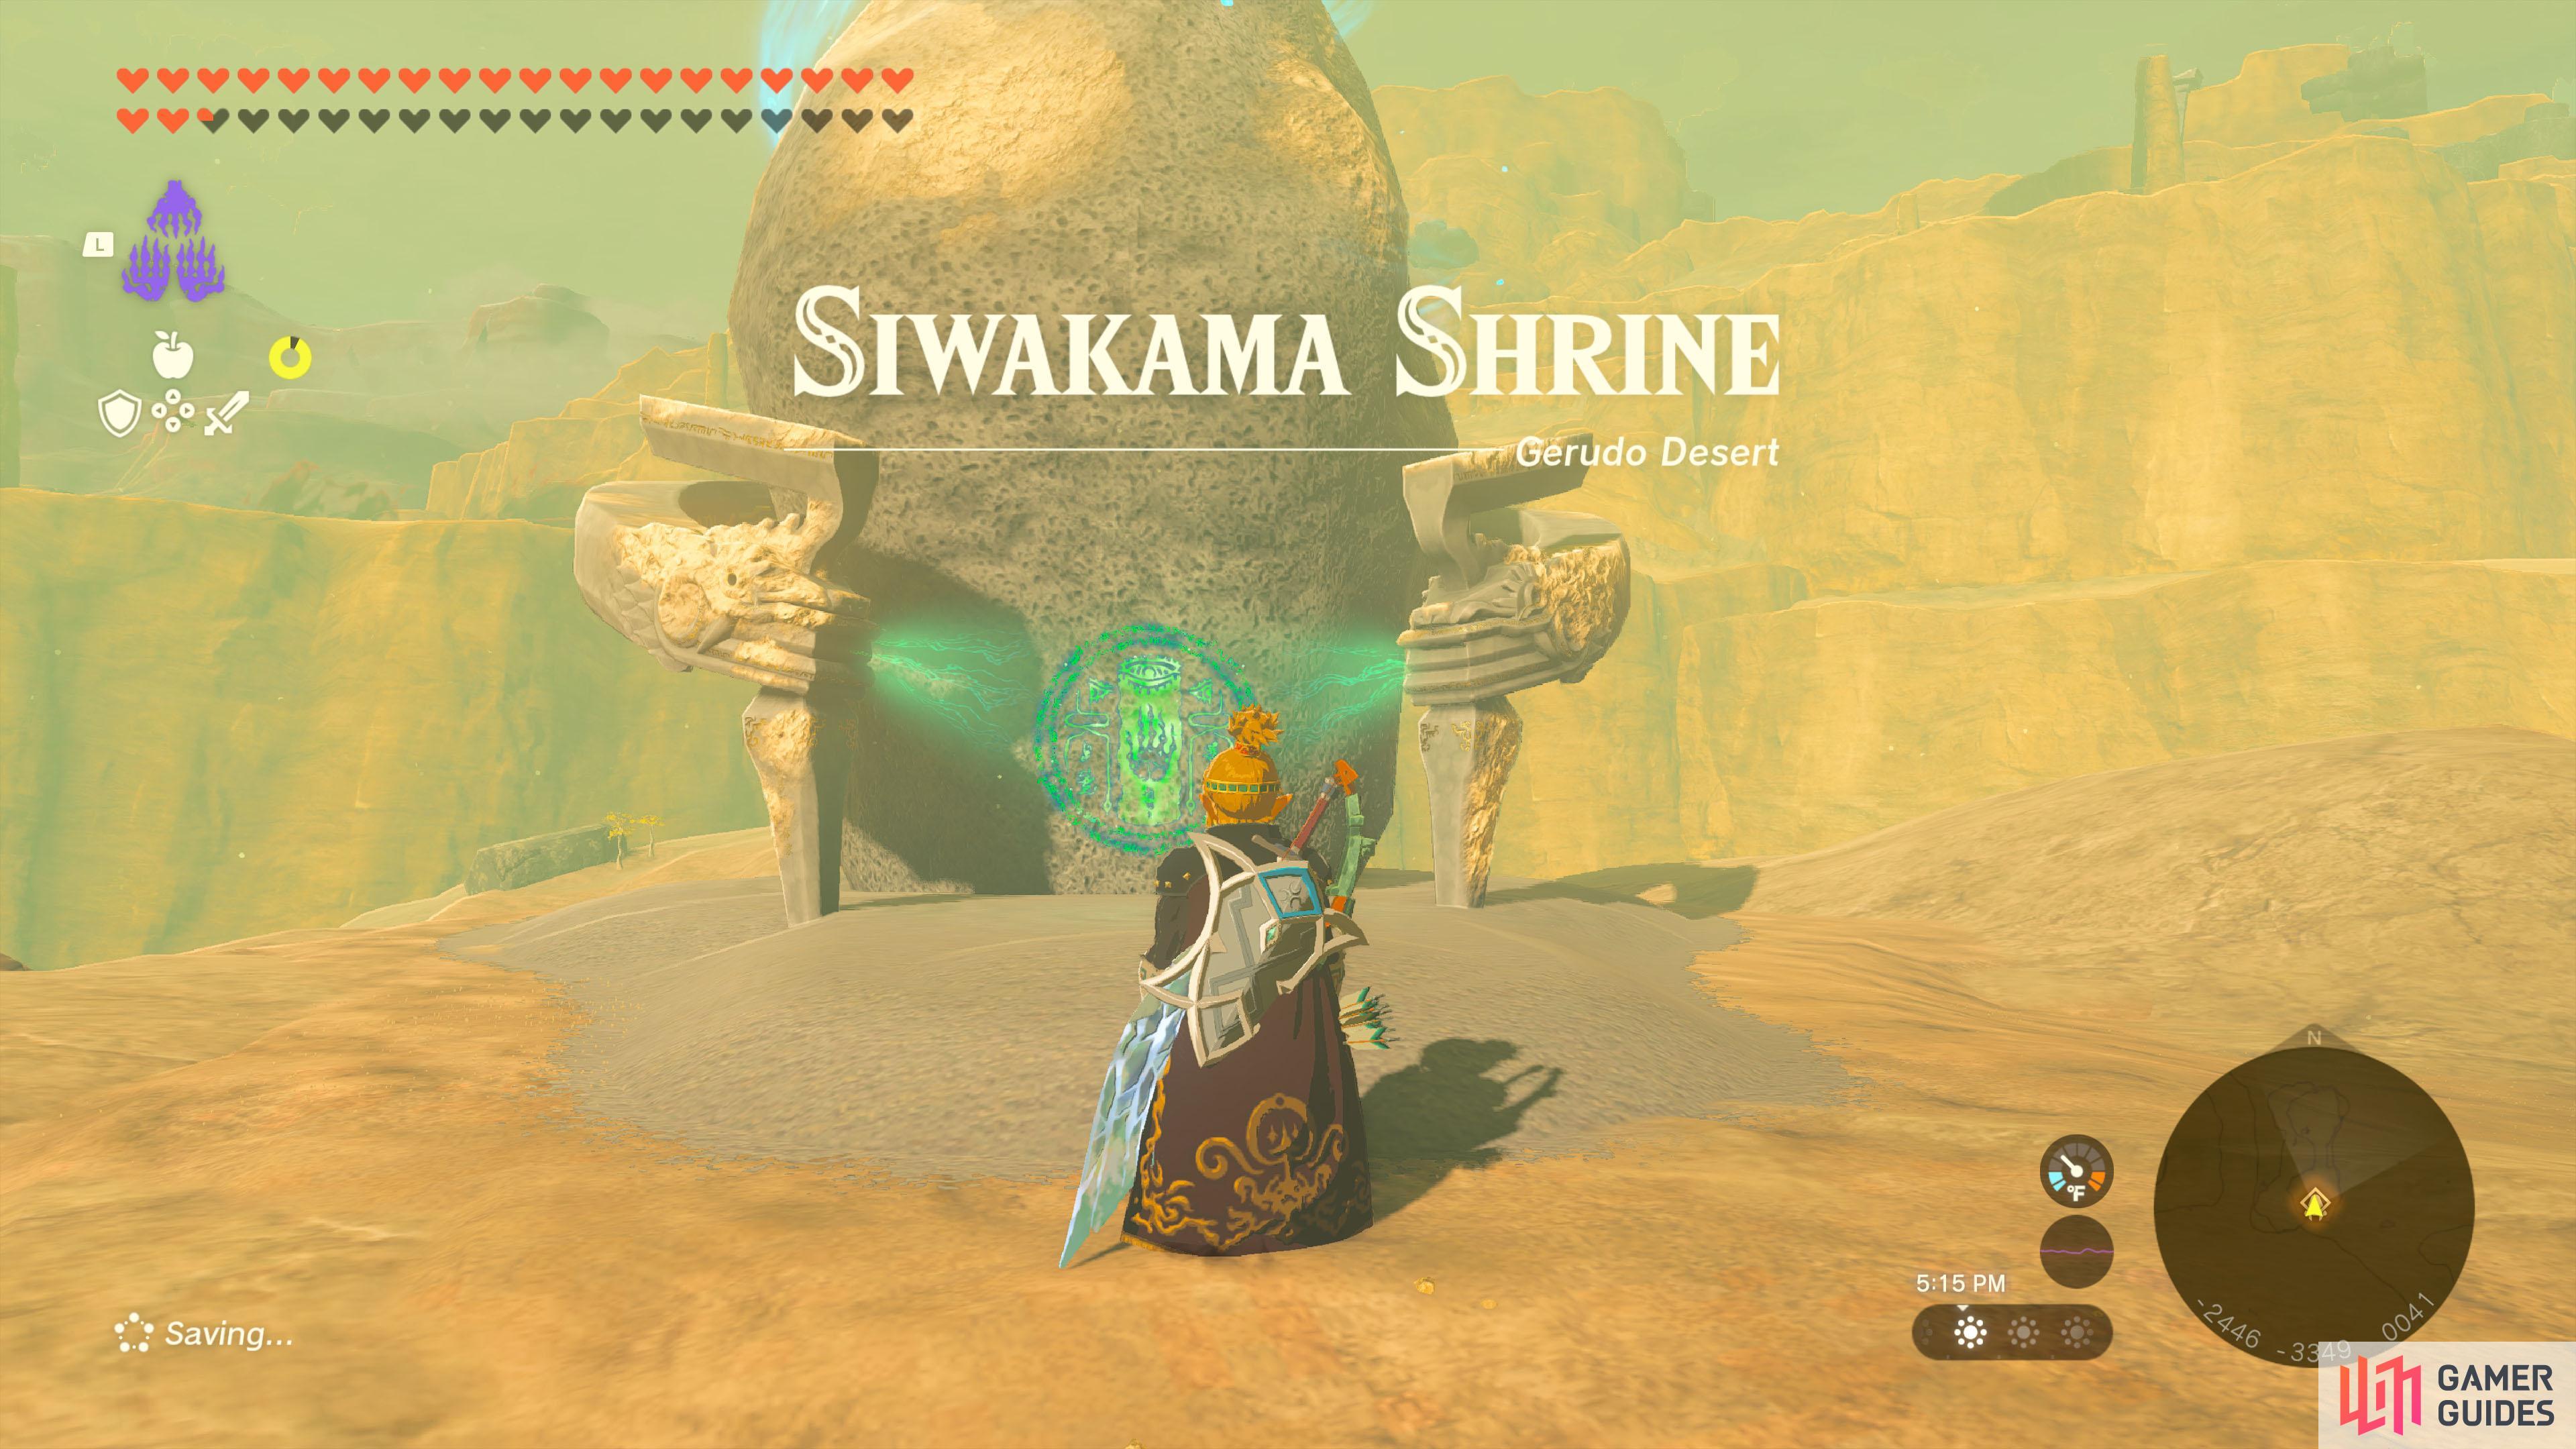
Karahatag Shrine can be found in the Gerudo Desert, south of Gerudo Town, and on top of the Southern Oasis. You can climb to it, if you want, although the climb is easier from a rock on the northwestern side. For a full walkthrough of the shrine’s puzzle, as well as how to find the chest, visit the How to Complete the Karahatag Shrine page.
Map(s)
Chest Rewards
Completion Reward
|
|
|||||||||||||||||||||||||||||||||||||||||||||||||||||||||||||||||||||||||||||||||||||||||||||||

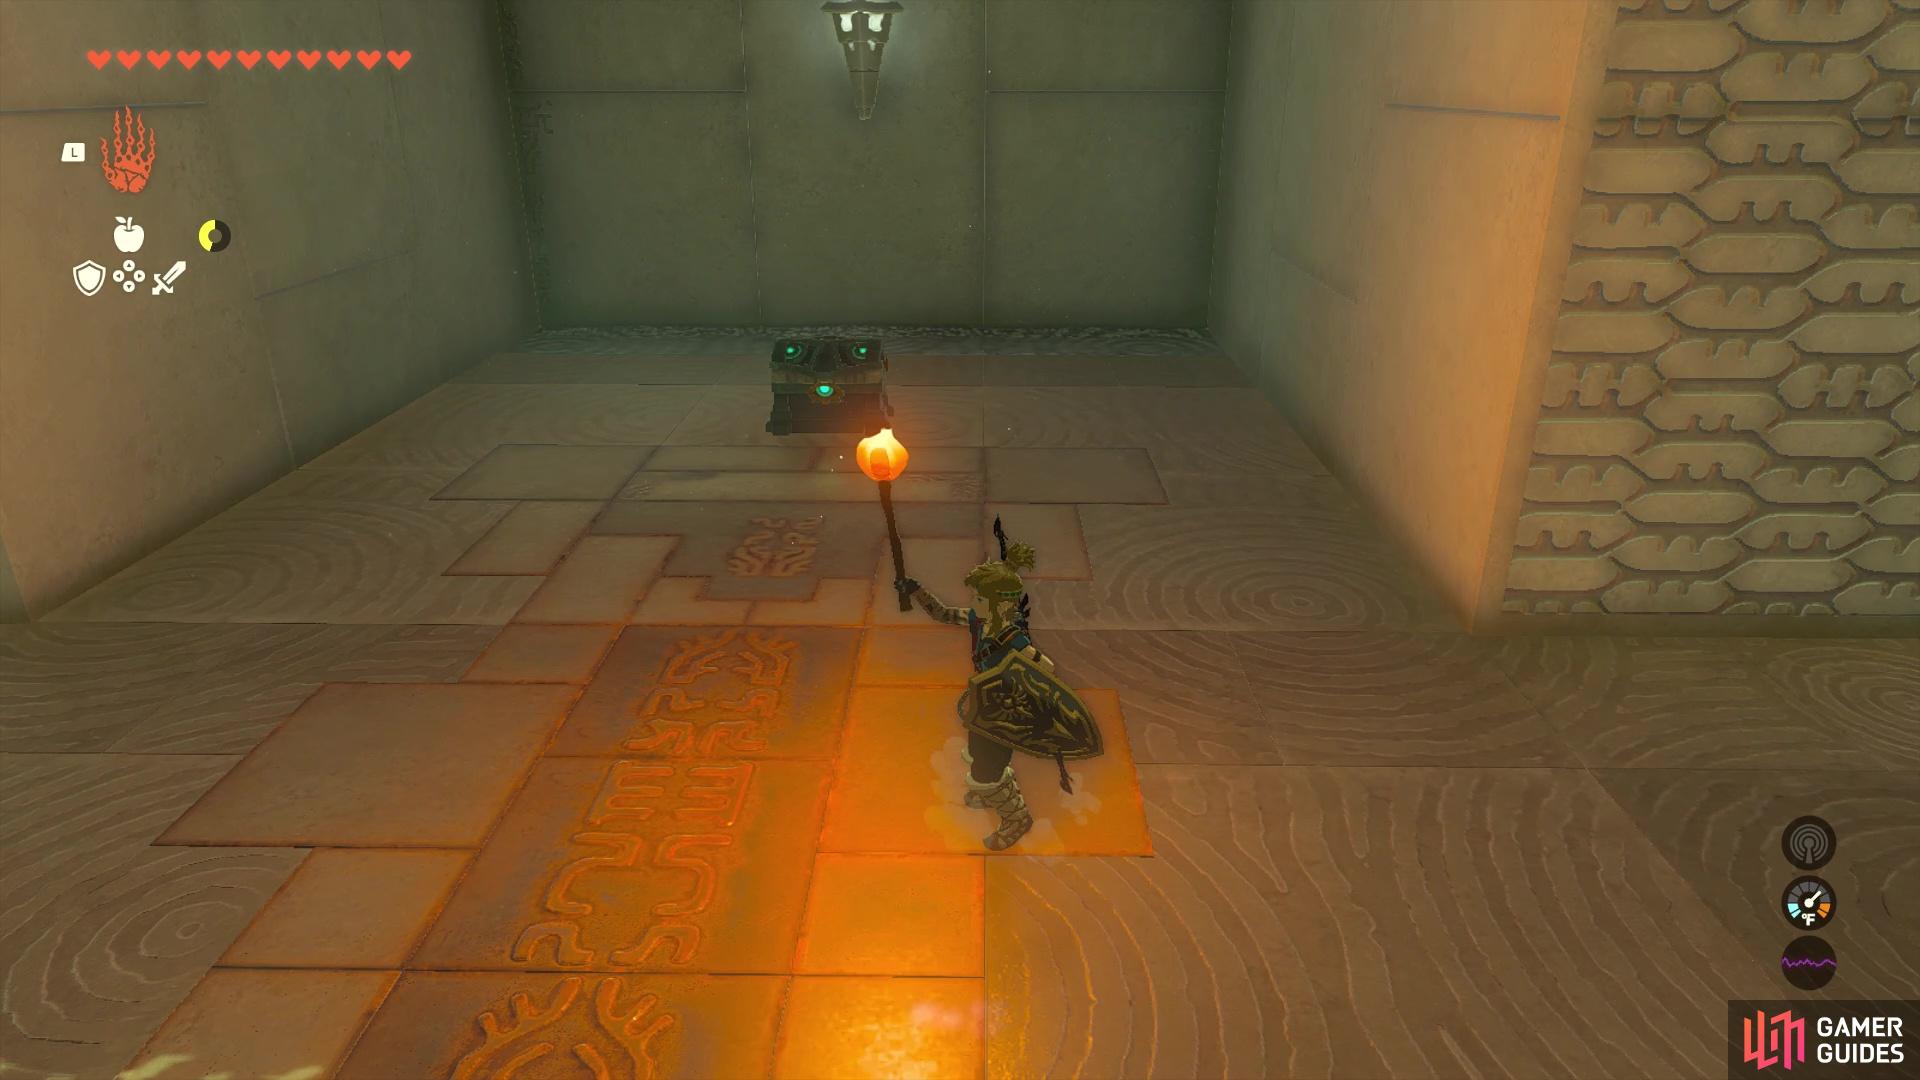
|
Kikakin Shrine |
The This one is tricky due to the shrine being in darkness. To aid you here, read our associated guide on how to complete the challenge you’re presented with. |
||||||||||||||||||||||||||||||||||||||||||||||||||||||||||||||||||||||||||||||||||||||||||||||||

|
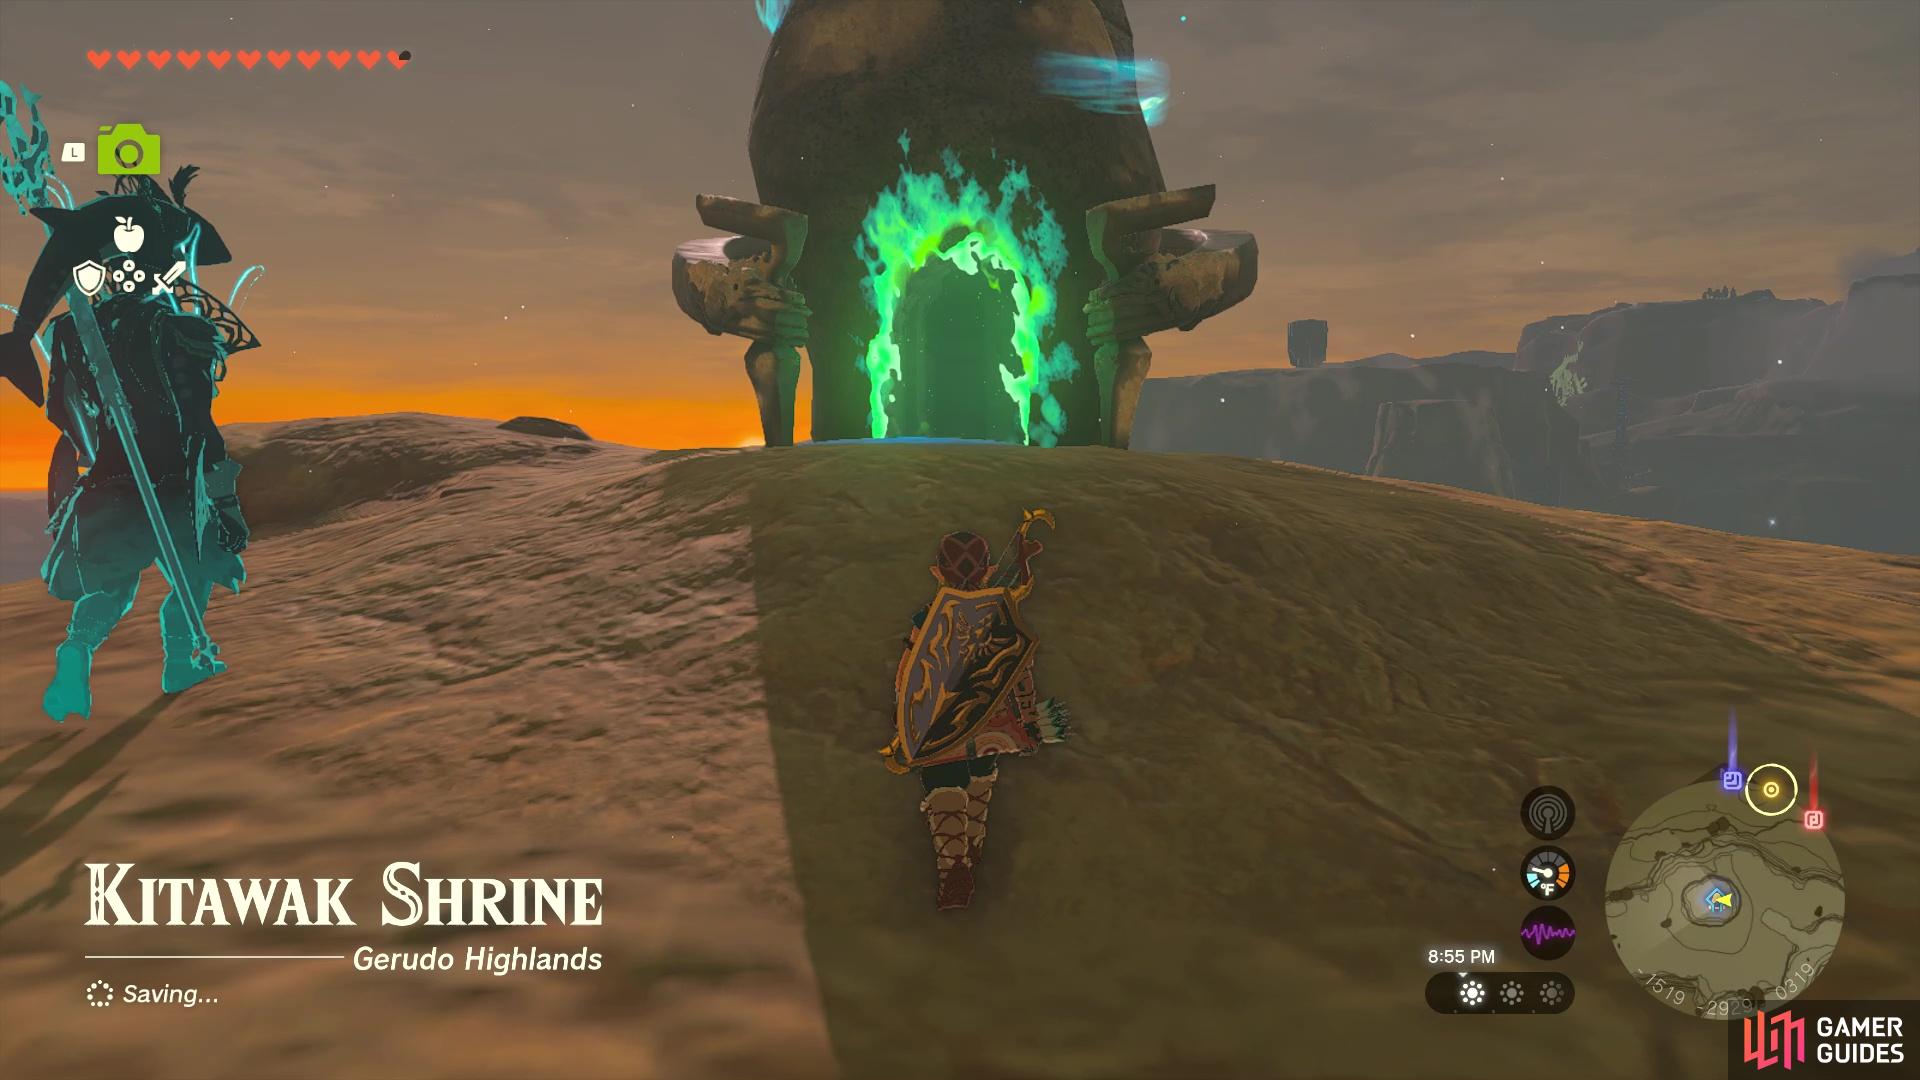
Kitawak Shrine |
The Kitawak Shrine is located in the eastern portion of the Gerudo region, on the East Gerudo Mesa. This is southeast of Spectacle, which is southeast of the Gerudo Canyon Skyview Tower. You can glide down from that tower, or pass through Spectacle Rock. The latter option could be dangerous, as a
Map(s)
Completion Reward
|
|
|||||||||||||||||||||||||||||||||||||||||||||||||||||||||||||||||||||||||||||||||||||||||||||||

|
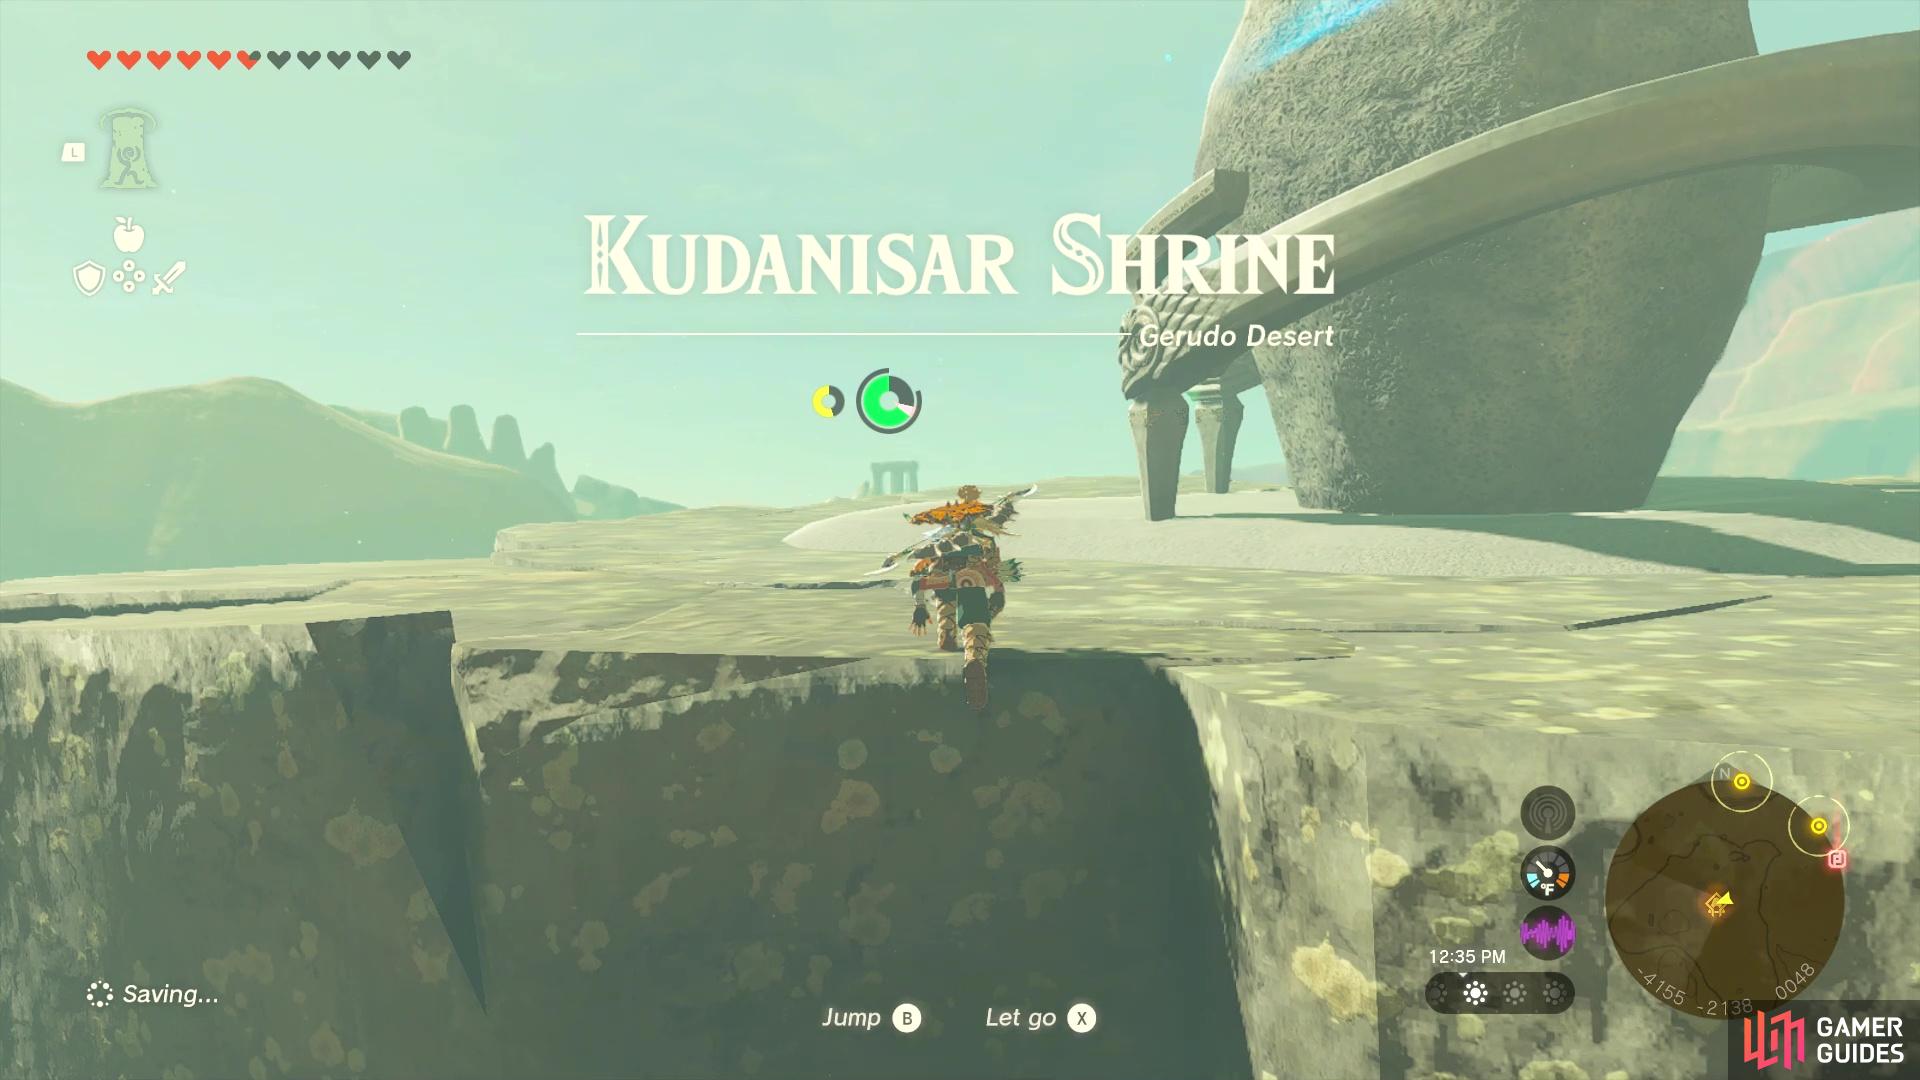
Kudanisar Shrine |
The Kudanisar Shrine is located in the northern part of the Gerudo Desert. It is surrounded by some moving sands, as well as a bunch of Constructs. The easiest way to get to it is to glide down from the cliffs to the north of the shrine. For a full walkthrough of the shrine itself, as well as how to get the two chests inside, visit the How to Complete the Kudanisar Shrine page.
Map(s)
Chest Rewards
Completion Reward
|
|
|||||||||||||||||||||||||||||||||||||||||||||||||||||||||||||||||||||||||||||||||||||||||||||||

|
Kurakat Shrine |
You can’t actually stumble across the The Shrine Quest in question here is Dyeing to Find It, and you’ll need to head east of Lanayru Wetlands to start this. Read our guides on the Kurakat Shrine and Dyeing to Find It to get this one completed.
In-game Description
Map(s)
|
||||||||||||||||||||||||||||||||||||||||||||||||||||||||||||||||||||||||||||||||||||||||||||||||

|
Kyokugon Shrine |
Map(s)
|
||||||||||||||||||||||||||||||||||||||||||||||||||||||||||||||||||||||||||||||||||||||||||||||||

|
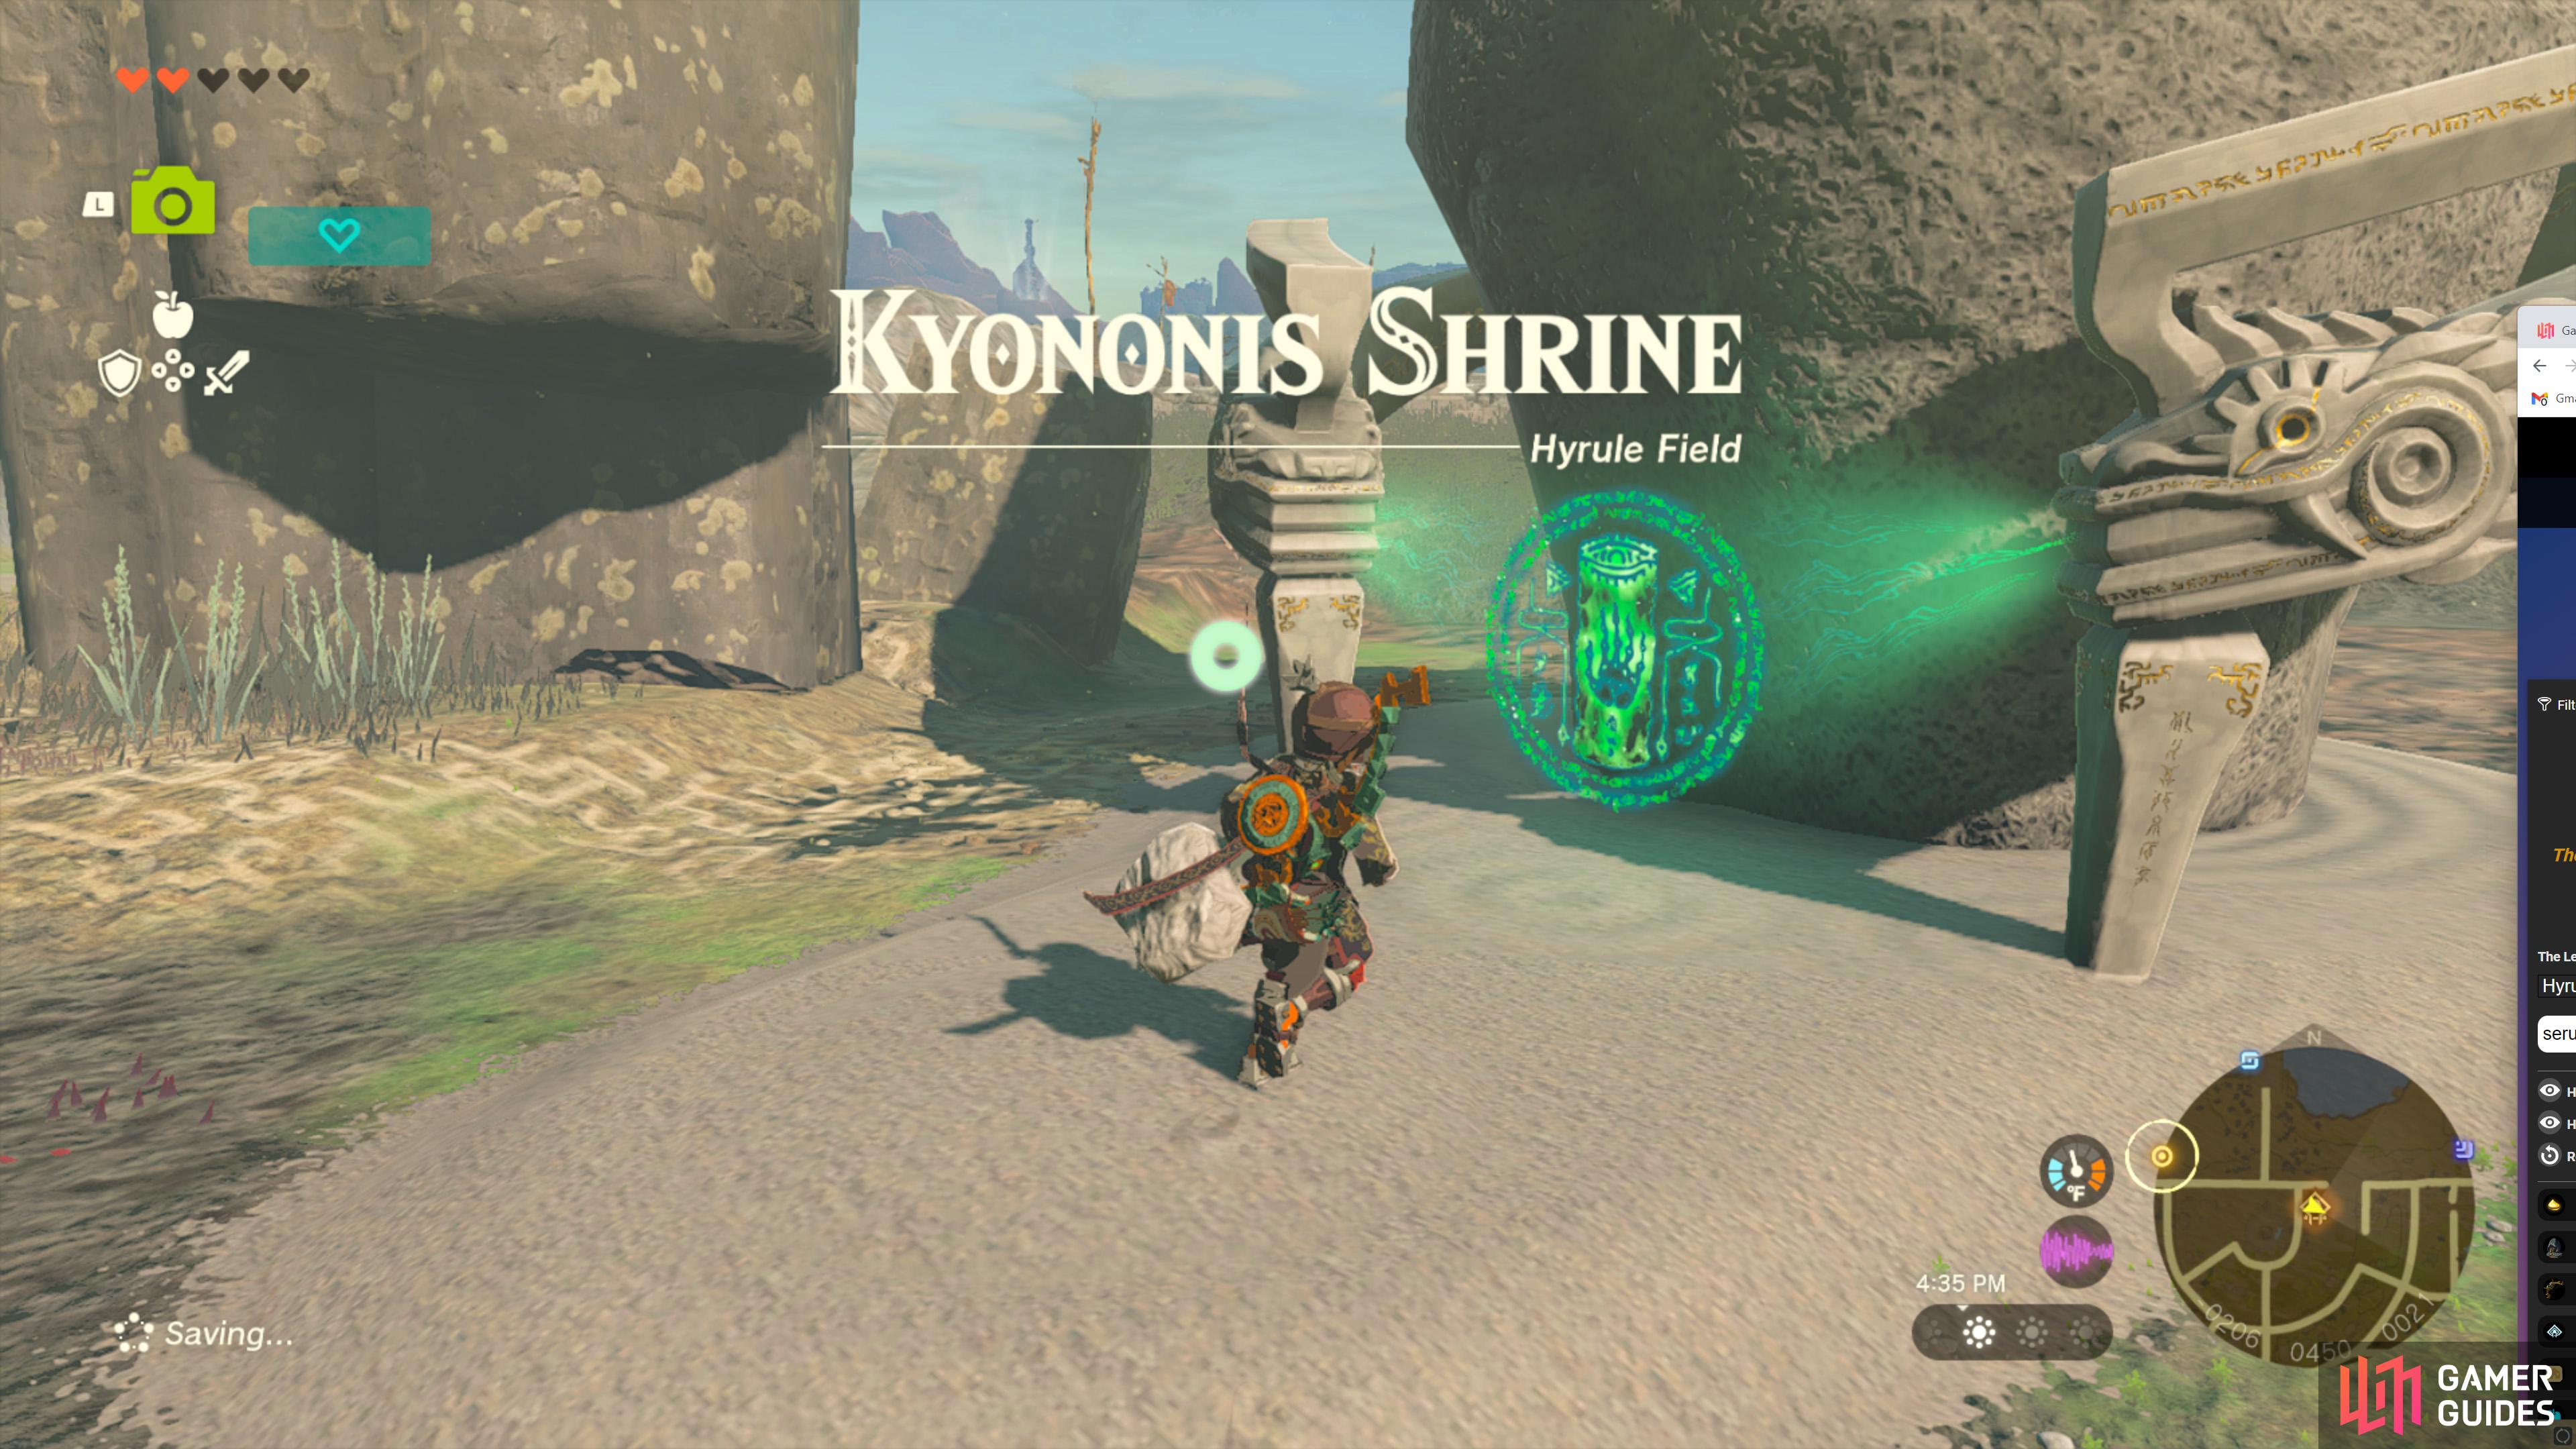
Kyononis Shrine |
A Combat Training Shrine found to the east of Central Square in the Hyrule Field region. This shrine is found in
Map(s)
Completion Reward
1×
|

|
|||||||||||||||||||||||||||||||||||||||||||||||||||||||||||||||||||||||||||||||||||||||||||||||

|
Makasura Shrine |
Map(s)
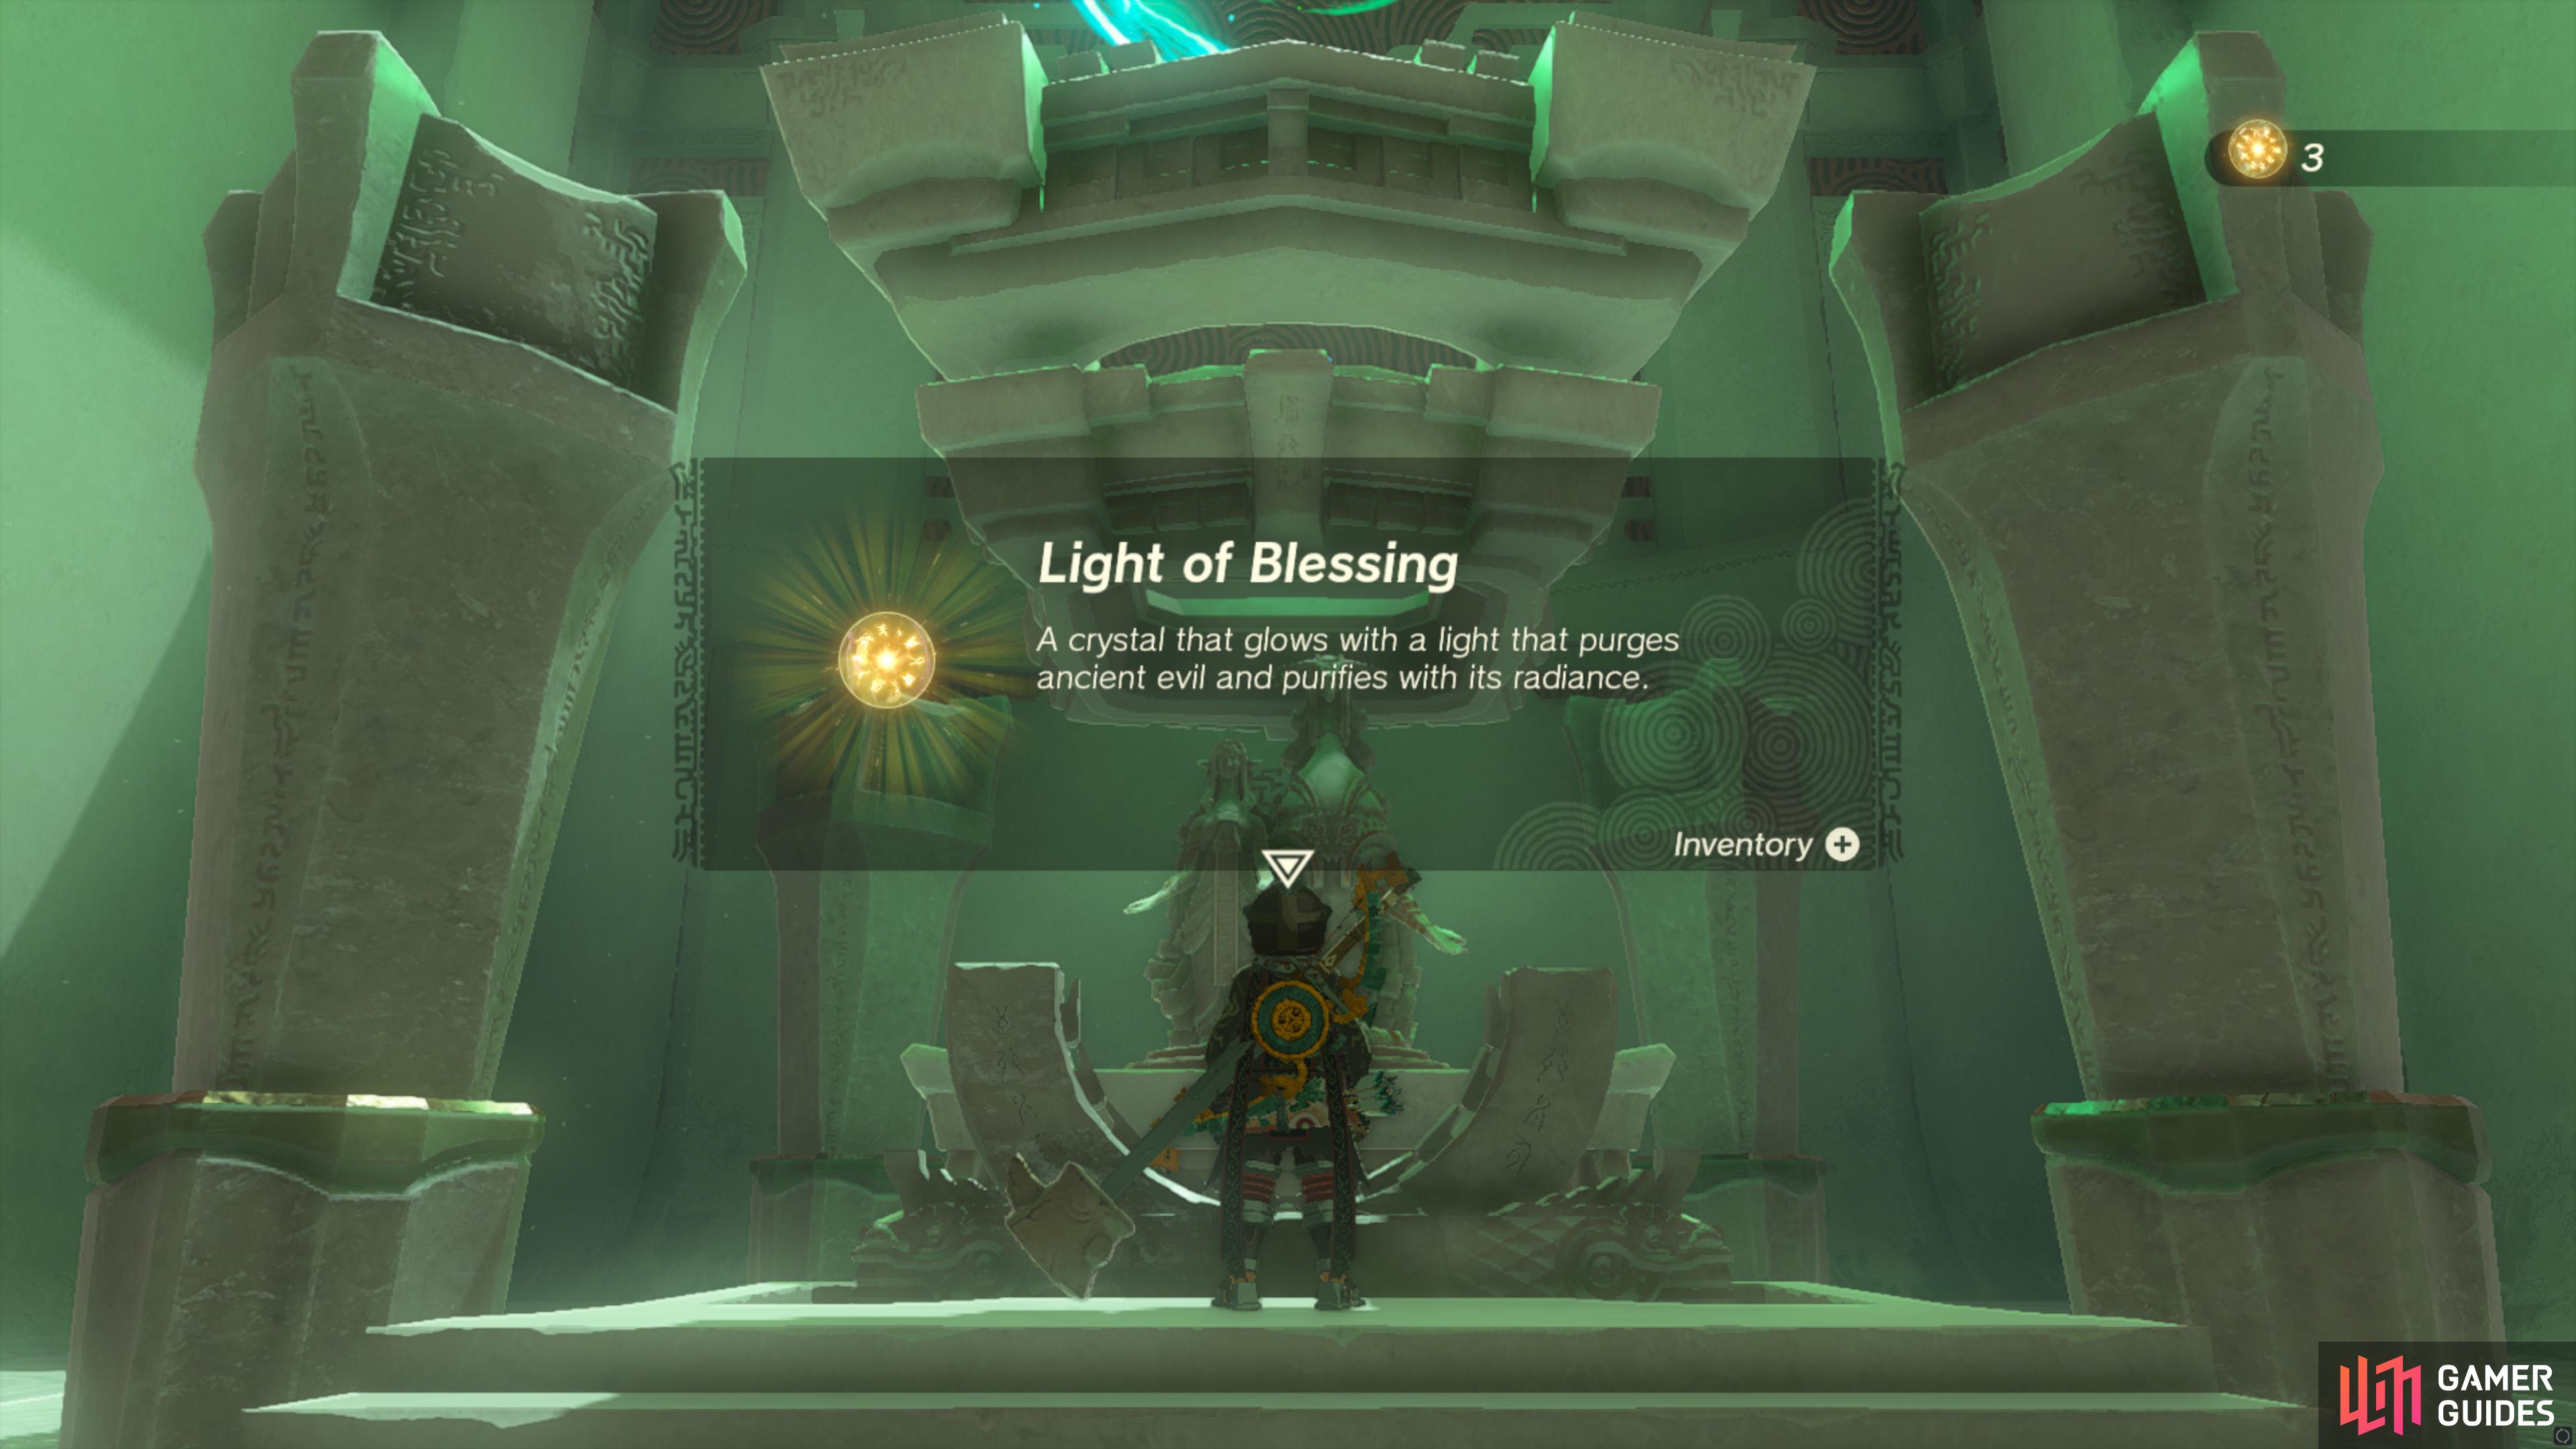
Completion Reward
|
|
|||||||||||||||||||||||||||||||||||||||||||||||||||||||||||||||||||||||||||||||||||||||||||||||

|
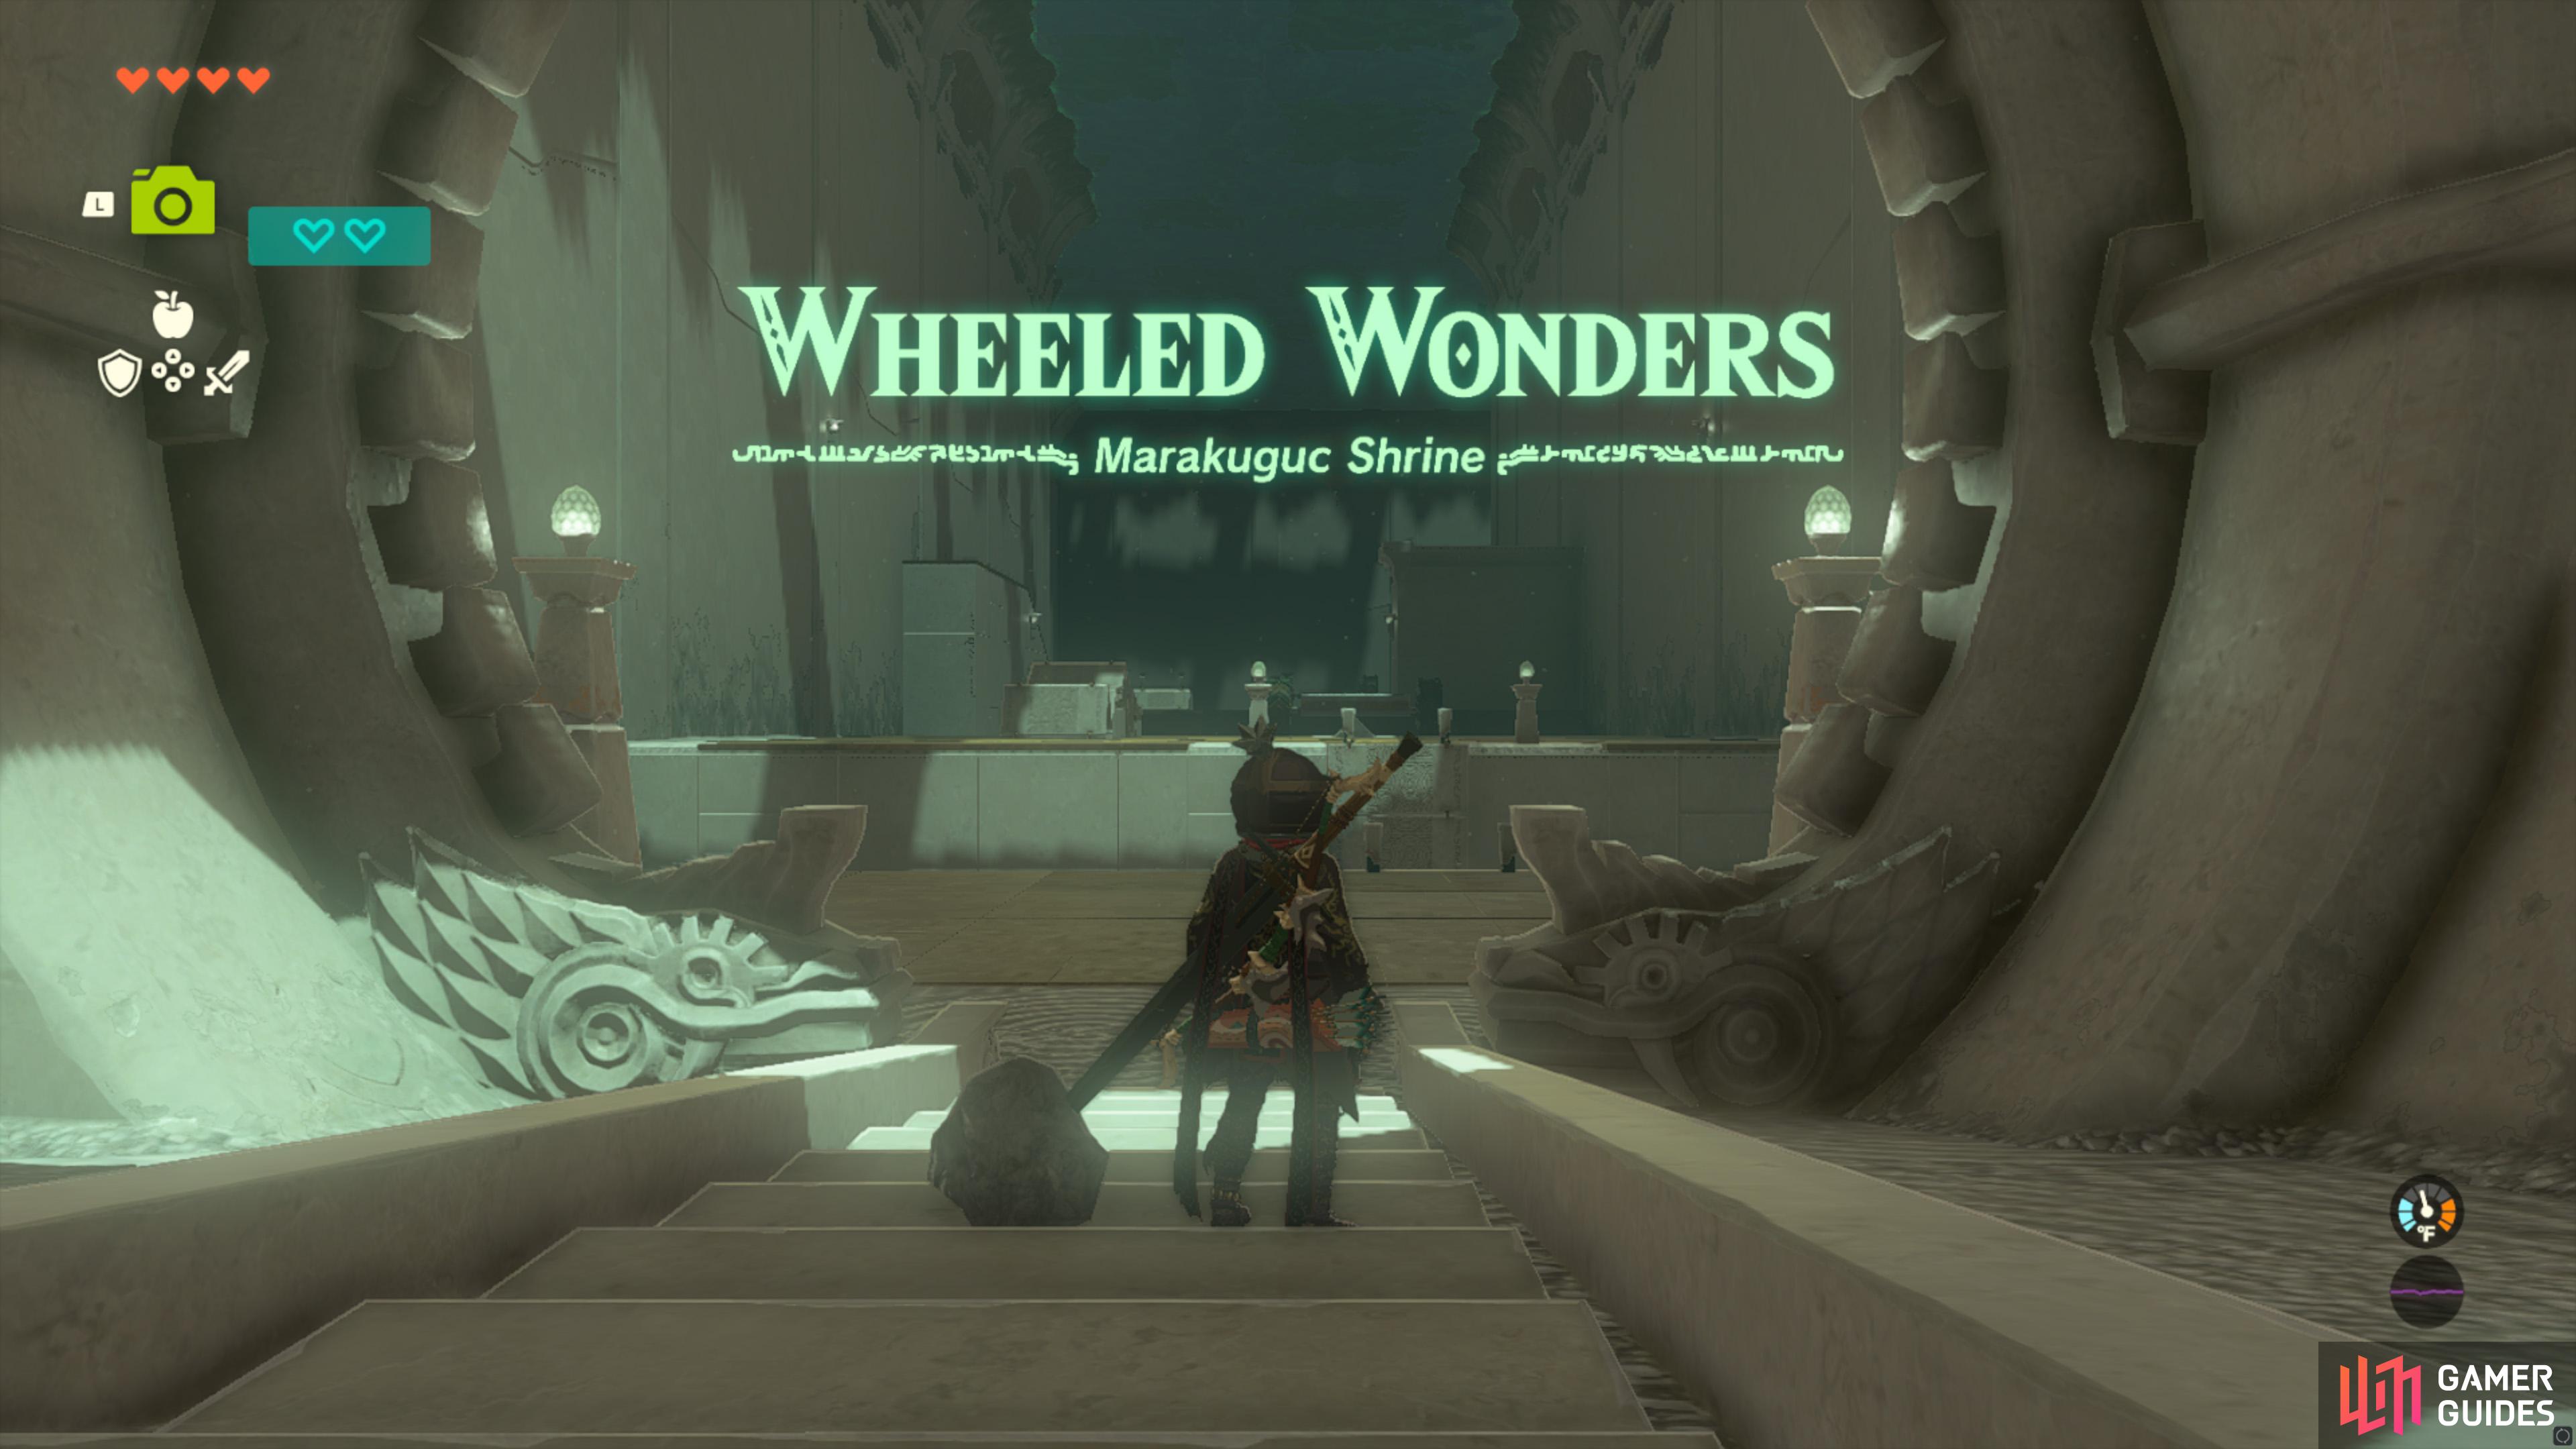
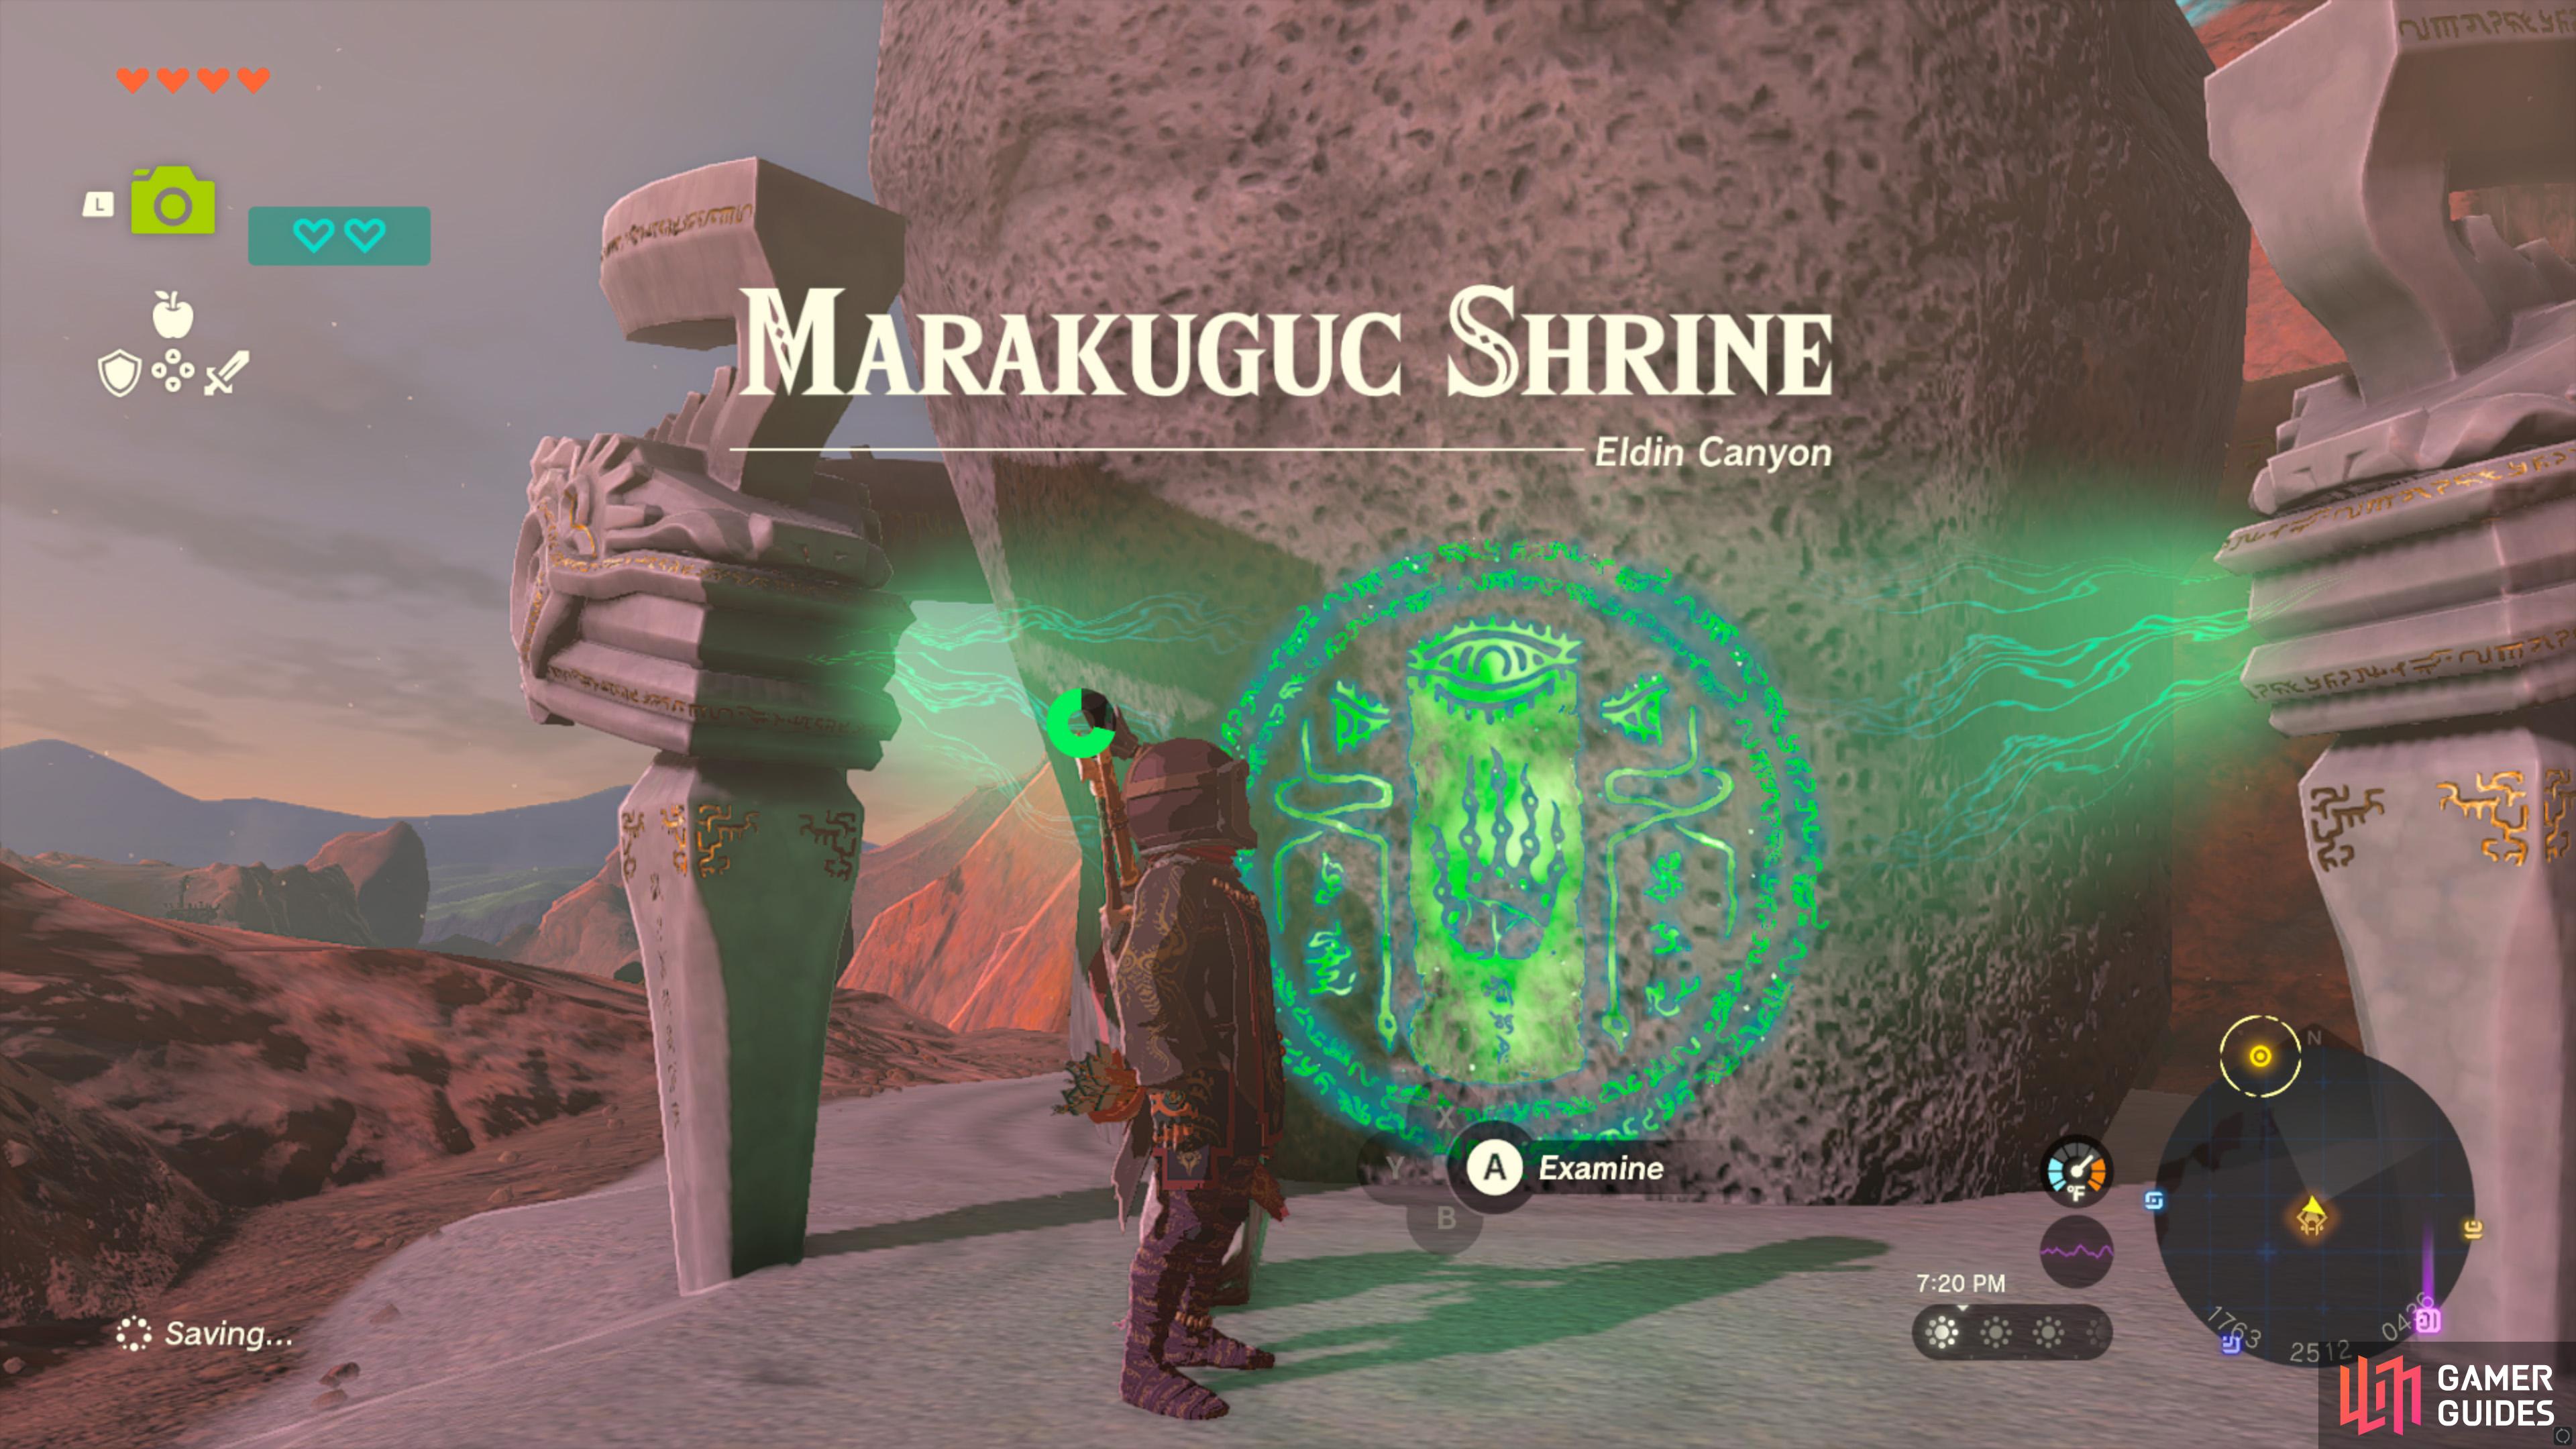
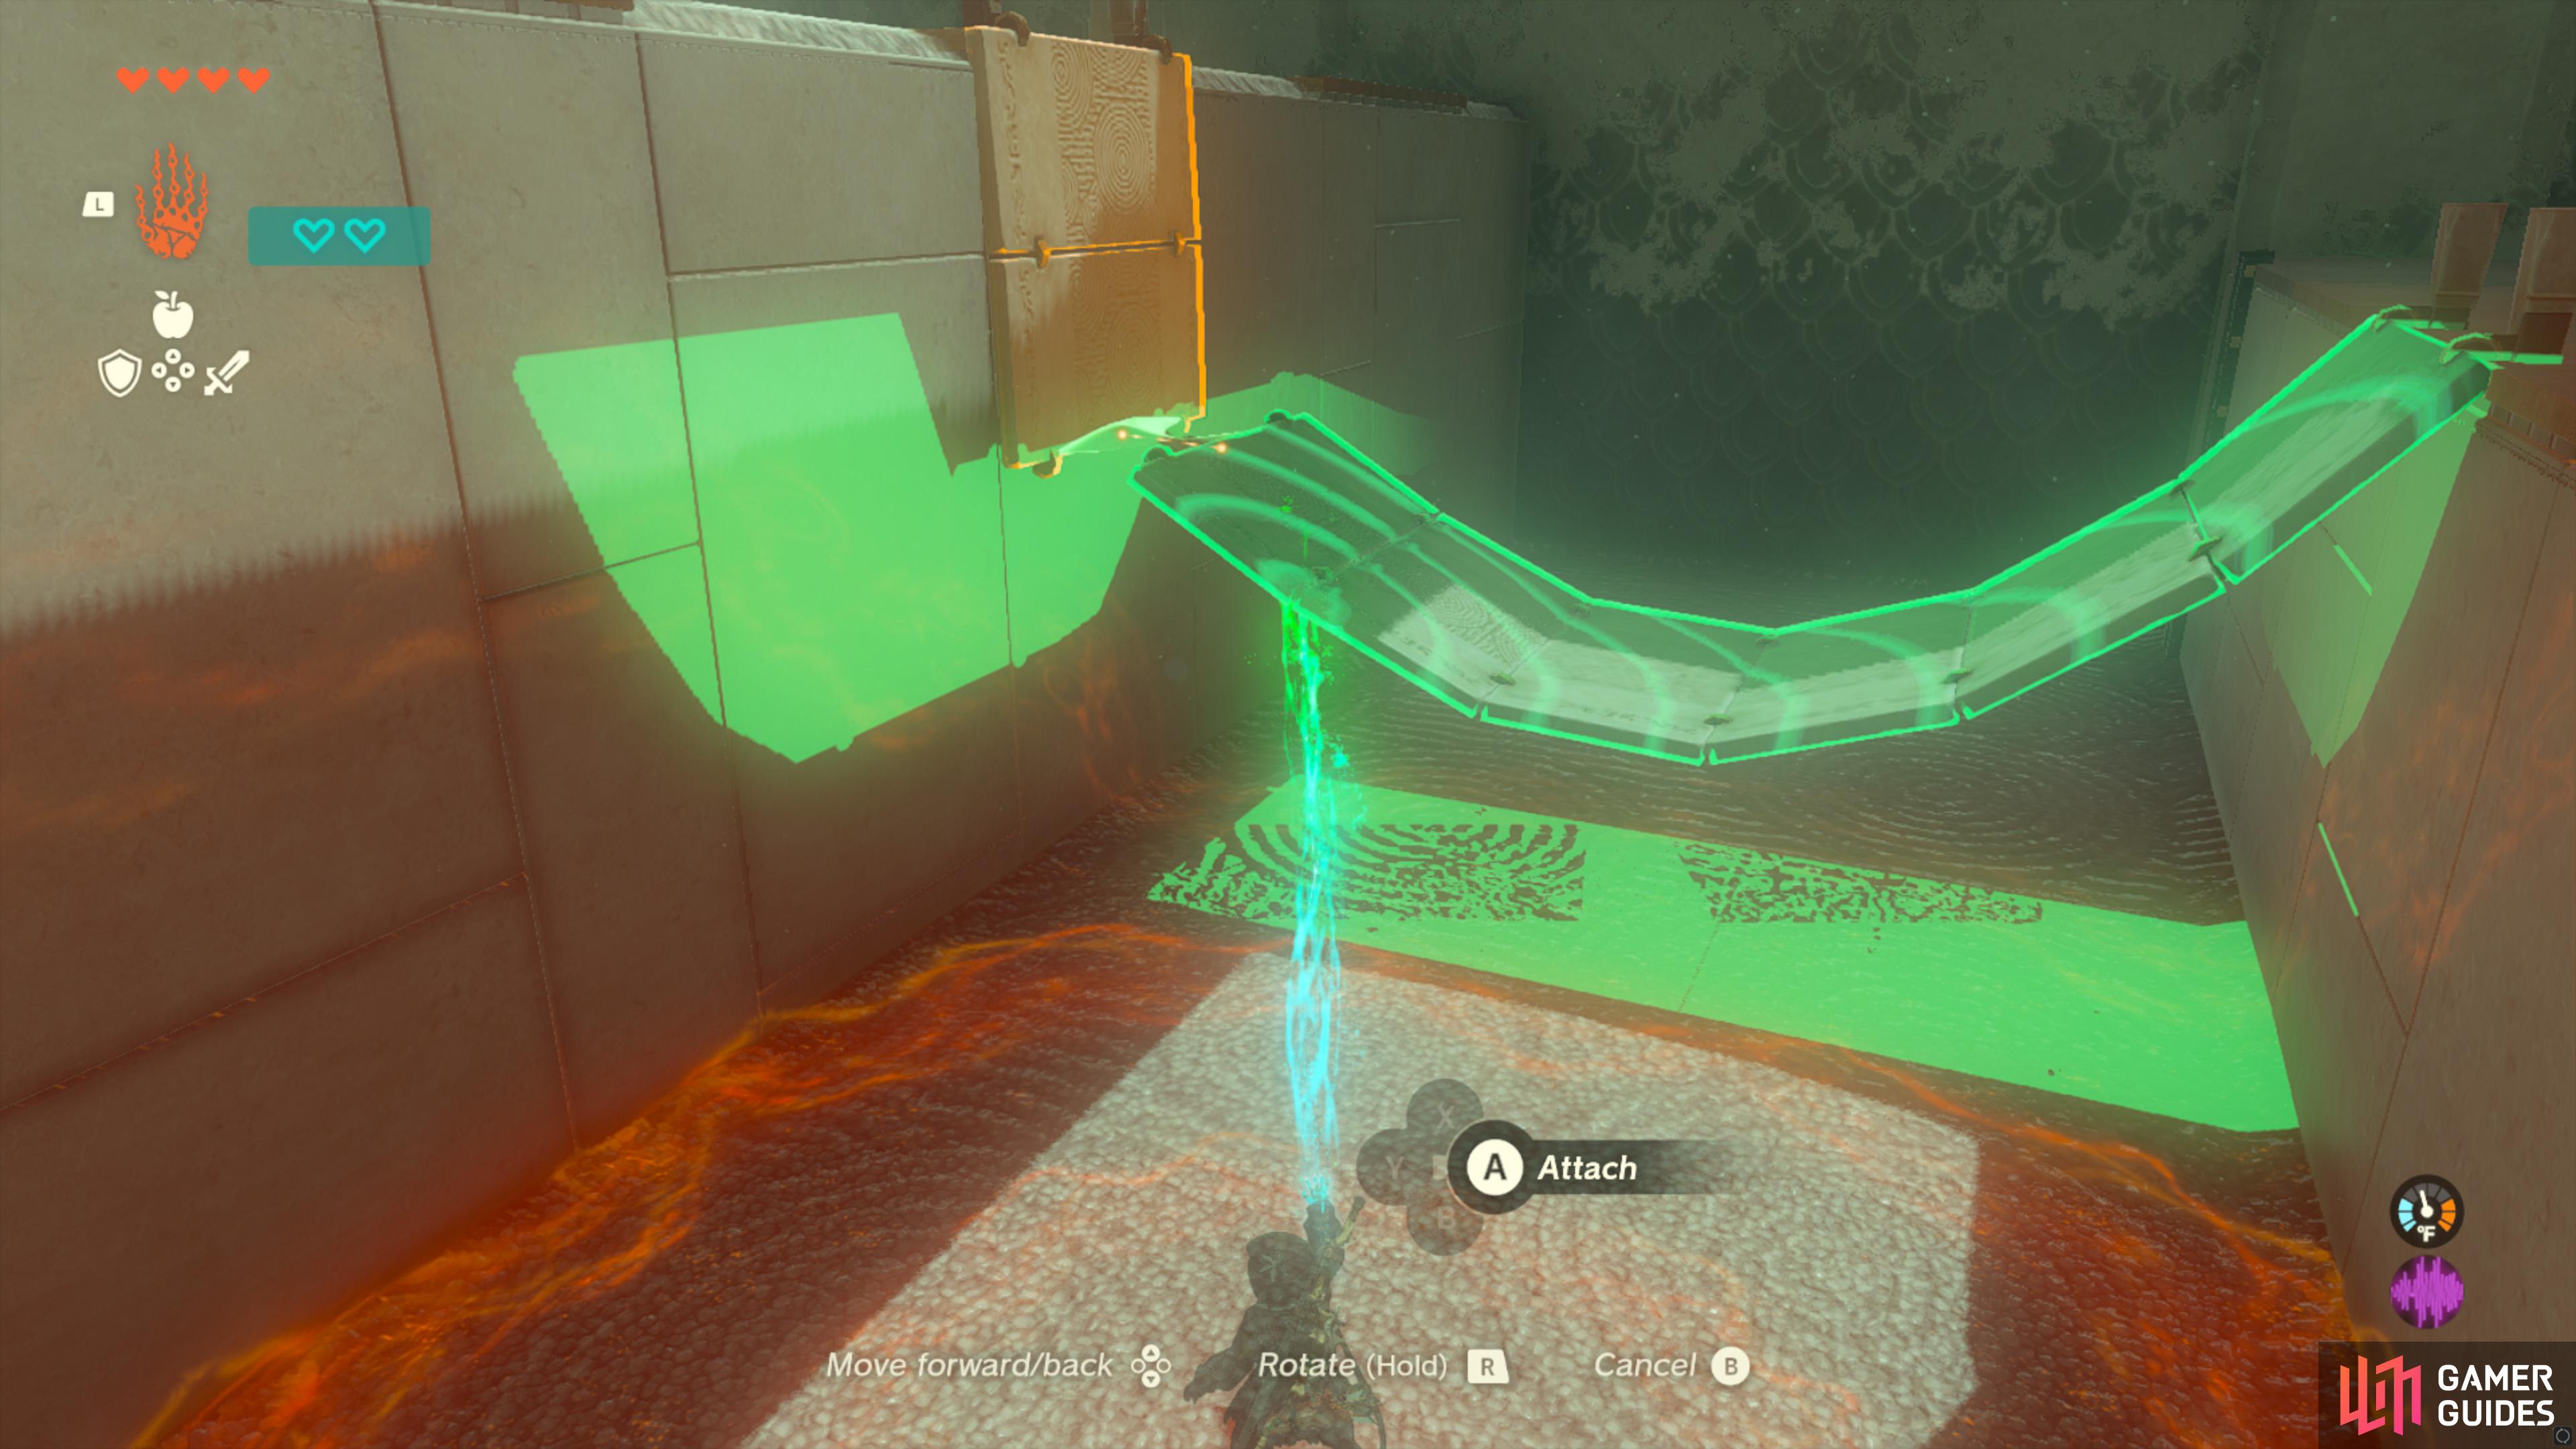
Marakuguc Shrine |
|
|
|||||||||||||||||||||||||||||||||||||||||||||||||||||||||||||||||||||||||||||||||||||||||||||||

|
Marari-in Shrine |
You can find the
Map(s)
|
||||||||||||||||||||||||||||||||||||||||||||||||||||||||||||||||||||||||||||||||||||||||||||||||

|
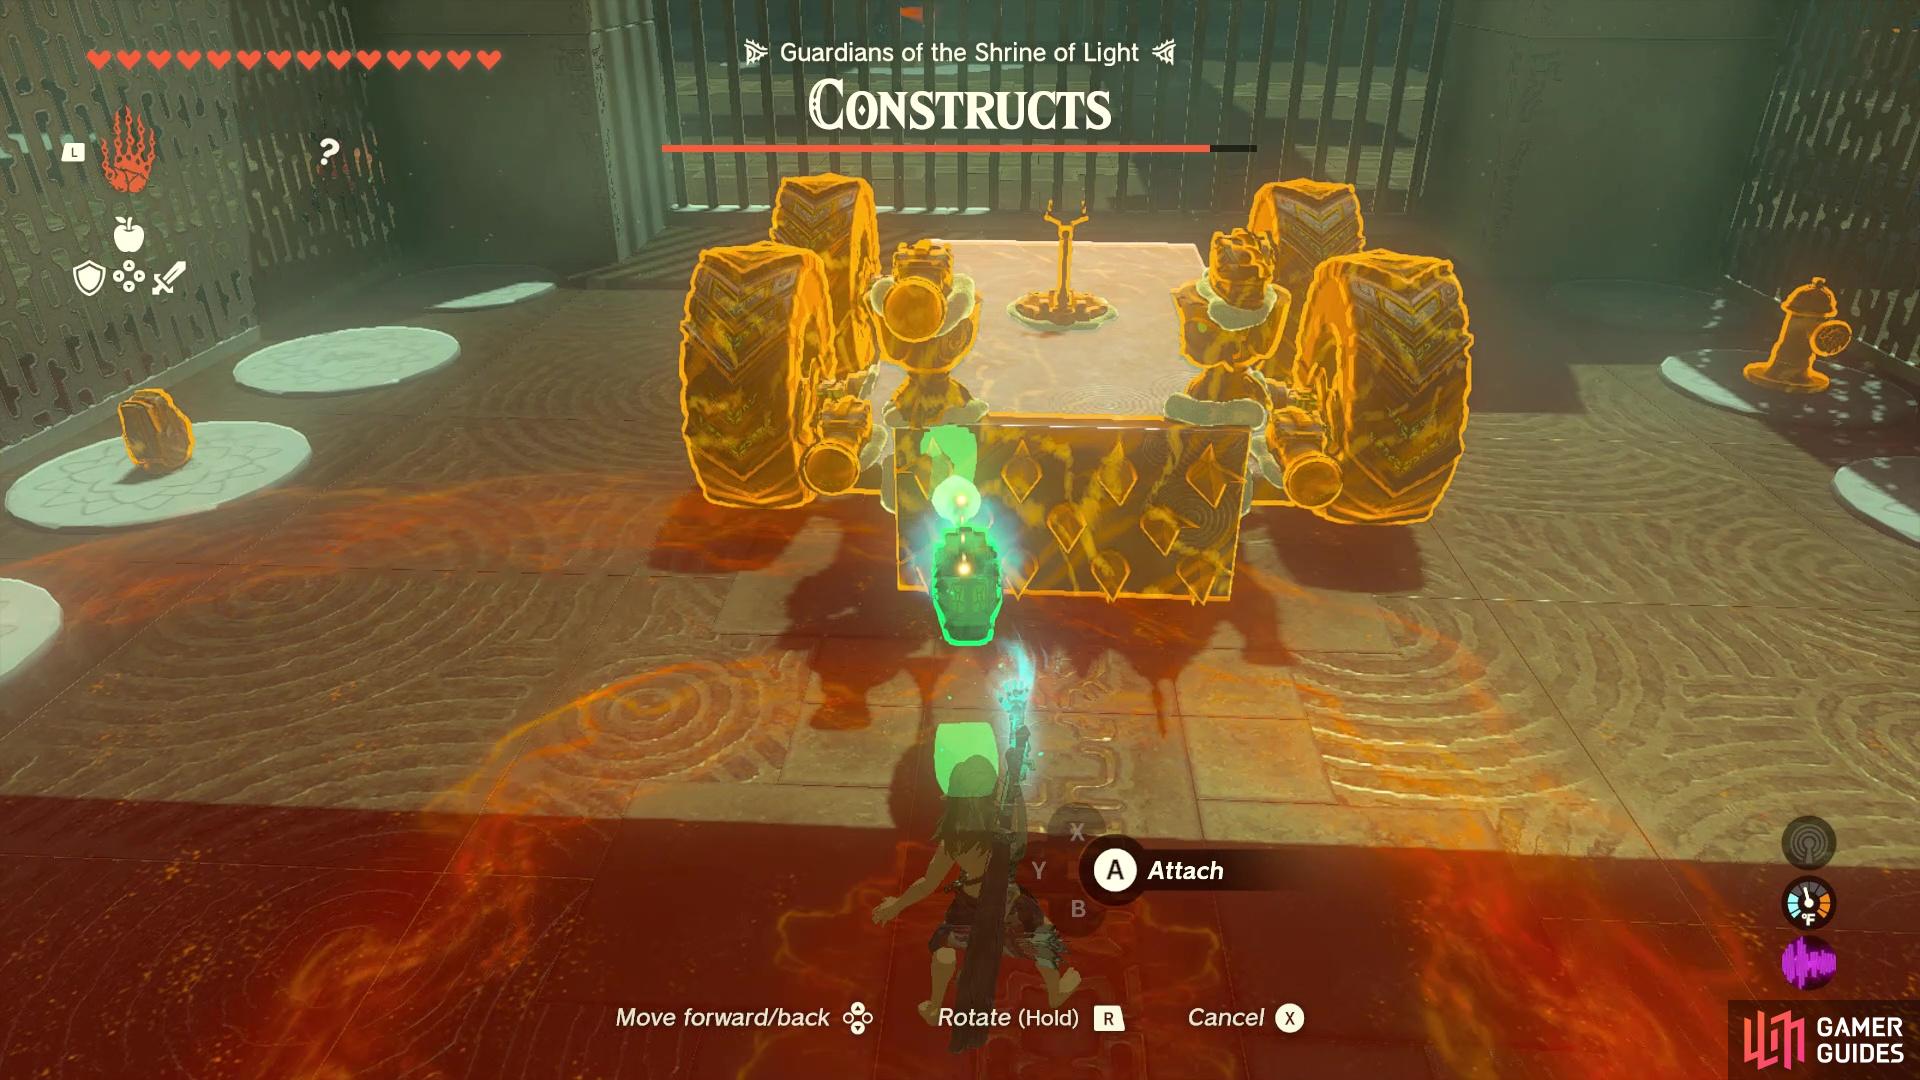
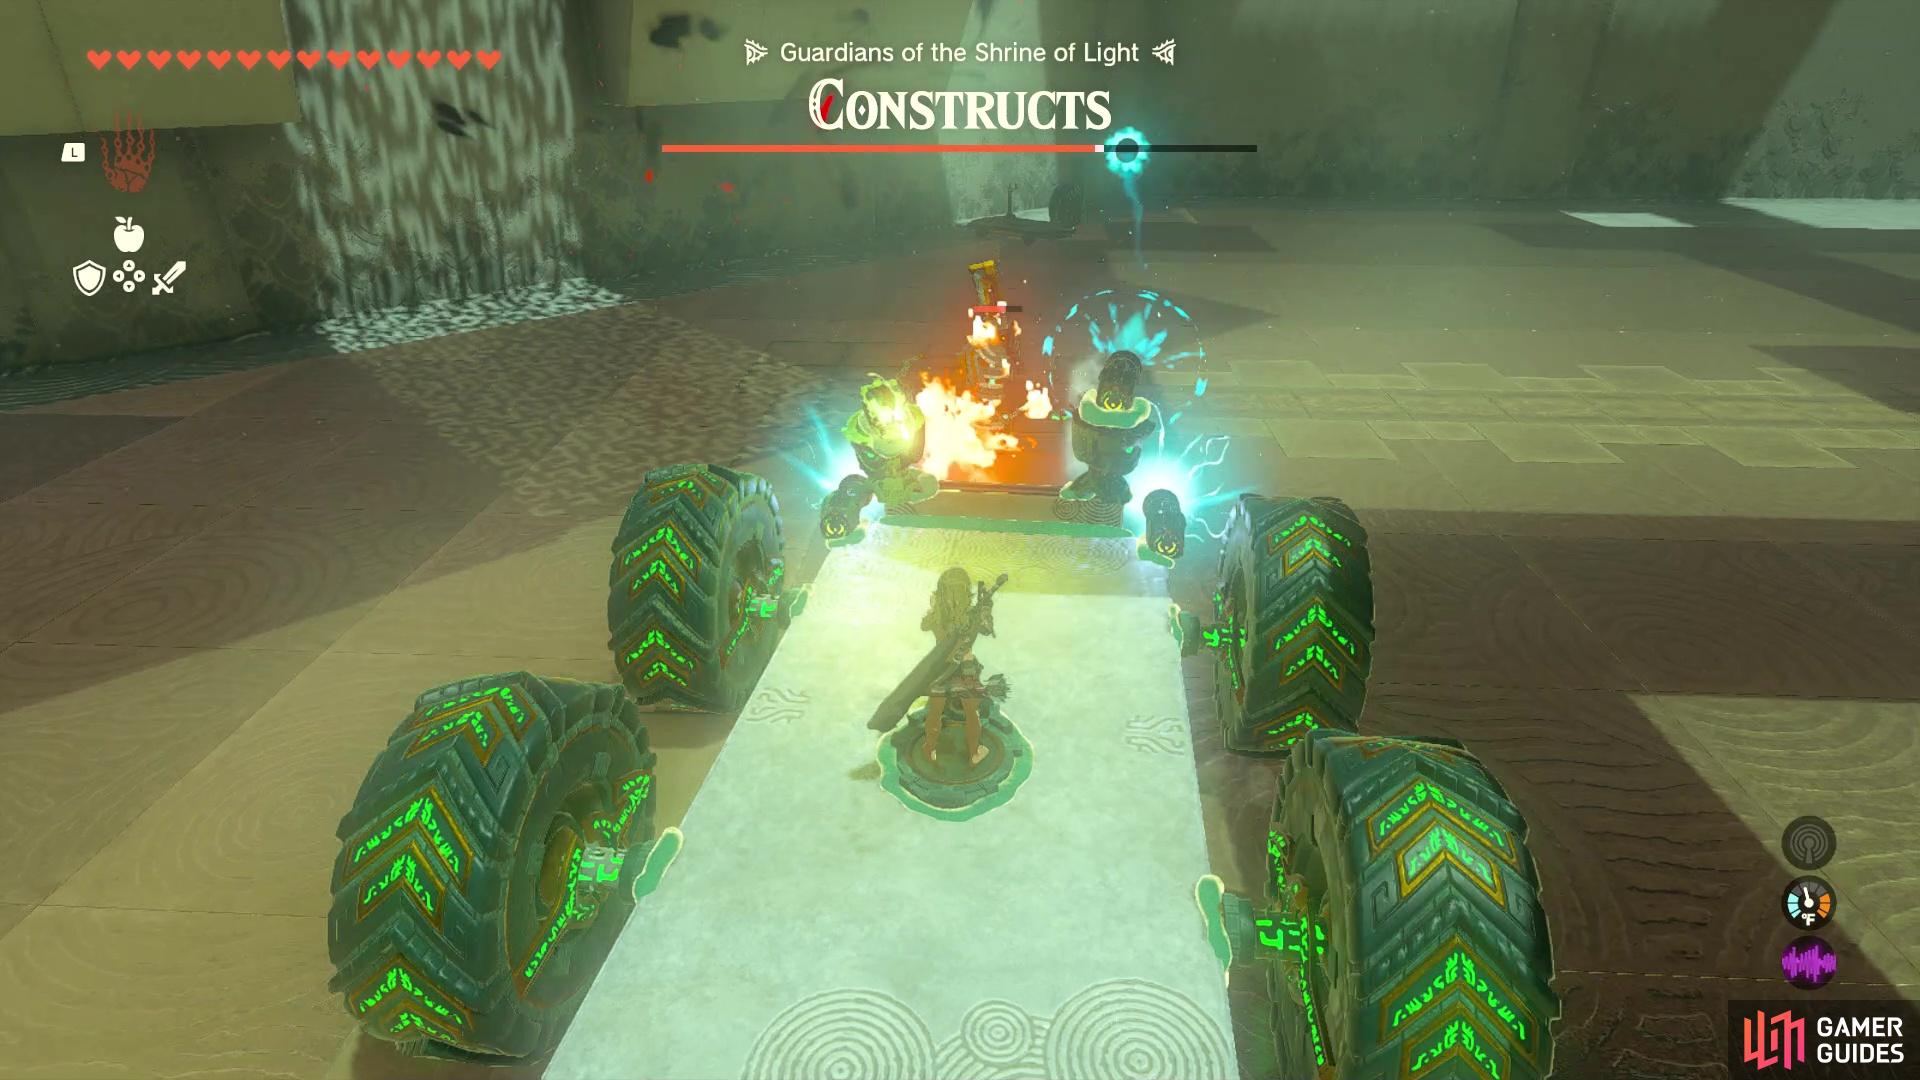
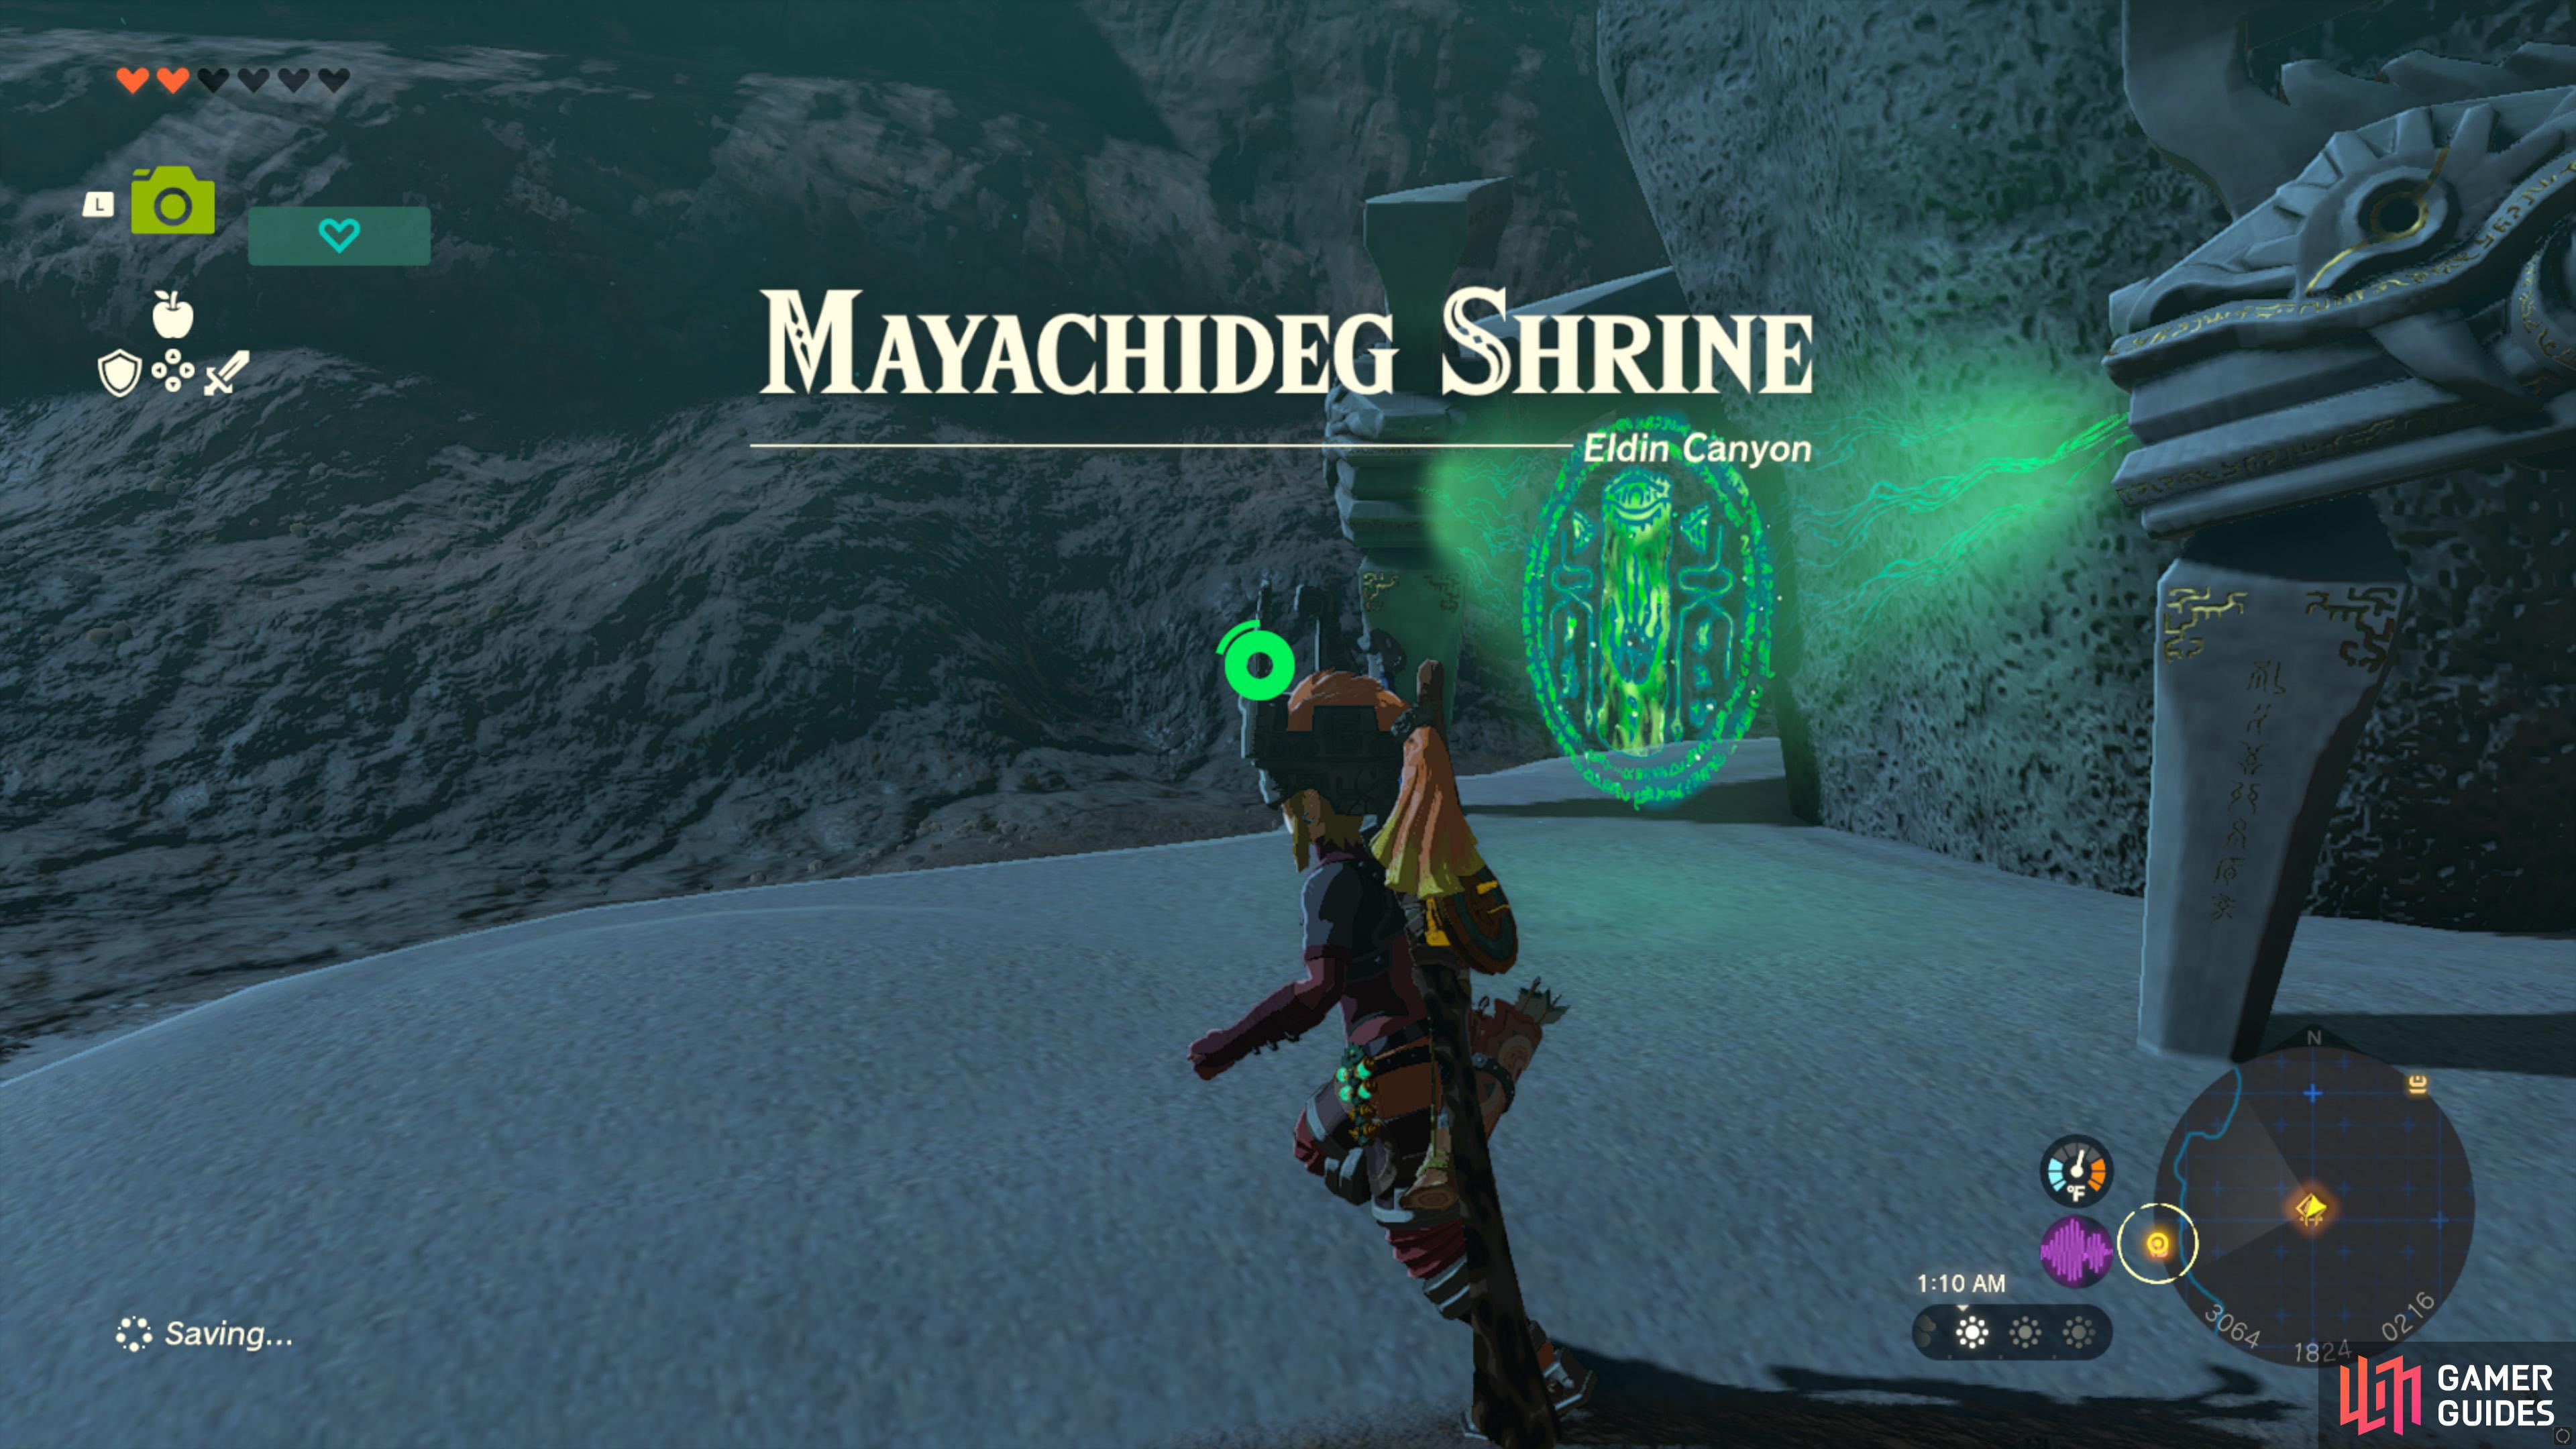
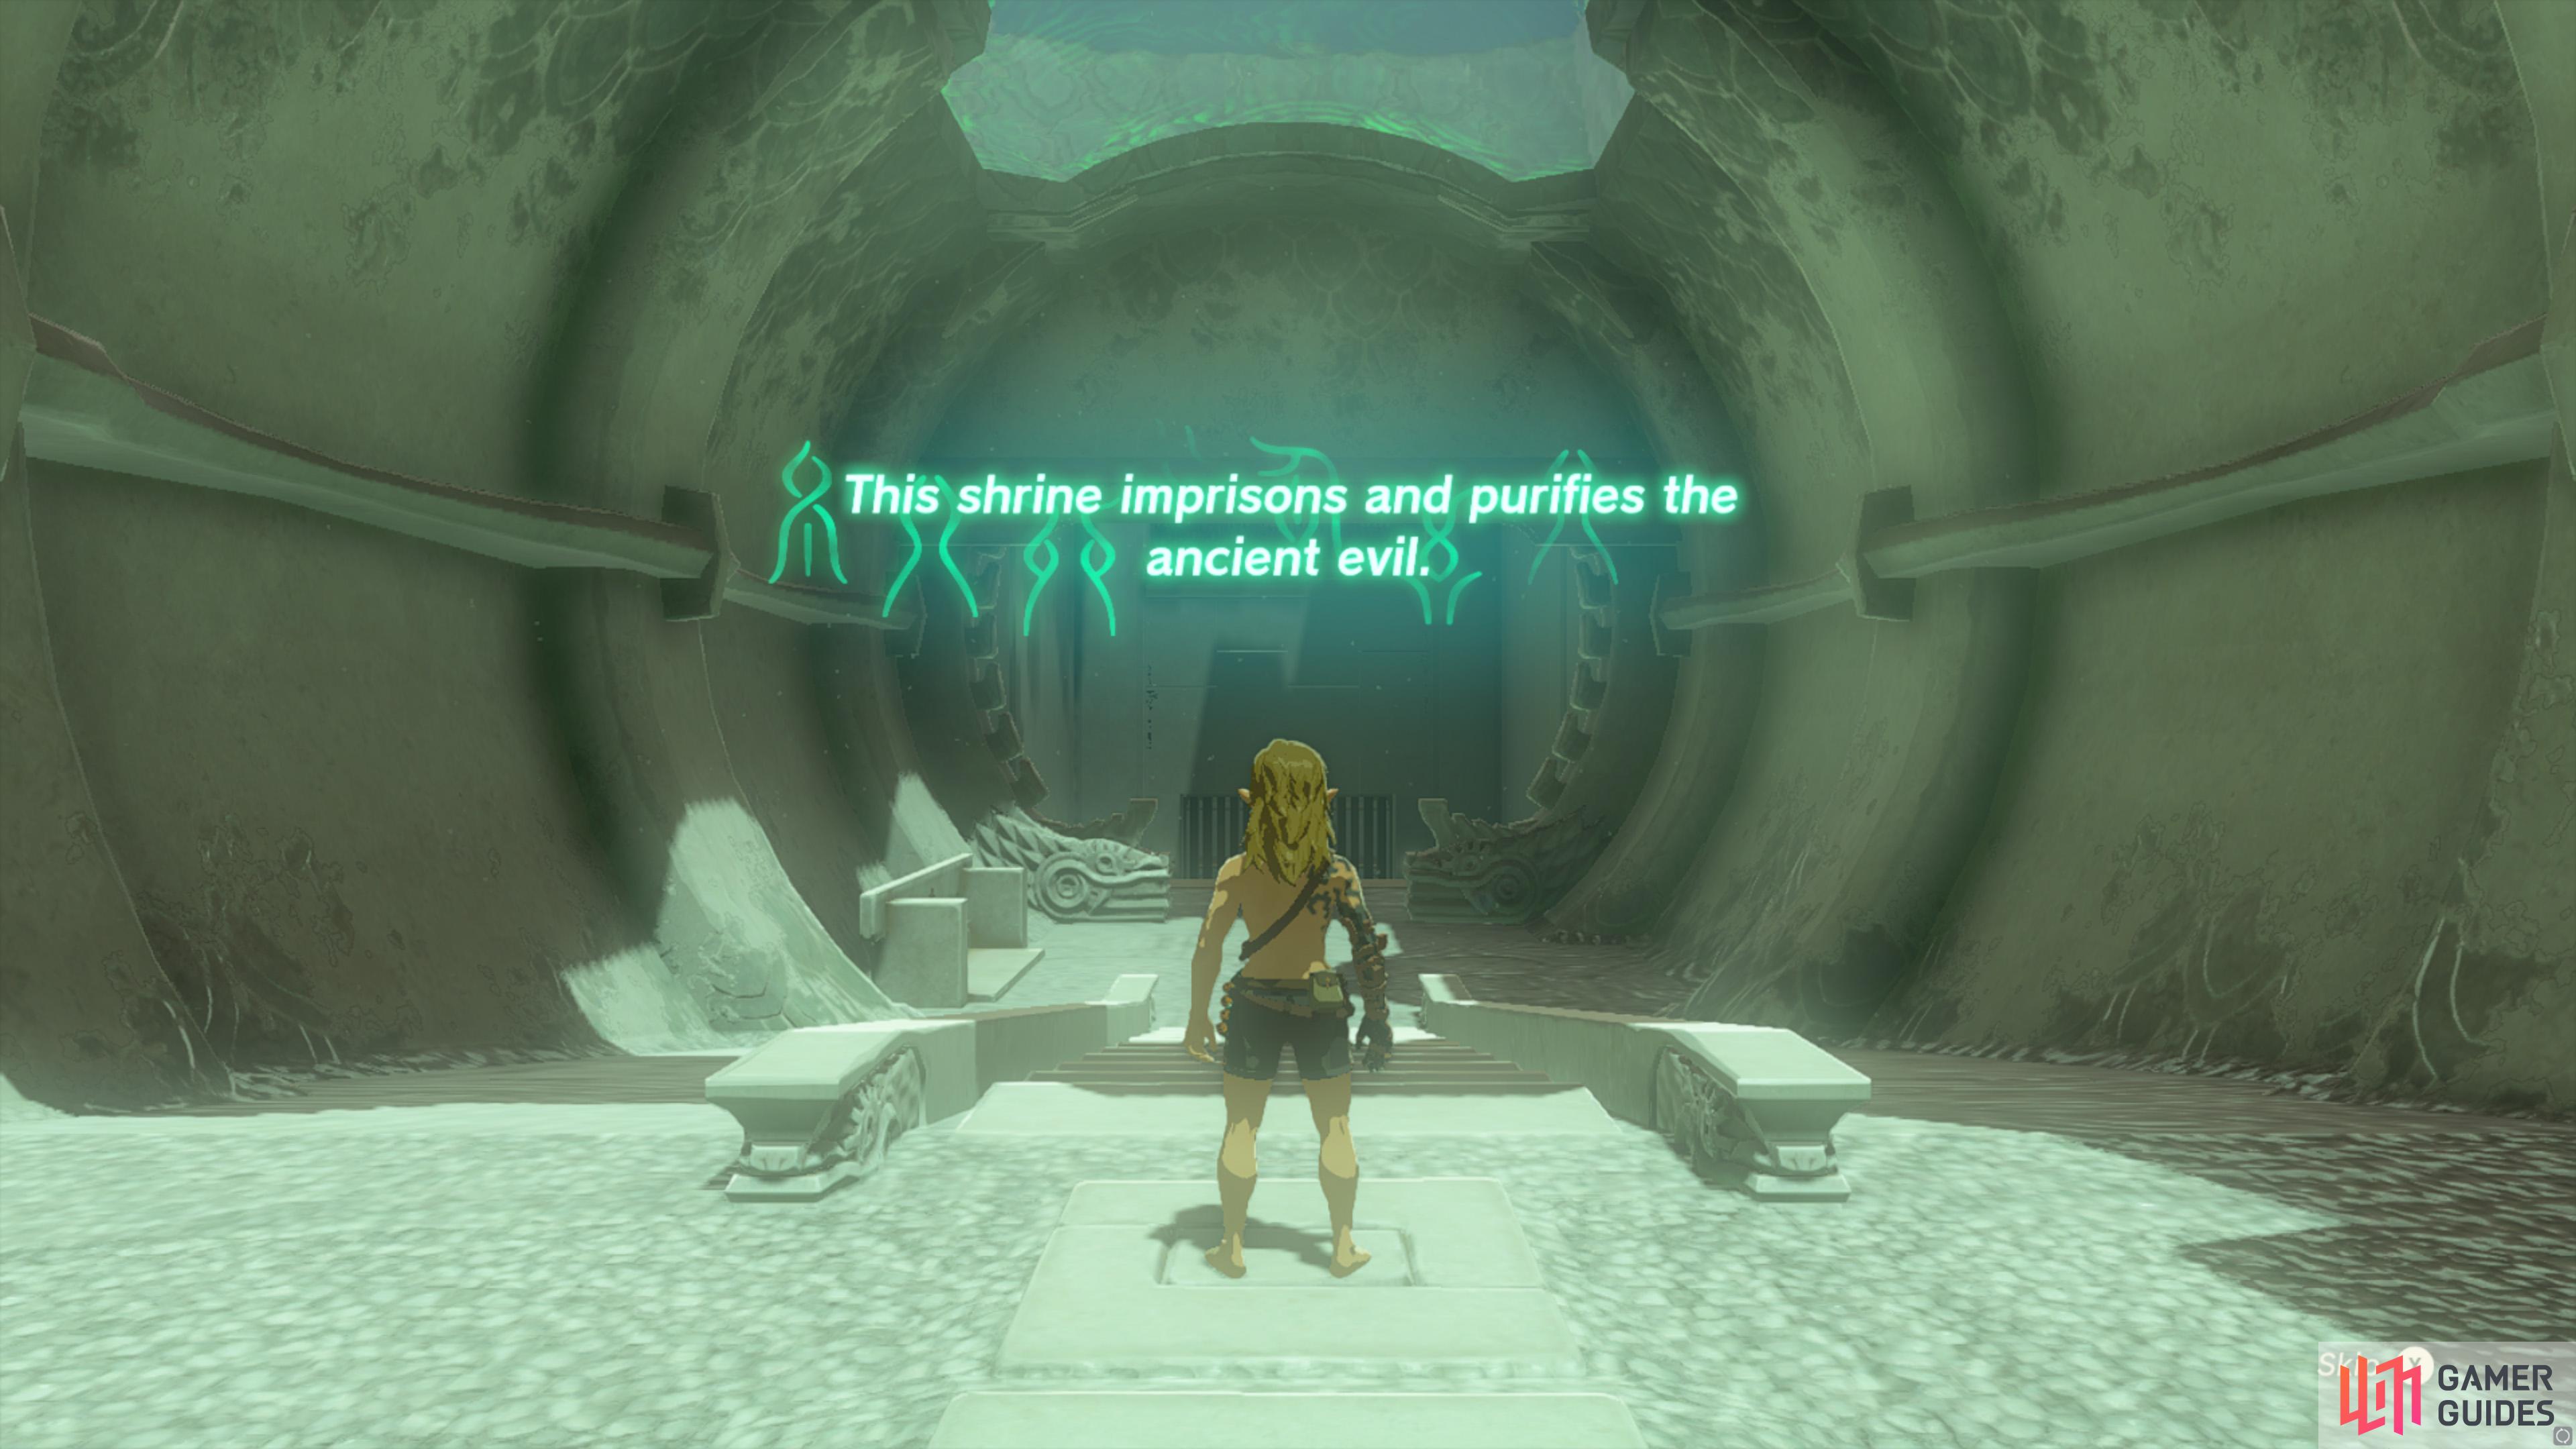
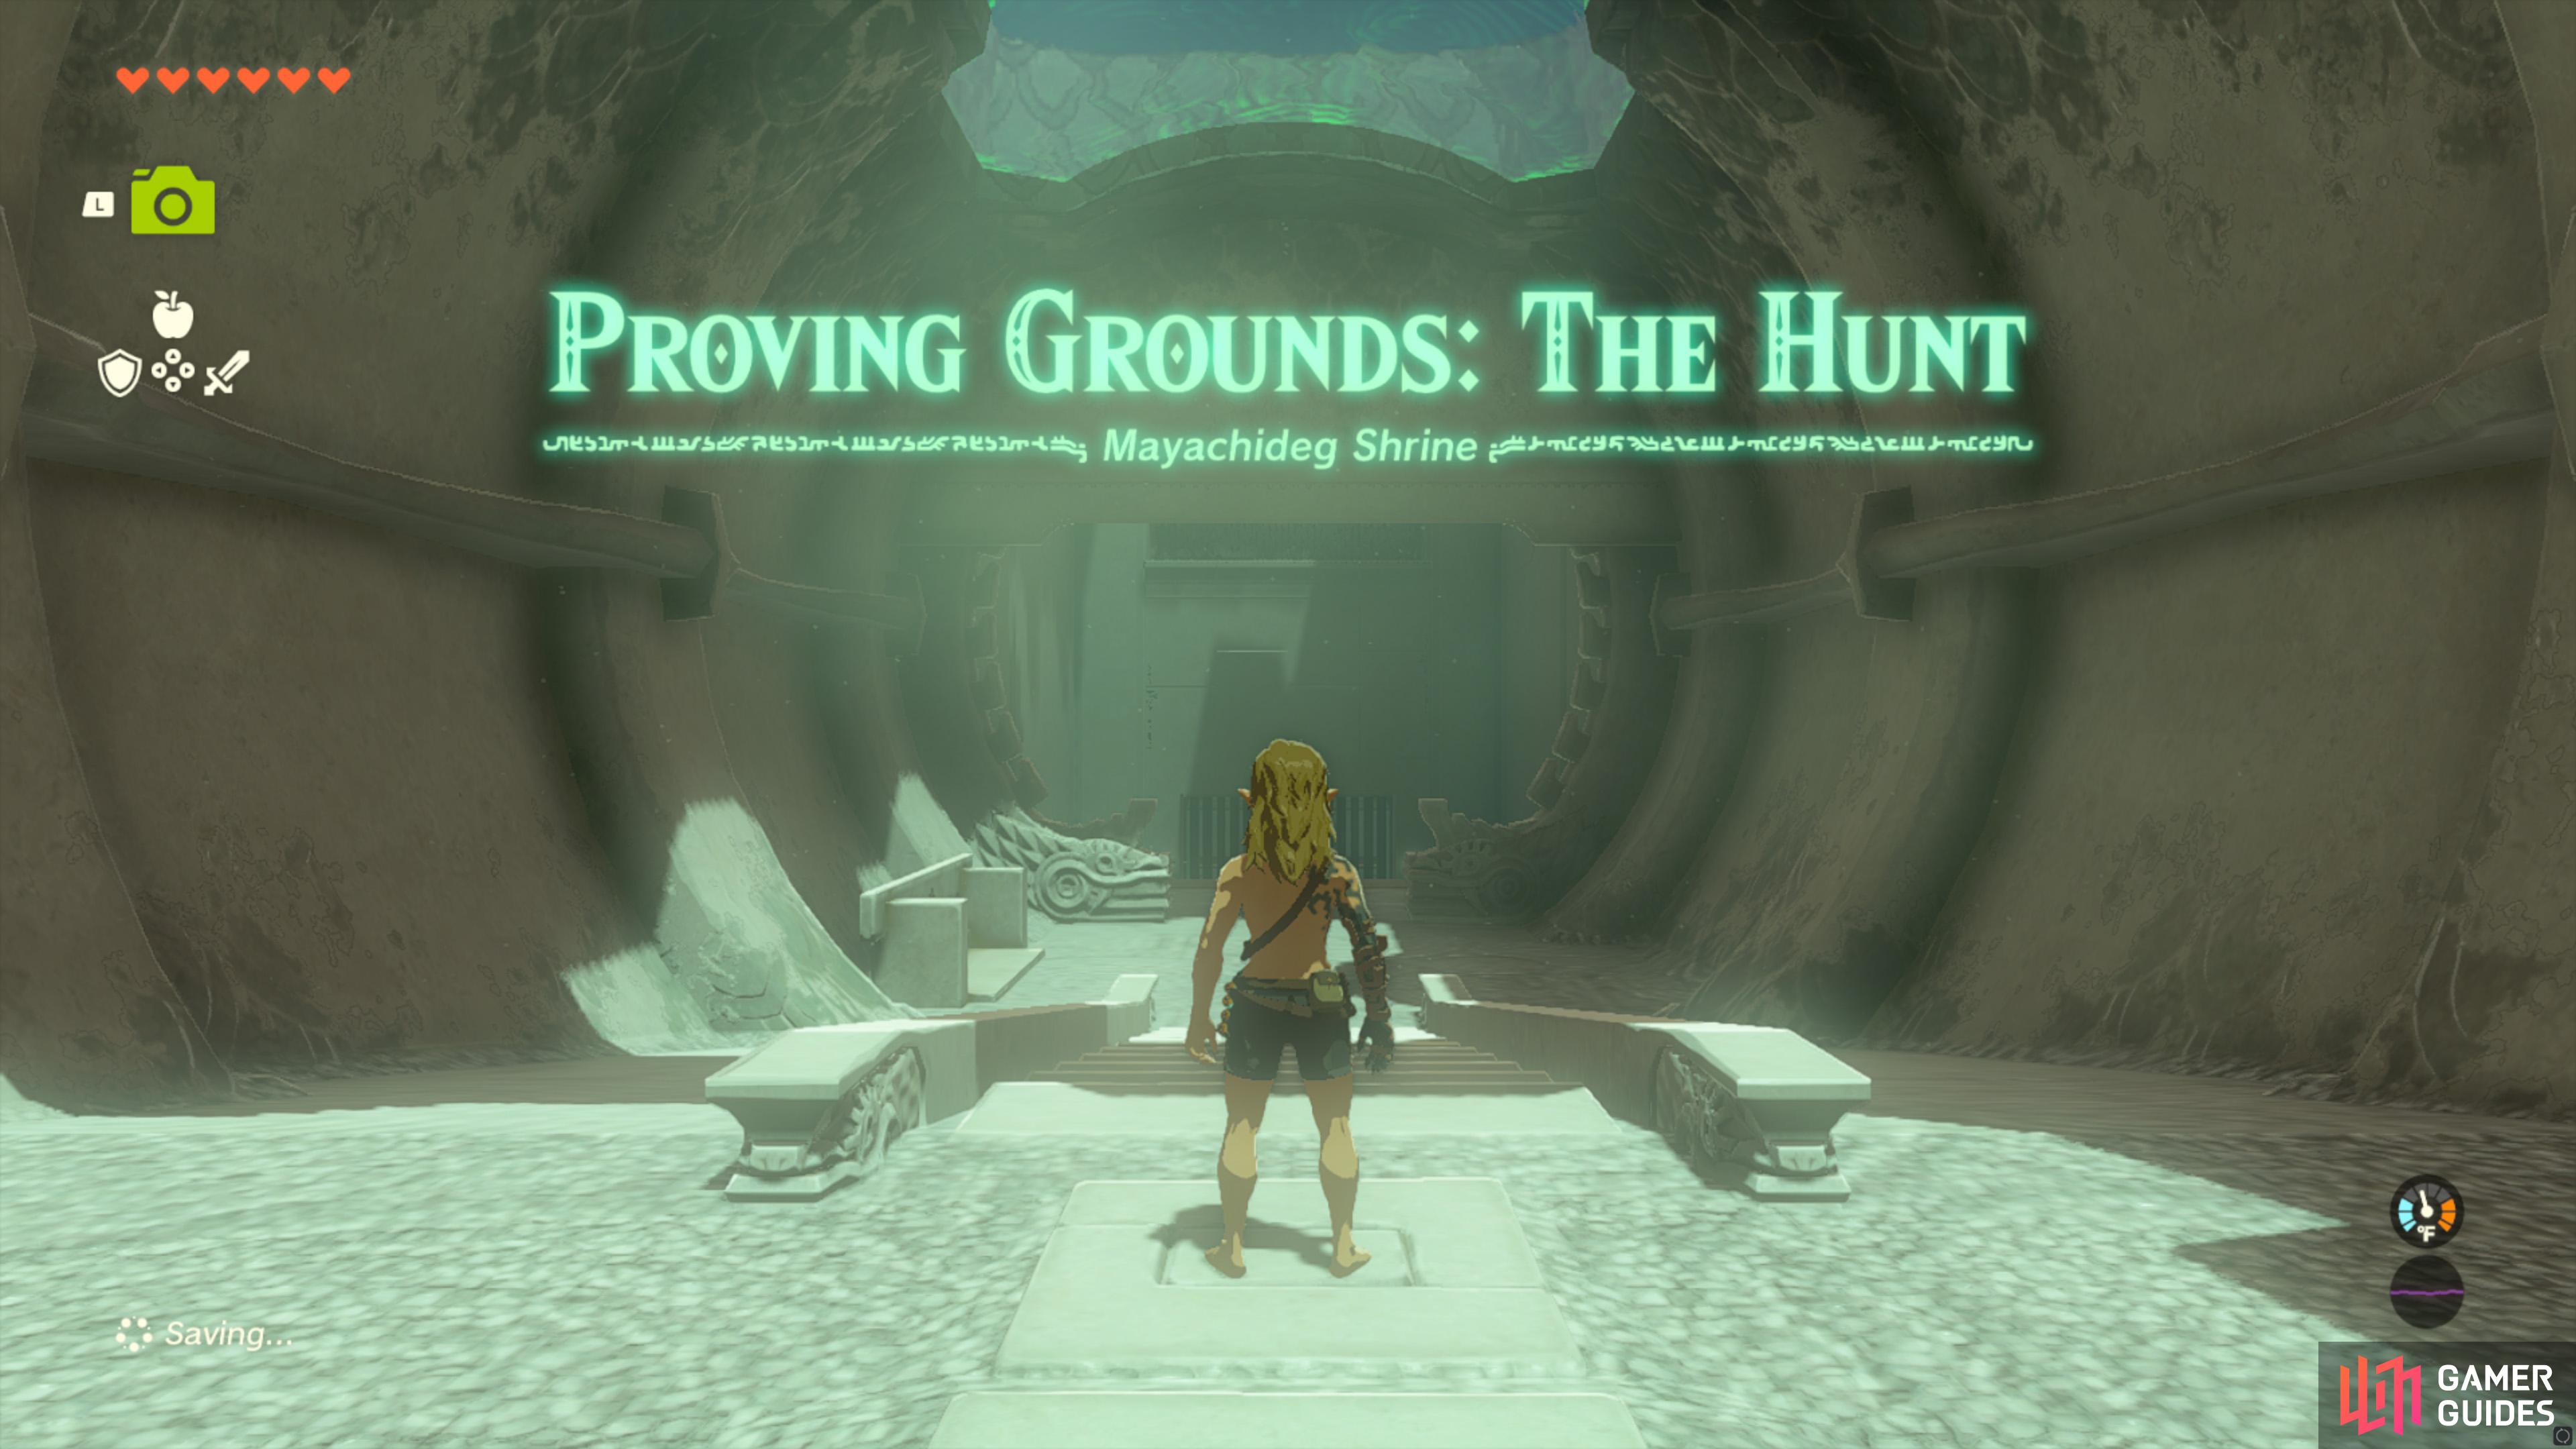
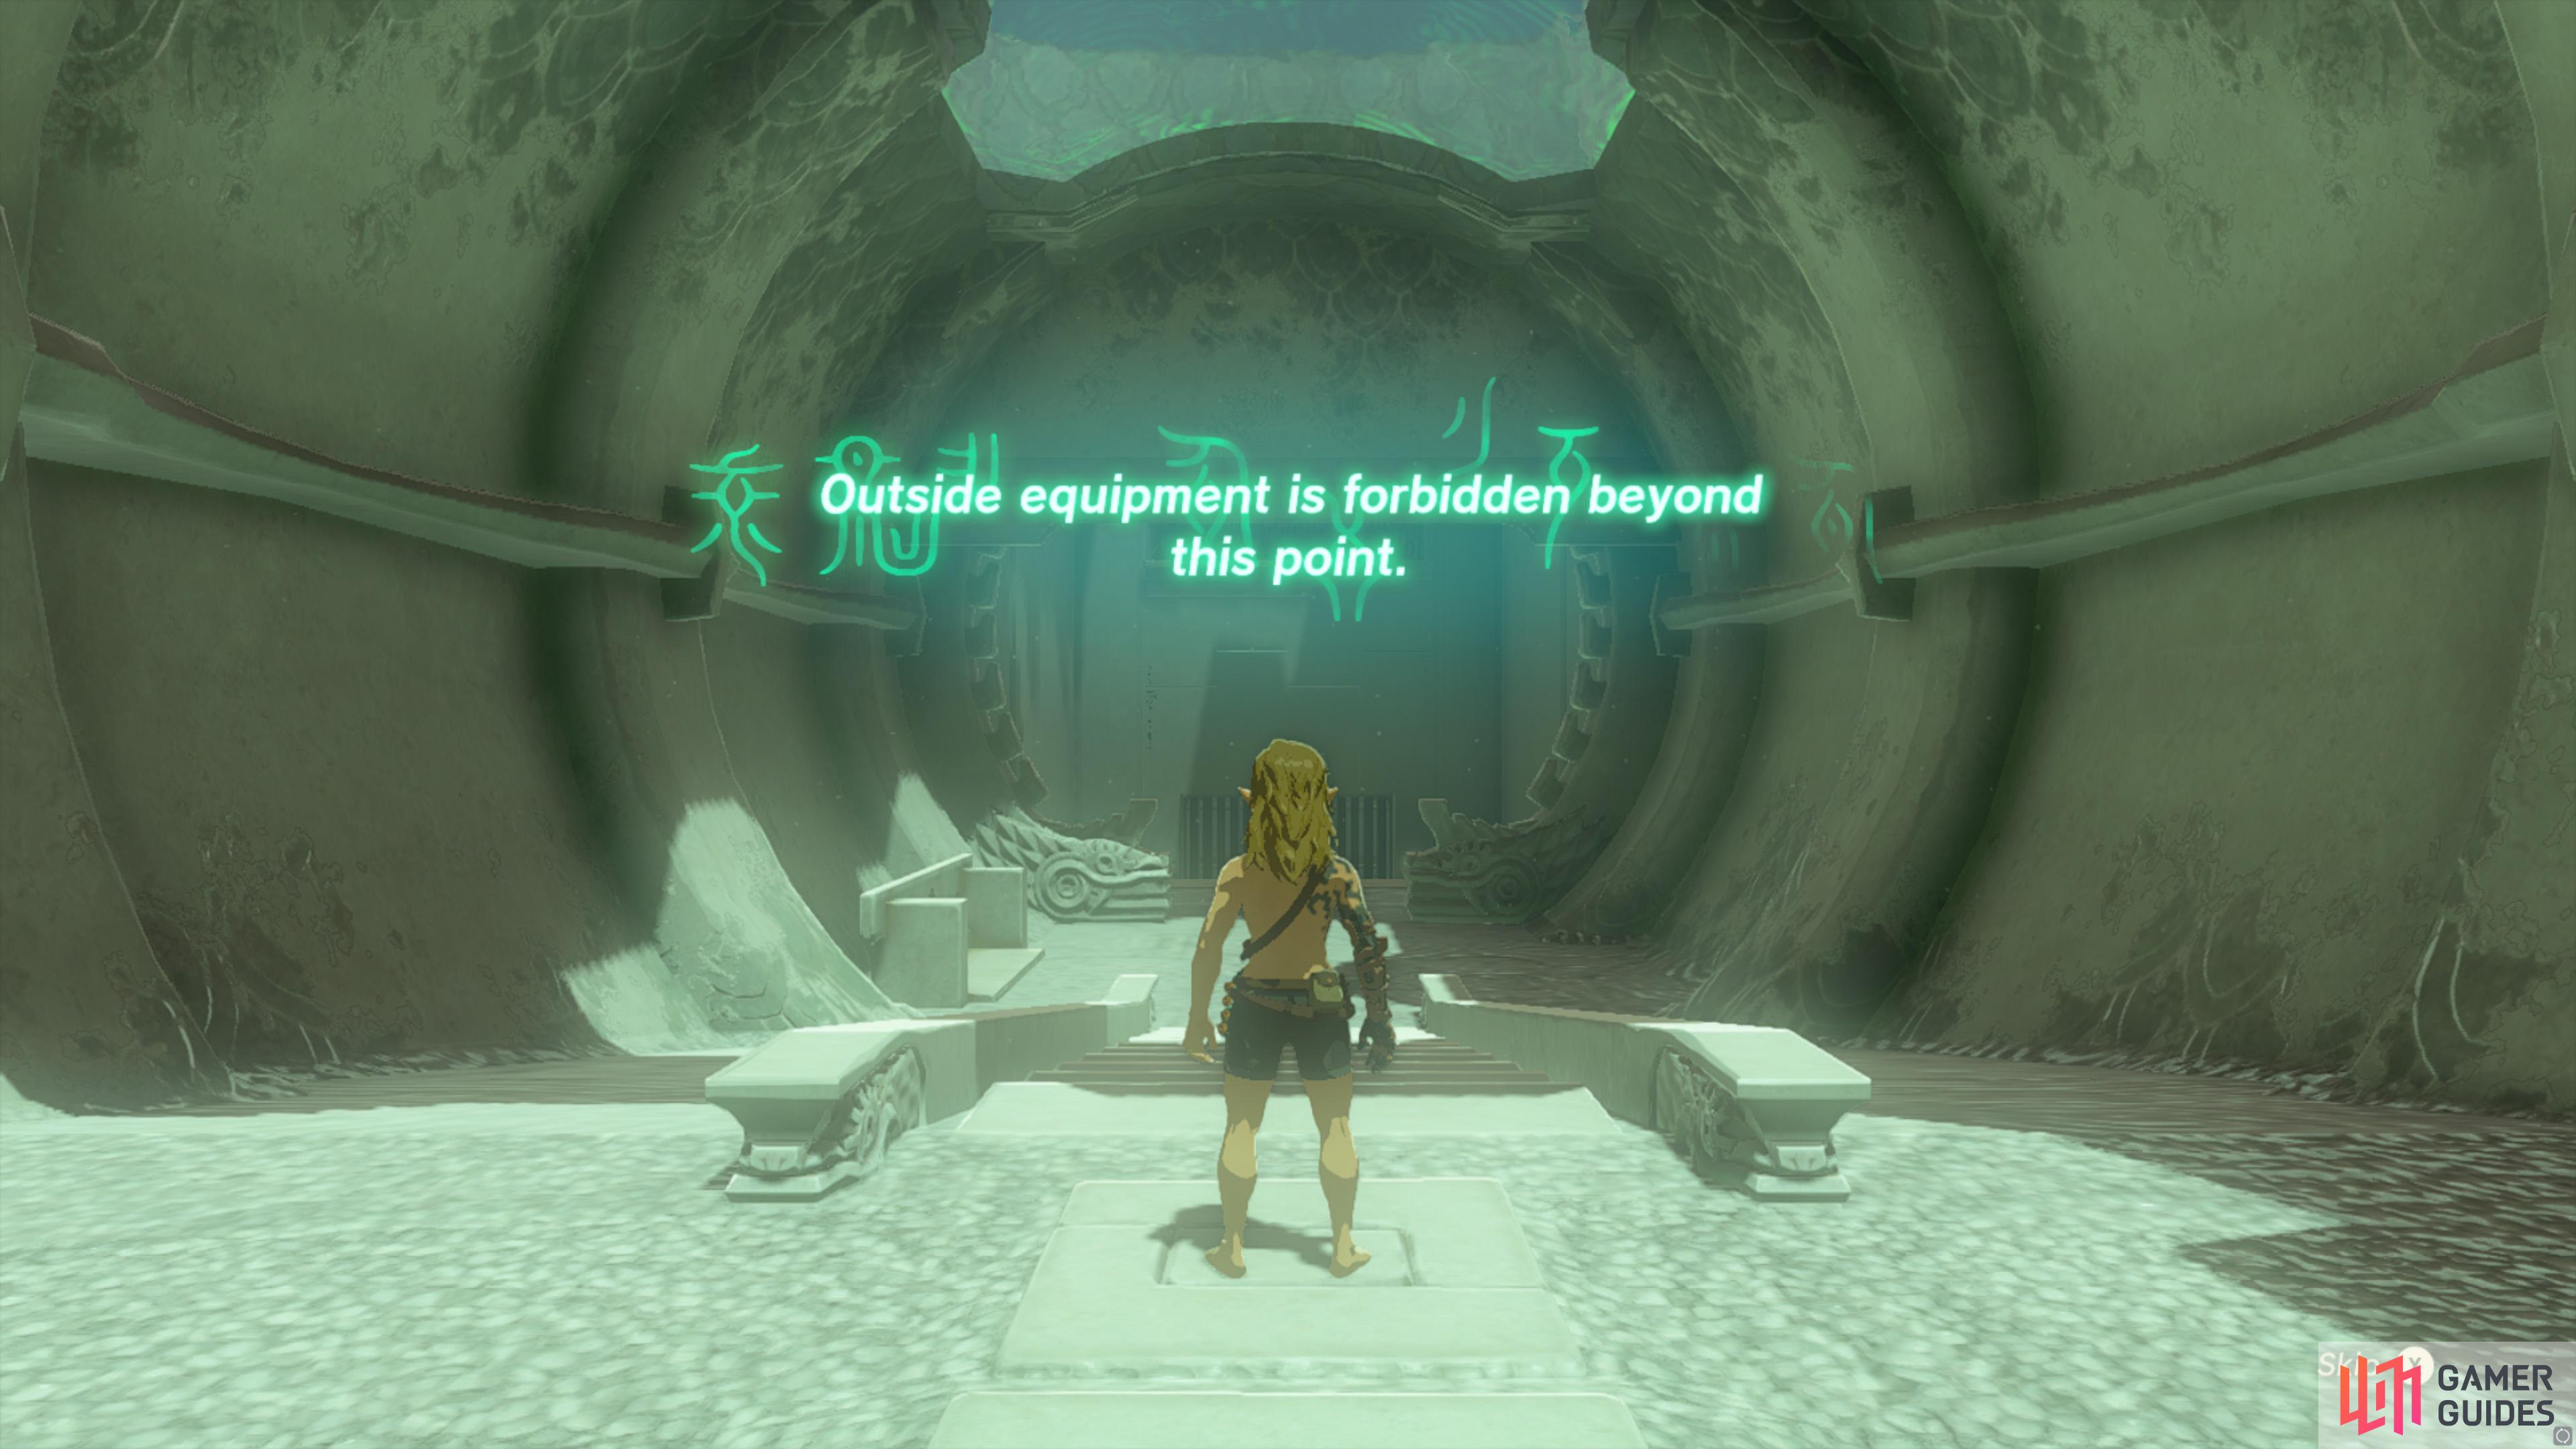
Mayachideg Shrine |
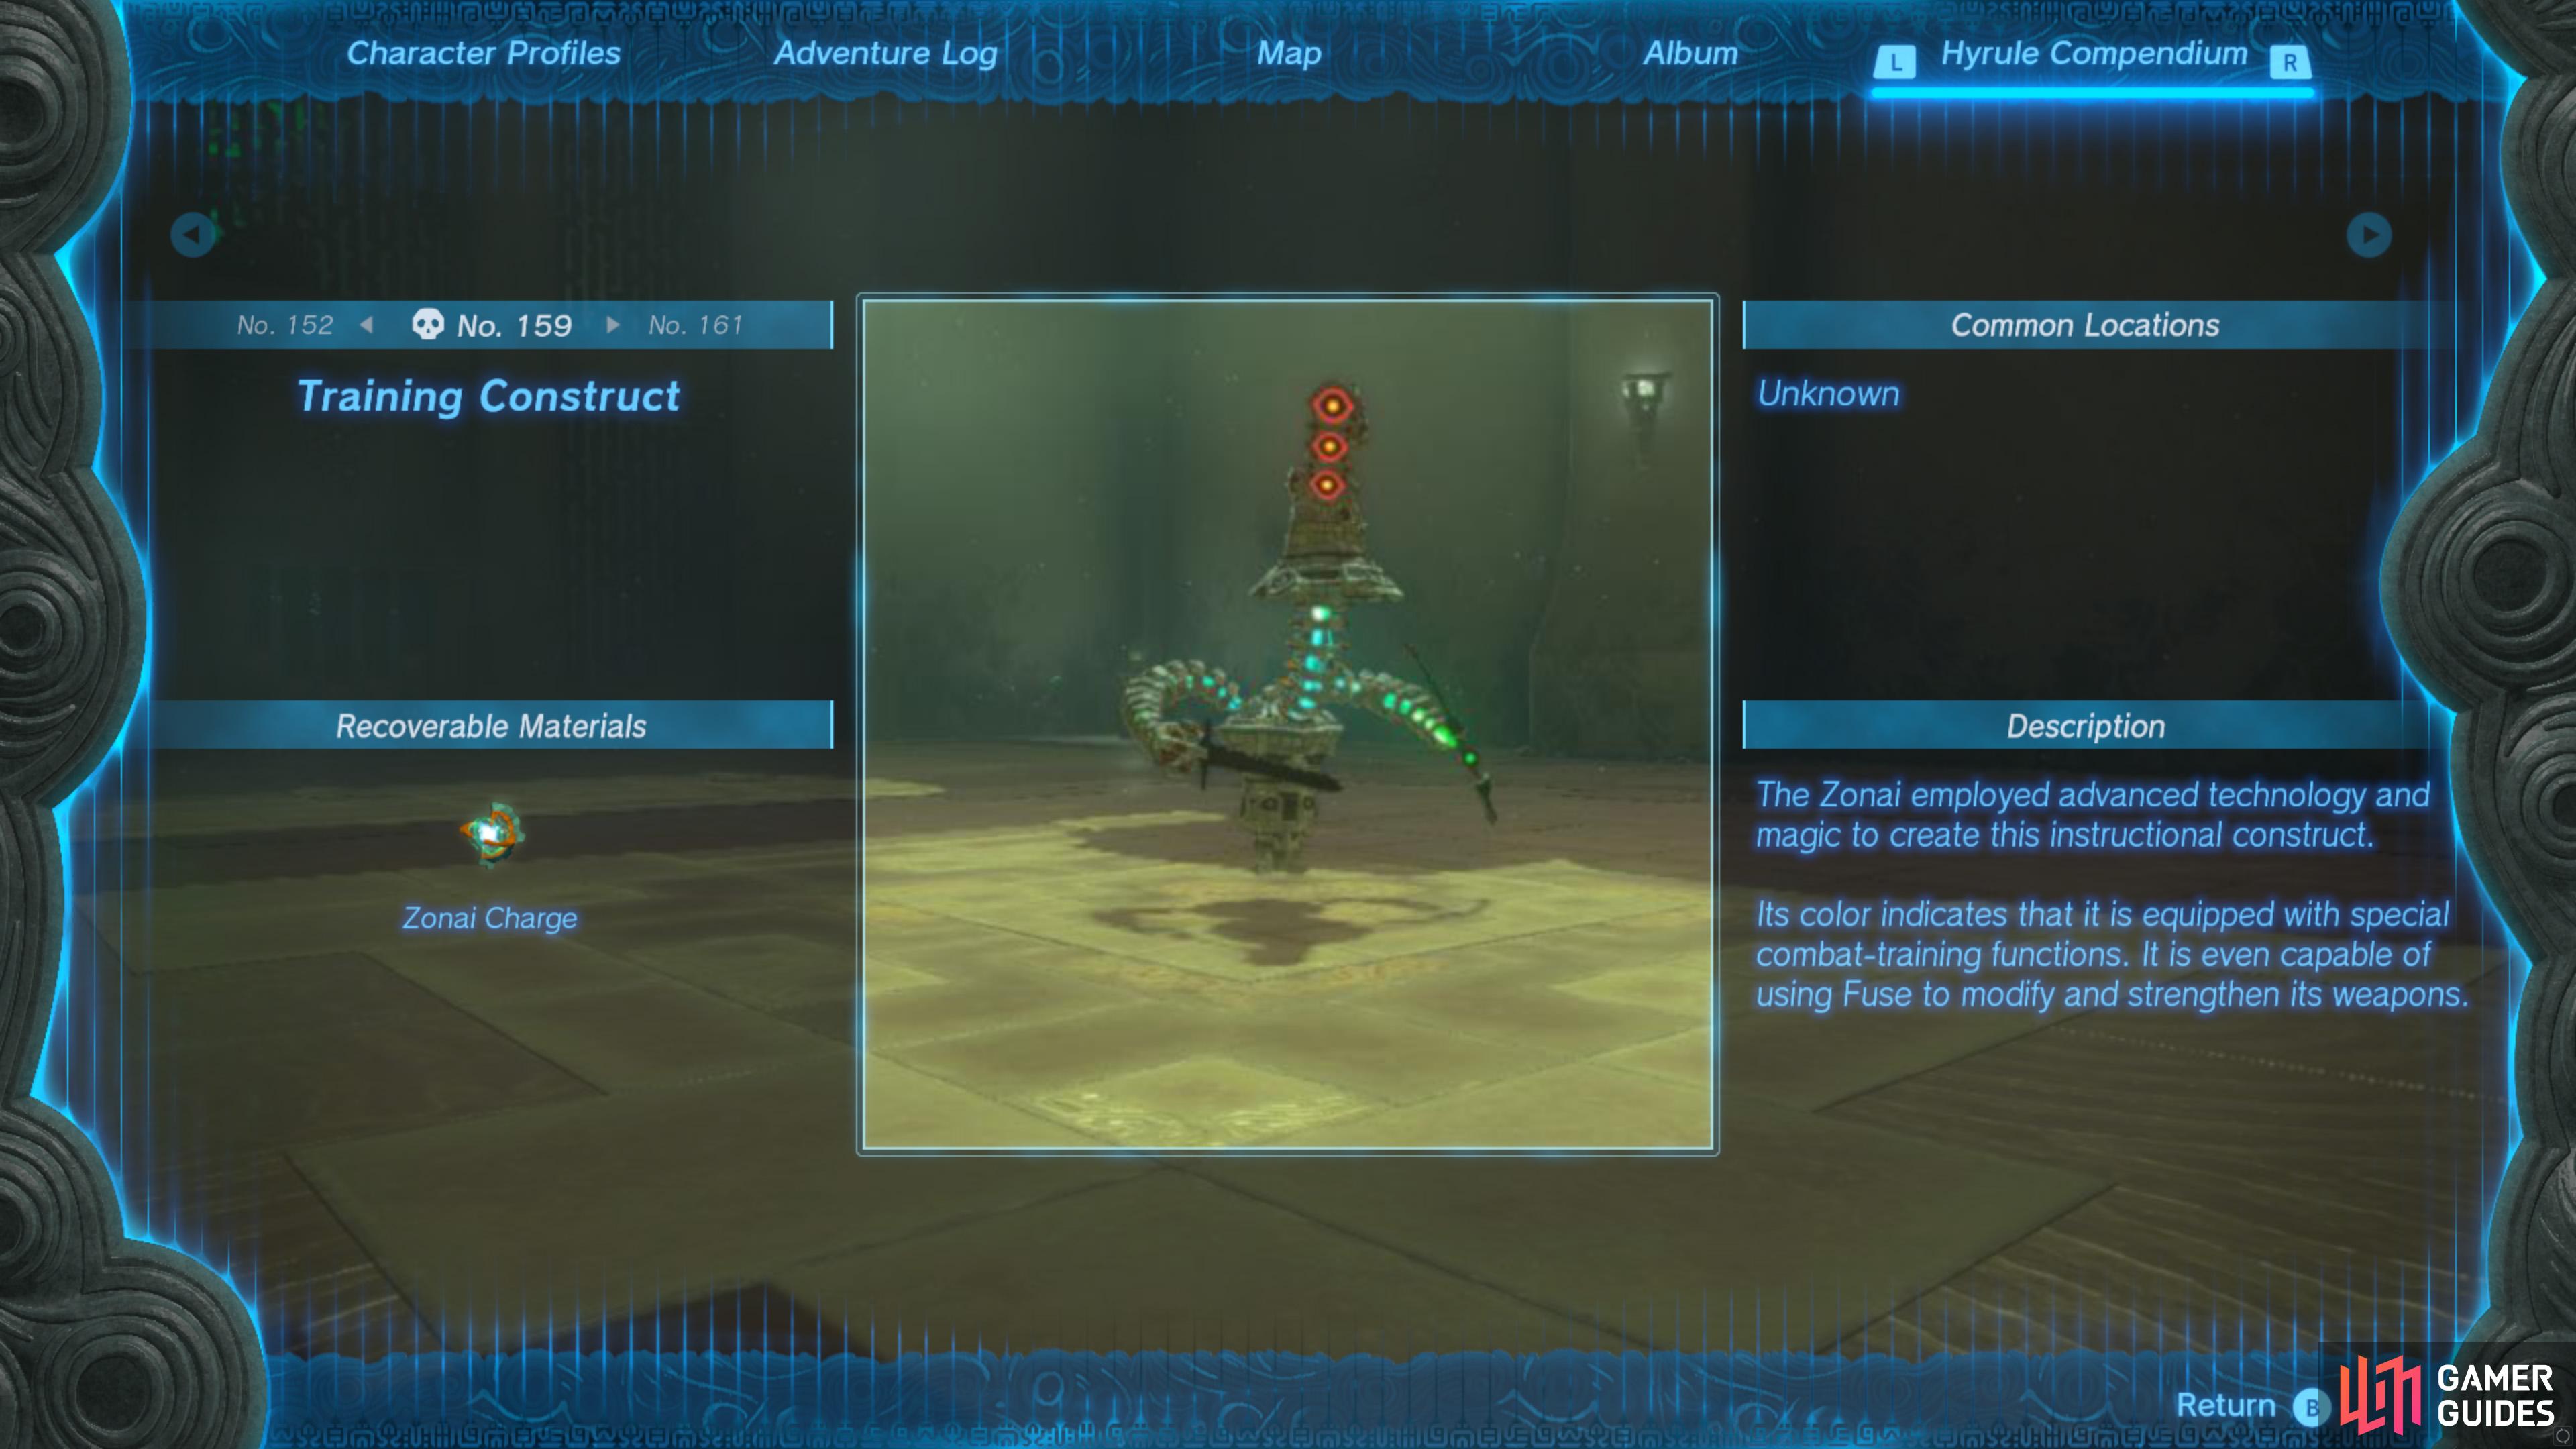
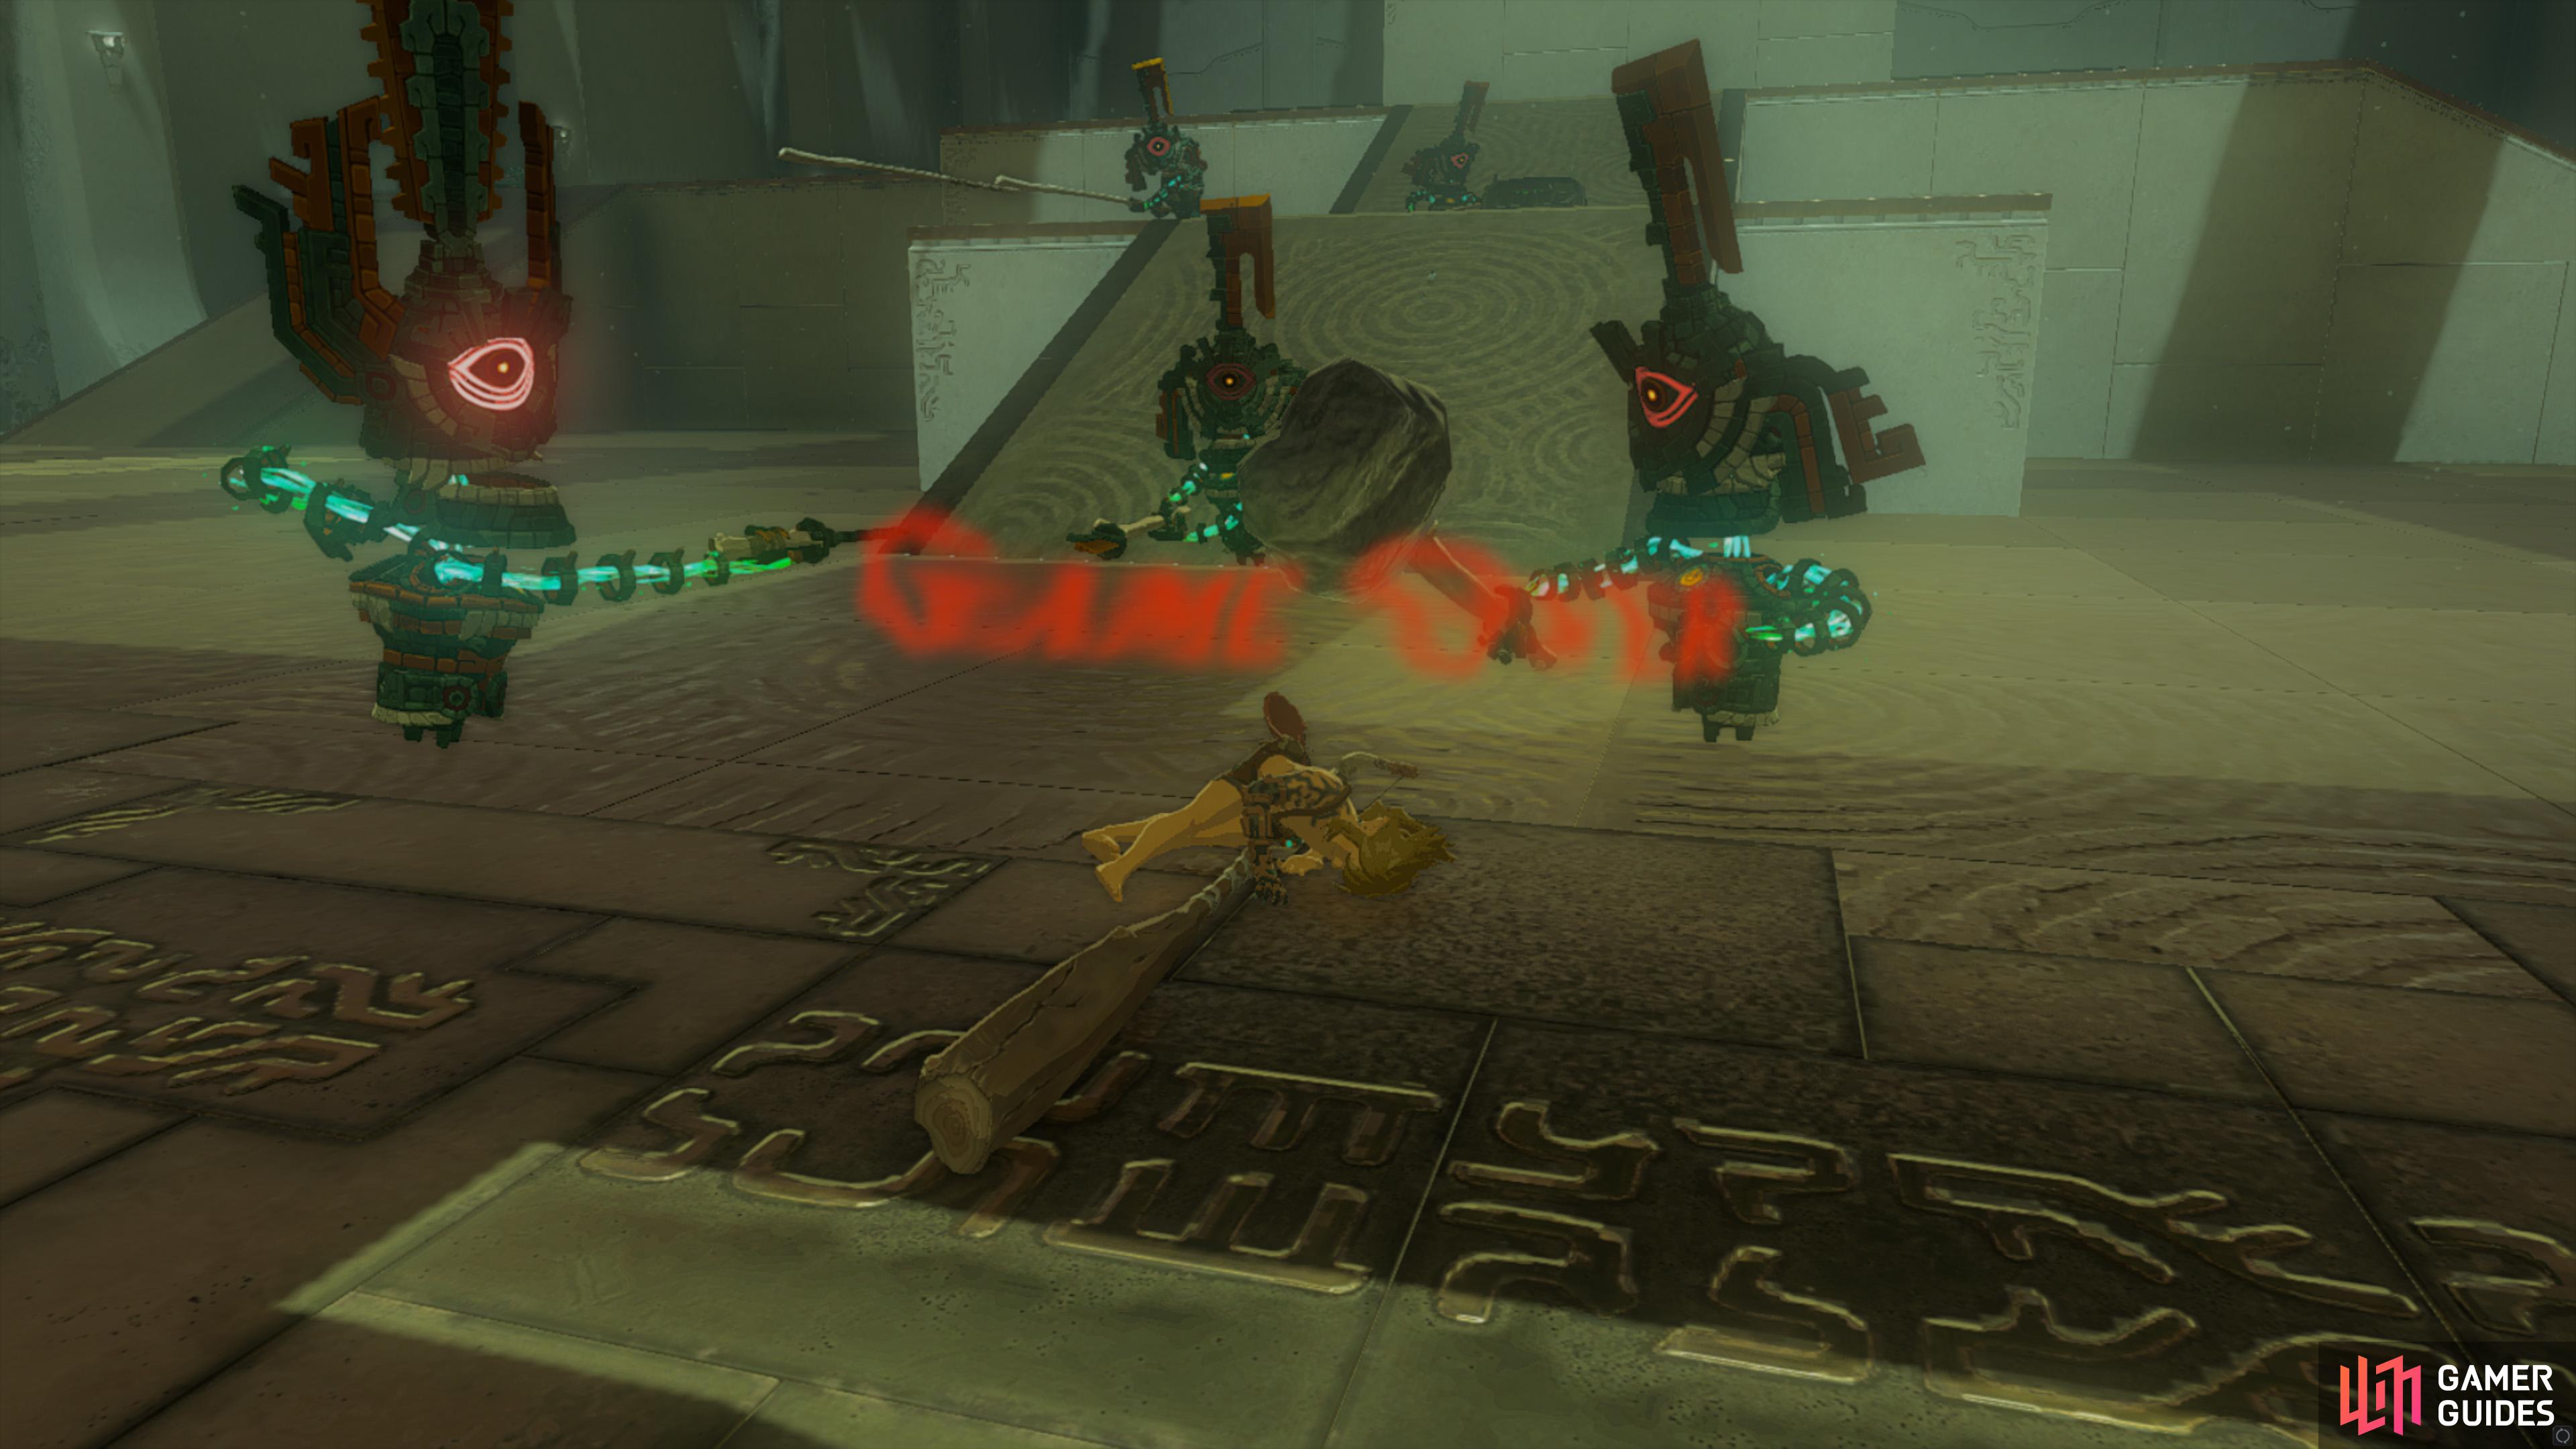
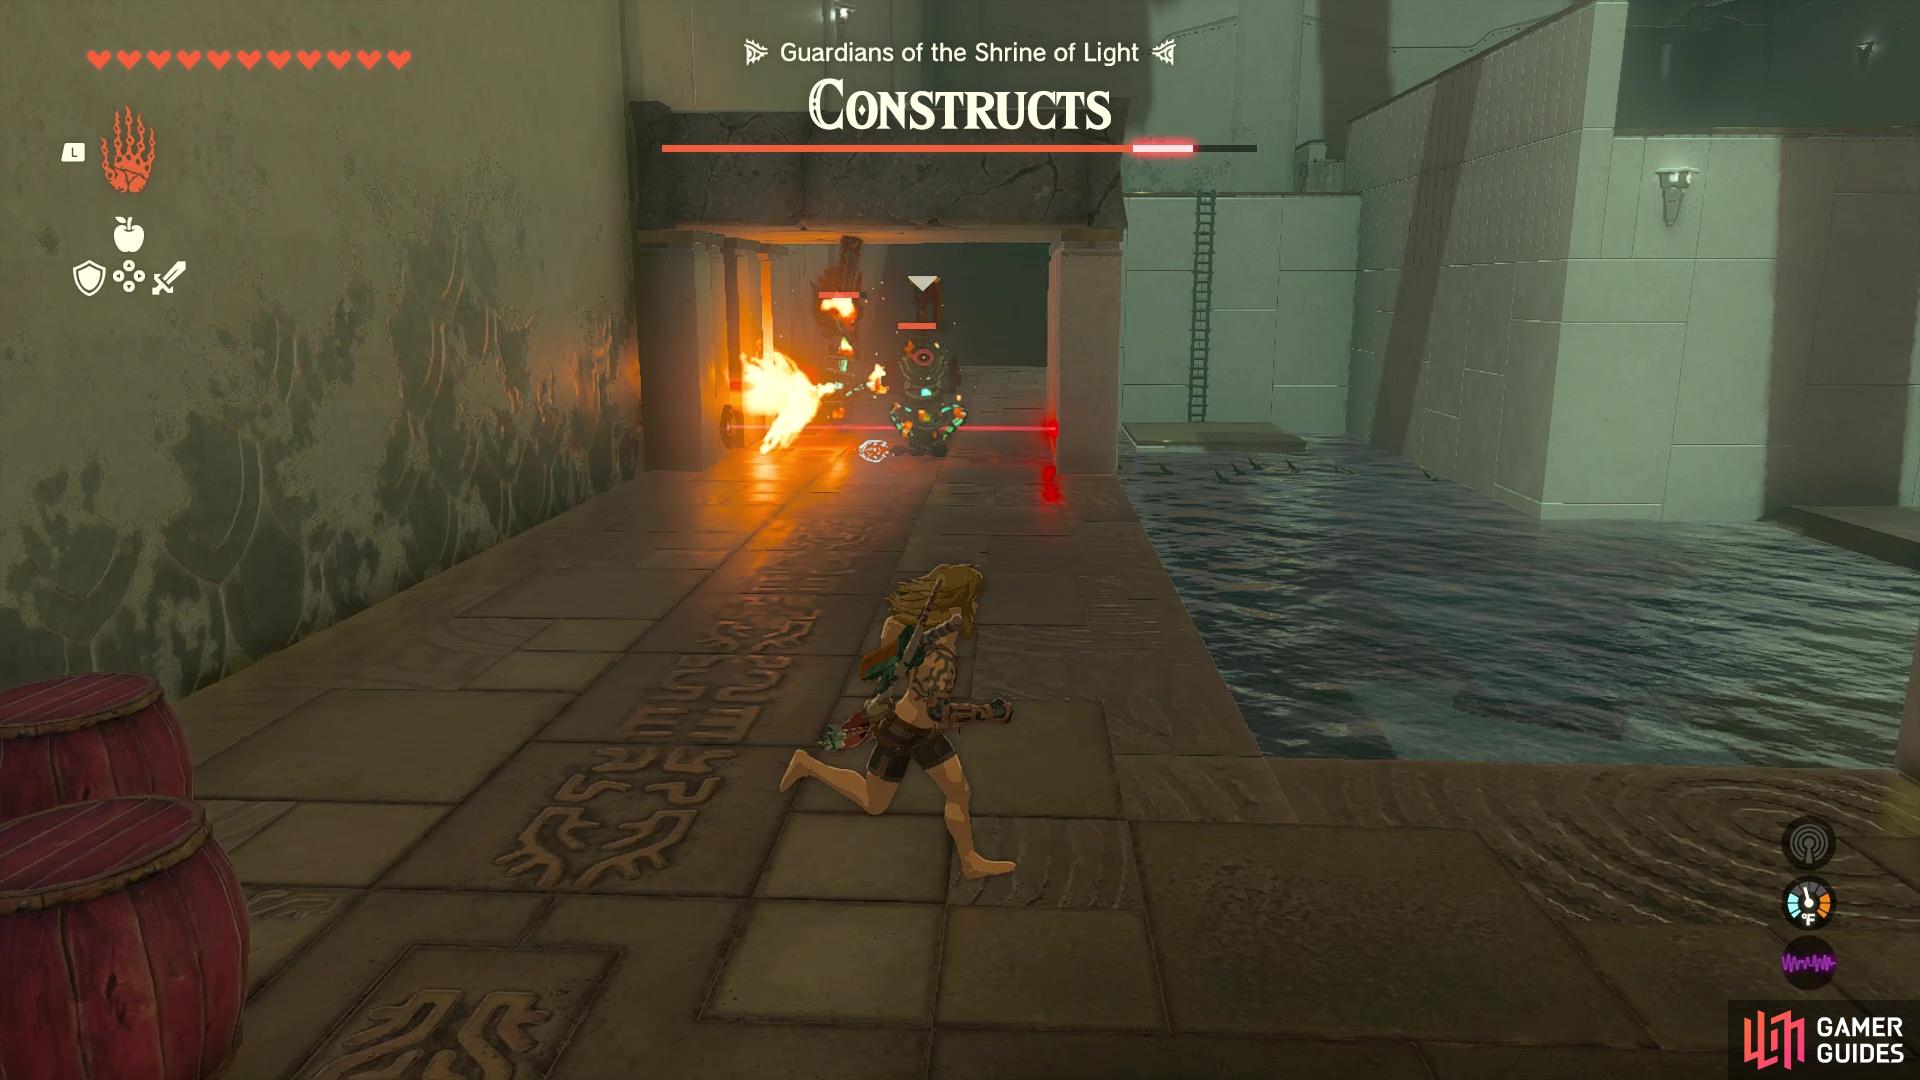
This is a Proving Grounds shrine, in which you’re stripped of your gear and encouraged to fight constructs using creative methods. You can attach offensive zonai devices to the mobile robots to distract and damage the robots, but avoid contact with the robots and the devices to ensure you don’t take damage. Head over to our guide on how to complete Mayachideg Shrine for more information.
In-game Description
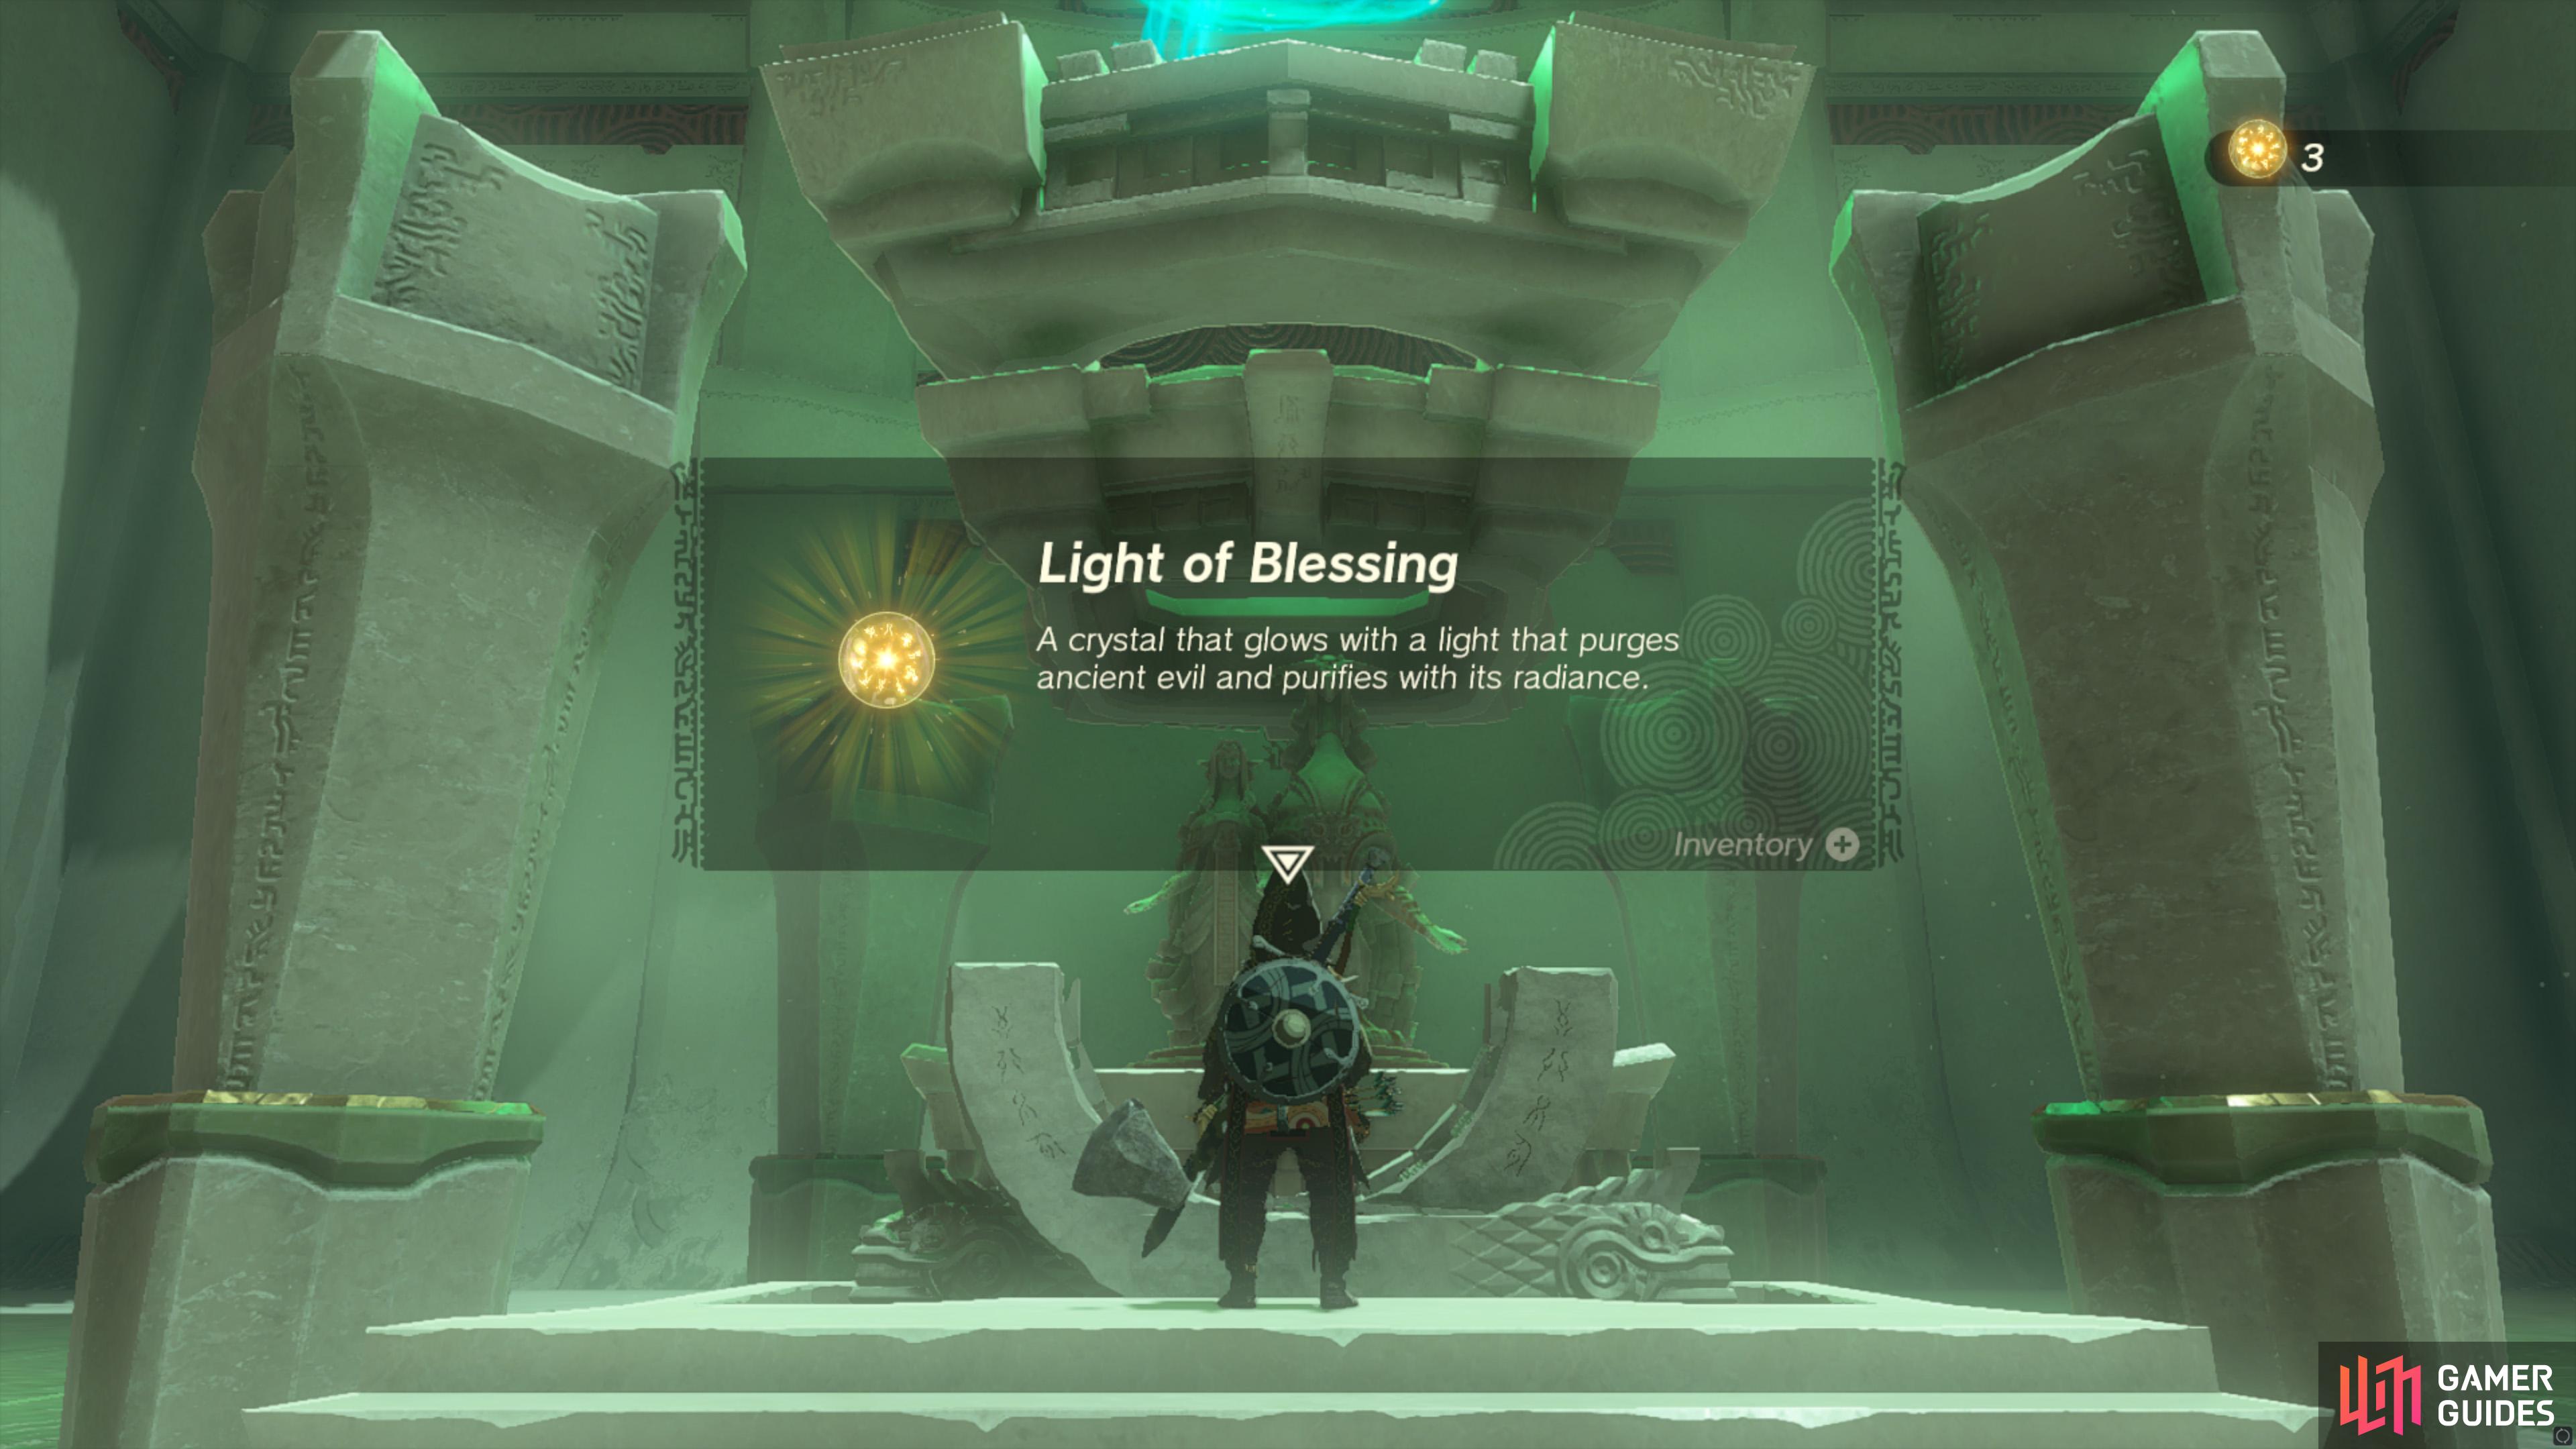
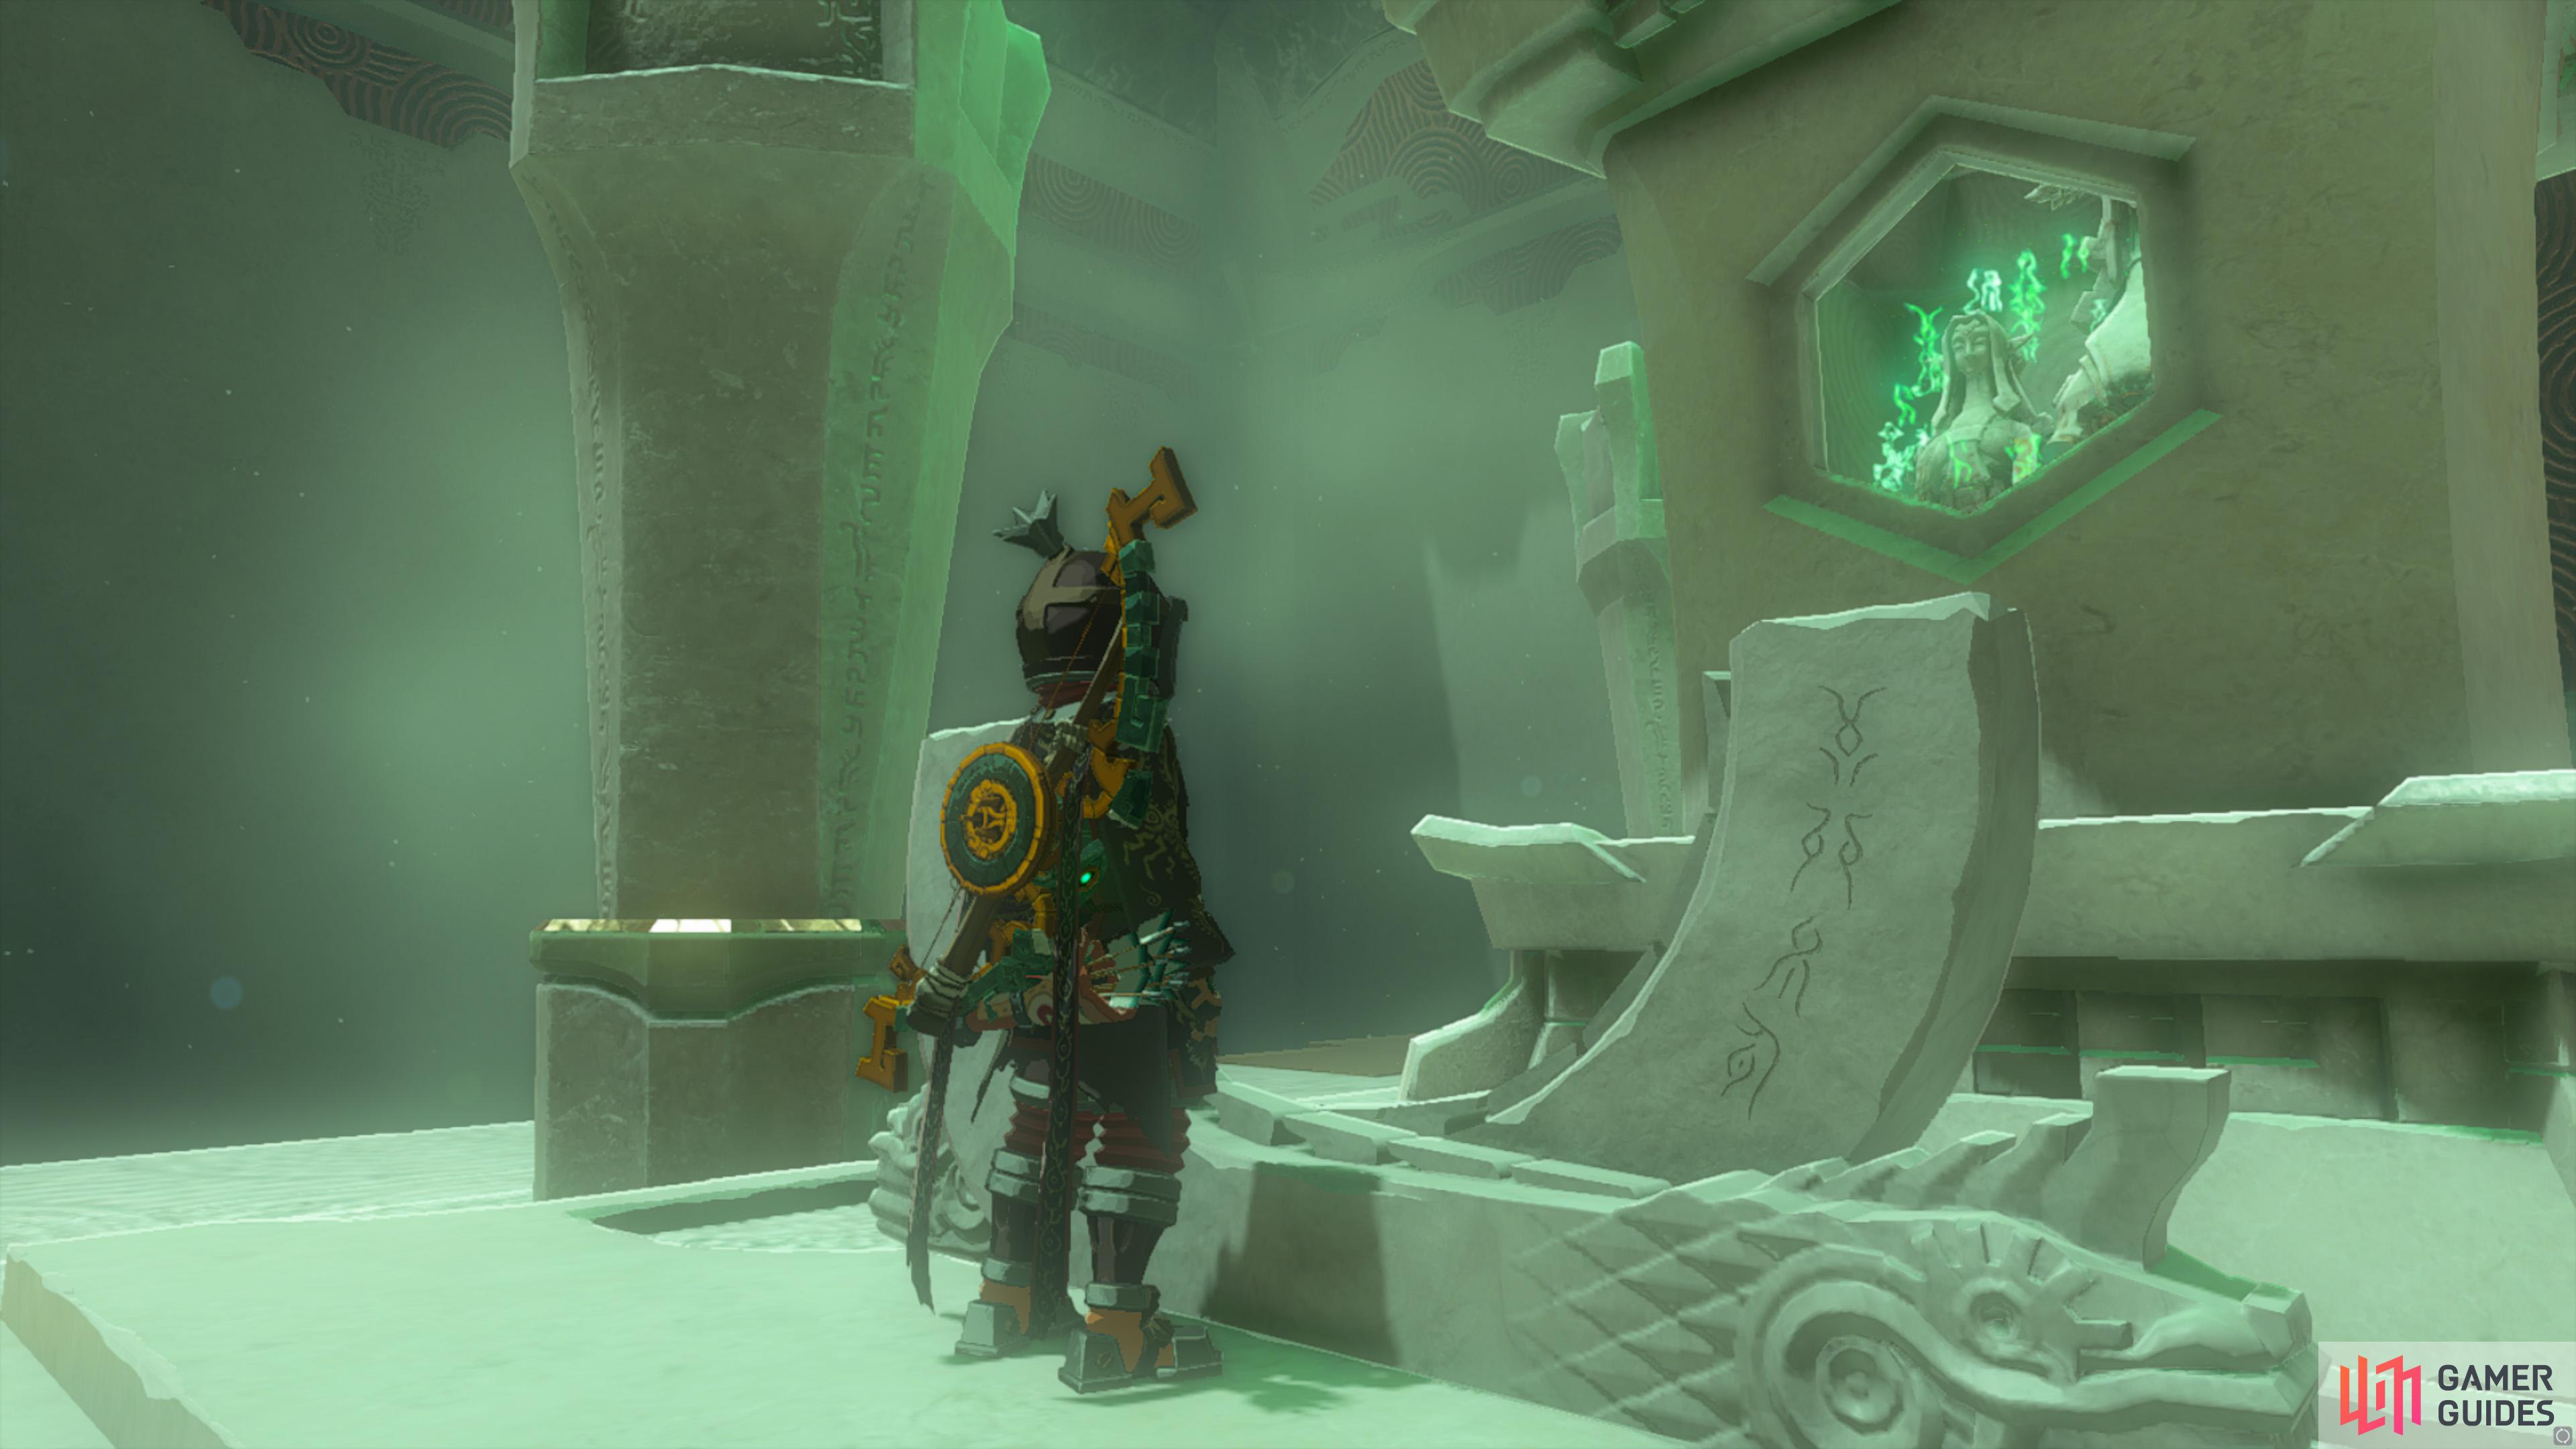
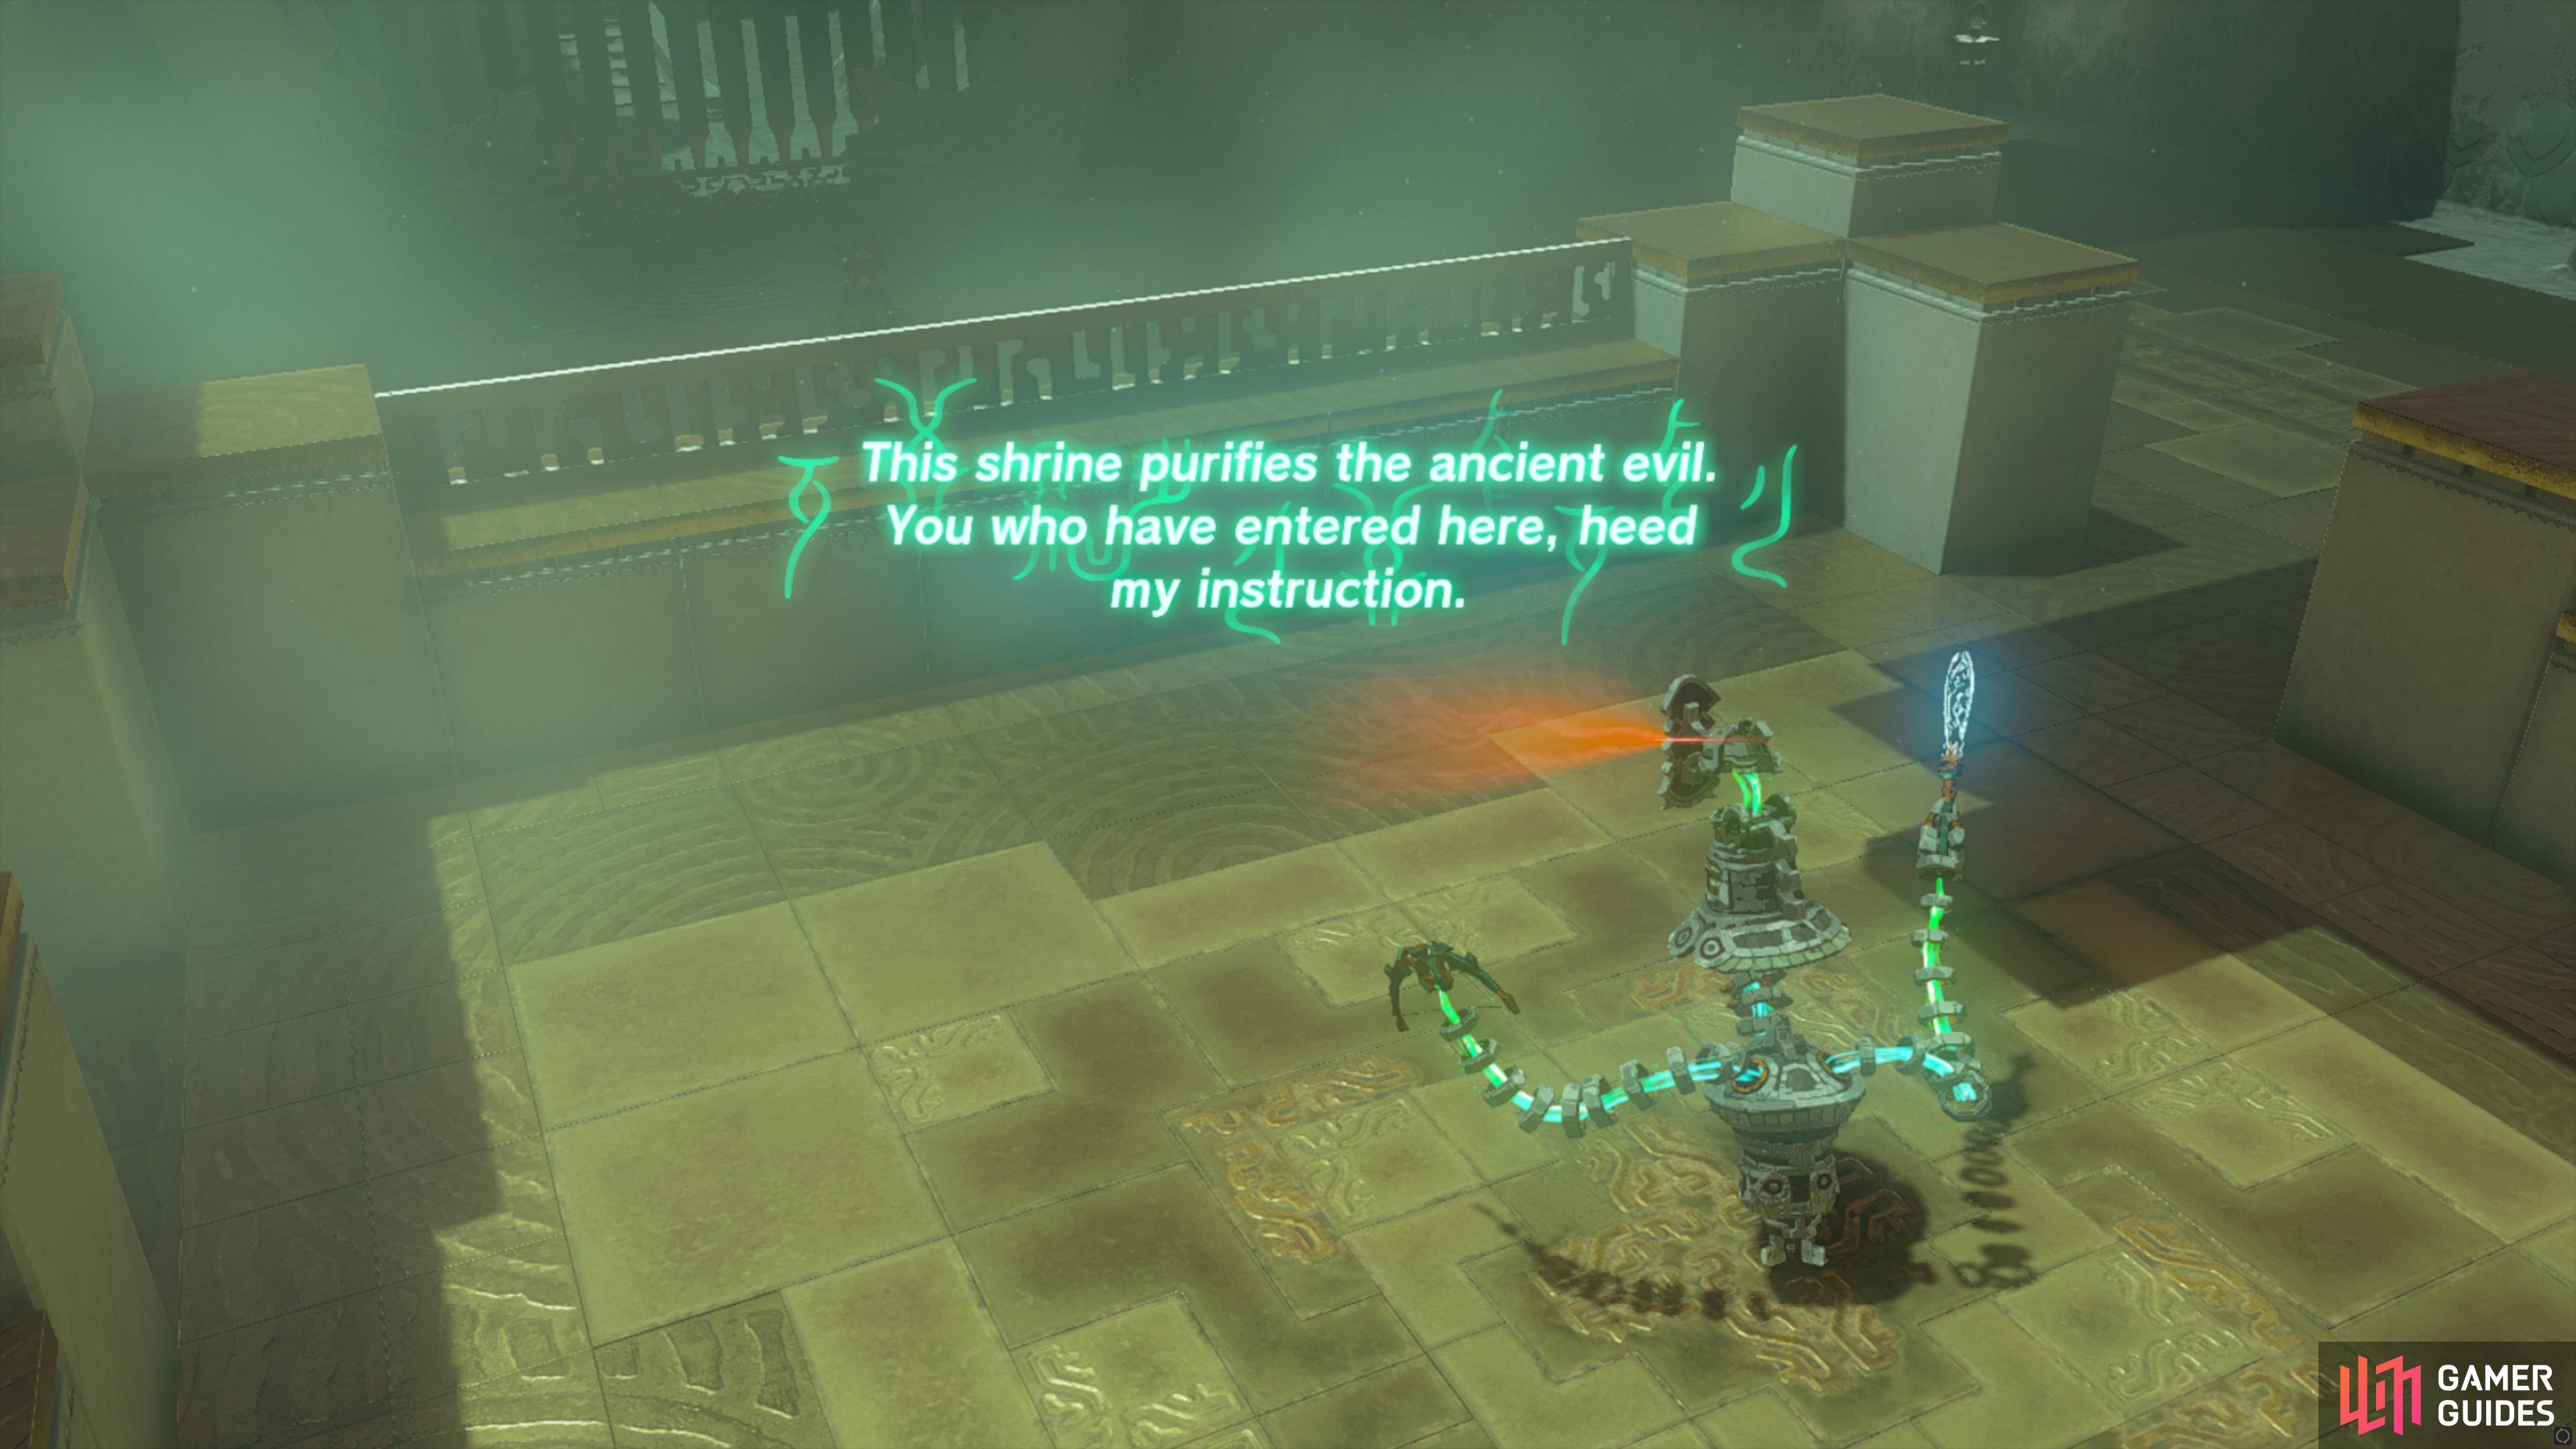
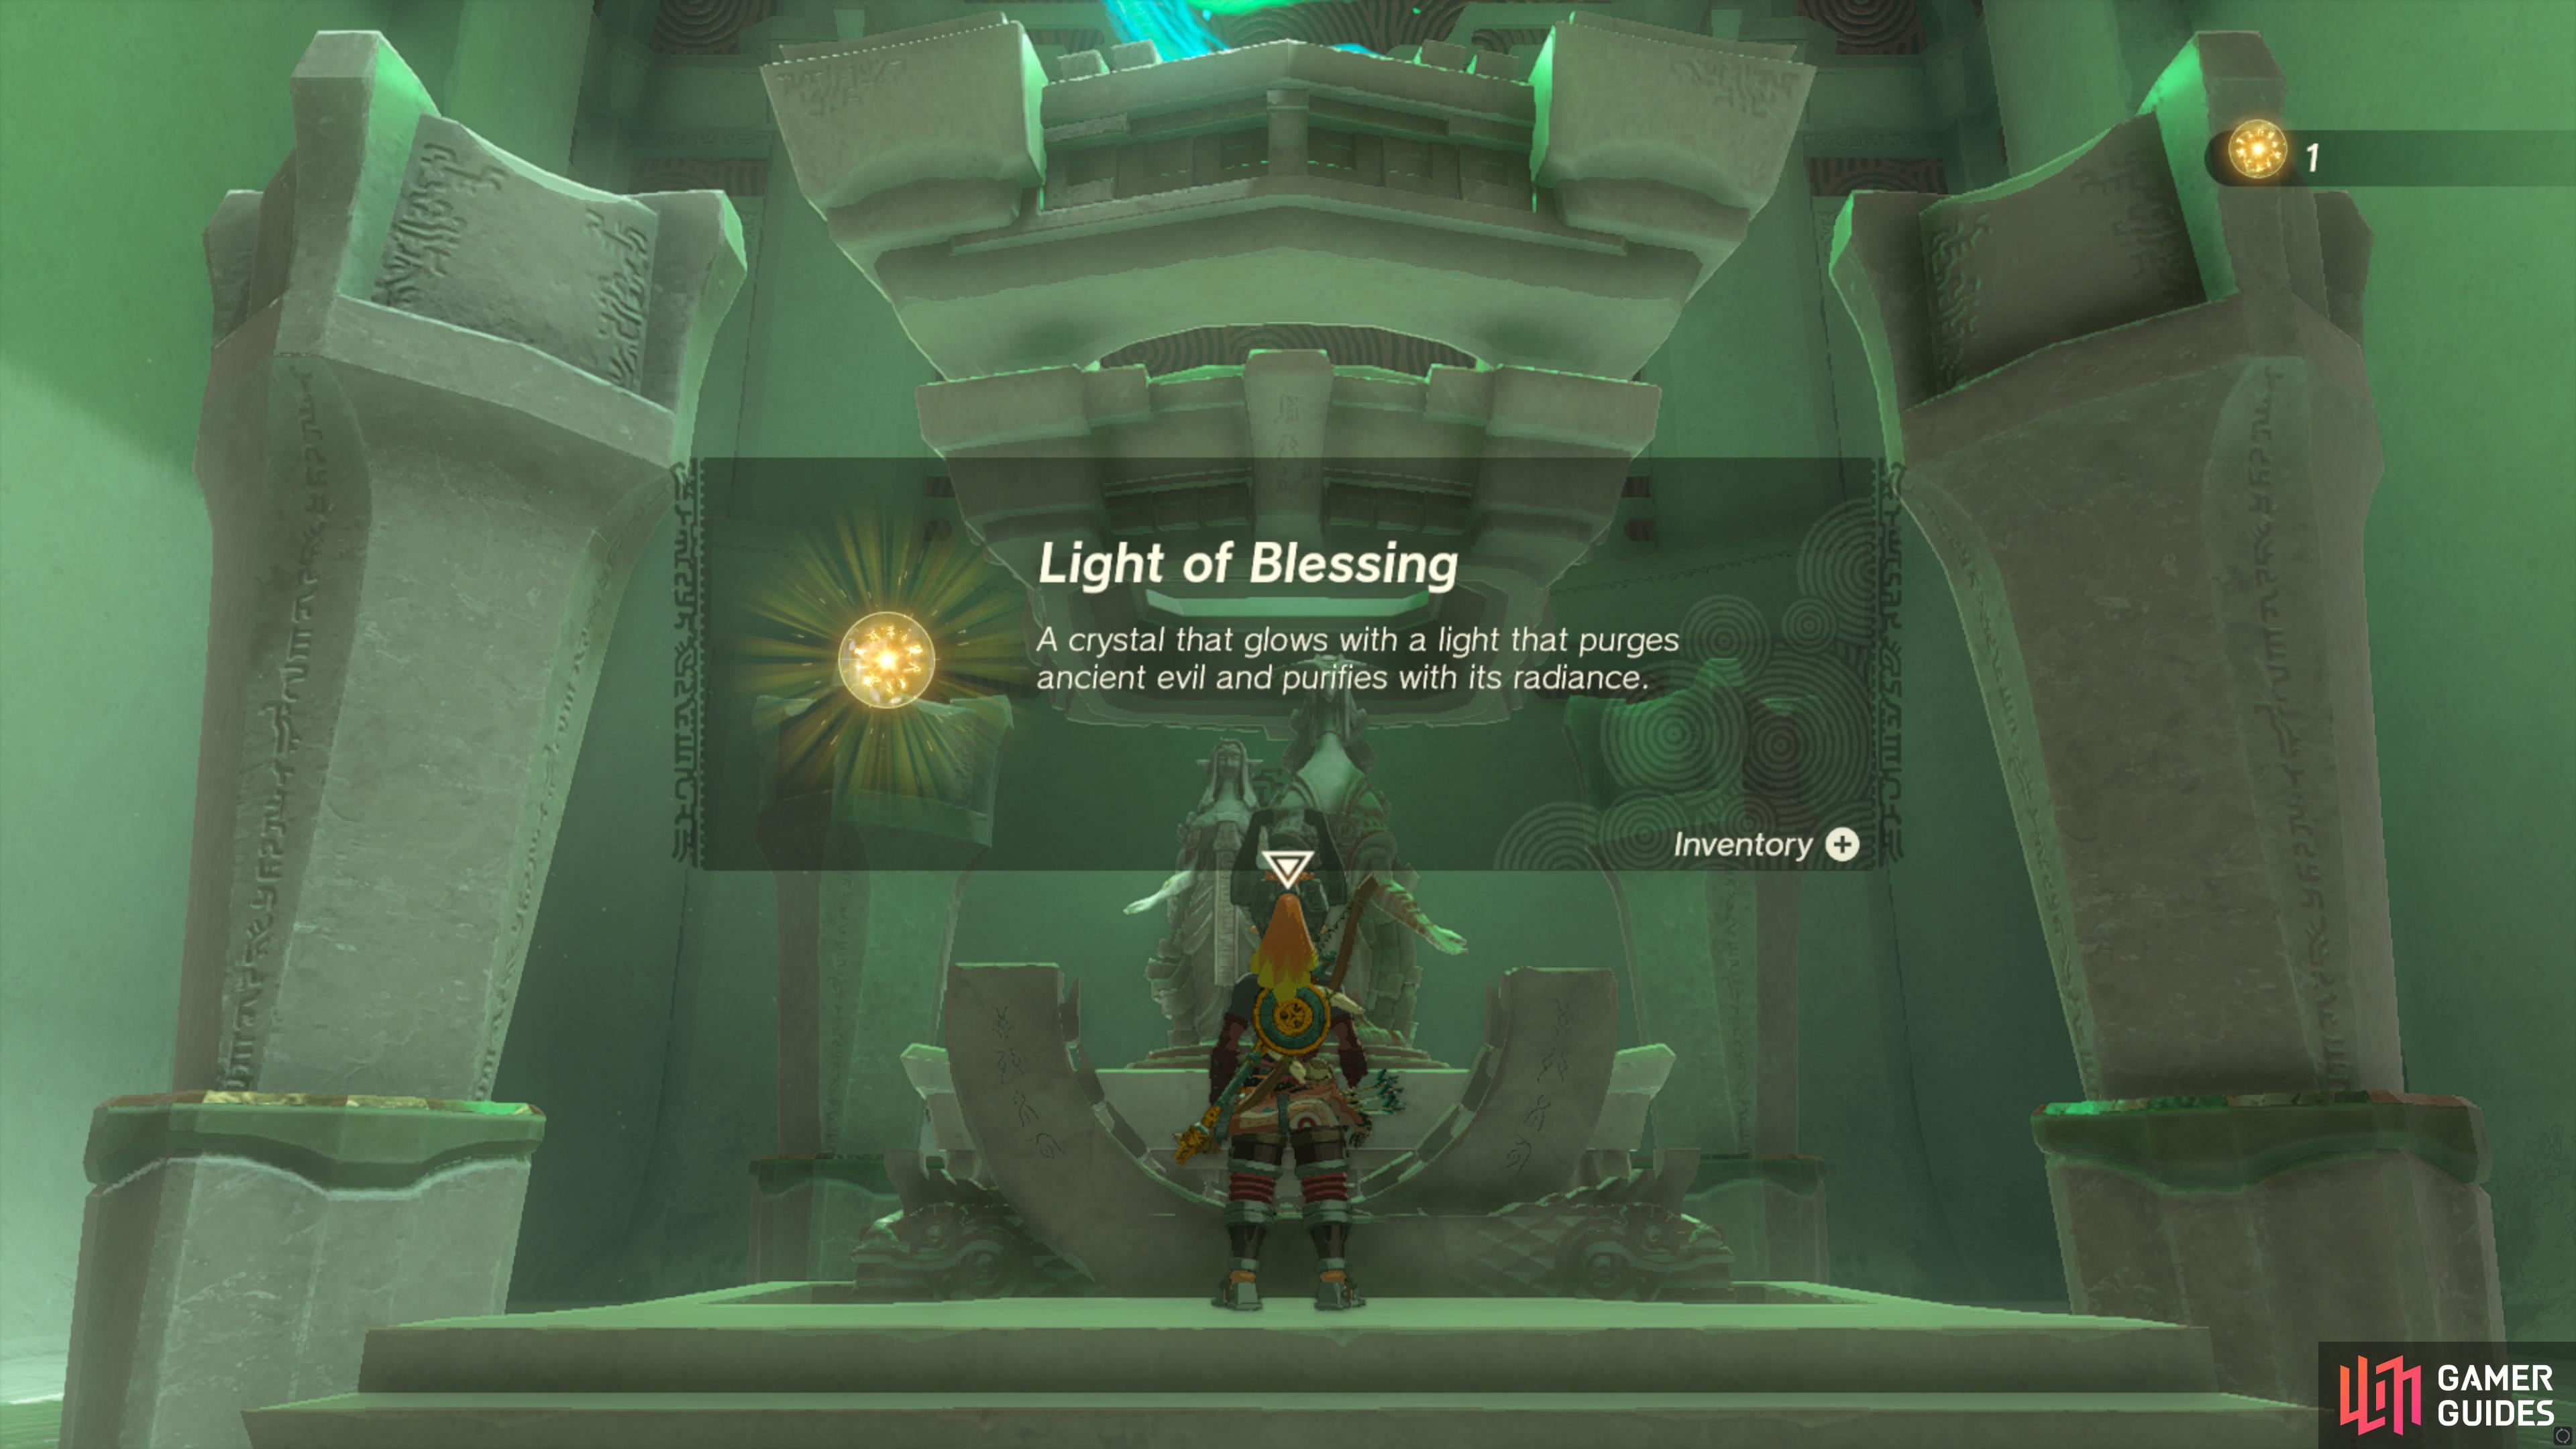
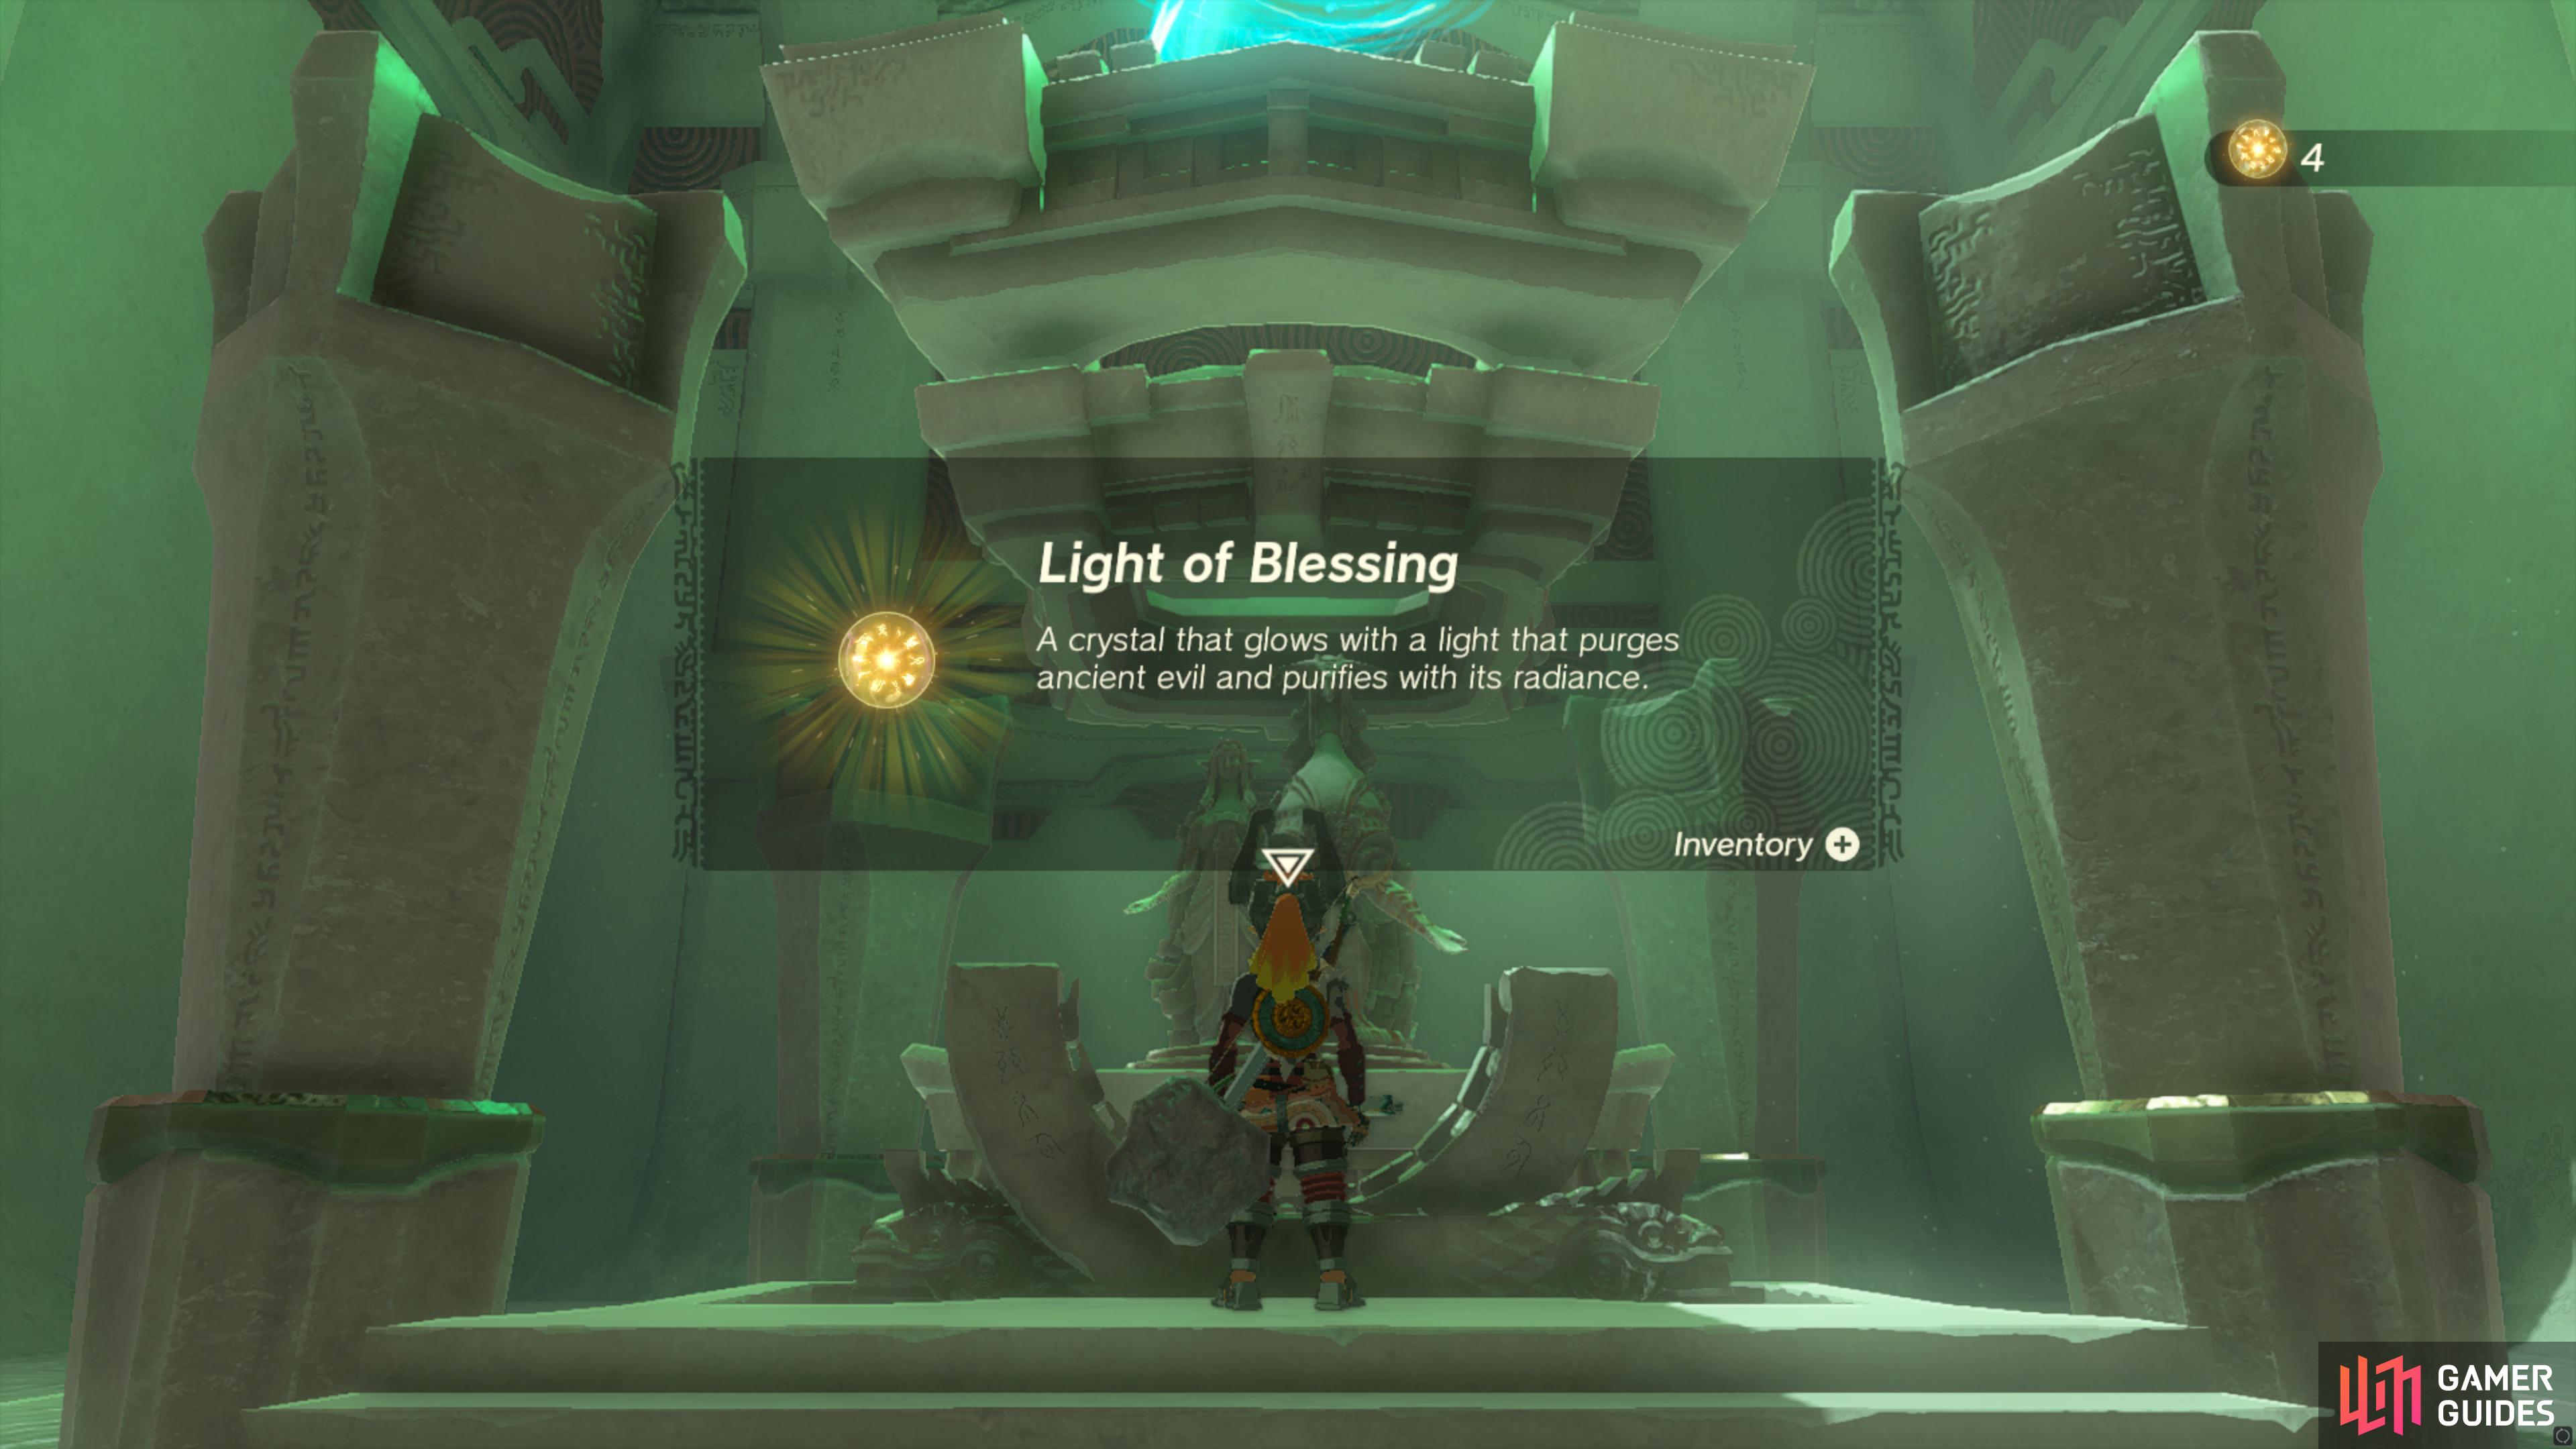
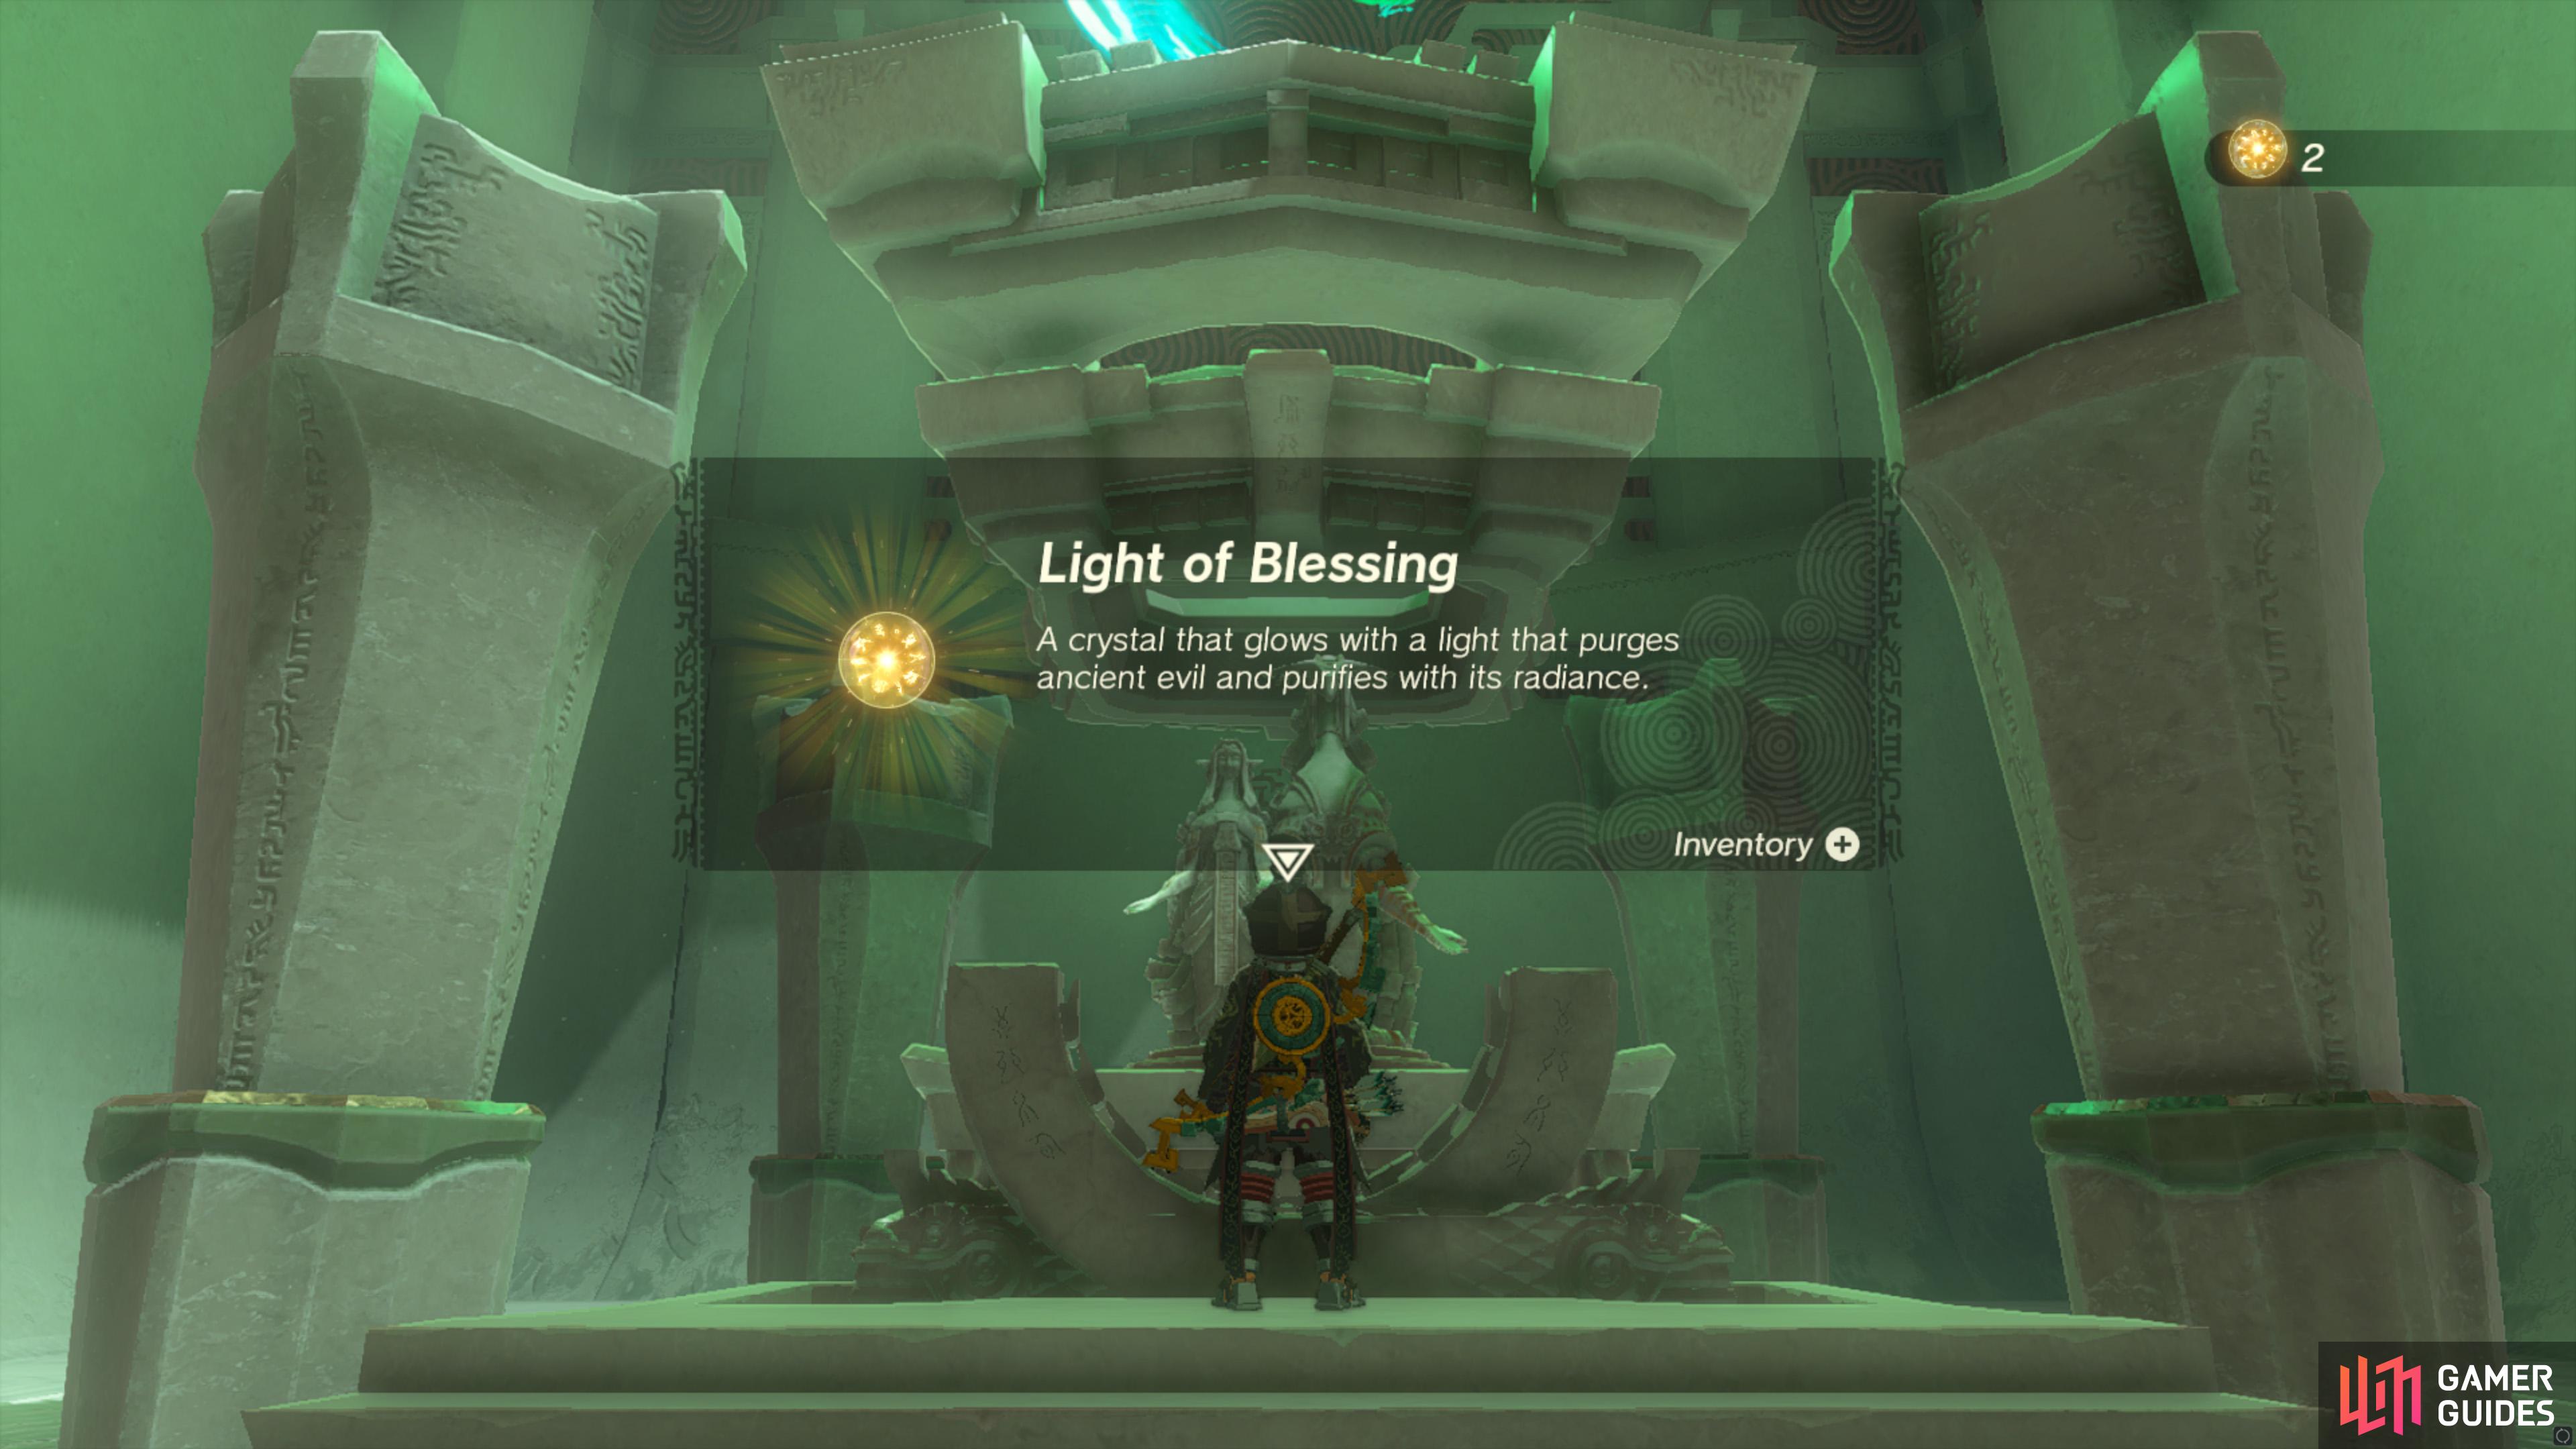
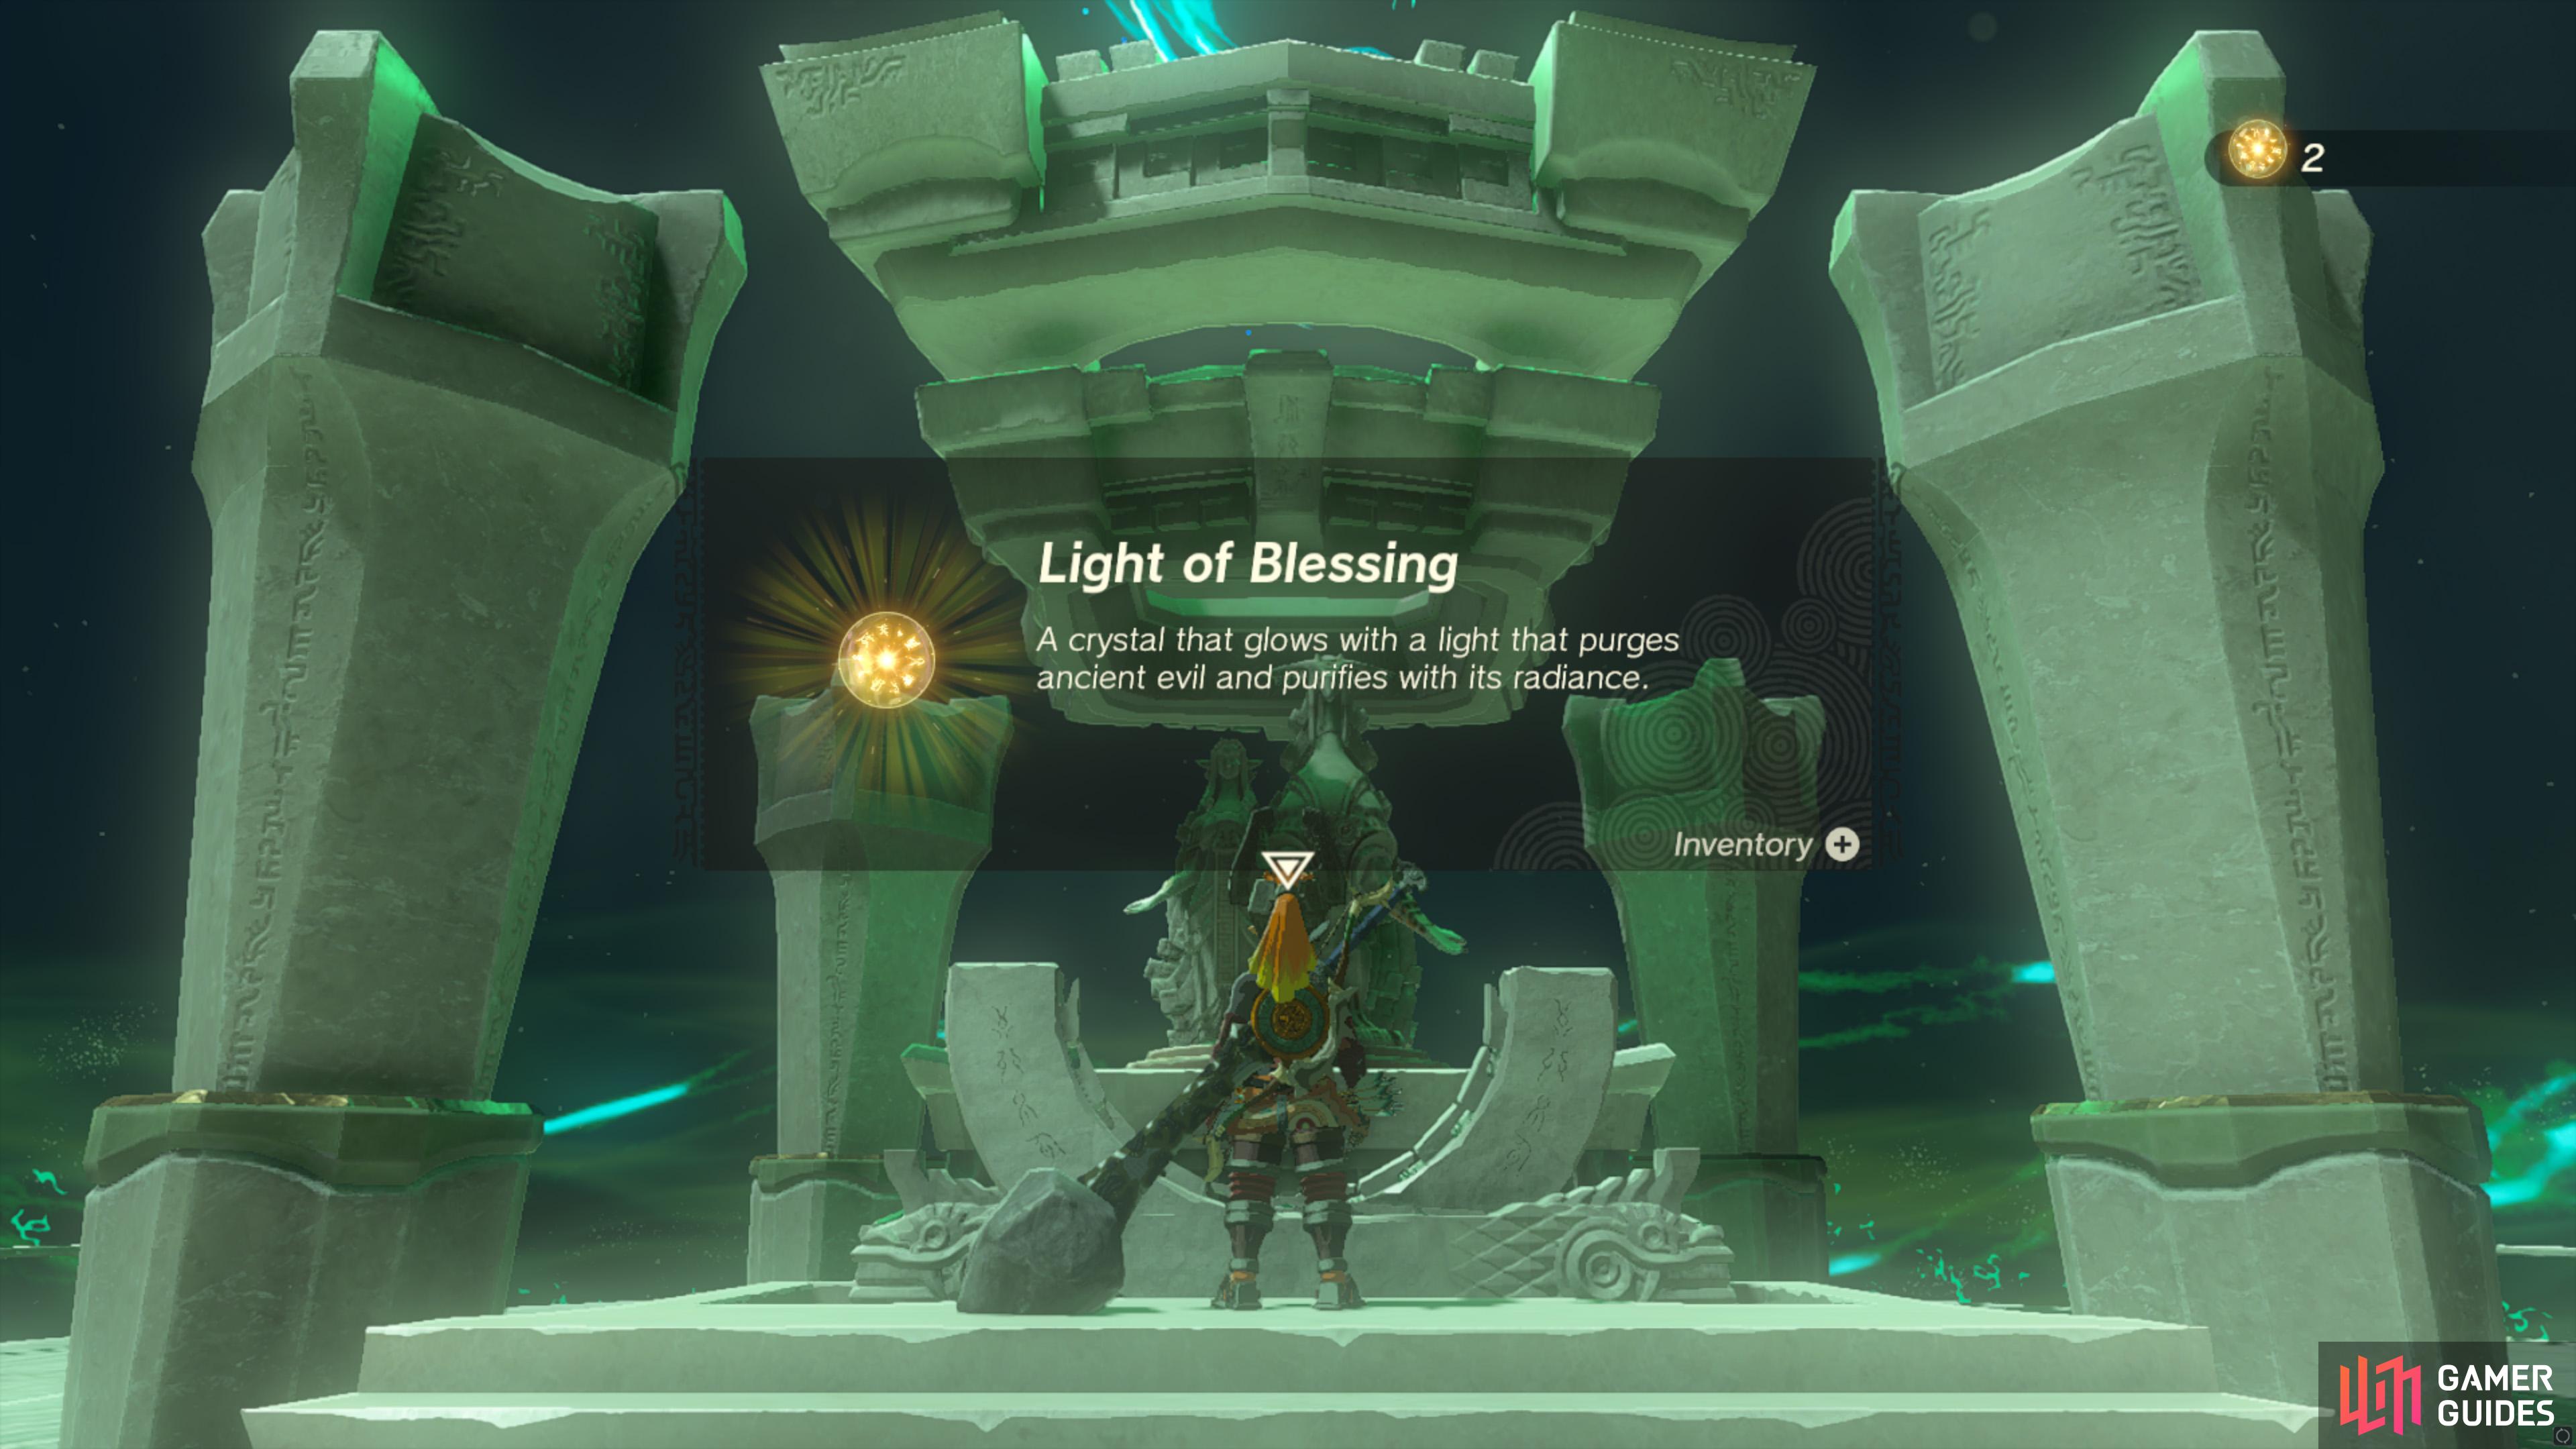
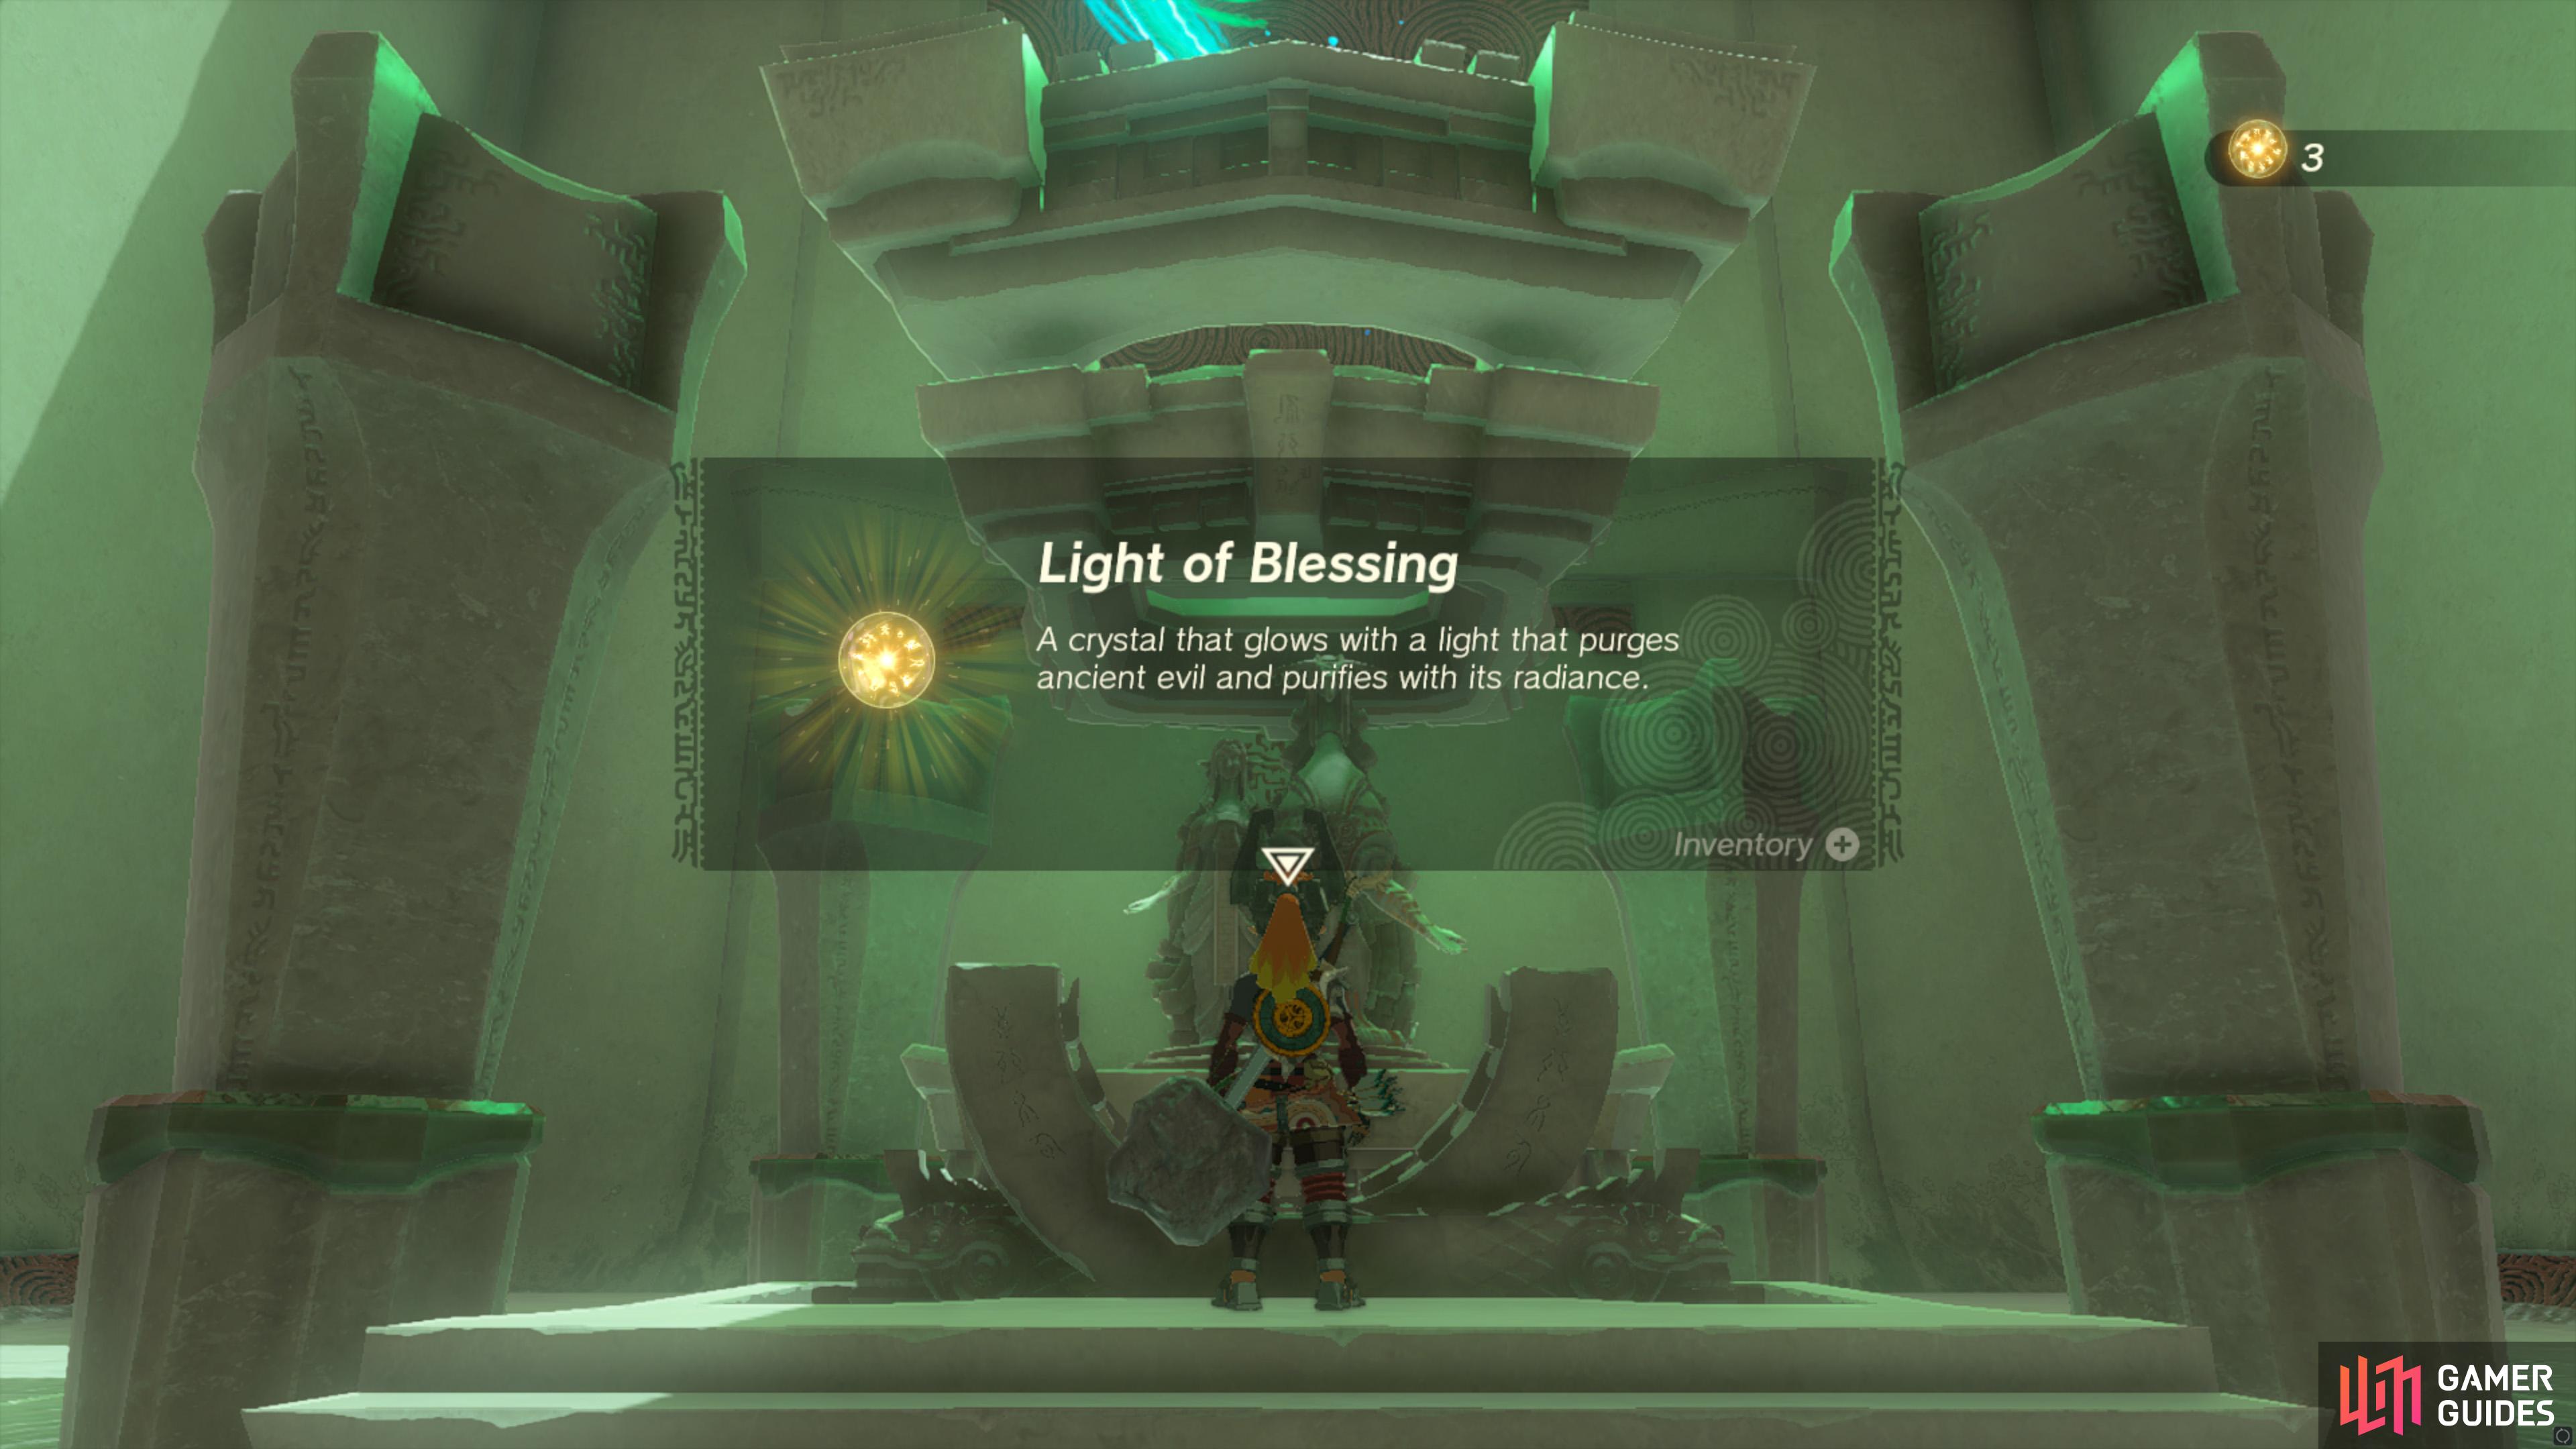
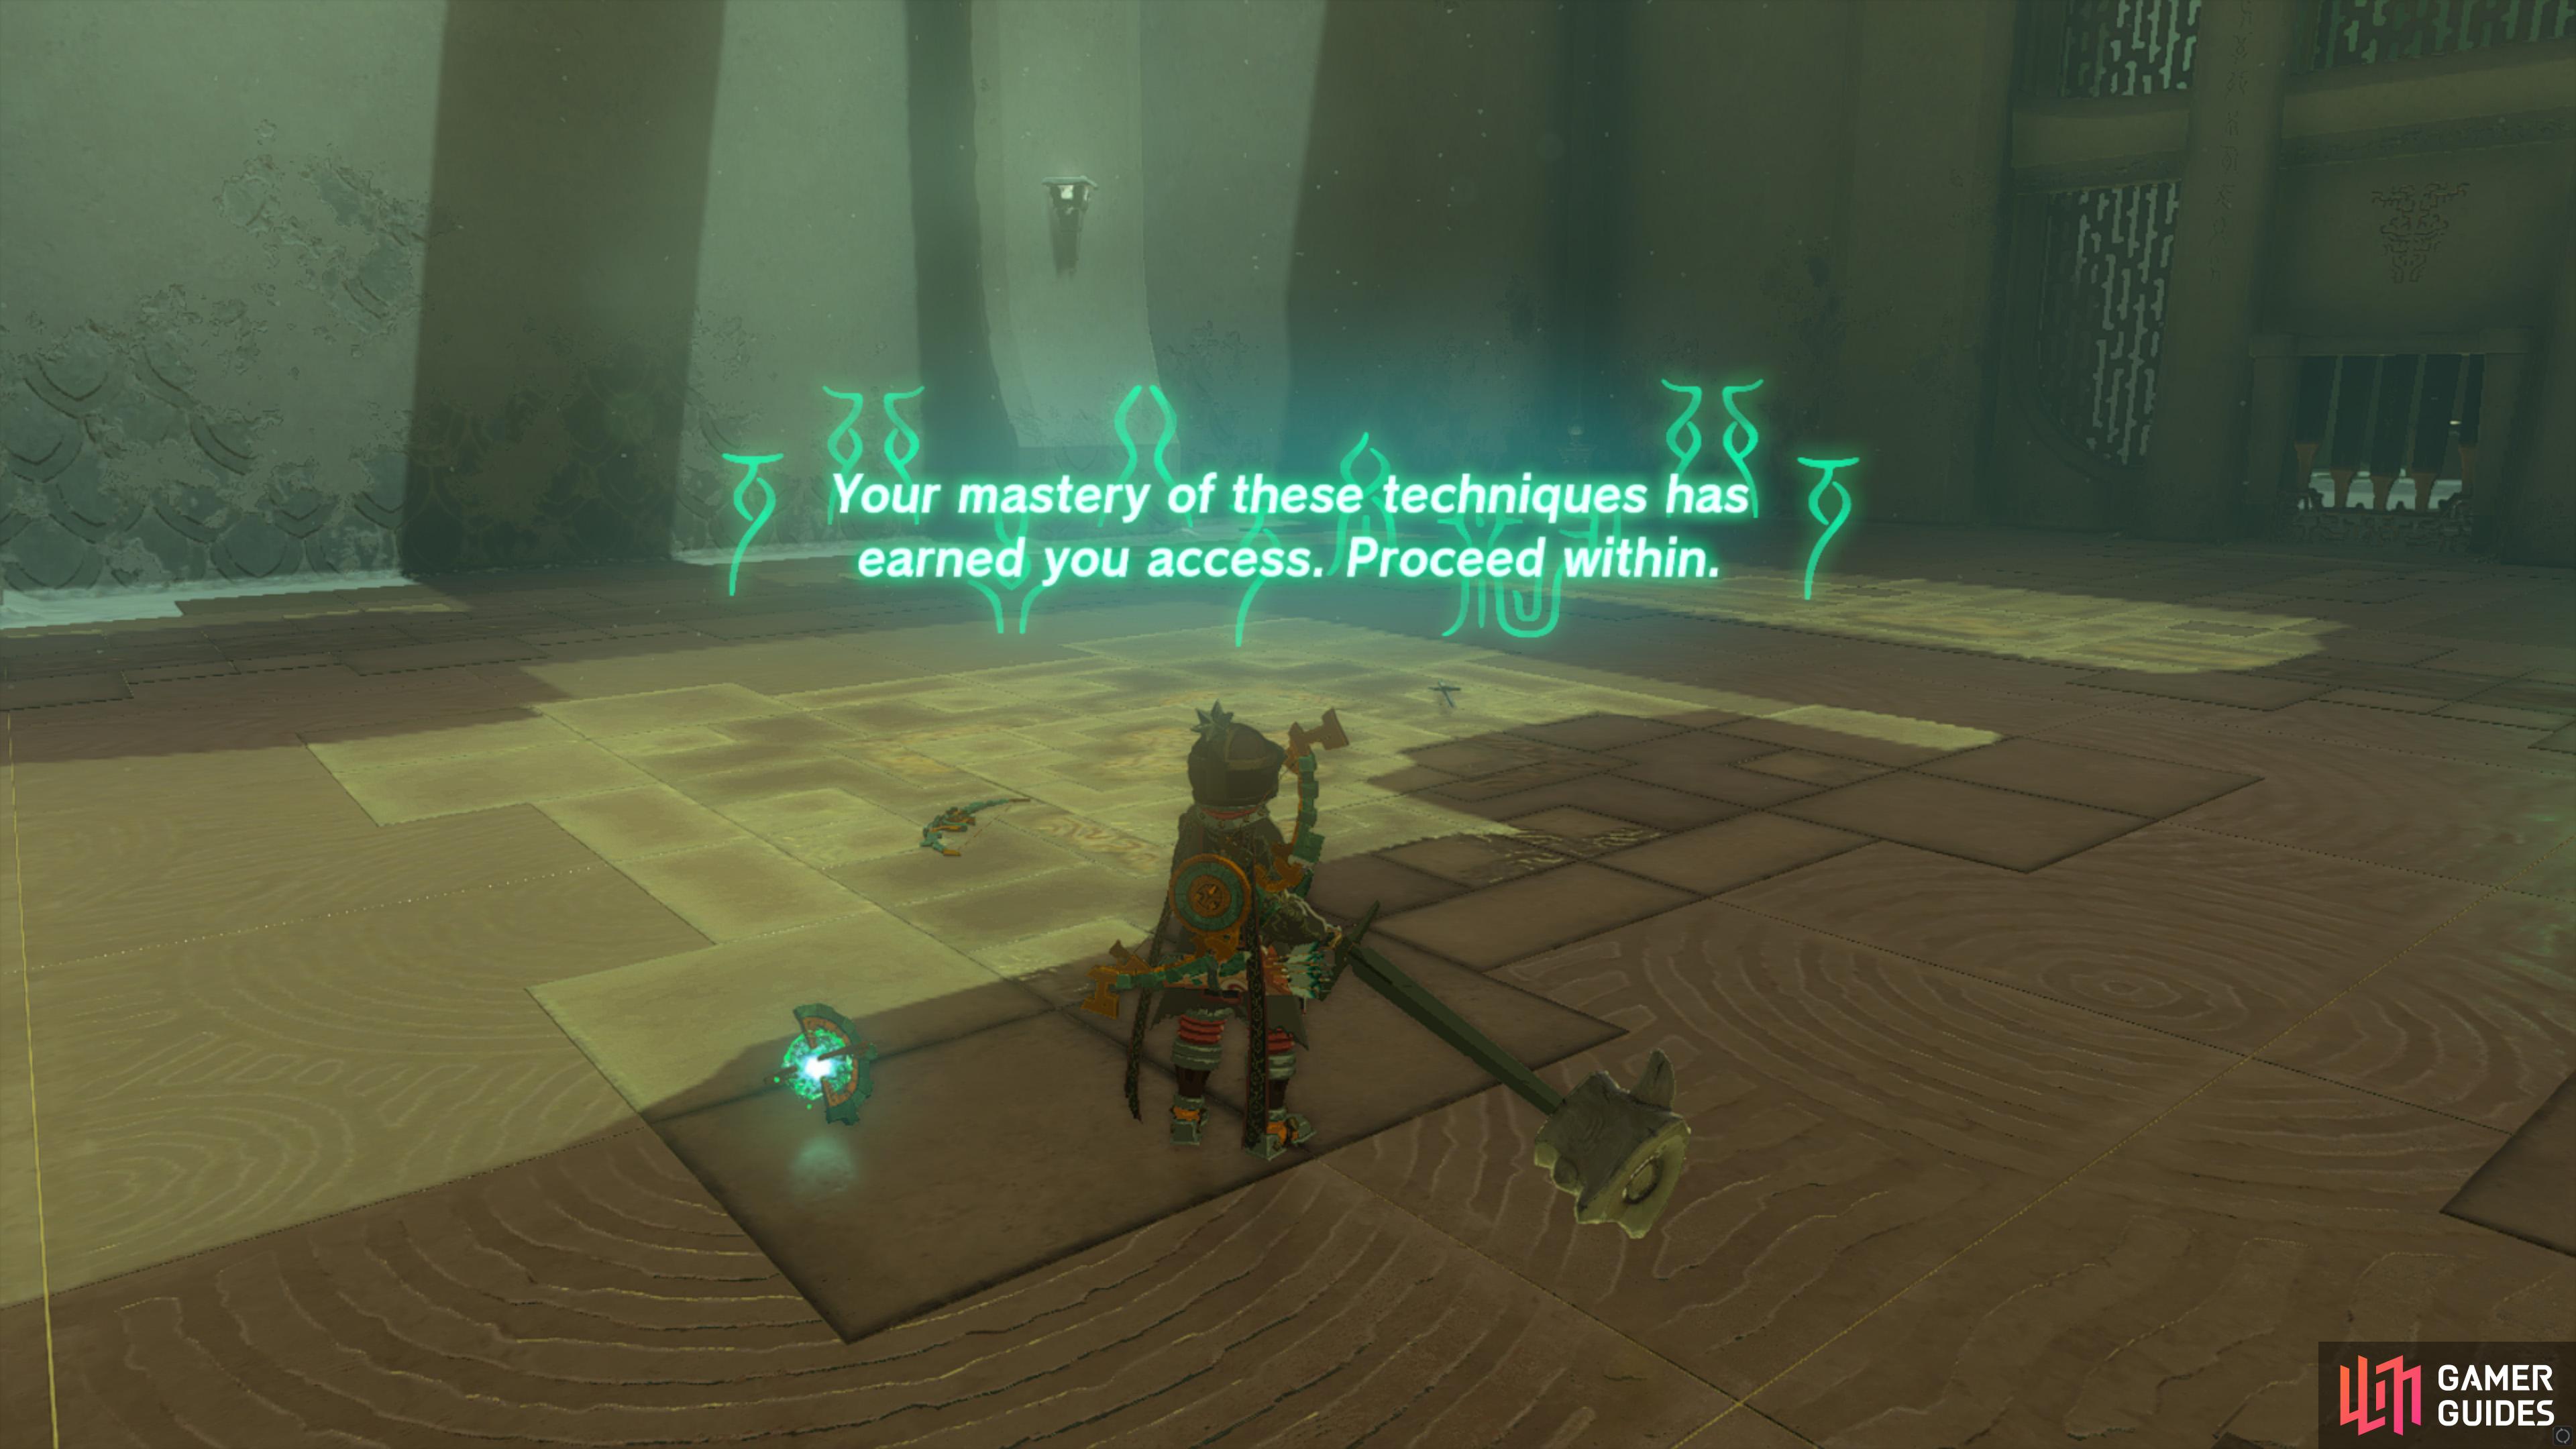
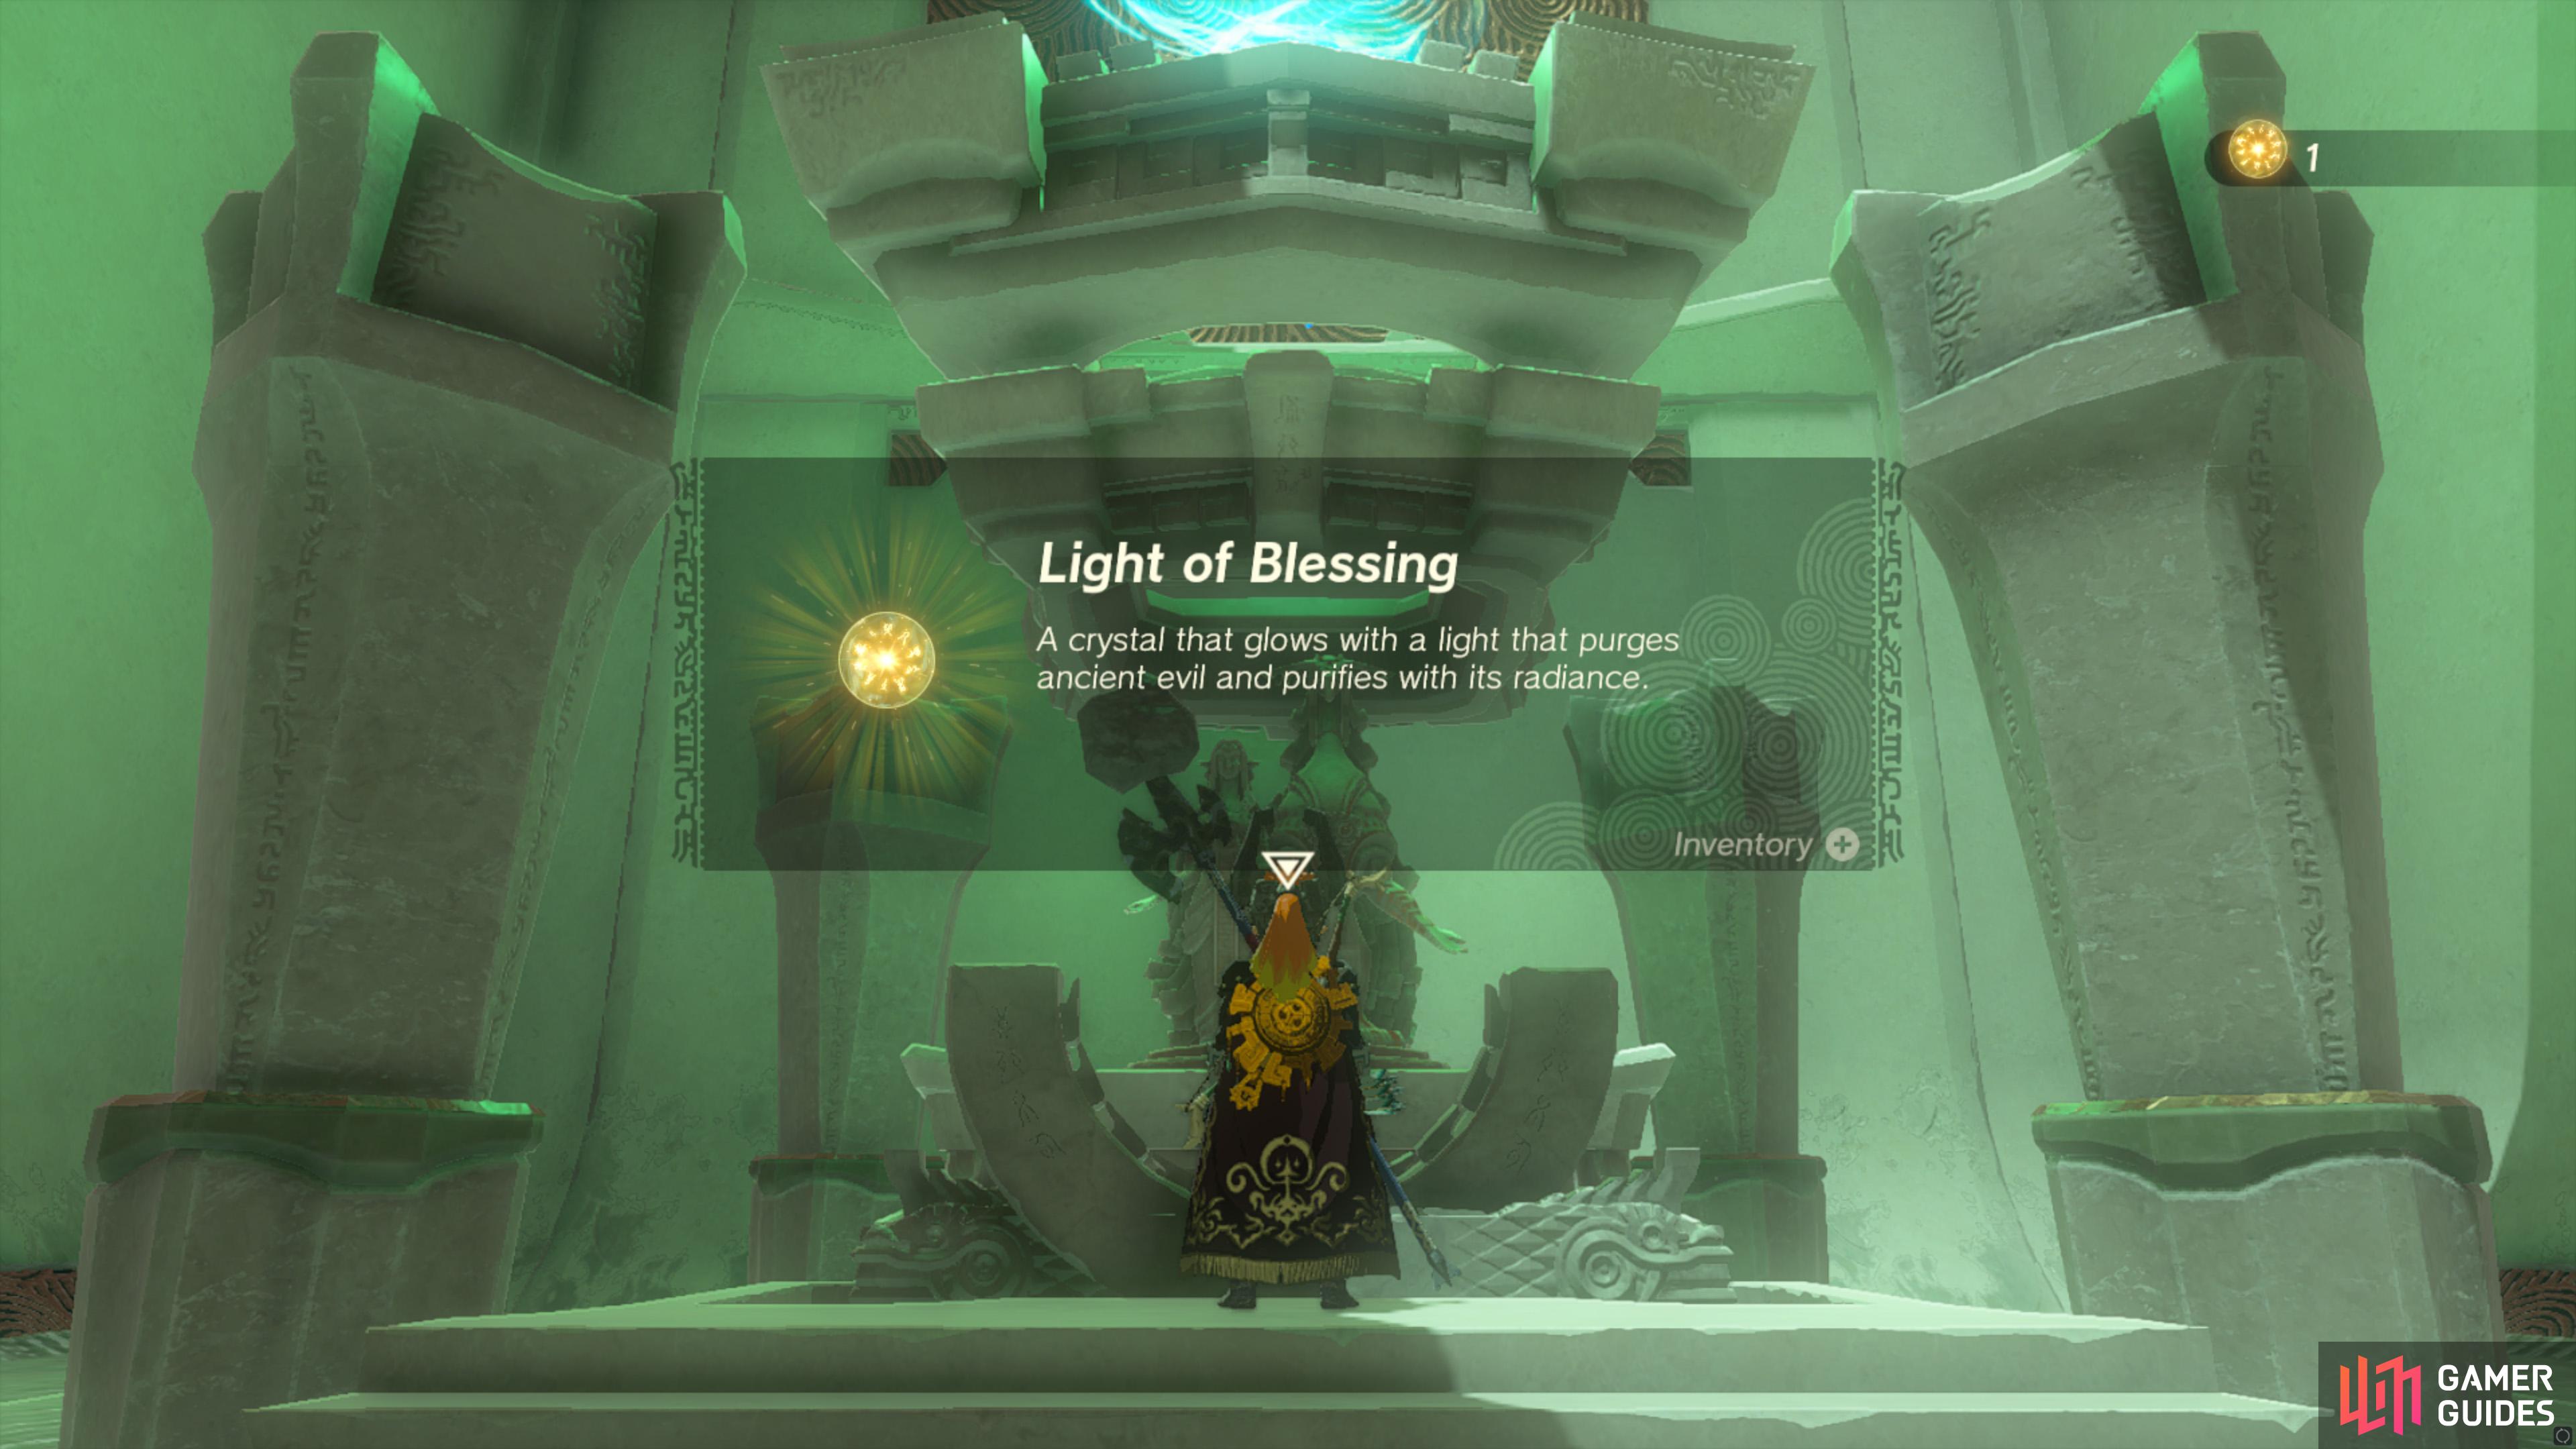
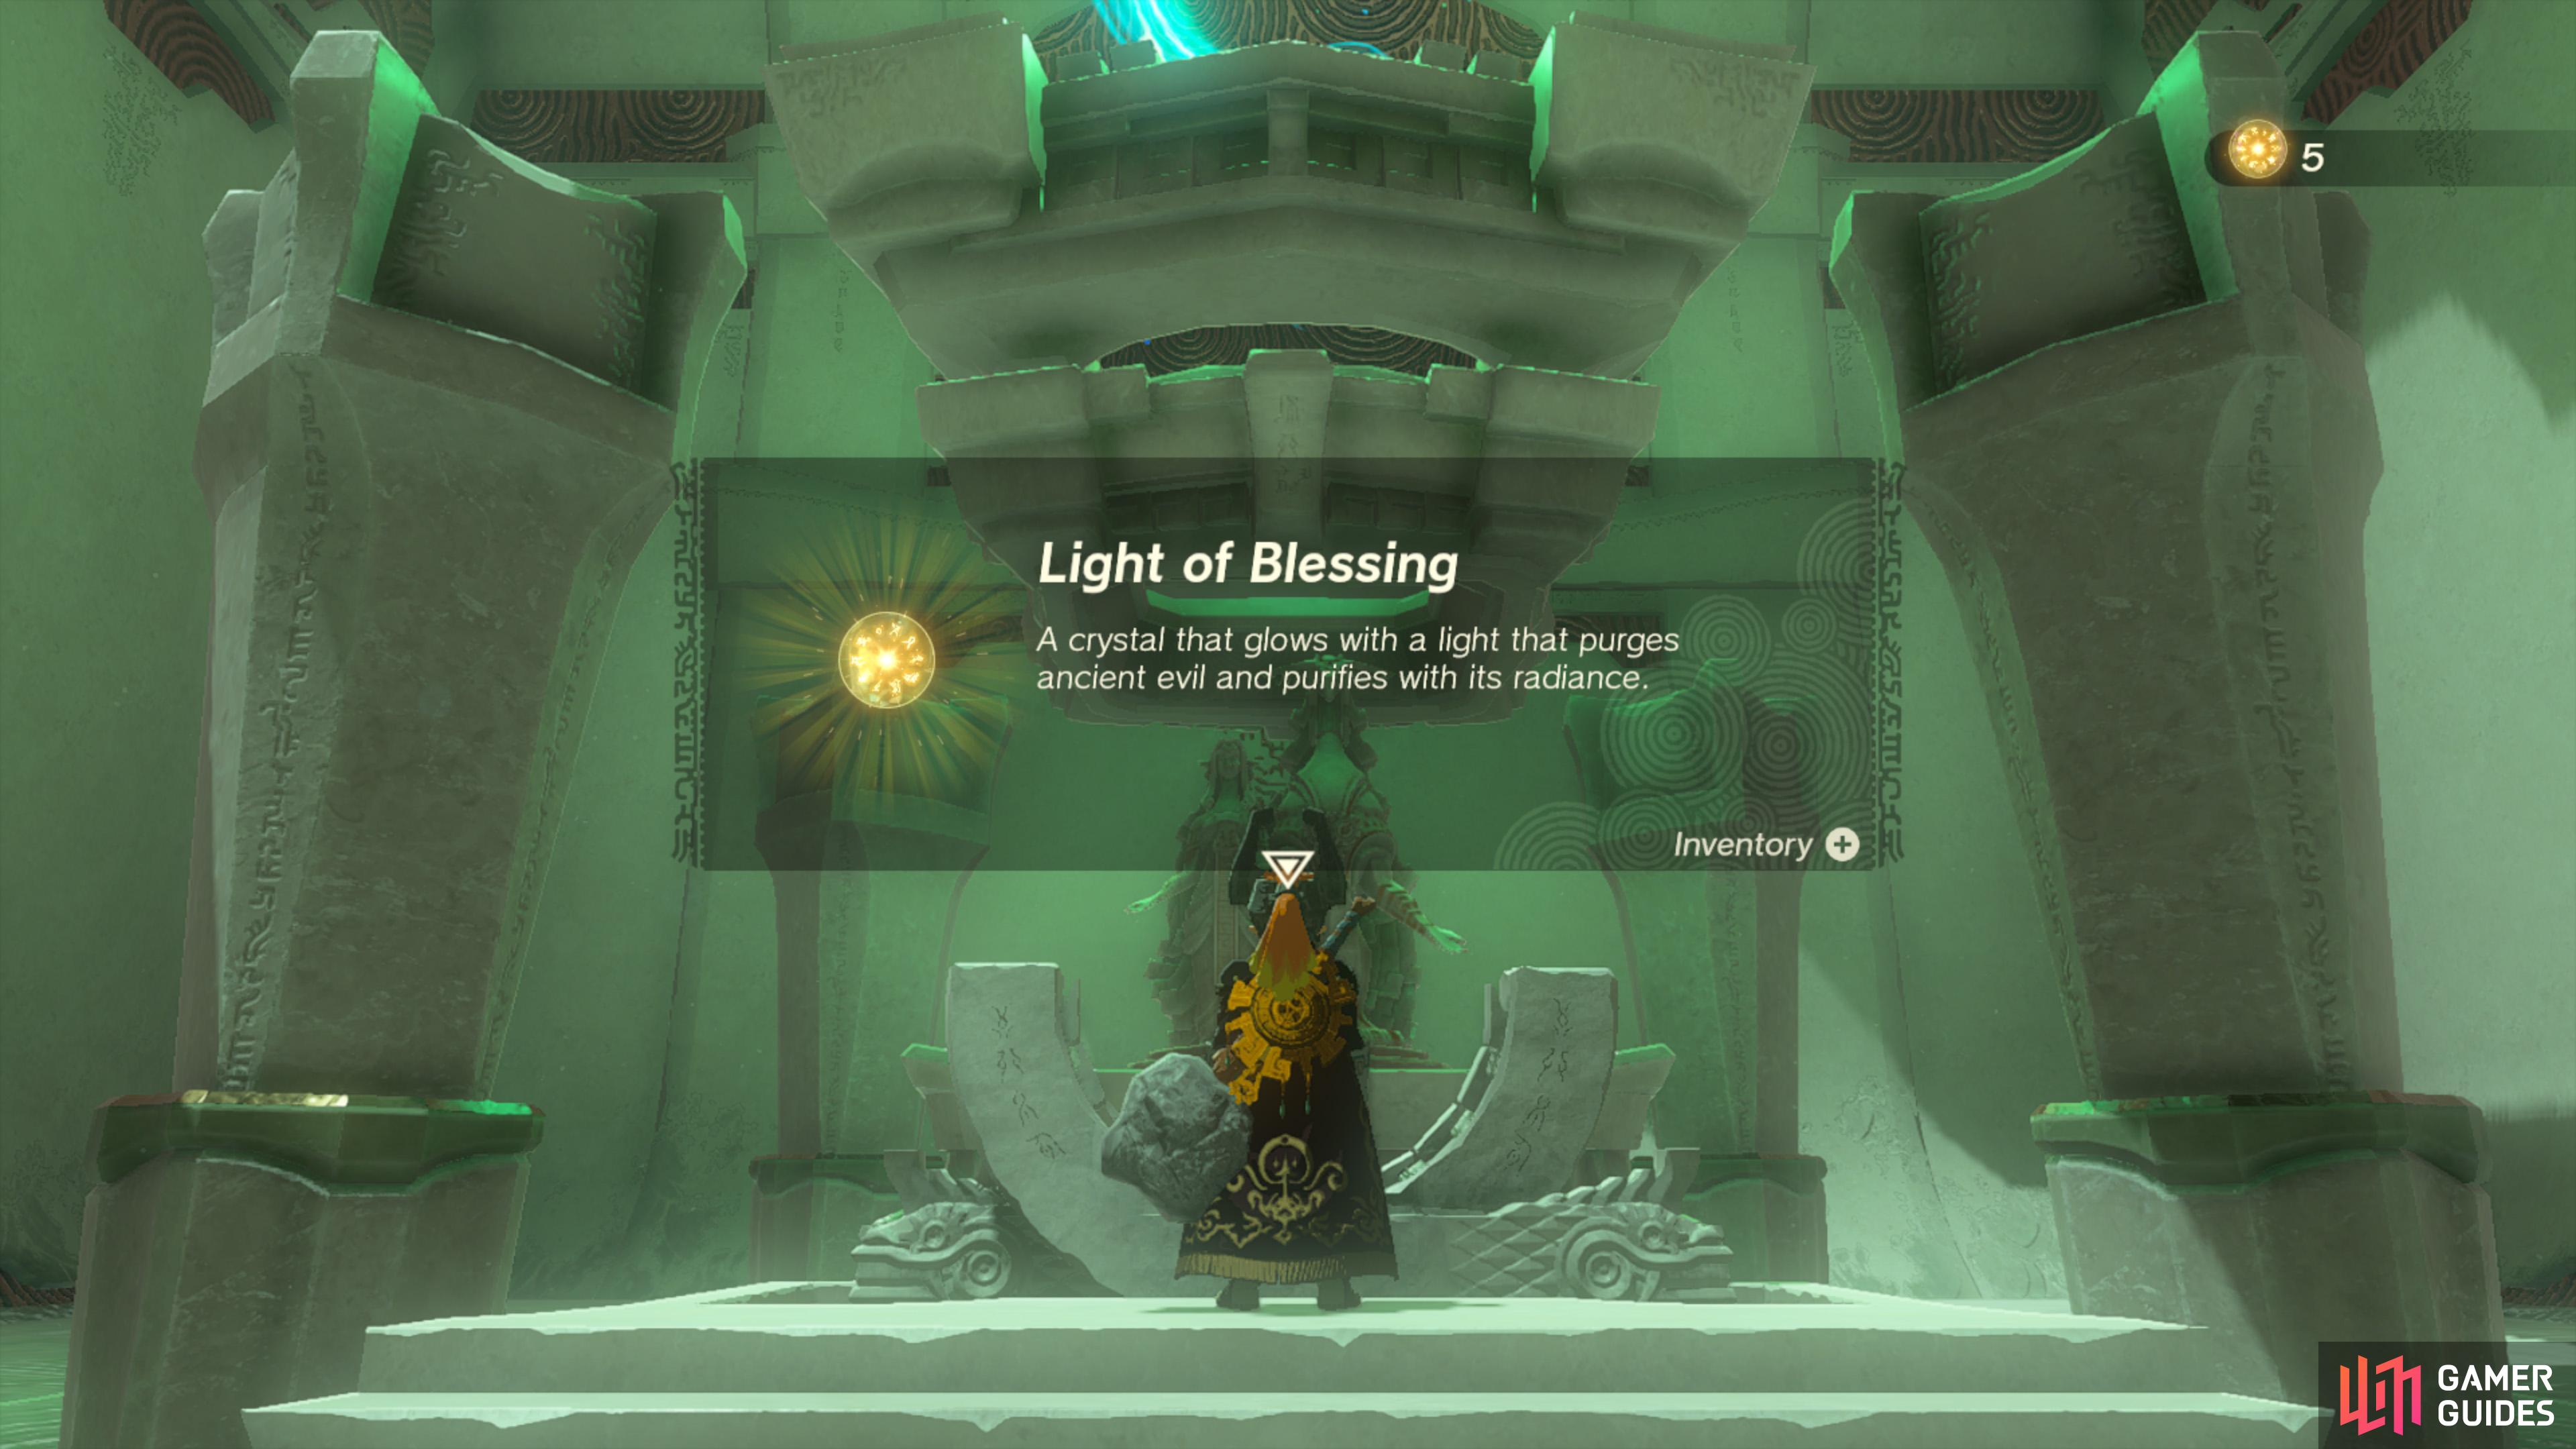
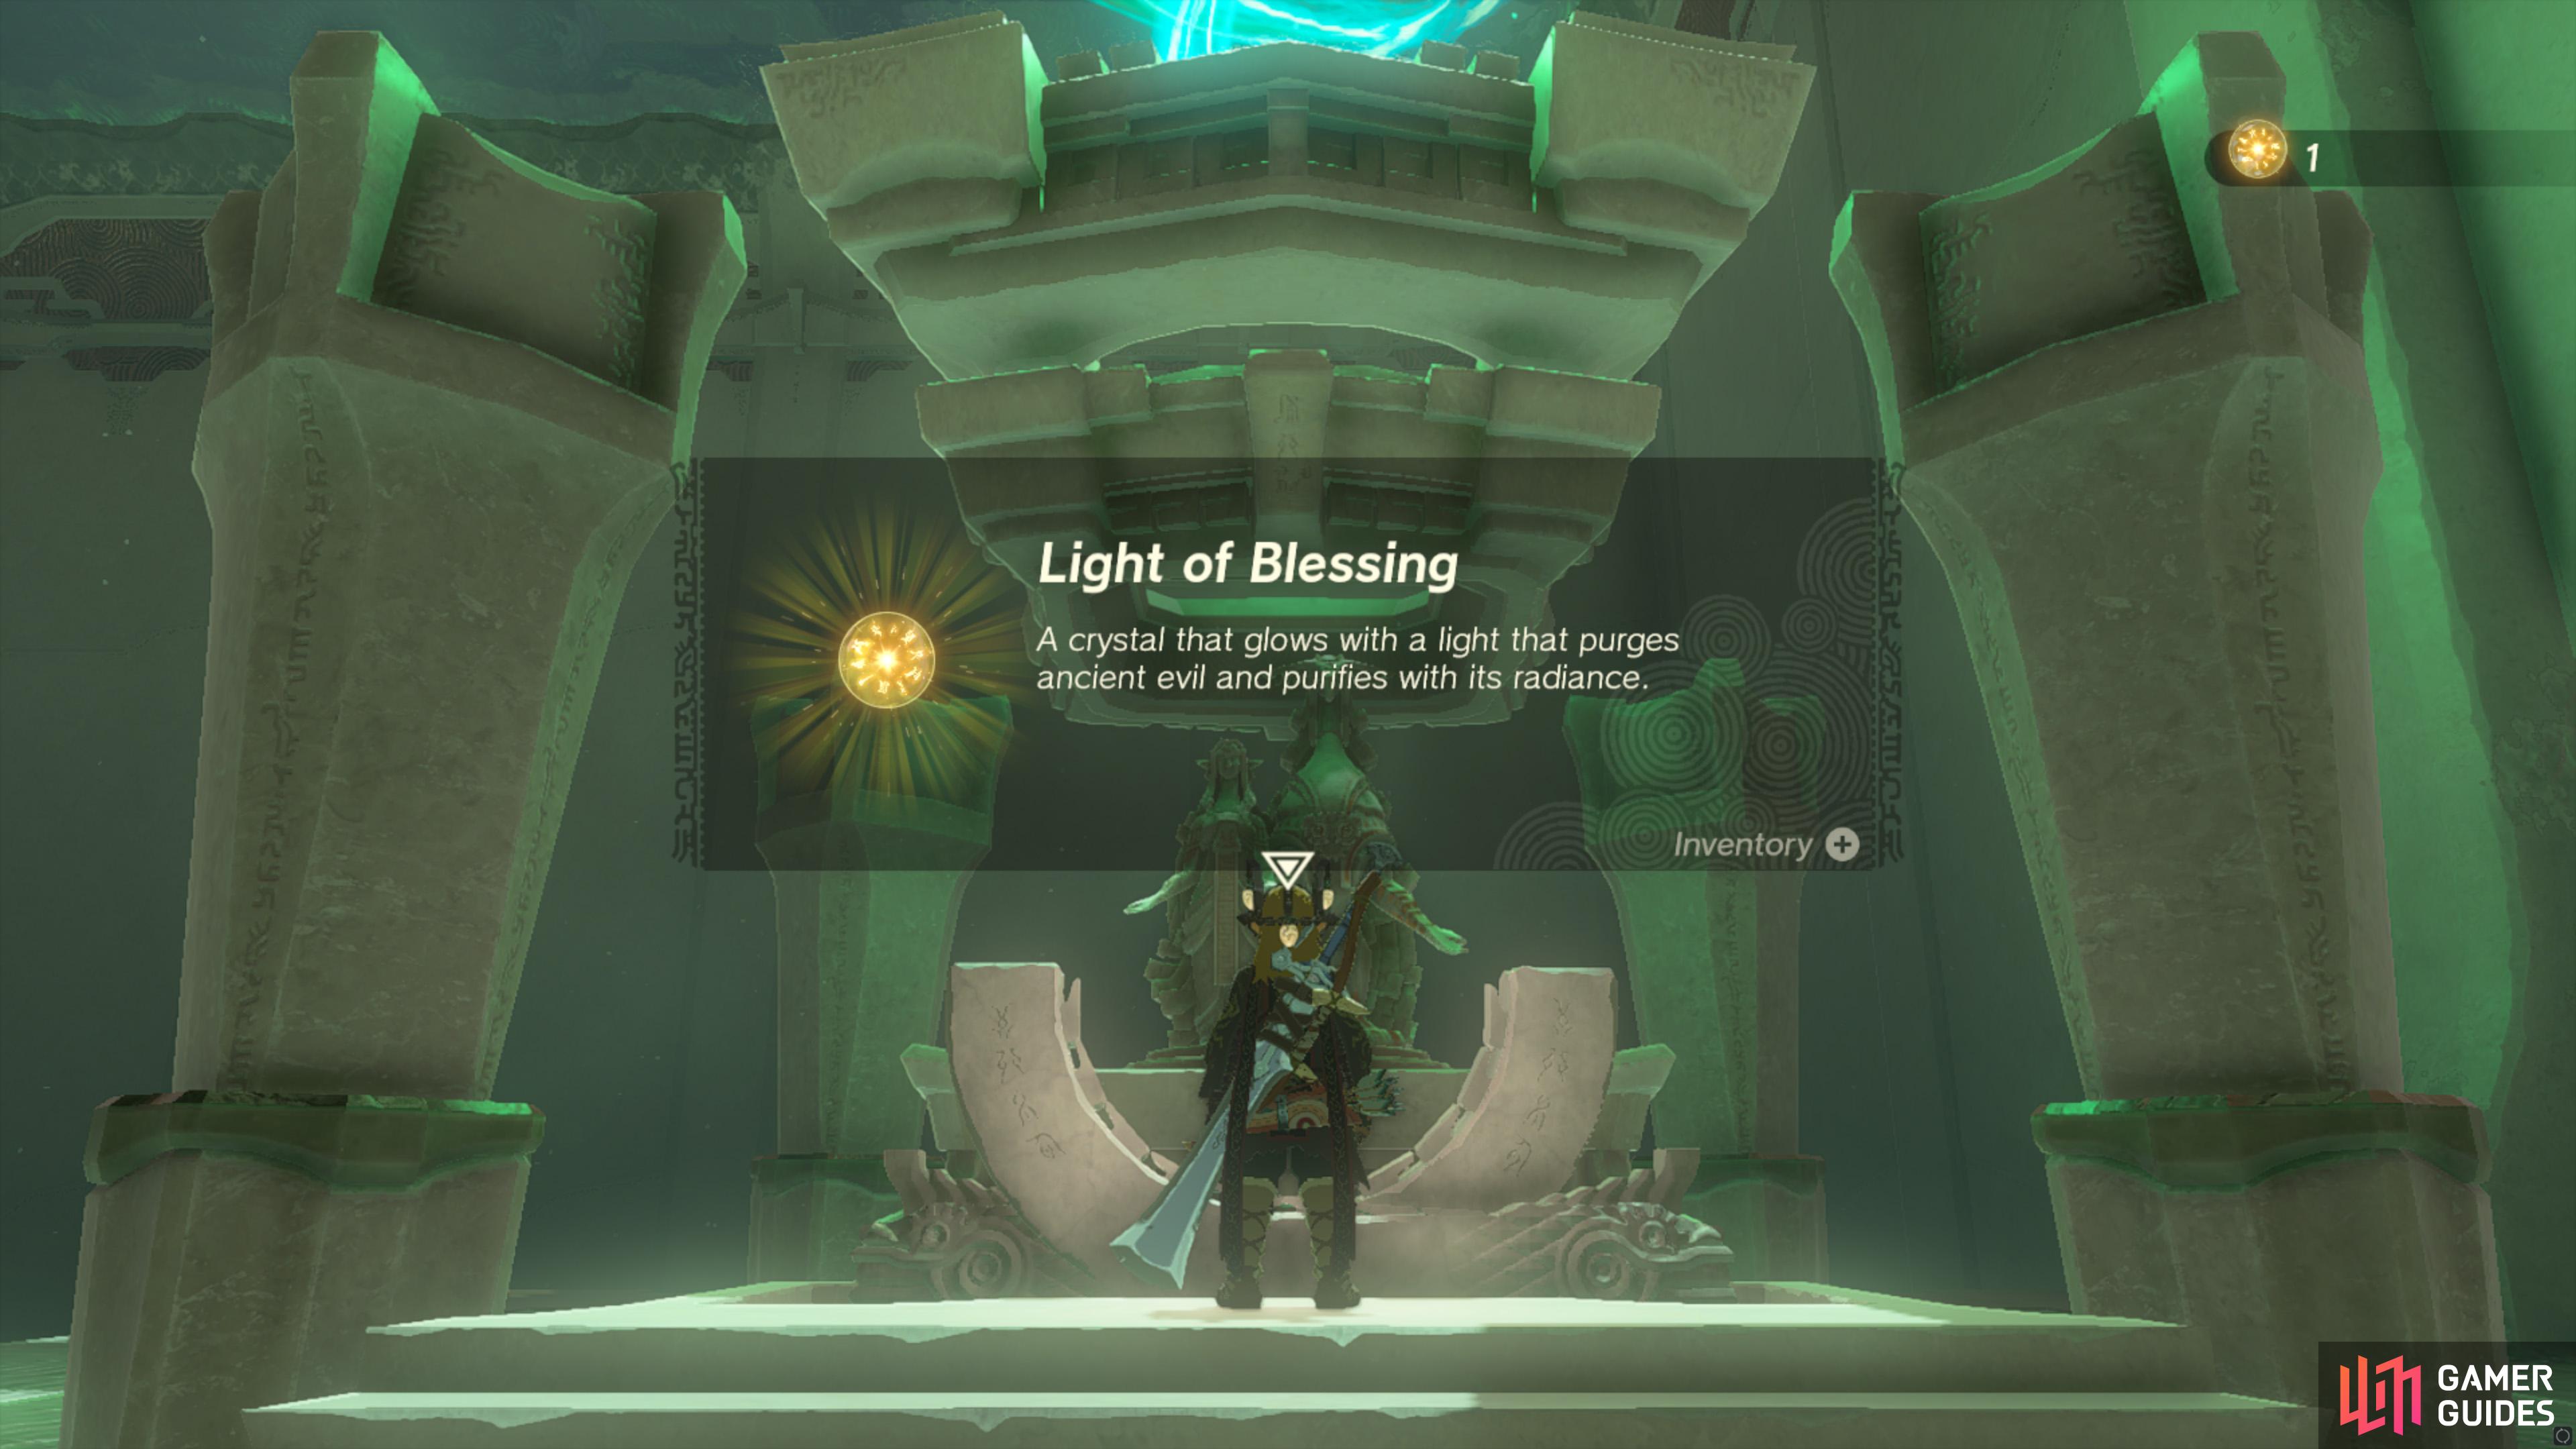
This shrine imprisons and purifies the ancient evil. Outside equipment is forbidden beyond this point.
Map(s)
Chest Rewards
Completion Reward
|
|
|||||||||||||||||||||||||||||||||||||||||||||||||||||||||||||||||||||||||||||||||||||||||||||||

|
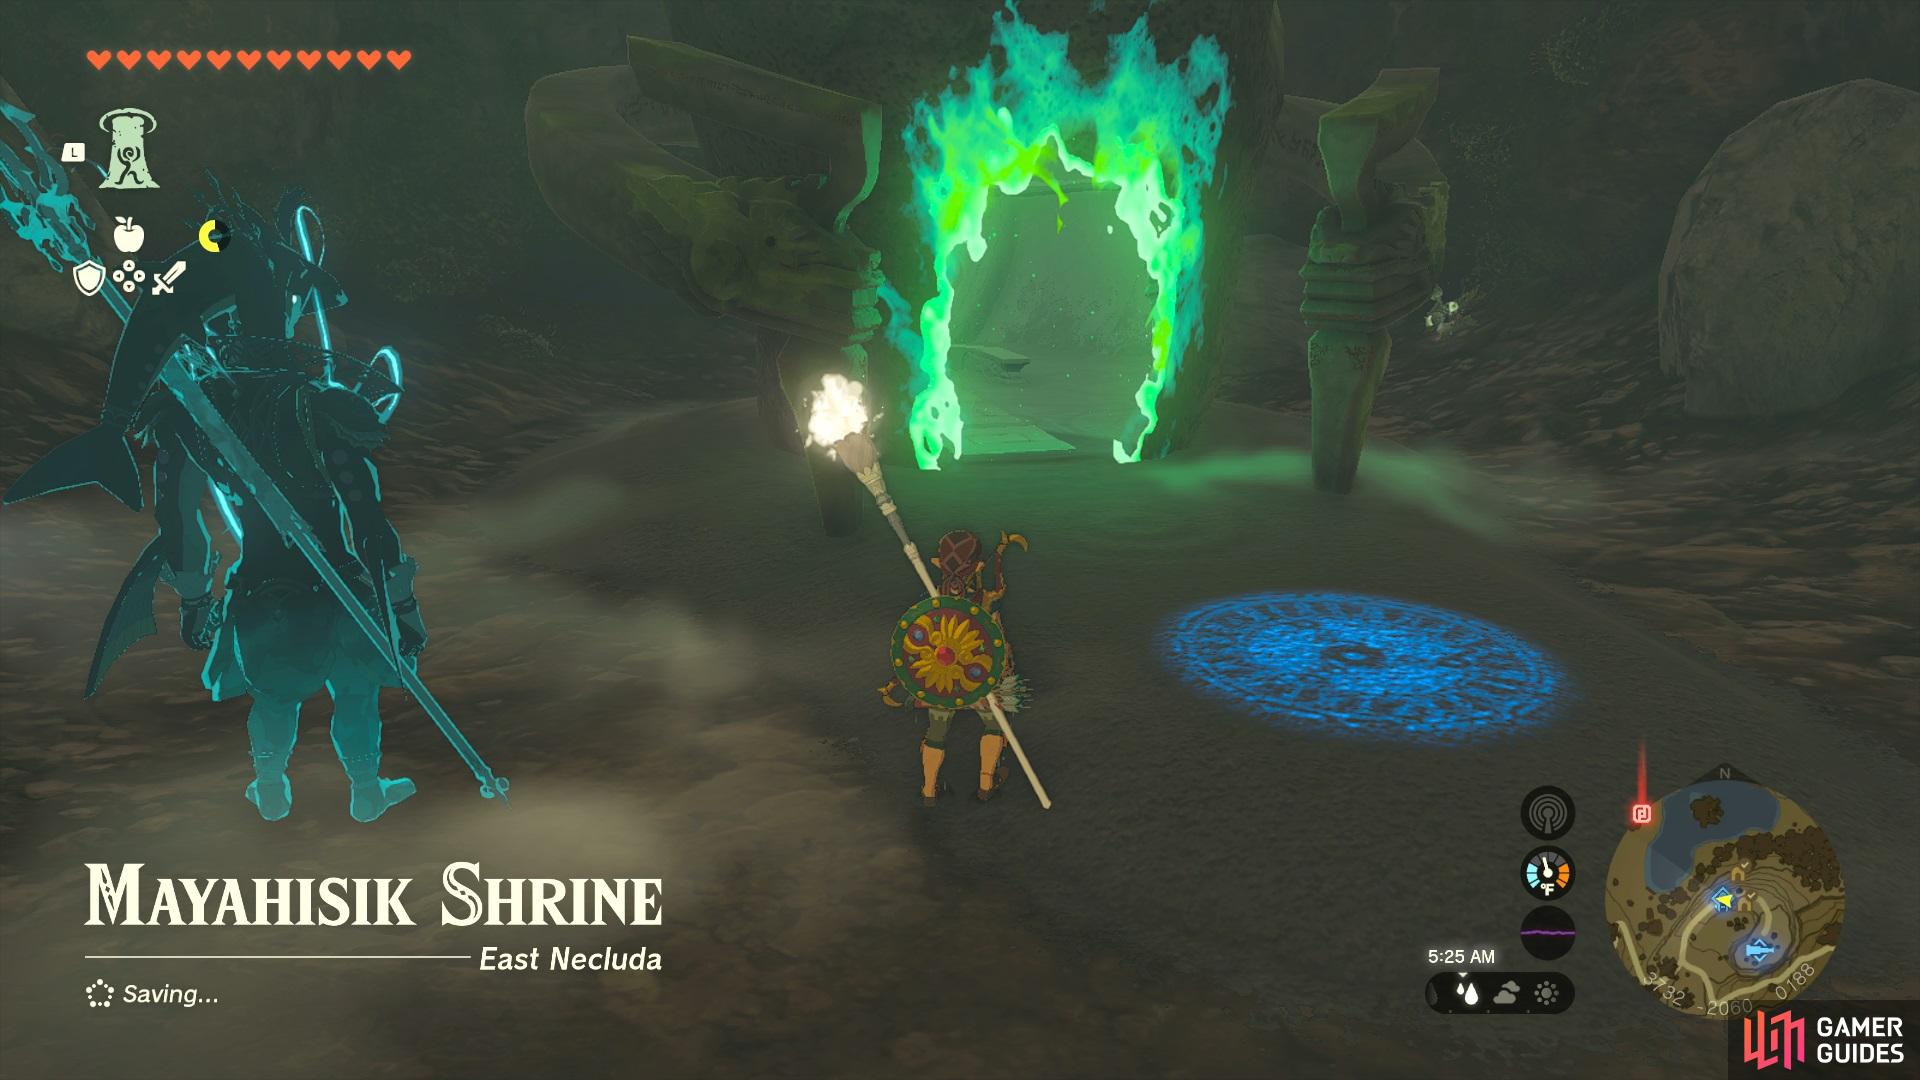
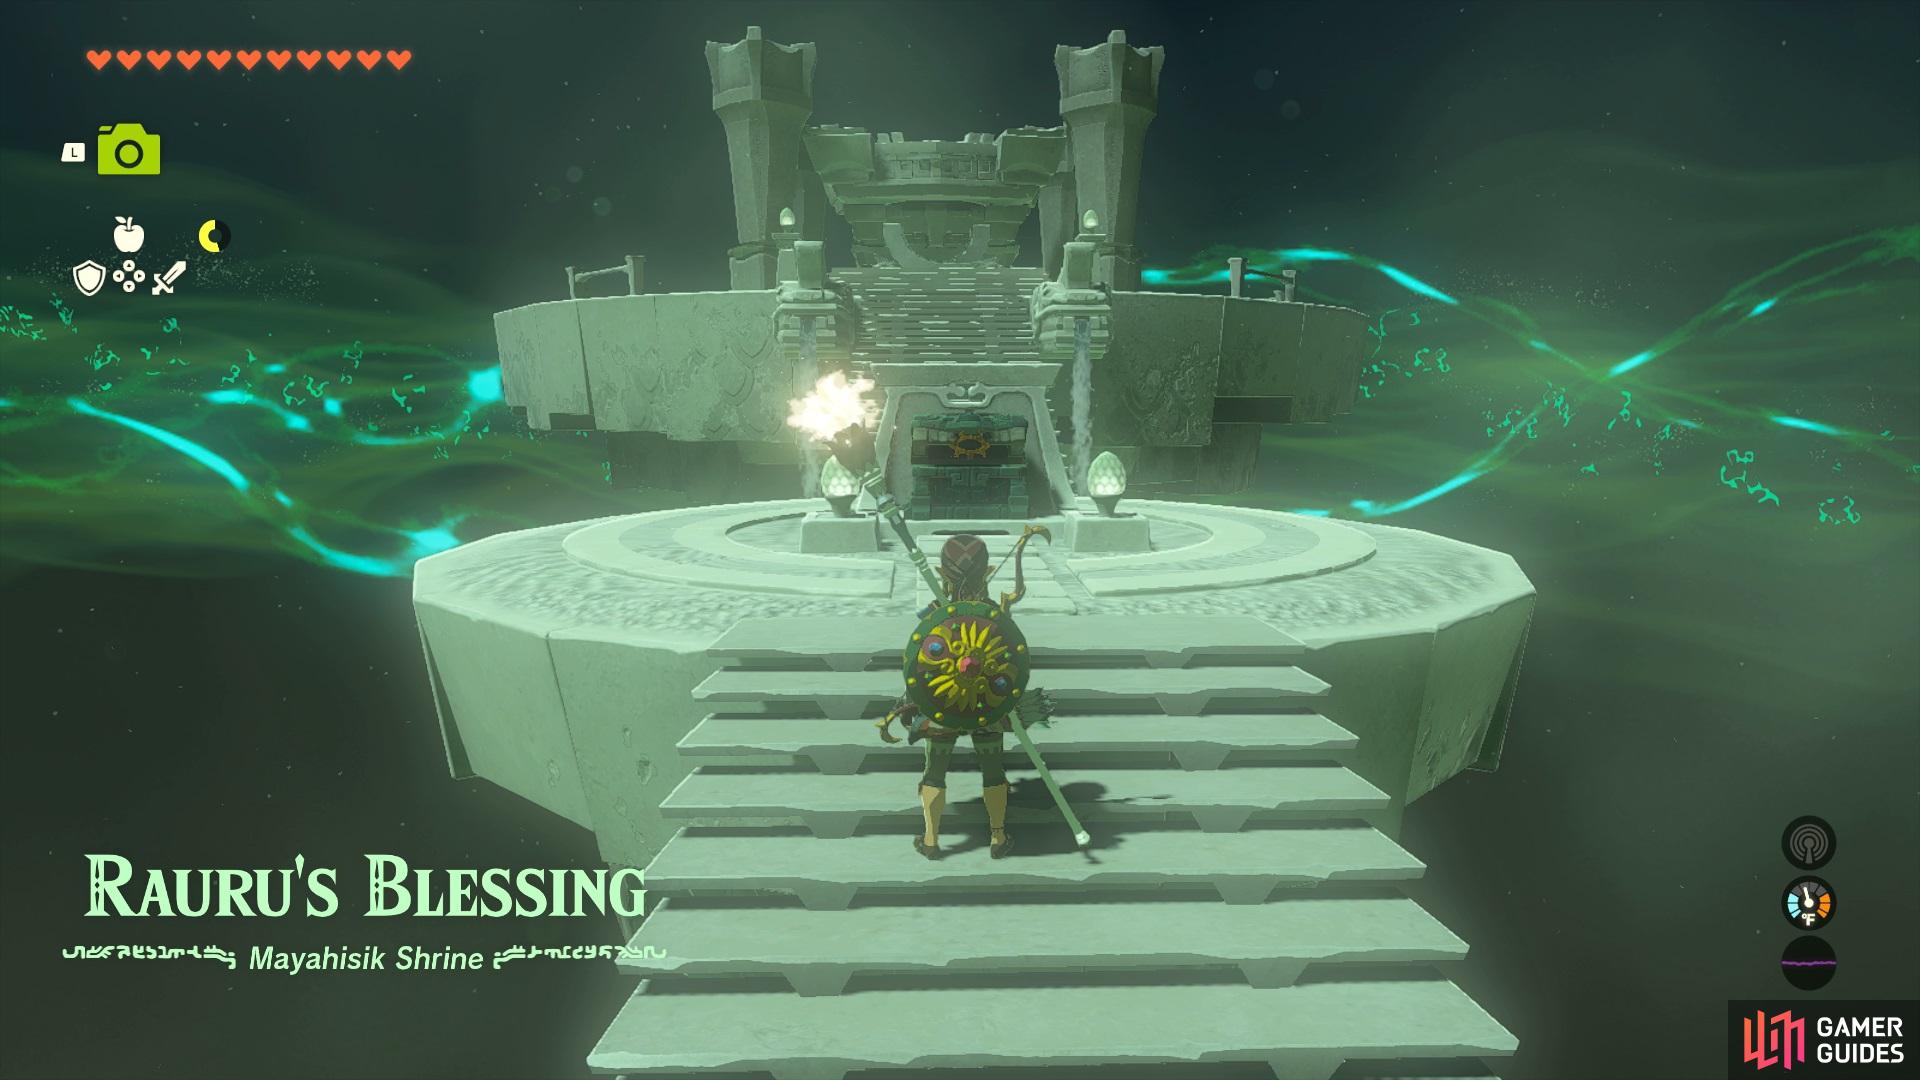
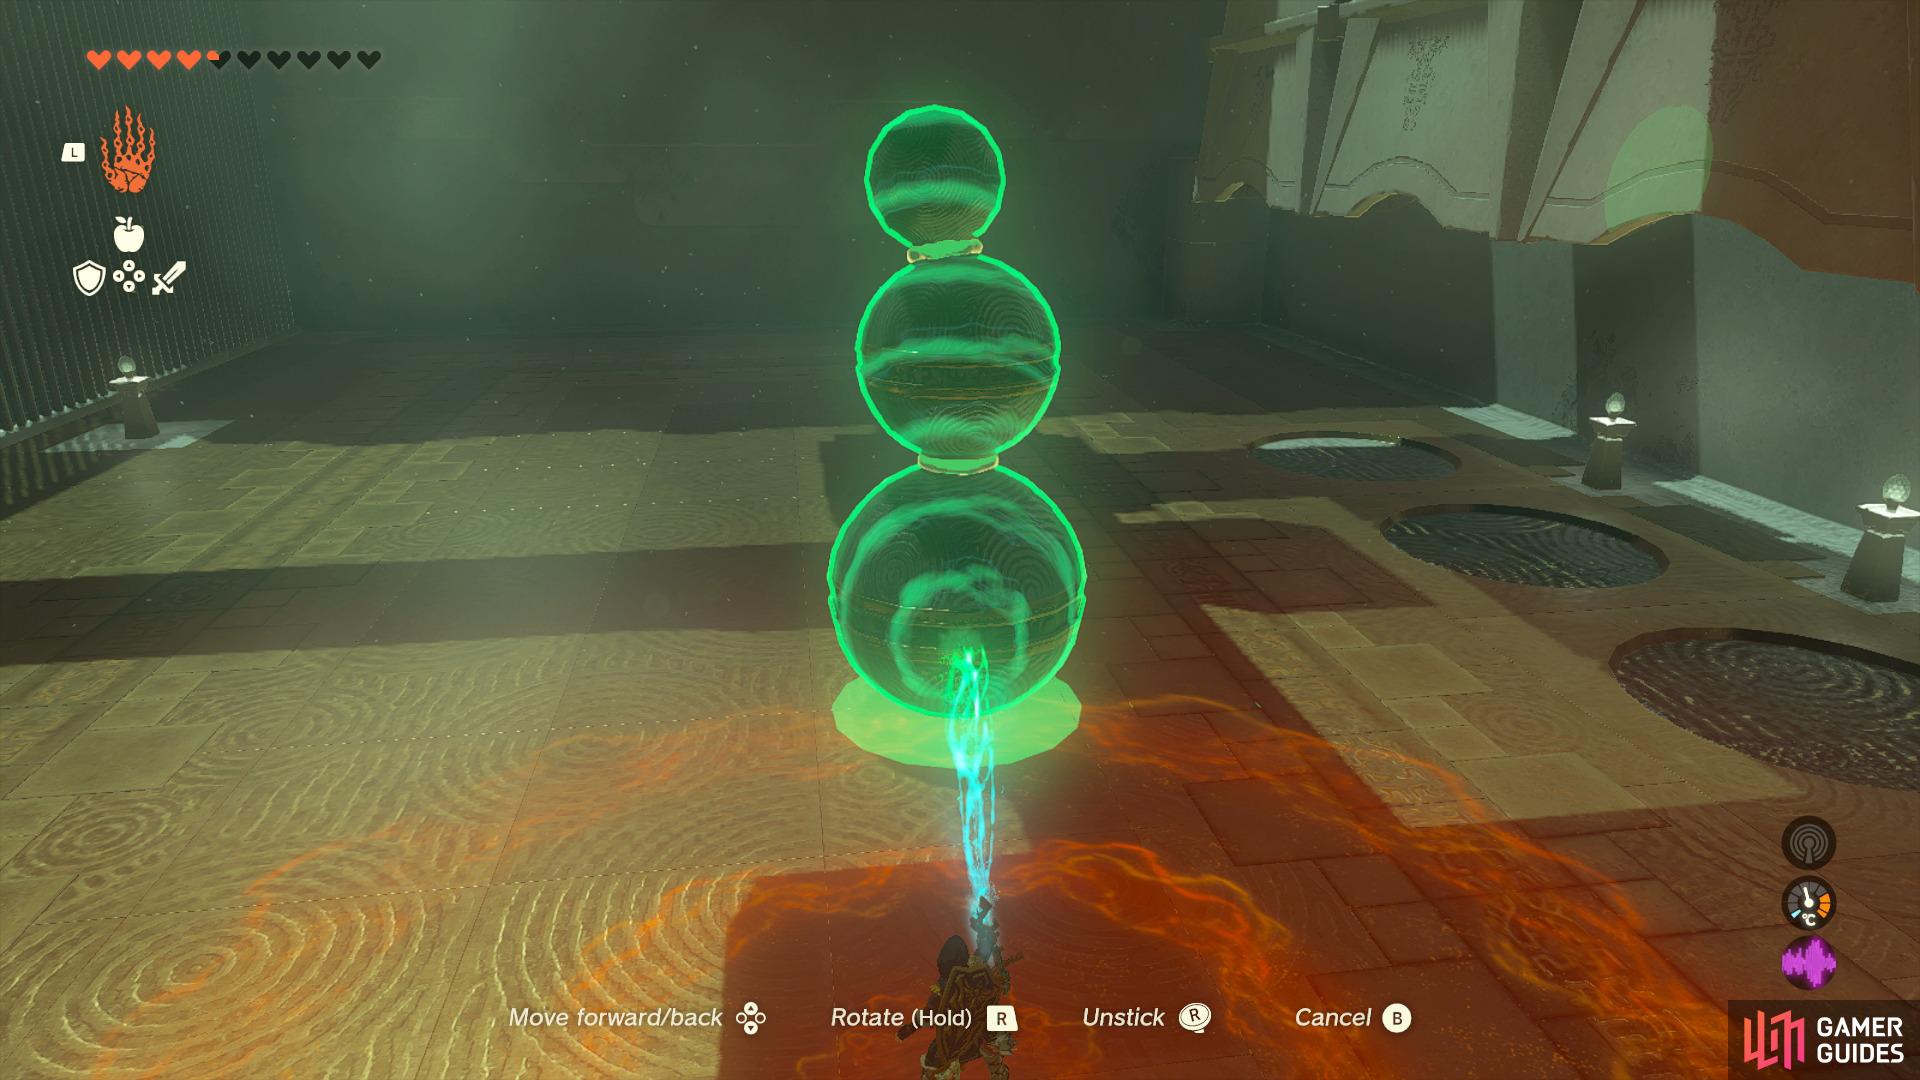
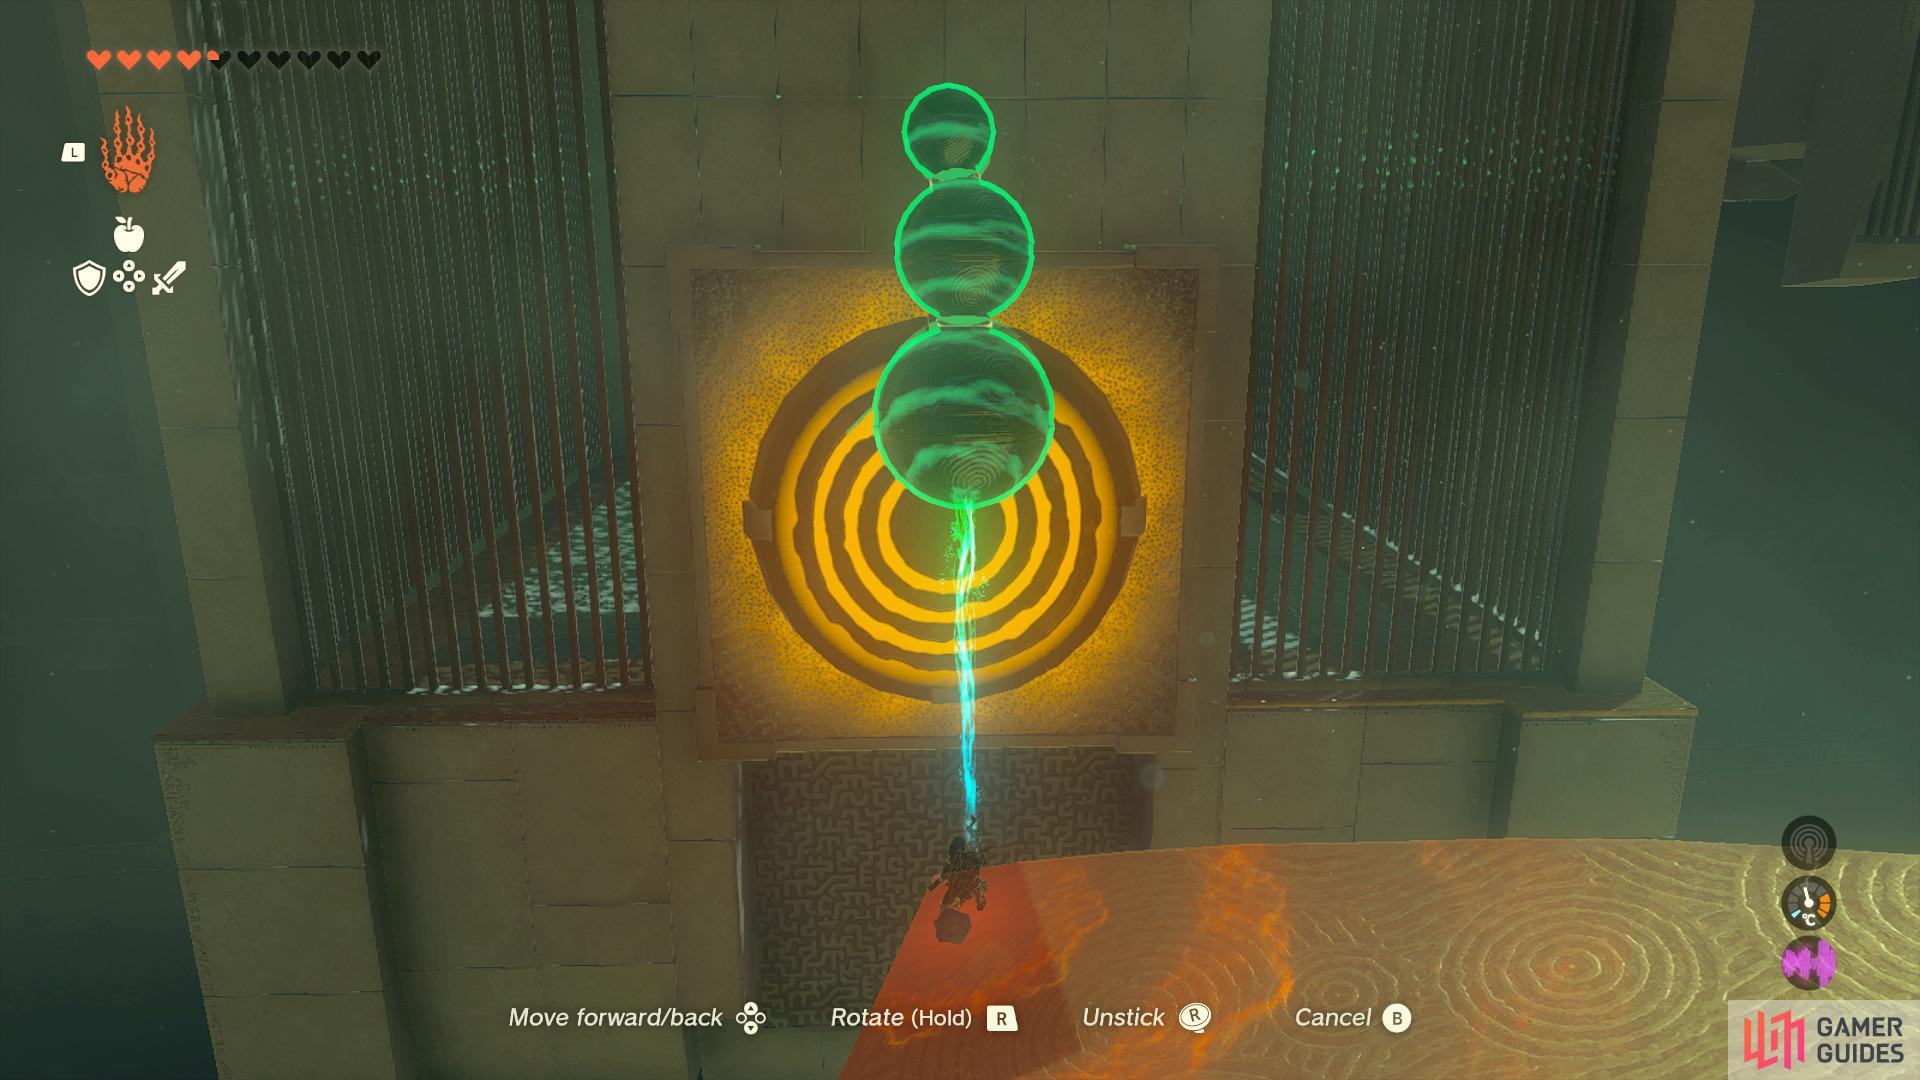
Mayahisik Shrine |
Map(s)
Completion Reward
|
|
|||||||||||||||||||||||||||||||||||||||||||||||||||||||||||||||||||||||||||||||||||||||||||||||

|
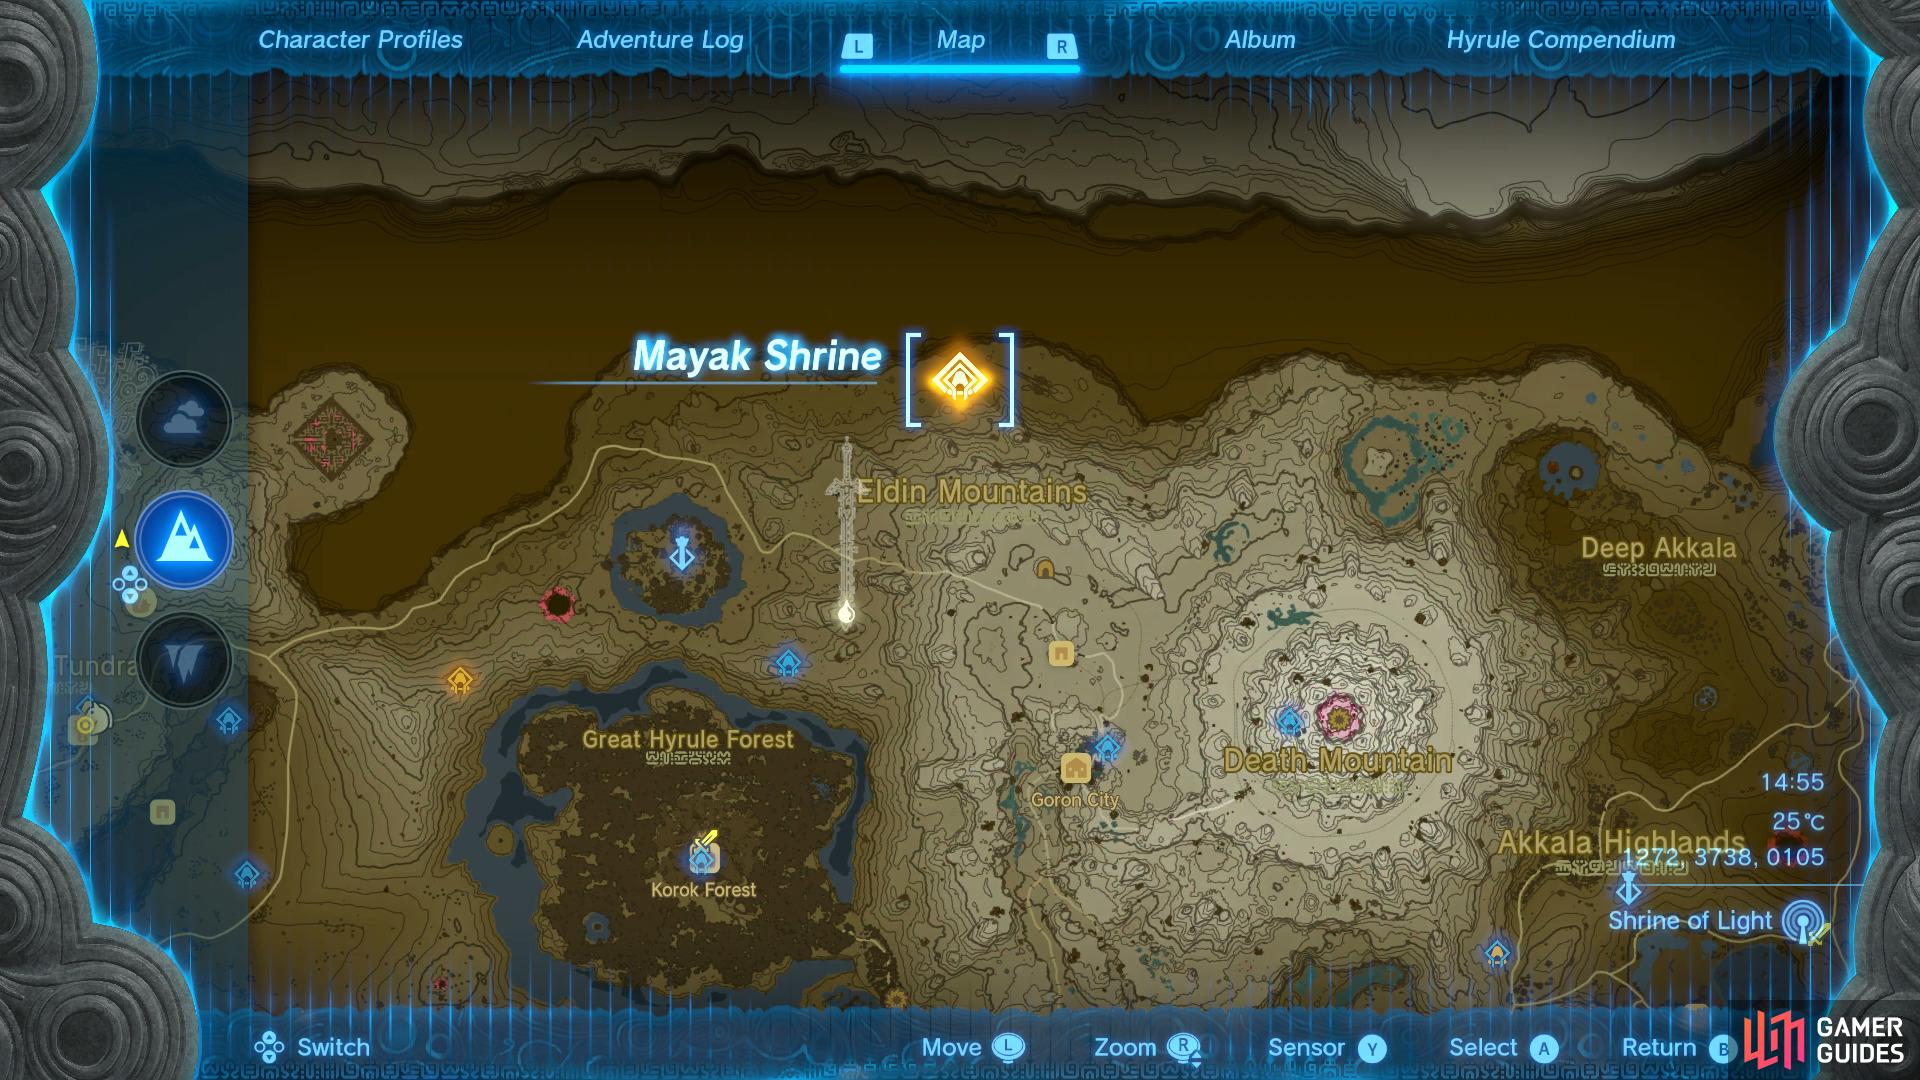
Mayak Shrine |
This shrine can be found sitting out in the East Deplian Badlands. To complete this shrine, you’ll need to solve a series of puzzles related to timing. Head over to our Mayak Shrine Guide for the solutions!
Map(s)
Completion Reward
1×
|
|
|||||||||||||||||||||||||||||||||||||||||||||||||||||||||||||||||||||||||||||||||||||||||||||||

|
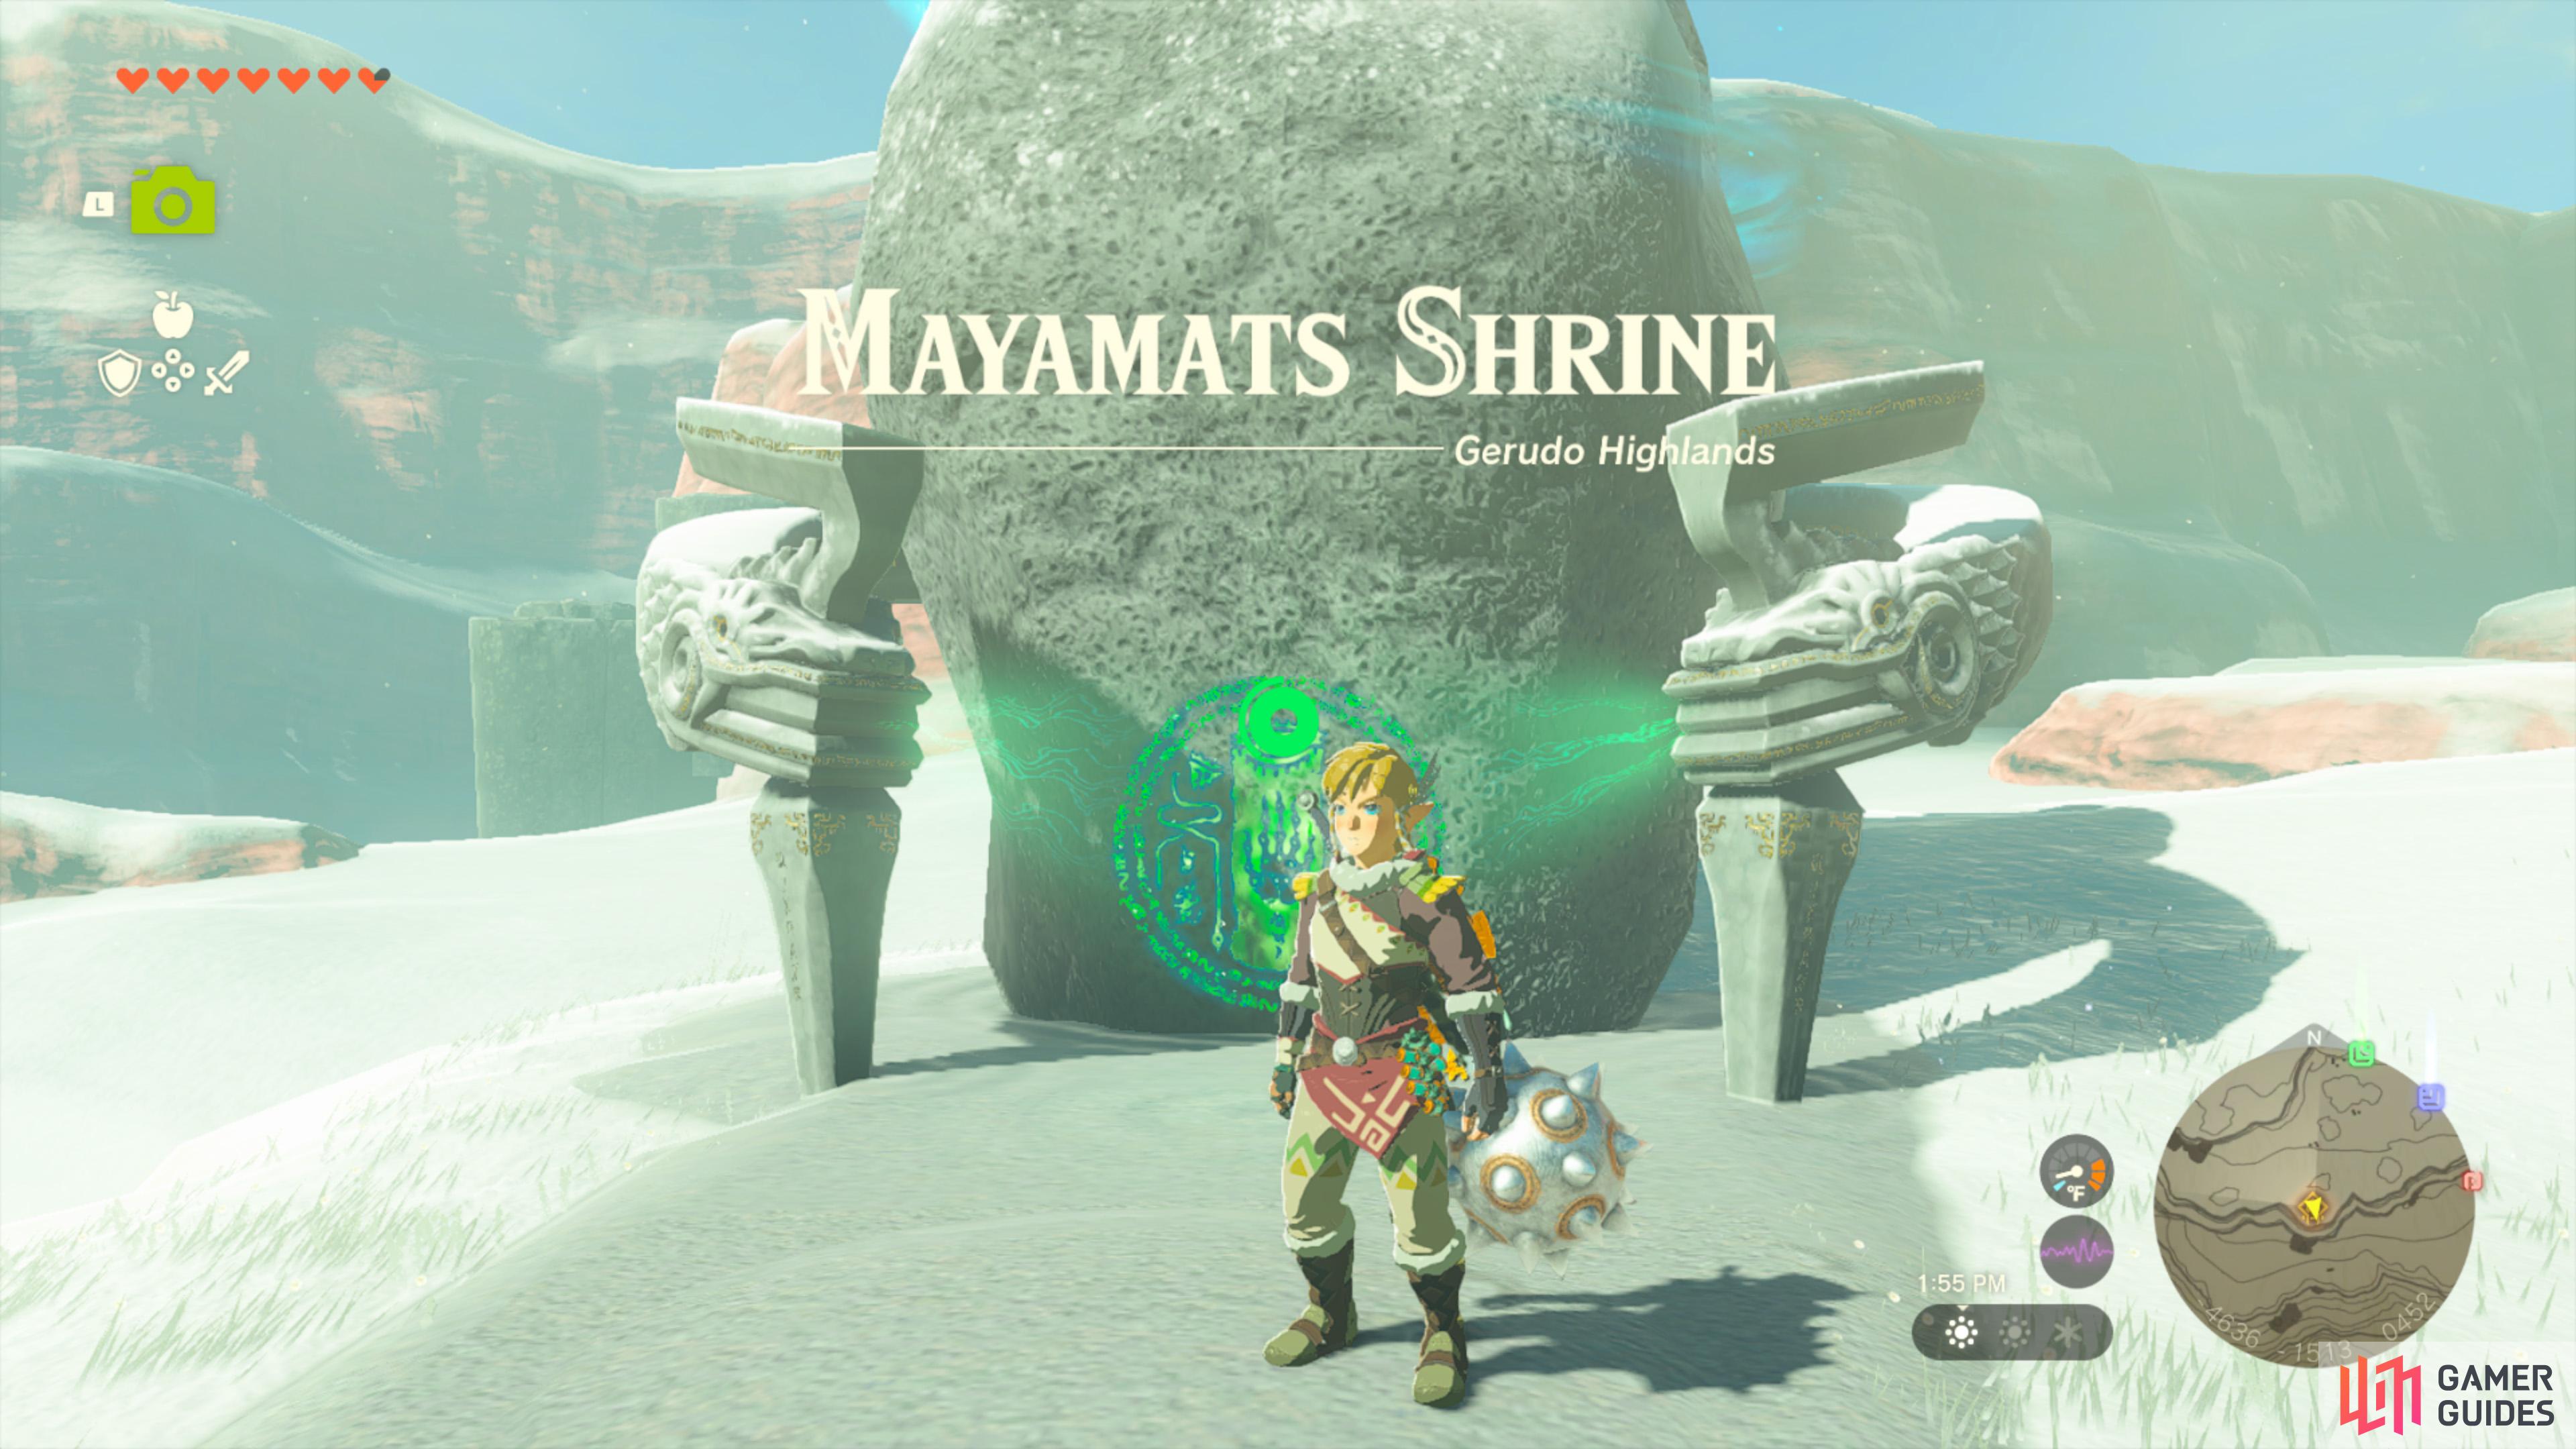
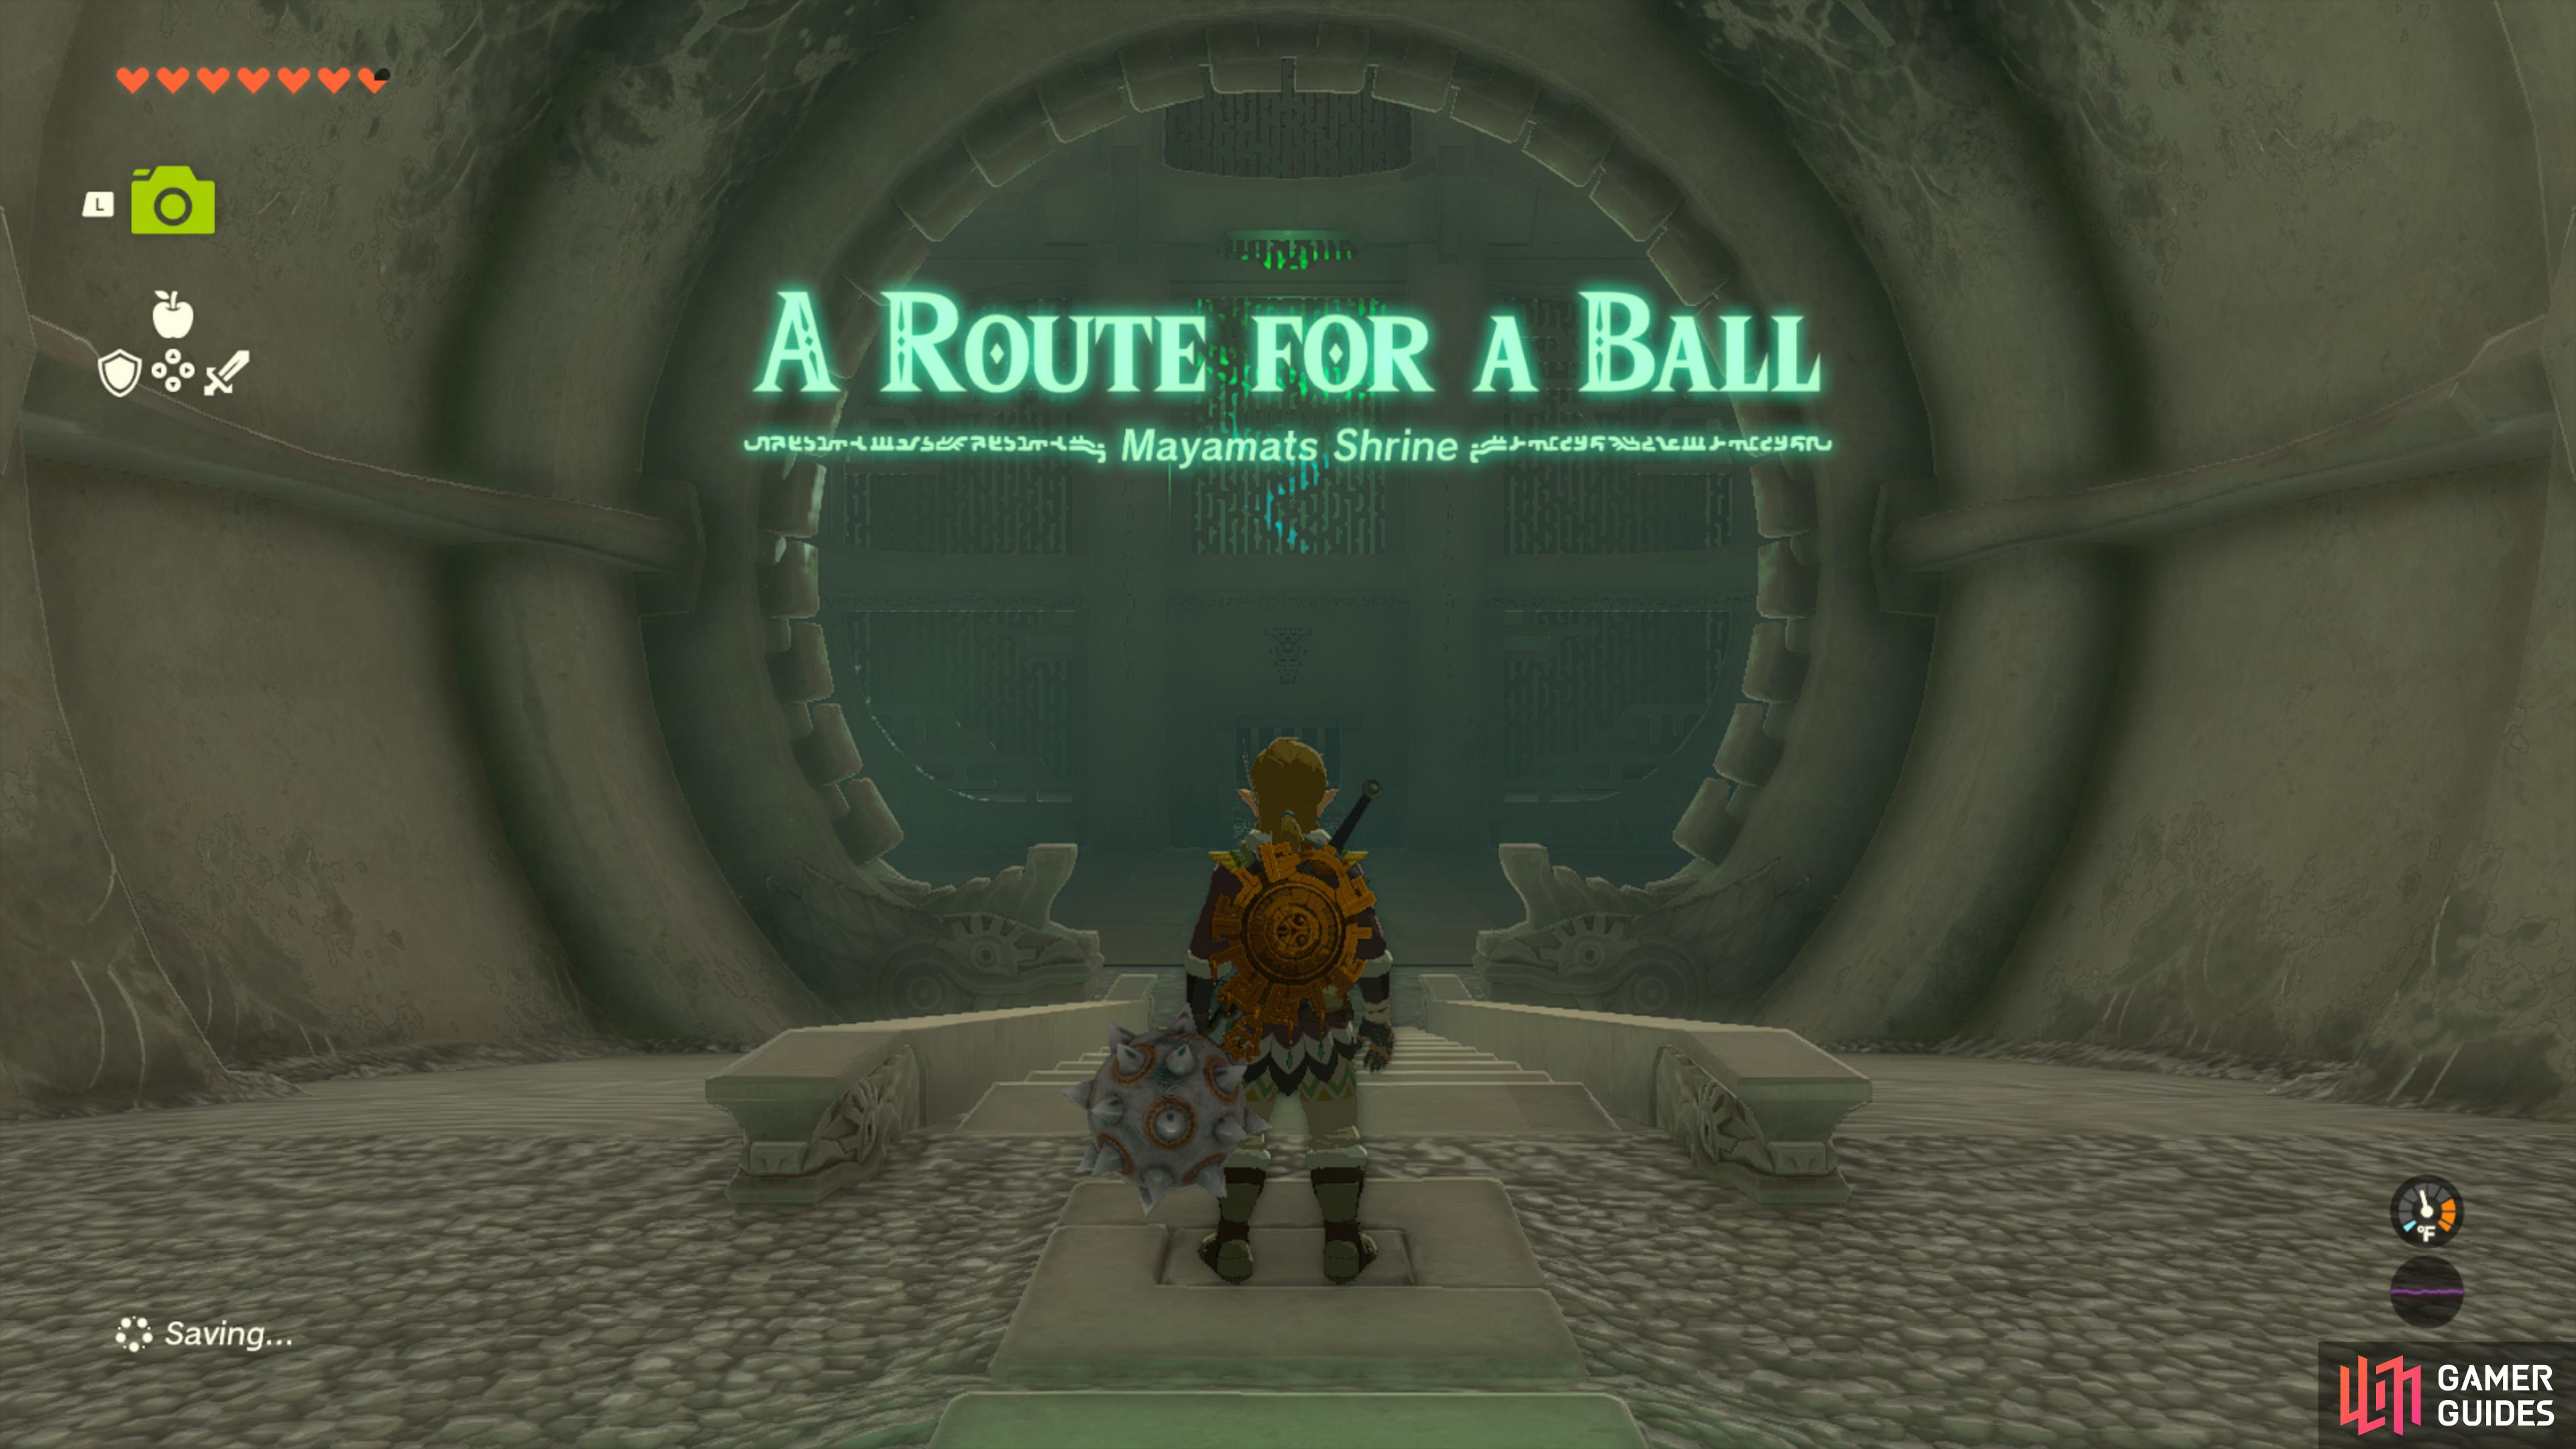
Mayamats Shrine |
In-game Description
A Route for a Ball -
Map(s)
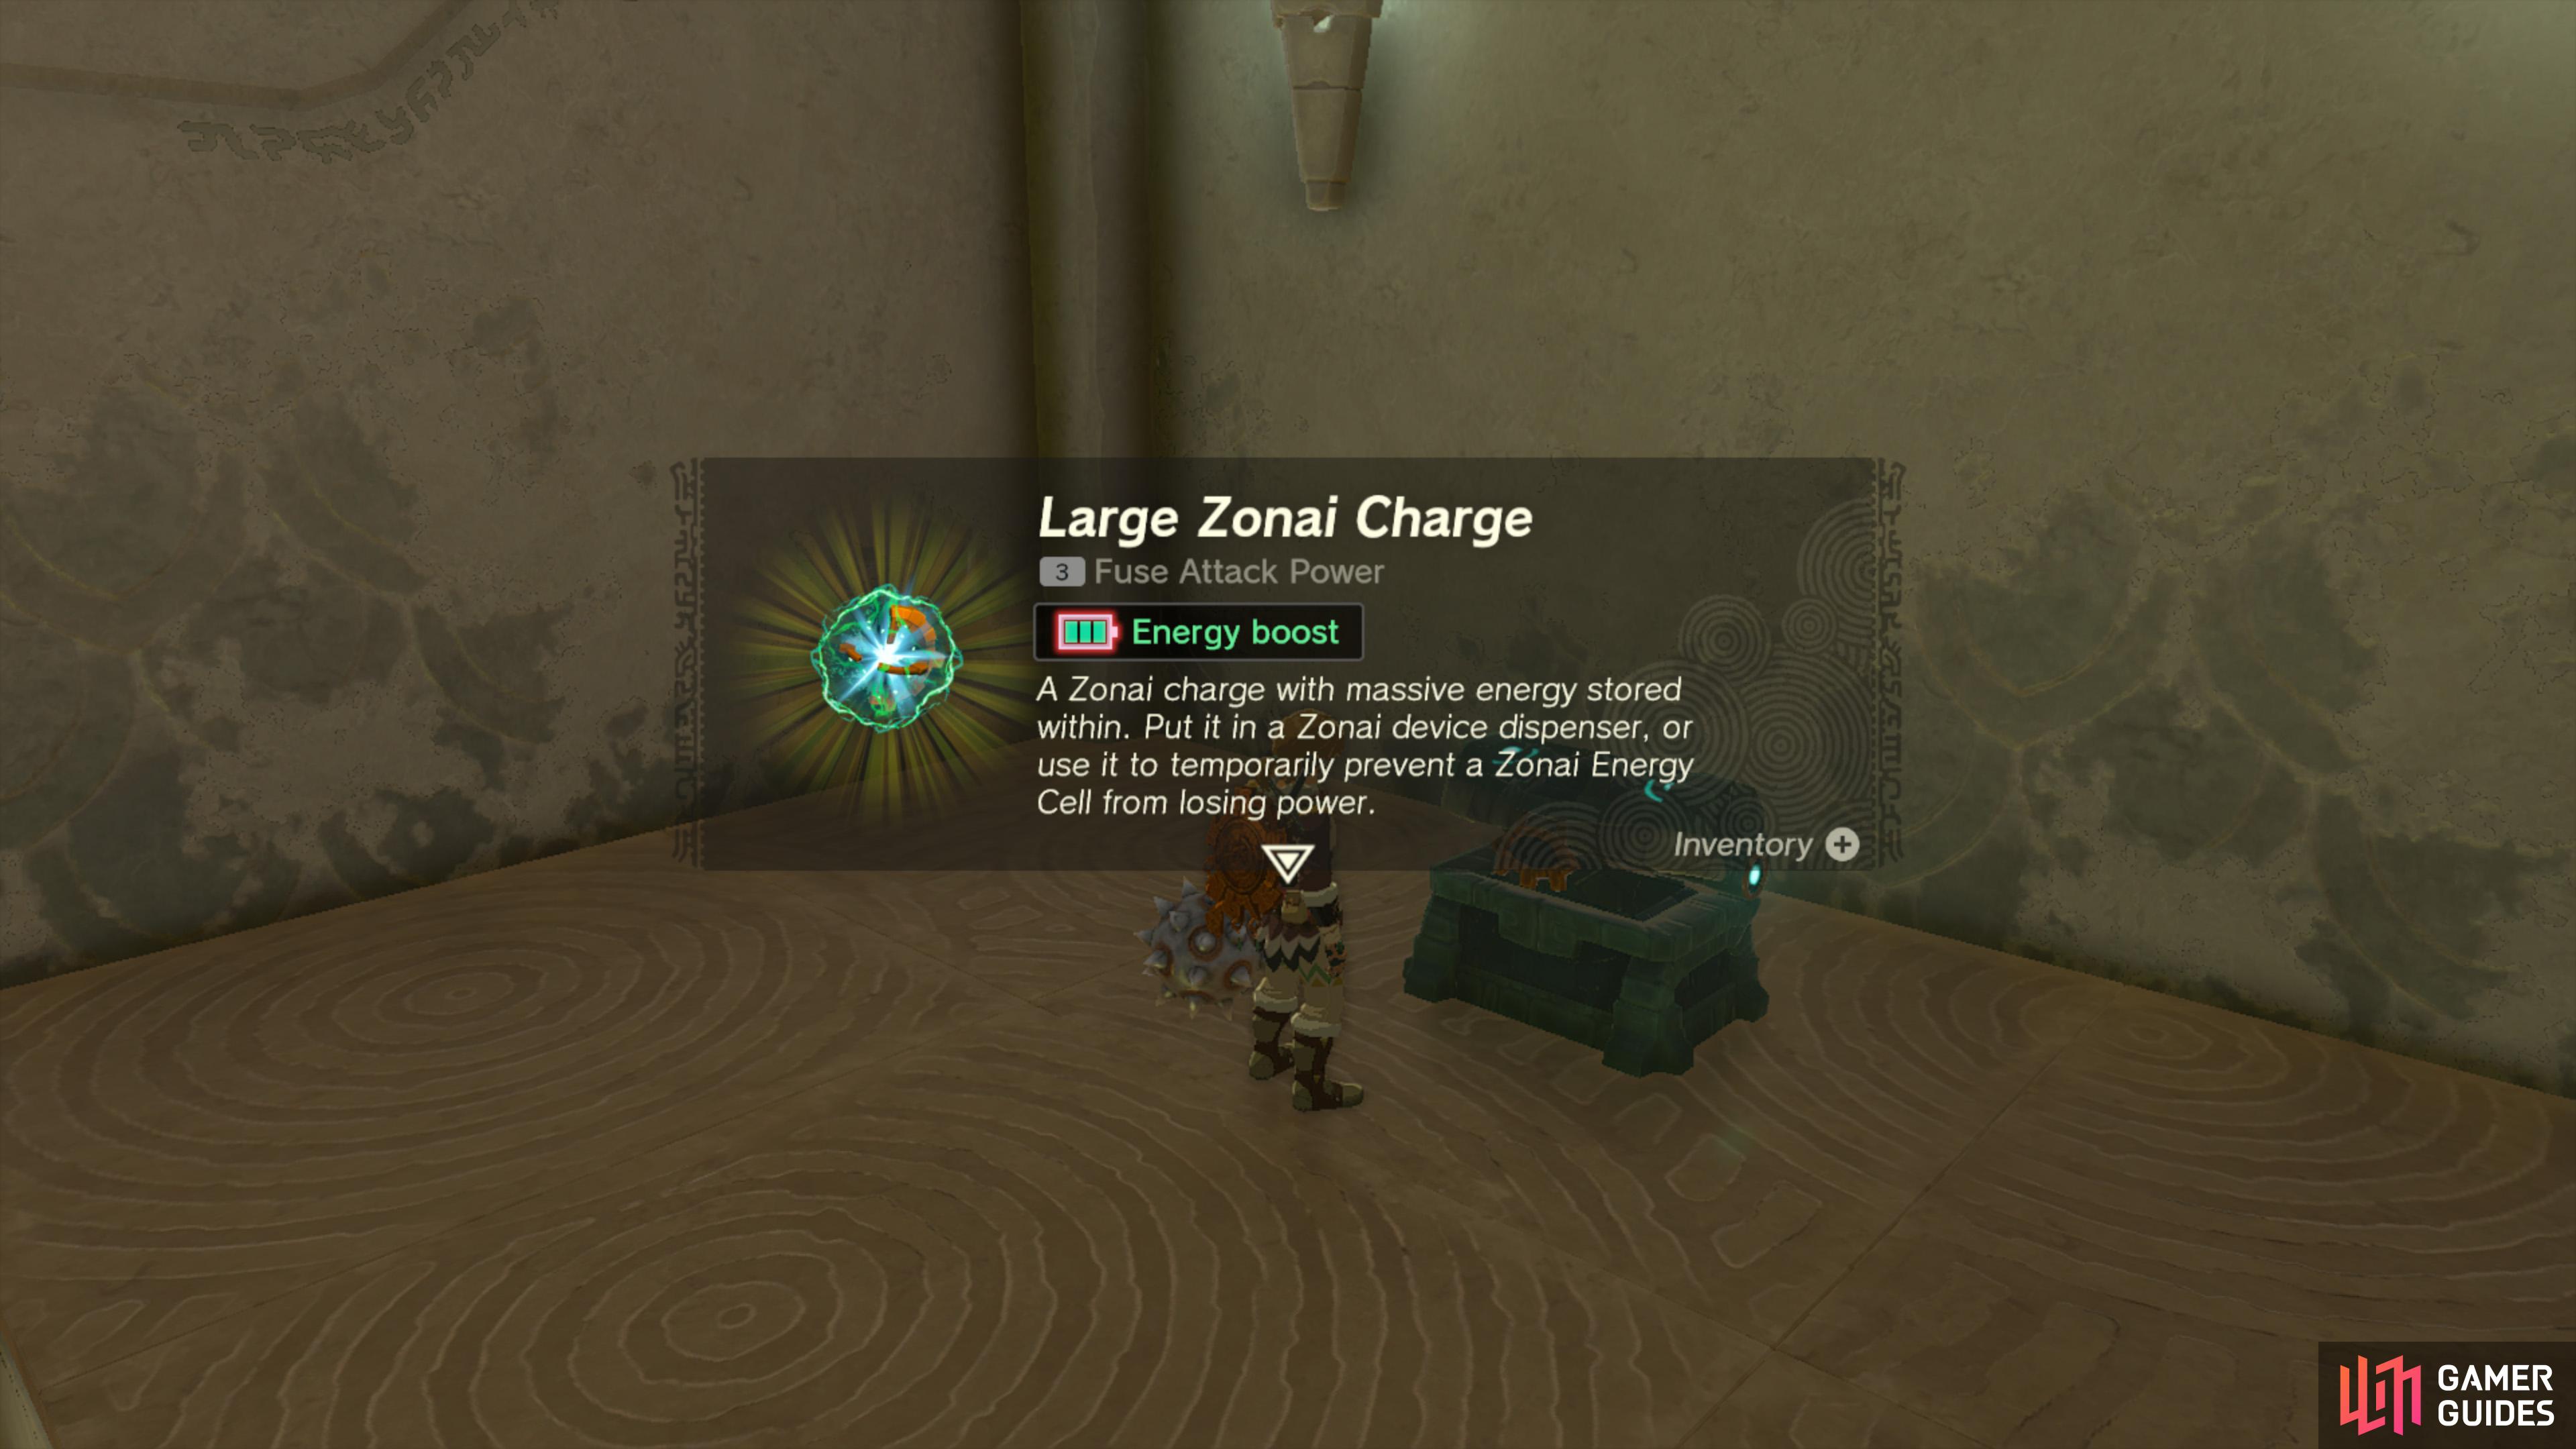
Chest Rewards
Completion Reward
|
|
|||||||||||||||||||||||||||||||||||||||||||||||||||||||||||||||||||||||||||||||||||||||||||||||

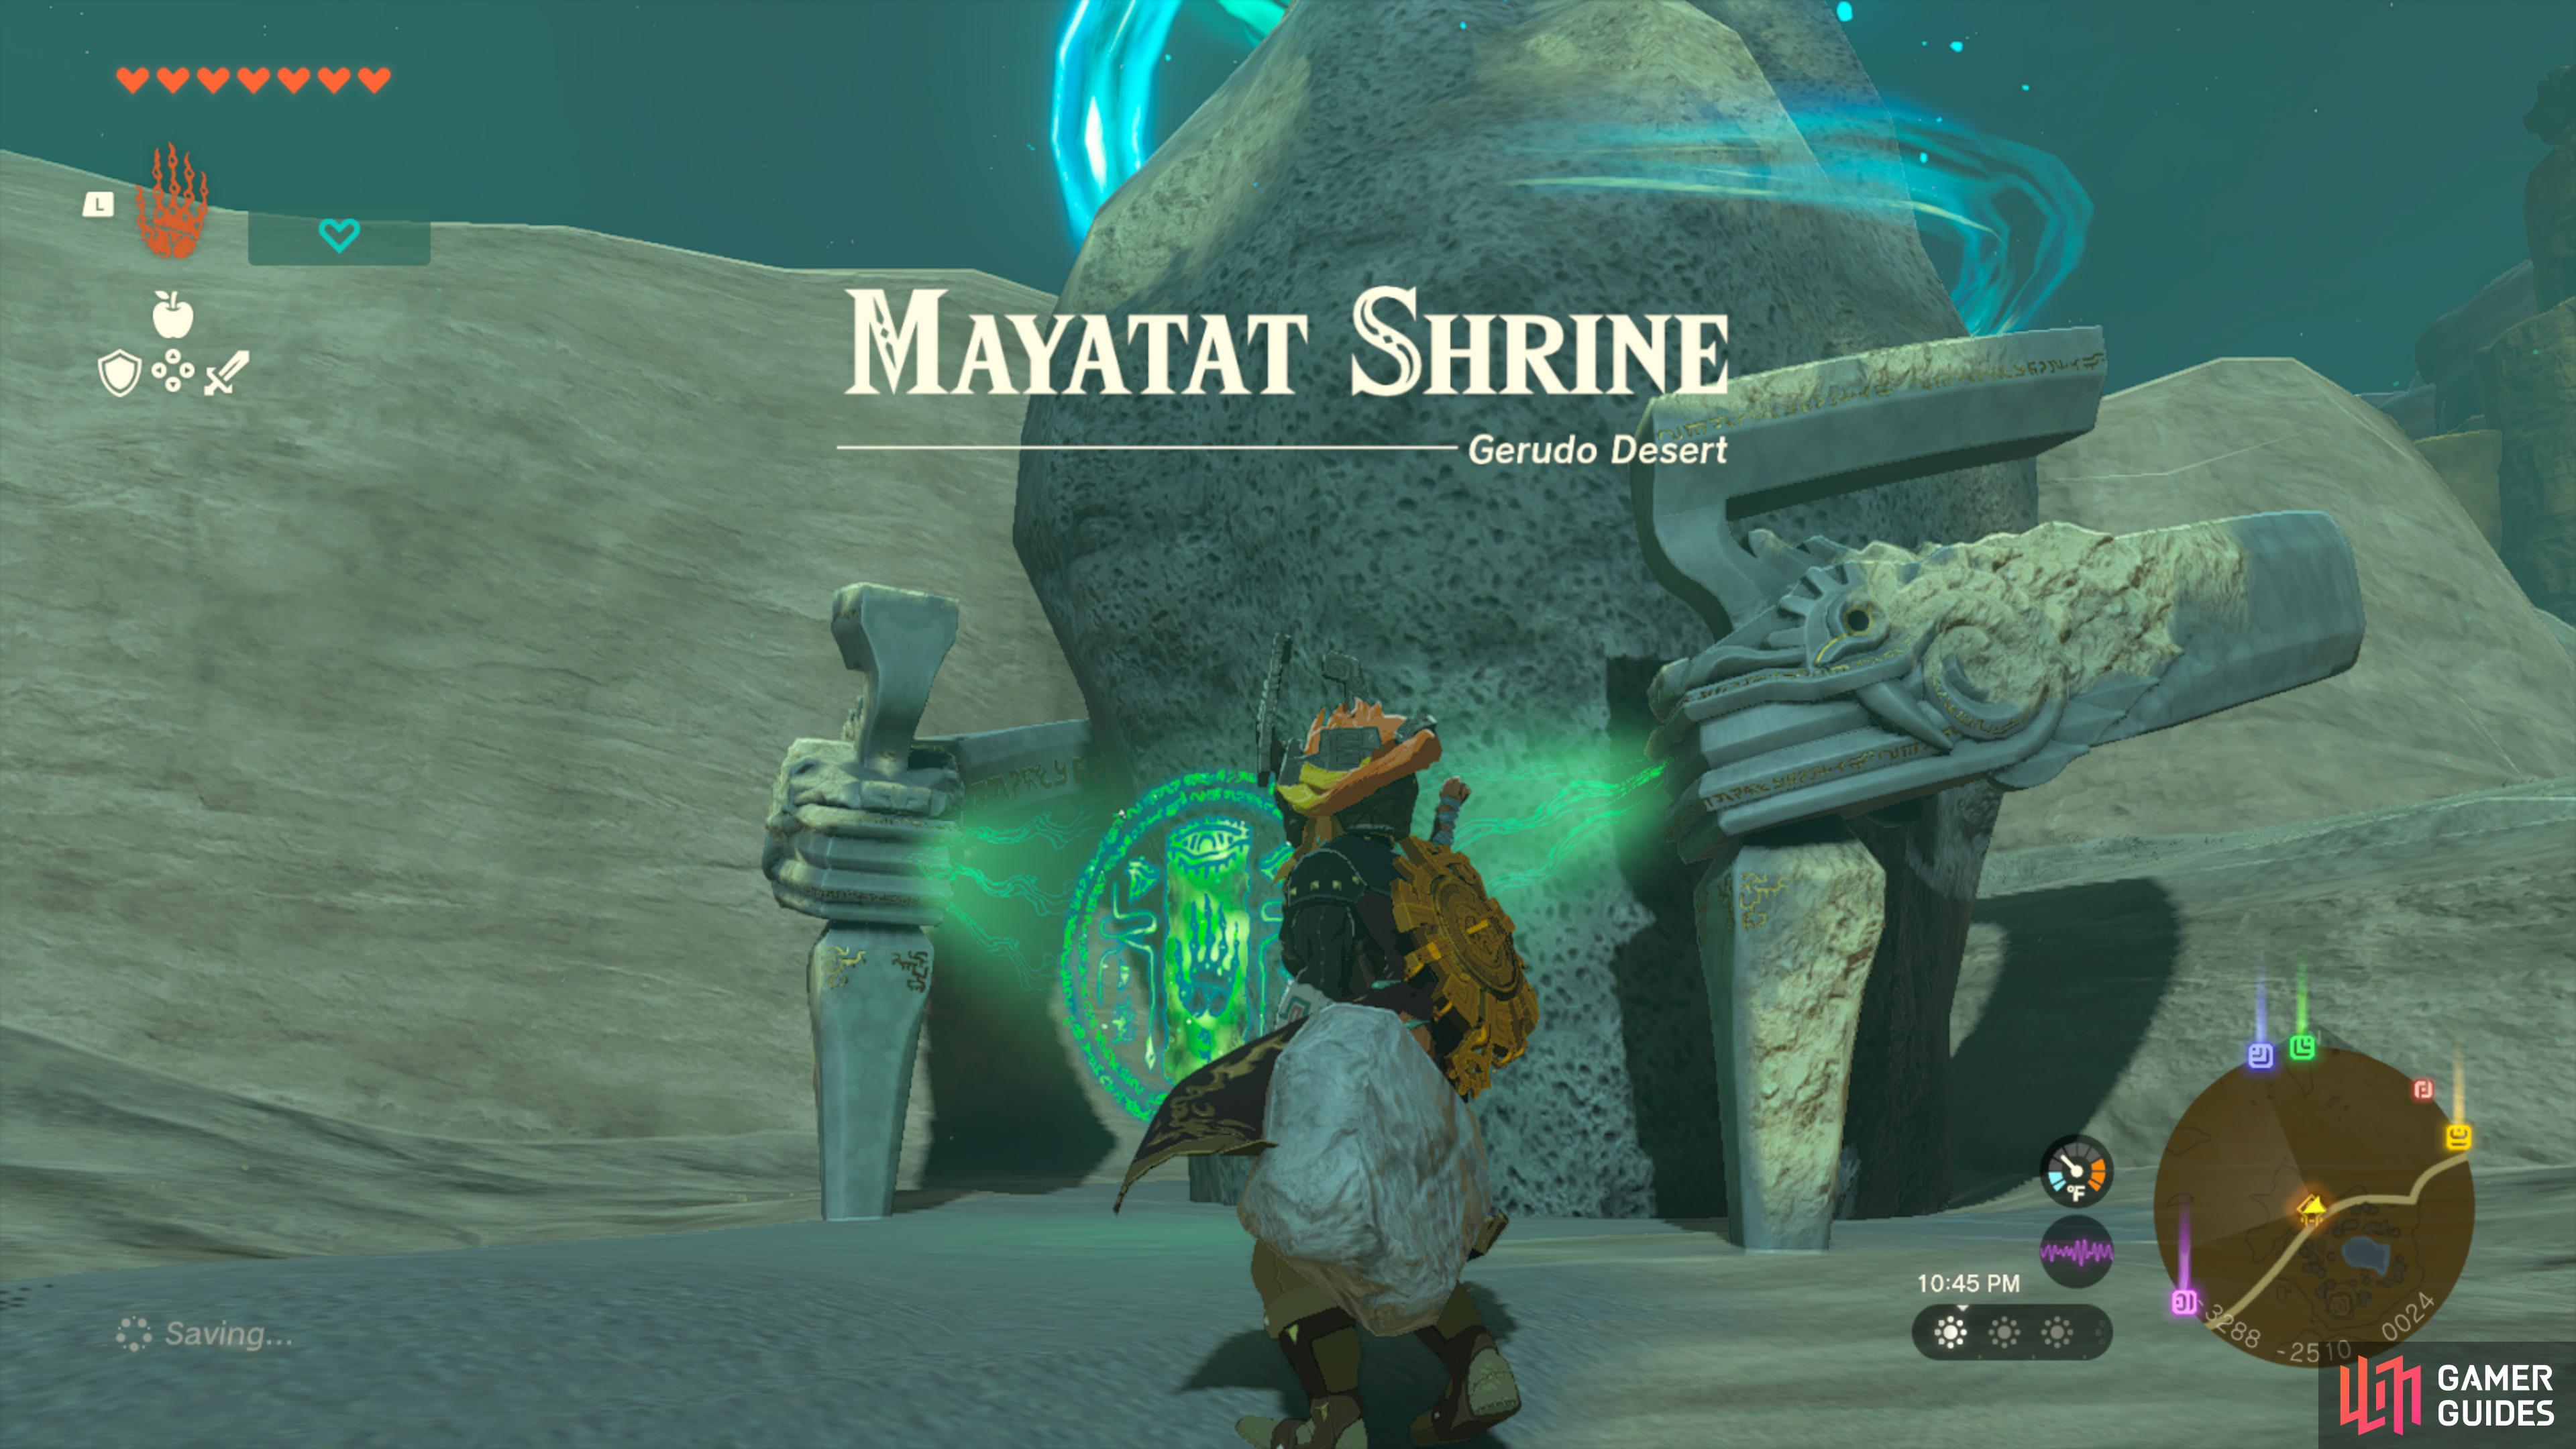
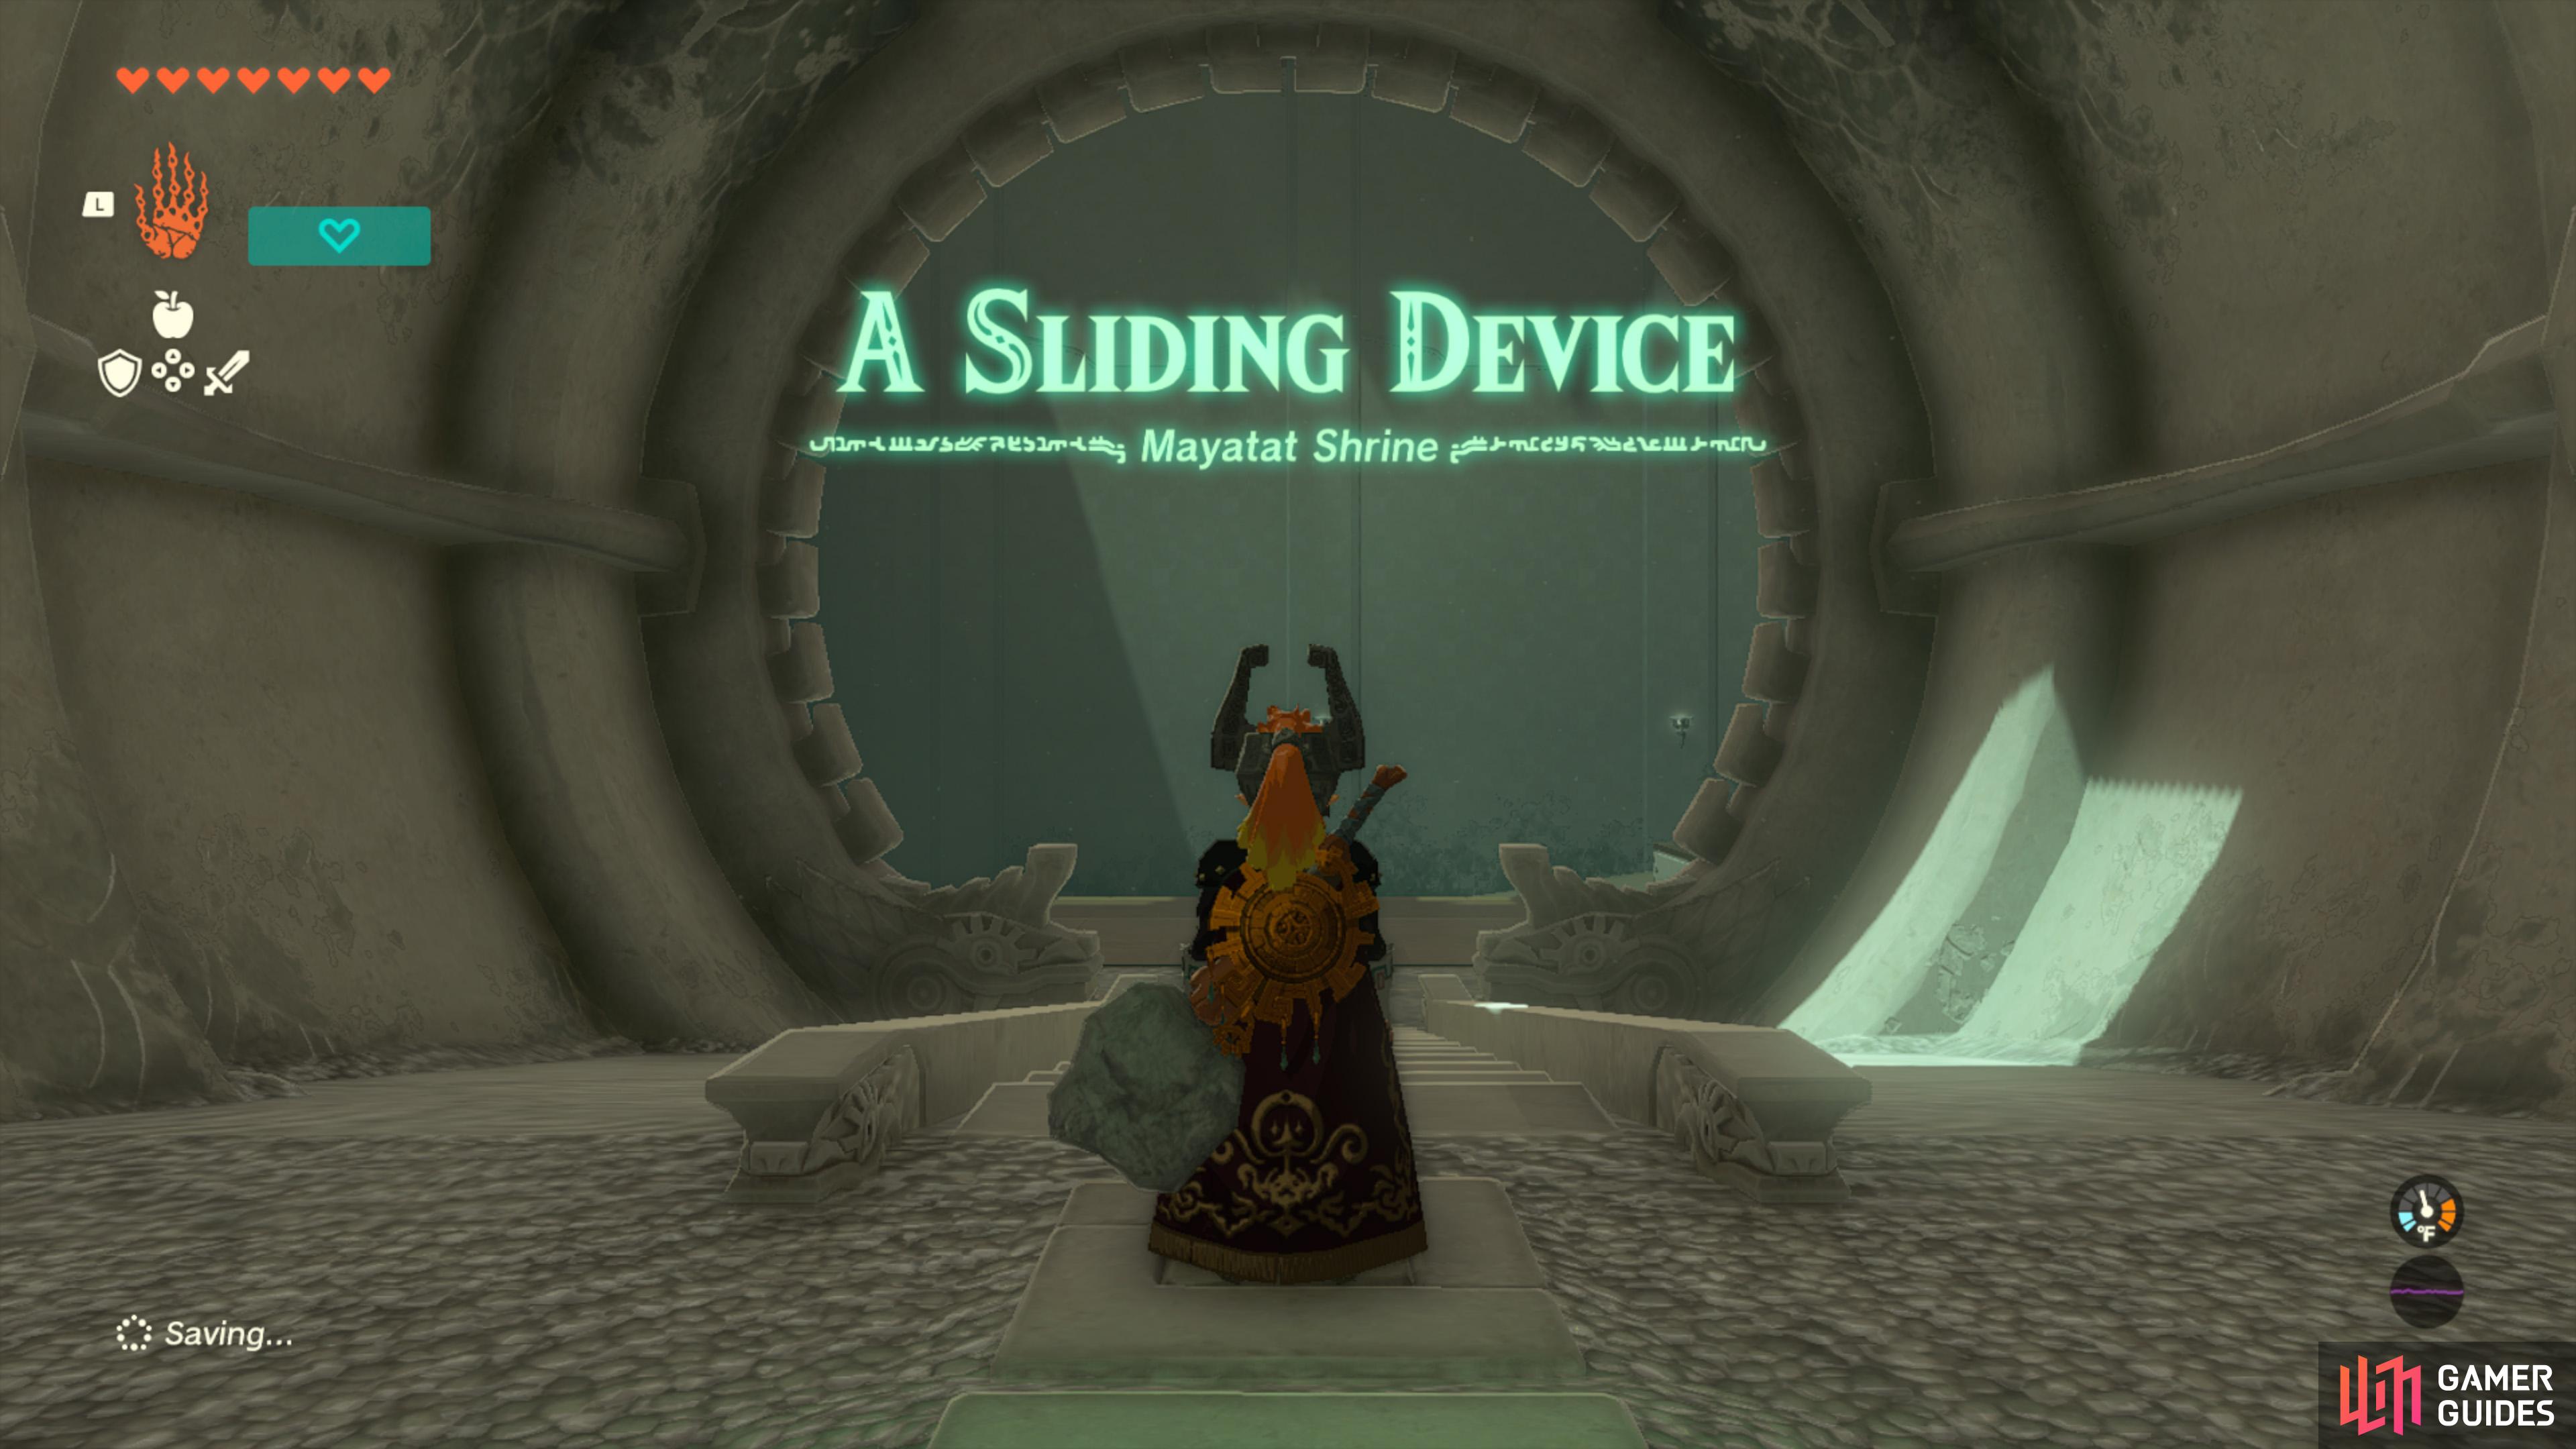
|
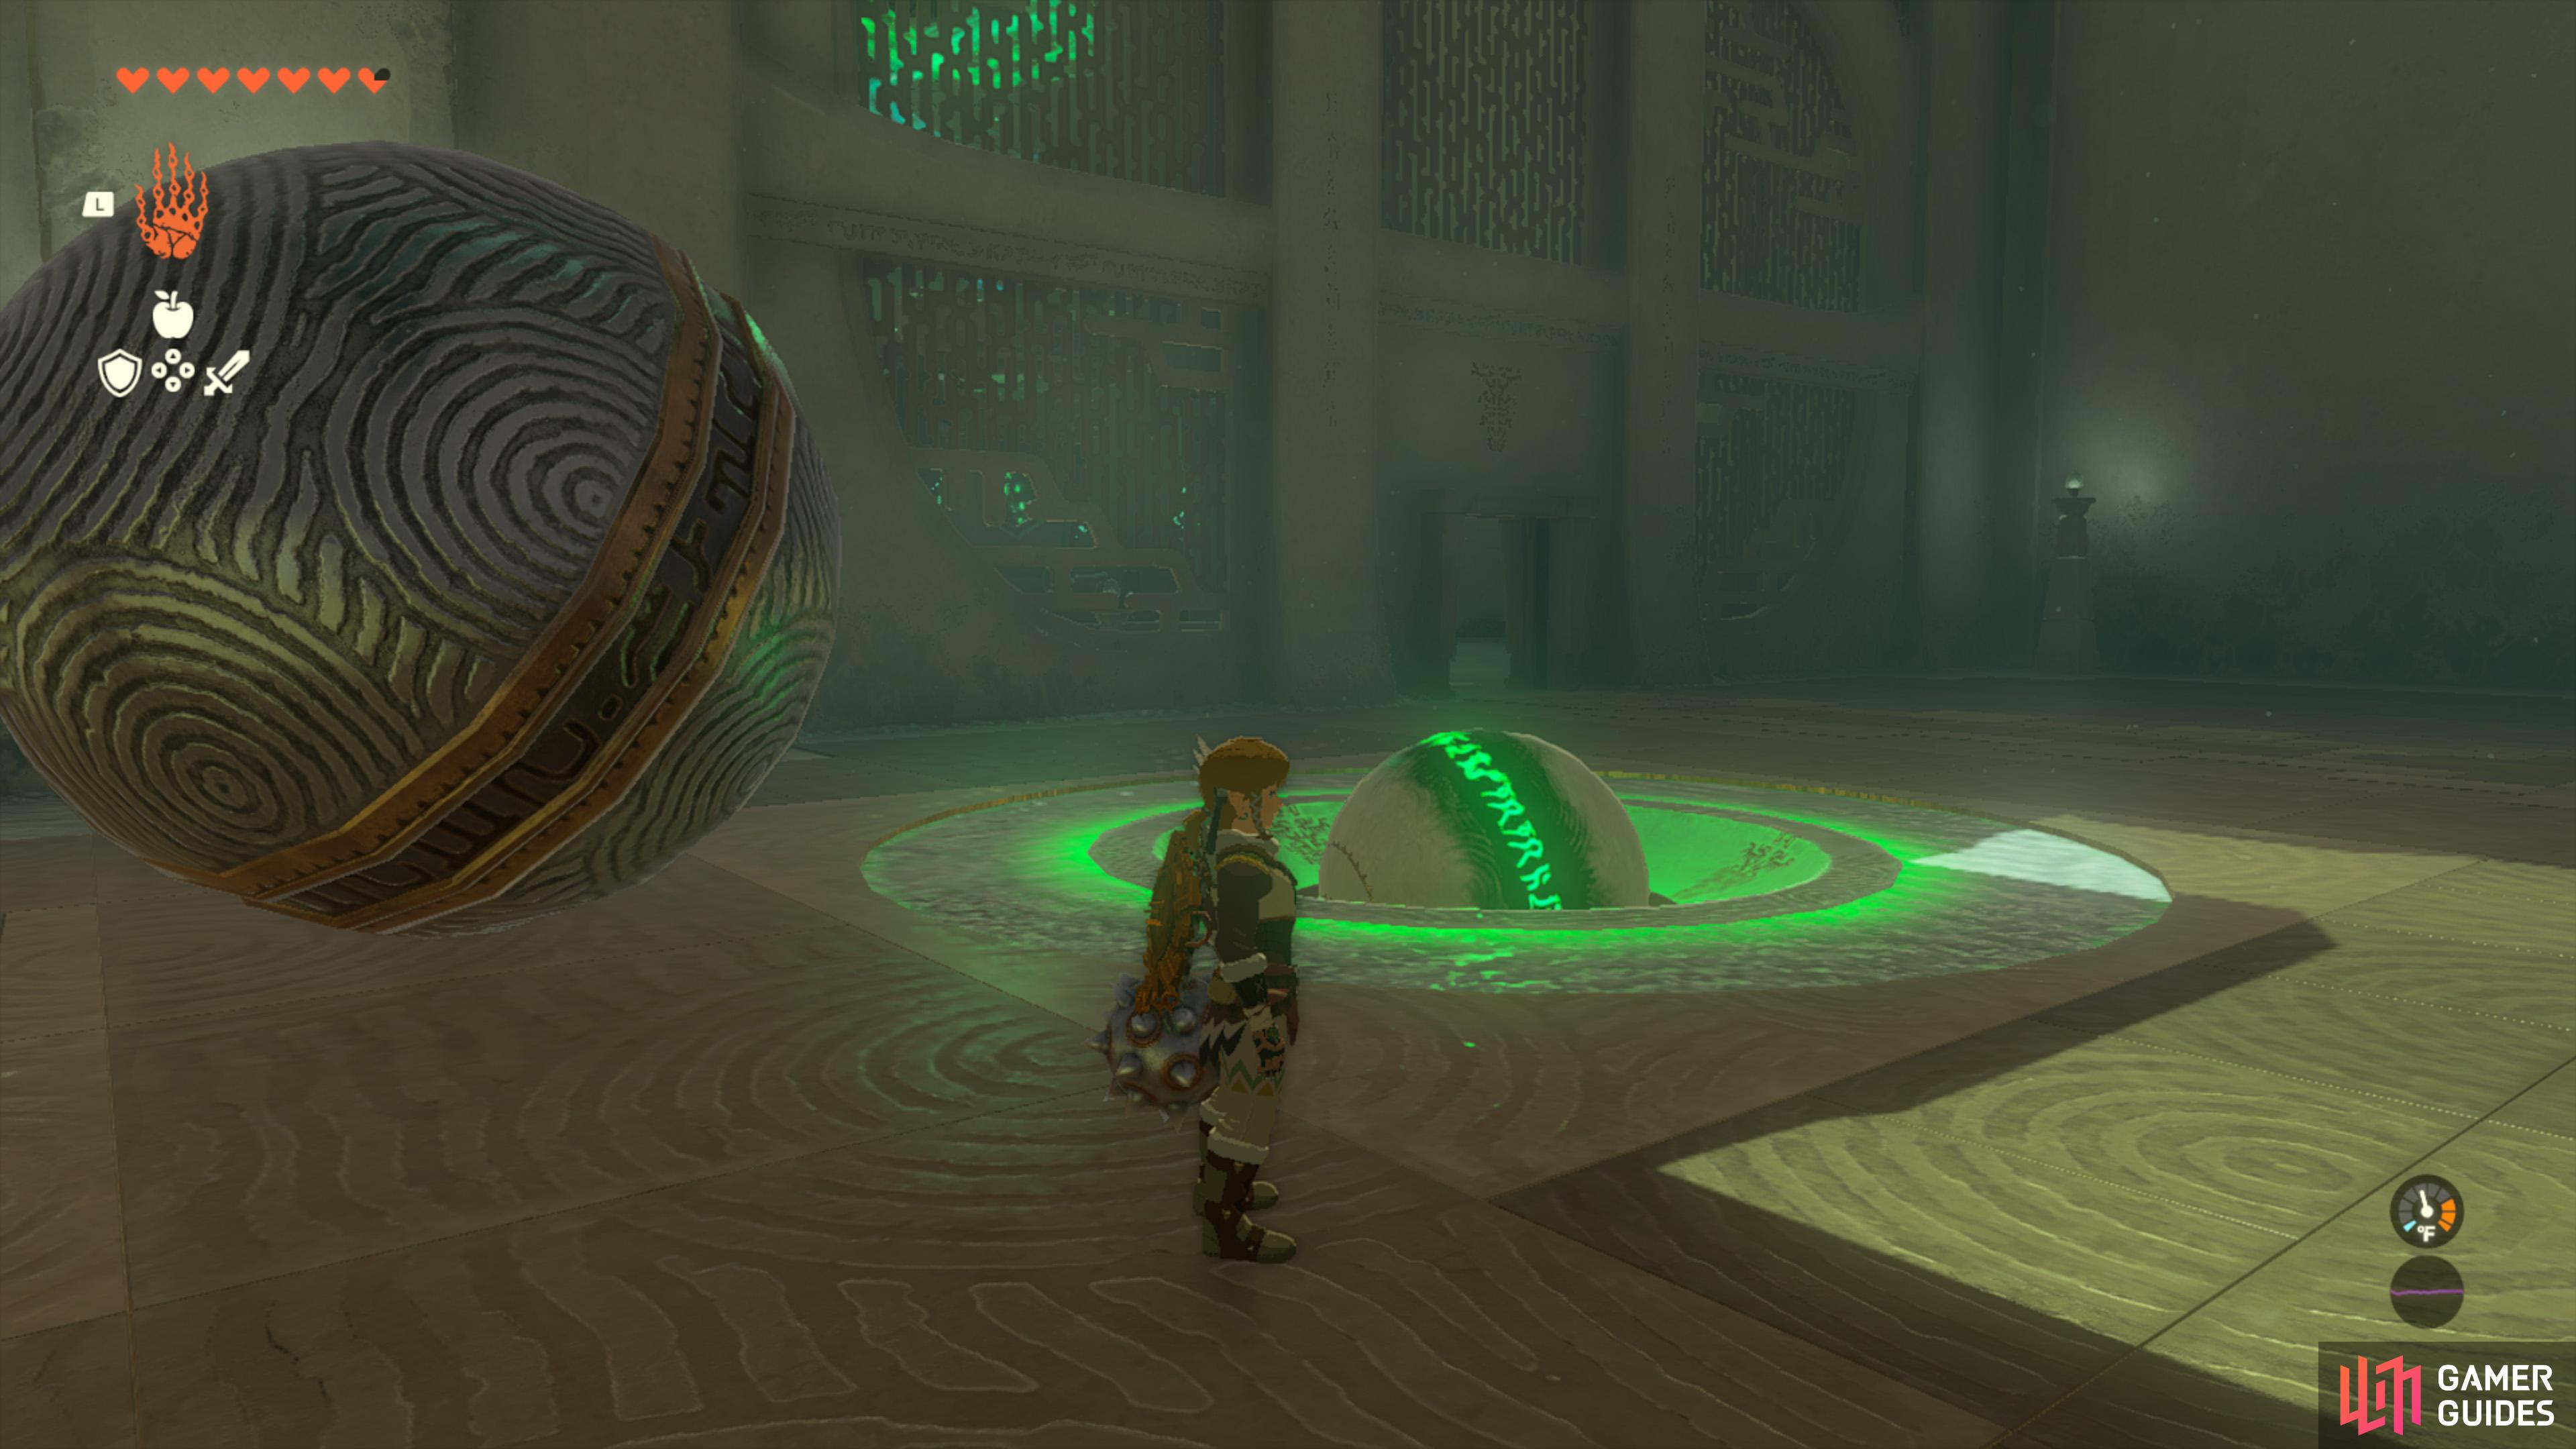
Mayatat Shrine |
Puzzle 1 Puzzle 2 Treasure !Chest
In-game Description
A Sliding Device
Map(s)
Location
Completion Reward
|
|
|||||||||||||||||||||||||||||||||||||||||||||||||||||||||||||||||||||||||||||||||||||||||||||||

|
Mayausiy Shrine |
The The challenge you’re presented with once inside is called Building Blocks and here is our accompanying guide on how to complete it. |
||||||||||||||||||||||||||||||||||||||||||||||||||||||||||||||||||||||||||||||||||||||||||||||||

|
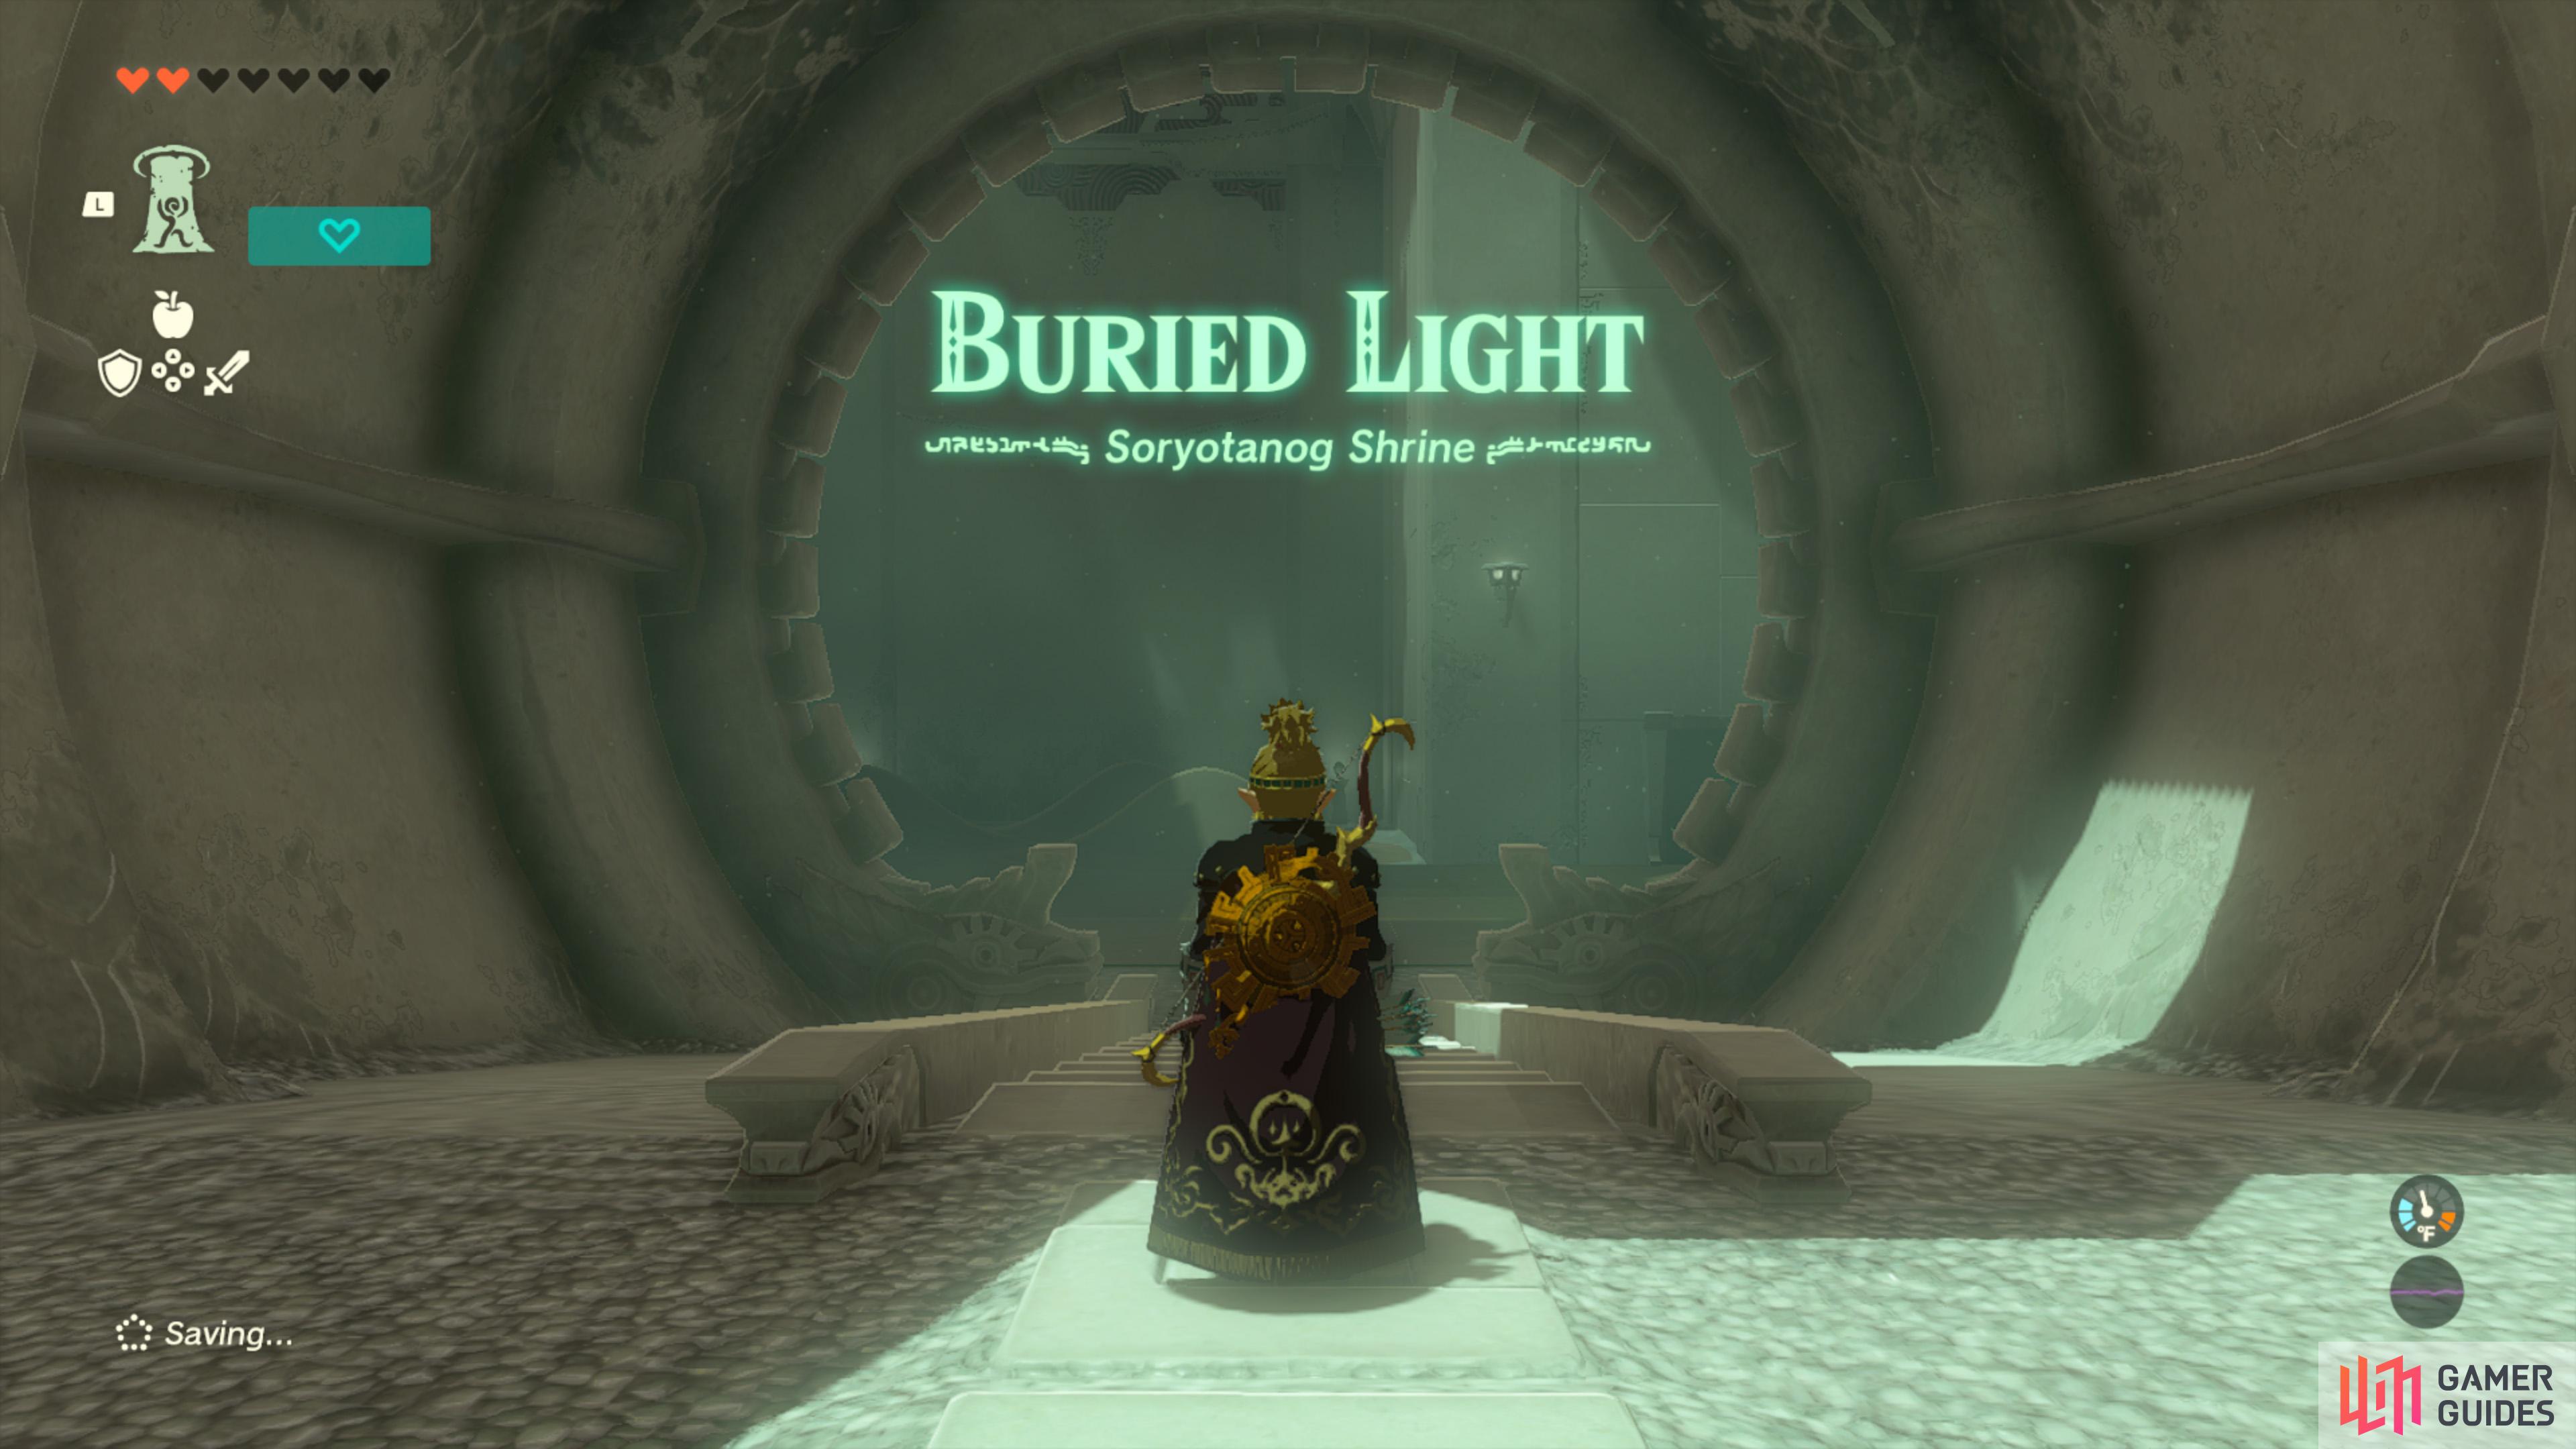
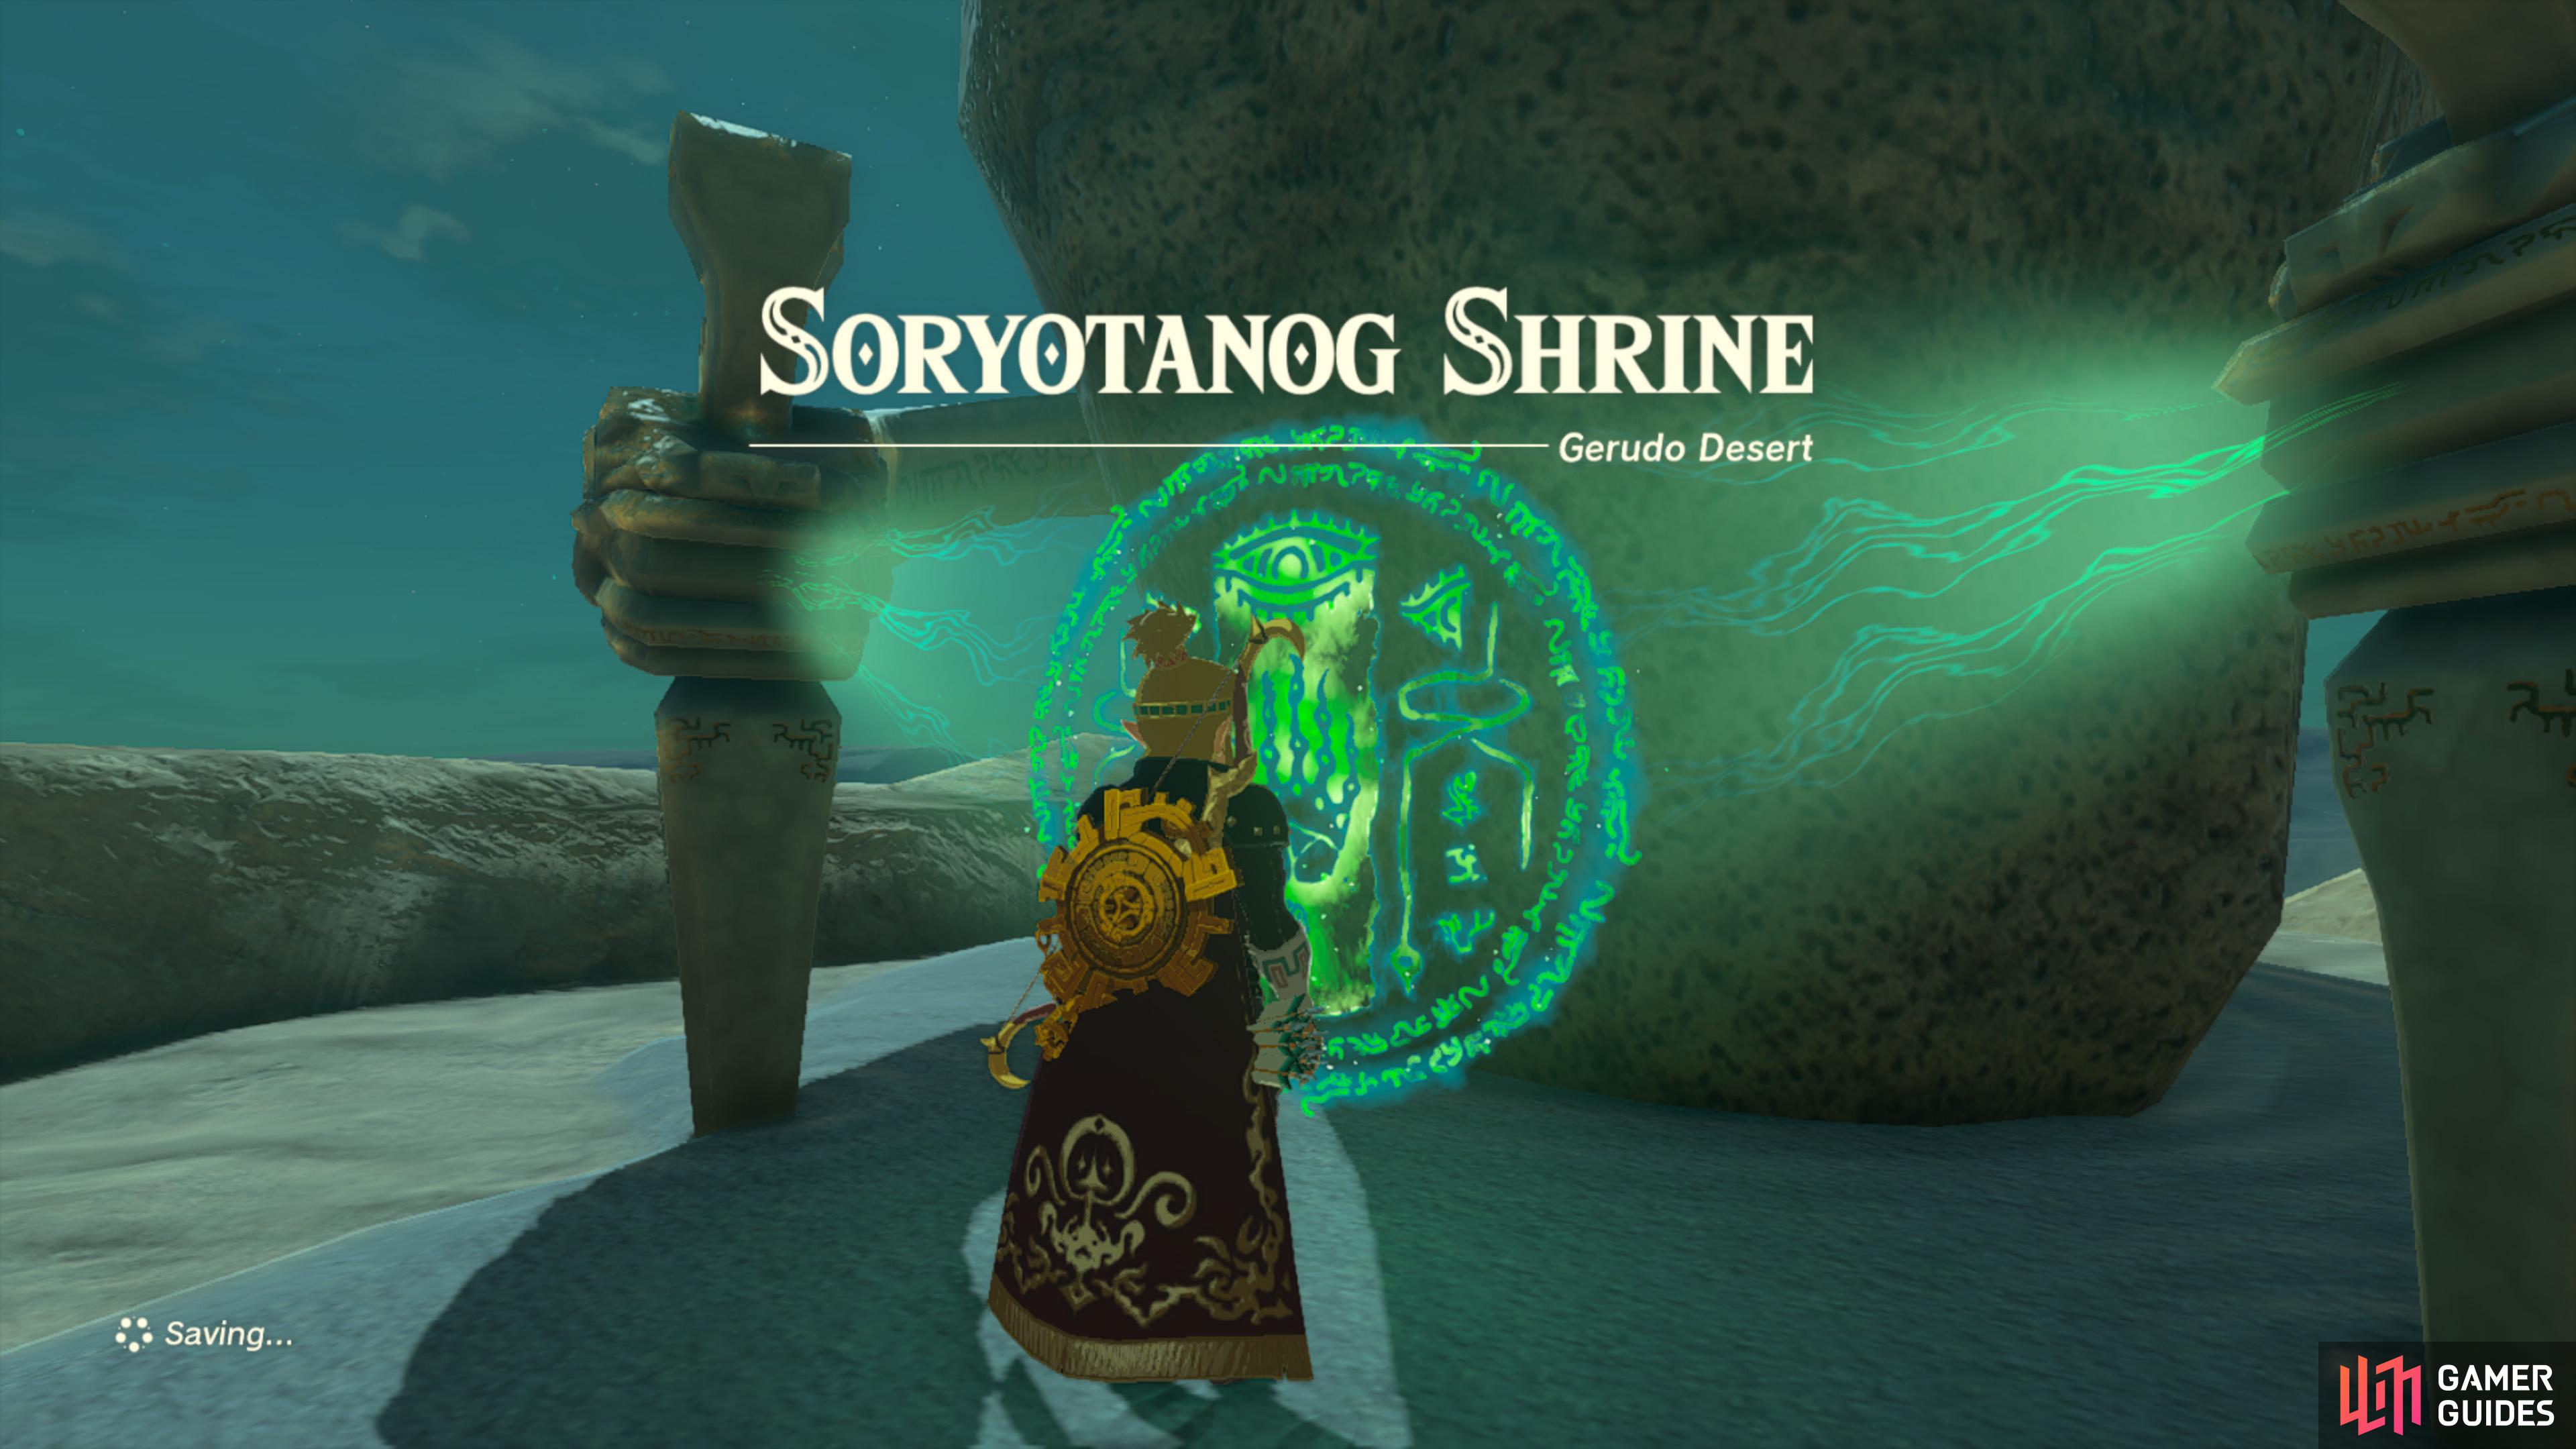
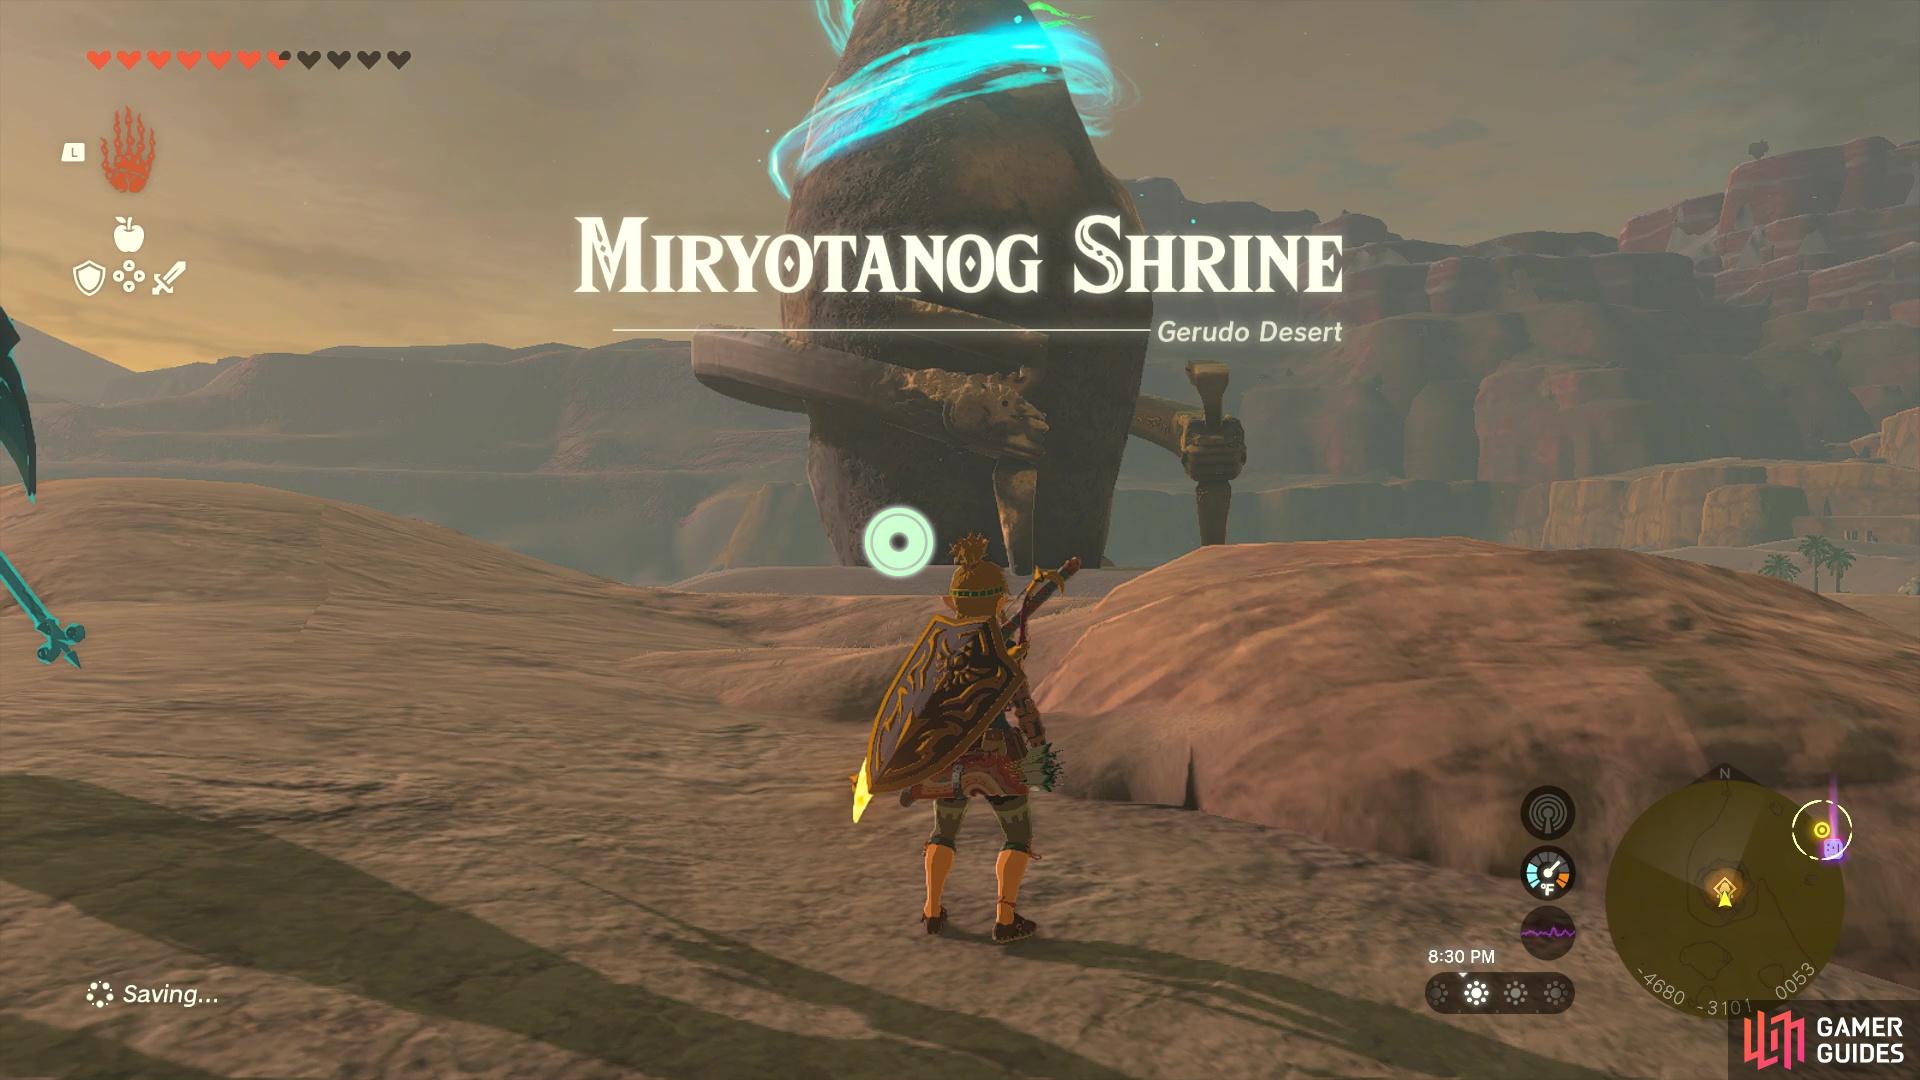
Miryotanog Shrine |
Miryotanog Shrine is located in the western portion of the Gerudo Desert, north and a little west of the Lightning Temple. It is surrounded by quicksand, so you’ll need to find a way to reach it. There will also be
Map(s)
Completion Reward
|
|
|||||||||||||||||||||||||||||||||||||||||||||||||||||||||||||||||||||||||||||||||||||||||||||||

|
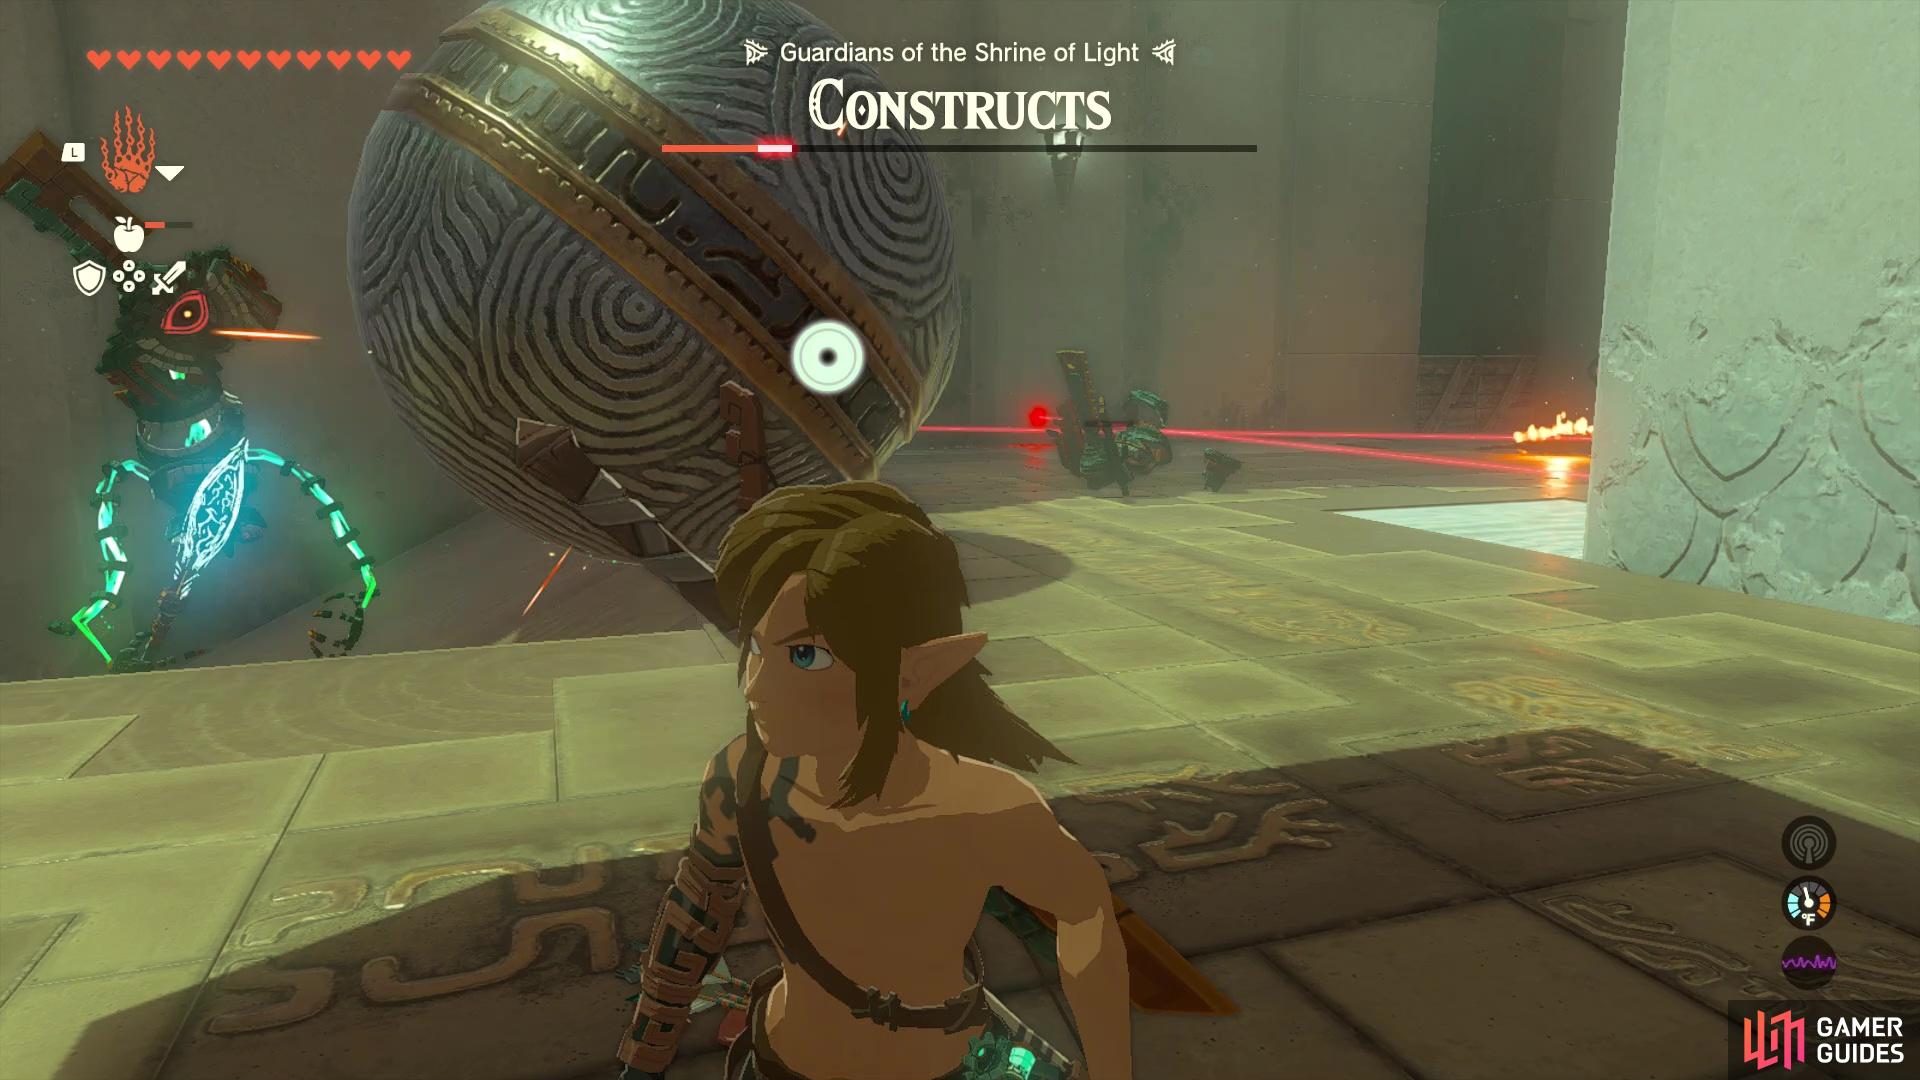
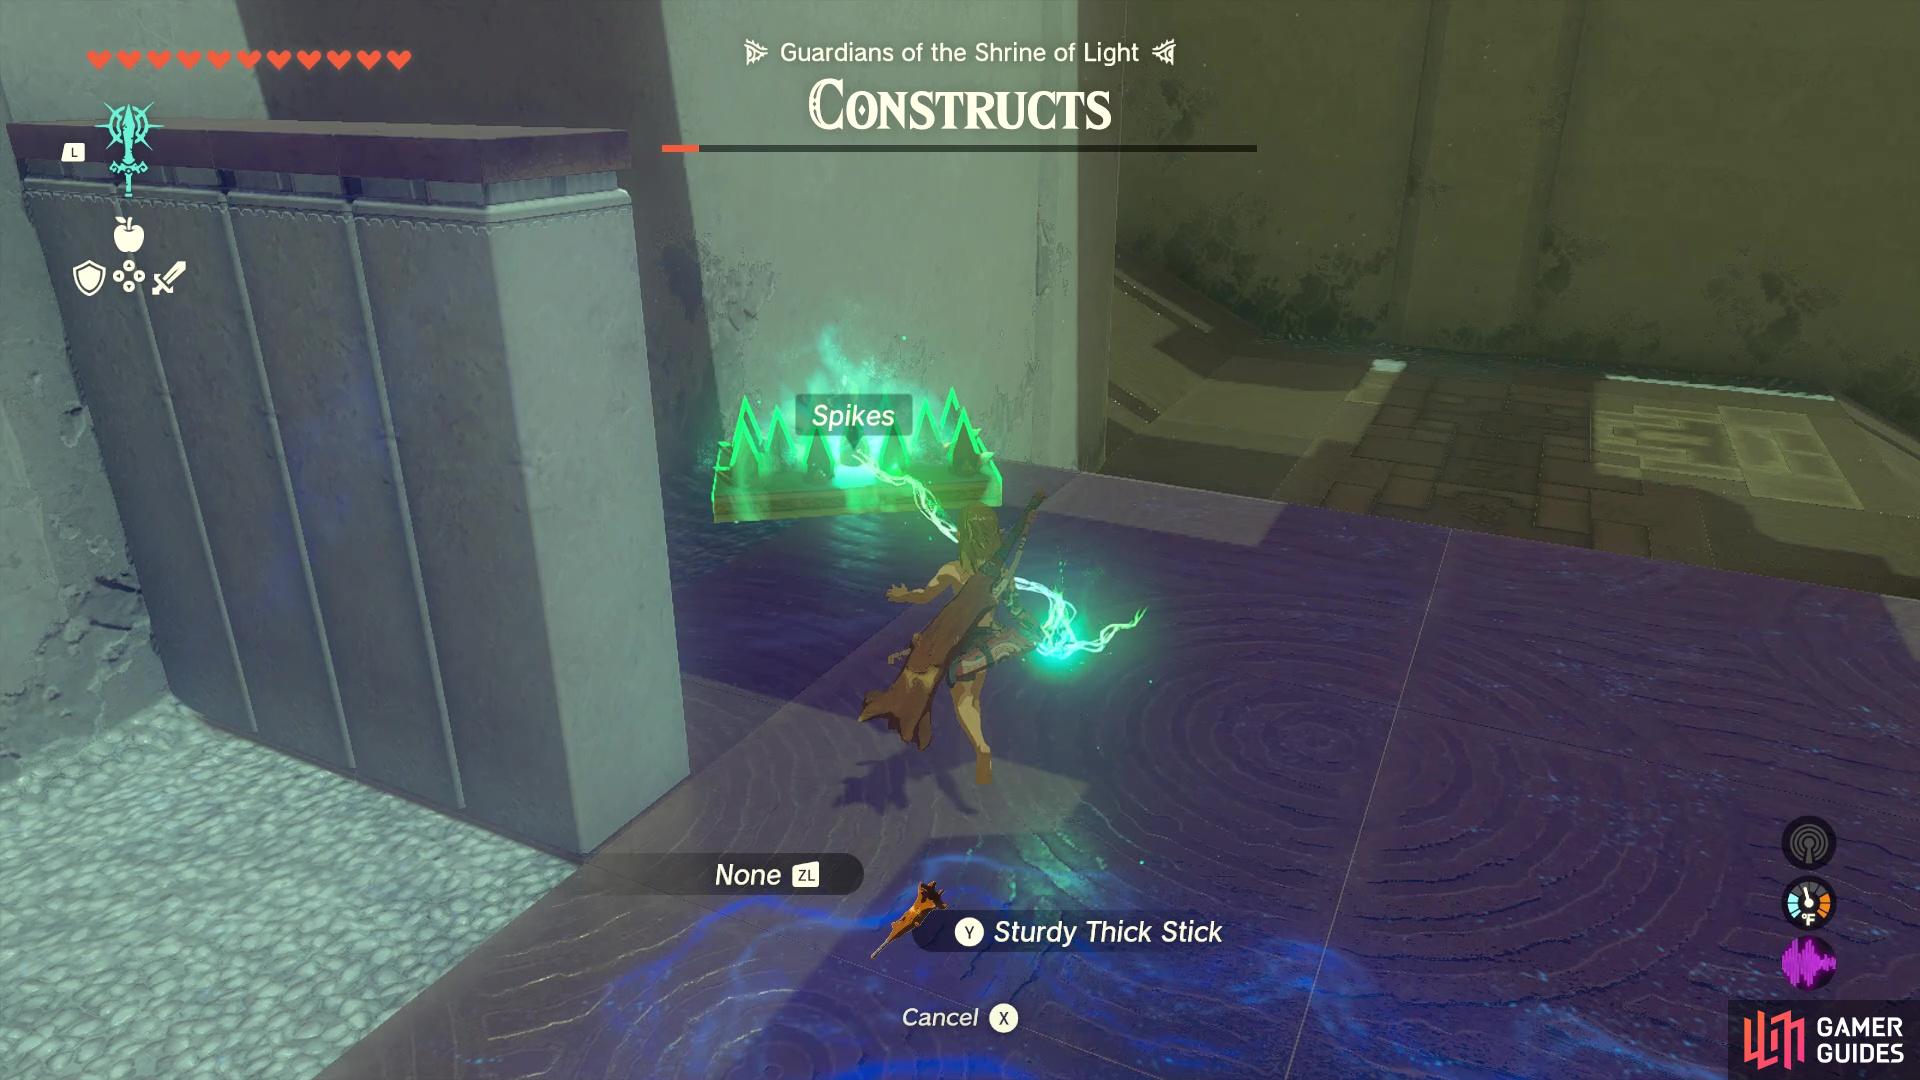
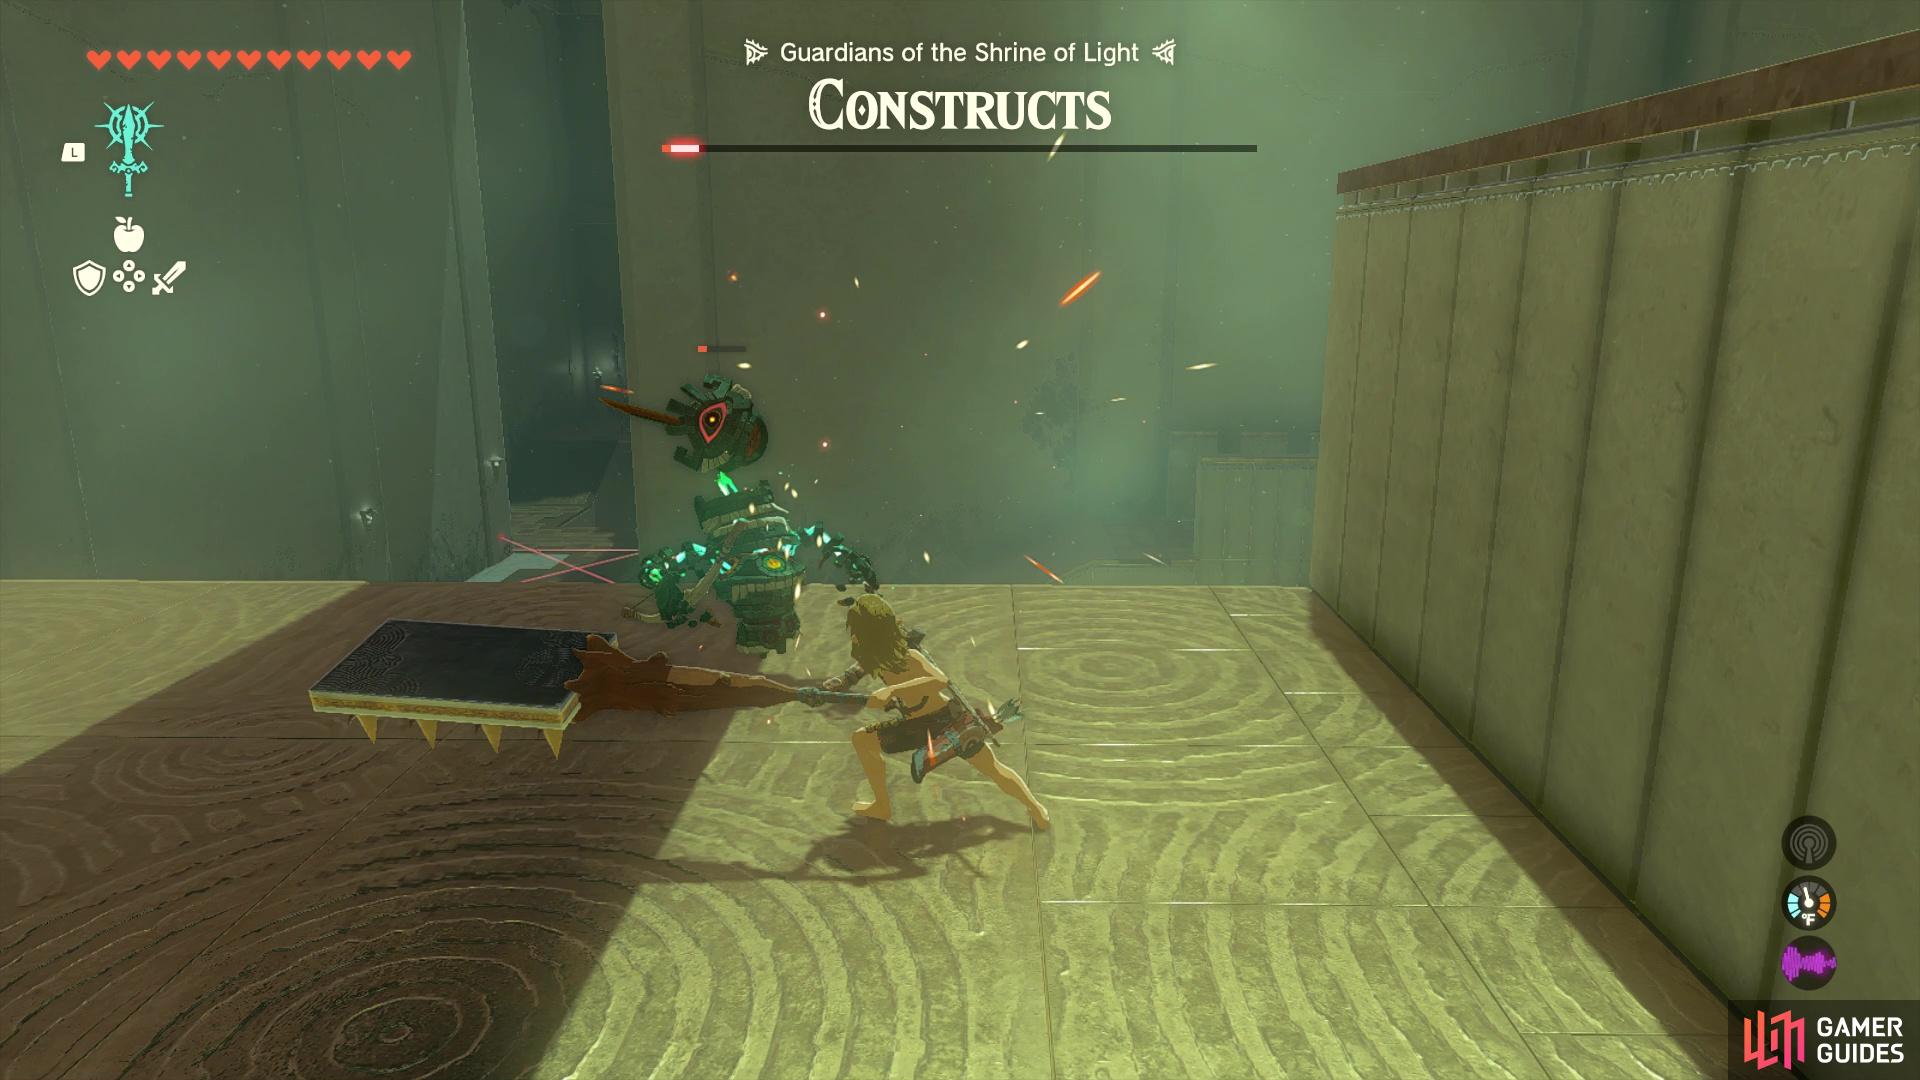
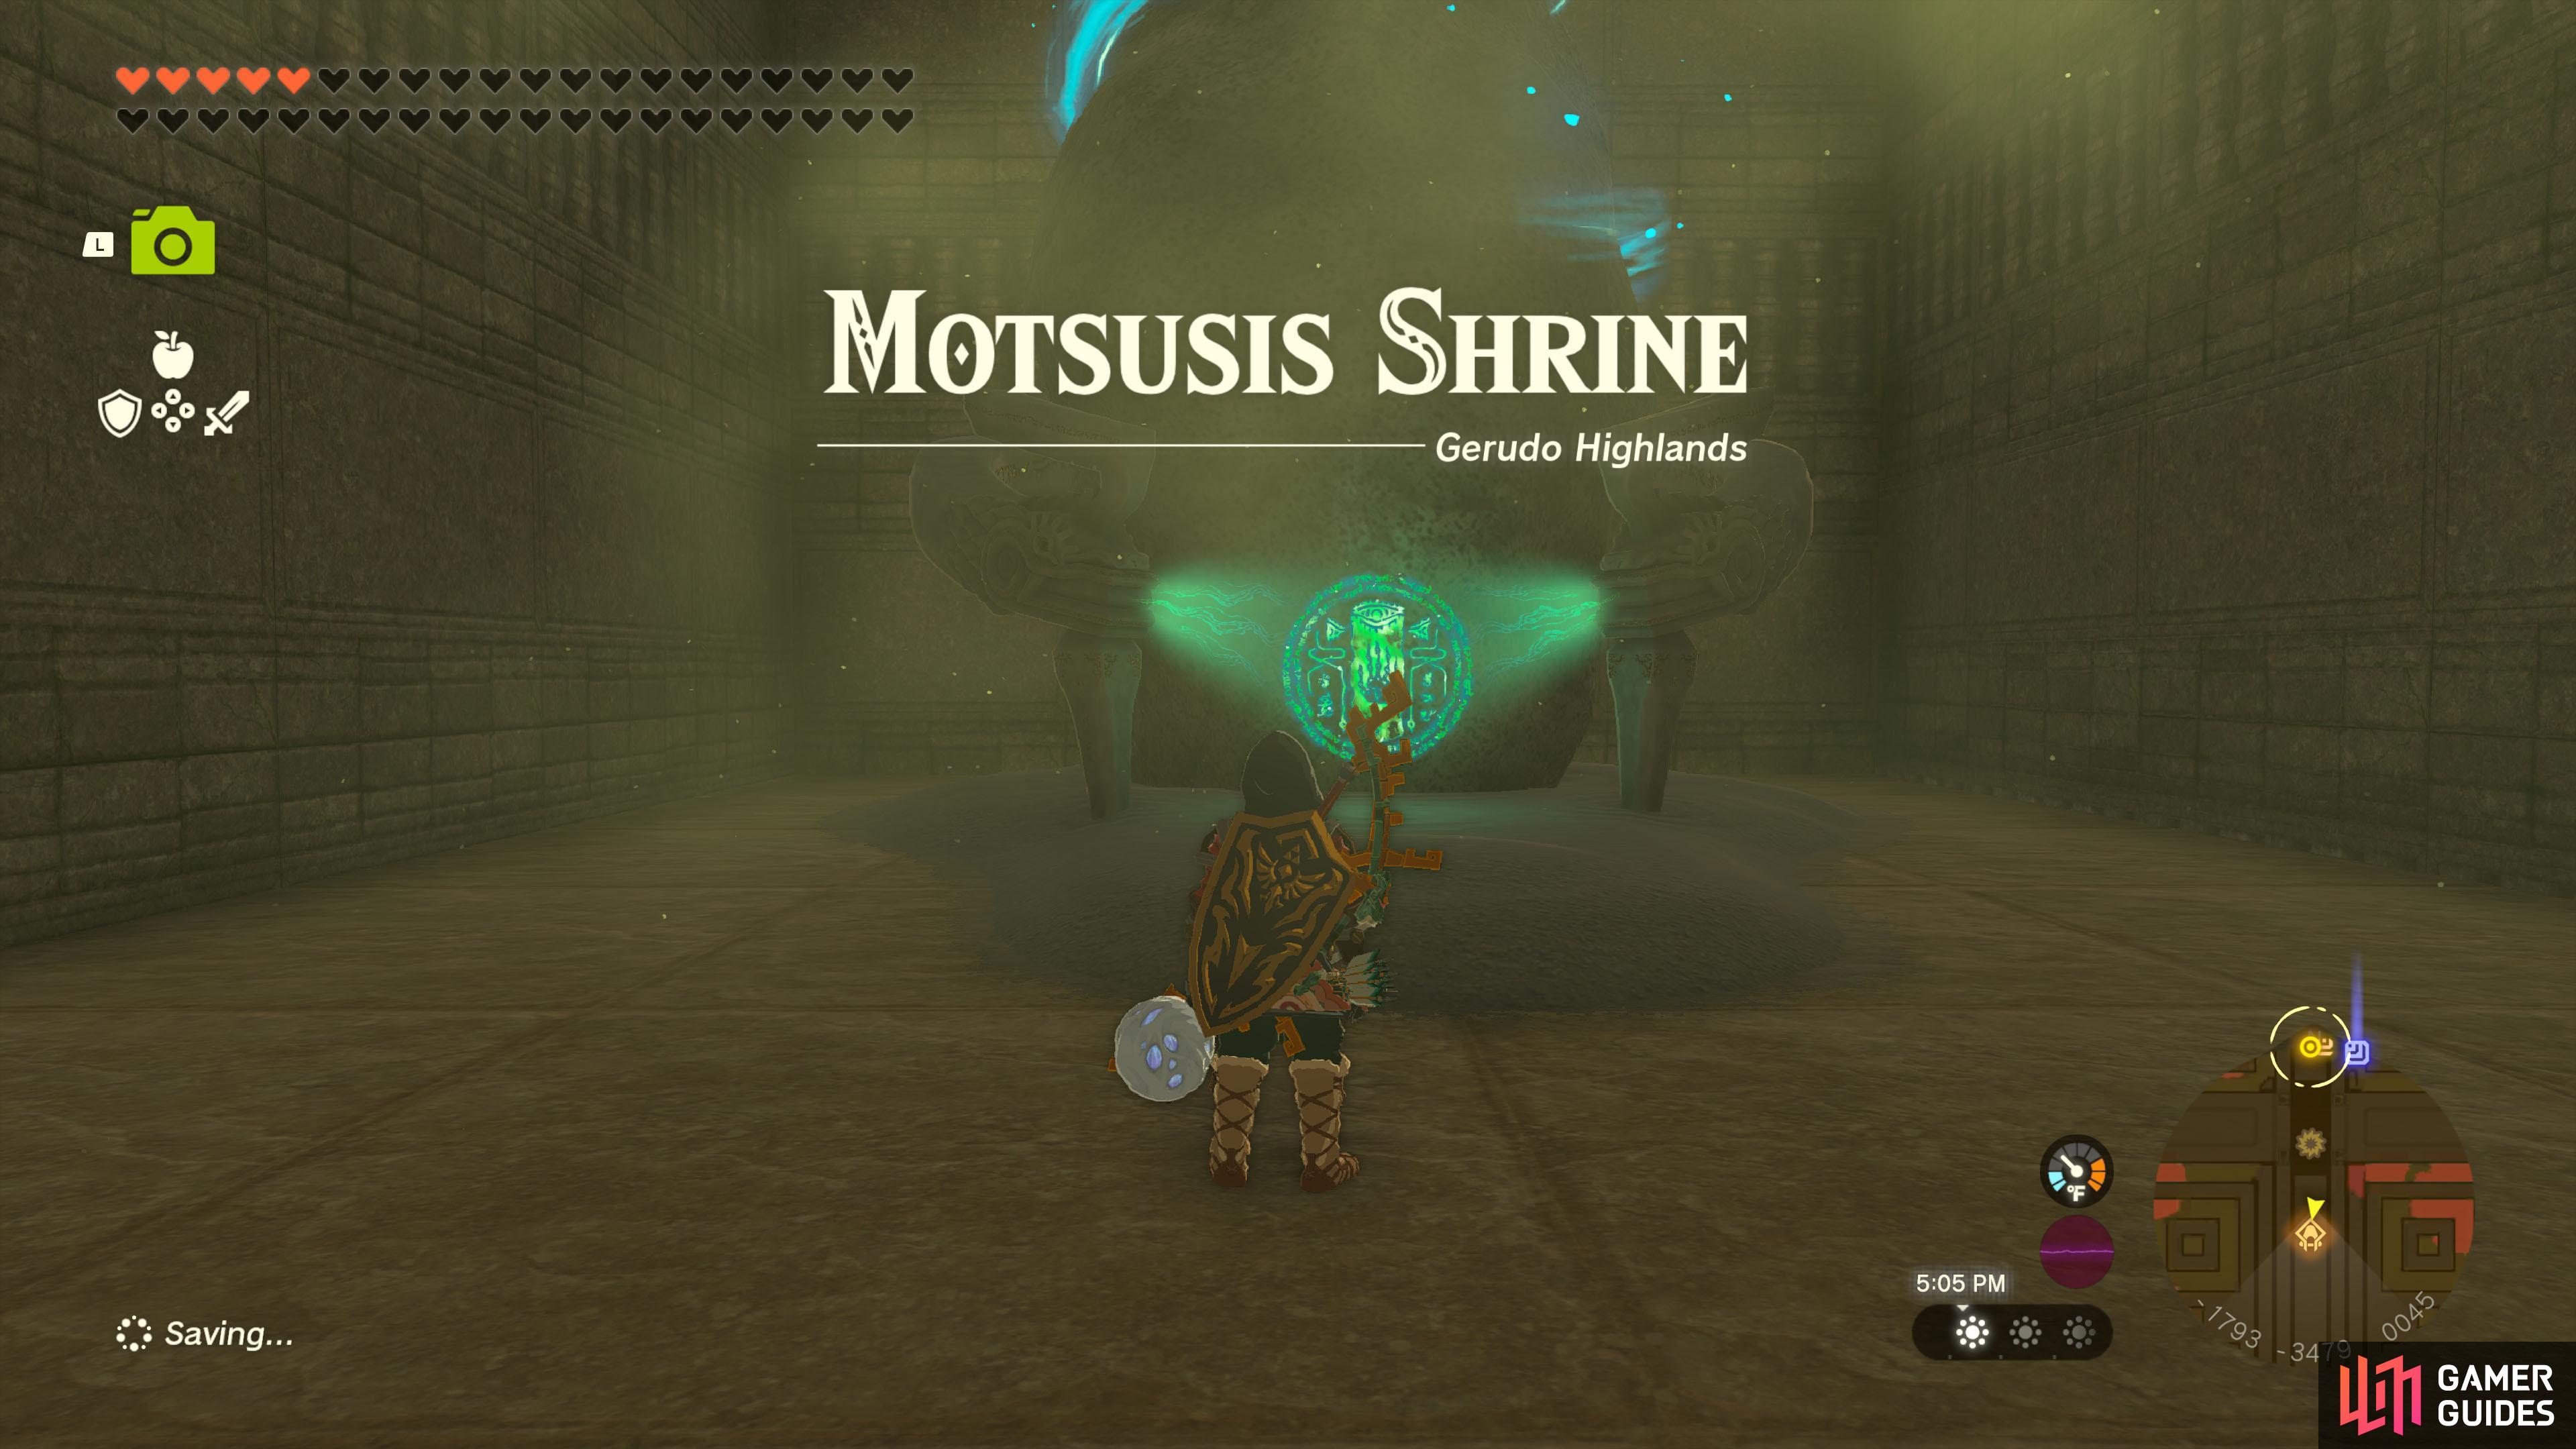
Motsusis Shrine |
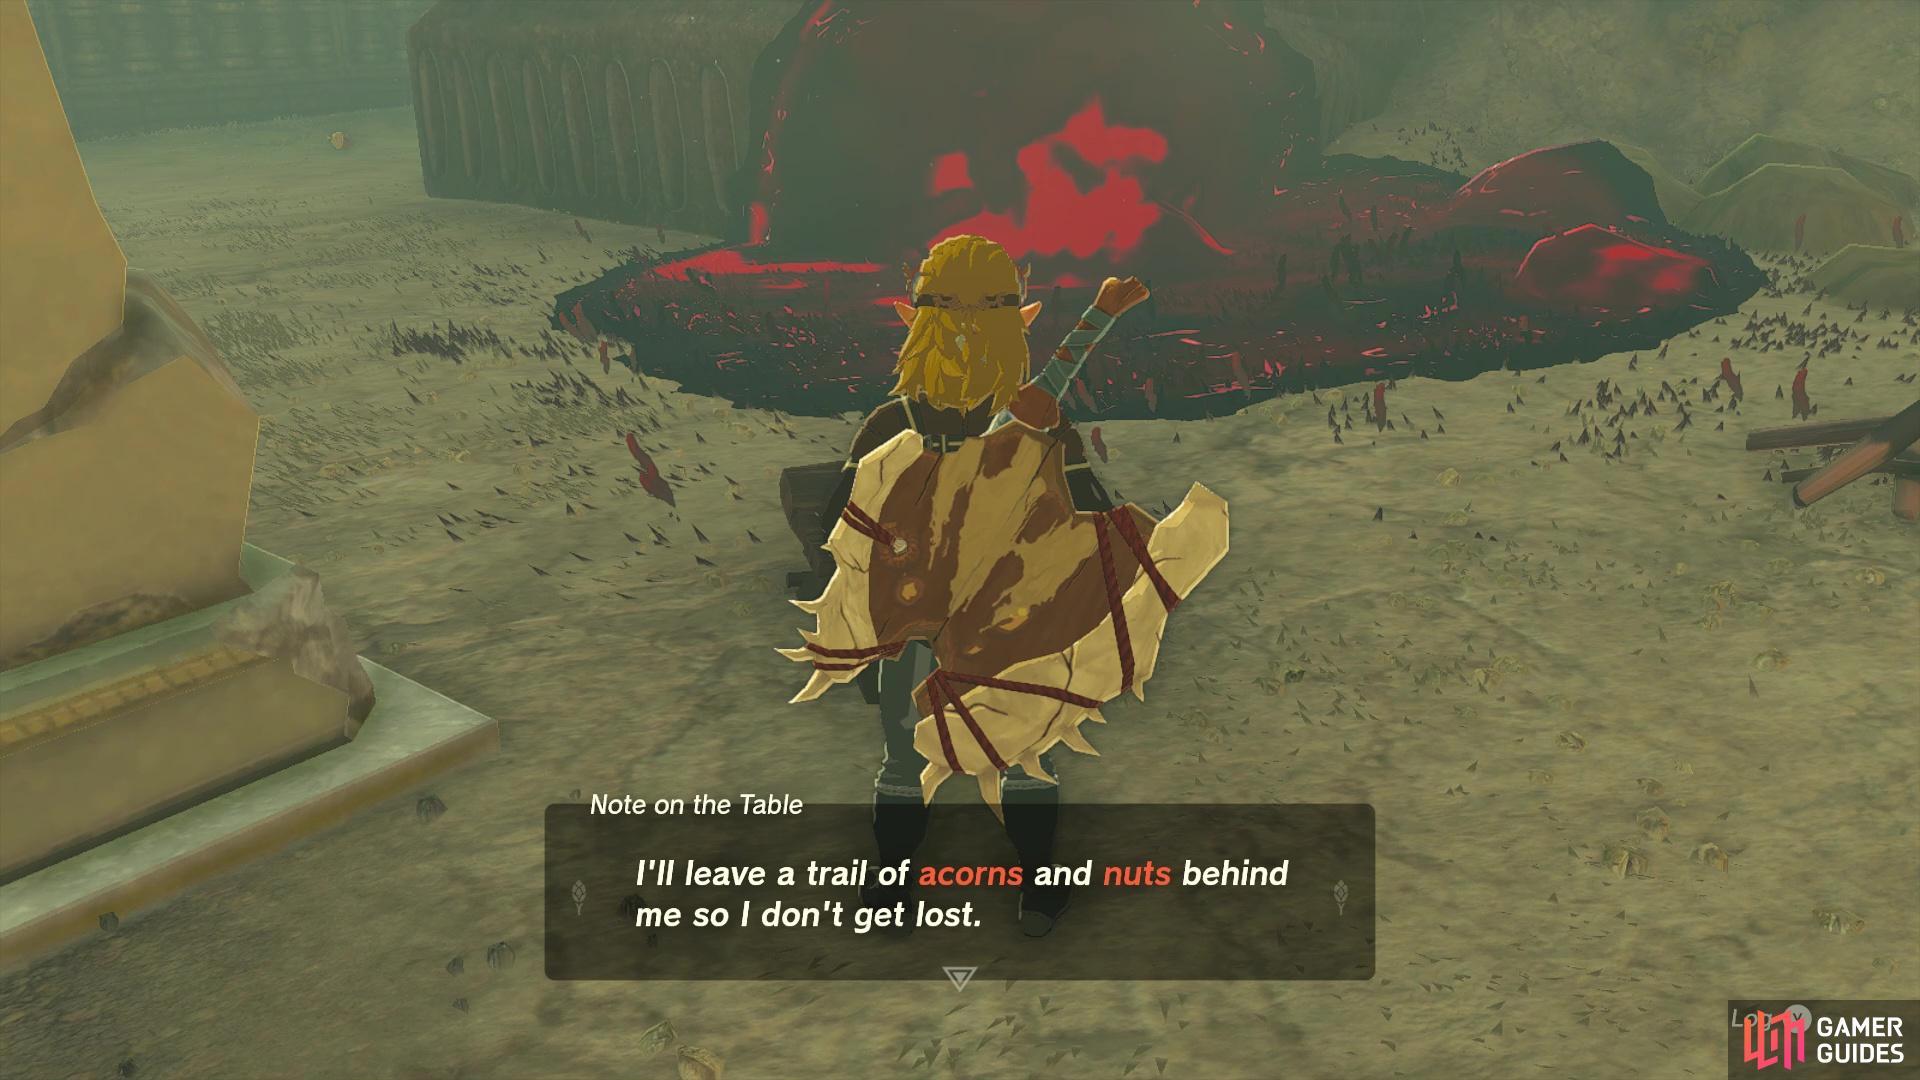
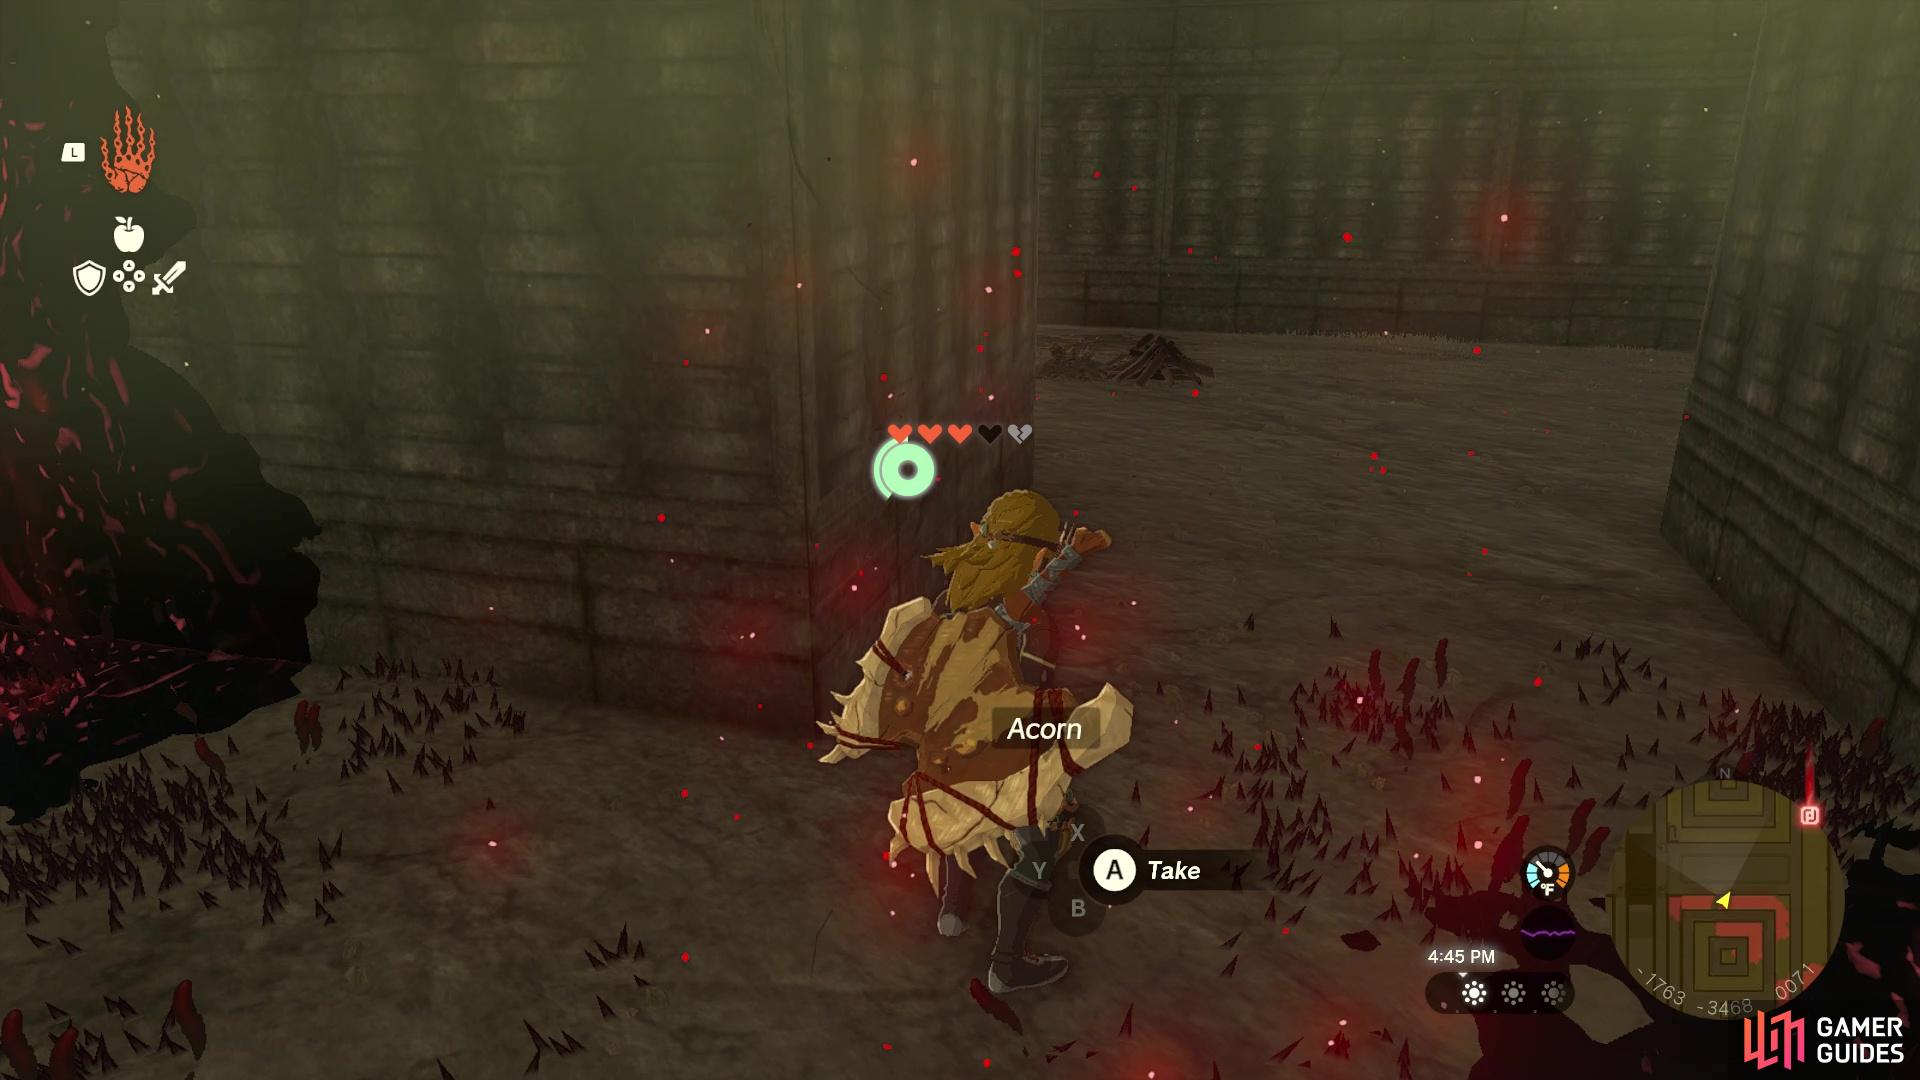
Motsusis Shrine is located in the center of the South Lomei Labyrinth, on the Surface. You’ll need to navigate your way through the maze, which is easily done by following the trail of acorns and nuts left by the one researcher (make sure to not pick them up, just in case you need them again). There will be Gloom inside the maze, too, and sometimes you might have no choice but to go through it. This isn’t too bad, since the gloom status will go away very quickly.
Map(s)
Chest Rewards
Completion Reward
|
|
|||||||||||||||||||||||||||||||||||||||||||||||||||||||||||||||||||||||||||||||||||||||||||||||

|
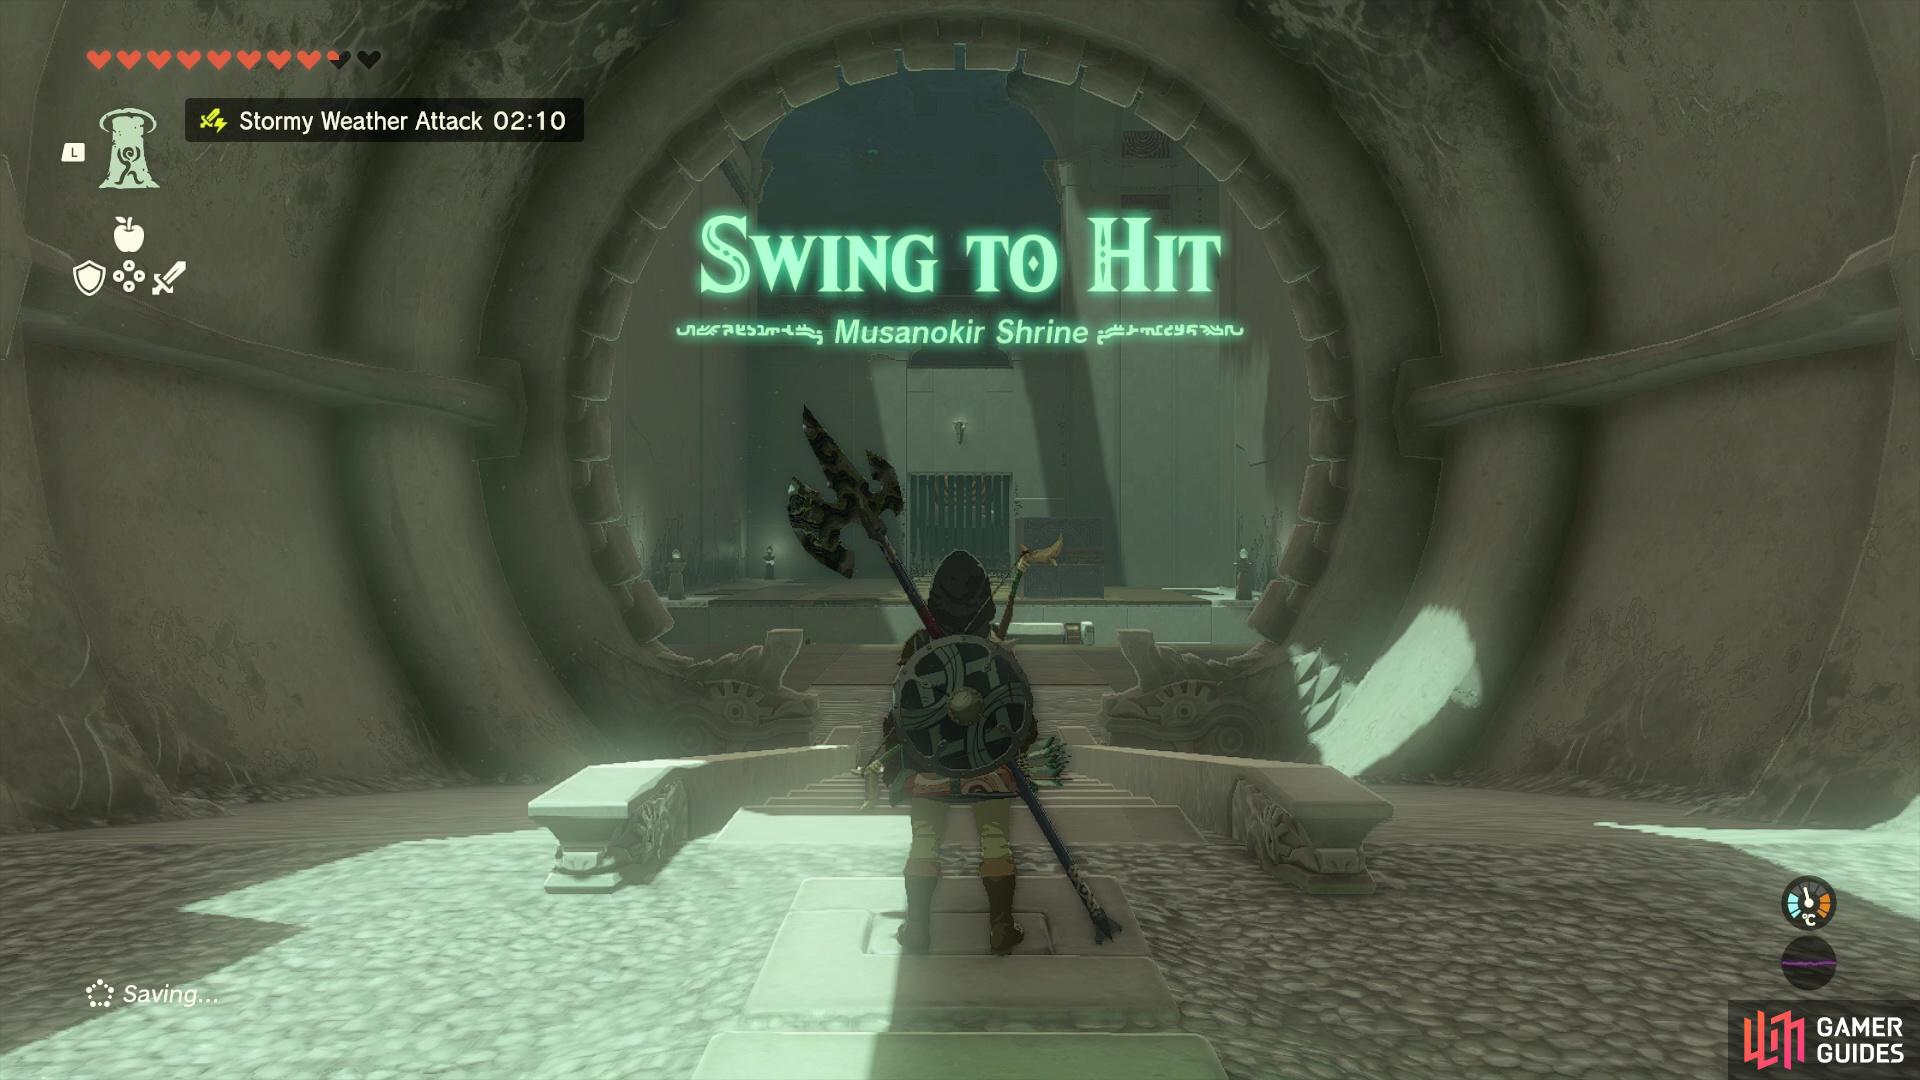
Musanokir Shrine |
Map(s)
Chest Rewards
1×
Completion Reward
1×
|

|
|||||||||||||||||||||||||||||||||||||||||||||||||||||||||||||||||||||||||||||||||||||||||||||||

|
Nouda Shrine |
The For both to how reach and how to complete it, read our associated guide on the Nouda Shrine |
||||||||||||||||||||||||||||||||||||||||||||||||||||||||||||||||||||||||||||||||||||||||||||||||

|
O-ogim Shrine |
Map(s)
|
||||||||||||||||||||||||||||||||||||||||||||||||||||||||||||||||||||||||||||||||||||||||||||||||

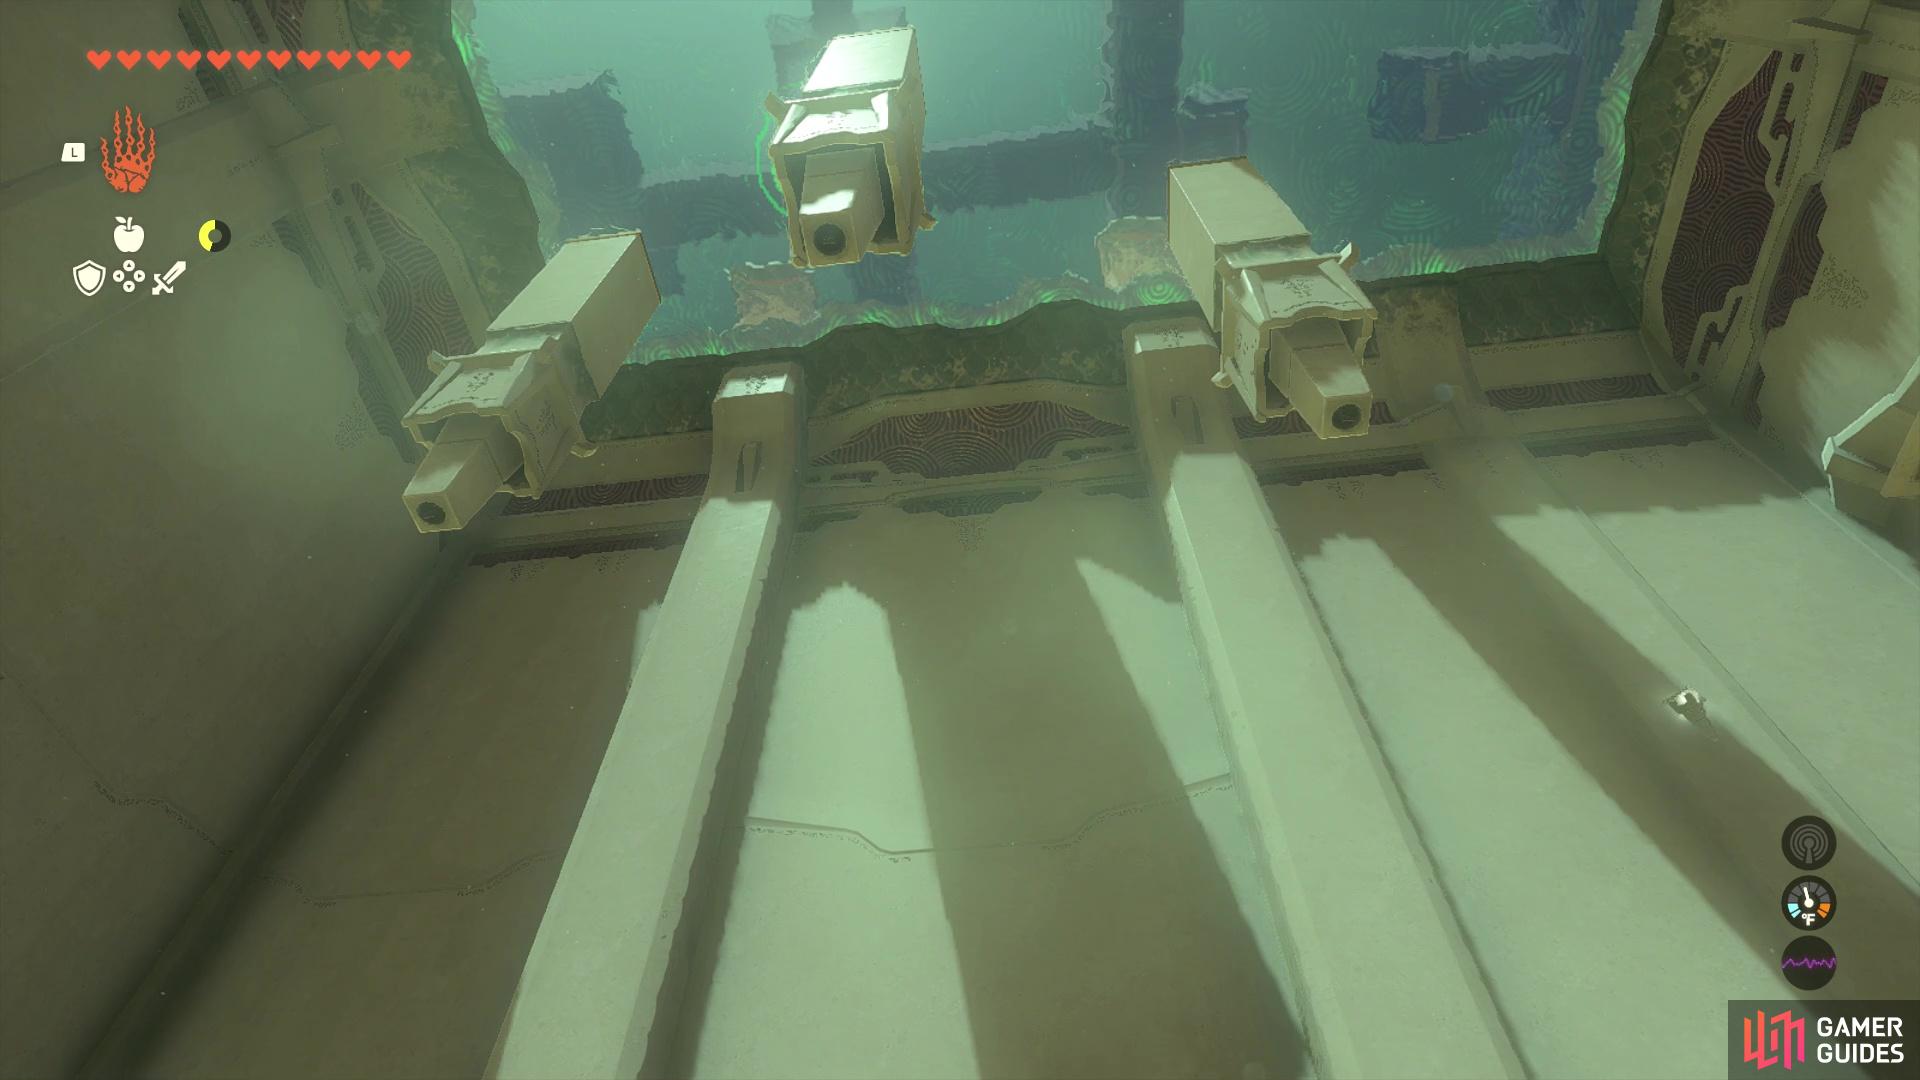
|
Orochium Shrine |
This shrine is found near |
||||||||||||||||||||||||||||||||||||||||||||||||||||||||||||||||||||||||||||||||||||||||||||||||

|
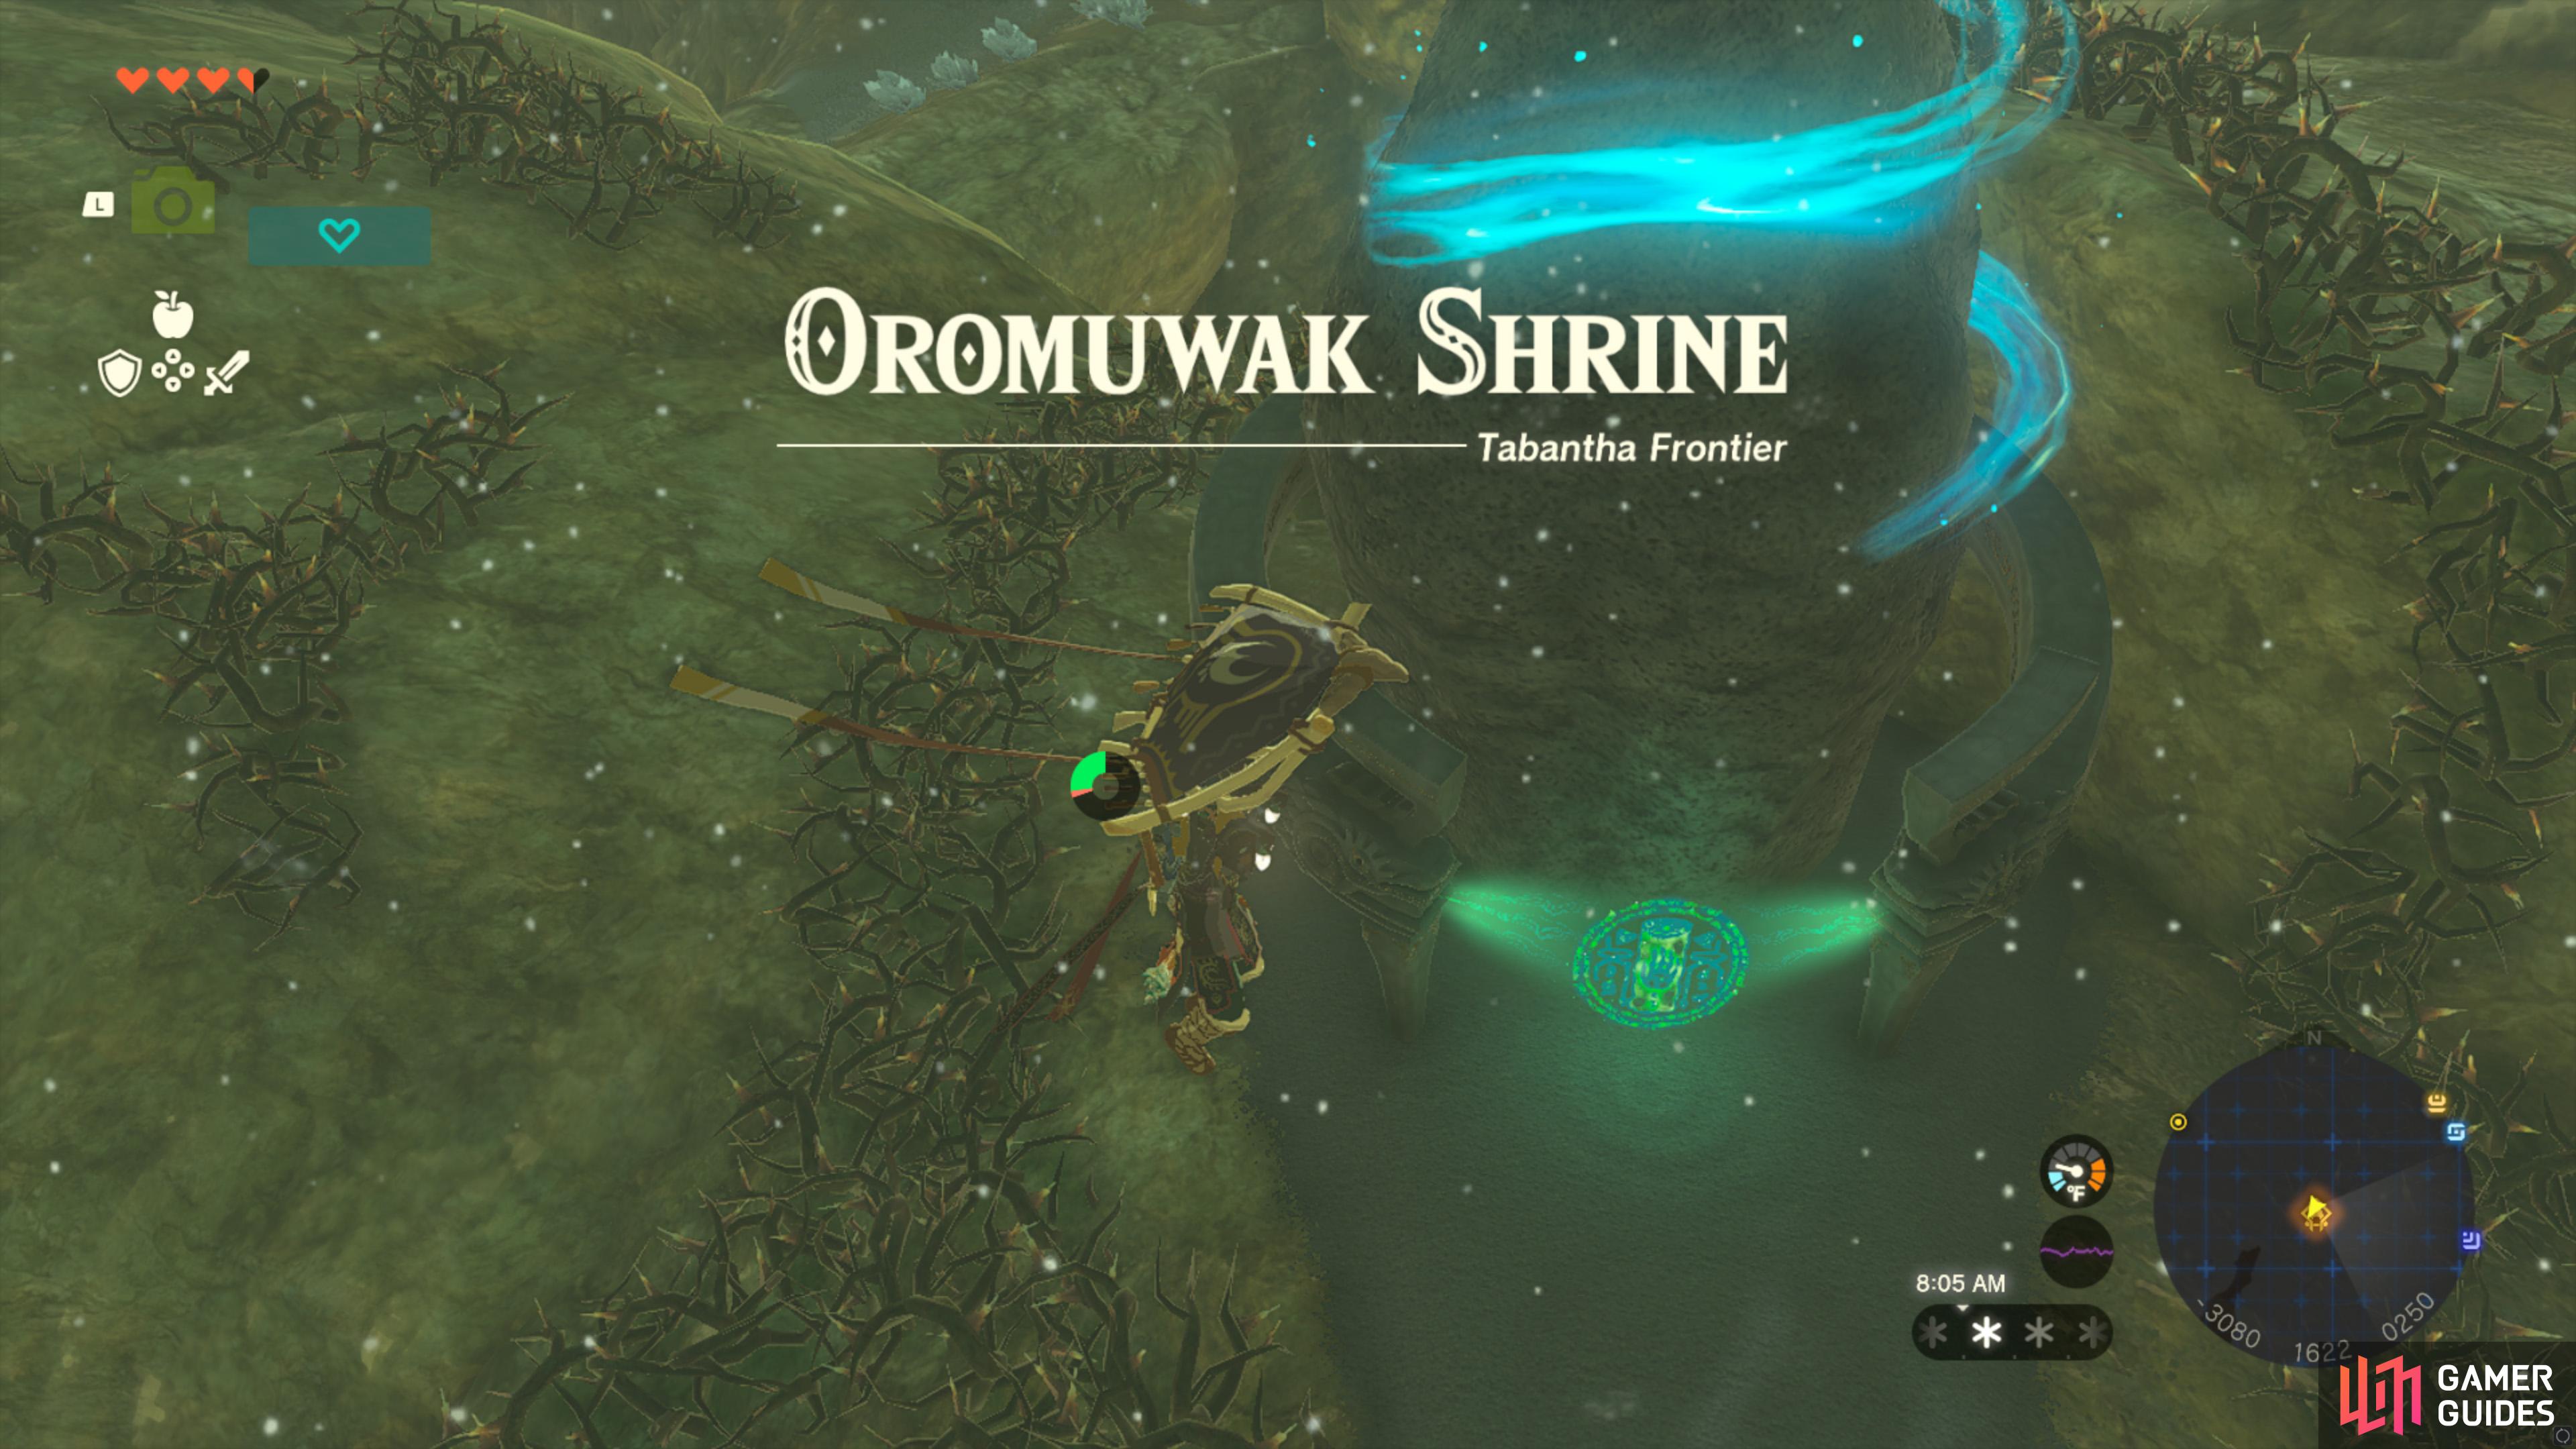
Oromuwak Shrine |
To find the TO aid you in its challenge, read our full guide on the shrine.
In-game Description
Map(s)
|
|
|||||||||||||||||||||||||||||||||||||||||||||||||||||||||||||||||||||||||||||||||||||||||||||||

|
Oshozan-U Shrine |
To reach the The challenge inside is called Mallet Smash, requiring you to fuse some materials to hit targets. Here is our associated guide on how to complete it. |
||||||||||||||||||||||||||||||||||||||||||||||||||||||||||||||||||||||||||||||||||||||||||||||||

|
Otak Shrine |
The The challenge within is called Traps and can be a little tricky. Here is our associated guide on how to complete it.
Map(s)
|
||||||||||||||||||||||||||||||||||||||||||||||||||||||||||||||||||||||||||||||||||||||||||||||||