
There are a large number of Shrines in The Legend of Zelda: Tears of the Kingdom, which you want to do if you wish to increase your maximum health and stamina. Some of these Shrines may be hidden, but there are a good number that are out in the open. One such Shrine is the Siwakama Shrine, located in the !Gerudo Desert. This page will detail where to find the Siwakama Shrine, as well as how to complete the puzzle found within it.
Siwakama Shrine is found in the eastern section of the Gerudo Desert.
Where to Find the Siwakama Shrine in Tears of the Kingdom
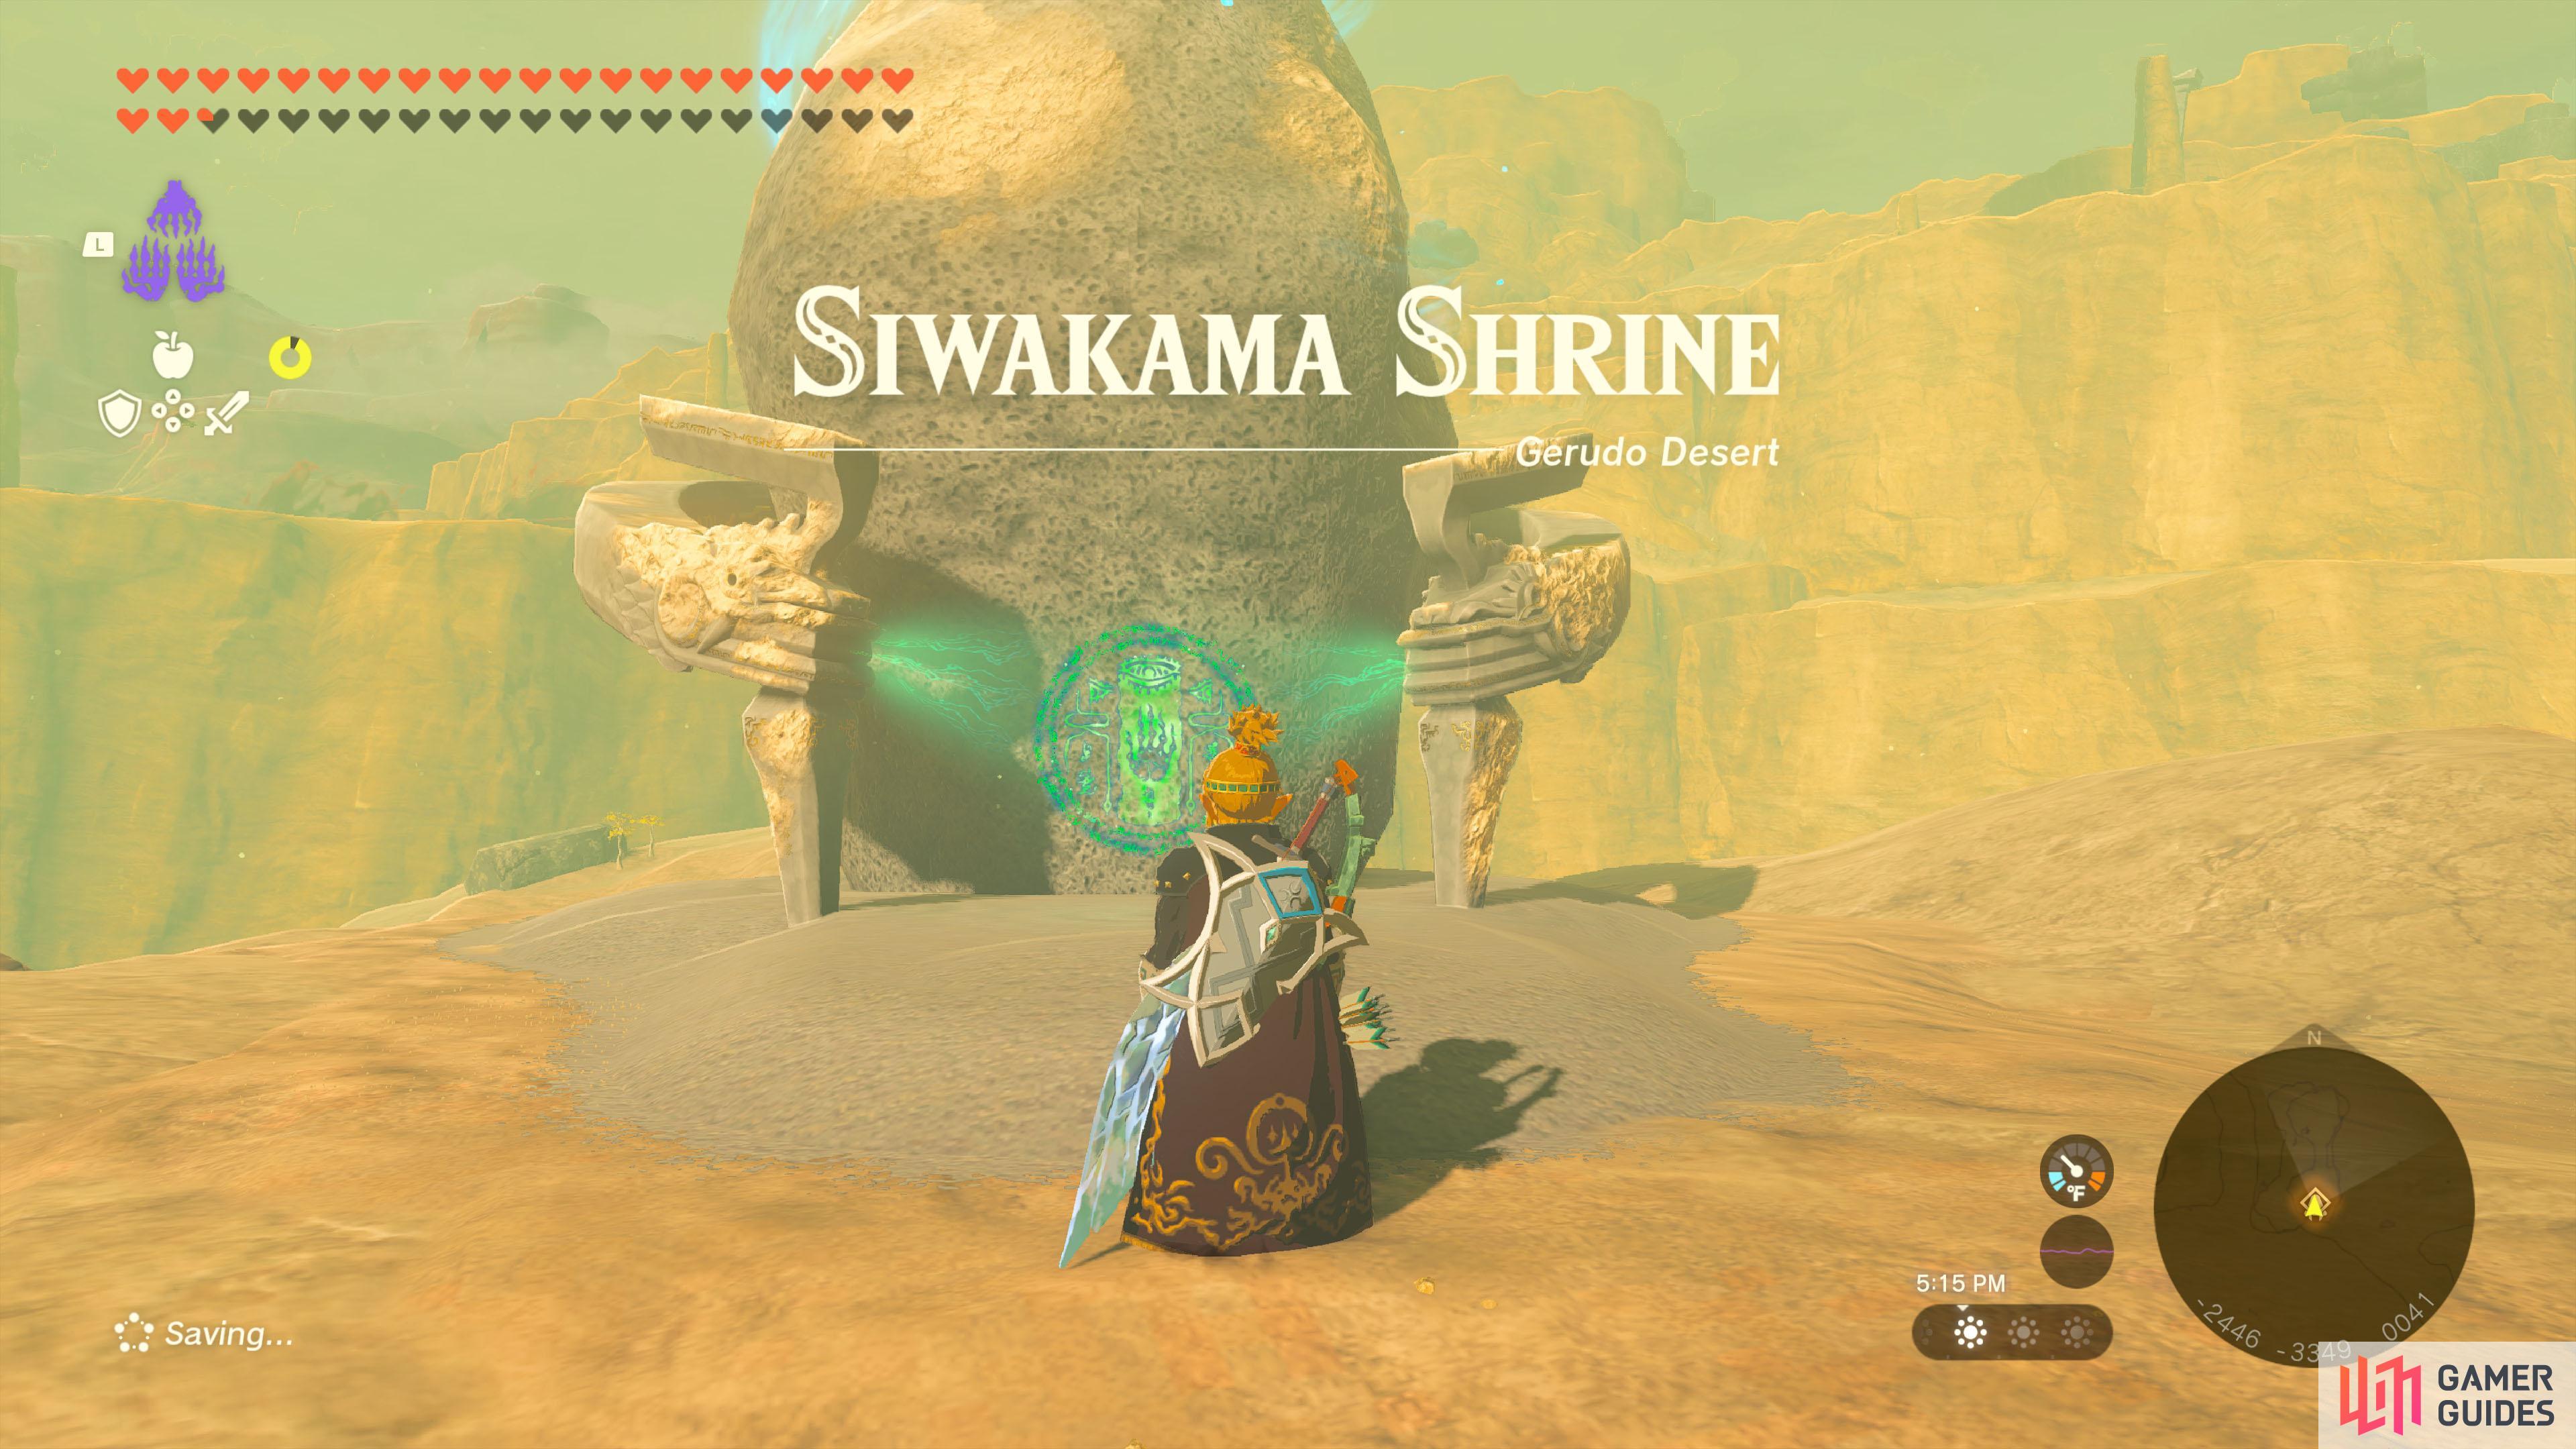
The ![]() Siwakama Shrine is located in the eastern portion of the Gerudo Desert and will be southeast of Gerudo Town. It will be located on a rock formation and is out in the open, so it’s pretty easy to spot. You will also be able to have this shrine prior to the sand shroud disappearing with the completion of the Lightning Temple. However, there is a
Siwakama Shrine is located in the eastern portion of the Gerudo Desert and will be southeast of Gerudo Town. It will be located on a rock formation and is out in the open, so it’s pretty easy to spot. You will also be able to have this shrine prior to the sand shroud disappearing with the completion of the Lightning Temple. However, there is a ![]() Molduga in the area, so you might want to avoid coming here by land. To avoid this creature, it’s best to glide down from a higher place.
Molduga in the area, so you might want to avoid coming here by land. To avoid this creature, it’s best to glide down from a higher place.
Moving the Spheres - Siwakama Shrine Walkthrough
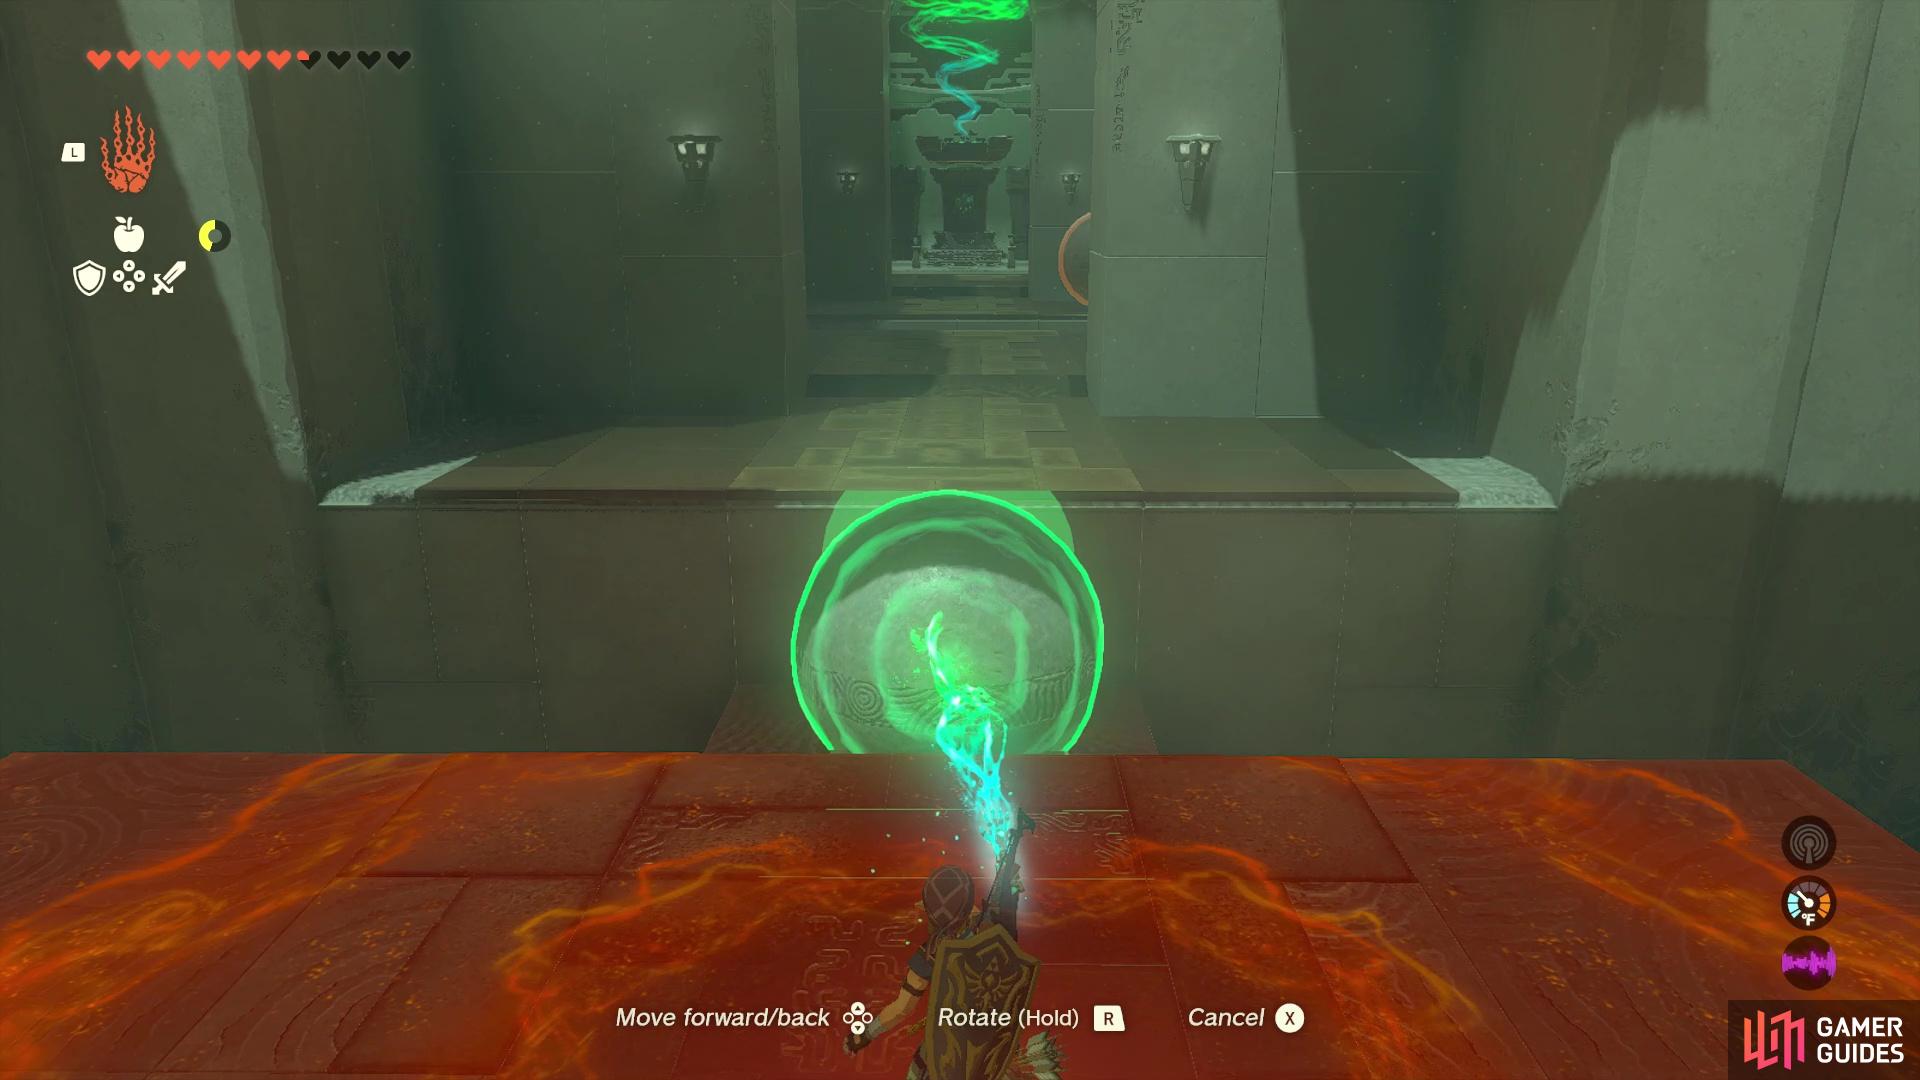
The whole shrine revolves around some large spheres, which you have to use to cross ever increasing gaps. The first room is simple, since you just need to move the sphere on the opposite end of the gap, onto the raised section of the floor. Once it’s in place, use it as a platform to get to the other side. Remember that you can’t climb the walls inside the shrines, so you’ll want to place the sphere in the center of the raised section. Should you fall down, there are ladders on either side, allowing you to get back to the top portion.
As soon as you pass over, use ![]() Ultrahand to grab the sphere and bring it into the next room. Before thinking about heading into the next room, look to the side to spy a ramp. You will want to place one of the spheres high up into the air, at the top of that ramp, then let it fall and roll down it. Doing this will cause it to break a wall on the side, which is where the chest in this shrine is hidden; the chest will contain
Ultrahand to grab the sphere and bring it into the next room. Before thinking about heading into the next room, look to the side to spy a ramp. You will want to place one of the spheres high up into the air, at the top of that ramp, then let it fall and roll down it. Doing this will cause it to break a wall on the side, which is where the chest in this shrine is hidden; the chest will contain ![]() Bomb Flower x5. With that out of the way, glue the two spheres in this room together, then place is on the slanted part, so that the glued section is at the peak of the slanted part.
Bomb Flower x5. With that out of the way, glue the two spheres in this room together, then place is on the slanted part, so that the glued section is at the peak of the slanted part.
This will keep the spheres in place and allow you to use them as a platform to get to the third, and final, room. Of course, this room is more of the same, with another sphere found here. So, grab the other two spheres from the previous room and attach it to the third. You want to make the spheres form a triangle shape, then place the center of that triangle at the point of the little structure in the game. This should give you enough height to get across and to the altar, for the ![]() Light of Blessing.
Light of Blessing.
No Comments