
For the majority of shrines in Tears of the Kingdom, the only real threats you face are either a pit of doom or some angry Constructs testing your skills. However, with the ![]() Timawak Shrine, things get a little hot under the collar.
Timawak Shrine, things get a little hot under the collar.
This is because you’ll be coming up against molten lava. Yes, you read that right, fiery hot lava that you need to overcome if you want to complete this challenge. However, don’t fret as we’ve done the hard work for you and will be taking you through a complete walkthrough below.
Where to Find Timawak Shrine in Tears of the Kingdom
The entrance to the !Timawak Shrine
As you probably guessed from the mention of lava, you’ll be heading to Eldin for the Timawak Shrine, within Eldin Canyon to be precise. It is just north of Goronbi Lake, a little higher up from ground level. To help you out, here is a direct map marker on our interactive map.
How to Complete Timawak Shrine in Tears of the Kingdom
As previously stated, this shrine can be pretty daunting for those who are accident prone. You’ll be taking on puzzles here that require some quick thinking otherwise you’ll be heading for a rather hot bath.
The first of these puzzles you’re actually able to do a bit of platforming instead of using your abilities. As the rock platforms drop down from the lava waterfall, look for when they almost from a bridge across. Then, simply jump across these to make it to the other side safely, and over to the next section.
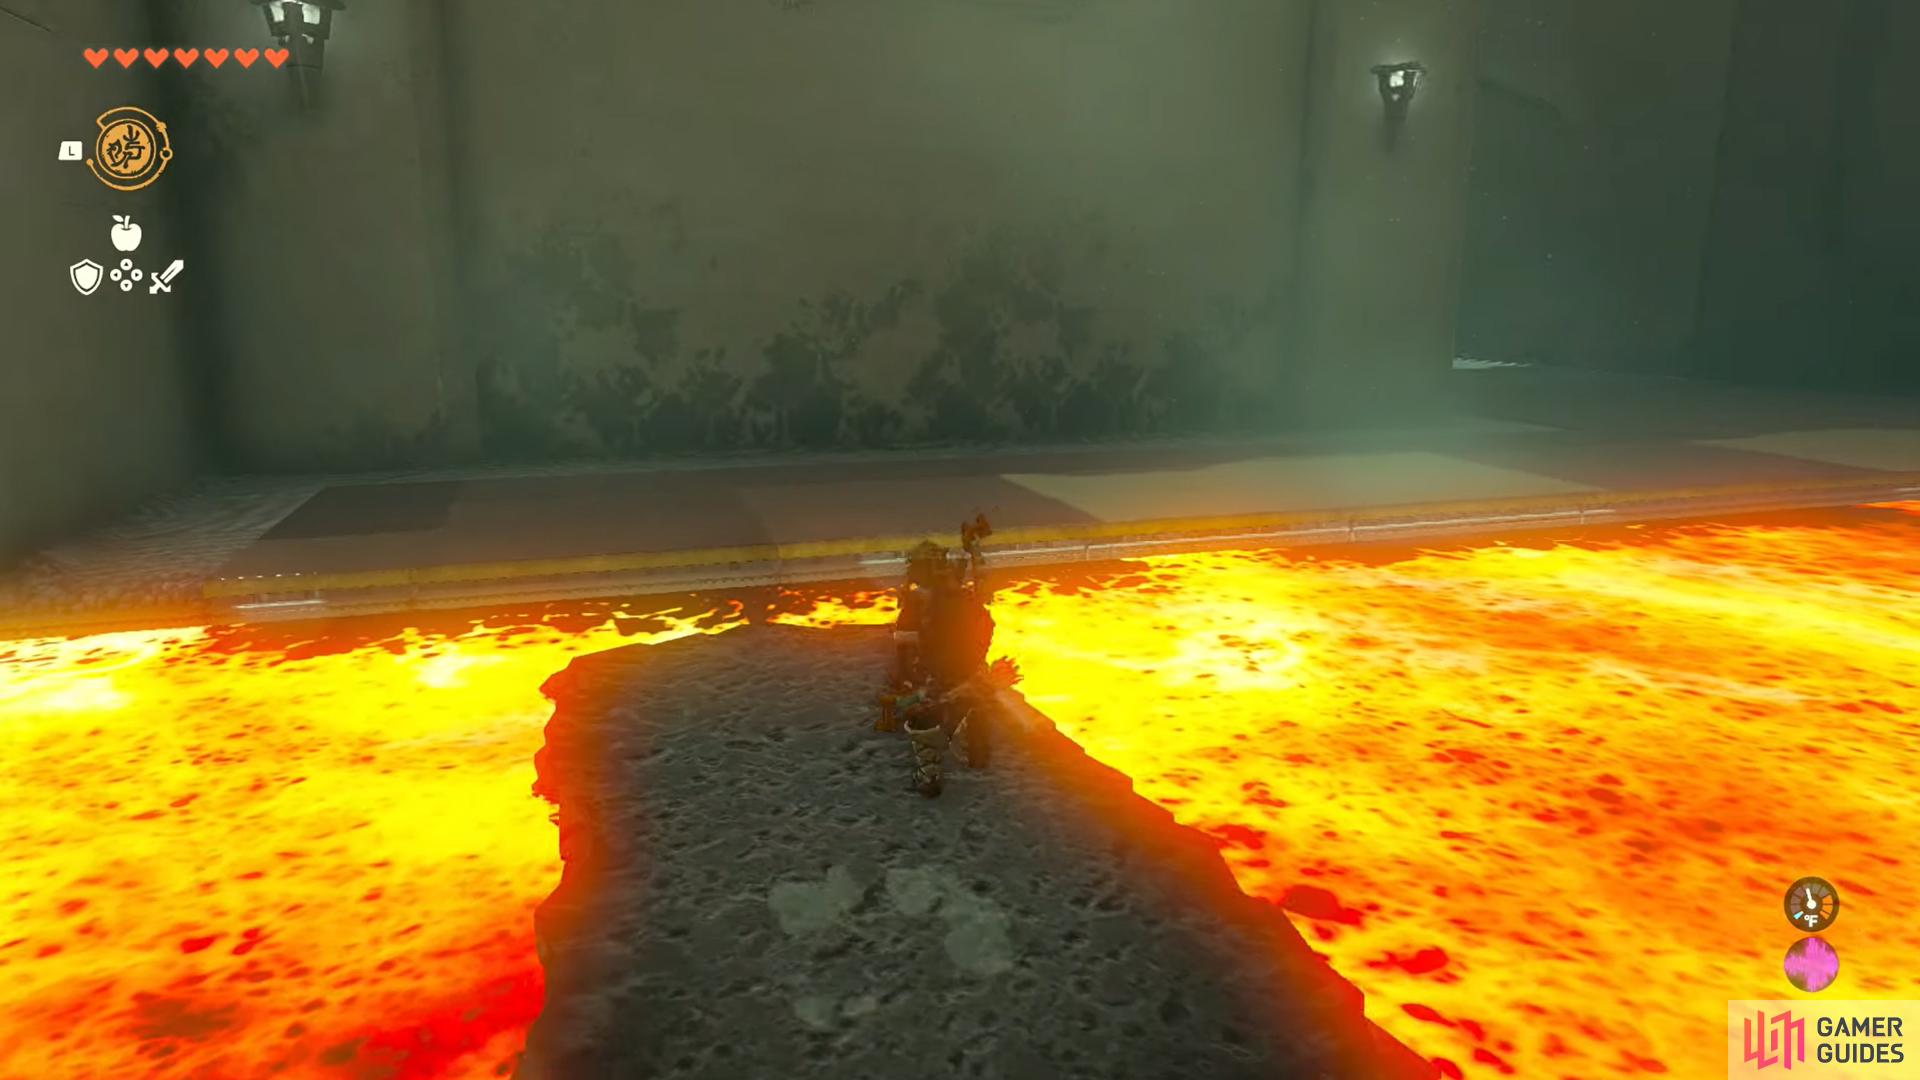
Taking a platform across the lava
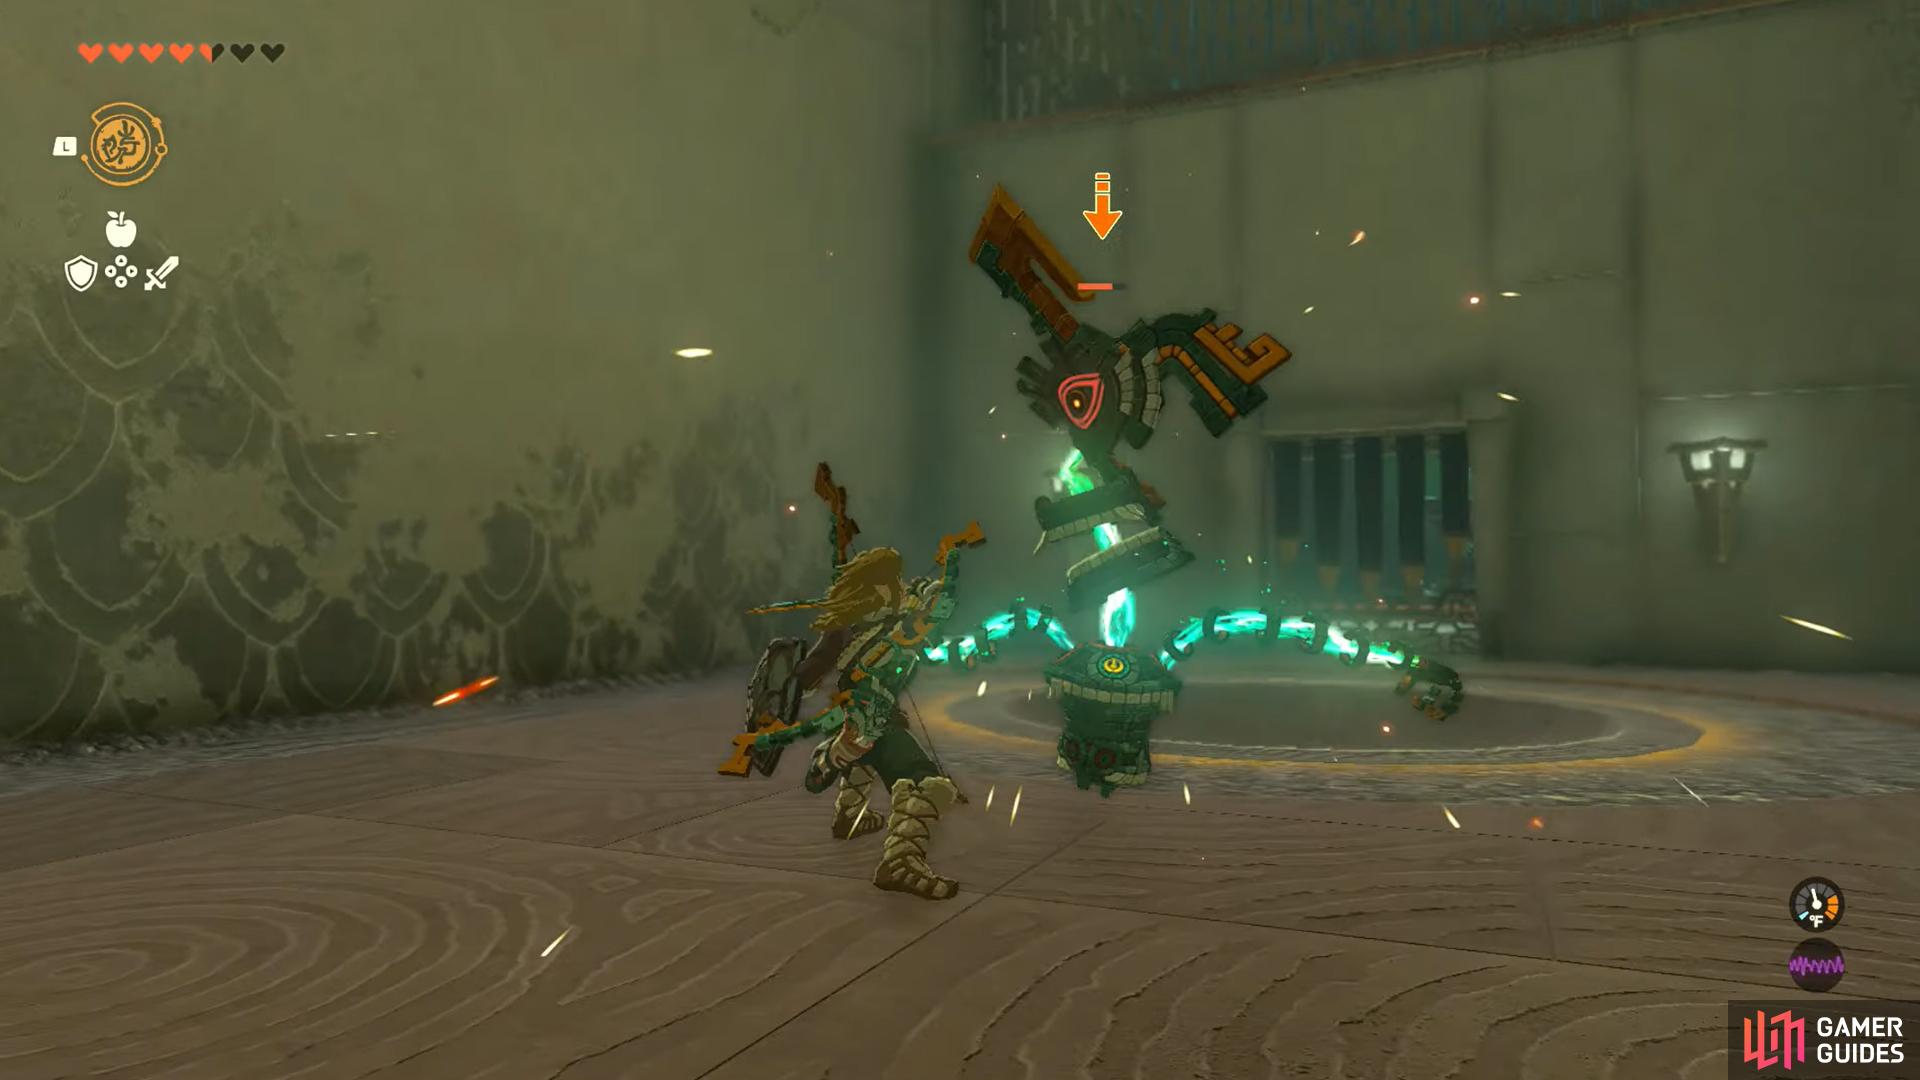
Taking out the subsequent Construct
There will be a Construct waiting for you before the next section so take this out before progressing just to avoid any potential pitfalls.
Here, you will have to get those abilities out, both to make it to the next part of the shrine as well as a chest. First, use ![]() Recall on any incoming platform, jump on it and then jump off when you reach the middle section. If you want the chest that you should be able to see on the right side, simply grab a couple platforms, preferably larger ones, and place the first both on and off where you are standing, with the second in front of it.
Recall on any incoming platform, jump on it and then jump off when you reach the middle section. If you want the chest that you should be able to see on the right side, simply grab a couple platforms, preferably larger ones, and place the first both on and off where you are standing, with the second in front of it.
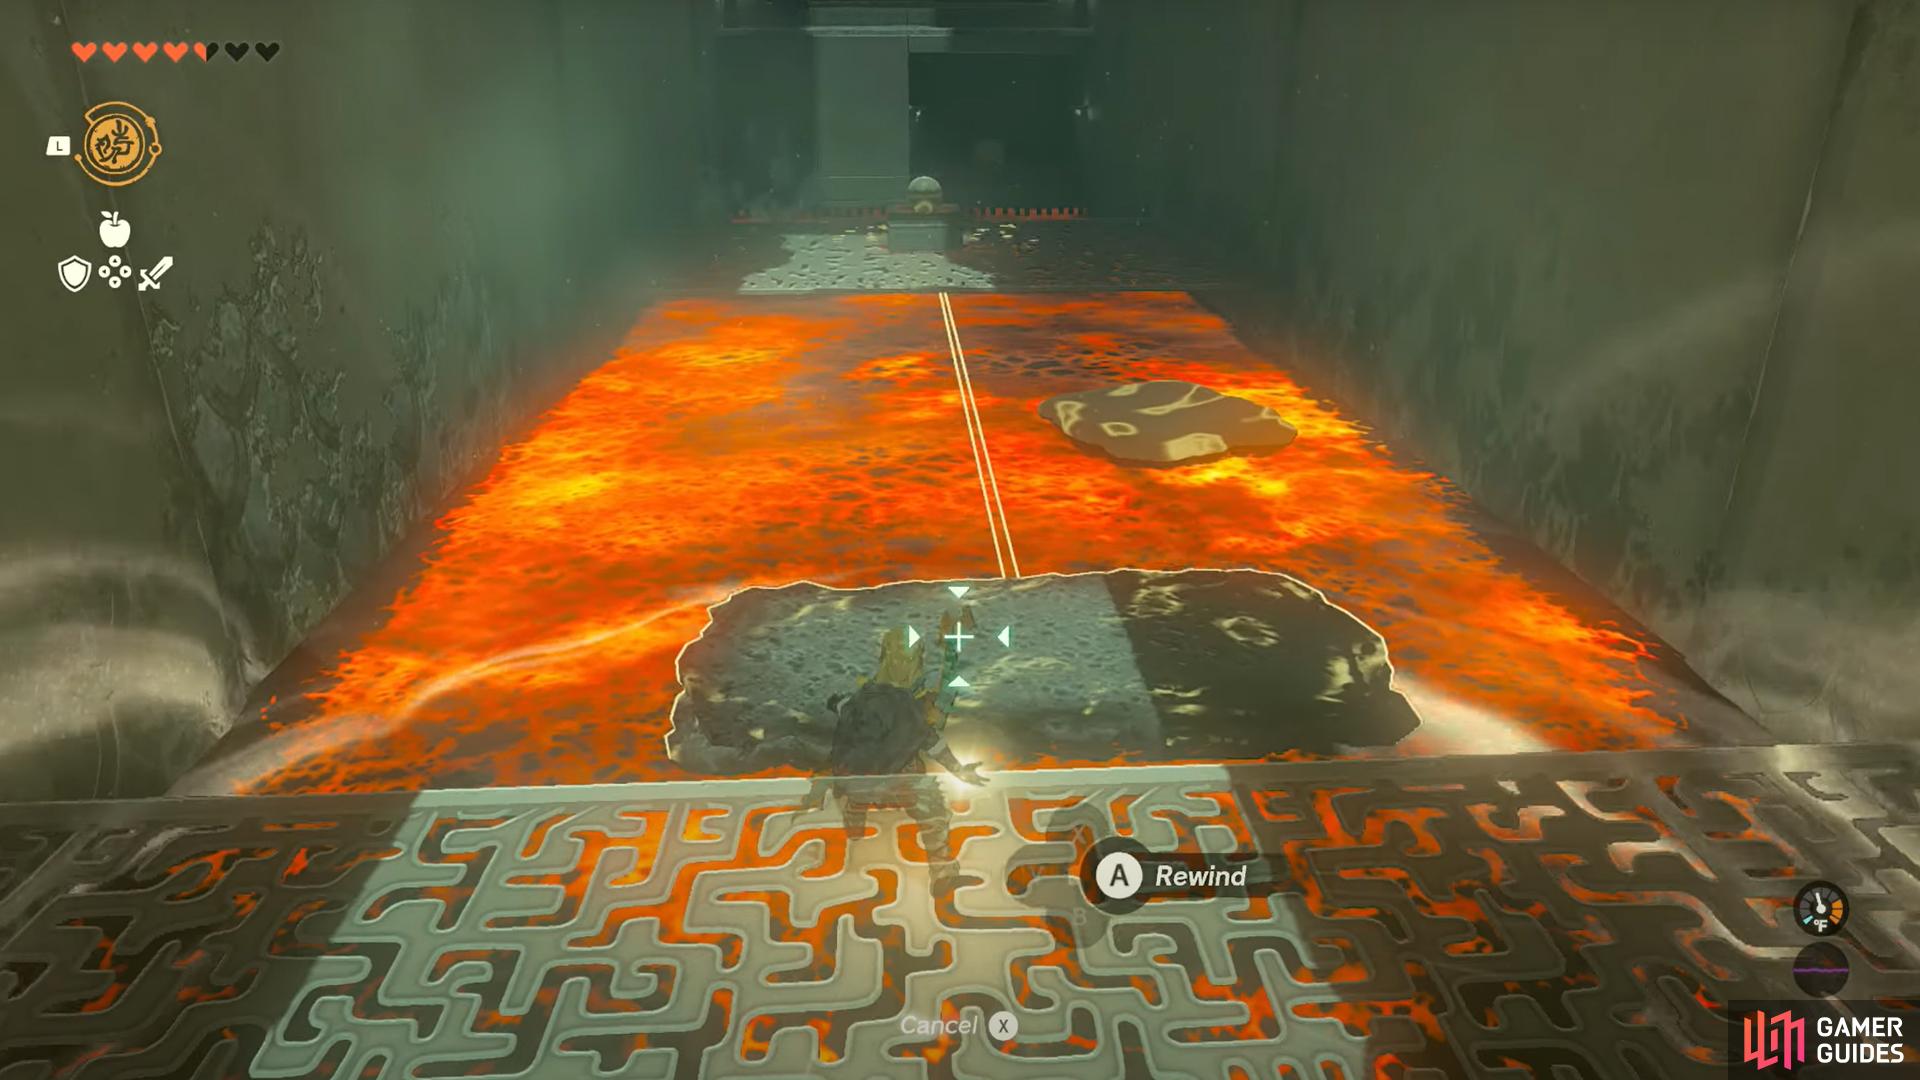
This should form a small bridge that you can simply walk across to get to the chest, allowing you to pick up a shield. If you can’t get a second large platform, just get a small one and use ![]() Ultrahand to grab the chest from afar.
Ultrahand to grab the chest from afar.
Now, to get up to the next part of the shrine, you’ll need to do a little backtracking. Pick up the ball in the very center with Ultrahand and at the same time, look to get onto a platform that should be in the lava heading back to the previous section. When it passes the middle area, hop on it.
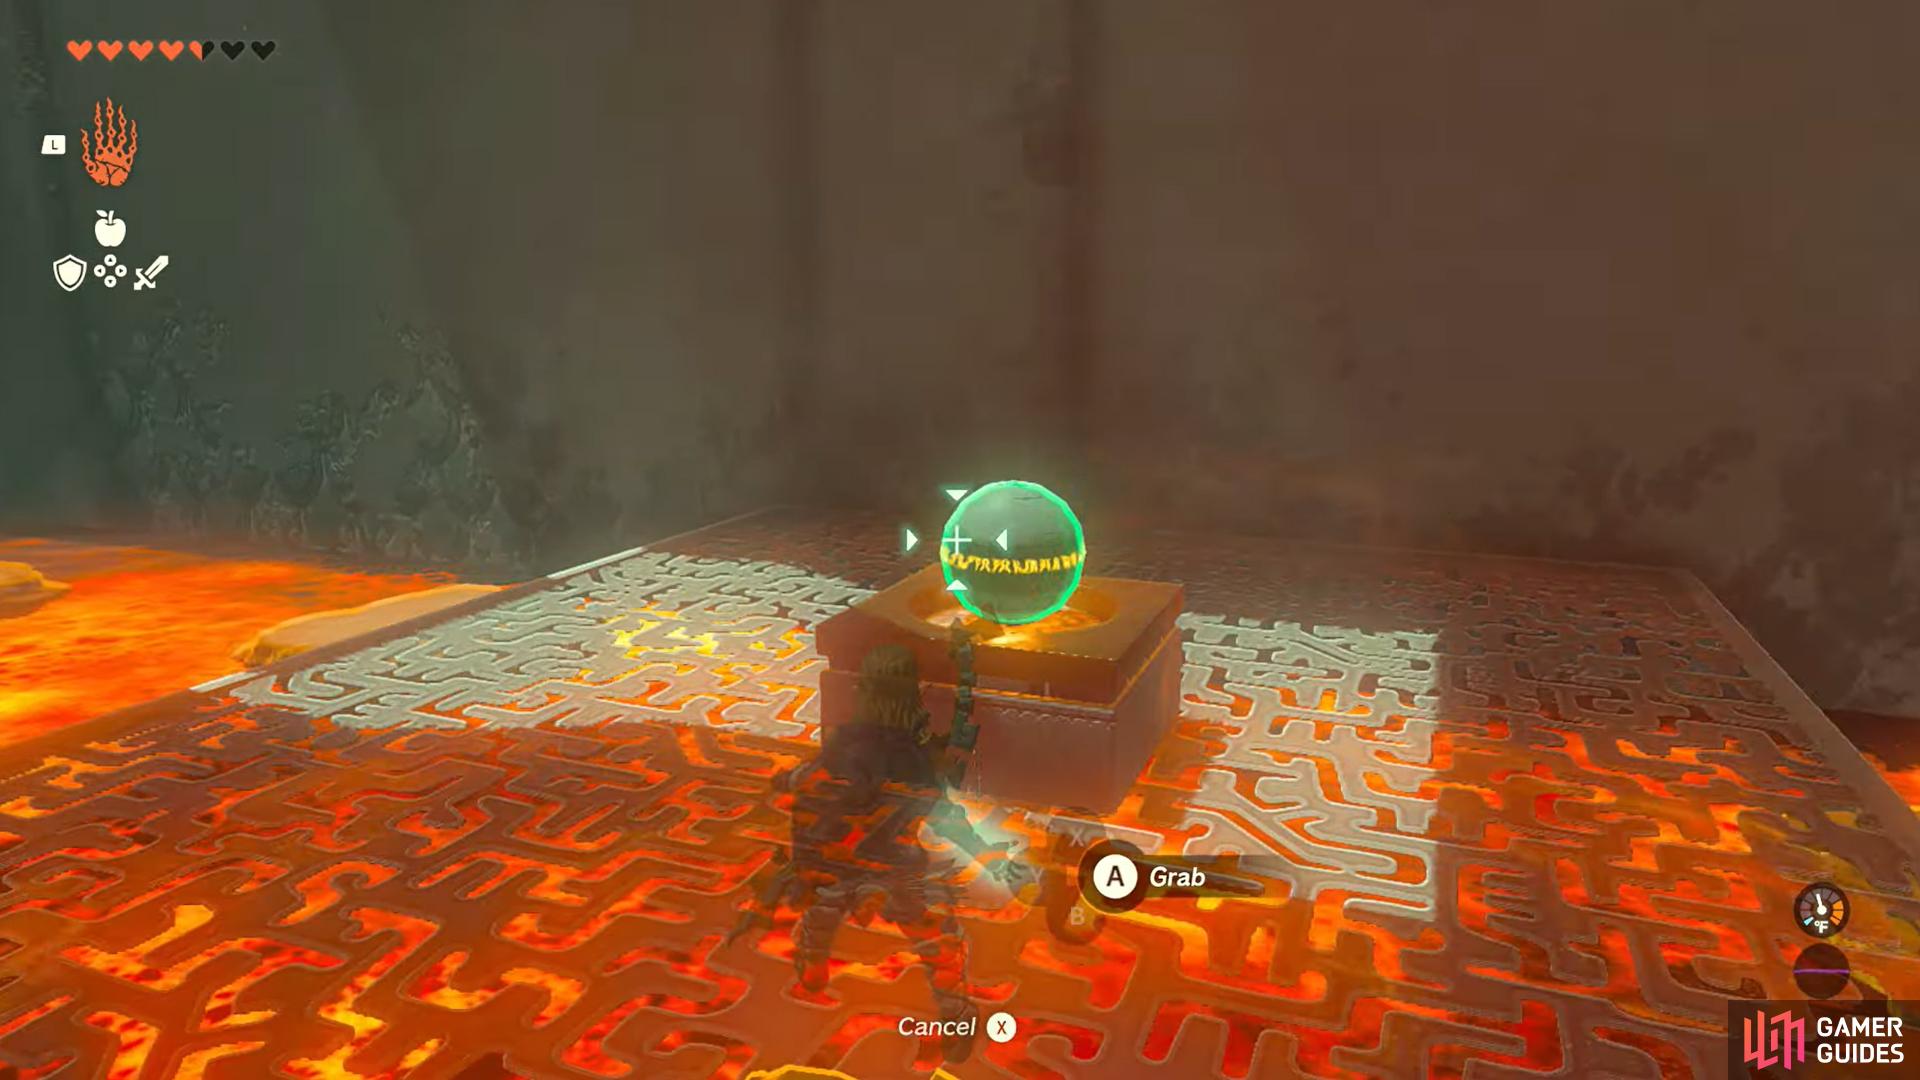
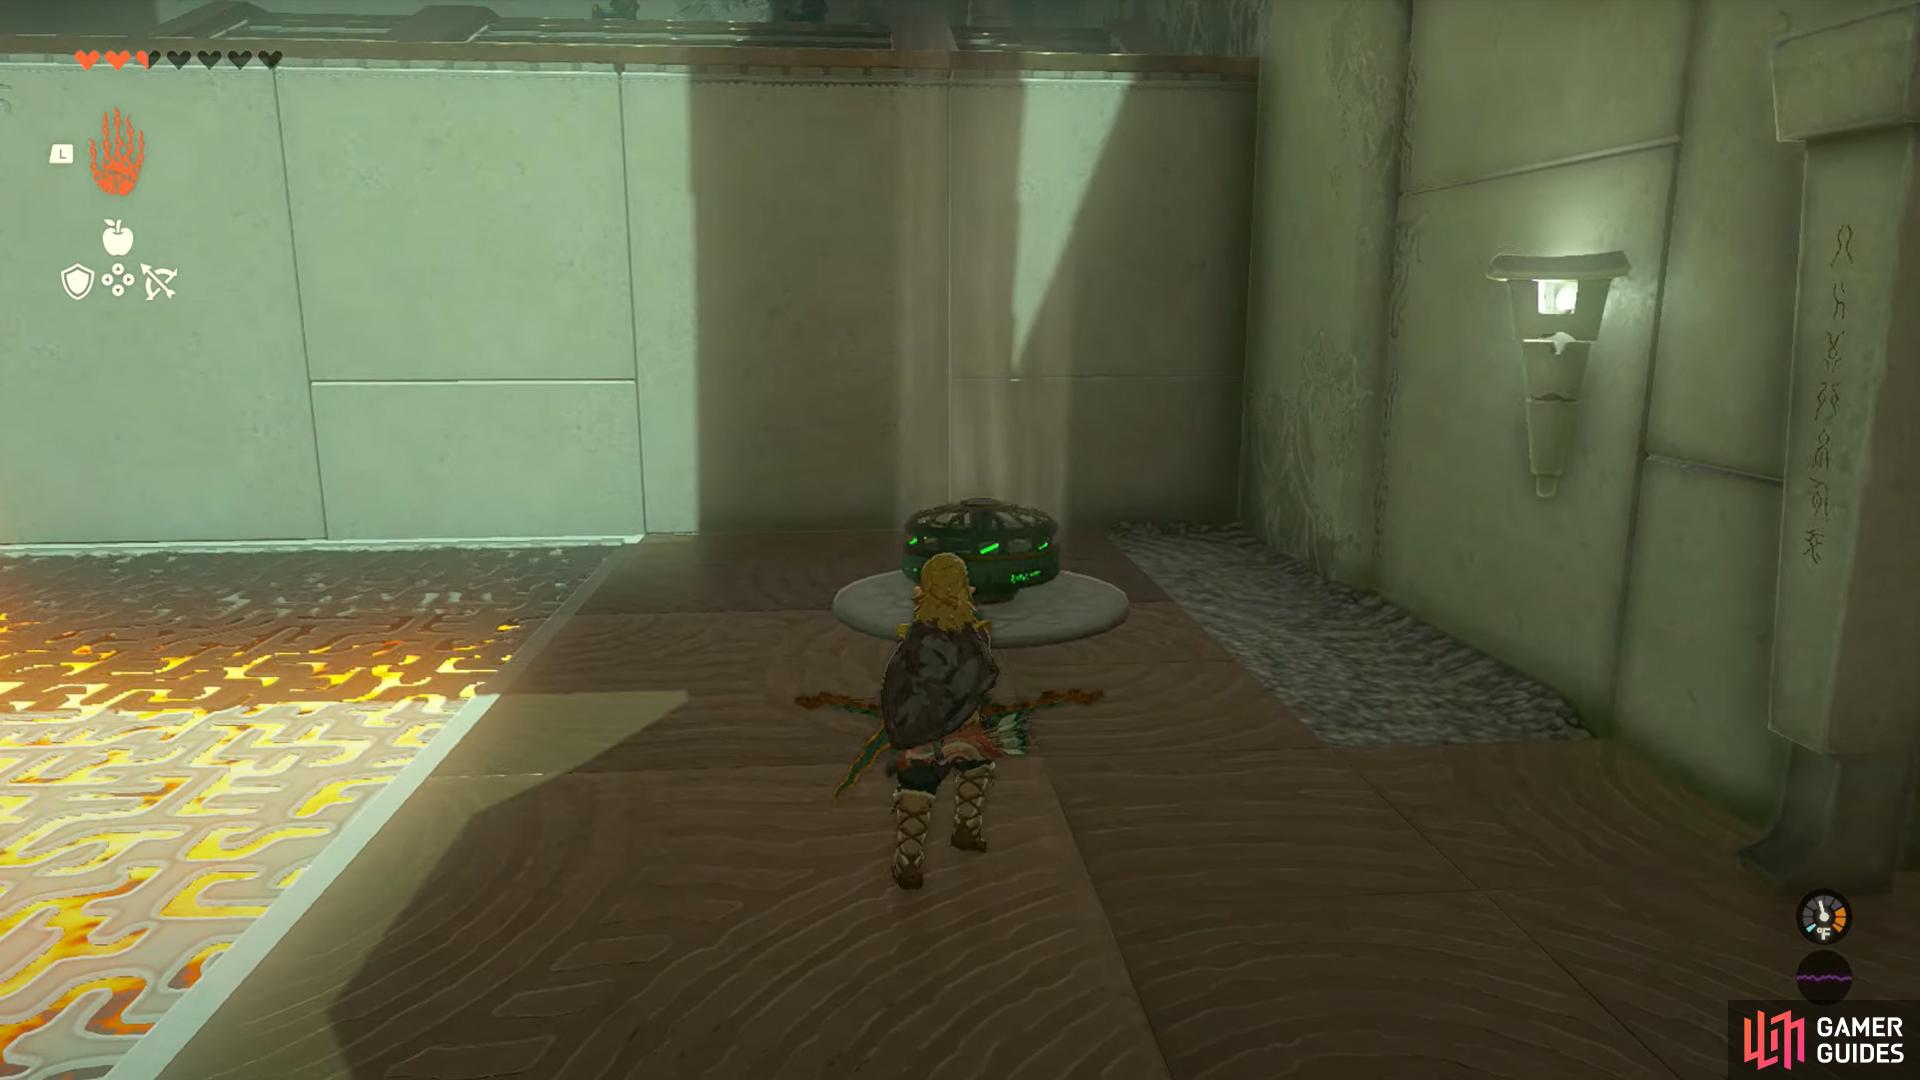
If you lose the ball in the lava don’t worry as it won’t damage it and you can pick it right back up again when you reach where you need to go. Once there, grab the ball and place it in its bowl on the left side, opening the subsequent door.
For this next room, you can perform a bit of a trick to make it as easy as possible. Activate the Fan on your right and hop on to fly up to the platform where you should see hydrants. Grab one and take it back down, angling it to the lava and creating a platform. Take this platform to safety and attach the !Fan to the back.
All you need to do then is activate the !Fan and you’ll be over to the other side safe and sound, allowing you to pick up the all-important Blessing of !Light and thus, completing the shrine.
No Comments