
There are all sorts of contraptions you can make with Link’s new abilities in Tears of the Kingdom, really aiming to get those creative juices flowing. While you’ll be messing around with these in and around Hyrule, there are some cases where you can also do this in shrines in order to complete the puzzles.
The ![]() Oromuwak Shrine is an example of this, requiring you to get some fusing going so you are able to overcome the challenge within. With this guide, we’ll reveal all on what you need to do so you can check this shrine off the extensive list.
Oromuwak Shrine is an example of this, requiring you to get some fusing going so you are able to overcome the challenge within. With this guide, we’ll reveal all on what you need to do so you can check this shrine off the extensive list.
Where to Find Oromuwak Shrine in Tears of the Kingdom
To find the Oromuwak Shrine you’ll need to head to the north west of the map, near the Hebra Mountains. To be more specific, you’re going to want to look north of the Kolami Bridge and east of Rito Village within the Tabantha Frontier.
To help you out, here is a map marker to our interactive map so you can get straight to it.
How to Complete Oromuwak Shrine in Tears of the Kingdom
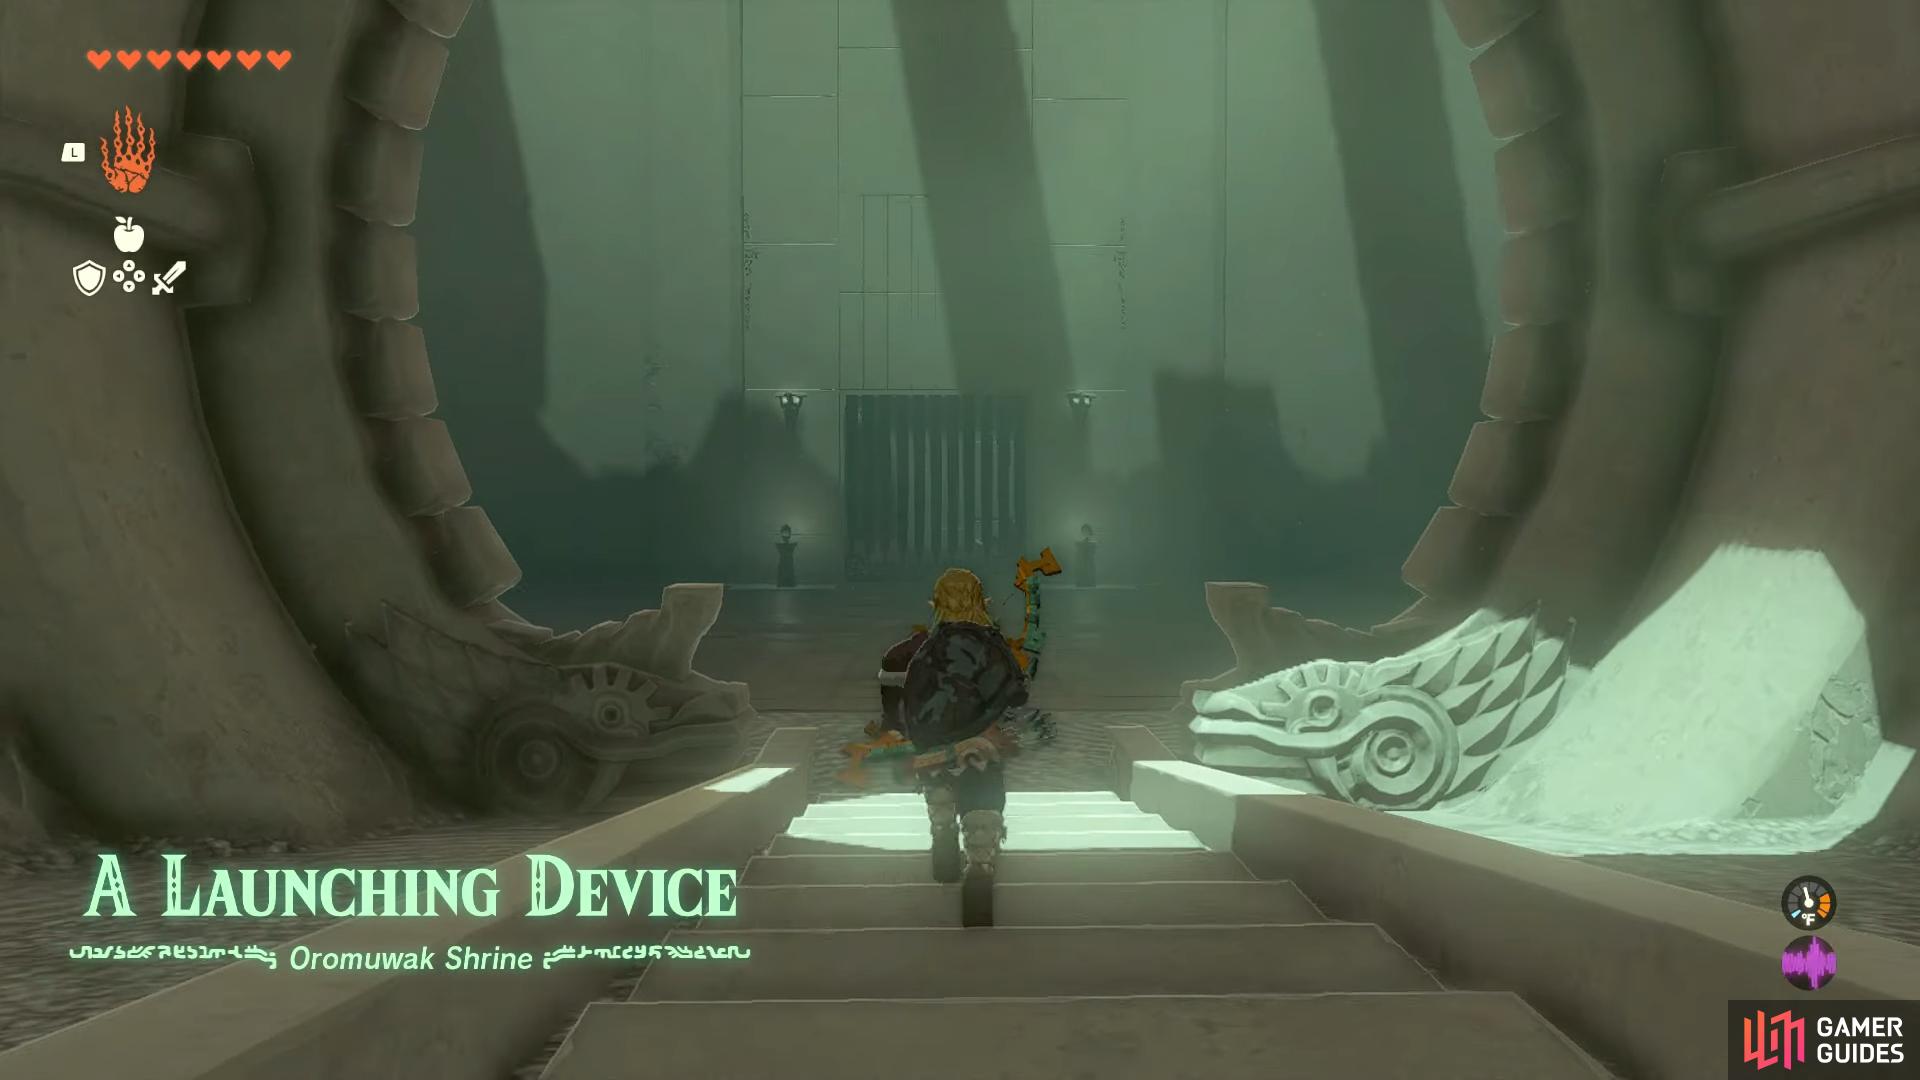
Introducing the !Oromuwak Shrine challenge
As previously suggested, the Oromuwak Shrine is designed to test your ability to fuse objects and since the associated challenge here is called A Launching Device, you know some Rockets are going to be involved.
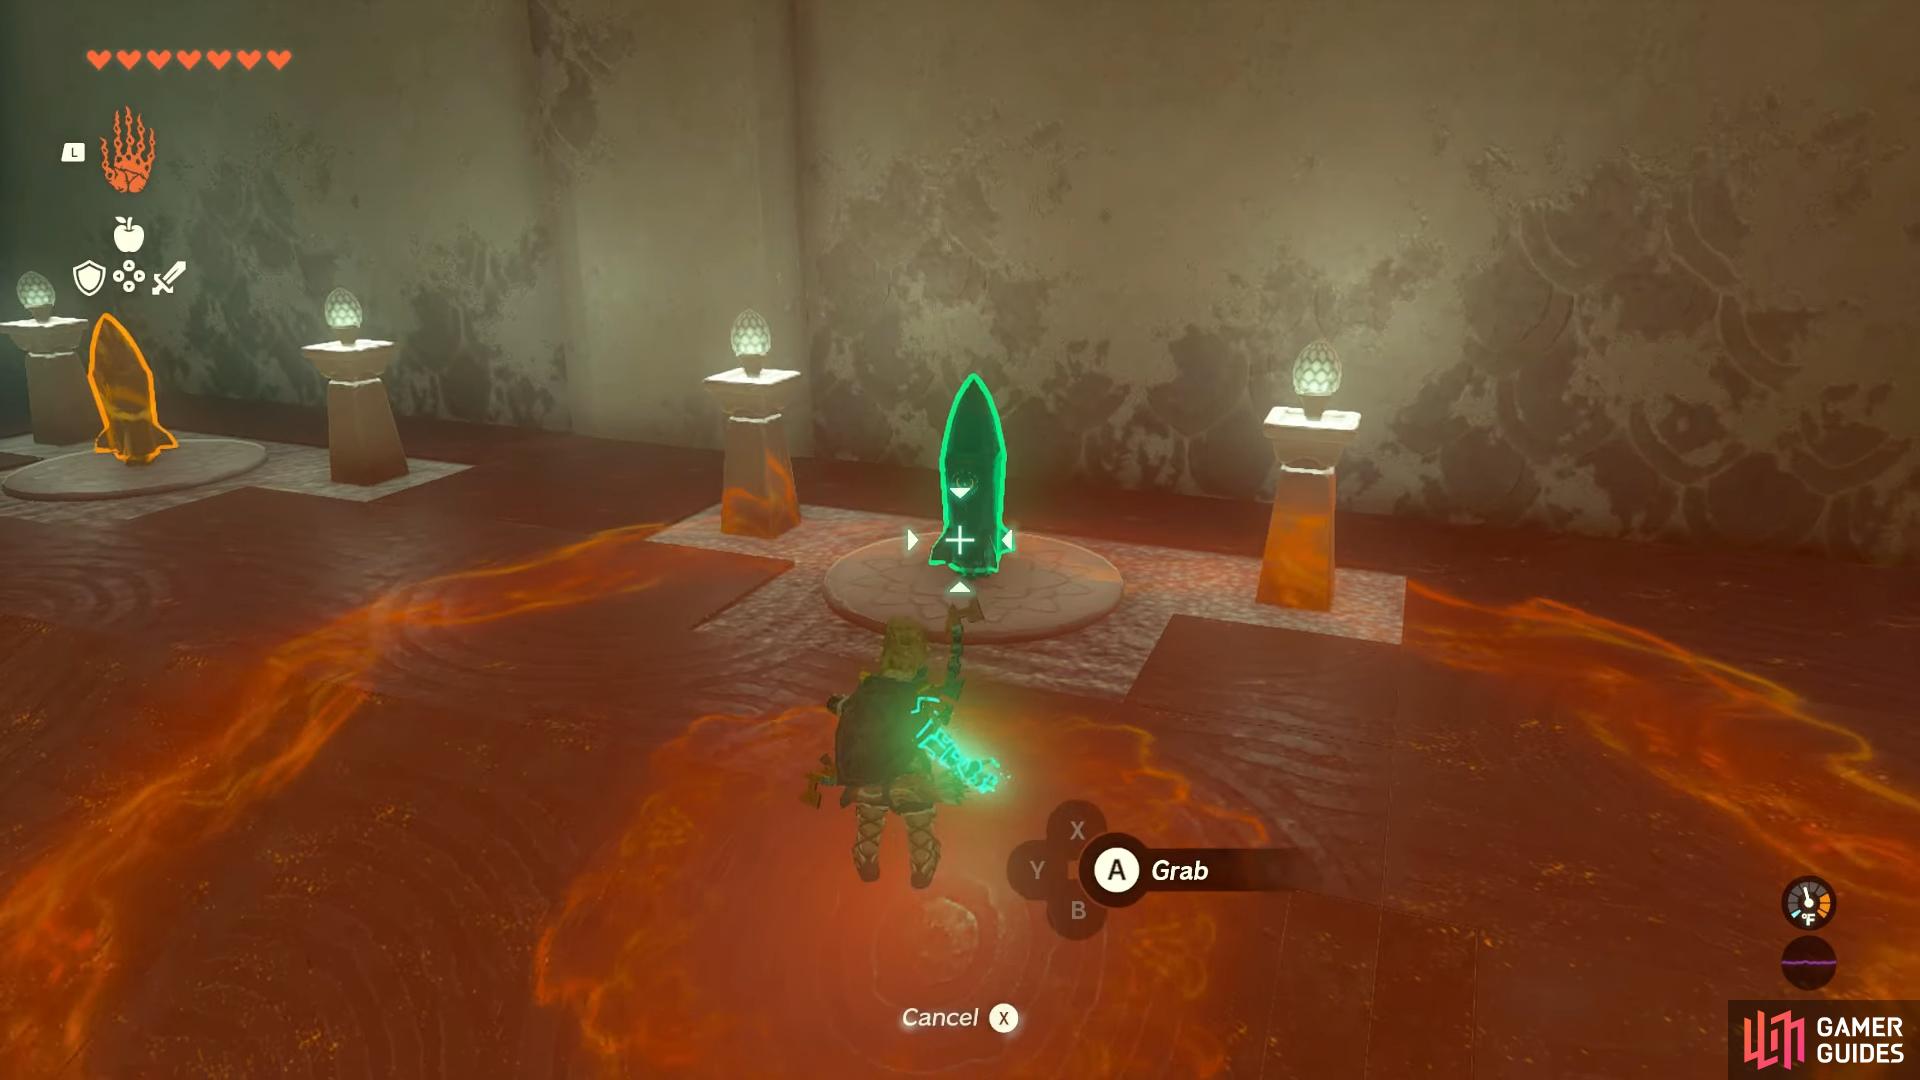
And that’s exactly what you need to do here, use !Rockets in different ways in order to progress the different puzzles. The first of which, you’ll need to simply grab one of the !Rockets made available to you using ![]() Ultrahand and put it on a 90 degree angle. Once this has been done, you’ll then need to place it on the ground so that when you set it off, it slides up the small groove on the raised area in order to hit the subsequent target. Doing so opens a door to the next portion of the shrine.
Ultrahand and put it on a 90 degree angle. Once this has been done, you’ll then need to place it on the ground so that when you set it off, it slides up the small groove on the raised area in order to hit the subsequent target. Doing so opens a door to the next portion of the shrine.
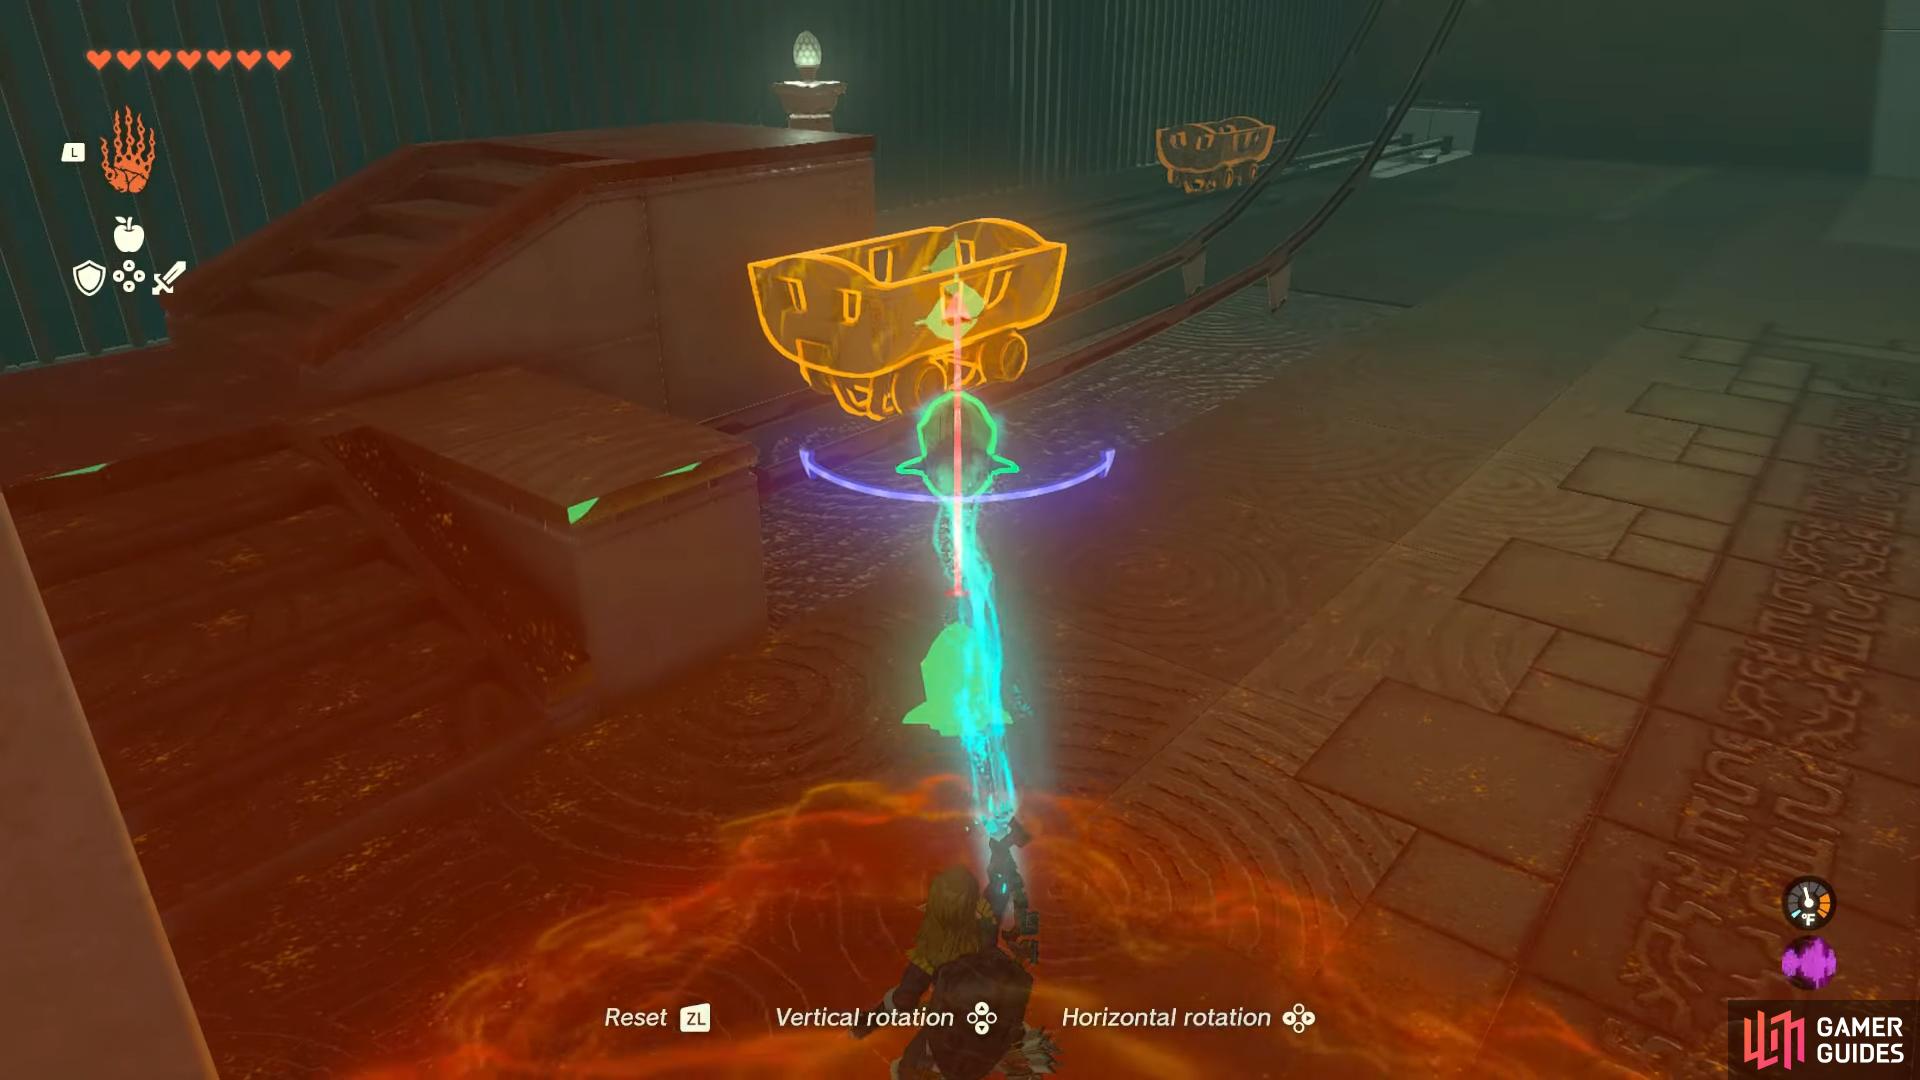
The next area sees you using !Rockets once more but in conjunction with a minecart. Grab one of the !Rockets from the starting area and again but it on a 90 degree angle. Now you need to fuse it to the back of the minecart in order to progress up the rails. Ensure that the thrusters are facing toward you otherwise you’ll be going nowhere. After getting the correct fusion, jump into the cart and hit it to activate, propelling you up to the next area, completing this section.
Now, you’ve made it to the final part of the challenge. Here, you’ll have to essentially use what you’ve learned in the previous two areas and combine that to finish the shrine off.
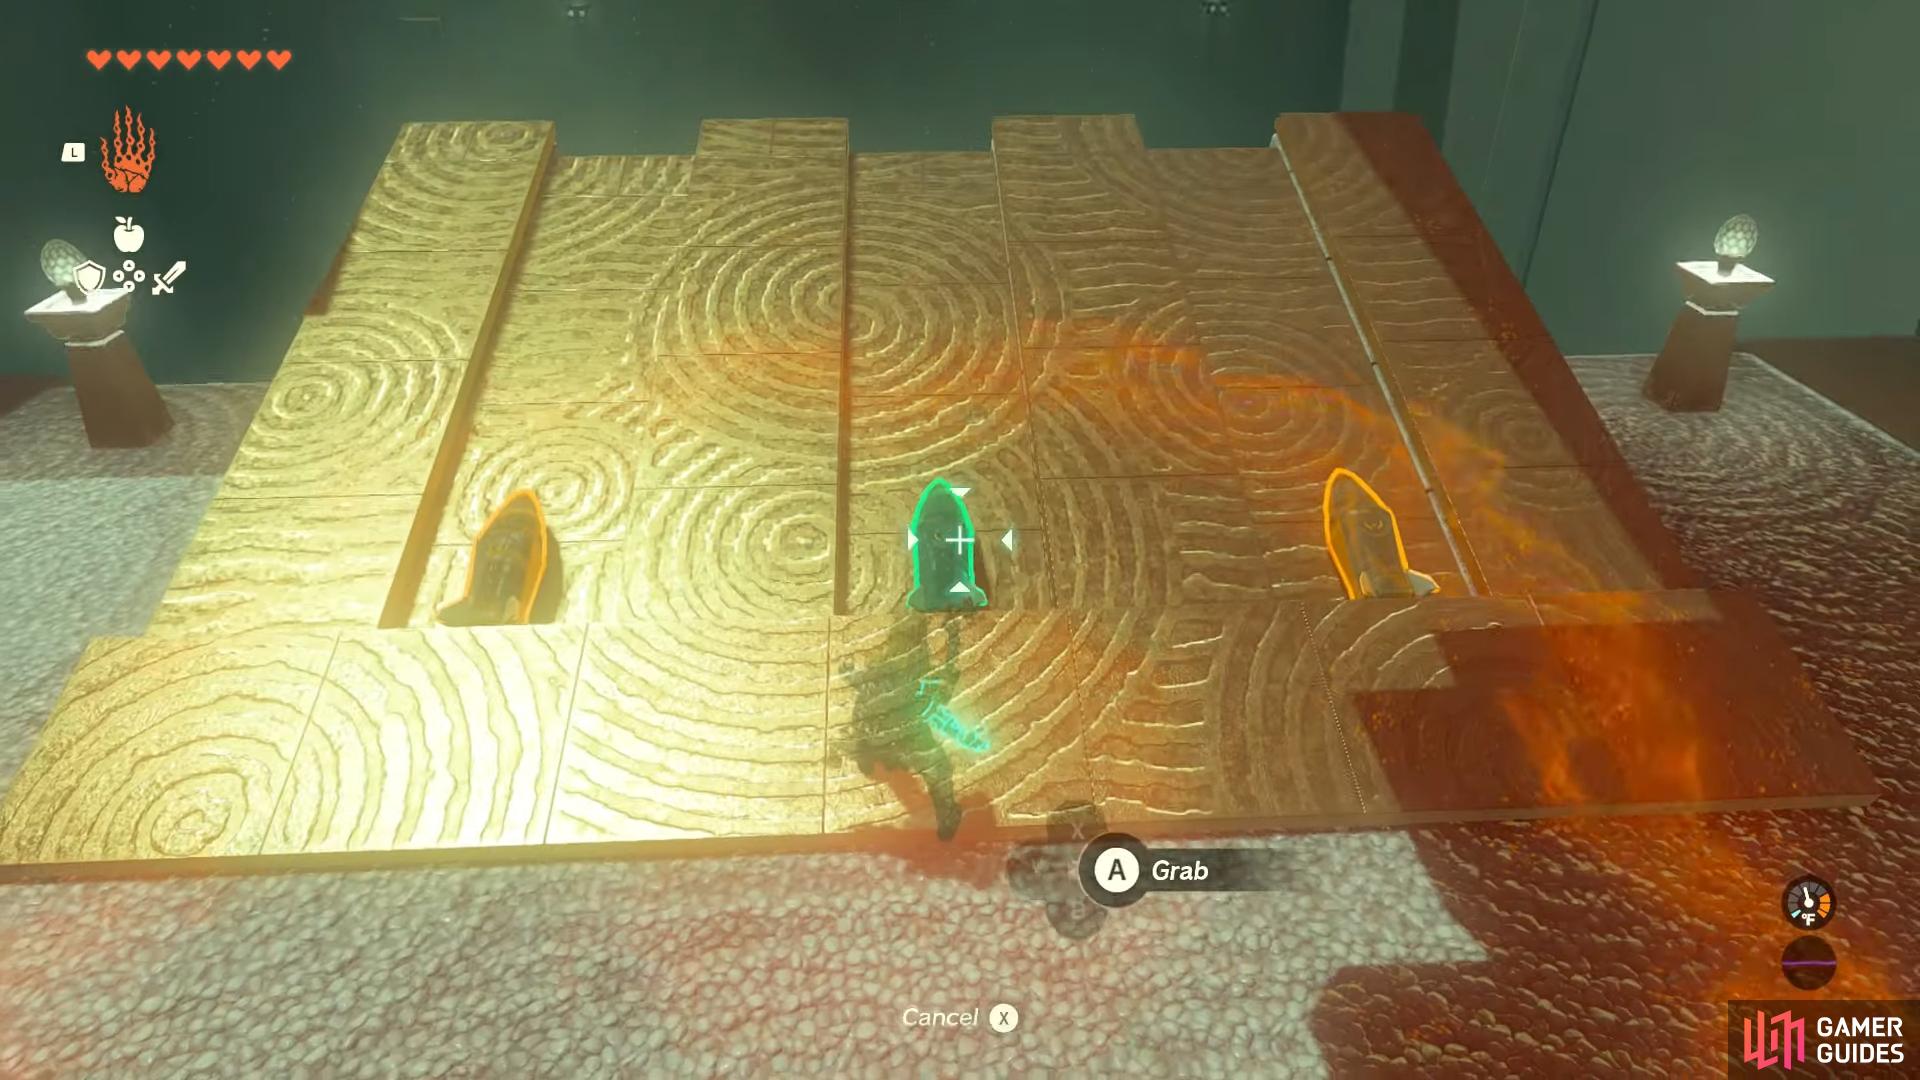
To start, grab one of the !Rockets off the elevated area using Ultrahand and look to fuse it on one of the minecarts. This time, fuse it to the back once more but with the thrusters facing to the cart instead of you. Then, pick up the fused minecart and place it in one of the grooves where you grabbed your !Rocket from. Jump inside and activate the contraption to fly over to the other side.
And with that, you will have completed the Oromuwak Shrine, allowing you to simply grab your Blessing of Light and head on outside!
No Comments