
In Tears of the Kingdom there are a plethora of thought provoking shrines, really reqwuiring you to use your brain in order to figure them out. However, there are also some that just challenge you to a fight.
Whereas you might think that these would be a breeze, you are stripped of all of your gear, making these live up to their Proving Grounds naming convention. The ![]() Otak Shrine is one of these shrines that proposes a challenge of this ilk, and this guide details exactly how to overcome it.
Otak Shrine is one of these shrines that proposes a challenge of this ilk, and this guide details exactly how to overcome it.
Where to find Otak Shrine in Tears of the Kingdom
Before moving to how to complete it, where is the Otak Shrine actually located? Well, get your cold weather gear on because you’re heading to Hebra. In fact, you’ll be going to the most north westernly point on the map for this shrine making it really off the beaten track.
To aid you here, here is a map marker on our interactive map to alleviate some of the struggles.
How to Complete Otak Shrine in Tears of the Kingdom
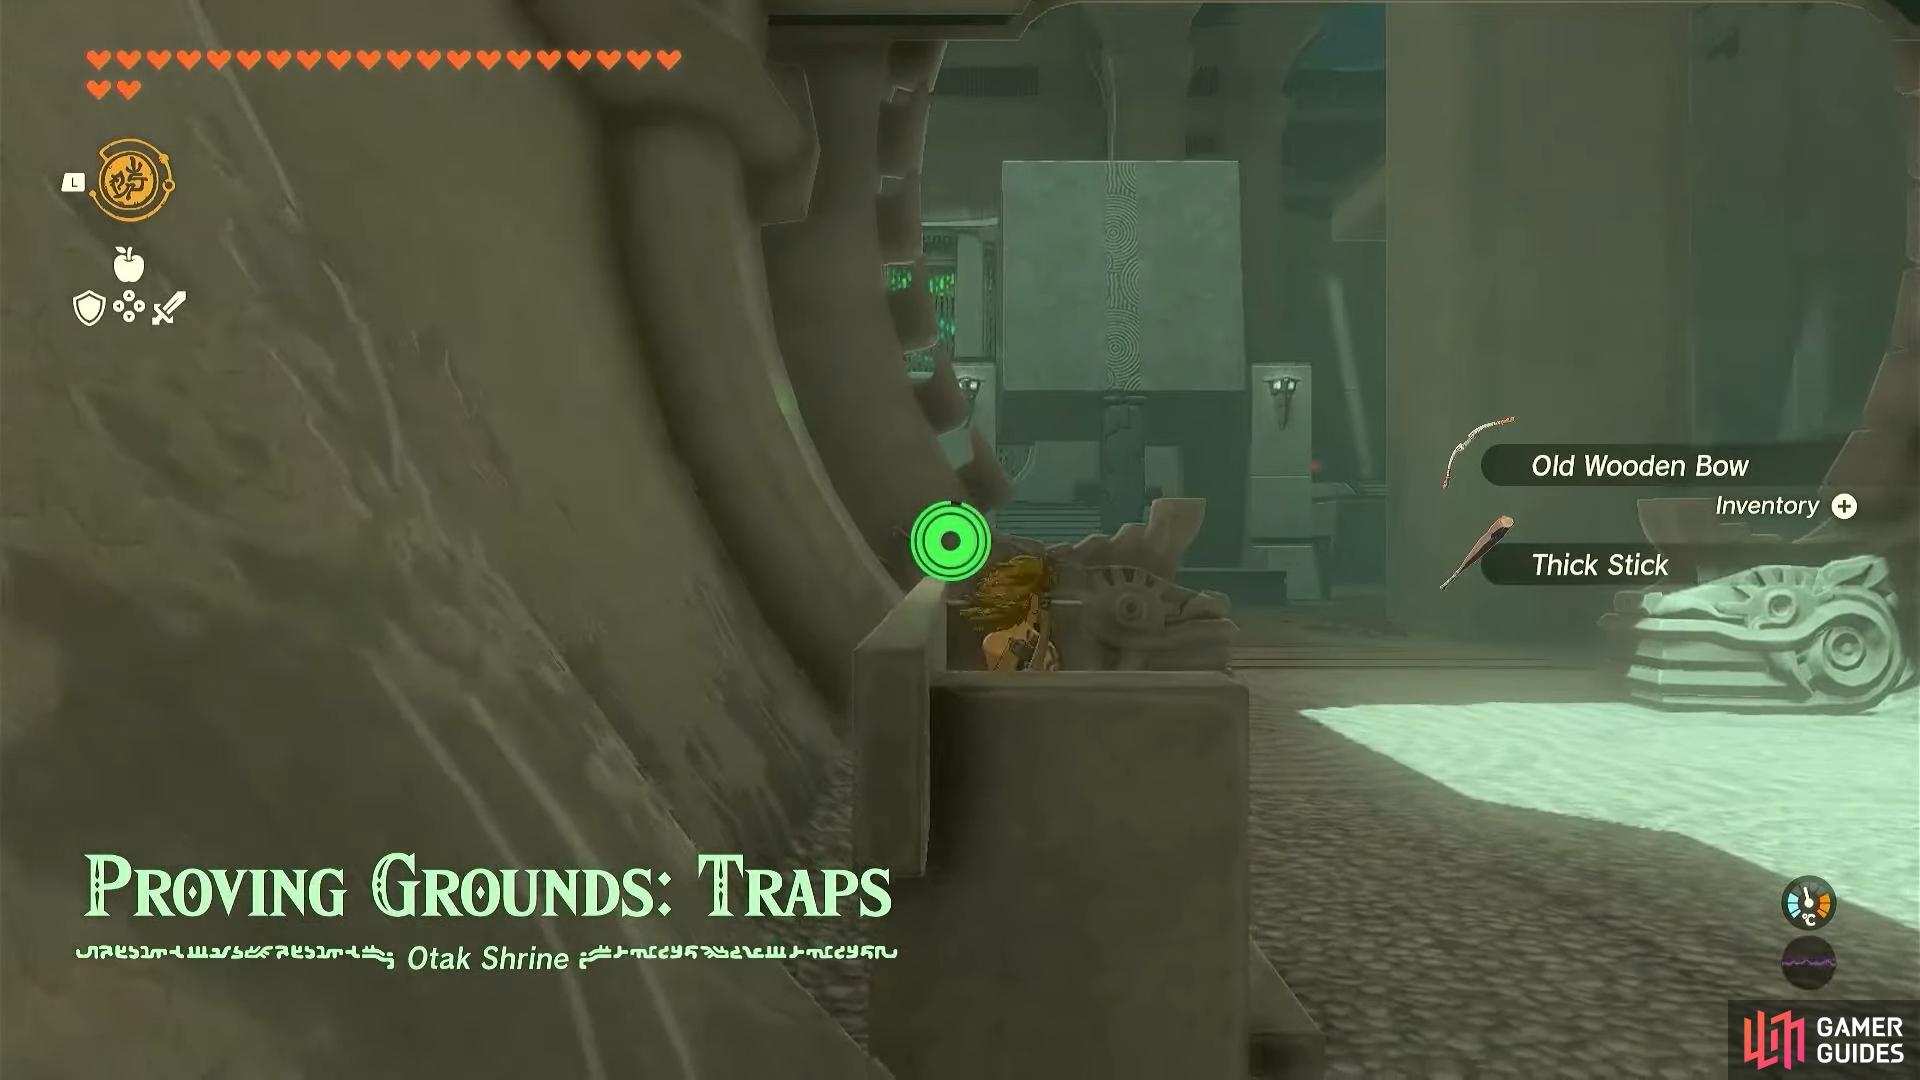
The start of the Proving Grounds: Traps challenge
This Proving Grounds battle is called “Traps” and although this might seem a bit ominous, you can bypass a lot of the pitfalls. The strategy we employed is one attack and in our opinion, it is probably the best way to go. Obviously, you’ll need to pick up the weapons that are made available to you when you enter so ensure you do before sprinting in.
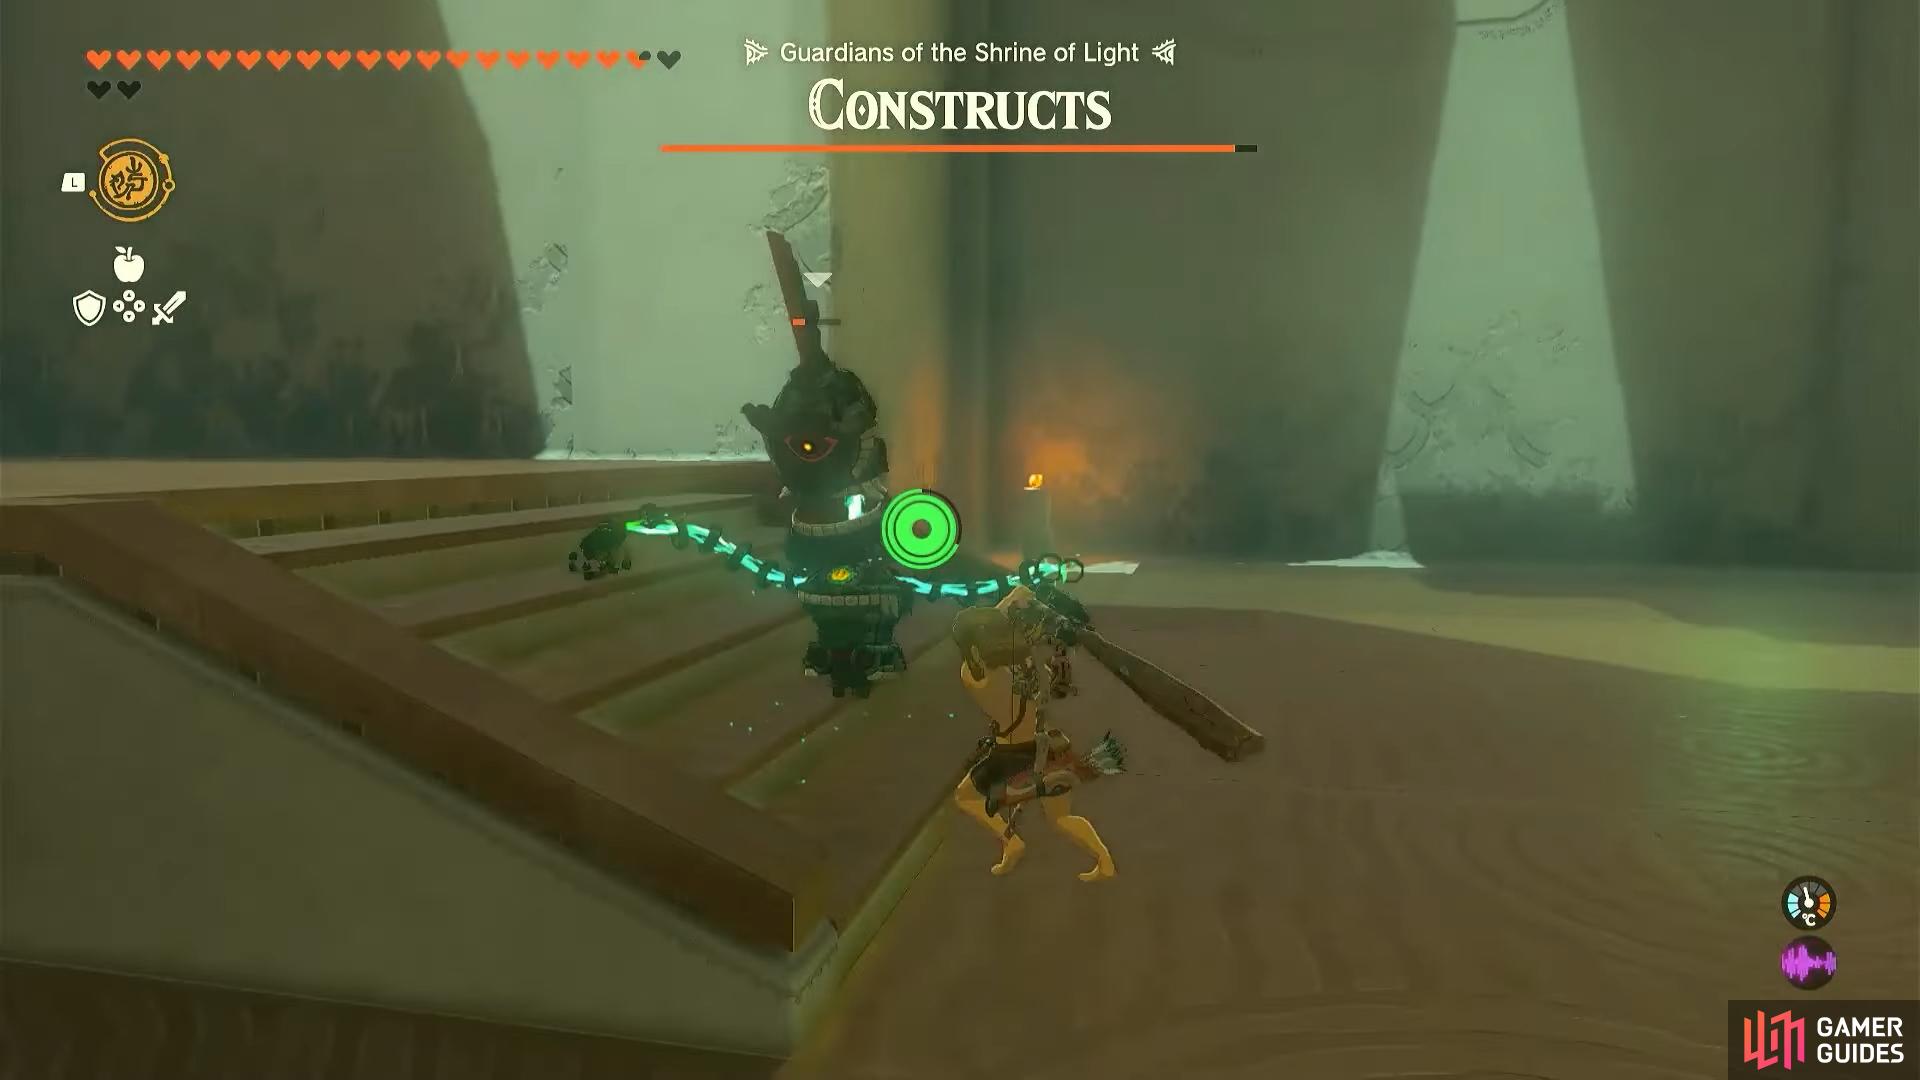
Your first port of call is to take on the Constructs on the left side of the room. Run straight over there and aim to take out the Construct with the lesser horn as you’ll want to get this one out of the way simply as it just gets in the way when taking on its more powerful counterpart. This is because the best way to destroy it is to use your bow to stun it with headshots, following up with physical attacks in an effort to mitigate any incoming damage. If you’re struggling, get a little distance by moving closer to the start of the shrine but ensure you don’t aggro any other enemies.
After defeating both of these, pick up the materials that they drop, especially the ![]() Rusty Halberd. This can then be fused with the
Rusty Halberd. This can then be fused with the ![]() Soldier Construct II Horn, creating a more powerful weapon for the next battles.
Soldier Construct II Horn, creating a more powerful weapon for the next battles.
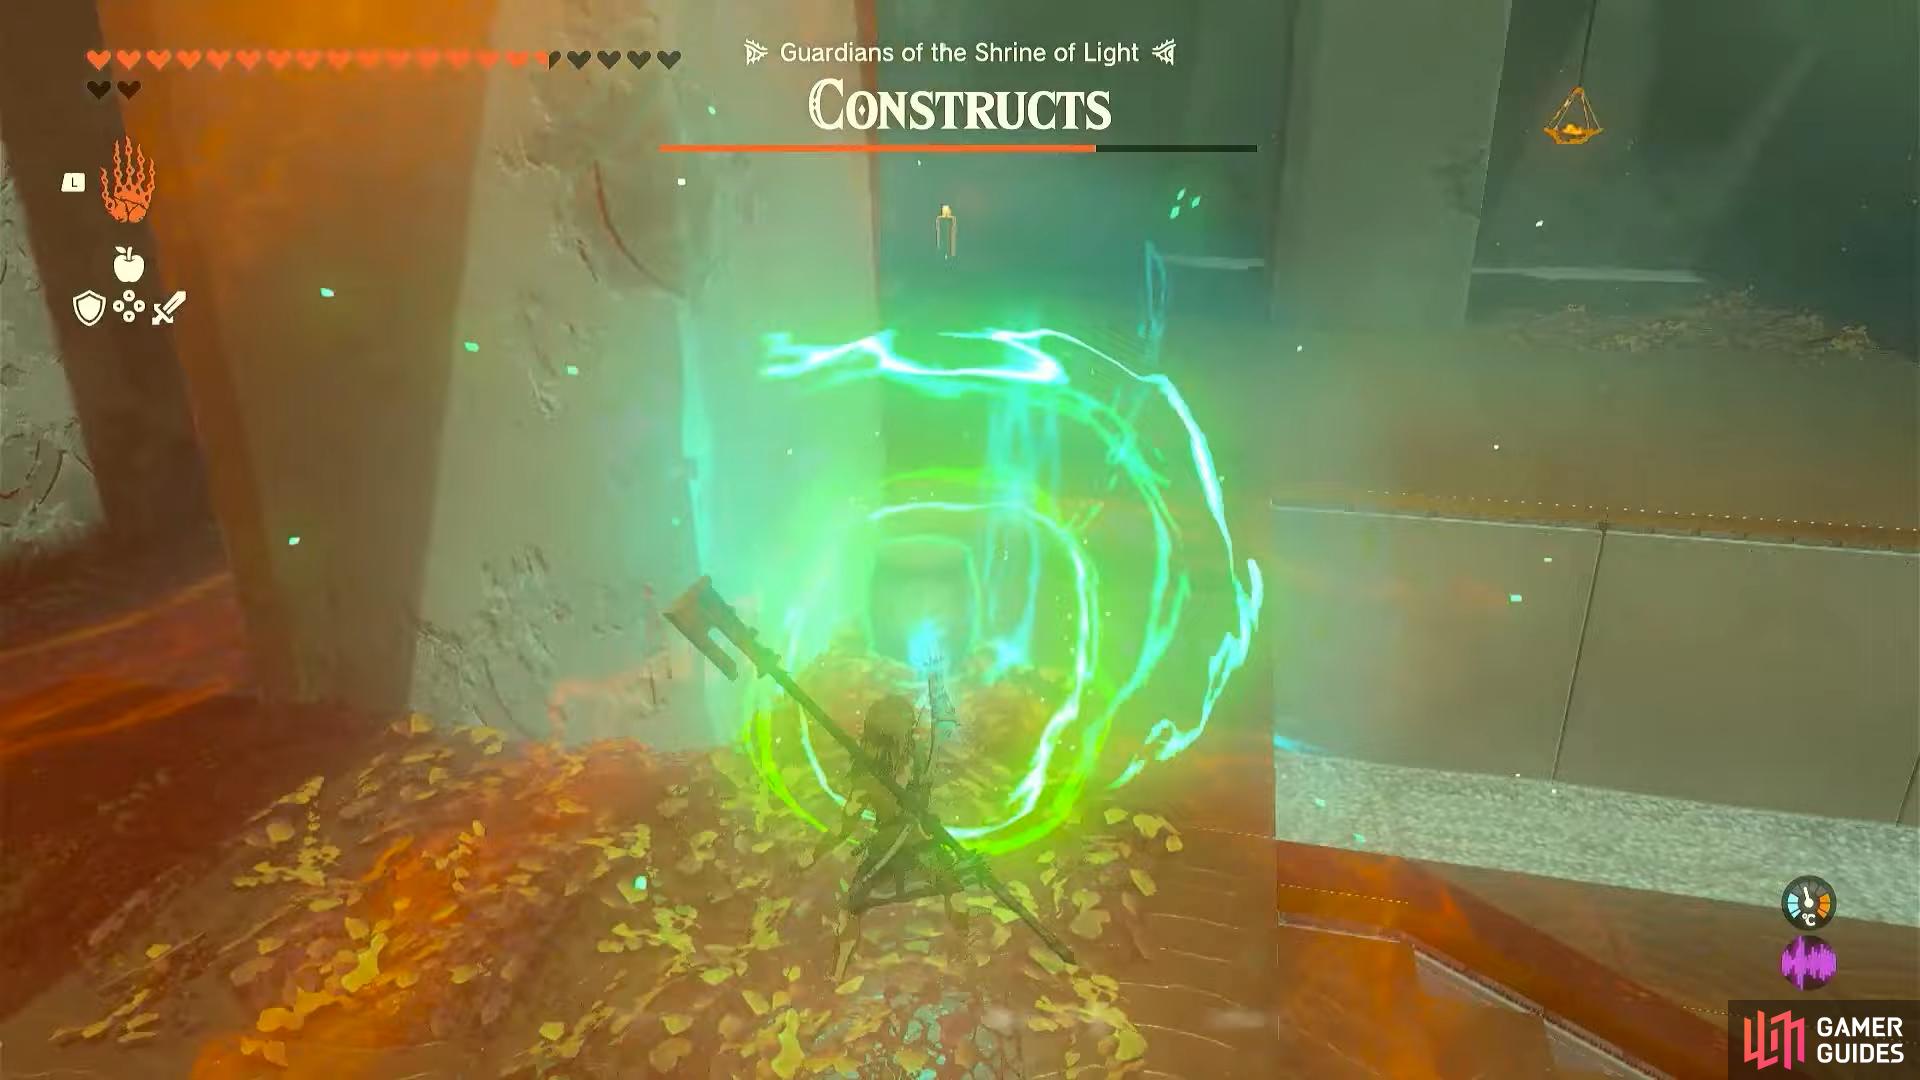
For the next part of the fight look to move toward the middle of the shrine where you should be able to see a red exploding barrel. This is key to getting a sneak attack off on the next set of enemies, hopefully getting rid of them before they can get a look in. To do this, almost hug the pillar and use ![]() Ultrahand to pick the barrel up and subsequently drop it on the enemies close by. This should do enough damage to defeat at least one of them and then you can mop up the other by using a bow from afar and following up with physical attacks if necessary.
Ultrahand to pick the barrel up and subsequently drop it on the enemies close by. This should do enough damage to defeat at least one of them and then you can mop up the other by using a bow from afar and following up with physical attacks if necessary.
Again, these will drop some materials which can be used. Pick up the ![]() Zonaite Spear and fuse it to the Soldier Construct II Horn once more. This will create a slightly more powerful weapon and allow you not to worry about the other breaking.
Zonaite Spear and fuse it to the Soldier Construct II Horn once more. This will create a slightly more powerful weapon and allow you not to worry about the other breaking.
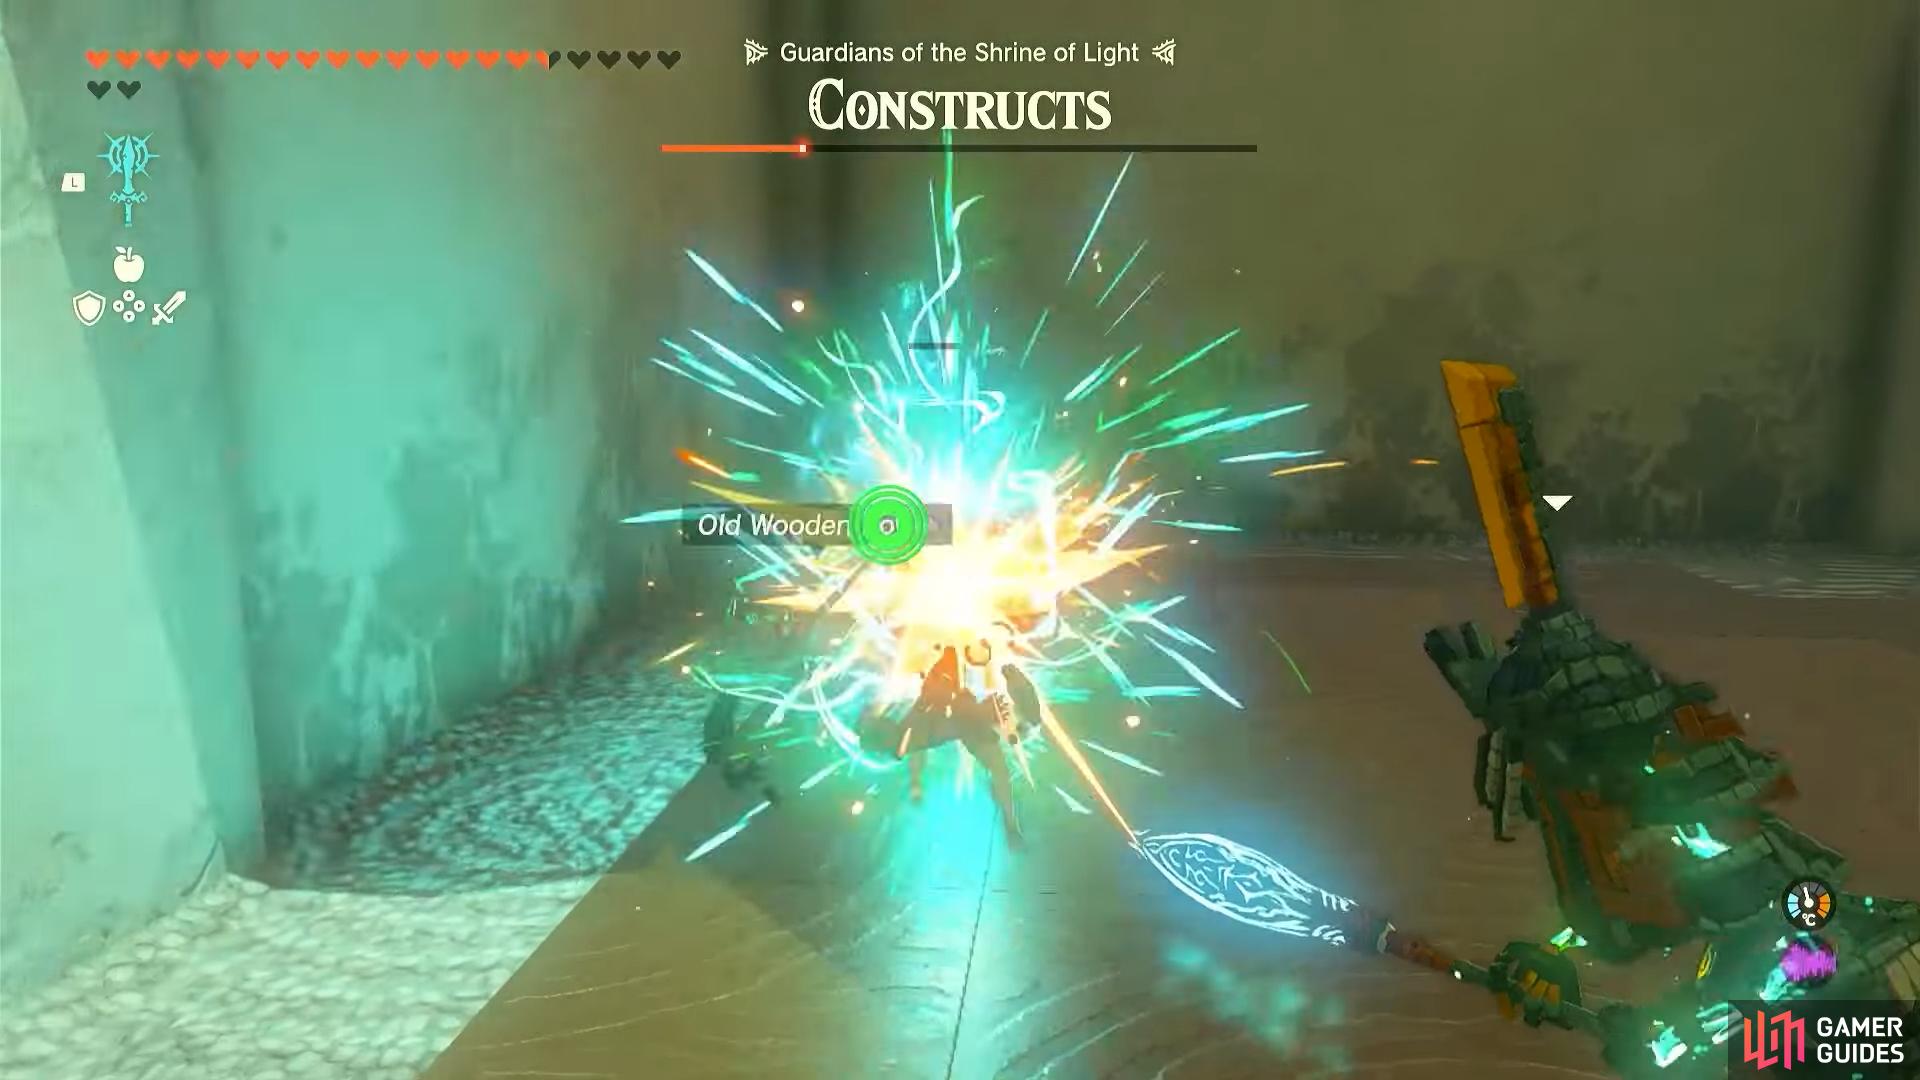
Now you can move to the next two enemies on the right. Here you can perform a similar attack to that of the first but with better weapons this time. If you’re worried about the number of hearts you have at this point though, you can use the ![]() Zonaite Shield you will have just picked up in conjunction with a one handed weapon to parry if need be.
Zonaite Shield you will have just picked up in conjunction with a one handed weapon to parry if need be.
Once those final enemies are out of the way your equipment will be returned to you and you’ll be free to exit. On your way out, you’ll be greeted by a chest containing a bow for your troubles as well as picking up that all-important ![]() Light of Blessing.
Light of Blessing.
No Comments