
While most shrines in Tears of the Kingdom can be figured out pretty easily, there are some that pose a more difficult challenge due to different moving parts within. The Tauyosipun is one of these requiring you to both get your thinking cap on to solve the puzzle as well as getting the timings right.
This guide is going to take you through exactly how to complete the ![]() Tauyosipun Shrine, hopefully allowing you to progress this shrine as soon as possible and onto the next!
Tauyosipun Shrine, hopefully allowing you to progress this shrine as soon as possible and onto the next!
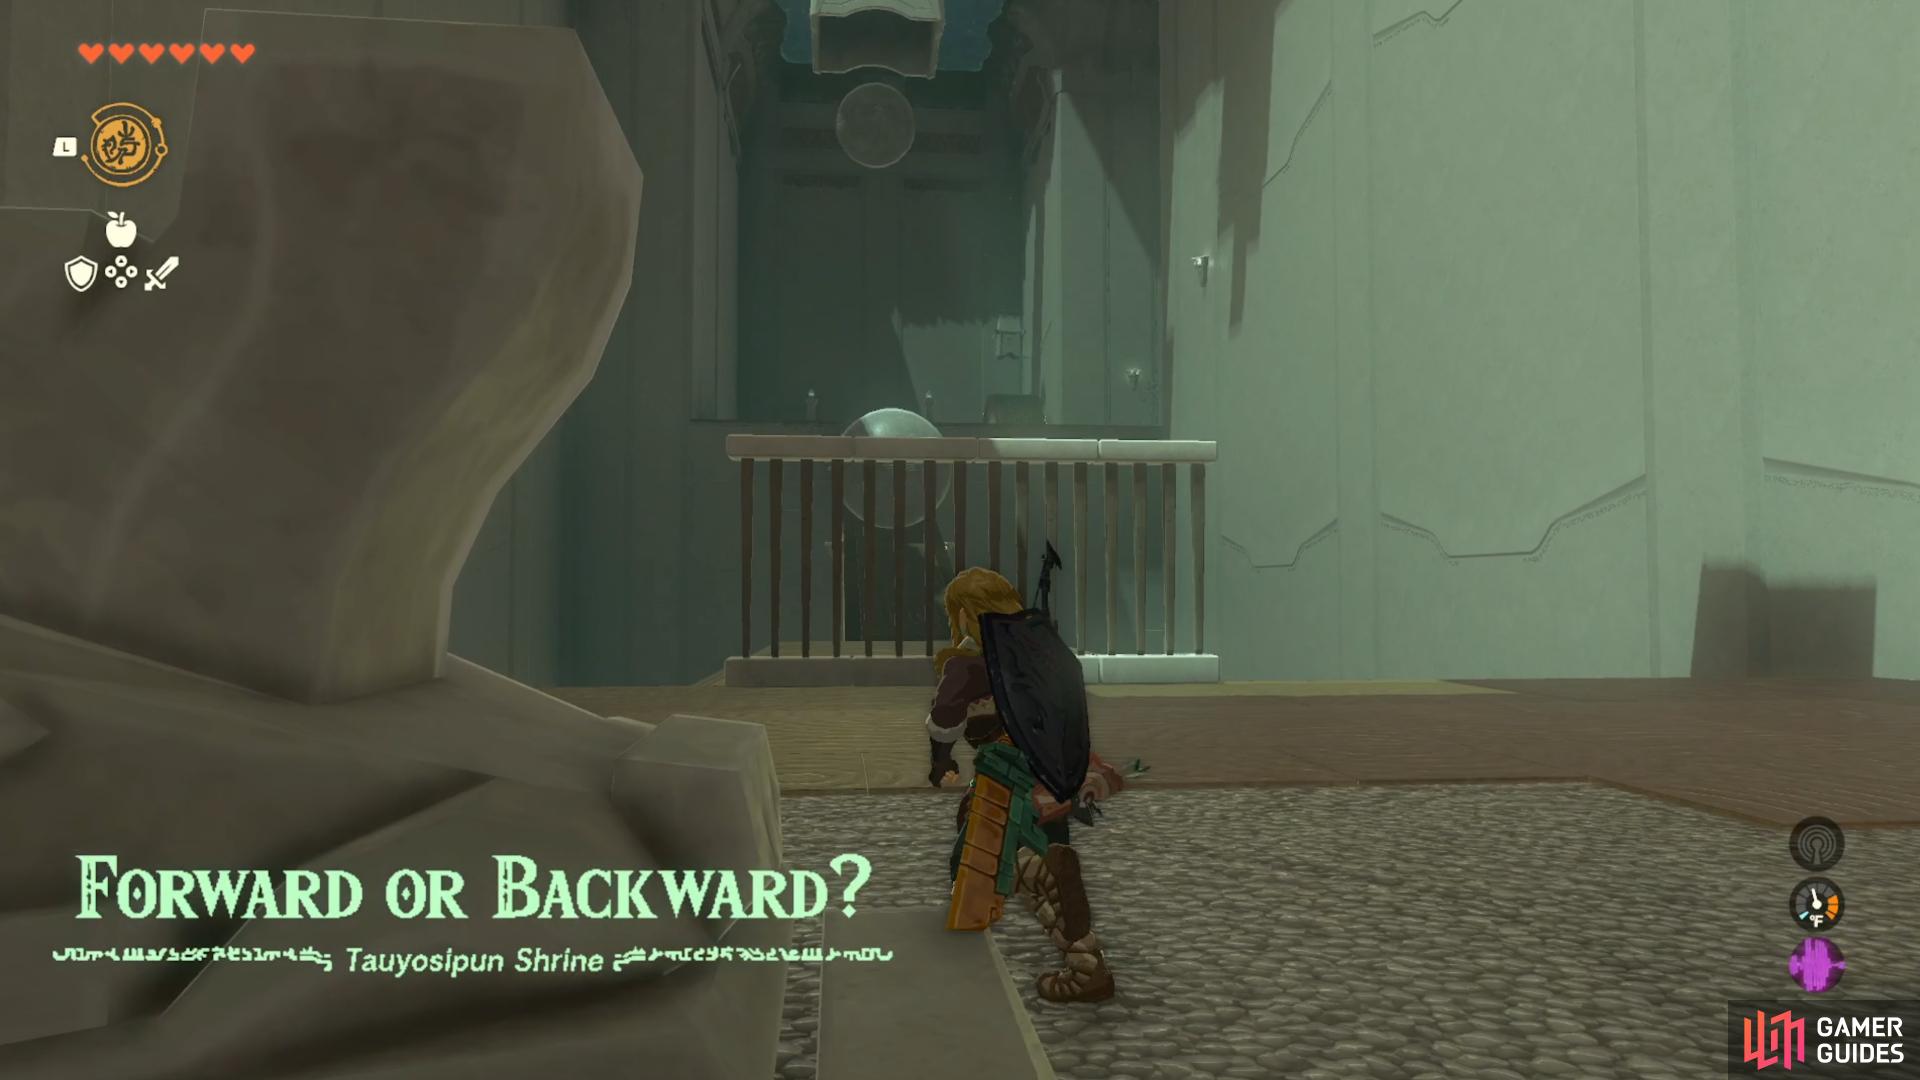
Tauyosipun Shrine is all about utilising your !Recall ability.
Where to Find Tauyosipun Shrine in Tears of the Kingdom
Before we get into how to complete it, let’s first run through where you need to get to access the Tauyosipun Shrine in Tears of the Kingdom.
You’ll be heading to the Hebra Mountains region for this one, more specifically in the western area here around the Hebra West Summit. It’s actually the only shrine in this area so you won’t be getting it mixed up with potentially any others.
If you’re still unsure on locating it though, here’s a map marker from our interactive map, hopefully guiding you right to it.
How to Complete Tauyosipun Shrine in Tears of the Kingdom
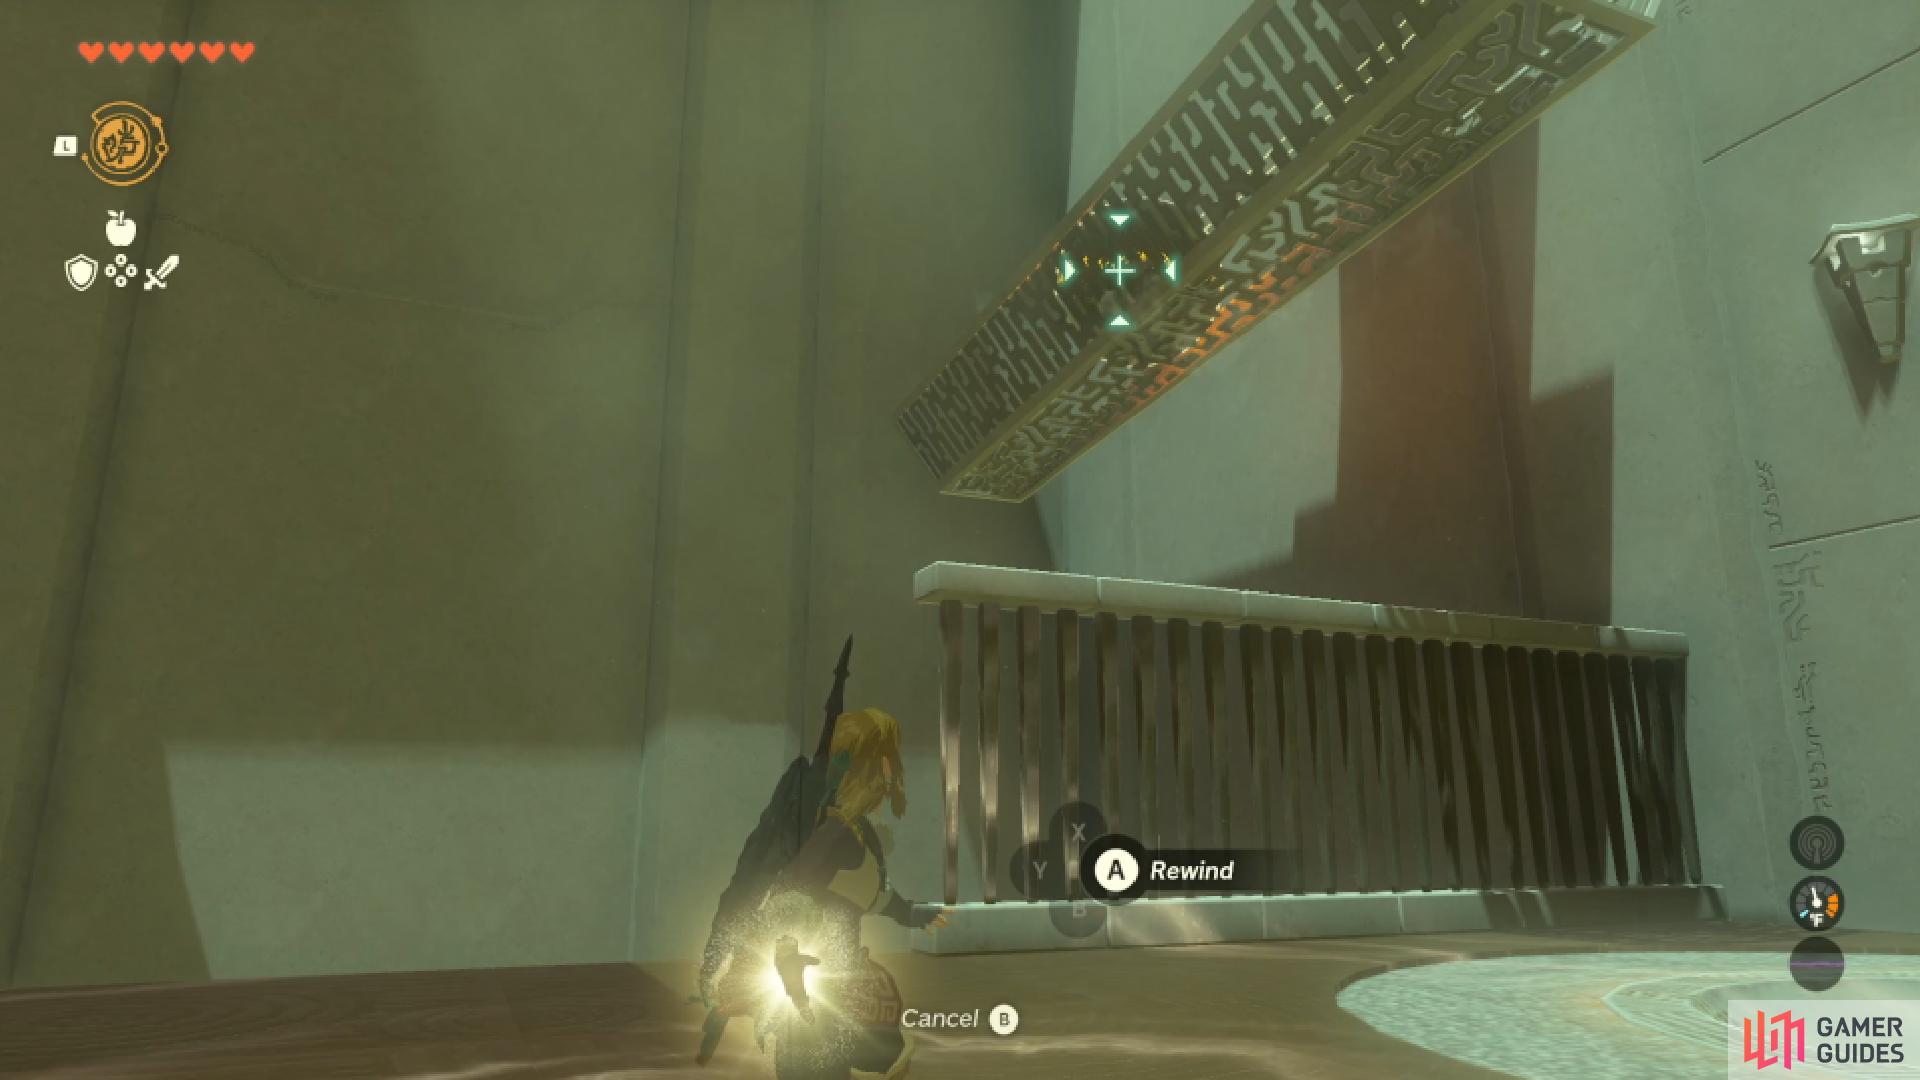
Once you’re inside the shrine, you’ll quickly understand why we’ve stated that there are some moving parts to this one. You’ll be greeted by a large ball rolling toward you, blocking your path ahead. This part is pretty simple as you’ll just need to use your ![]() Recall ability on the ball to send it right back where it came from, allowing you to follow behind and make it up the slope.
Recall ability on the ball to send it right back where it came from, allowing you to follow behind and make it up the slope.
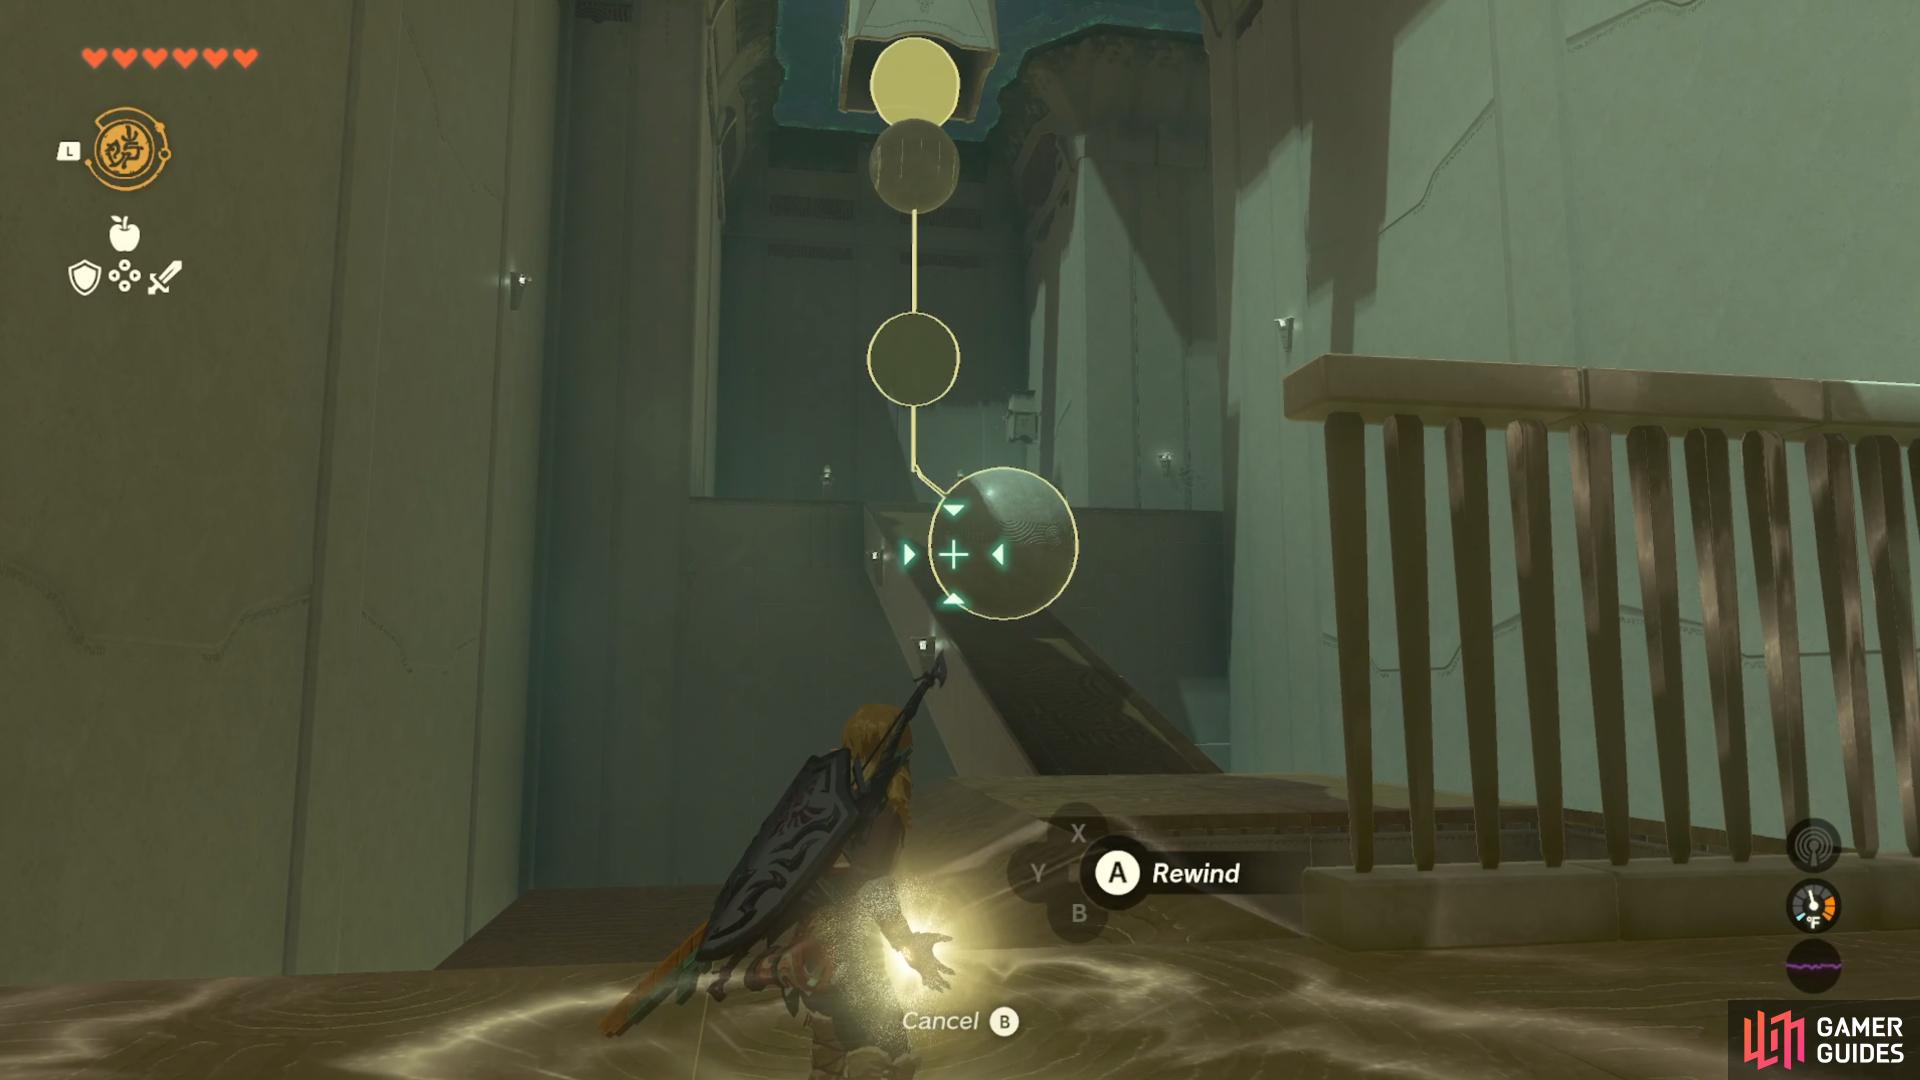
Using !Recall to send the ball back up the slope
then travel up the slope with the path now open.
After this, you can employ the same tactic on the wheel that is knocking the chest away from you. Again, just use Recall and the chest should be spat out right in front, allowing you to secure the rewards from within.
Using !Recall on the wheel to get the chest.
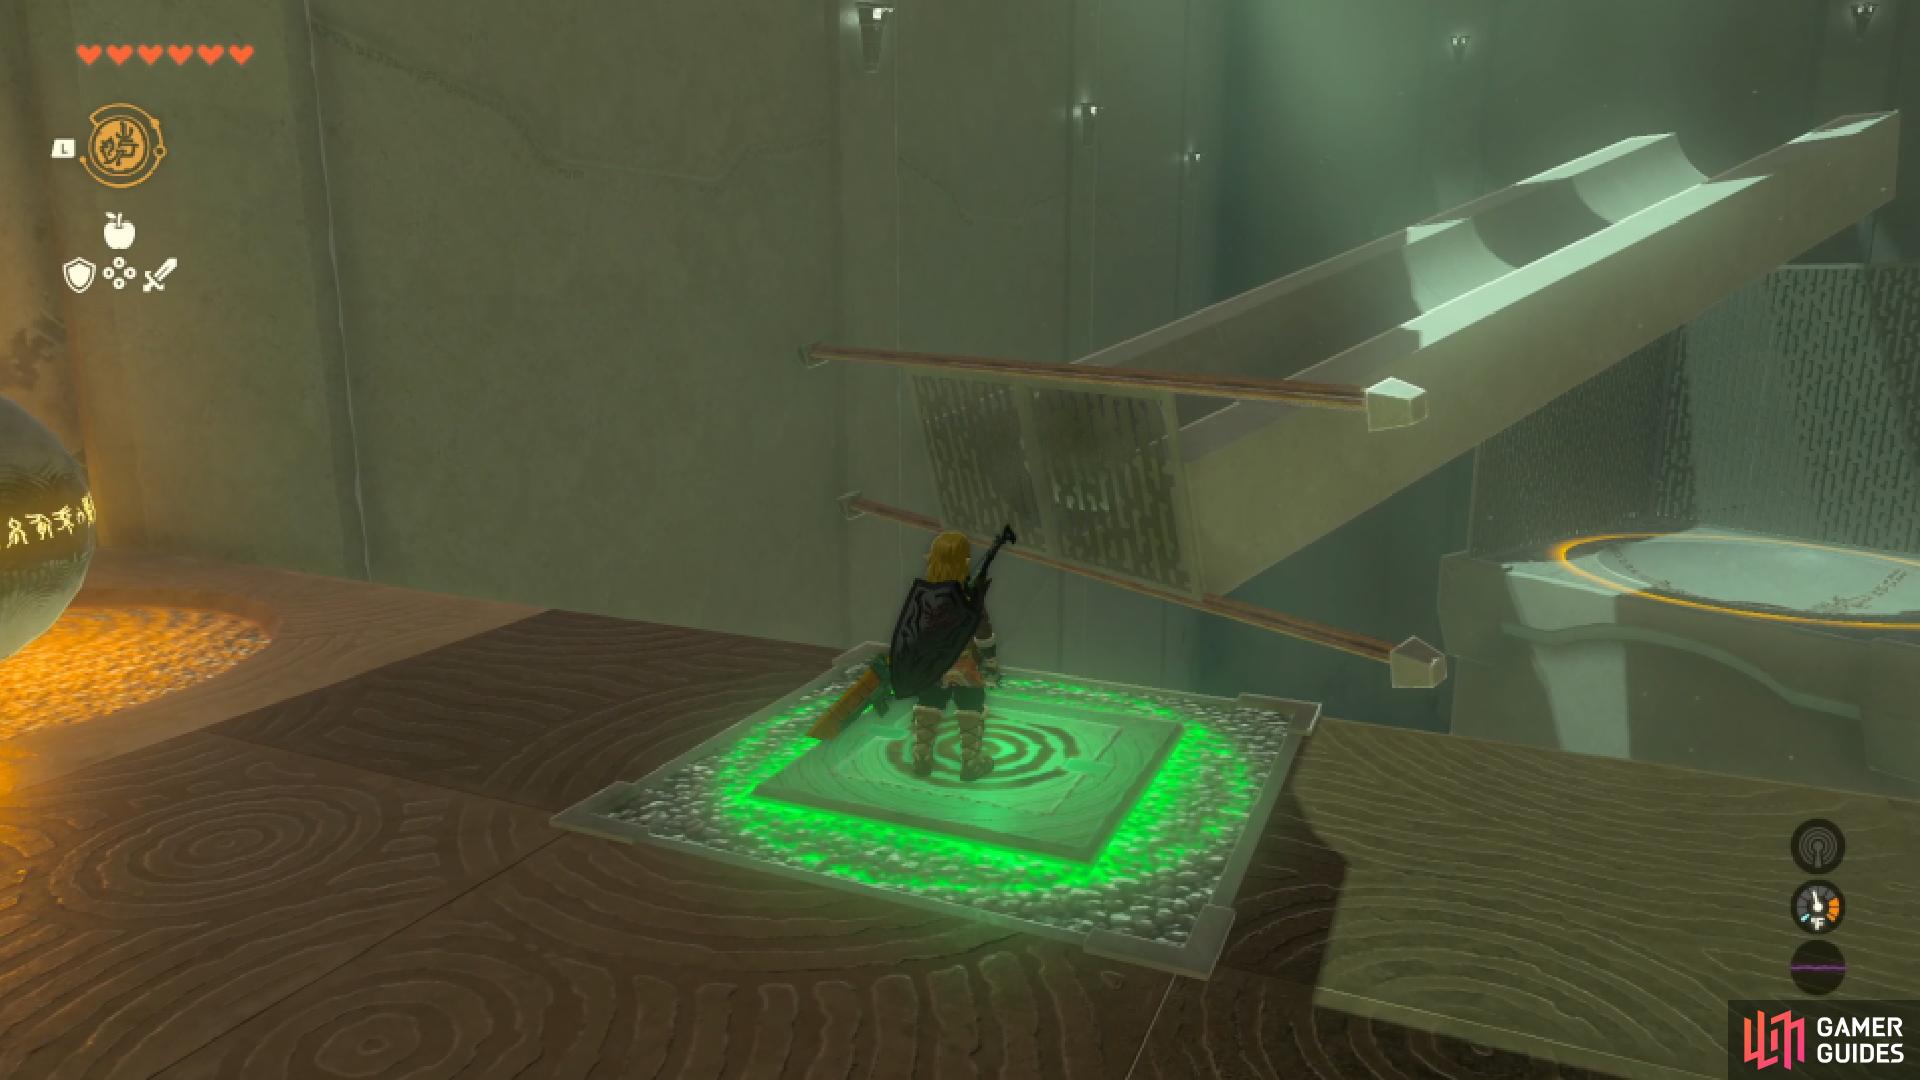
Progress up the stairs to the next part of the puzzle, and this is where things can get a little tricky. You’re presented with a similar ball rolling down a slant like before, but this time, there’s a contraption that can be used as well as a large bowl for the ball to be sent into. The solution to this part is to first stand on the square button, where a set of gates should shut at the end of the angled structure, trapping the ball that is being dispensed.
Then, look to the other ball that is placed to your left. Use ![]() Ultrahand on this and drop it right in front of the trapped ball on the chute. While staying on the button, use your Recall ability once more on the initial ball that you trapped. This will propel the second ball that you placed up and off the top of the slope, into the bowl, opening the path forward.
Ultrahand on this and drop it right in front of the trapped ball on the chute. While staying on the button, use your Recall ability once more on the initial ball that you trapped. This will propel the second ball that you placed up and off the top of the slope, into the bowl, opening the path forward.
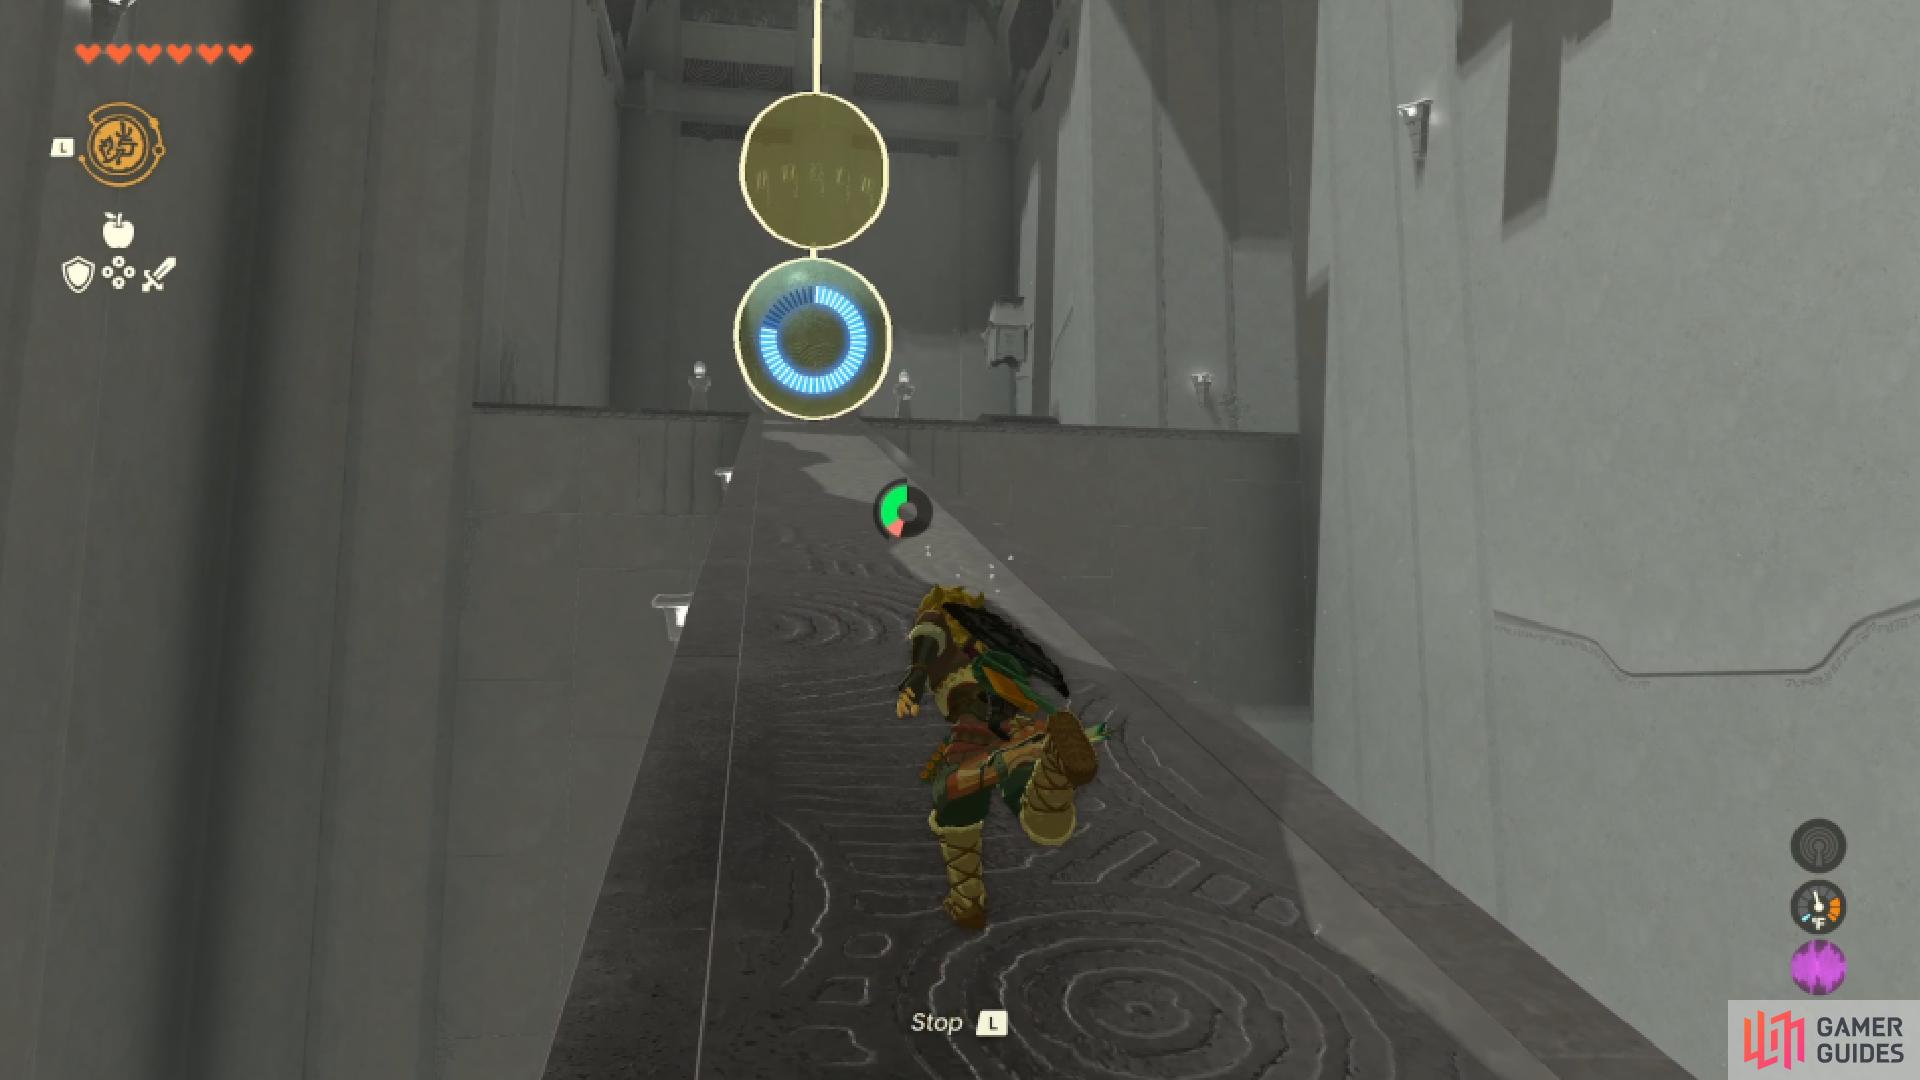
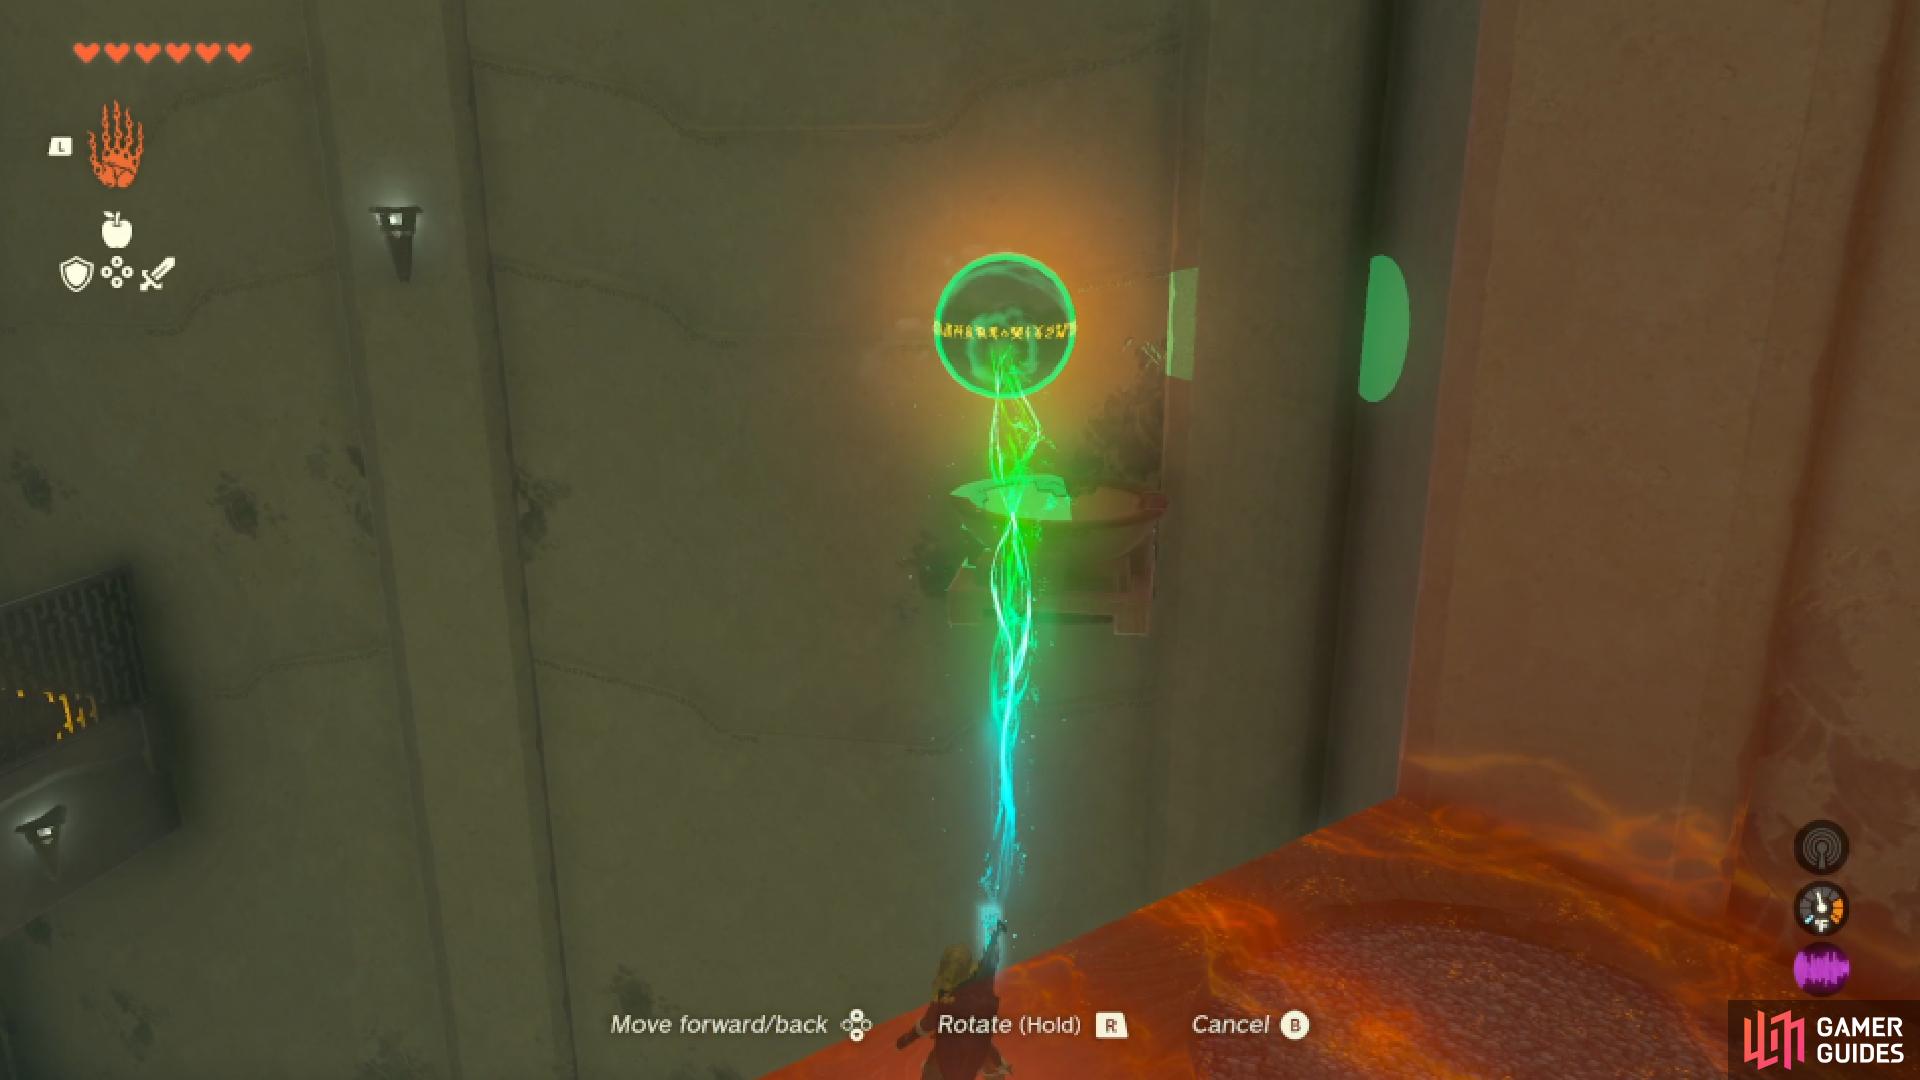
The next challenge is yet another Recall ball related one but this one is very simple. Wait for the ball to travel down the slopes and before it falls down the chasm use your Recall ability. Wait for the Recall to make its way to the gap in the slopes and cancel it, allowing the ball to drop down into the desired area.
You can also do the same process but use Ultrahand when it reaches the chasm then place it in the bowl, but you’ll see more mistakes this way. Once this is done, you’re on the final puzzle.
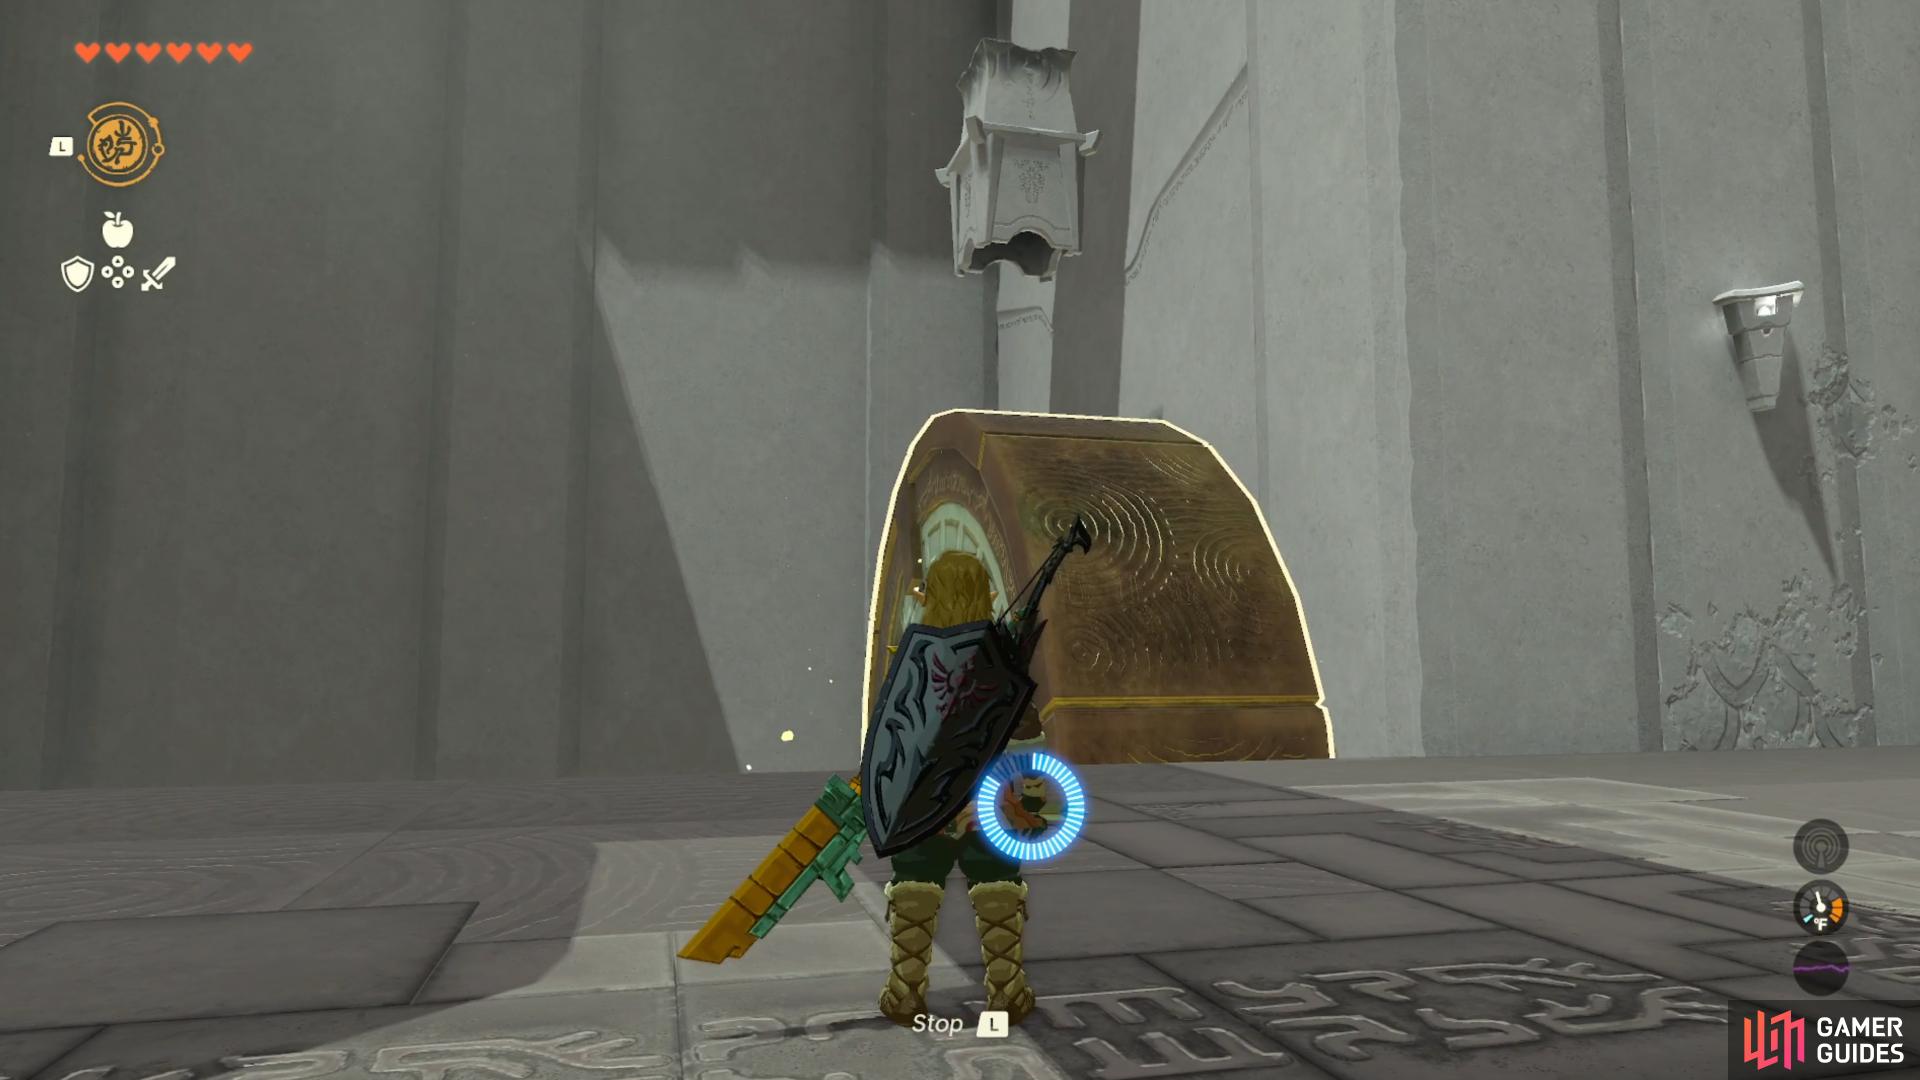
For this part, you’ll need to place the ball in the small bowl as it travels toward you with Ultrahand. Once it is in there, wait for it to then move past the area in the corner where the ball needs to go.
As it does go beyond, you can use Recall on it, allowing it to move back to the designated area and when it does, cancel Recall and it will drop right into the desired spot, opening the final gate.
And that’s all there is to it! Simply head through the final gate, collect your ![]() Light of Blessing, and check the Tauyosipun Shrine off your list.
Light of Blessing, and check the Tauyosipun Shrine off your list.
No Comments