

Shrines are one of the core gameplay elements in The Legend of Zelda: Tears of the Kingdom. Scattered throughout Hyrule, shrines typically require you to solve some sort of puzzle or combat trial, upon the completion of which you’ll be rewarded with a ![]() Light of Blessing and potentially equipment.
Light of Blessing and potentially equipment.
Once completed, the shrine will also serve as a fast travel point. Since completing shrines will make your character stronger and provide exploration footholds, it’s essential that you conquer them whenever possible. This page will provide a walkthrough for the Wao-os Shrine.
Where to Find Wao-os Shrine in Tears of The Kingdom
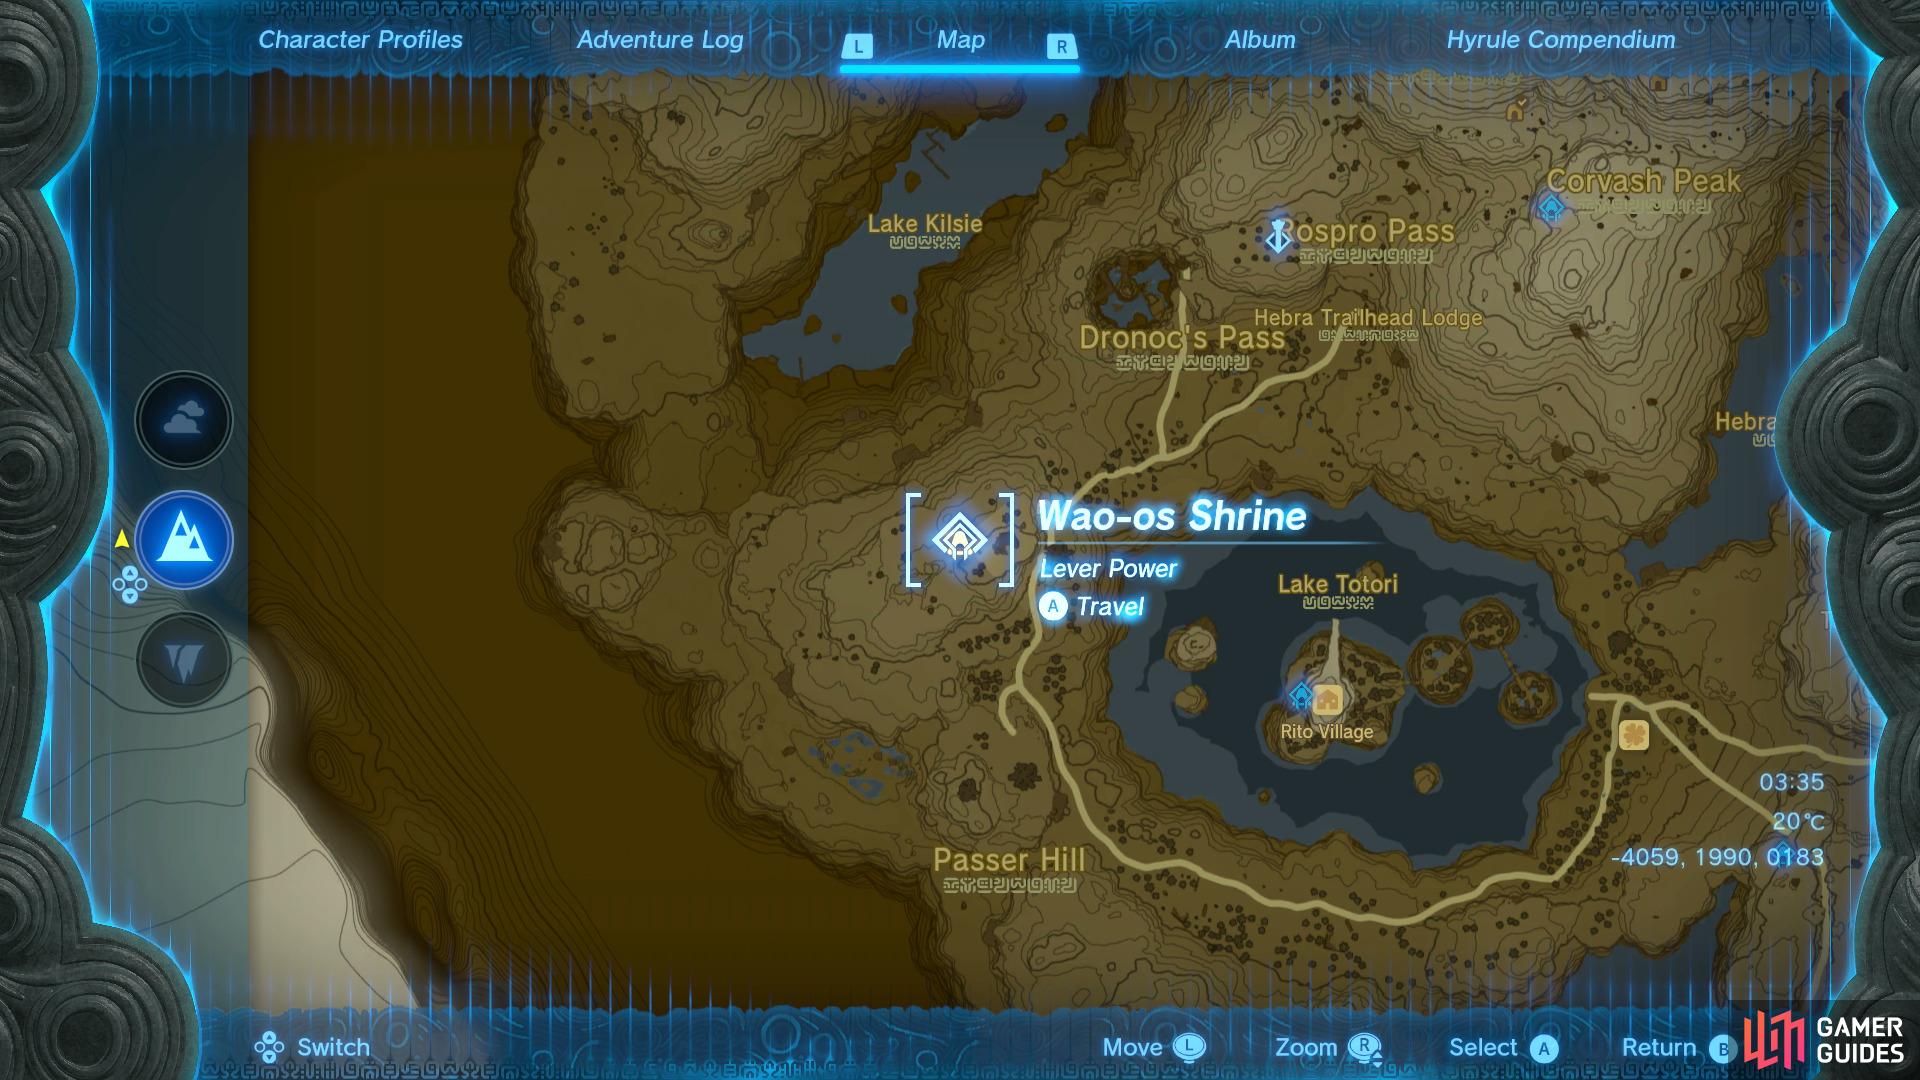
Head to this location on the map to find the Wao-os Shrine.
If you’ve not actually found the ![]() Wao-Os Shrine yet, you’re going to want to wrap up warm as you’ll be heading to the Hebra region. To be more specific, you’ll need to look west of Rito Village and climb a bit of the mountainous area to make it to the shrine. From here, you’ll then actually have to head into the nearby cave entrance for the
Wao-Os Shrine yet, you’re going to want to wrap up warm as you’ll be heading to the Hebra region. To be more specific, you’ll need to look west of Rito Village and climb a bit of the mountainous area to make it to the shrine. From here, you’ll then actually have to head into the nearby cave entrance for the ![]() West Lake Totori Cave as the shrine is situated within.
West Lake Totori Cave as the shrine is situated within.
There aren’t too many landmarks around this area, so you shouldn’t get too stuck but here is a map marker for the West Lake Totori Cave on our interactive map so you can quickly gain immediate access to the shrine.
How to Complete the Wao-os Shrine in Tears of the Kingdom
When you enter the shrine, you’ll see two bullseye targets, a small ball, bowl and a block. Here you’ll want to place the ball on the wooden plank and pick up the nearby block and lift into the air as high as you can, then drop it on the other end of the plank and the ball will launch towards the target.
After this has been successfully done, the gate to your left will open revealing another part of the puzzle. Here, you’ll be using the wooden plank to extend the see saw, allowing you to get more height on the ball thus hitting the elevated target. To do so though, you’ll first need to unfuse the bowl, fuse the plank to the same end, and then re-fuse the bowl to the end of this plank.
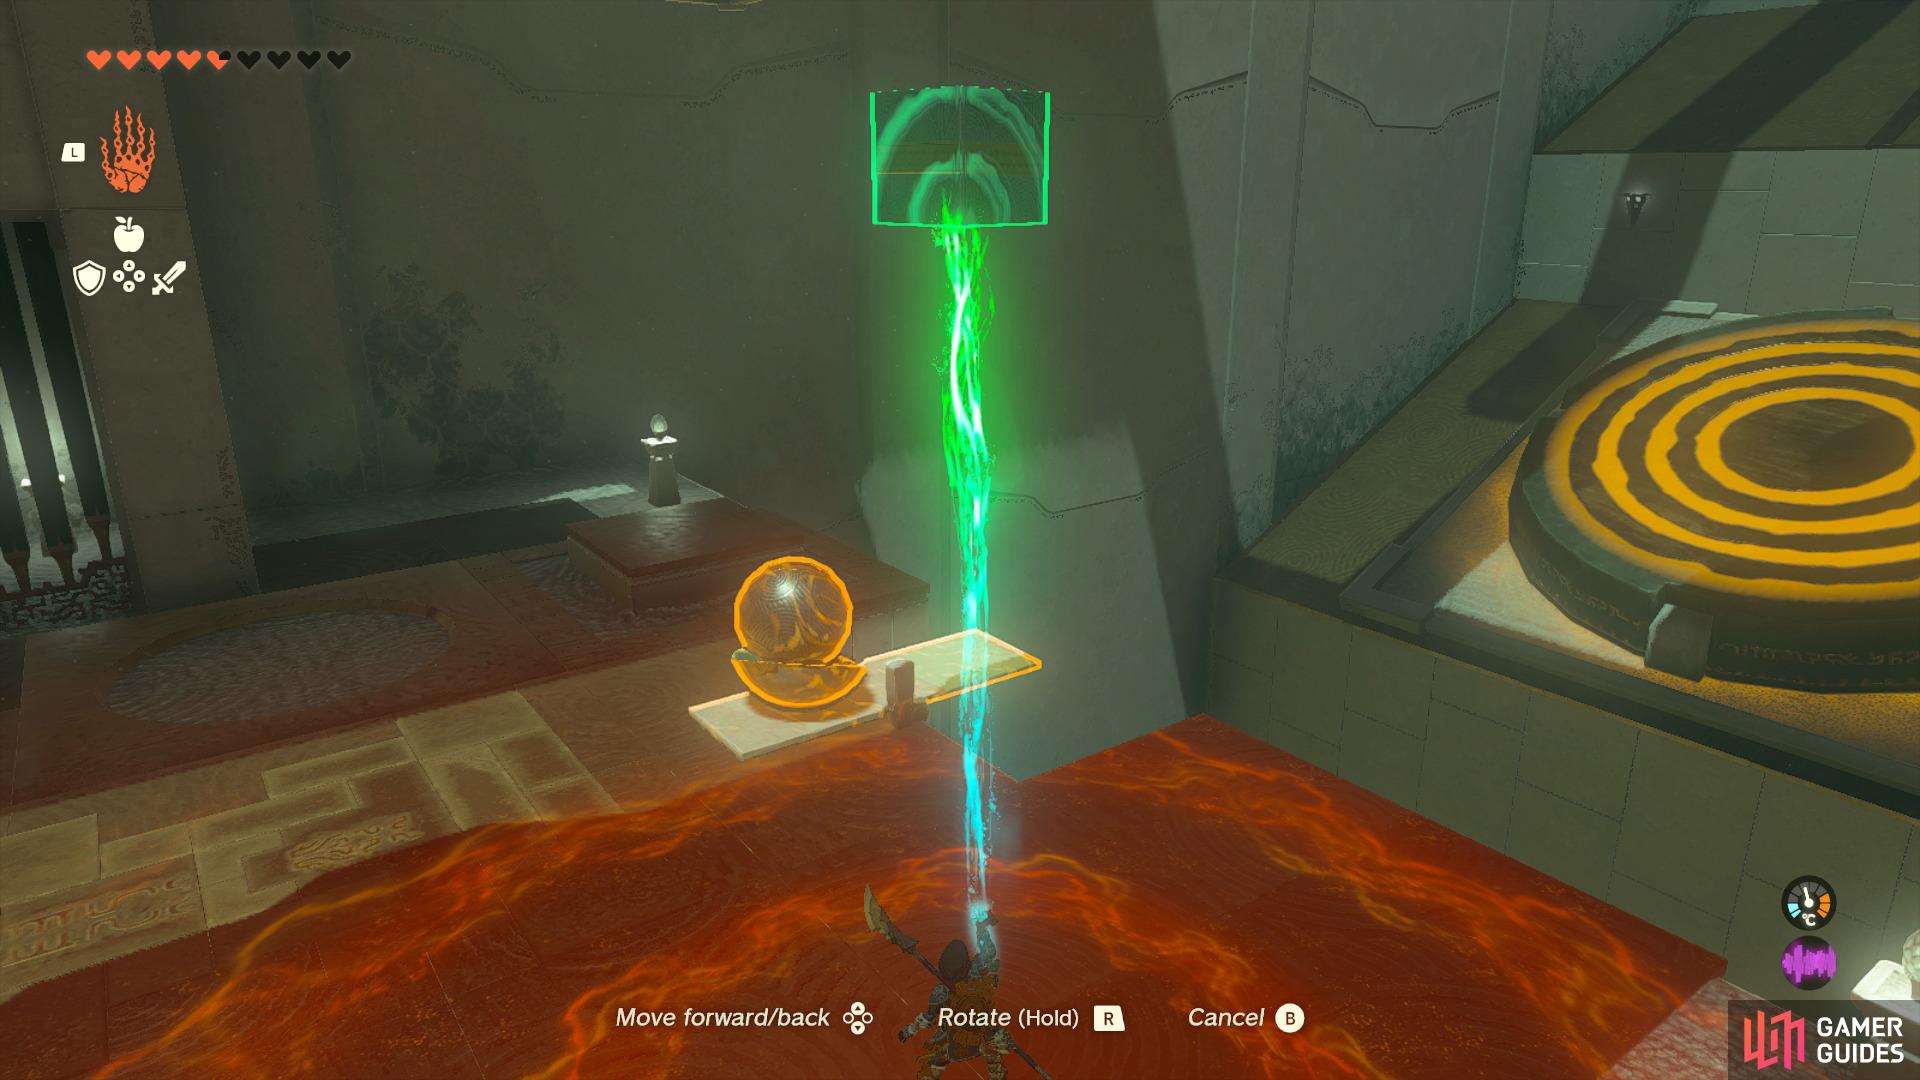
Use the small plank to hit the lower target
then create a longer platform to hit the higher one.
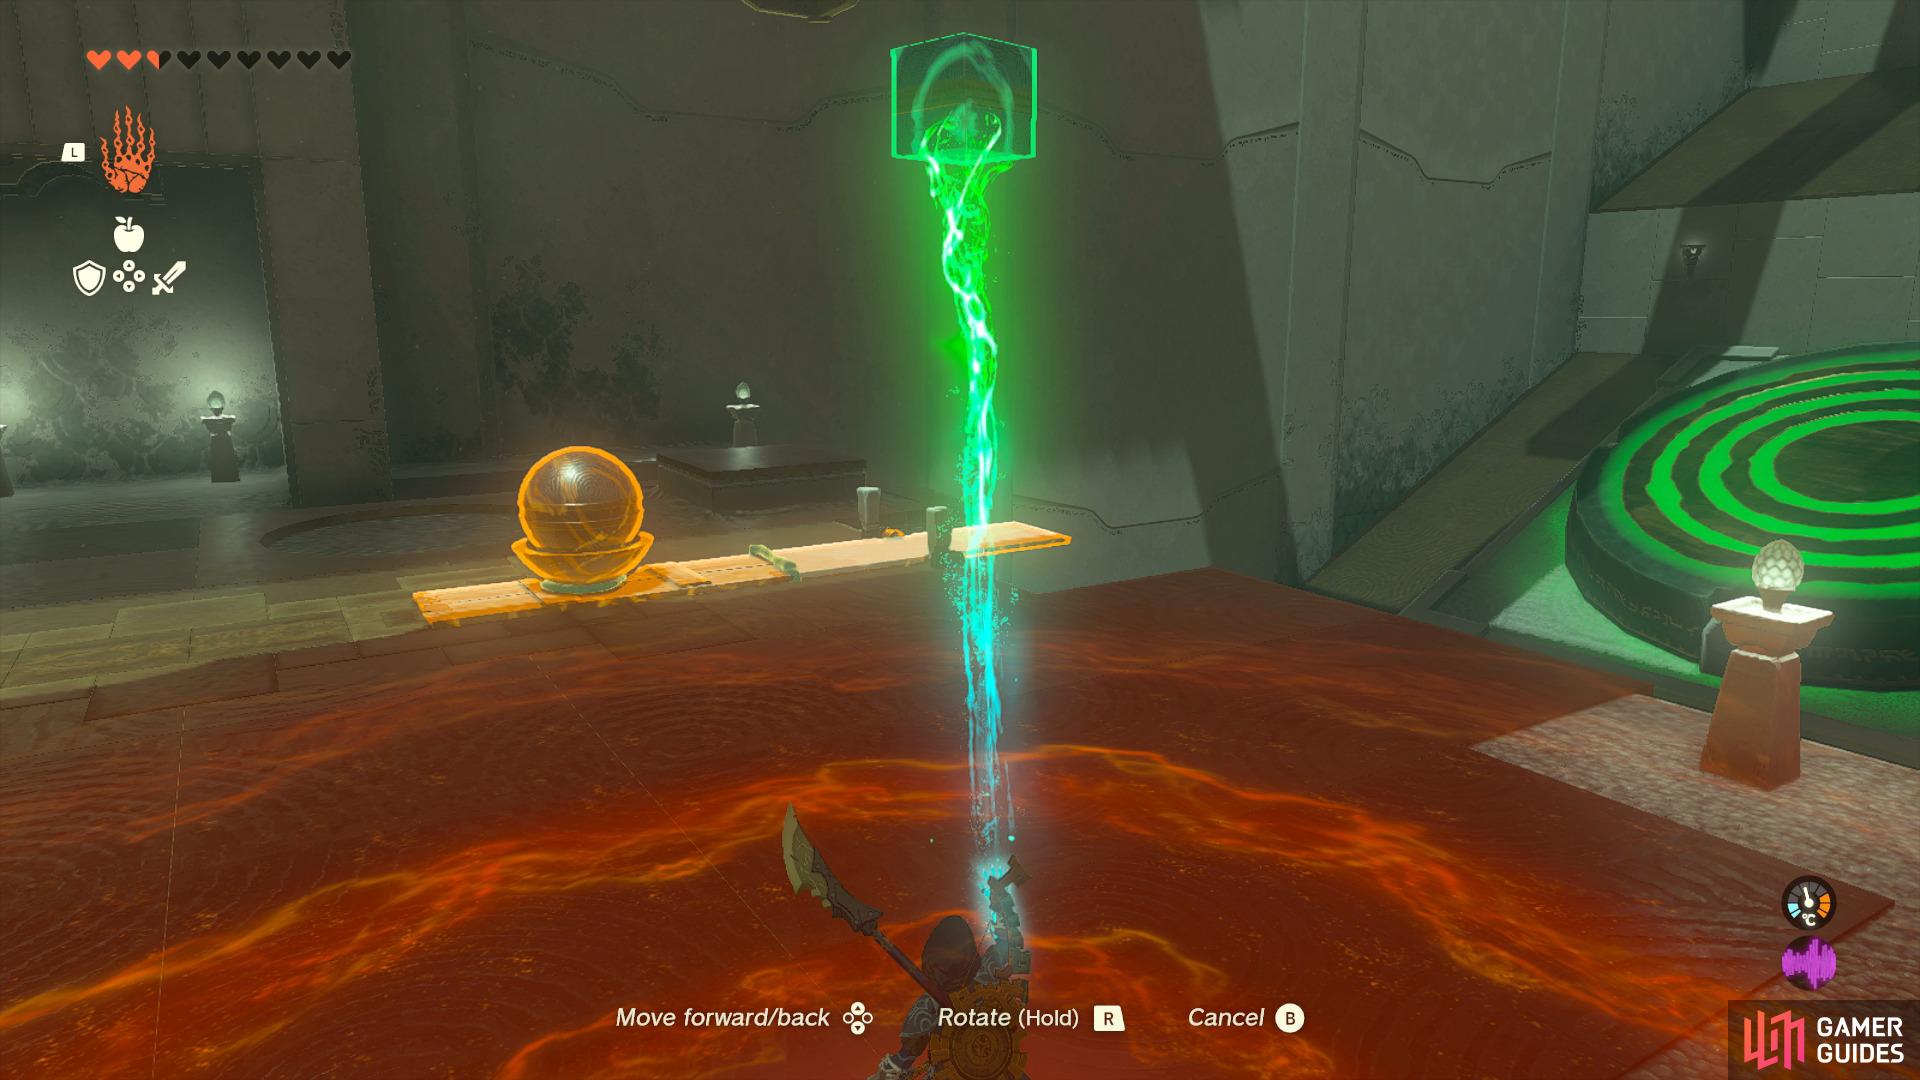
Then, just repeat the process of placing the ball and dropping the cube. This should have enough force to fire the ball and hit the target, unlocking the door to the end of the shrine.
Now it’s your turn to be the ball. Put yourself in the bowl and drop the cube once more, propelling you into the air. This should give you enough height to pull out the paraglider and drift across to the ledge and into the now open gate, allowing you to secure the Blessing of !Light and complete the shrine.
No Comments