
This page offers a guide on the best way to reach the Wind Temple, found on the Rising Island Chain in the Hebra Sky region in The Legend of Zelda: Tears of The Kingdom.
Once you have made it to Rito and found Tulin the real challenge will begin. You will need to climb up into the sky and make your way into the center of the storm from above. This is a dangerous process with many tricks to hold you up or send Link speeding toward the earth.
Use ship sails to fly high into the air.
How to Get to Hebra Peak Summit in TotK
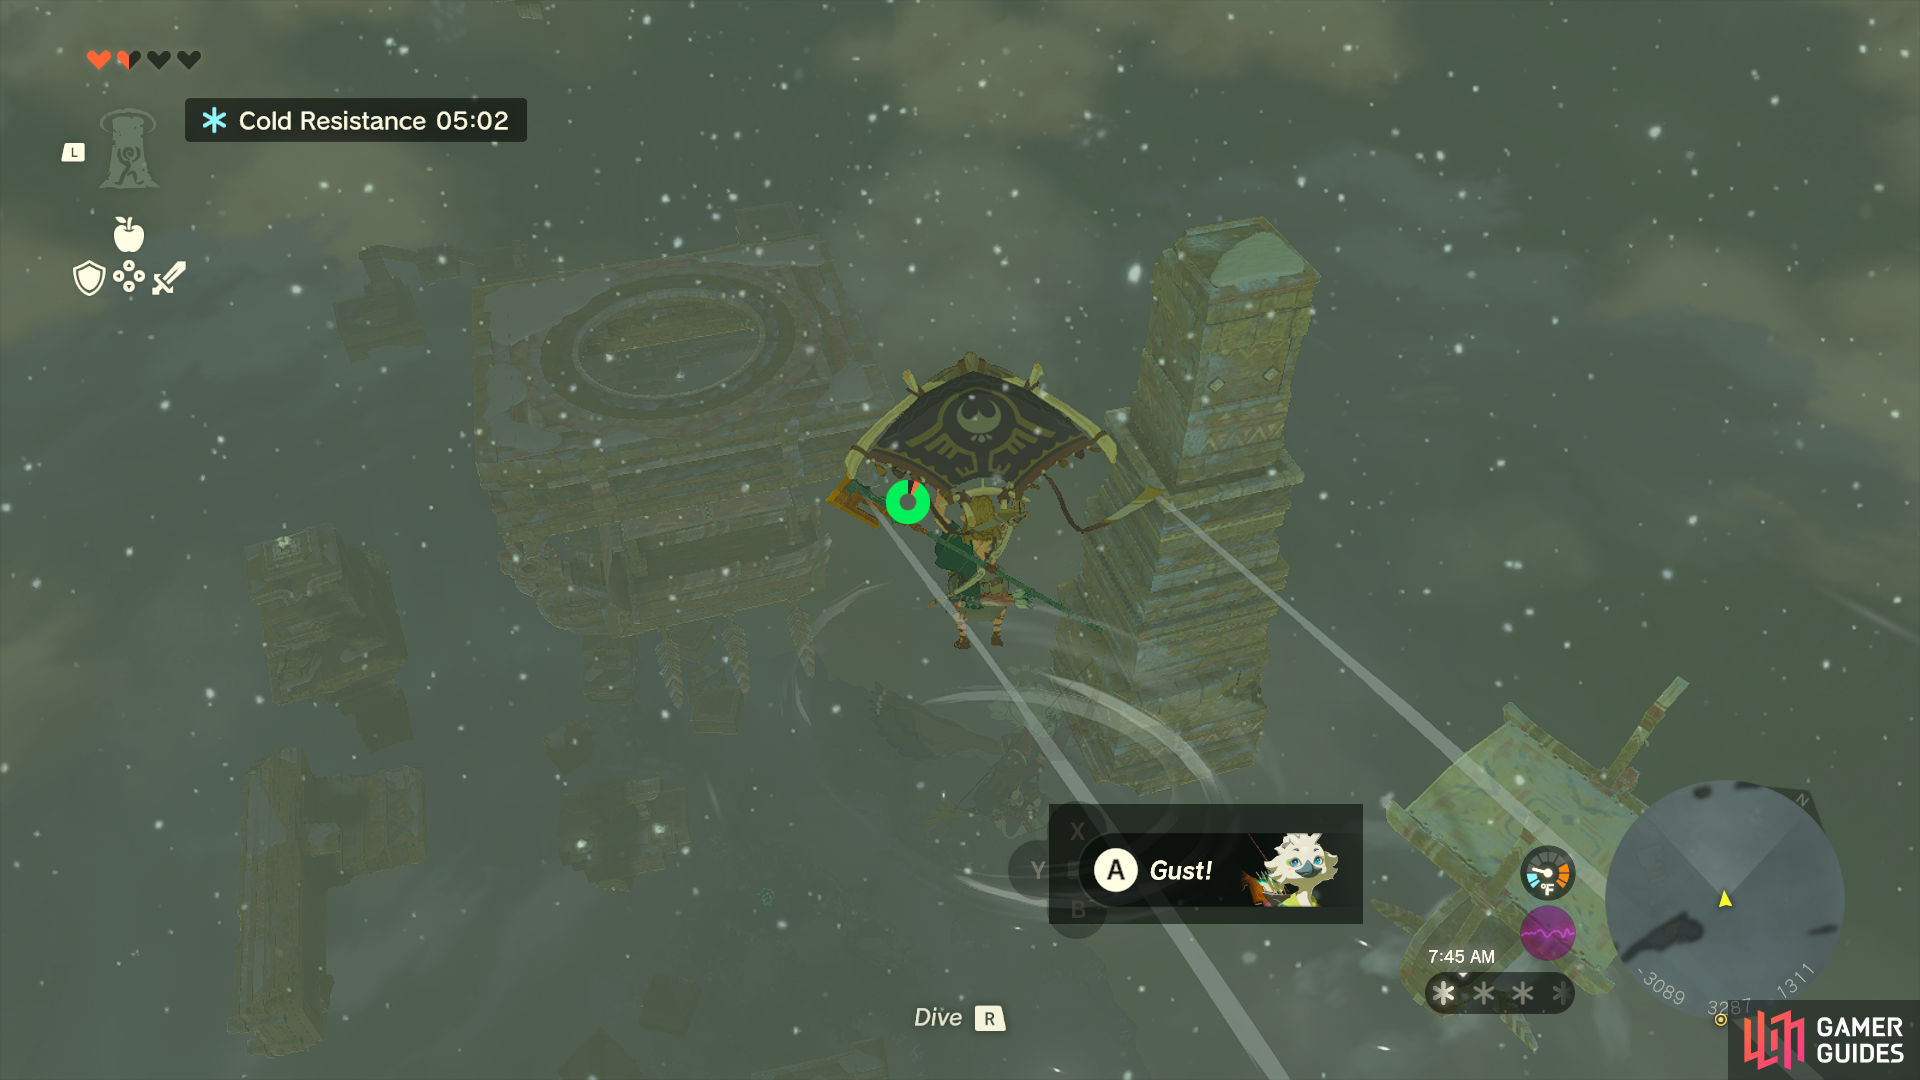
Once you have gotten !Tulin’s bow back from the monster and defeated the enemies, he will be granted permission to travel to the source of the blizzard. Once he joins up with Link, a new ability will be unlocked by interacting with !Tulin. When commanded, he can use a gust to send your glider quickly charging ahead. This should be done while you’re already gliding to receive the maximum benefit.
After speaking with !Tulin, you’ll be required to reach the sky region so you can make your way to the dungeon. From here, all you’ll need to do is take the platforms and pillars heading northeast to the top of Hebra Peak, where you can then make your ascent into the sky!
Once you have back control of !Tulin, jump and glide to the next pillar, you will want to use his gust to help you get there. From here, you will be repeating this process to help you climb the ruins up to the summit of the mountain. This part is rather easy. Just make sure you don’t eat up your stamina by jumping as you climb.
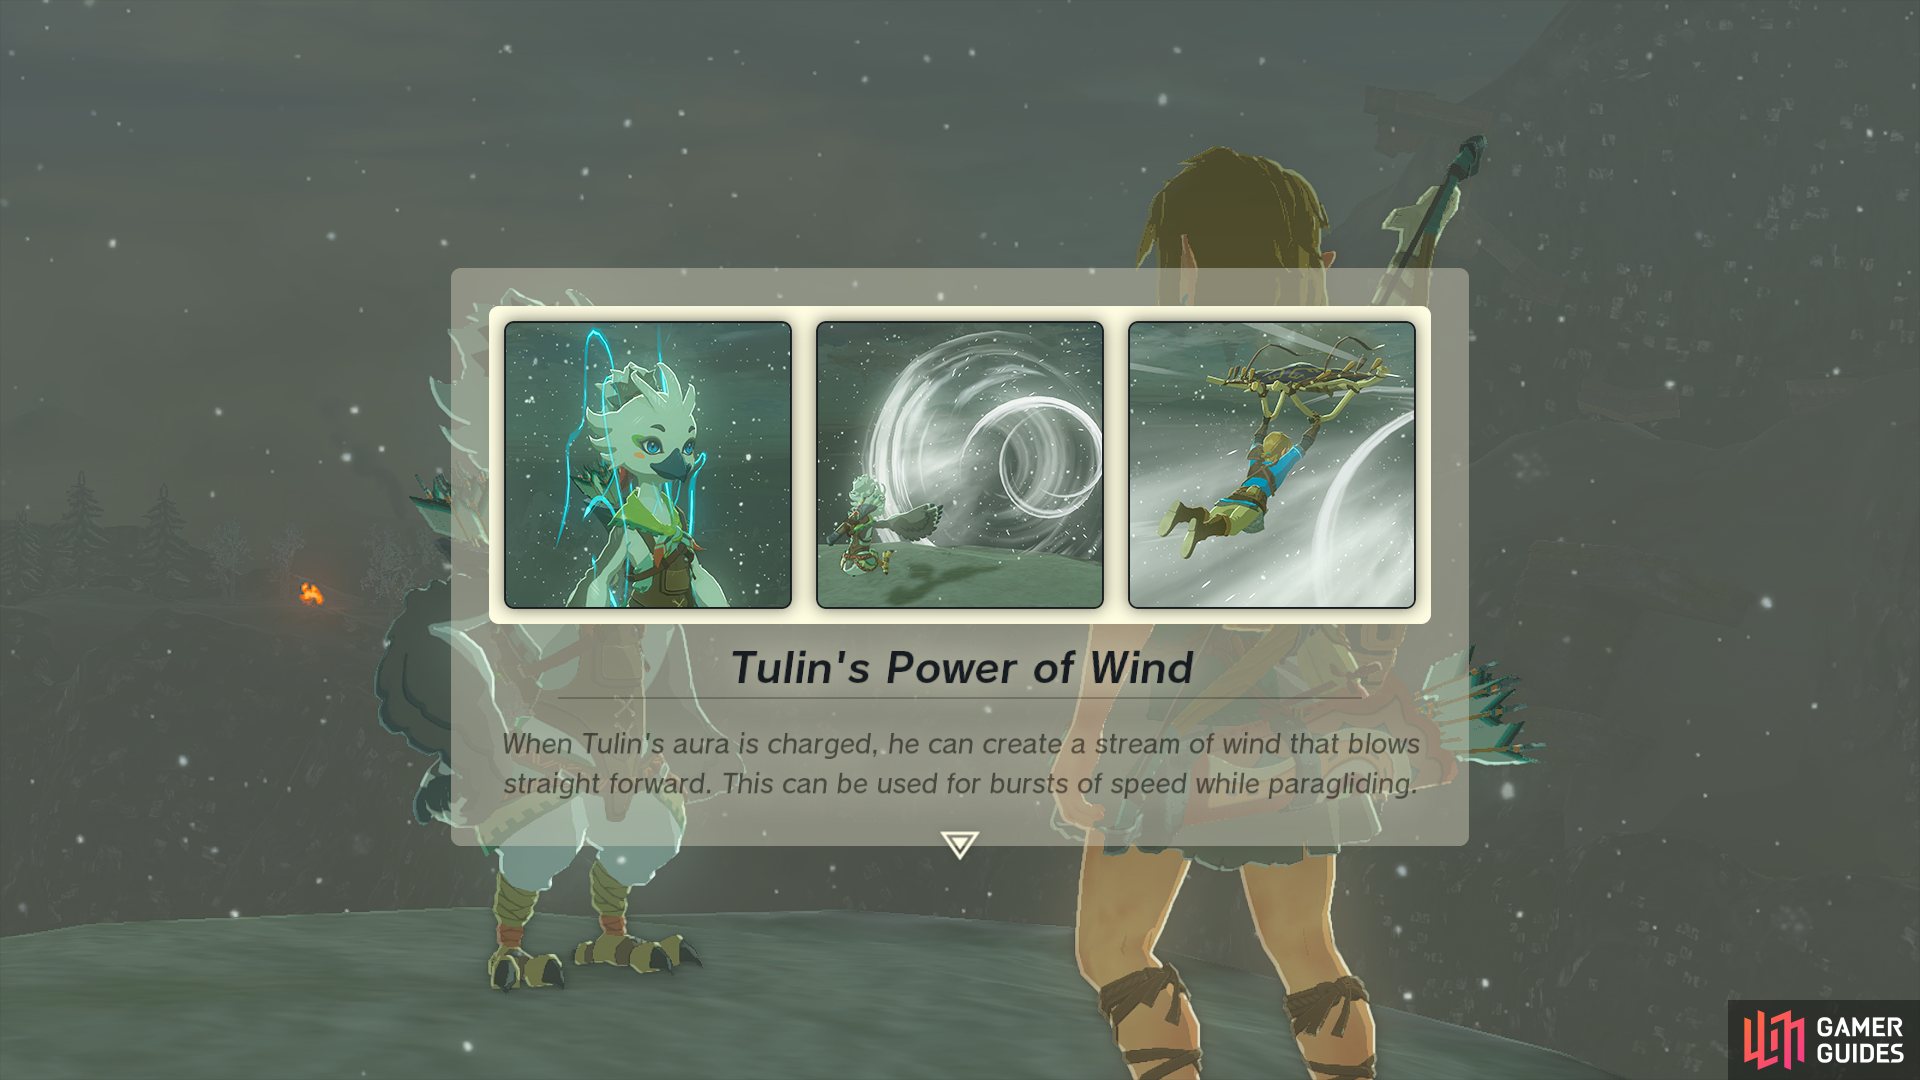


(1 of 3) Unlocking the Power of Wind in Tears of a Kingdom.
Once you get to the Summit, use Gust to move across to the first set of floating platforms. You will want to start making your way up the tall tower. Once you reach the top, jump across to the platform, and use your ![]() Ascend ability to move further into the sky.
Ascend ability to move further into the sky.
Rising Island Chain: How to Get to the Wind Temple
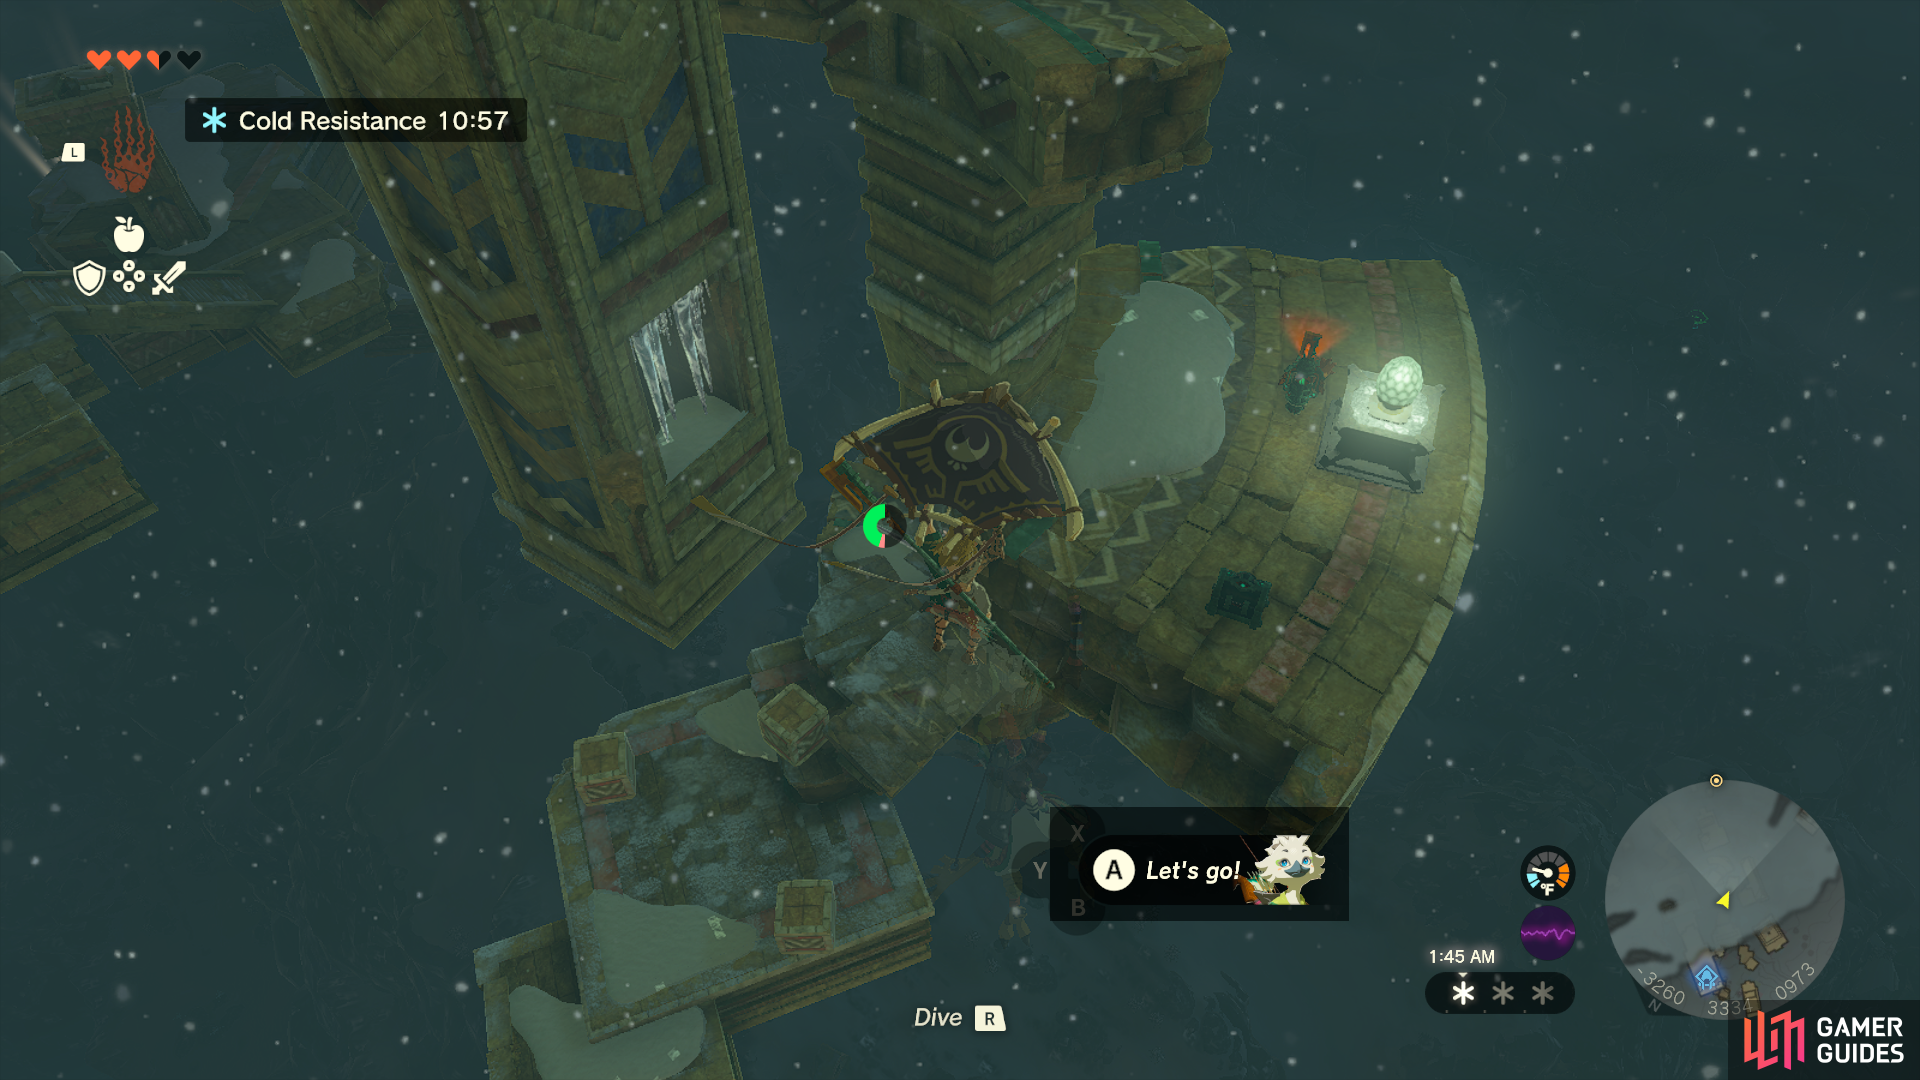
Once you get a bit into the sky, you will have a cutscene play where you and !Tulin find a floating boat. From here, things get much more difficult, jump on the ship’s sail, and glide to the Mayaumekis Shrine, activate it to give yourself a fast travel point.
You will want to move to the ruins on your left. There is some breakable ice here. Under it is a treasure chest with five arrows. Next, Use Gust to move to the next floating ruin. A Construct will be awaiting you, defeat him and move to the next boat sail. You will need to fight two more Constructs and climb up to the large tower. To your right, there will be two sets of cubes. Stack them on top of each other and drag them under the pillar’s ledge. You can now use Ascend to climb up easily.
Your next destination is the ruins in front of Link. You will want to glide your way into the alcove with icicles and use Ascend again. This will move you to the next level of sky ruins.


(1 of 3) Go into the alcove and use Ascend to reach the next level.
You will now see a large gate in front of you. Use Gust to move to it and again to move to the next set of ruins with a Construct. The next ruins you make it to will have ice blocking your way, break it with an arrow. Bomb flower attachments seem to work fastest to get to the next sail underneath.
From here, you will move to another island, use the sail to move forward and break the obstruction on the next island to glide across to the floating ship. You will need to drop onto the sail and use it to move to the next. There are some flying enemies throughout this area, so use a bit of caution. Once you get to the ruin that looks like a temple, you will need to glide to the next set of ruins, which has monsters blocking your path.
This area is exceptionally dangerous as the bridge past the Constructs will collapse as you walk on it, climb up on the arch before the bridge and use your glider and Gust to move across safely. You will need to go through a few more constructs before arriving at an area with a bunch of broken parts. You will need to assemble a hot air balloon to move forward.


(1 of 4) Breakable Ice and rocks hide ships’ sails.
You will want to place the balloon part on a piece of wood and then grab a nearby dragon head to put in the balloon’s basket. Make sure not to grab a bomb, or it will likely kill you. Once the balloon is assembled, hit the dragon head with a weapon, and it will rise into the sky. You will need to glide over to the next pillar and use Ascend to get to the next sky ruin level. Climb up the ruin walls once you have ascended to see another sail and a pair of floating ships.
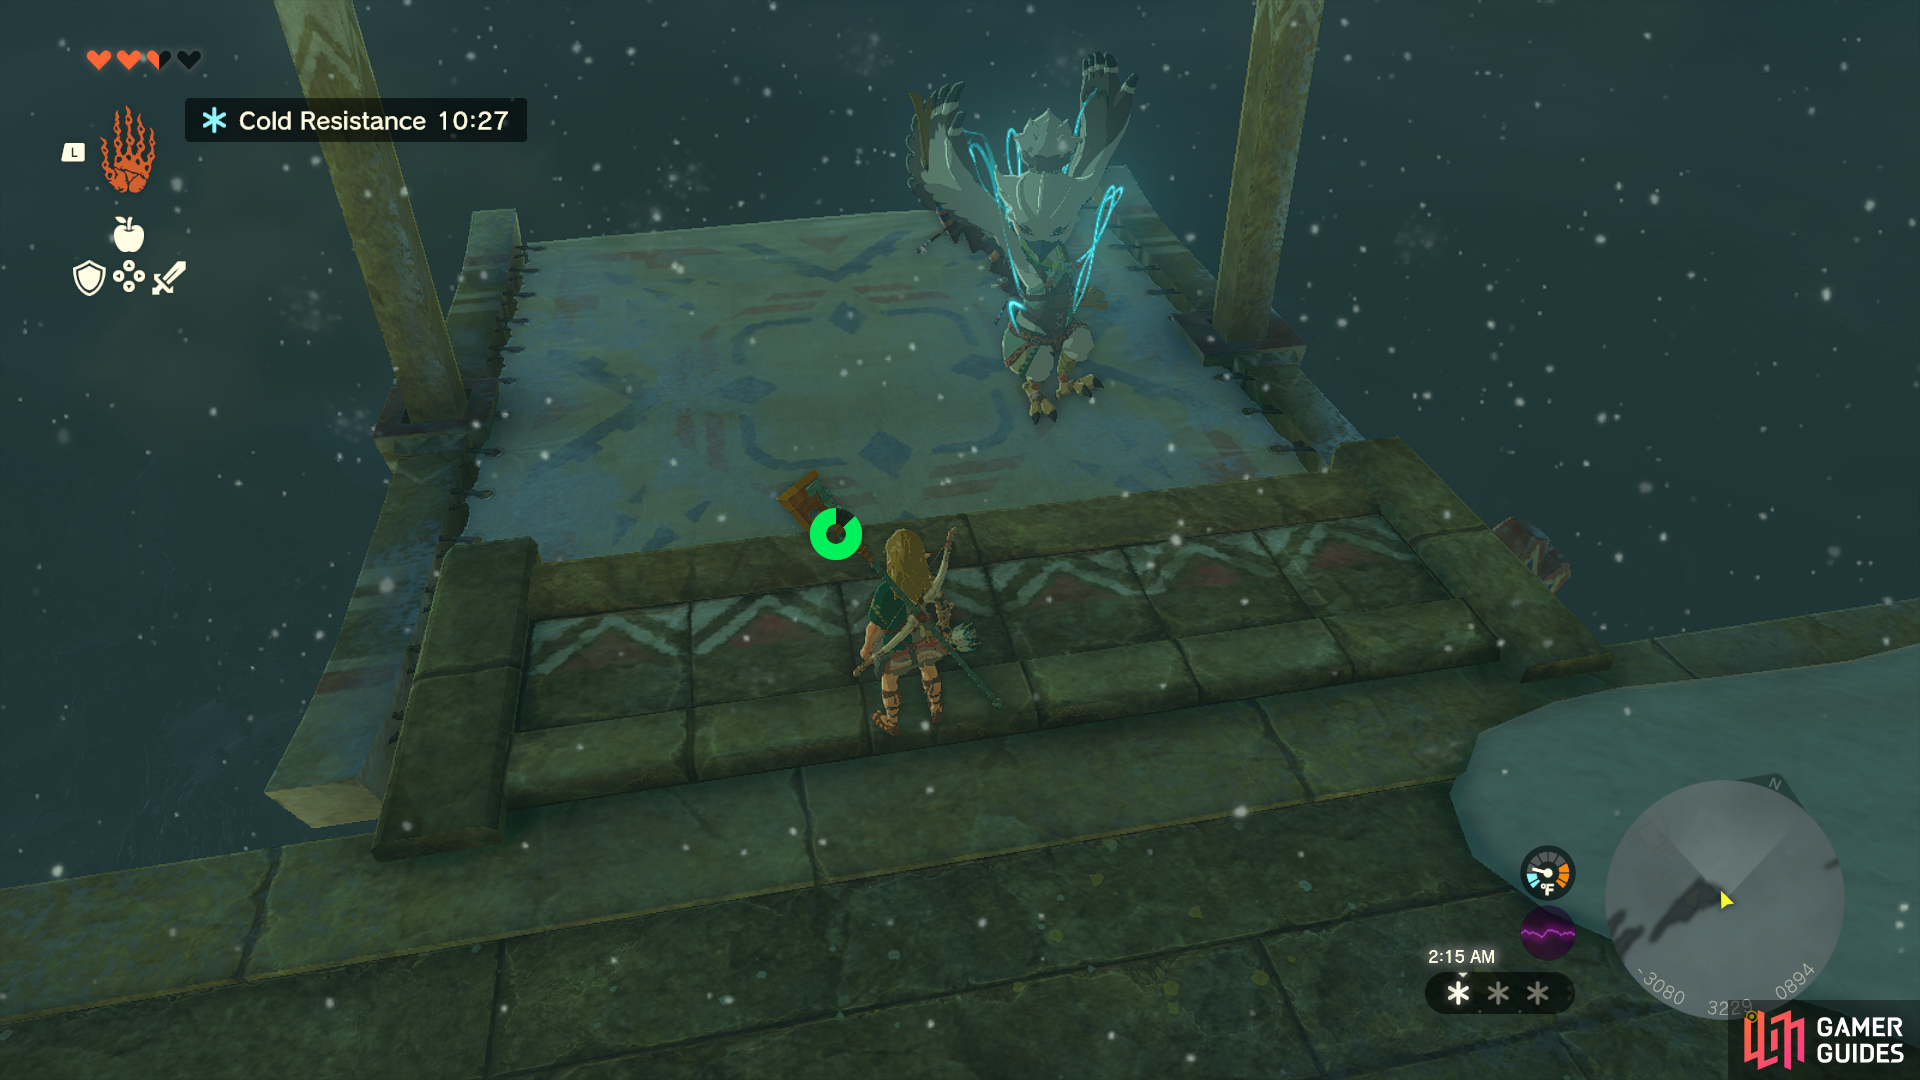
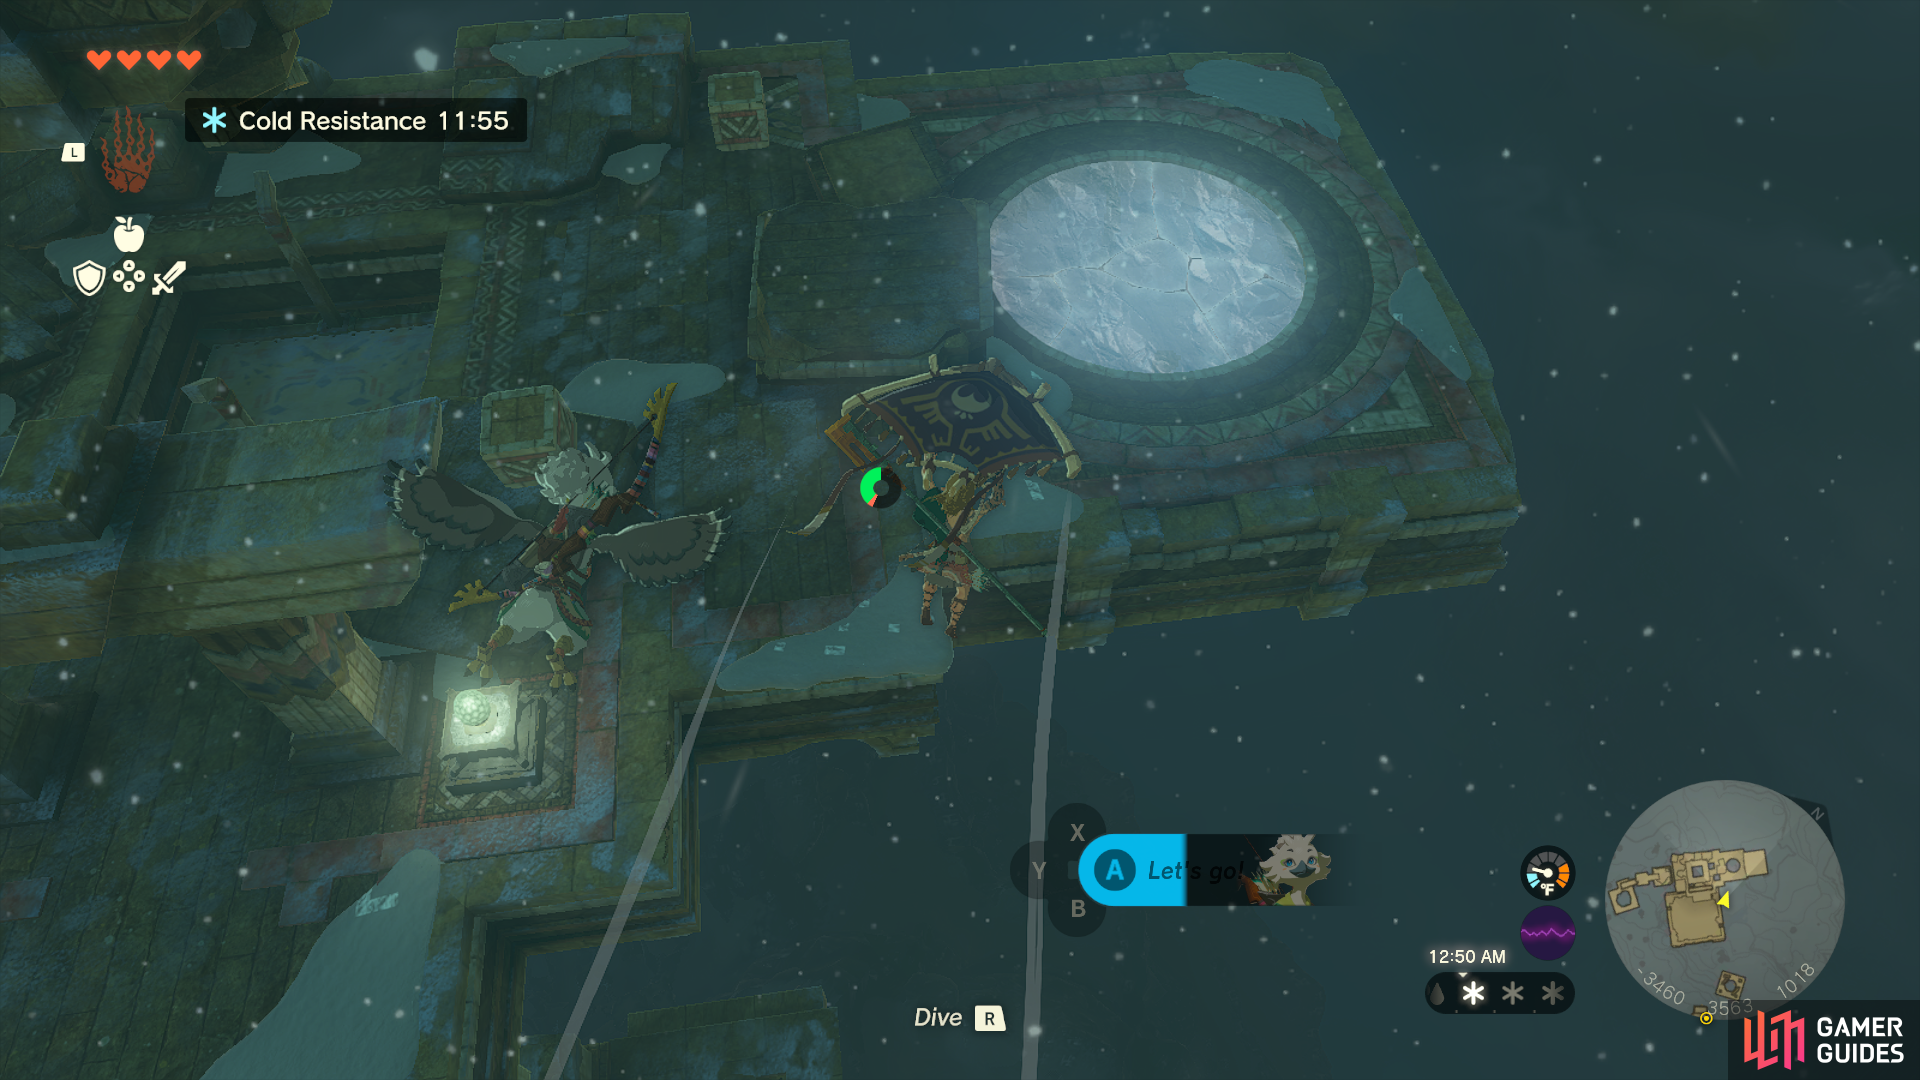
You must jump on the first sail and then glide to one of the ships to drop down onto its sail. You don’t need to worry about hitting both floating ships. One will give you the height you need to move to the next section of ruins. Break the ice in front of you, and use the sail to move up to the next level. Here !Tulin will warn you about the extreme cold. You will at least need one piece of cold-resistant armor and a spicy dish to make it through the path ahead. Once you have warmed Link up, activate the Kahatanaum Shrine to give yourself another teleport point. If you need to get better gear or more cold-resistant food, now is a good chance. Hop onto the next sail. You will now be using the ships around the storm’s eye to move further into the sky.


(1 of 3) Drop down onto the shops sail to get to the next set of floating ruins.
Once you have reached the top, the blizzard will clear. Make your way up onto the final ship’s sail and jump on it. Use Gust and your glider to move into the center of the storm and drop down. You will now proceed to the Wind Temple.
No Comments