
The Kudanisar Shrine is one that you will find in the !Gerudo Desert region of the Surface of Hyrule. It is best to make sure you’ve finished the Gerudo section of the Regional Phenomena quest, as that area of the map will be covered with a massive sandstorm that obscures your vision. This will make it much easier to get to the shrine, especially since you will want to see where you’re going. This page will focus on the location of Kudanisar Shrine, as well as guide you how to complete it.
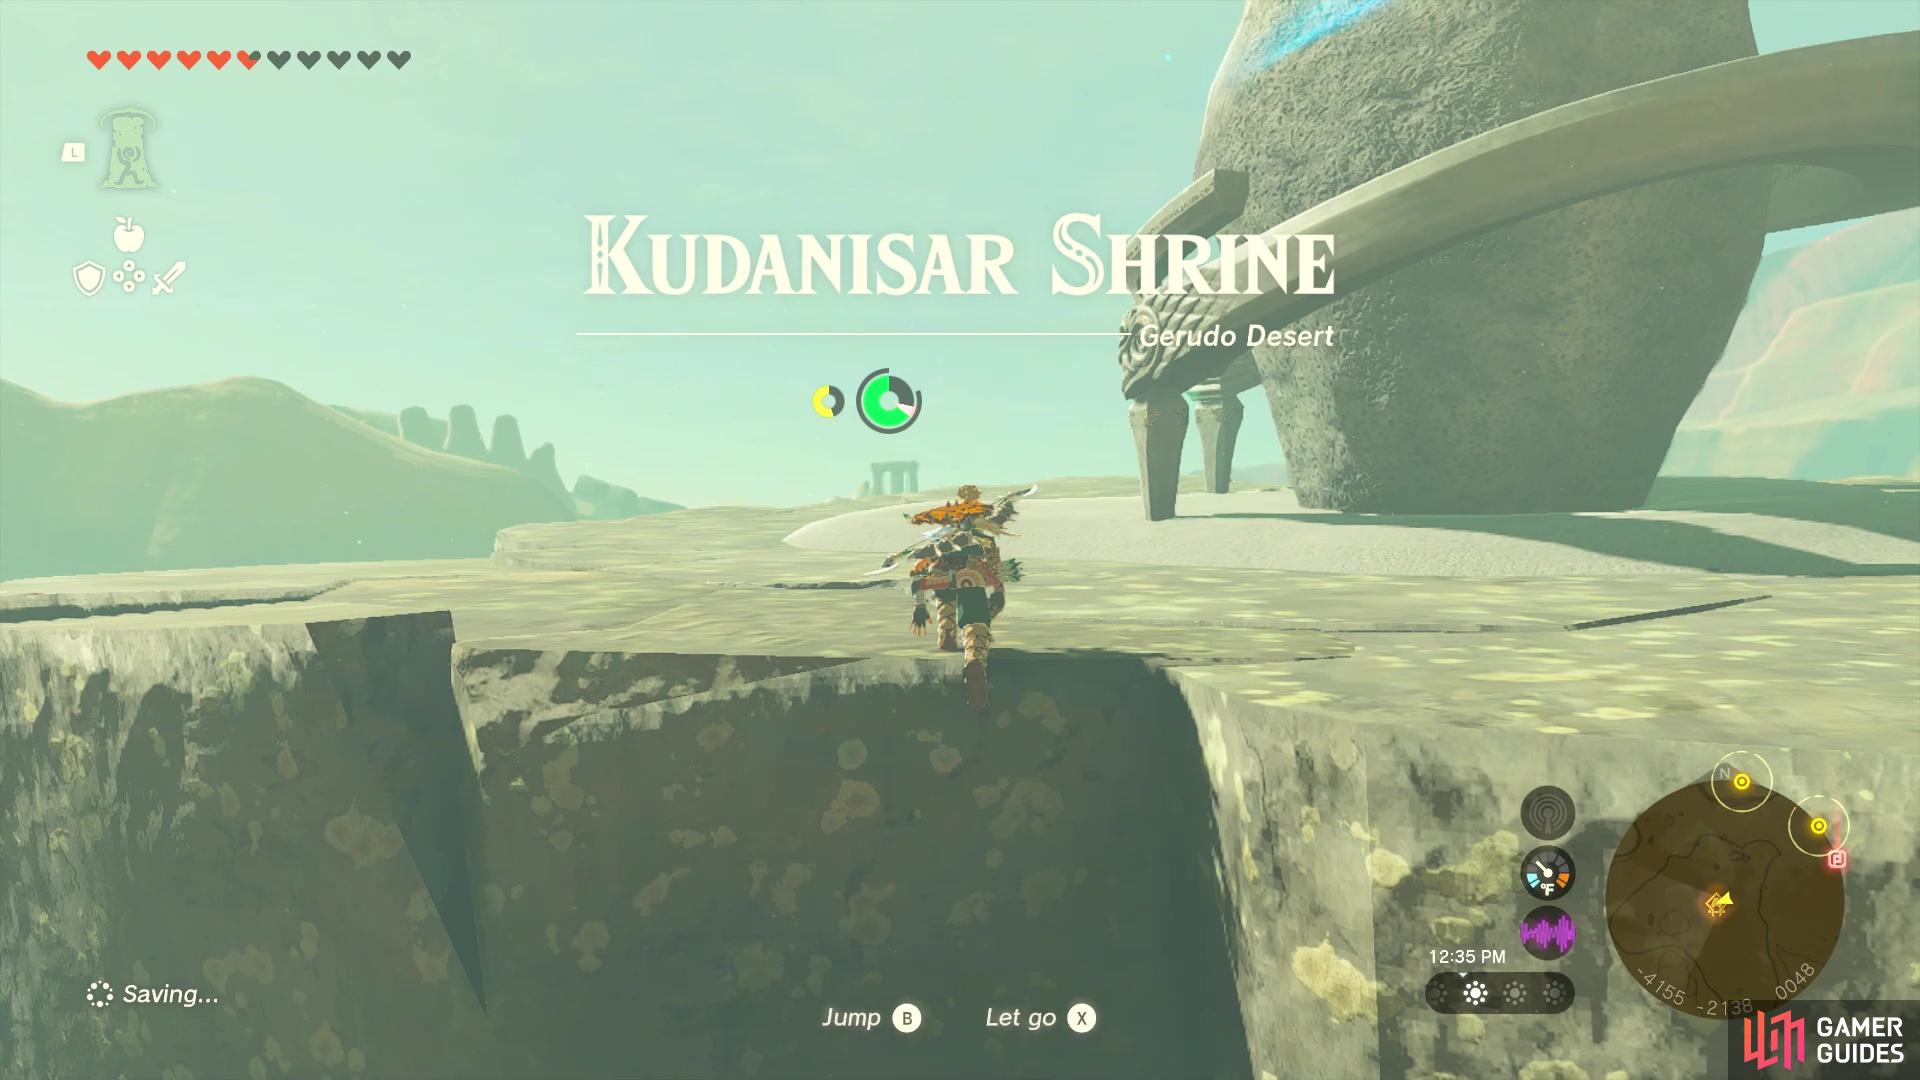
Kudanisar Shrine is on a large rock that’s surrounded by moving sand.
Where to Find the Kudanisar Shrine in Tears of the Kingdom
As mentioned above, the ![]() Kudanisar Shrine is located in the Gerudo Desert, but if you go there from first reaching the surface, then you will see that the desert is being obscured by a massive sandstorm. Progress the main quests until you reach
Kudanisar Shrine is located in the Gerudo Desert, but if you go there from first reaching the surface, then you will see that the desert is being obscured by a massive sandstorm. Progress the main quests until you reach ![]() Regional Phenomena, then head to the Gerudo region and do that first, which will require you to finish the Lightning Temple. Once you’ve done that, then you will be able to see where you’re going in the desert.
Regional Phenomena, then head to the Gerudo region and do that first, which will require you to finish the Lightning Temple. Once you’ve done that, then you will be able to see where you’re going in the desert.
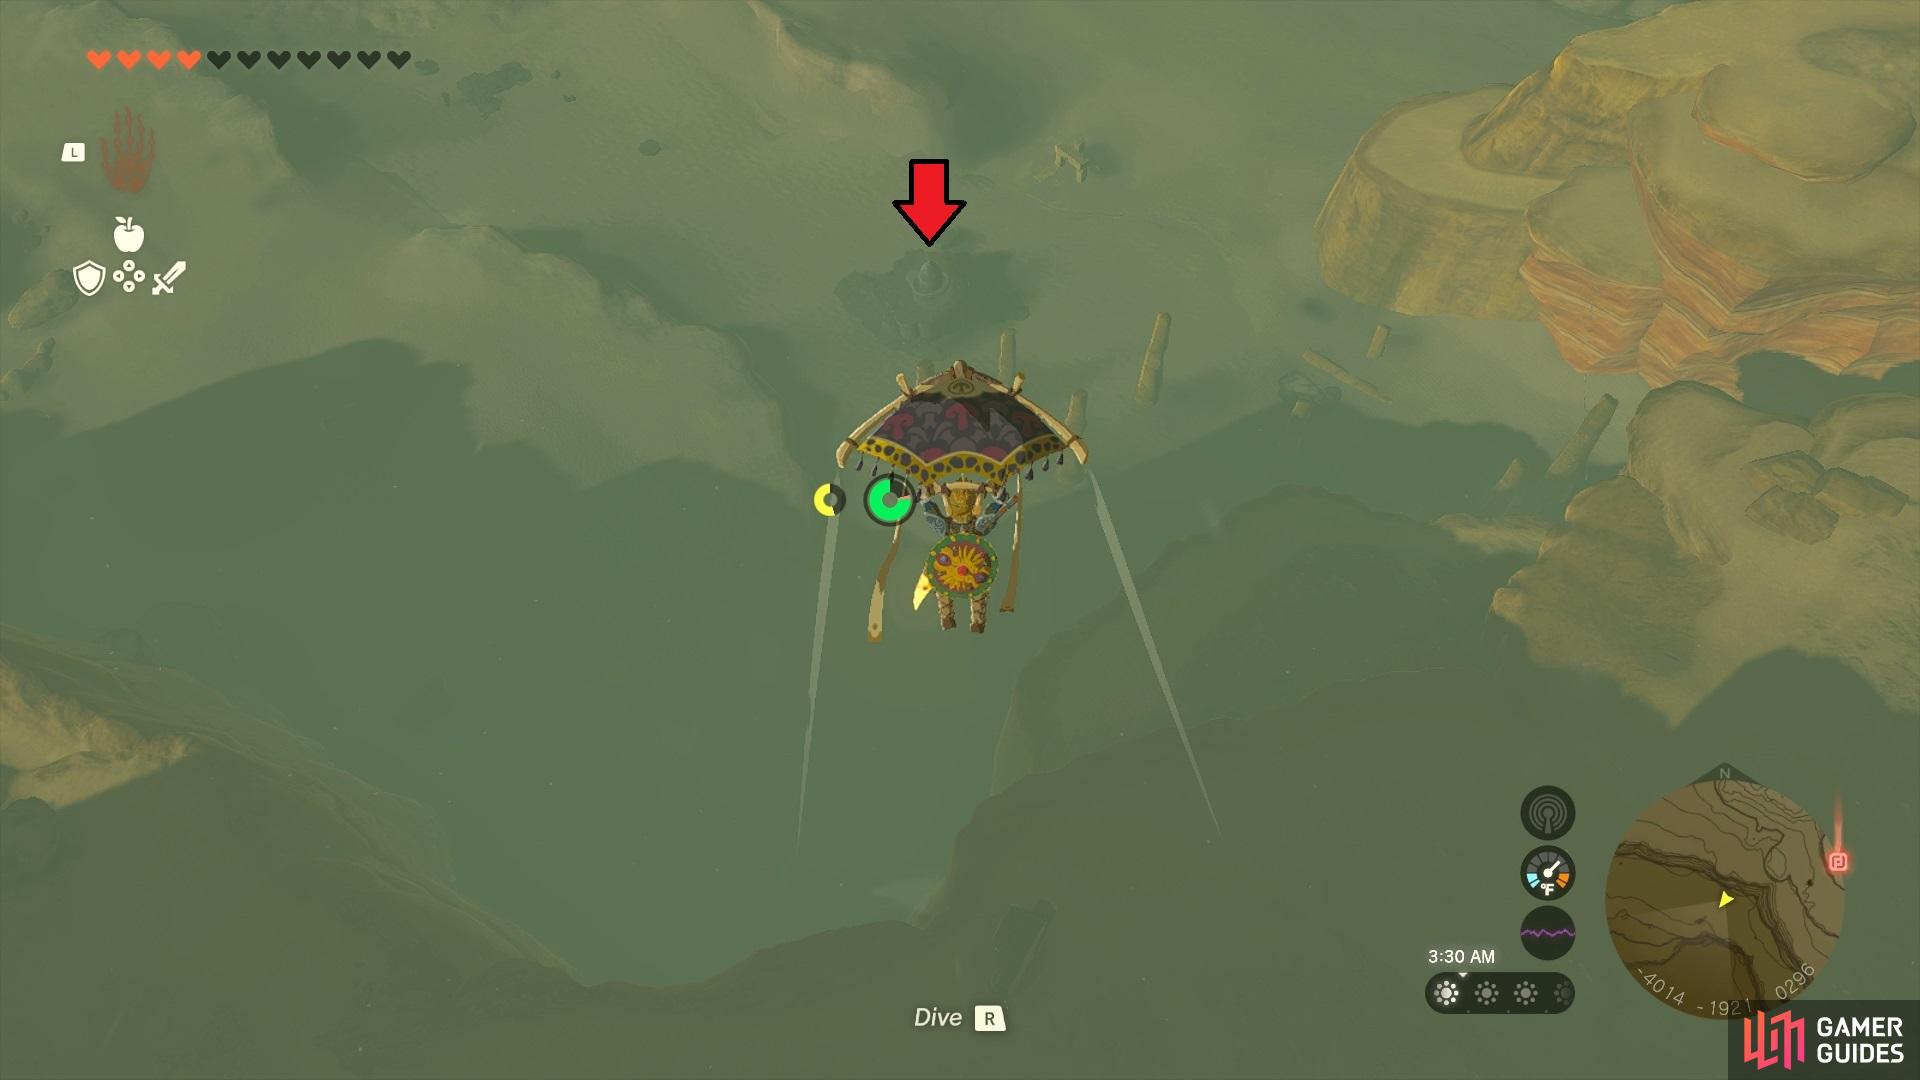
It’s easiest to get to the shrine by gliding down from higher up.
For the location of the shrine, you are going to want to check the northern sections of it. Specifically, it’s northeast of the West Gerudo Ruins and a little south of Karusa Valley. Upon reaching it, you will notice the area is surrounded by some moving sands, and there will be Constructs positioned on wooden walkways, around the shrine. Of course, there’s no need to actually confront any of them, as you can head to the nearby cliffs just north of the shrine and glide down to it. This is probably the best way to reach the shrine, too, since you won’t have to bother with the enemies at all, nor the sand current.
Kudanisar Shrine - Bringing the Sands Walkthrough
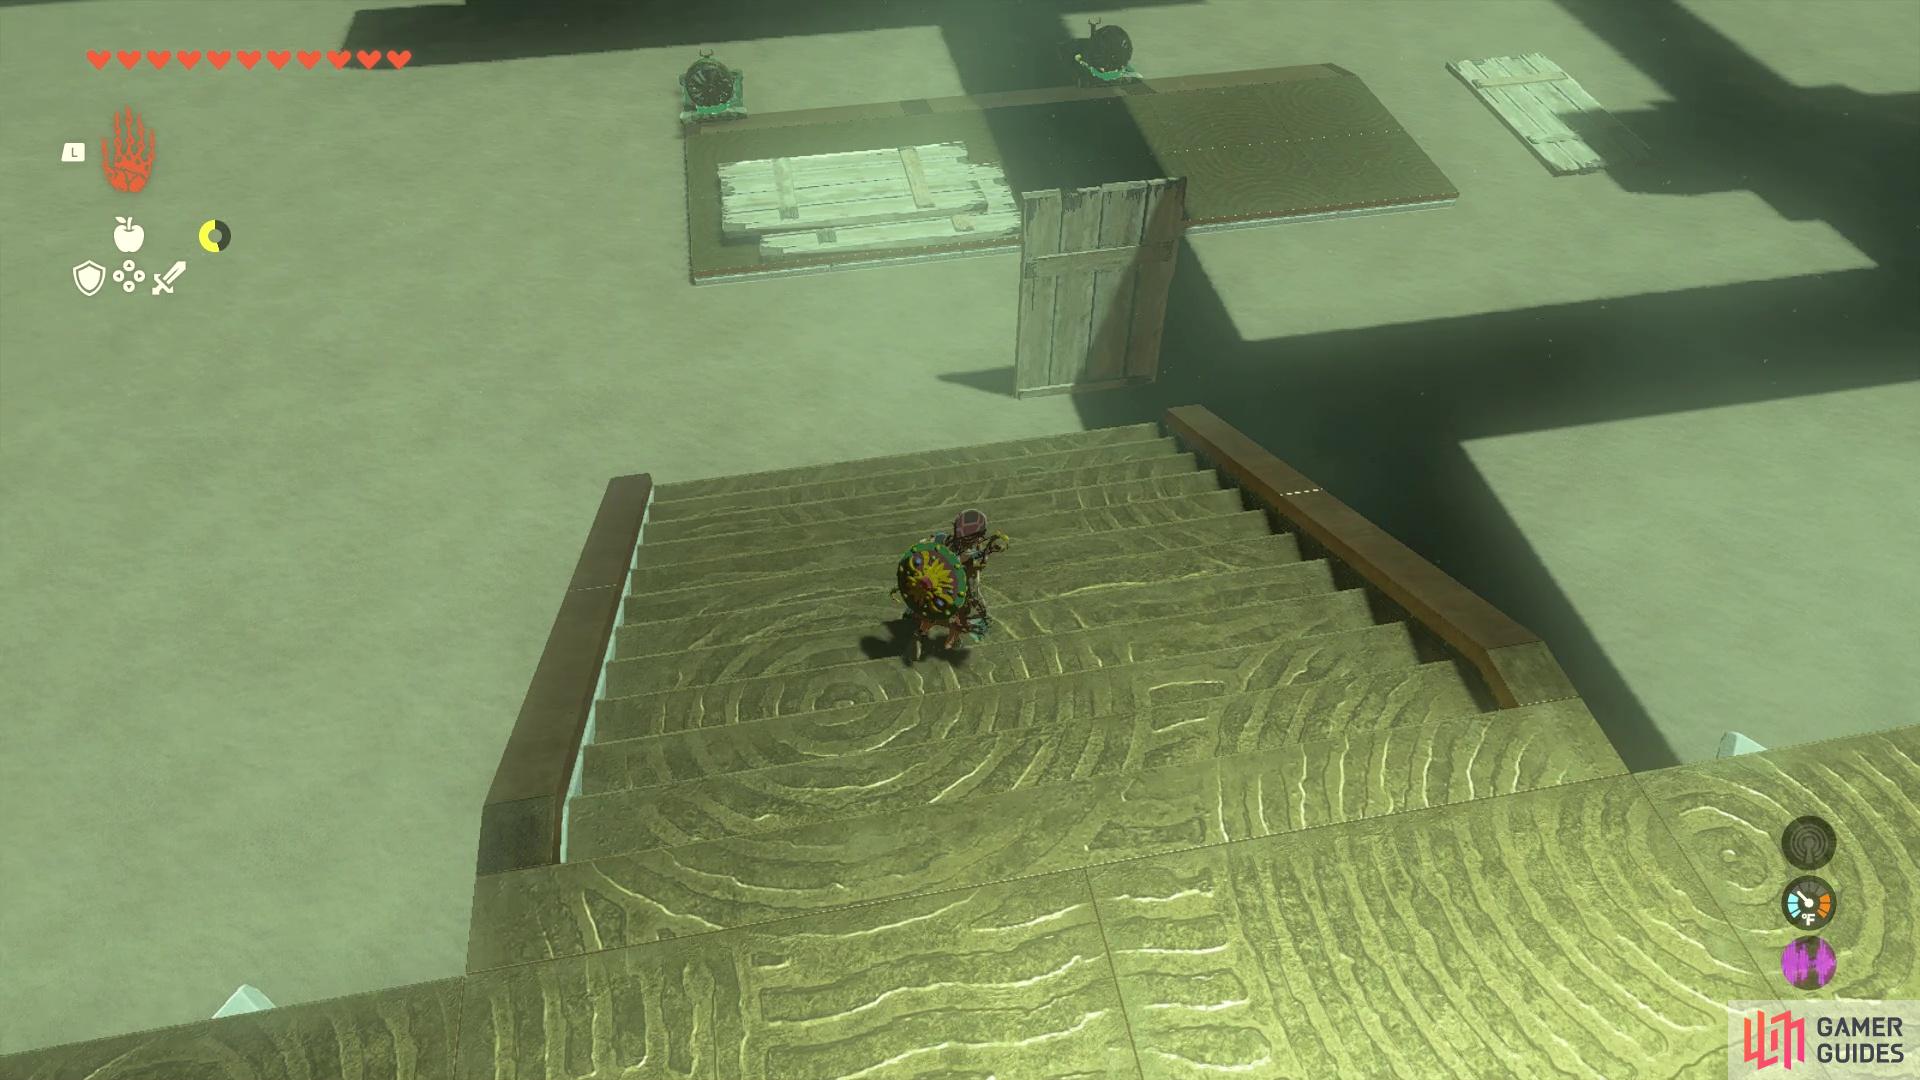
When you first enter the shrine, you will notice that it’s pretty big and probably one of the largest shrine areas in the game. Another thing you should take notice of here is the fact the sand inside the shrine is the moving kind, which means you won’t be able to really traverse it on foot. You will only be able to move so much in the moving sand, before the game takes you under and resets you back on solid land, as it drains your stamina very quickly. The first area will be walled off, with planks of wood flowing through the area and being destroyed by a moving wall of spikes on the far end.
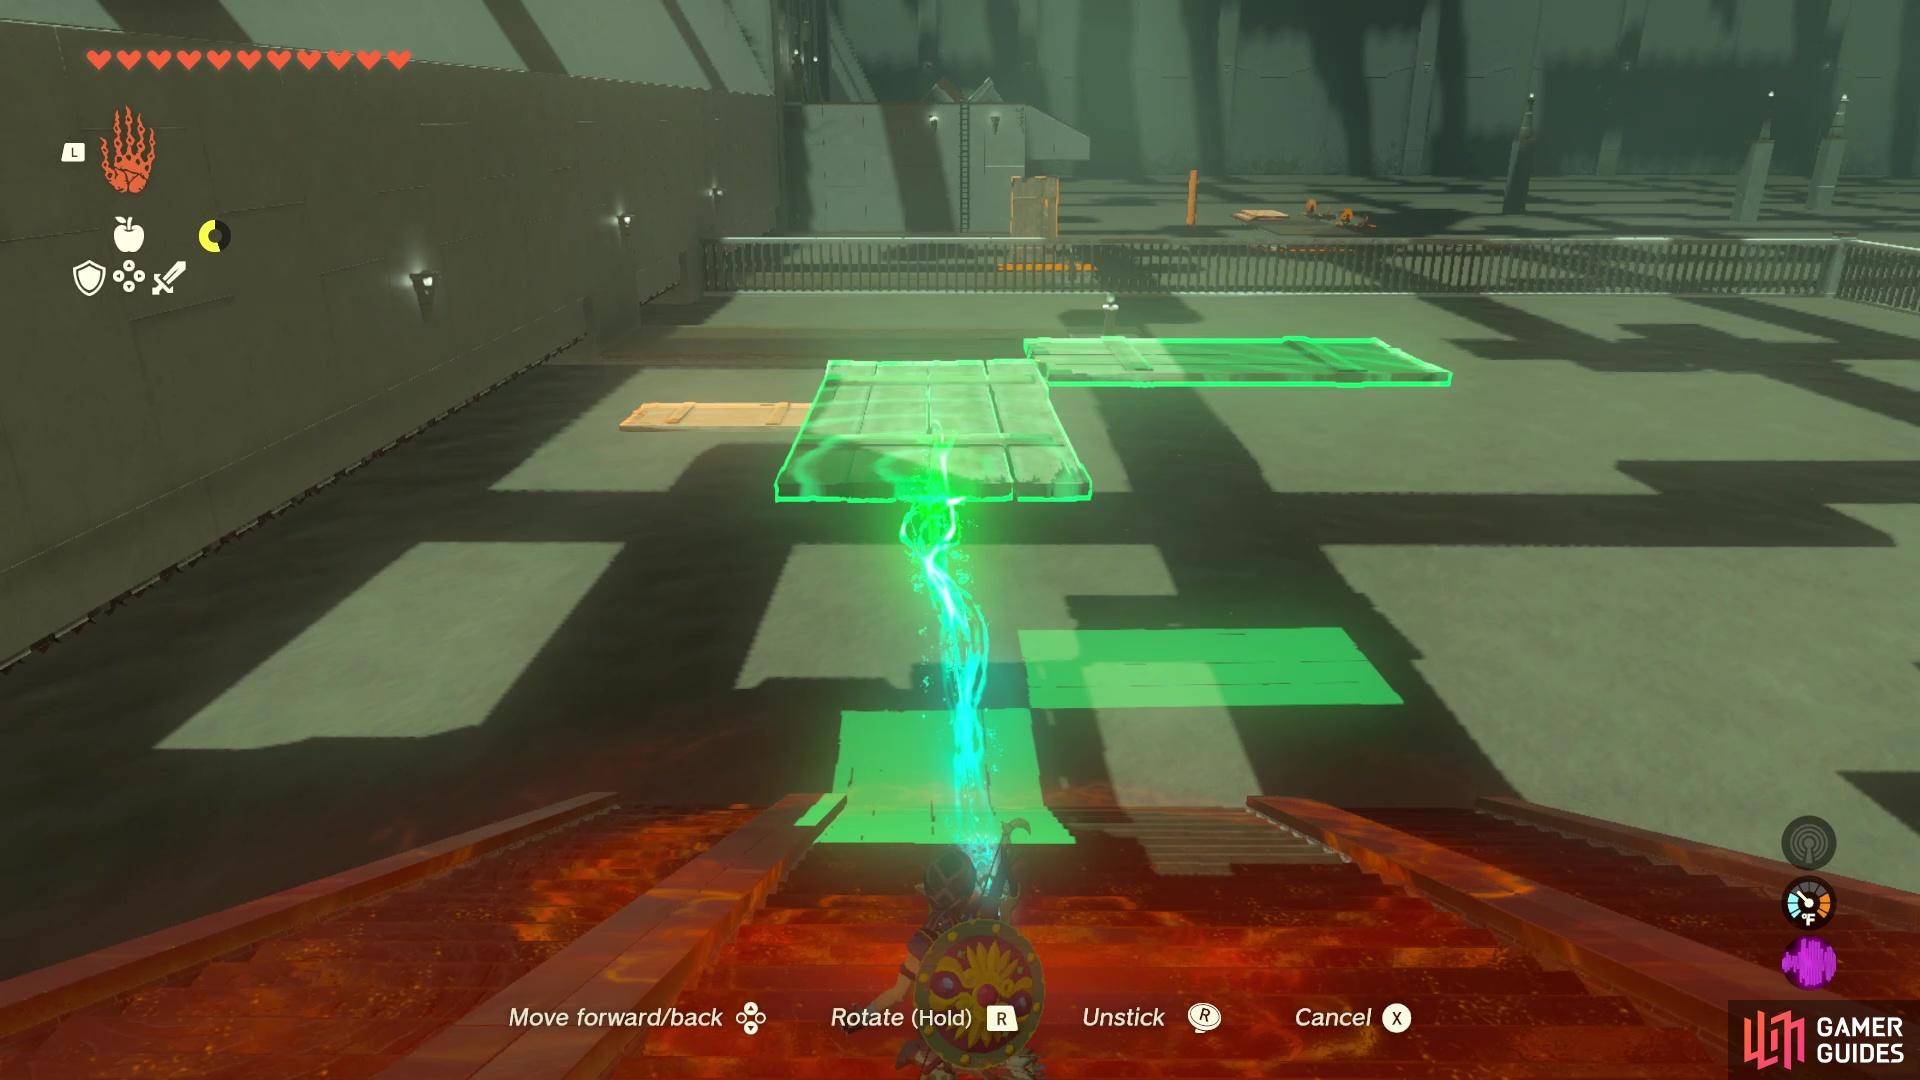
There are a few ways to get past the first gap, but one of the easier methods is to simply go to the top of the stairs at the start and glide down to the first wooden board moving down the sand. From there, you quickly move through the sand to the next board, then go from there to the safe ledge. Alternatively, you could attempt to construct a bridge using the boards, although this won’t reach all the way across. Once you do make it, snatch one of the boards and lean it up against the railing, then hop into the sands and climb that board, over the railing, signaling the classic Zelda chime.
Now, you should see a board sticking straight out of the sand, with a small, square platform behind it. On that platform is a Construct, so shoot it from a distance, then use the moving board to get to the platform. From there, you can hop across the sand to reach the ledge, where you’ll find a ladder. Climb the ladder and hit the switch on the ground. This will cause a small orb to fall out of the hole, land on the piston and get launched across the area. It will land in a walled off area that you will be going to shortly.
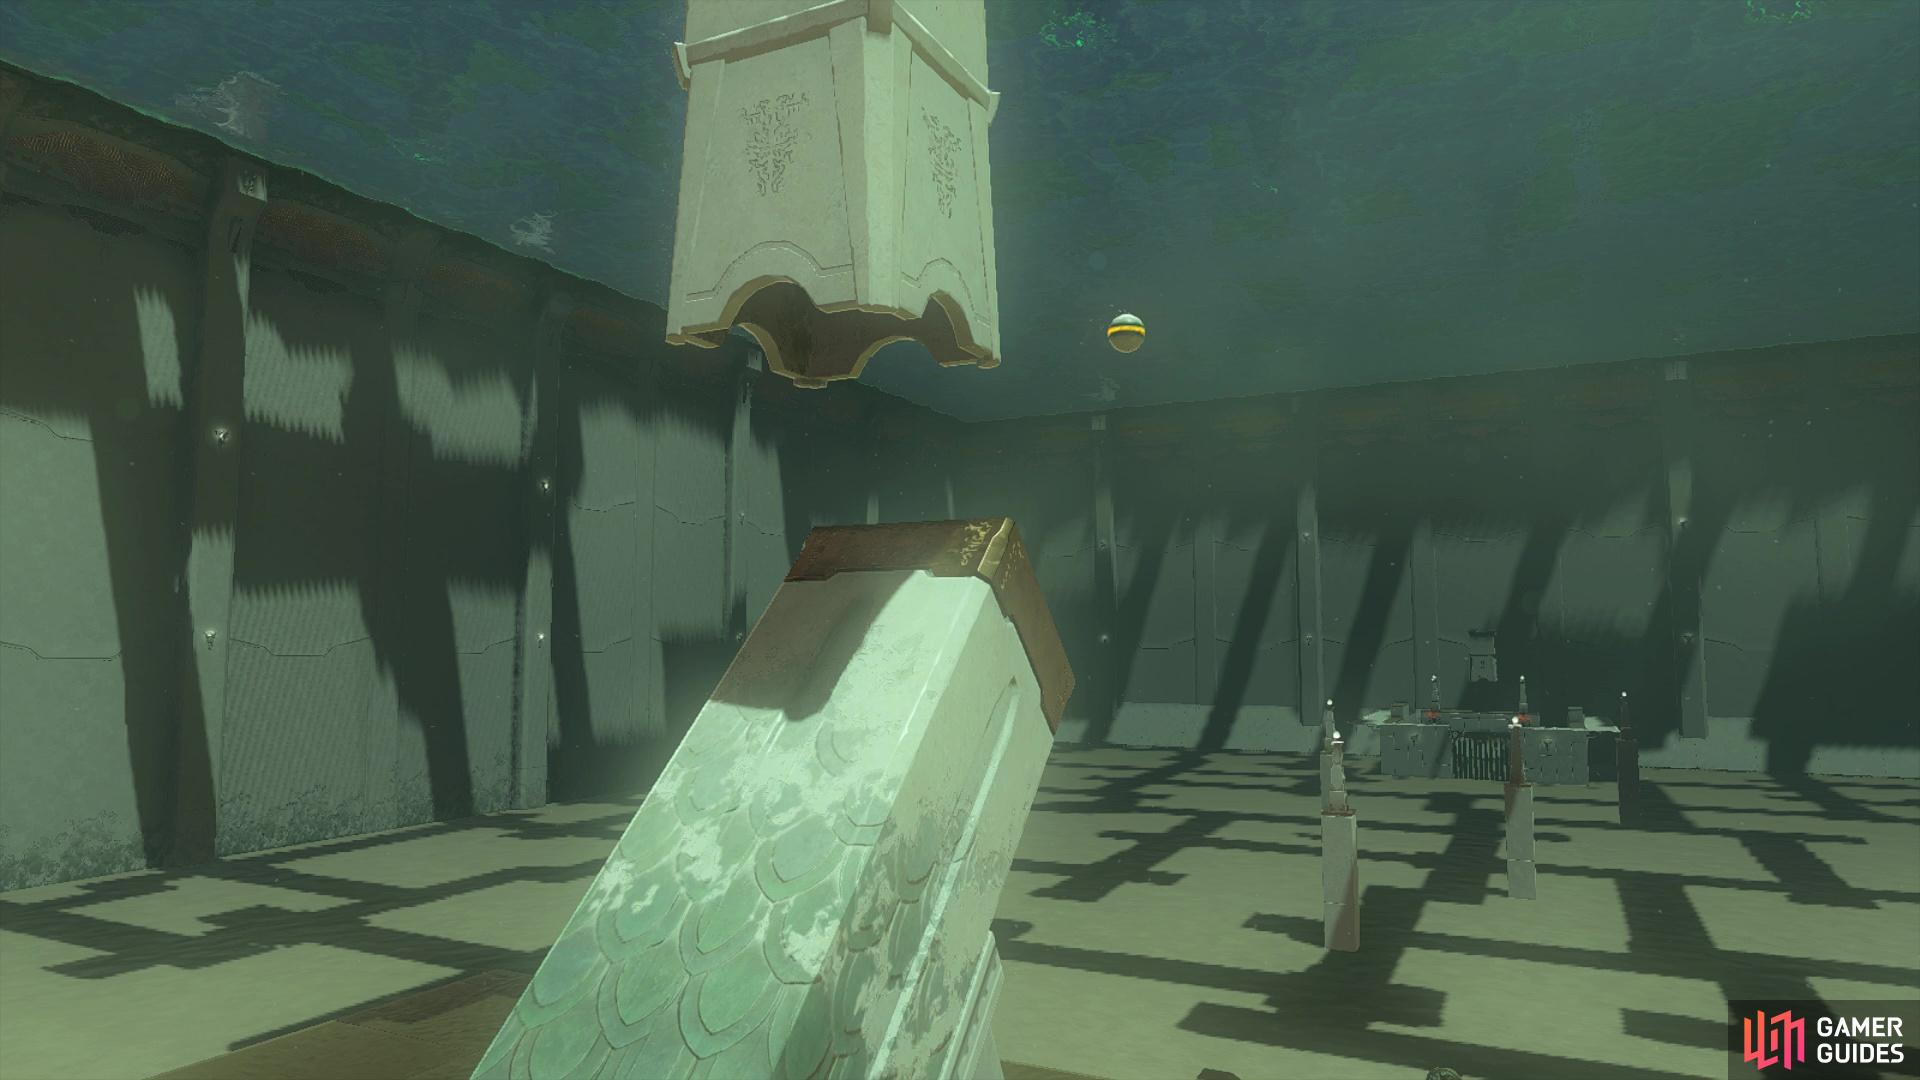
The switch on the raised section will launch the ball across the shrine, out of your control.
Glide down to the platform with the vehicles, near the broken stairs.
How to Get the Chests in Kudanisar Shrine in Tears of the Kingdom
While you’re still on this upper platform, it’s time to find the two chests in this shrine. While facing the same way as ball launcher, look to the left and in that corner to spy a platform along the sands, which is where one of the chests will be located. The other one is to the right of the spot where the ball was launched, with that second platform being a little raised. With that out of the way, look for the platform below, near the broken stairs. Glide down to the platform to find some premade Sleds, with Fans attached to them.
Grab one of these and make your way to the raised platform mentioned above, noting that there is a Construct on top of it. You might want to take out the Construct before you attempt to reach the top of the platform. Park your sled behind it, so it doesn’t get taken away by the sand current, then grab the nearby wooden board that’s sticking straight up. The reason you want the board is because you’re not able to climb the sides of the platform itself. Place the board against the wall, then quickly jump on it and climb to the top of the platform. Open the chest you find for a ![]() Hasty Elixir.
Hasty Elixir.
(1 of 5) The first chest is on this raised platform, not far from where the ball landed.
Use ![]() Ultrahand to turn your vehicle around, so you can get away from this platform, making your way to the location of the second chest mentioned prior. This chest is hanging from a rope, over the sand, so if you shoot the rope with an arrow to drop the chest, then it will fall in the sand and be carried away. However, there is a little trick you can do here, which is using
Ultrahand to turn your vehicle around, so you can get away from this platform, making your way to the location of the second chest mentioned prior. This chest is hanging from a rope, over the sand, so if you shoot the rope with an arrow to drop the chest, then it will fall in the sand and be carried away. However, there is a little trick you can do here, which is using ![]() Recall. As soon as you cut the rope, use Recall on the chest to get it back to its initial position, then use Ultrahand to bring the chest to the platform. Once you do this, open the chest for
Recall. As soon as you cut the rope, use Recall on the chest to get it back to its initial position, then use Ultrahand to bring the chest to the platform. Once you do this, open the chest for ![]() Arrow x10.
Arrow x10.
How to Complete the Kudanisar Shrine in Tears of the Kingdom
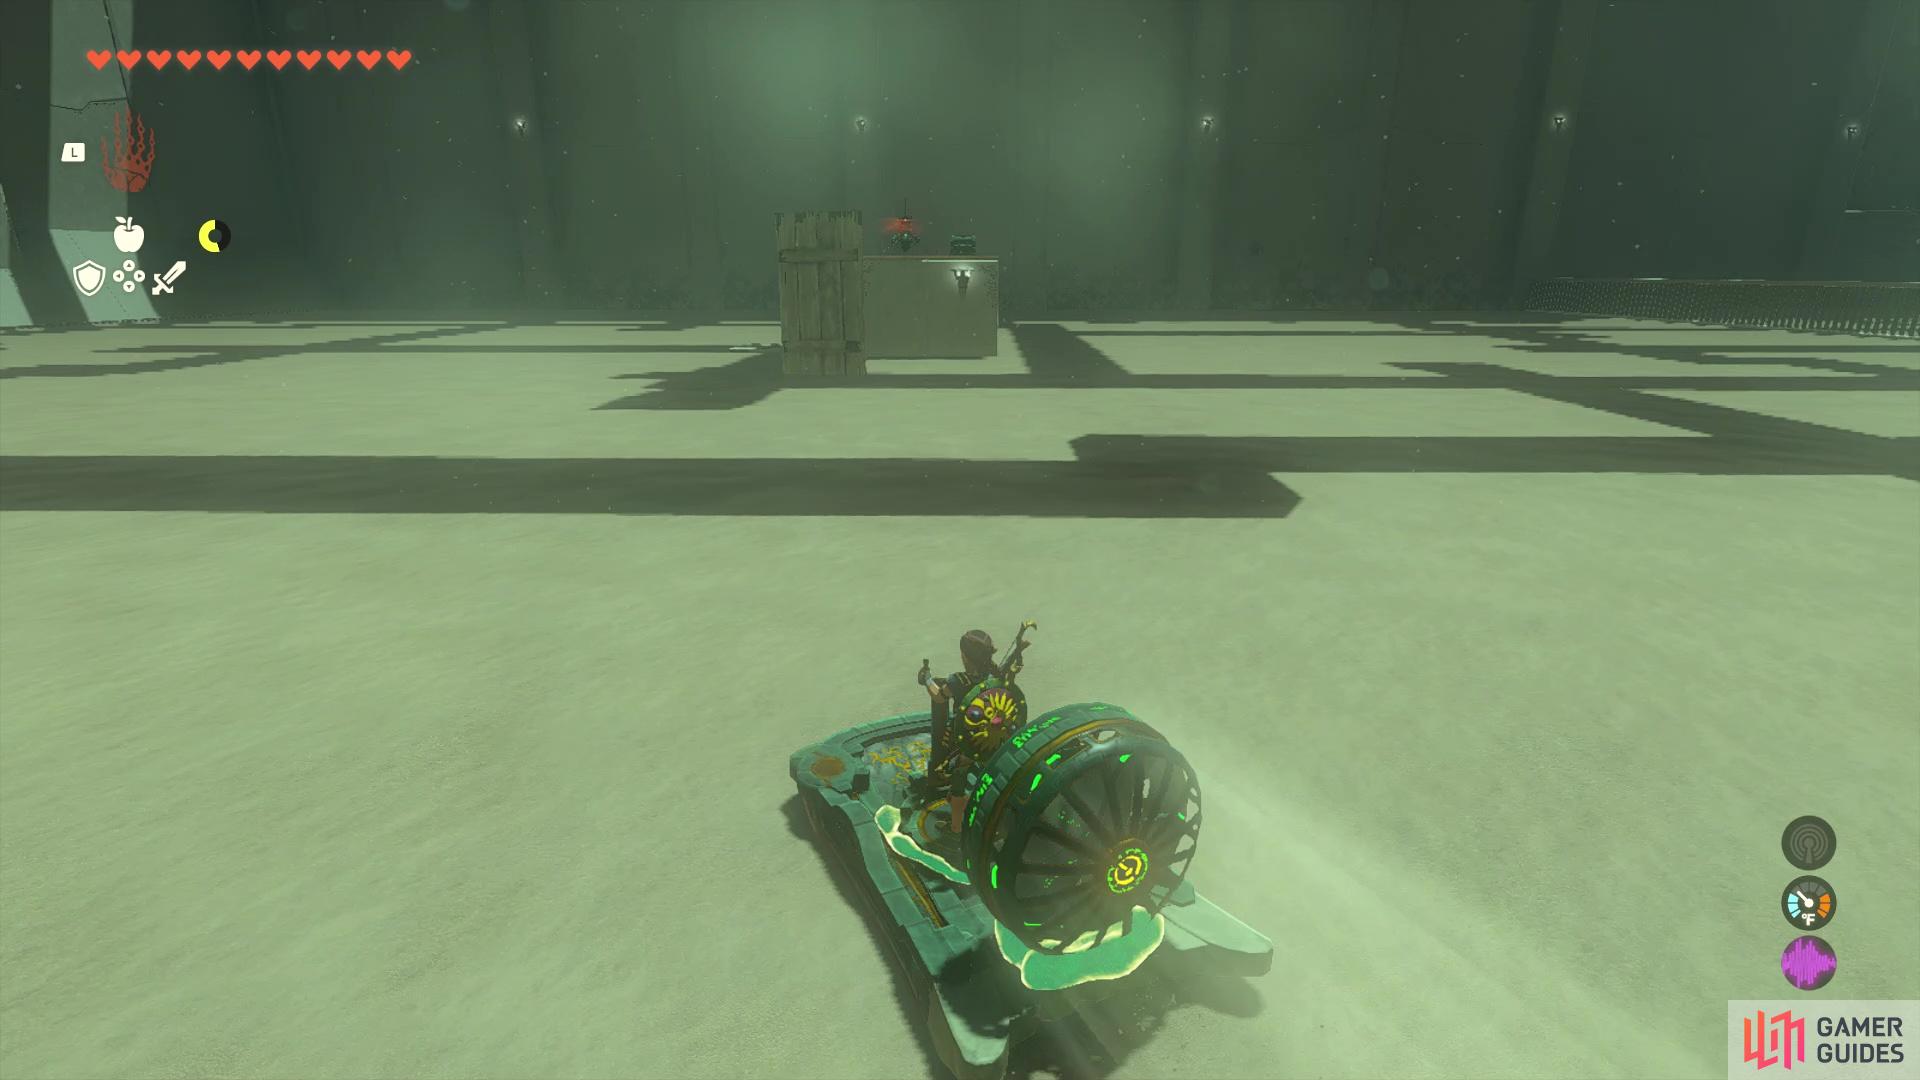
With all of that out of the way, it’s time to finish the shrine. Drive the vehicle over to the area where the ball that was launched earlier landed. Go to the wall on either side, then use ![]() Ascend to get to the top of the area (don’t worry about the vehicle, as there’s another inside). Take out the two Constructs up here, then drop down into the area and place the ball, near the gate, onto a stable platform. Hit the switch on the other side to open the gate, place the orb on one of the vehicles inside, then drive back to the initial platform with the first vehicles you found.
Ascend to get to the top of the area (don’t worry about the vehicle, as there’s another inside). Take out the two Constructs up here, then drop down into the area and place the ball, near the gate, onto a stable platform. Hit the switch on the other side to open the gate, place the orb on one of the vehicles inside, then drive back to the initial platform with the first vehicles you found.
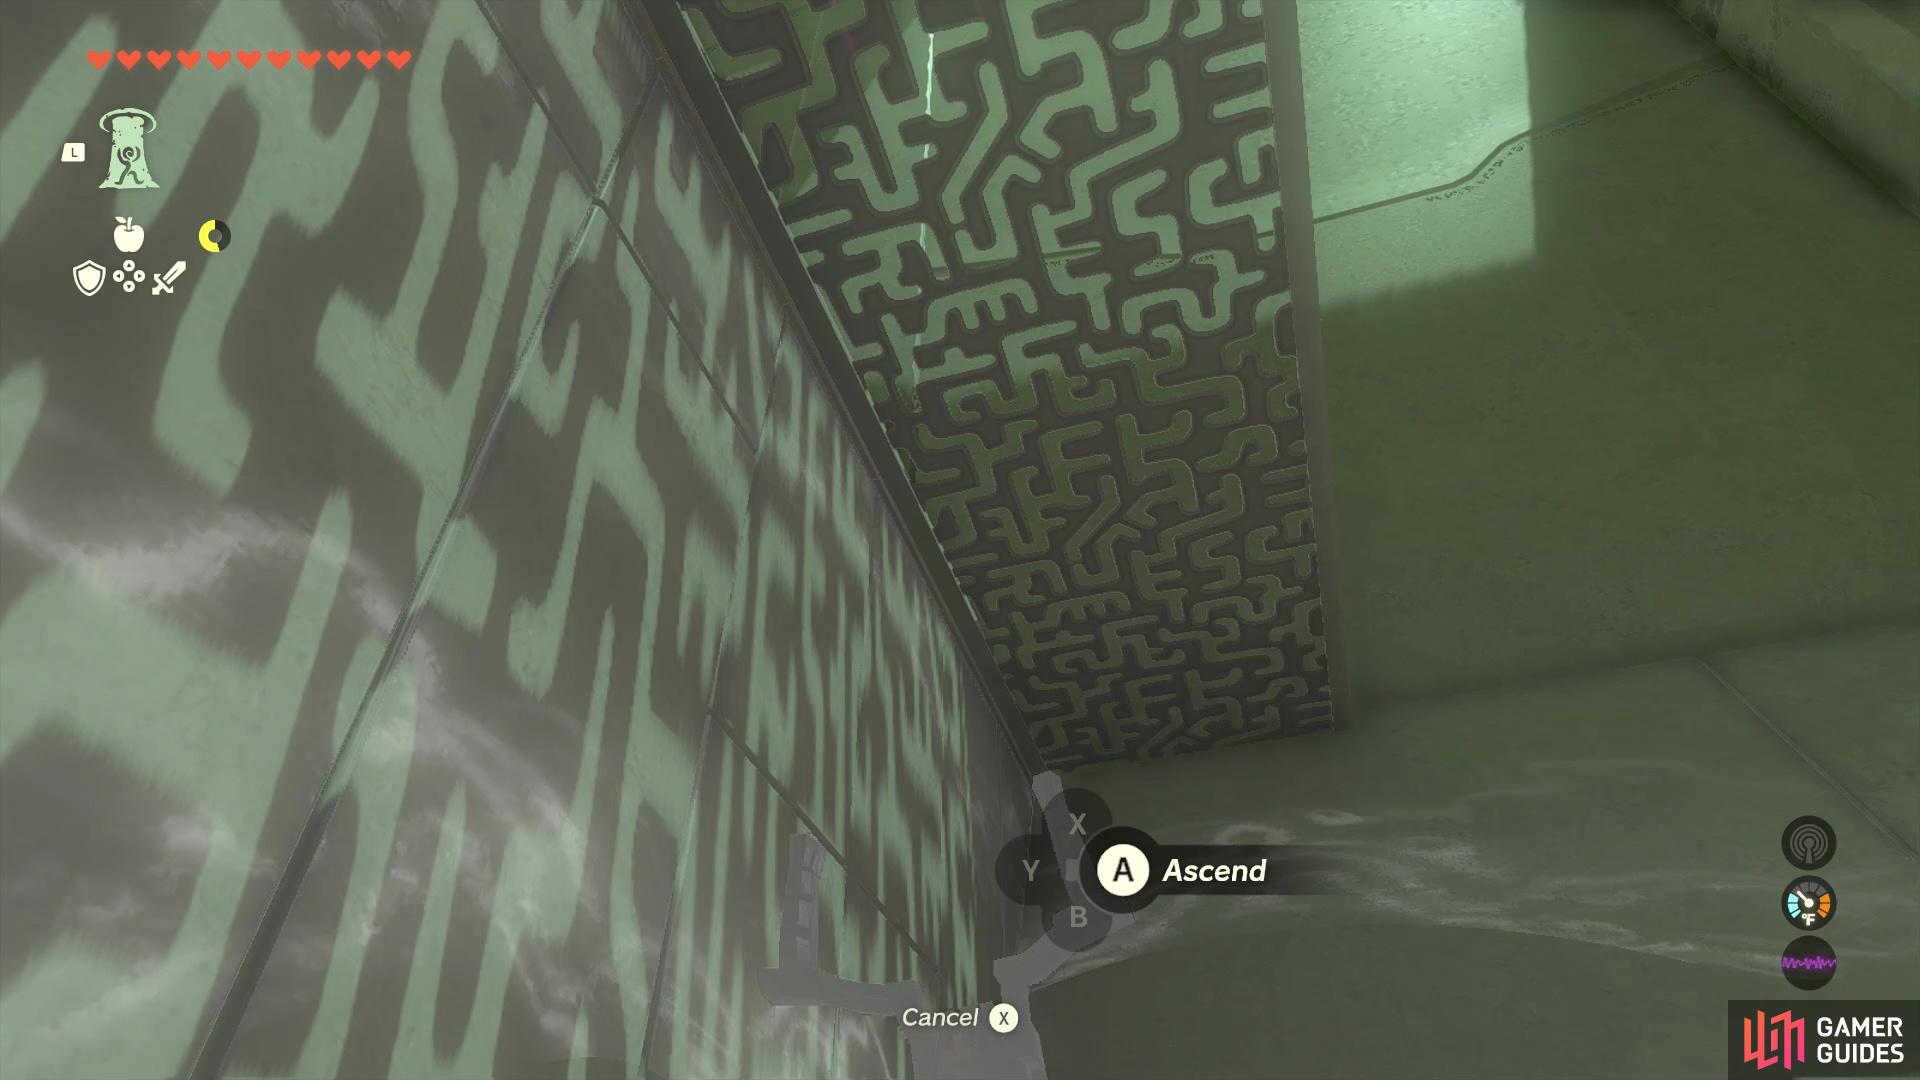
(1 of 5) Park your vehicle under the lattice and use Ascend to reach the area with the ball.
Make a ramp using the wooden boards, allowing you to reach the upper section that had the launcher. Once you have everything in place, you can detach the orb, then carry it up the ramp, dropping it into the hole. The door to the altar will finally be open, so head inside to grab the ![]() Light of Blessing and be done with this shrine.
Light of Blessing and be done with this shrine.
No Comments