
There are head scratching shrines and brute force shrines, and the ![]() Nouda Shrine is definitely the latter. This one is another Proving Grounds challenge tasking you to take down yet more Constructs in order to make it through. However, with this being said, it can still be tough due to the little quirks that are thrown in.
Nouda Shrine is definitely the latter. This one is another Proving Grounds challenge tasking you to take down yet more Constructs in order to make it through. However, with this being said, it can still be tough due to the little quirks that are thrown in.
With this guide, we’ll break down how to complete the Nouda Shrine so you ensure that you can get it finished as fast as possible. We’ll also detail its location just in case you haven’t actually found it as of yet.
Where to Find Nouda Shrine in Tears of the Kingdom
The Nouda Shrine is one of the more tricky shrines to get to, both because it’s hidden, as well as the treacherous path that you’ll be going on.
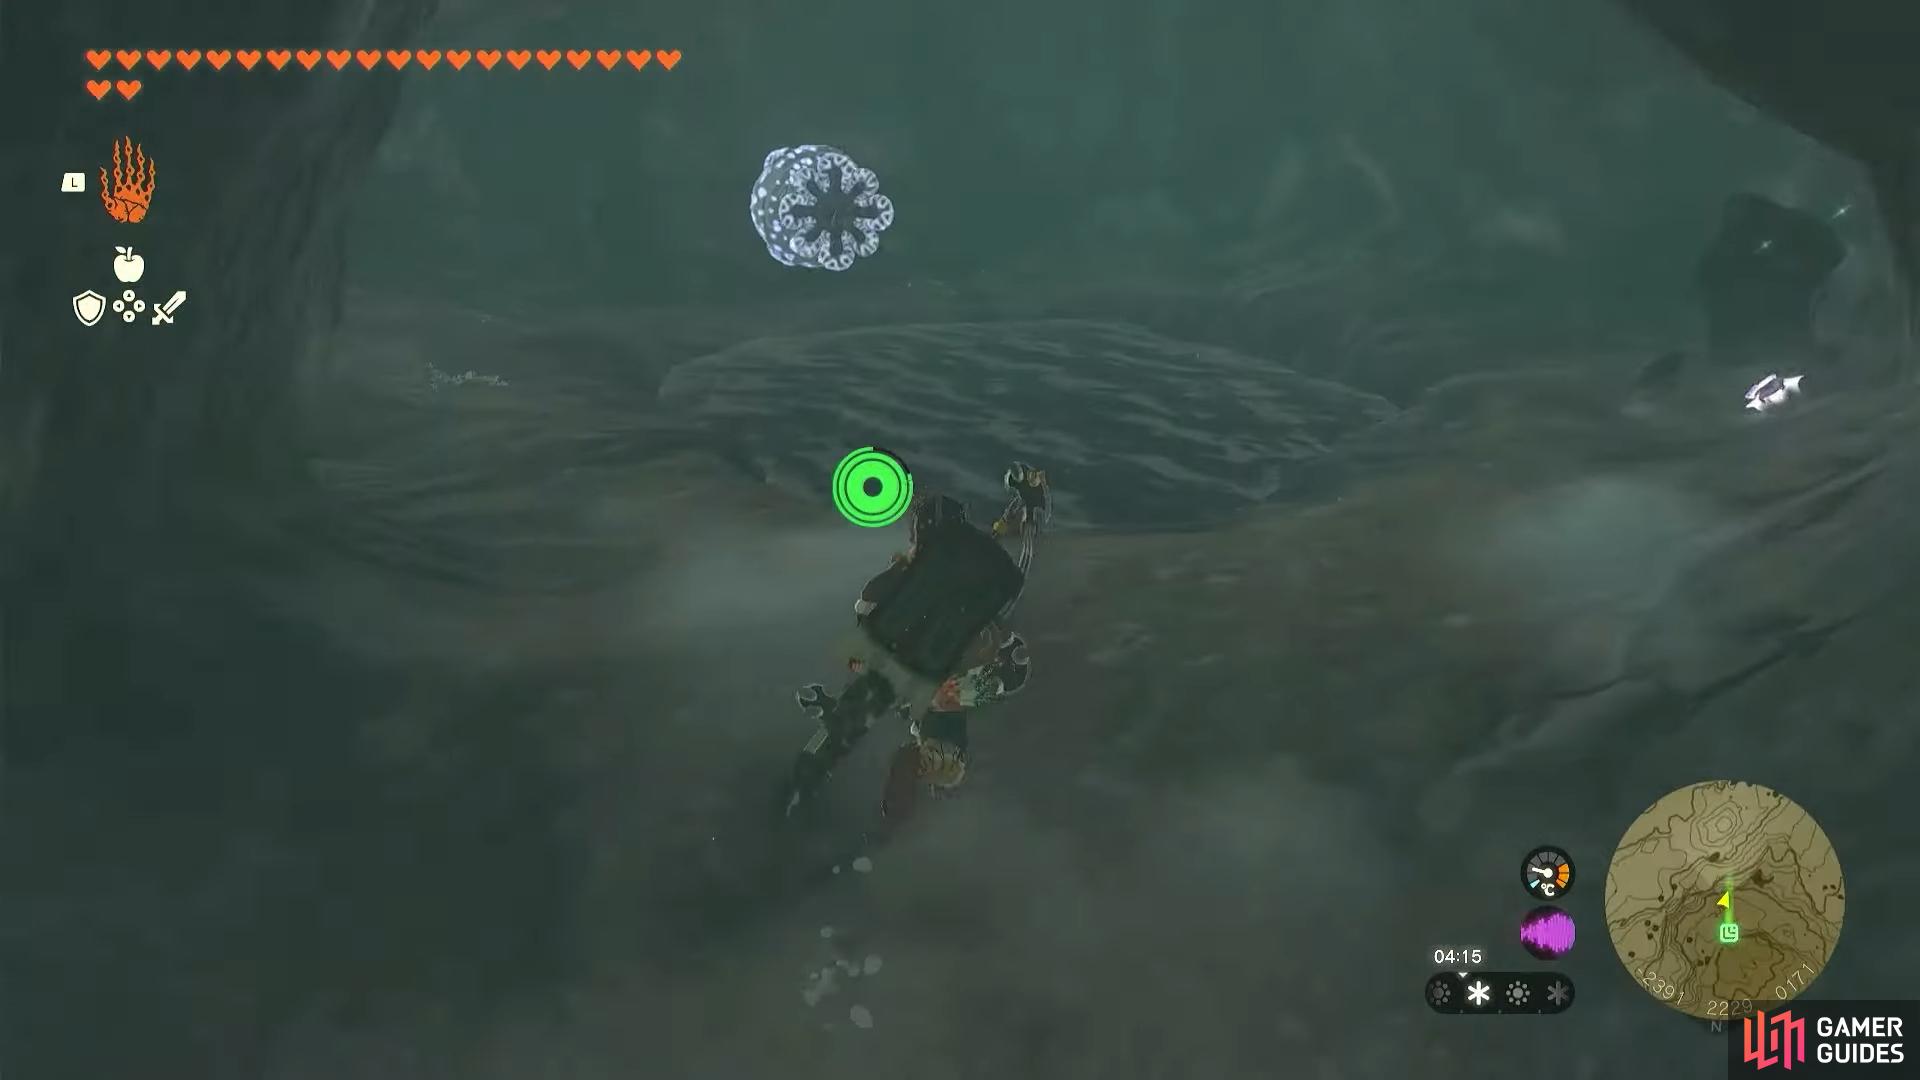
You’ll have to go to the Tabantha Frontier for this shrine and its held within a cave - the ![]() Kopeeki Drifts Cave to be exact. However, this is where it get challenging as the shrine is located at the end of some icy water which will freeze you if touched.
Kopeeki Drifts Cave to be exact. However, this is where it get challenging as the shrine is located at the end of some icy water which will freeze you if touched.
So, head into the right hand side path when you’ve entered the cave and allow the Ice Like in there to create some ice platforms on the small body of water. Once this has been done, fuse one of these to a weapon and go back to the larger cave area to use this to create platforms across to the shrine.
How to Complete Nouda Shrine in Tears of the Kingdom
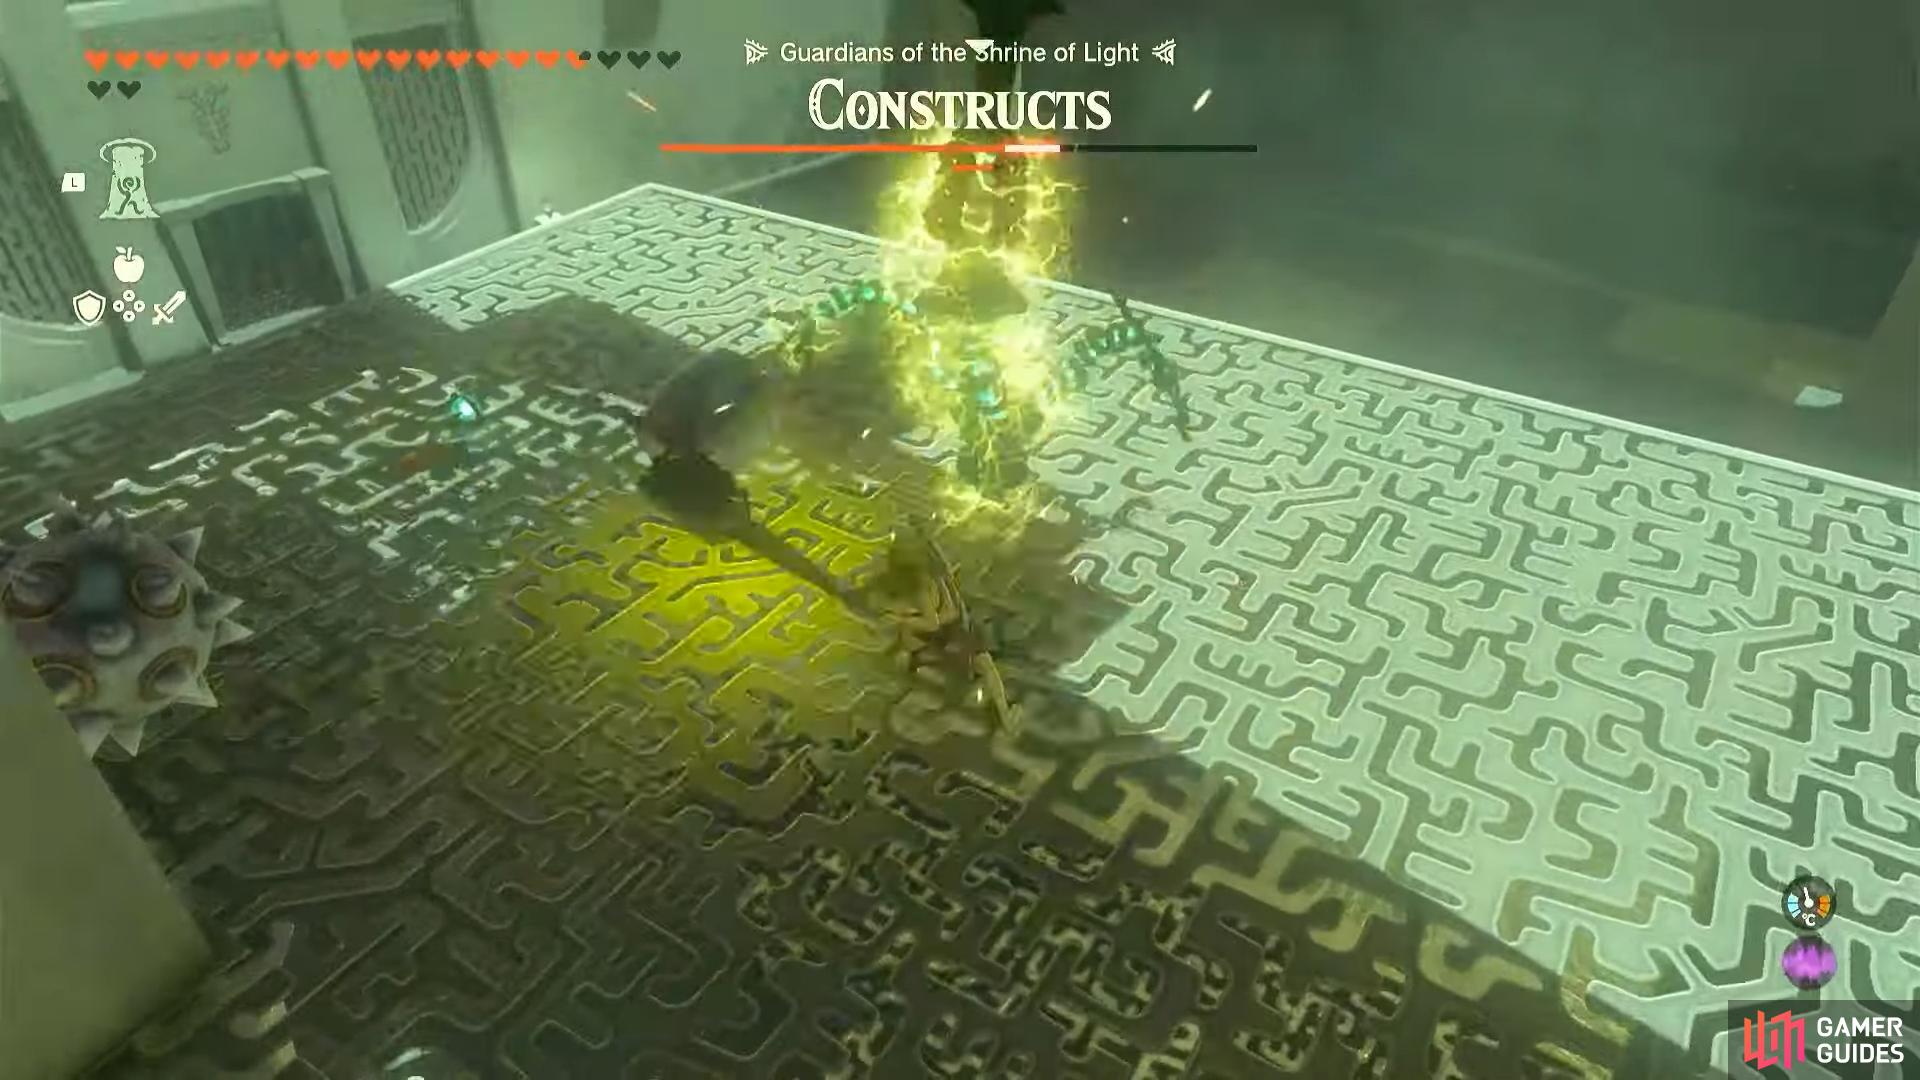
Once you’re inside, you’ll be taking on the aforementioned Proving Grounds challenge. On first look it can seem a little daunting with many Constructs out in the open, but if you take them down in a certain way, it can be made far easier.
What we recommend is that once you move from the weapon pickups area, head immediately right. You should be able to see the Construct on the raised platform which you should take out with the bow. Try your best to get a headshot off here as you’ll take it out instantly, avoiding alerting others and preventing any early damage. If you can’t just run toward and climb the ladder and go for physical damage instead. Ensure you pick up all the ![]() Fire Fruit here as its essential to the next step.
Fire Fruit here as its essential to the next step.
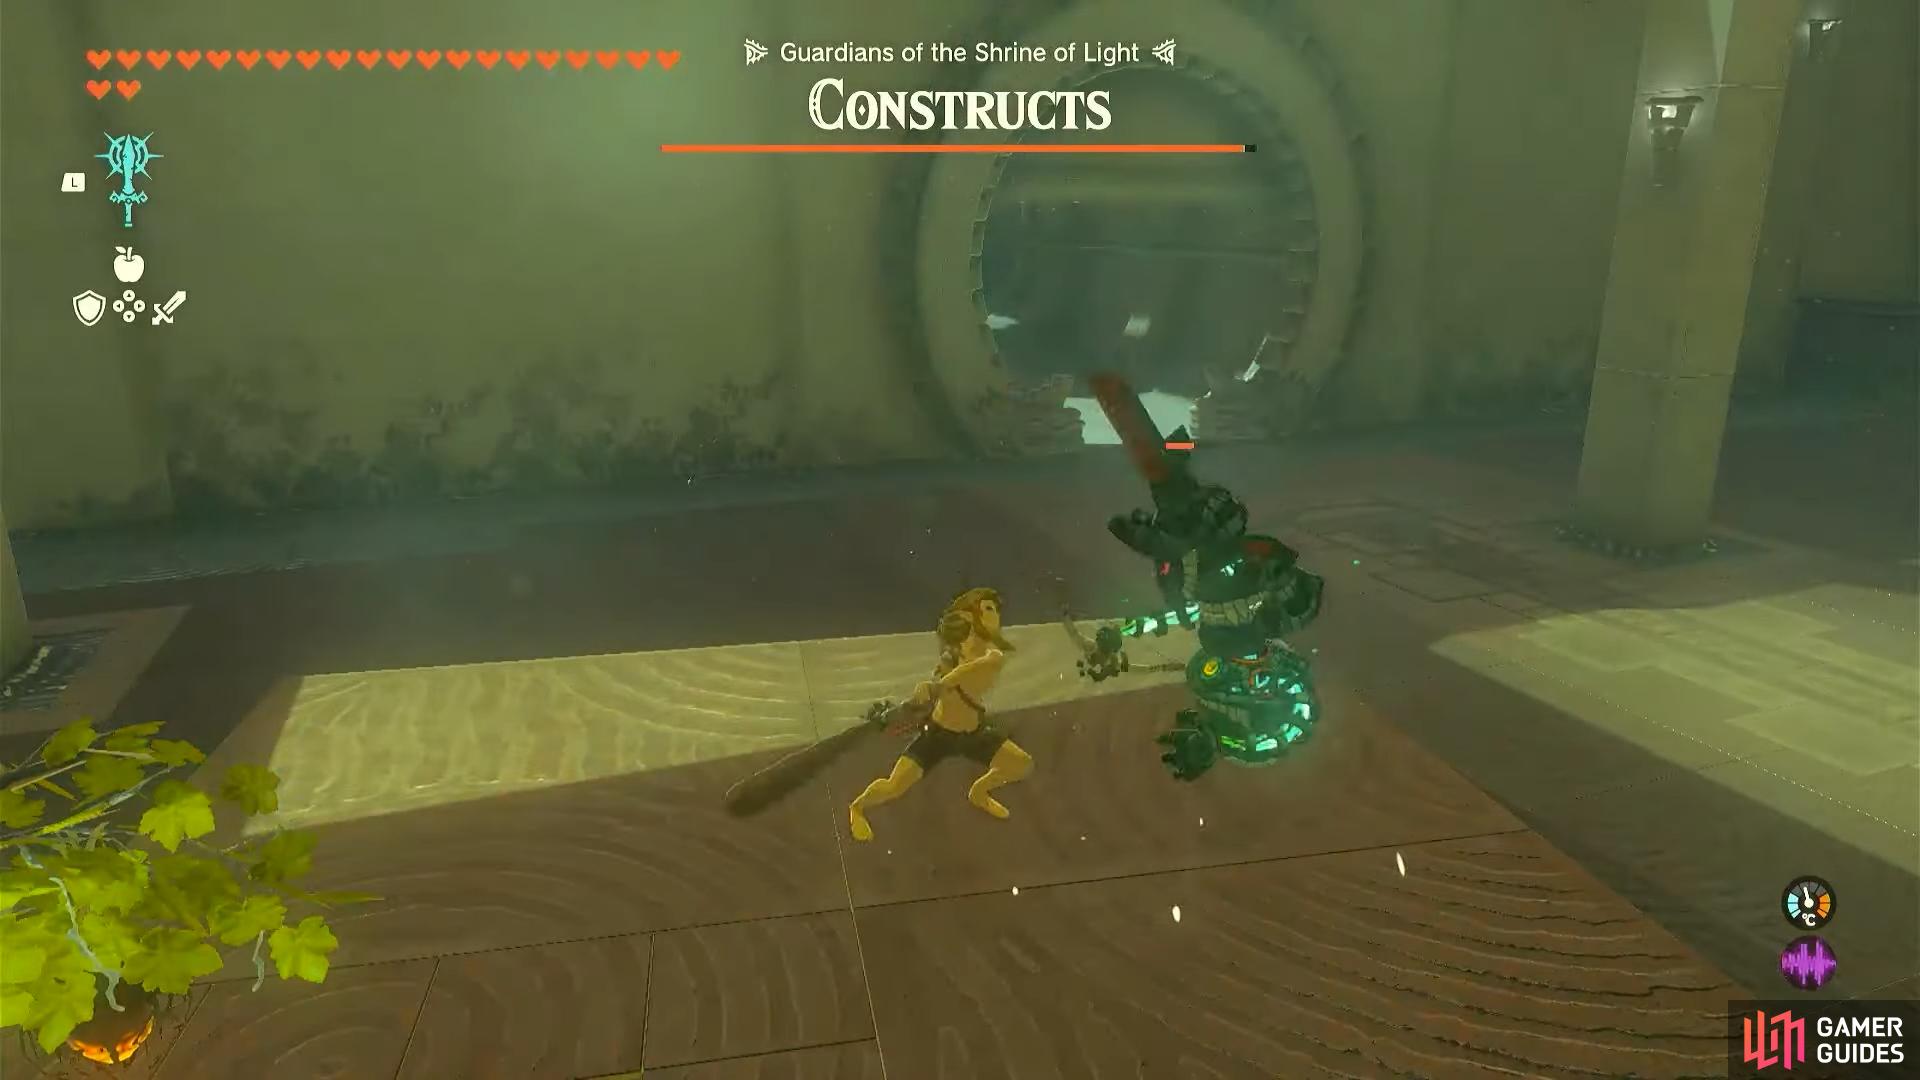
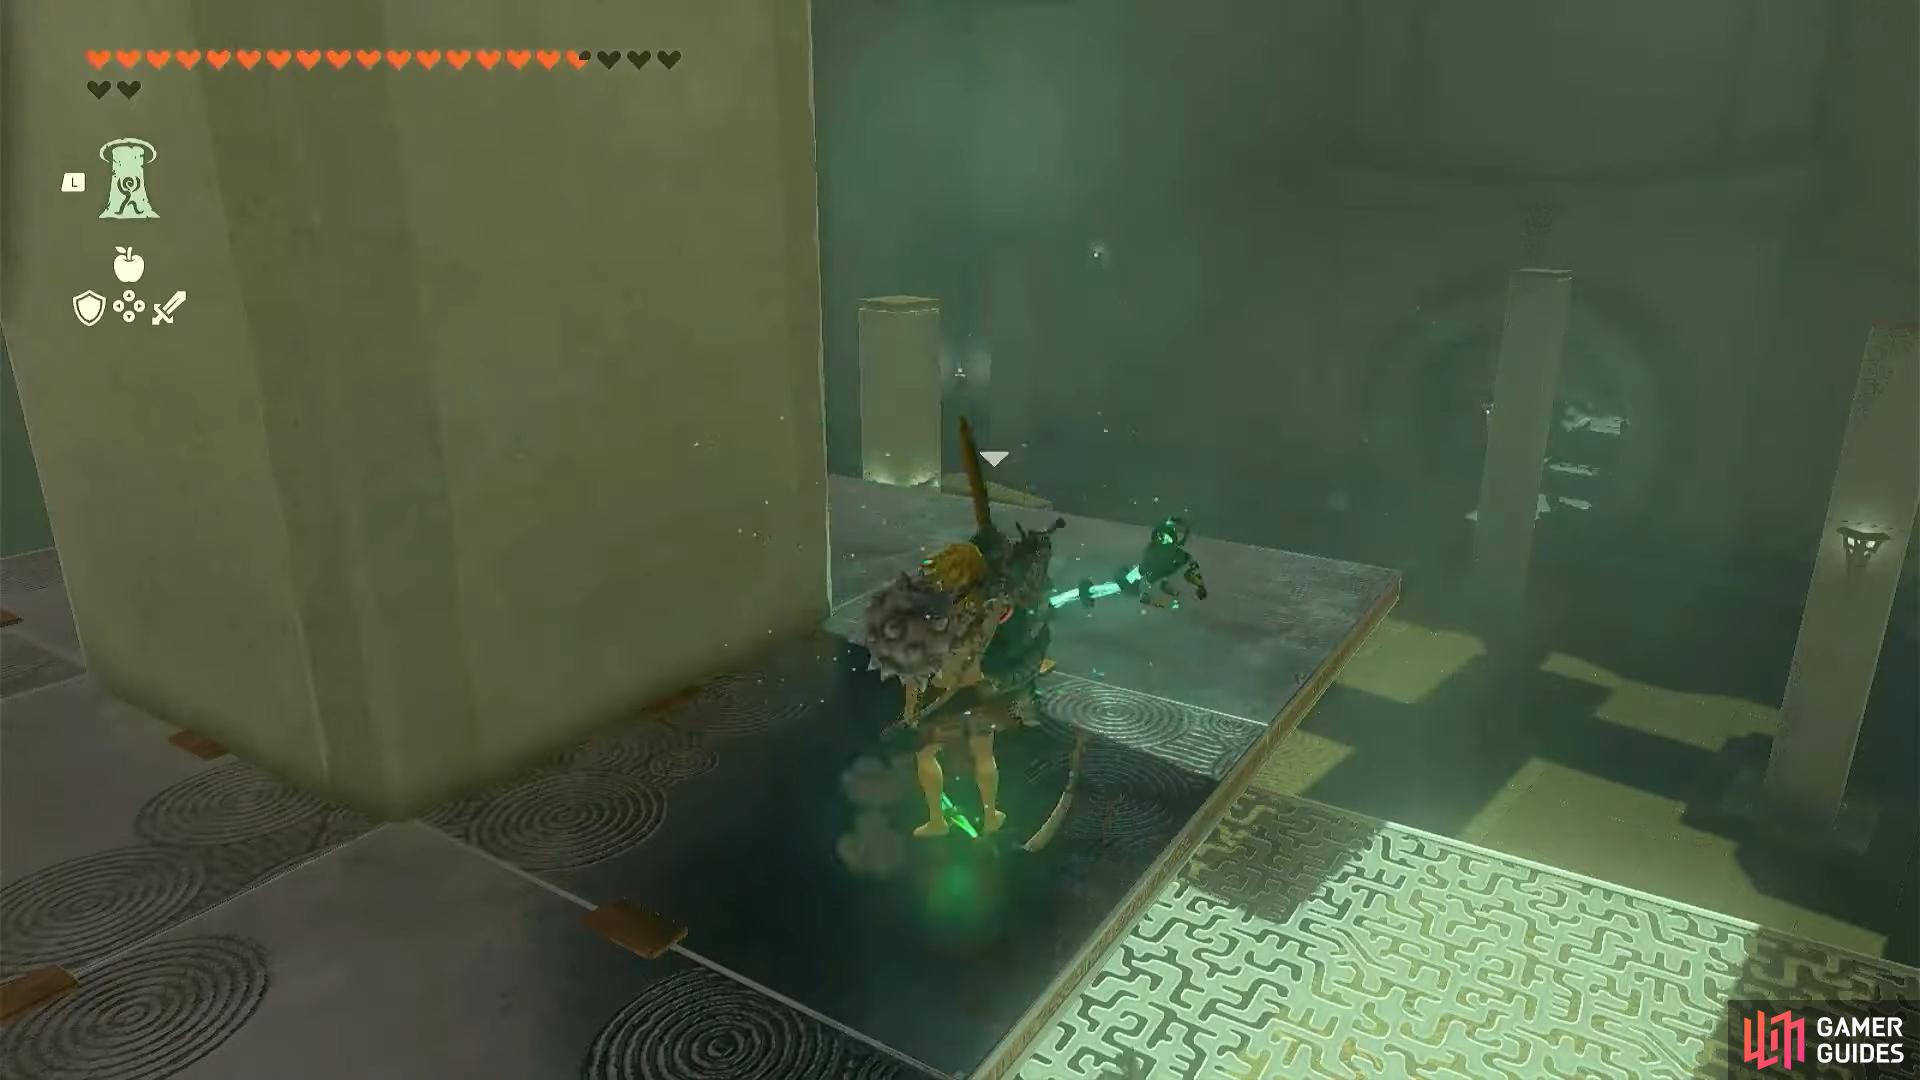
Taking on the first Construct of the shrine
Once you do, attach a Fire Fruit to an arrow and look to the right where you should see some ivy on the wall. Use this arrow to set it alight and a Shock Emitter will drop down, allowing you to fuse it to a weapon, making this shrine far easier. You’ll likely be rushed by two more Constructs at this point where you can use that !Shock Emitter weapon to take them down quicker than you would have without it. Pick up any weapons and armor these drop, especially the ![]() Spiked-Iron-Ball Hammer.
Spiked-Iron-Ball Hammer.

Now, gain the attention of the Construct that is below at the bottom of the tiered structure. It will attempt to fire off Shock ![]() Arrows off so just dodge these and close the gap. Get out the previously acquired Hammer and get as many hits in as possible, and it’ll be dead in no time.
Arrows off so just dodge these and close the gap. Get out the previously acquired Hammer and get as many hits in as possible, and it’ll be dead in no time.
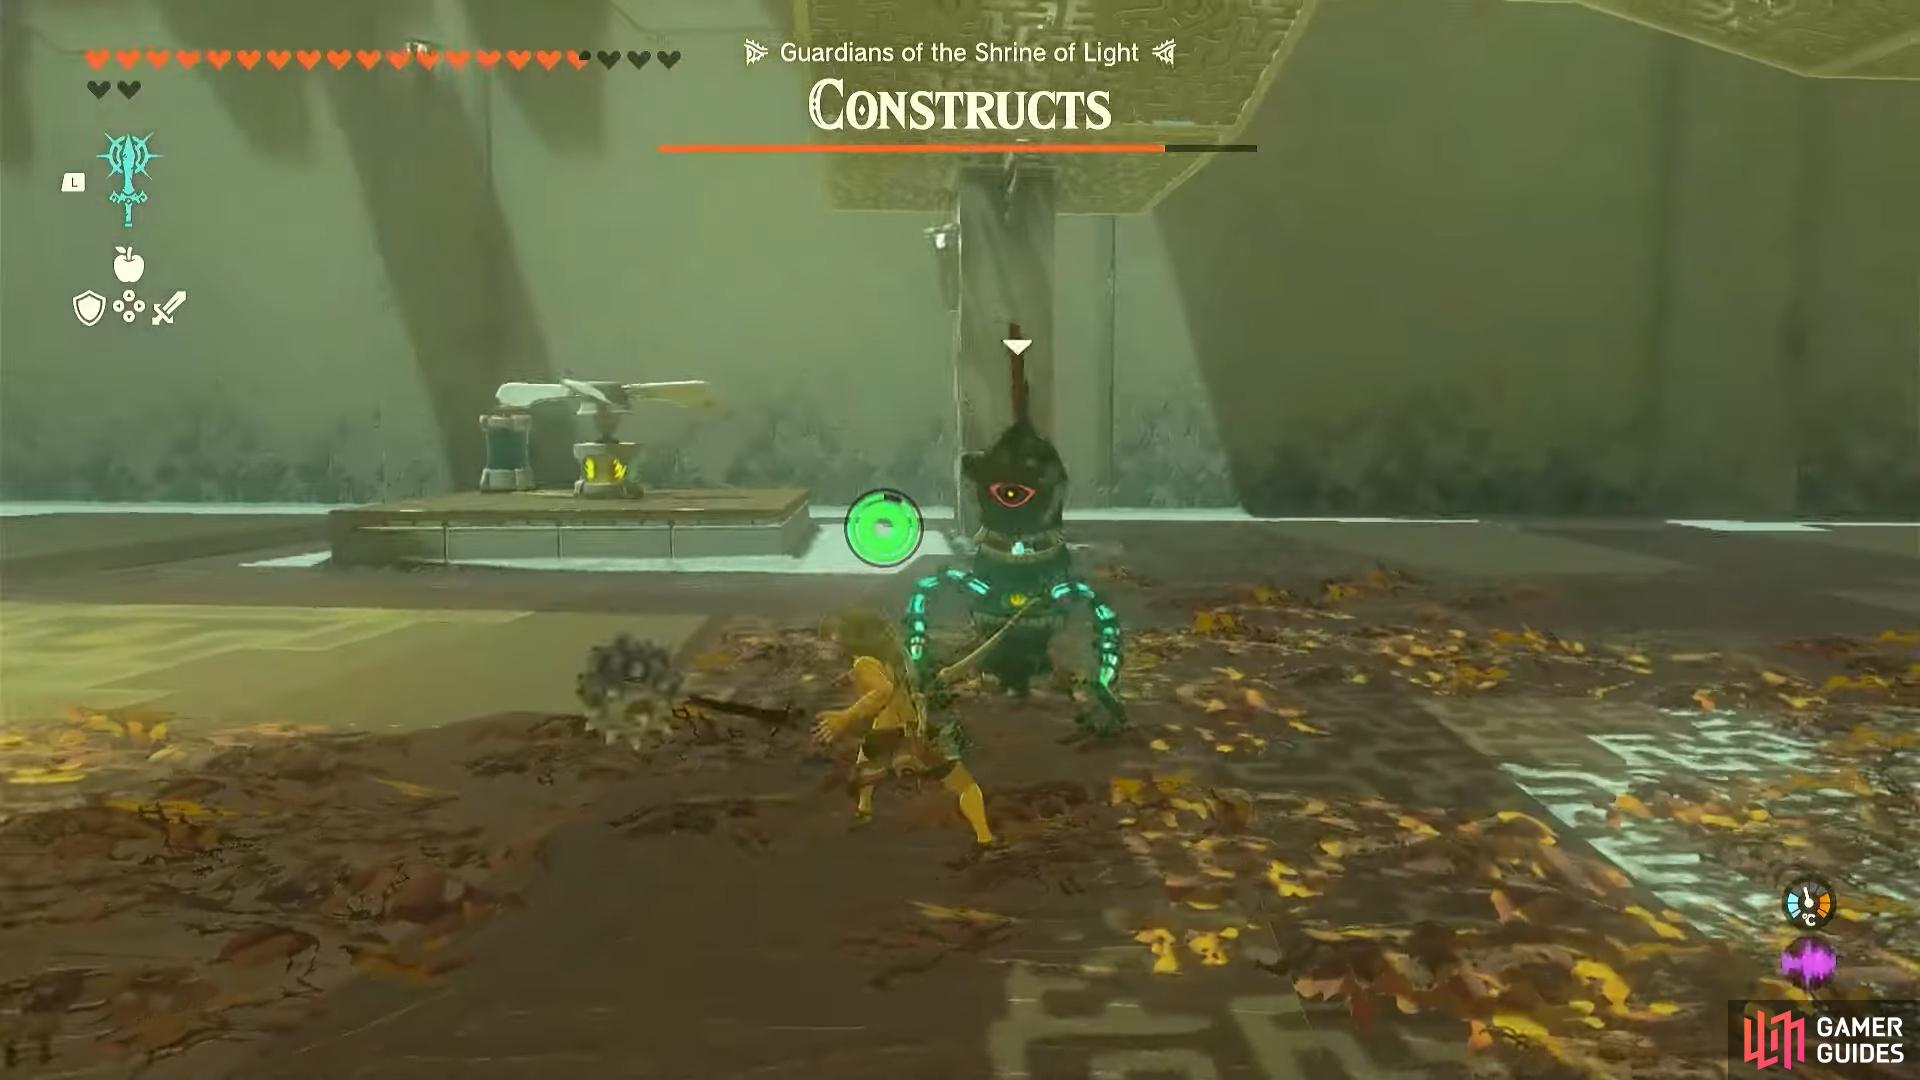
Taking on the third Construct
Make your way up the structure and use ![]() Ascend on the overhanging platforms to get up to where a Construct is situated. Again, you can simply use your Spiked-Iron-Ball Hammer on it to quickly get rid as it will be using a bow. There will be a second of these around the corner so just perform the same tactics.
Ascend on the overhanging platforms to get up to where a Construct is situated. Again, you can simply use your Spiked-Iron-Ball Hammer on it to quickly get rid as it will be using a bow. There will be a second of these around the corner so just perform the same tactics.
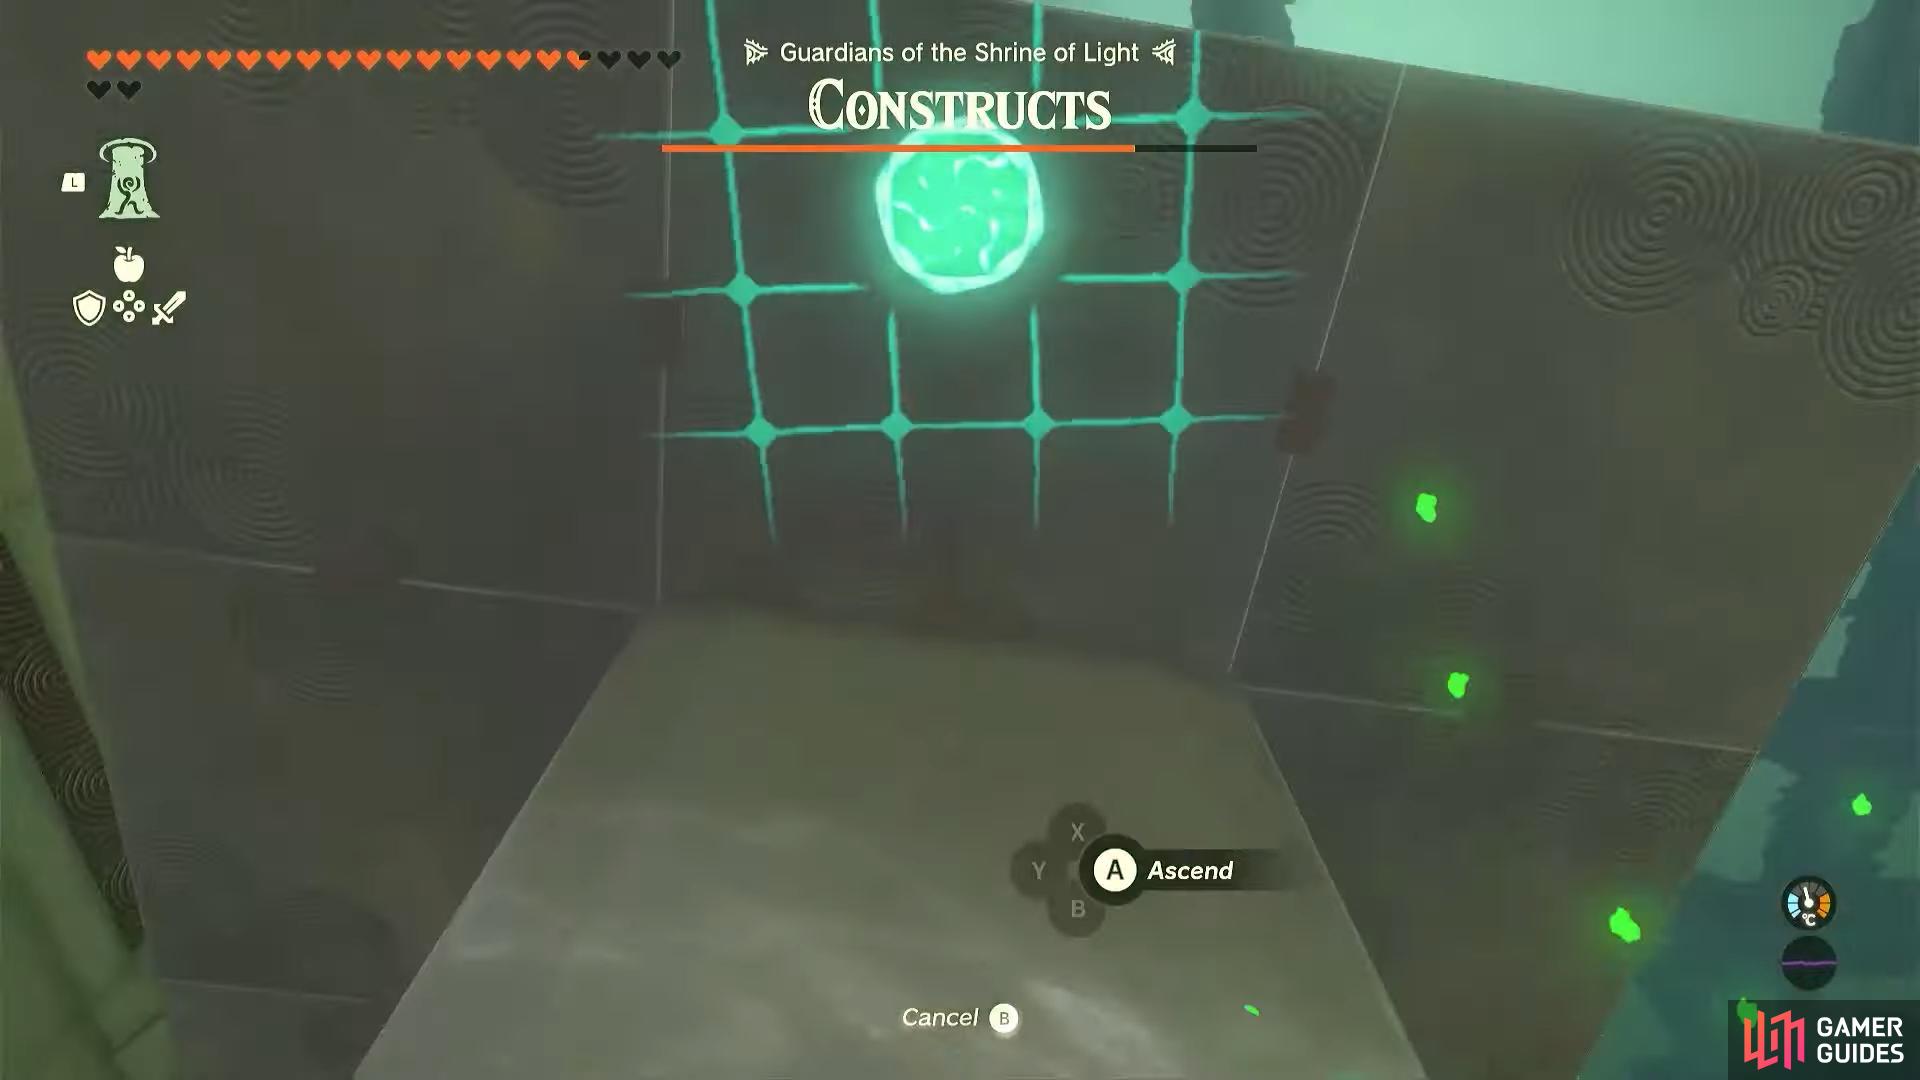
Using !Ascend to get to the top of the structure
Defeating the Constructs that were up there
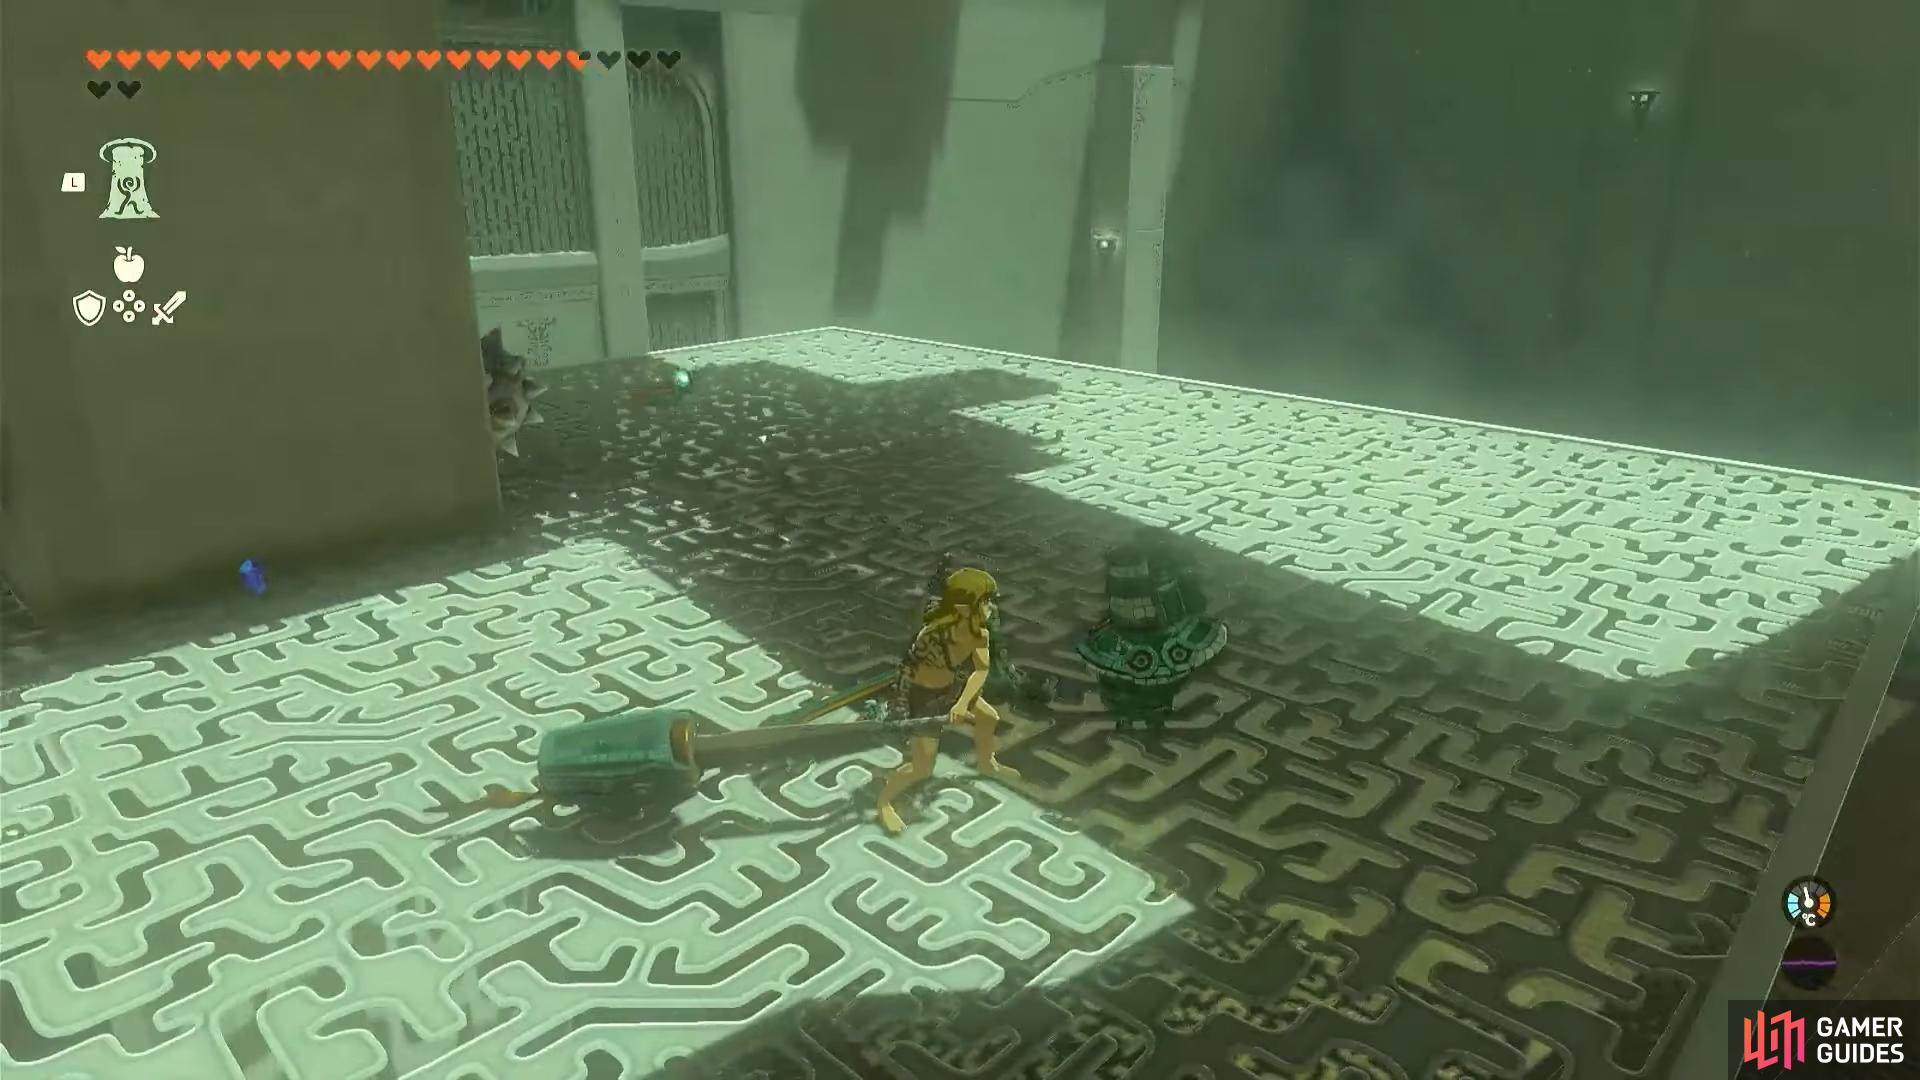
Now, for the final, and hardest enemy of the shrine, situated on the below level, we recommend using a two step method for defeating. First, use your !Shock Emitter weapon from before to paralyze it, hopefully negating damage. Then, follow up with the Hammer once more to inflict as much damage as possible. This window isn’t overly large though so keep that in mind move back when it subsides.
Once it does, create a bit of a gap so you can’t get hit then move in once again with the !Shock Emitter. Repeat the process until the last Construct is defeated. After, head down to the exit where a chest containing a ![]() Hearty Elixir will be waiting for you, then exit for the Blessing of !Light.
Hearty Elixir will be waiting for you, then exit for the Blessing of !Light.
Using the !Shock Emitter to take down the last Construct
Picking up the !Hearty Elixir from the chest
No Comments