
Tears of the Kingdom has some pretty unique shrine experiences that build upon what was first introduced in Breath of the Wild, taking them to a whole new level. The ![]() Kikakin Shrine is certainly one of these as it combines the use of Link’s new abilities with new Zonai tech to create an intriguing challenge.
Kikakin Shrine is certainly one of these as it combines the use of Link’s new abilities with new Zonai tech to create an intriguing challenge.
Below, we’ll be taking you through both where to find the Kikakin Shrine as well as how to complete this challenge, seeing as though it is a more difficult one to accomplish overall.
Where to Find Kikakin Shrine in Tears of the Kingdom
Your first step in completing the Kikakin Shrine in Tears of the Kingdom is actually finding where to enter it.
This one is situated pretty far north, west of the Thyplo Ruins Skyview Tower. More specifically, it can be found slightly north east from the peak of Mount Drena, and should be a pretty obvious spot seeing as though this is quite an open mountainous area.
However, if you’re still having trouble locating it, here is a direct map marker on our interactive map, allowing you to take out the guesswork.
How to Complete Kikakin Shrine in Tears of the Kingdom
Now you’ve got the whole location of the Kikakin Shrine out of the way, let’s now run through how to complete it.
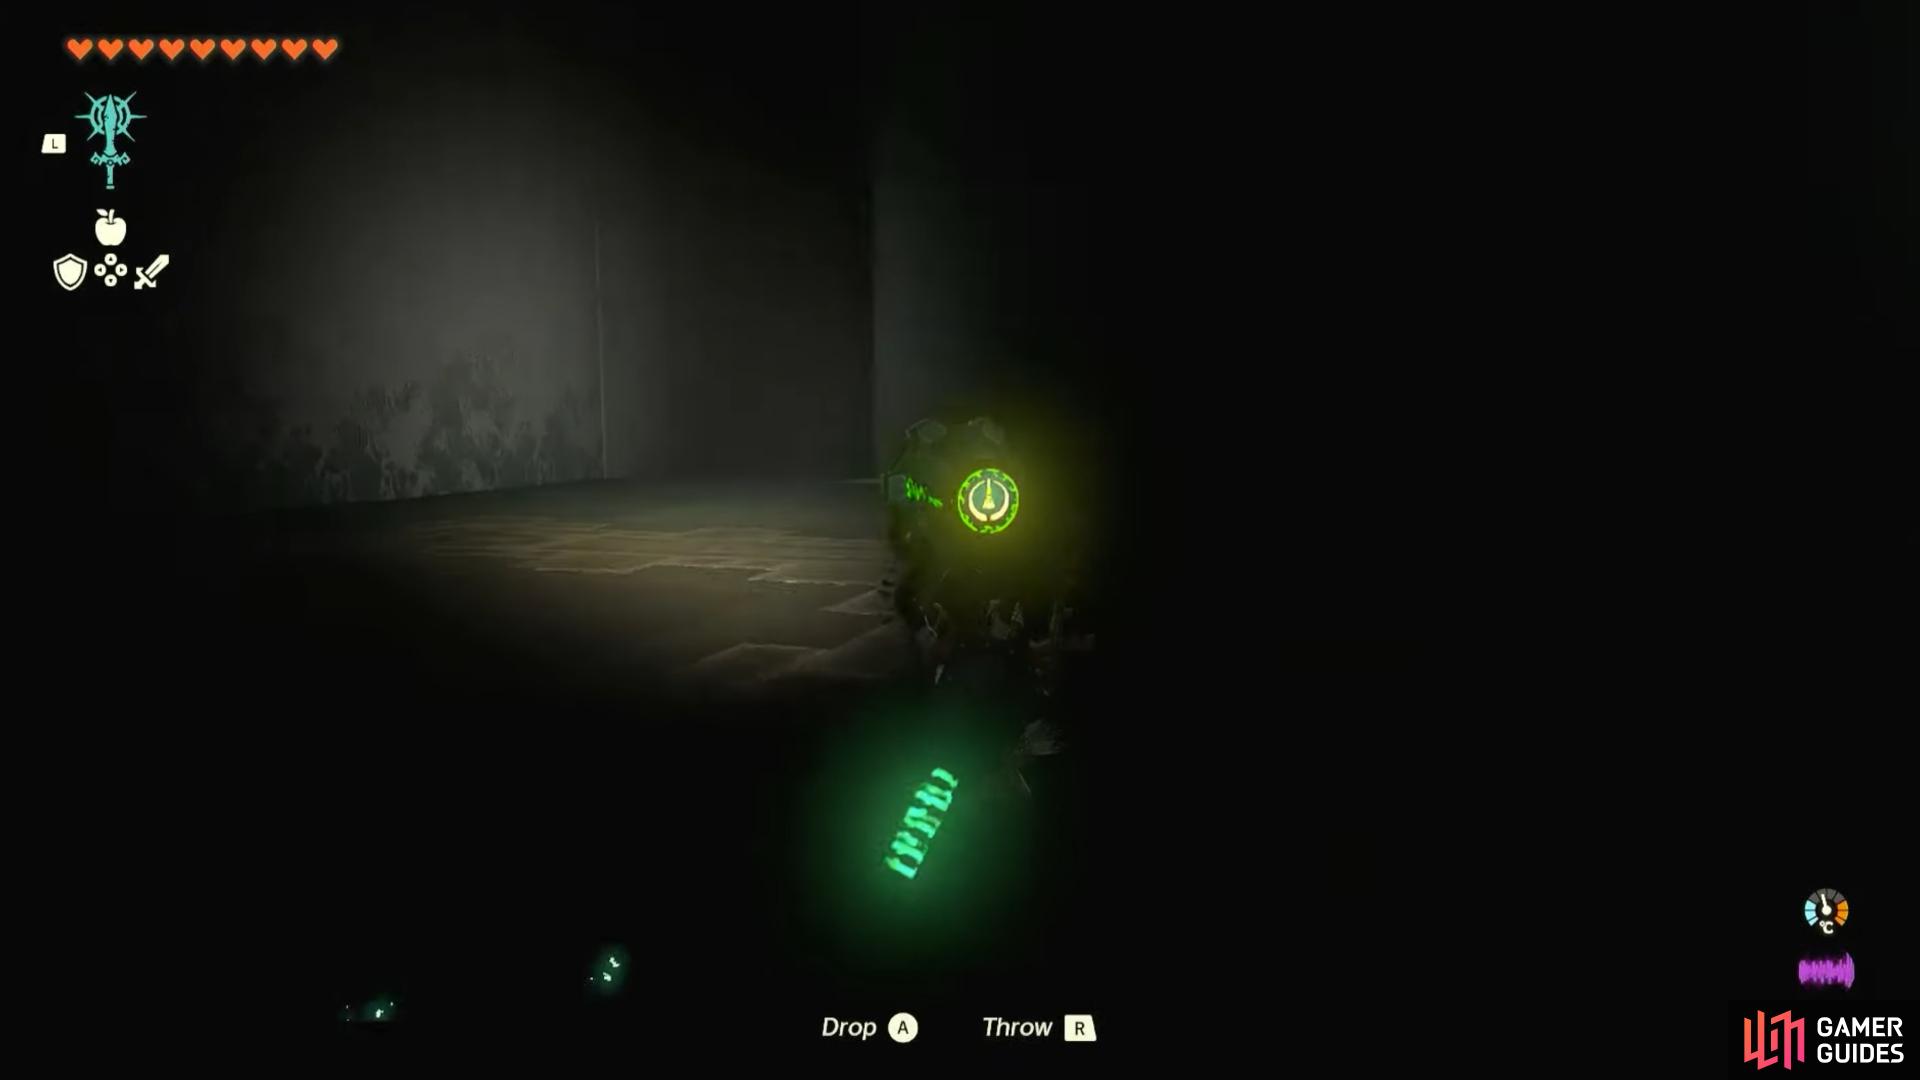
As previously alluded to, this puzzle is a rather unique one as it throws you into darkness, leaving you with little more than a Zonai Light for company. After you enter, you’re not given much help in the slightest, and your task is to essentially navigate a small maze in the darkness in order to locate a ![]() Small Key to open the door to the end of the shrine.
Small Key to open the door to the end of the shrine.
To start the challenge, you can opt to pick up and use the !Light to illuminate your way but we find this to be a little slow and instead, you’re able to use ![]() Brightbloom Seeds, if you have enough in your inventory. This will allow you to fire off the Seeds into the distance, both seeing the path far easier in conjunction with any dangers.
Brightbloom Seeds, if you have enough in your inventory. This will allow you to fire off the Seeds into the distance, both seeing the path far easier in conjunction with any dangers.
For the route to the Key, you’ll first have to look to the left hand side path as this is your way forward. As you do so, you’ll come across both a left and right opening, take the left option here. Then, take your immediate right and follow this route past the encroaching double spiked walls. Again, you’ll have a choice to make, take the more dangerous one past the single spiked contraption where you’ll be met with a seeming dead end.
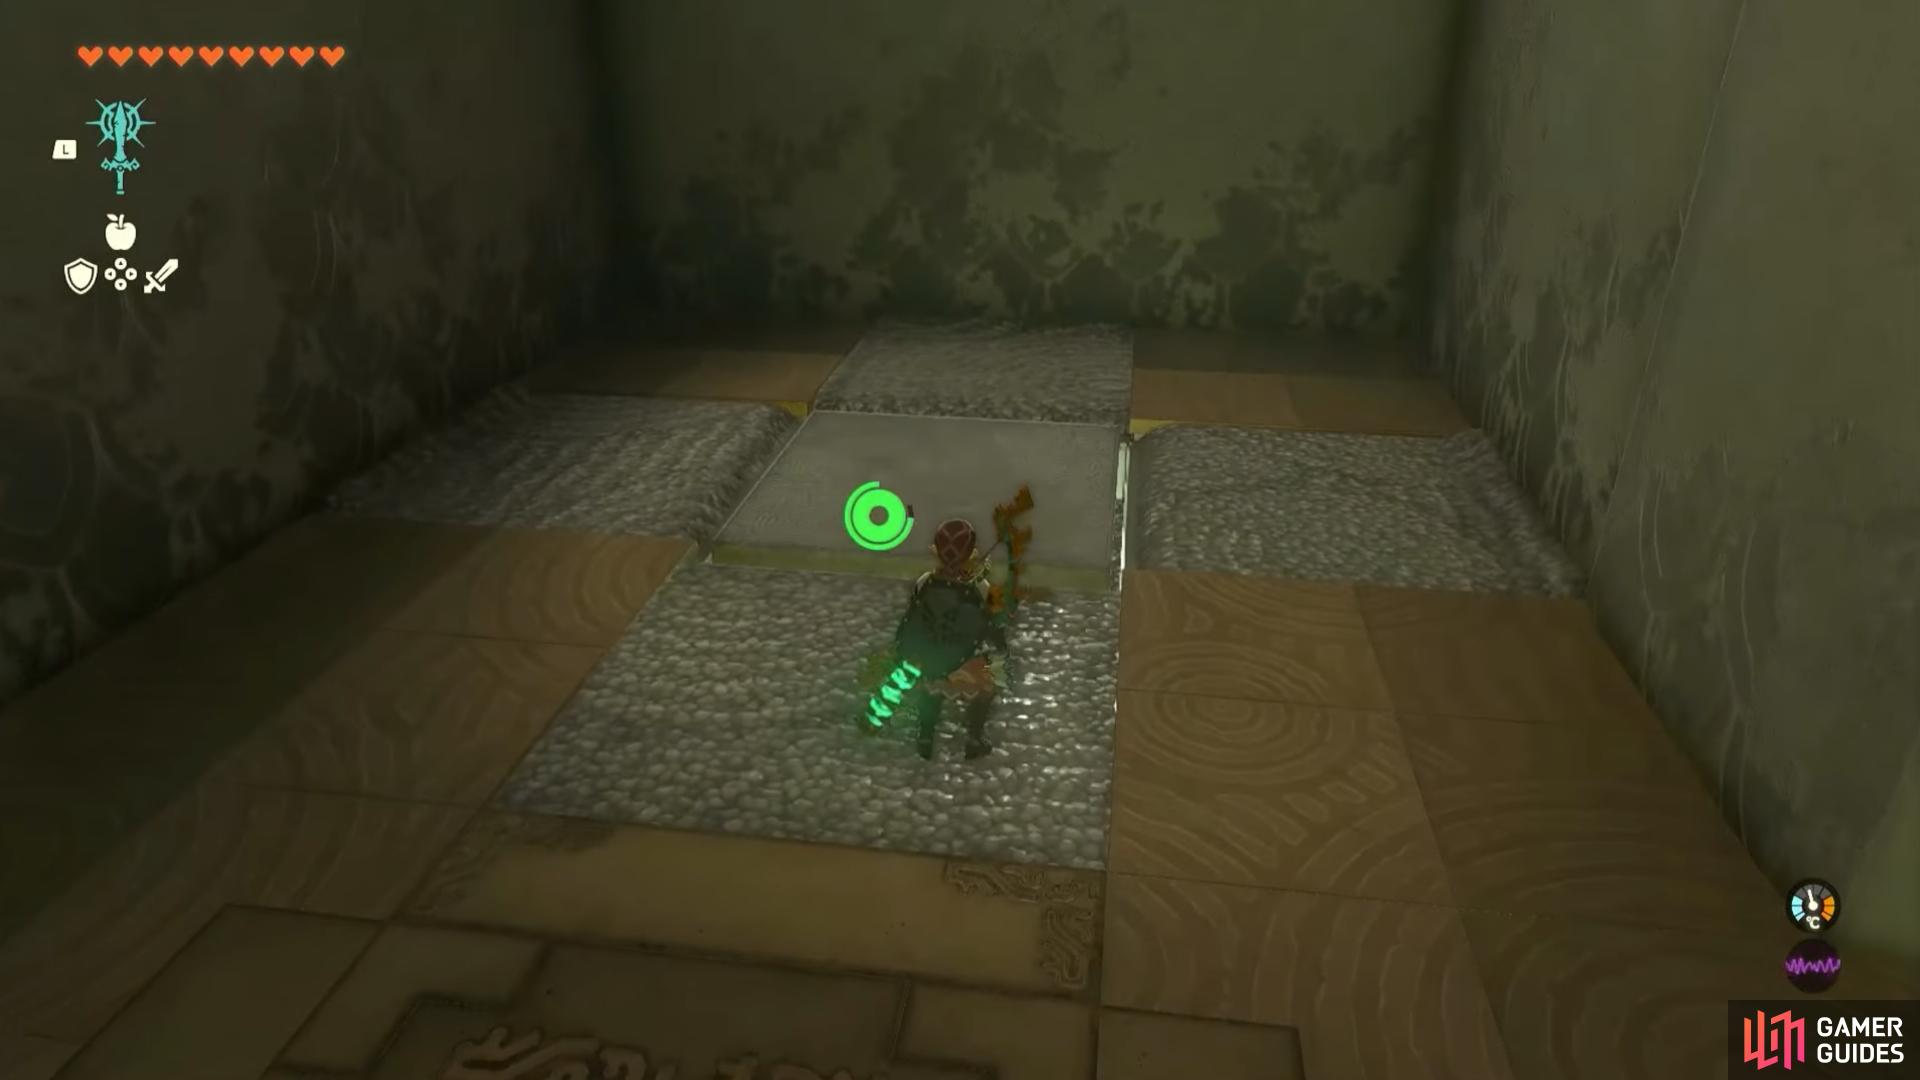
In fact, this is not a dead end at all and is the key to the Key so to speak. Look at the odd looking square on the floor and use ![]() Ultrahand on it. This will unveil some small steps and a chest. Open said chest to get the all-important Small Key.
Ultrahand on it. This will unveil some small steps and a chest. Open said chest to get the all-important Small Key.
Now you need to make your way to the exit. To do so, go back past the small spiked wall once more and take your immediate left. Carry on down and then take the right where you should see a similar funny looking square on the wall. You can use Ultrahand on this to reveal a chest inside if you want some extra goodies.
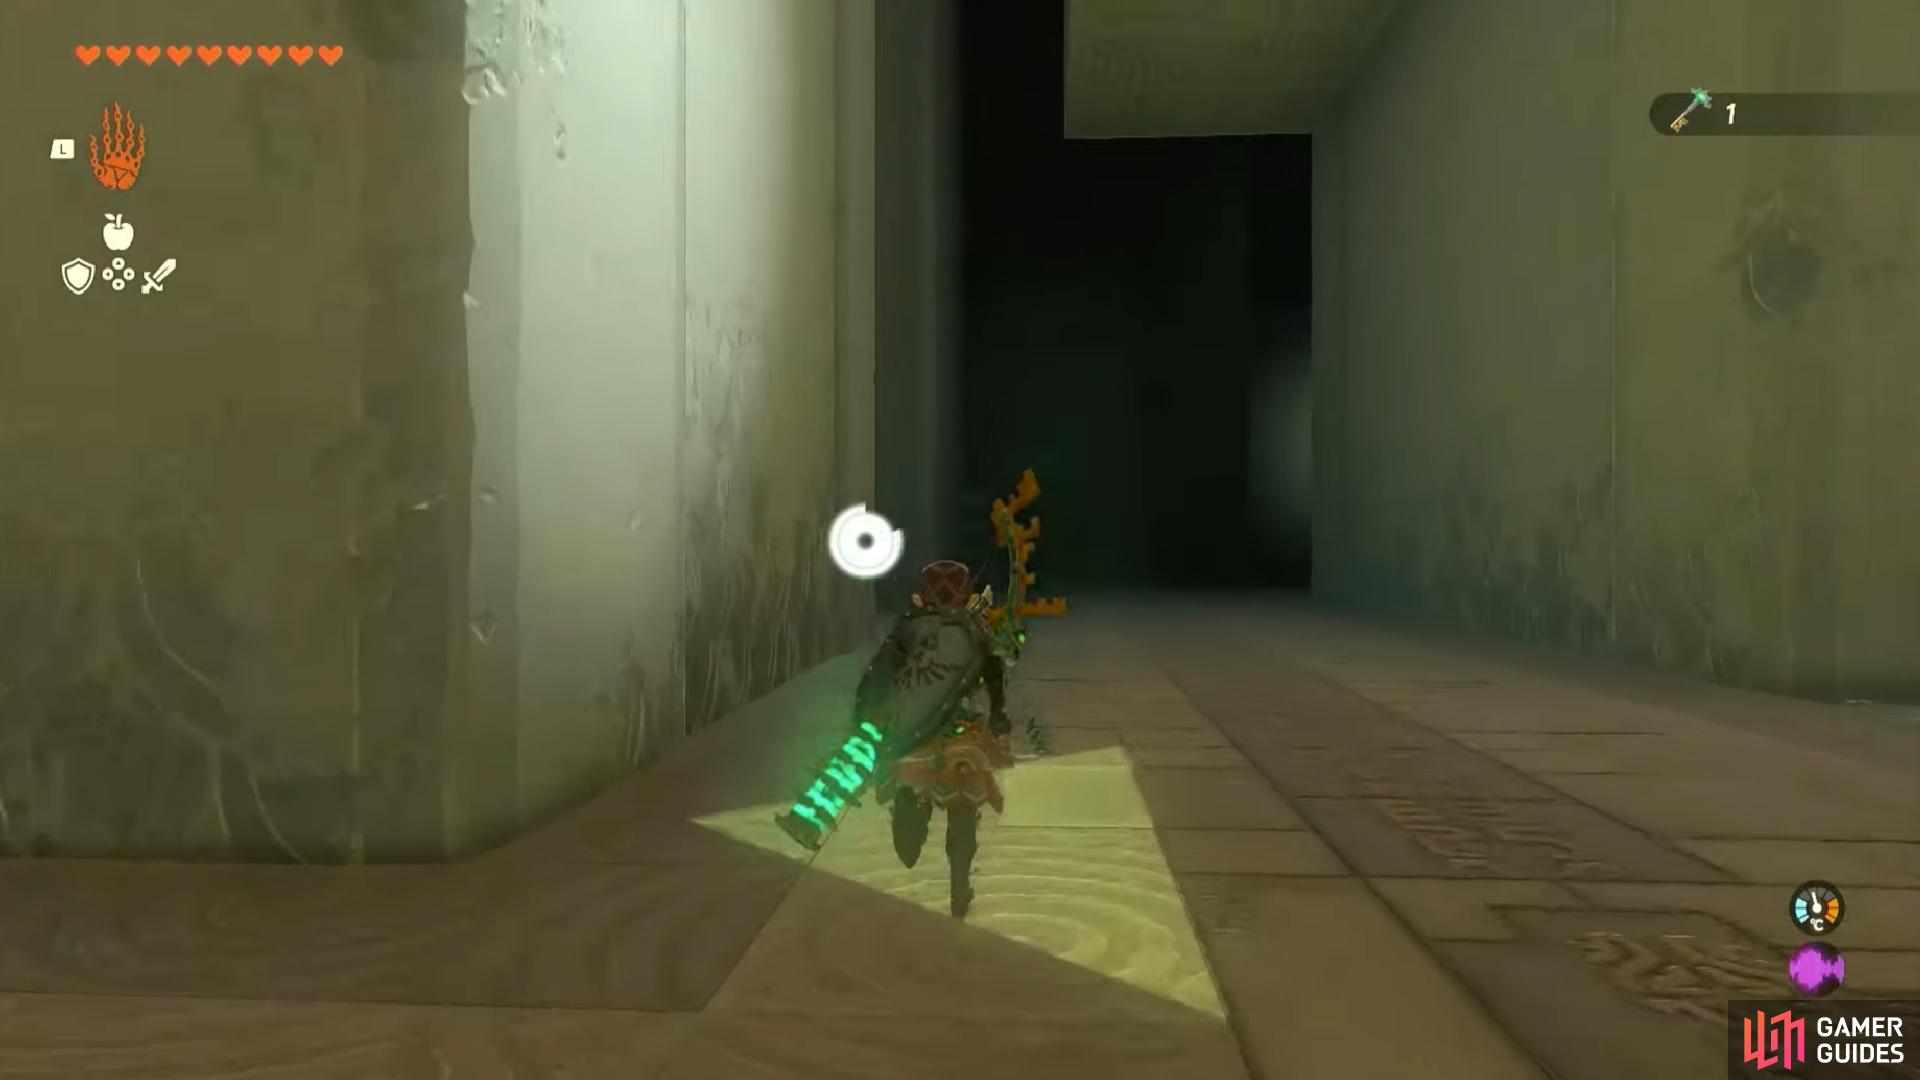
After, take your first left and you’ll be back at the start of the shrine where in fact the exit is also placed. Use the Small Key to open the door and you’re done!
No Comments