
You will come across plenty of Shrines in The Legend of Zelda: Tears of the Kingdom, many of which will be out in the open and easily accessible. Shrines are important in the game, as the Light of Blessing you get from them will allow you to increase your overall health and stamina. This page will focus on the Rasitakiwak Shrine, found in the Akkala region.

Rasitakiwak Shrine is found south of Tarrey Town.
Where to Find the Rasitakiwak Shrine in Tears of the Kingdom
The ![]() Rasitakiwak Shrine is located in the Akkala region, not too far from Tarrey Town, actually. If you head there and leave the place via the eastern road, you will want to head south. As you follow the road south, you will see the shrine on the side, in plain view, so it’s pretty hard to miss.
Rasitakiwak Shrine is located in the Akkala region, not too far from Tarrey Town, actually. If you head there and leave the place via the eastern road, you will want to head south. As you follow the road south, you will see the shrine on the side, in plain view, so it’s pretty hard to miss.
Proving Grounds: Vehicles - Rasitakiwak Shrine Walkthrough
When you enter this shrine, you will notice that all of your belongings have been taken away, which is normal. This is a combat shrine, one where you have to basically make do with whatever you find inside the shrine itself. The shrine is centered around vehicles, but you don’t have to actually use any of them, should you not want to. One way to clear this shrine is to grab the weapons from the beginning and just go through each Construct, defeating them and then adding their goodies to your pile.
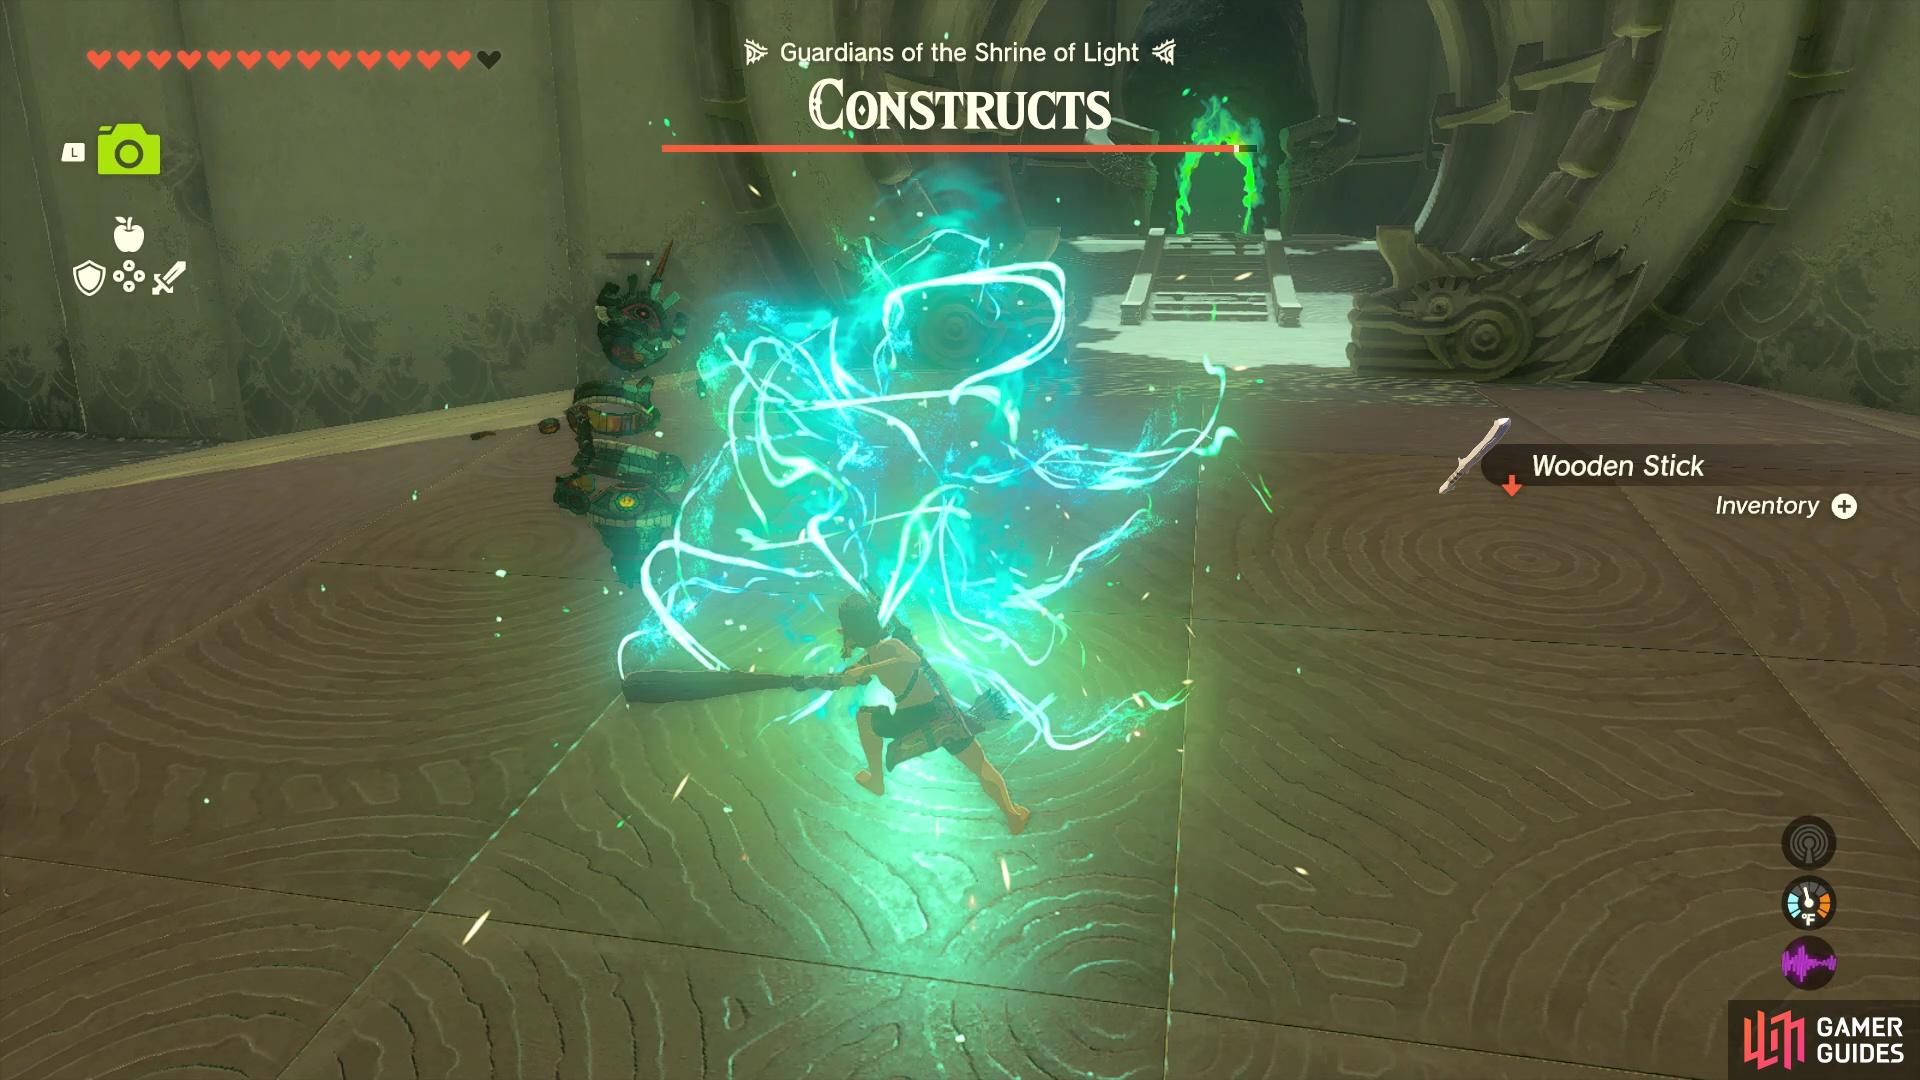
You could do this shrine traditionally, with taking on the Constructs with weapons.
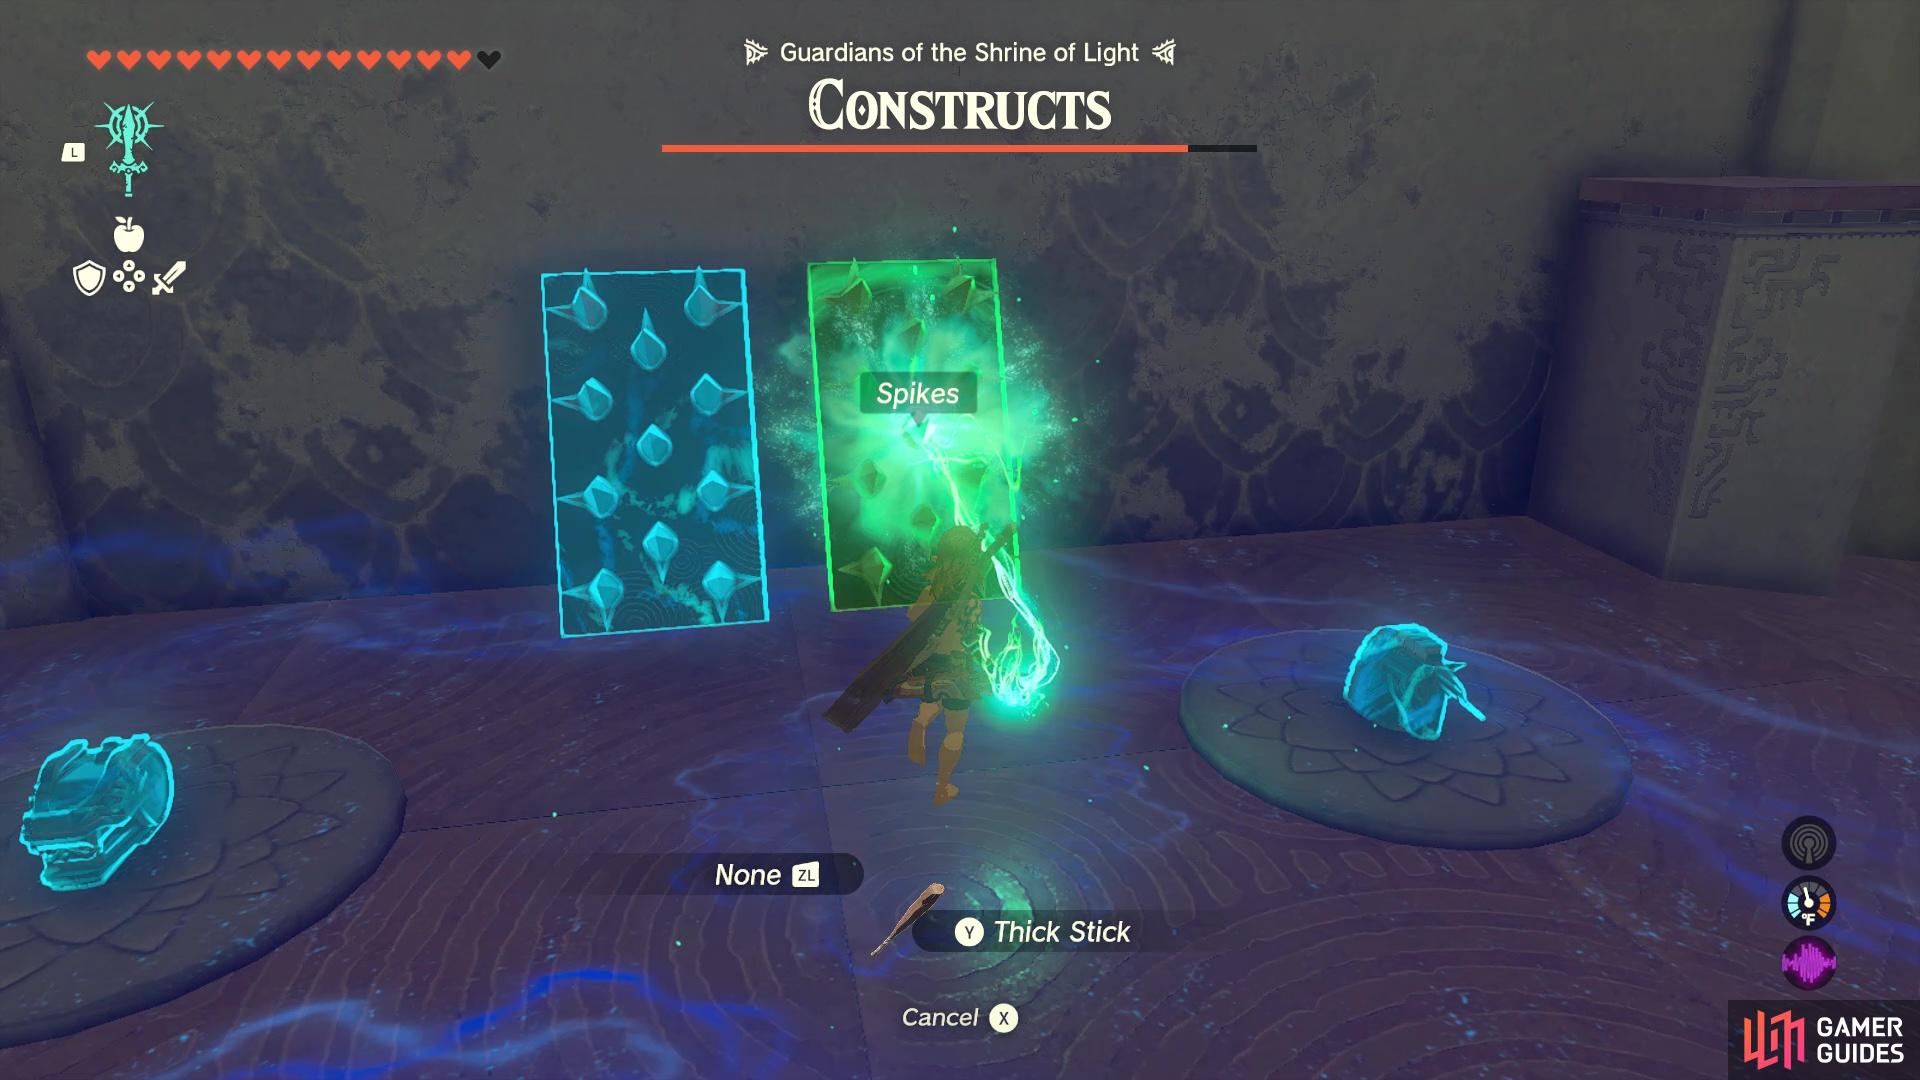
There are items around the place that you can fuse to your weapons for added damage.
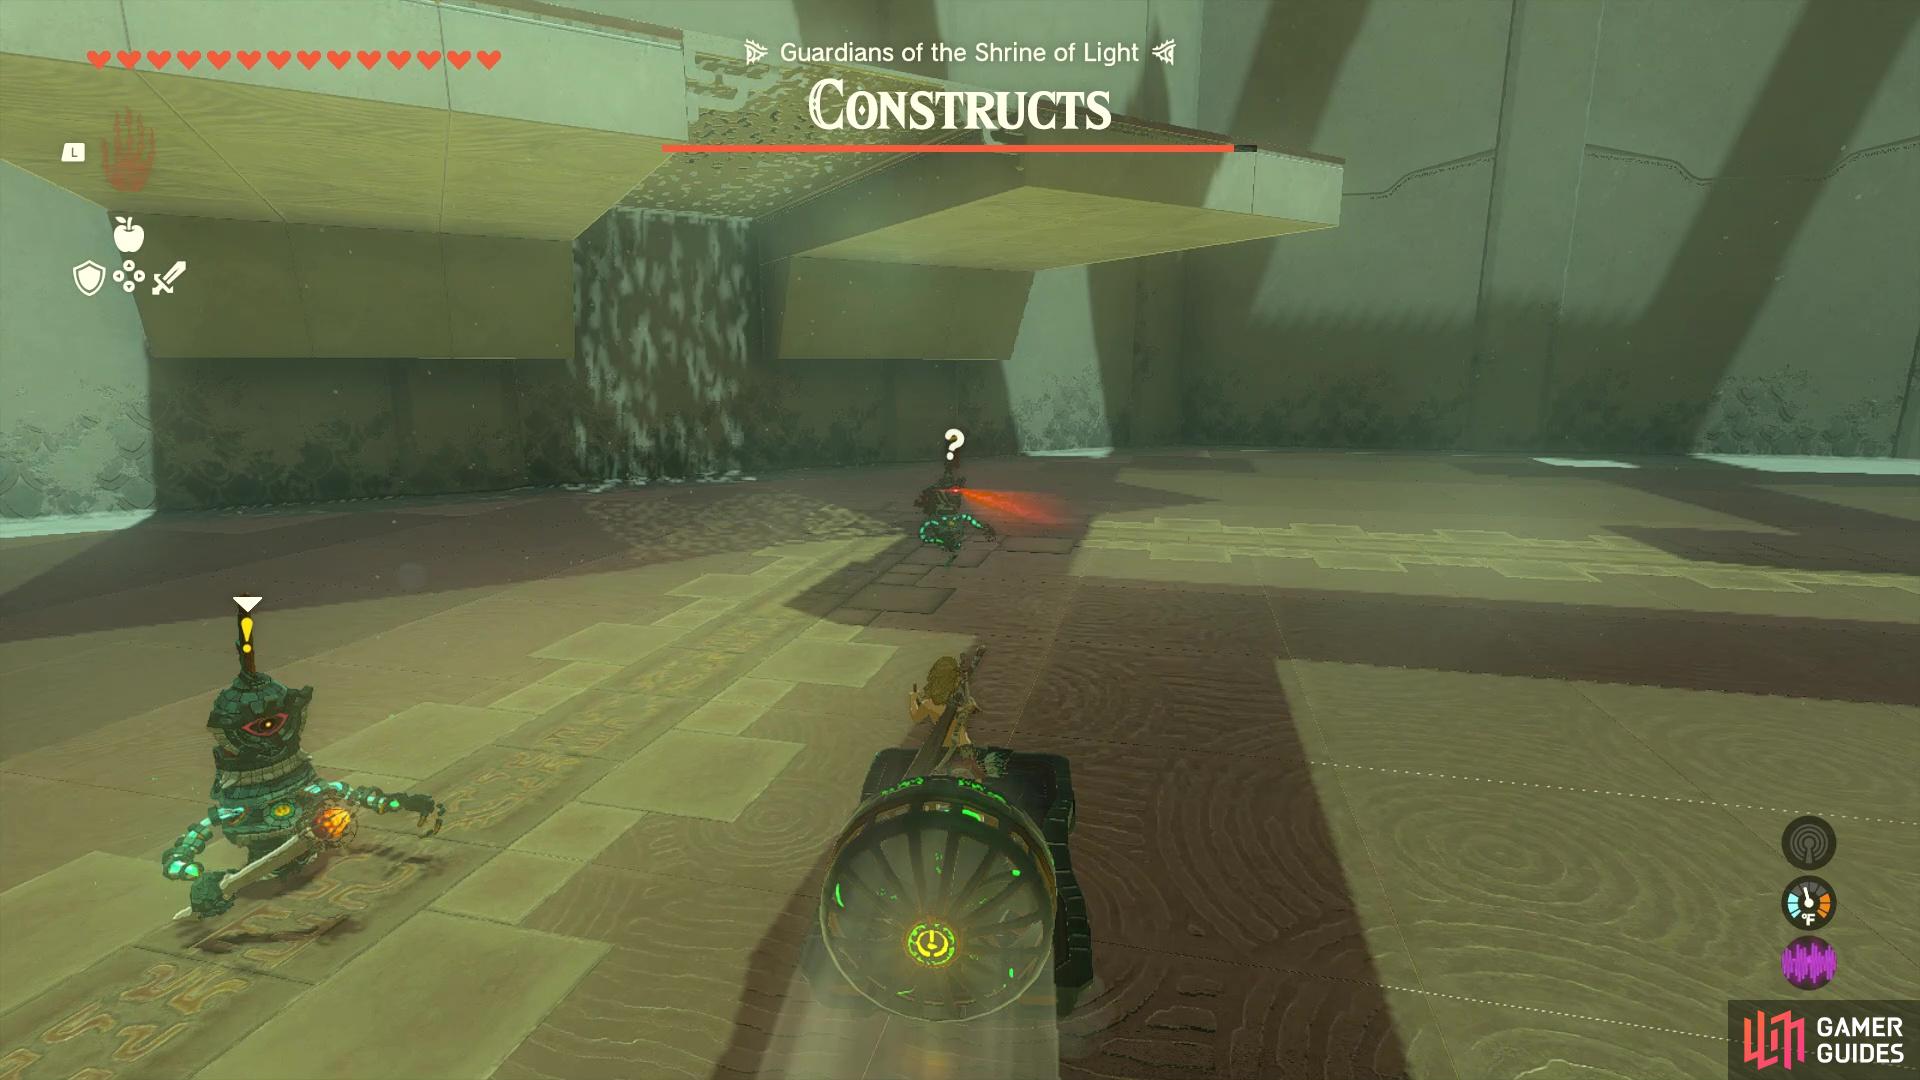
However, if you want to do things a little differently, you can use the vehicles to your advantage. The best way to do this is to rush to the first vehicle you see upon entering the shrine, which will be a Sled with a Fan attached to it. Ride it to the opposite end of the room, which will have a ledge higher than you. Jump off and use ![]() Ascend underneath that ledge to get on it (you’re ignoring all of the Constructs here, by the way), where you find a Wing device. As you probably noticed, there is a central structure that has tall walls all around it.
Ascend underneath that ledge to get on it (you’re ignoring all of the Constructs here, by the way), where you find a Wing device. As you probably noticed, there is a central structure that has tall walls all around it.
This is where you want to head, as there will be Zonai devices inside that can make short work of the enemies. However, you really only get a single chance to make it inside, since there’s only one method of getting into it. Board the !Wing and make sure you pull back on the analog stick to gain some height, so you can clear the wall and get inside the structure. Once you are inside, you can take your time, since none of the enemies can reach you. The vehicle inside will have some Cannons, and there are other devices to the sides you can attach to it.
When you feel you are ready, hit the button you see there to lower the gate and drive the vehicle around, defeating all of the Constructs. Upon defeating them all, the gate to the chest (![]() Magic Rod) and
Magic Rod) and ![]() Light of Blessing will open.
Light of Blessing will open.
No Comments