
While a lot of the shrines in Tears of the Kingdom don’t pose too much of a challenge mentally, there are a few that are real brain teasers which can take up a bunch of your precious time. The ![]() Mayausiy Shrine is definitely one of these with its Building Blocks challenge.
Mayausiy Shrine is definitely one of these with its Building Blocks challenge.
However, that’s what we’re here for, aiding you in your efforts with shrines like these in order to save you from potentially arduous tasks. With this guide, you’ll be able to read a full walkthrough of the Mayausiy Shrine so you can move on nice and quickly.
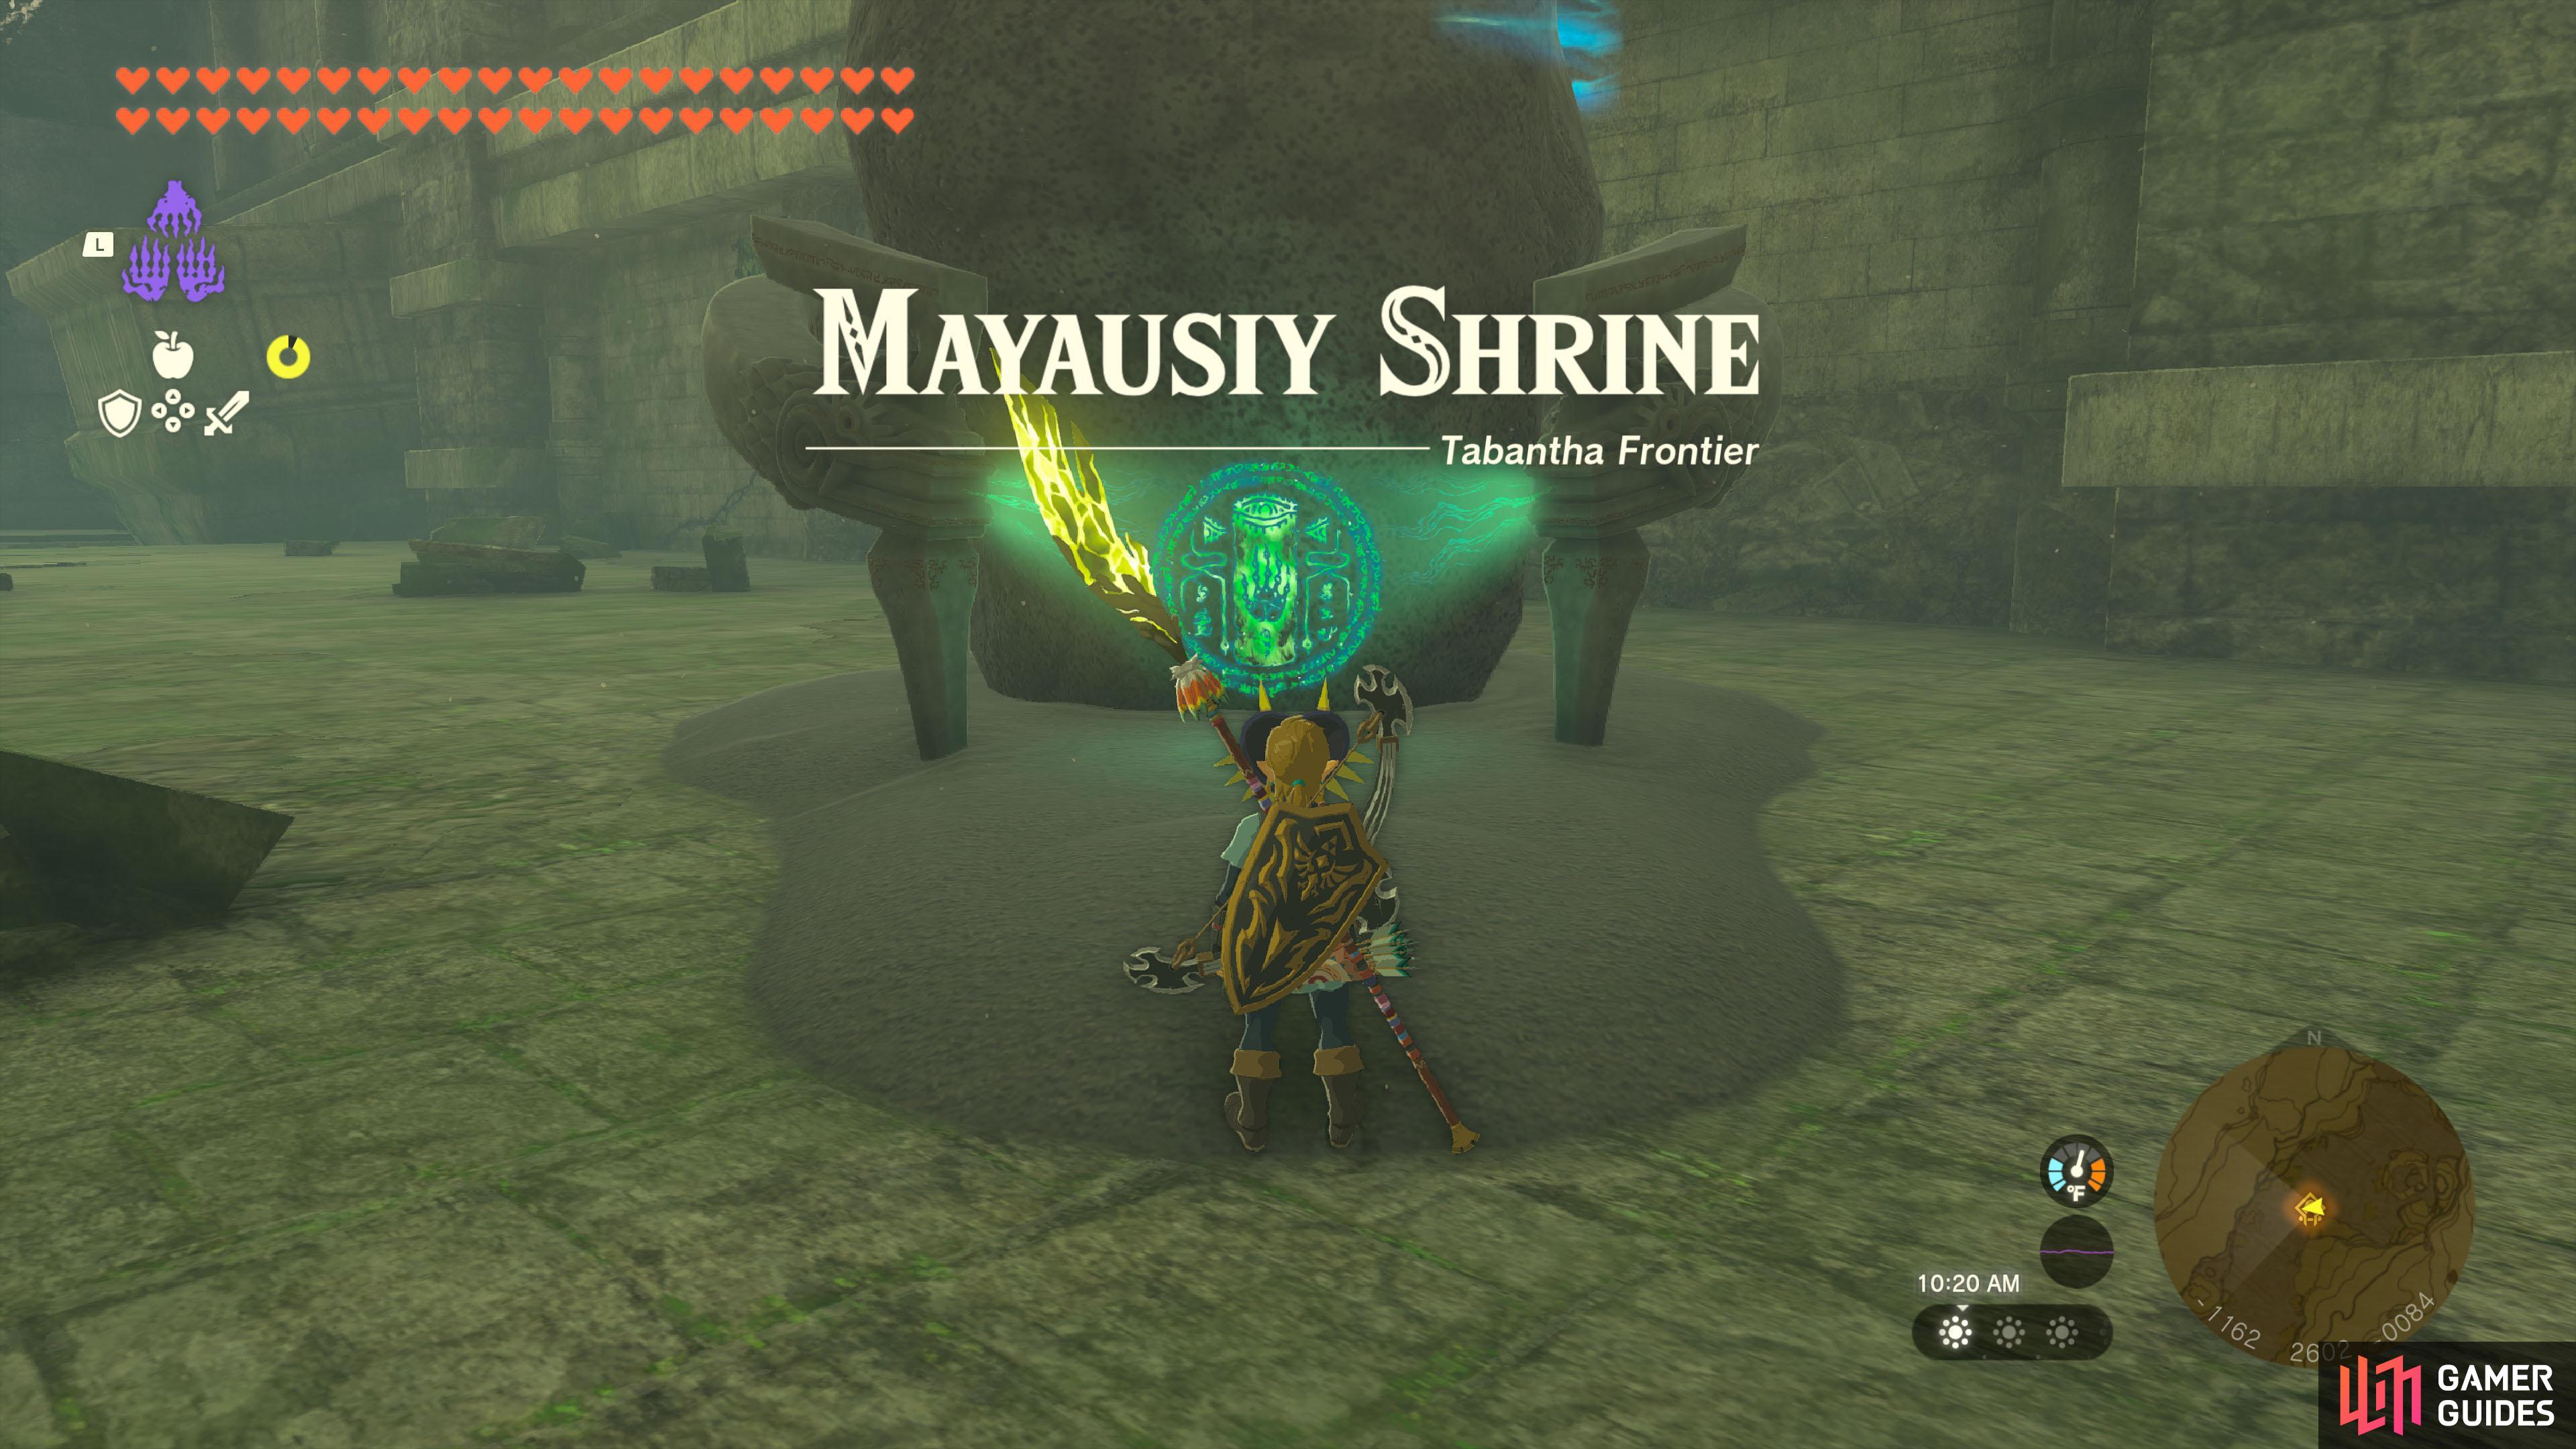
Where to find Mayausiy Shrine in Tears of the Kingdom
The !Mayausiy Shrine entrance in !Tabantha Frontier.
The Mayausiy Shrine is very tucked away so if you haven’t come across it on your travels we’re not really surprised.
This is due to the fact that it is actually within the Forgotten Temple, which is located in Tabantha Frontier, so not exactly sticking out in plain sight. To get there, you must jump off the mountainous area here and glide into the temple, with the shrine situated closer to the back of this forgotten place.
To aid you in your shrine finding efforts, here is a map marker for the Mayausiy Shrine, hopefully shaving some time off your exploring.
How to Complete Mayausiy Shrine in Tears of the Kingdom
After you’ve overcome the initial challenge of actually finding the shrine, now comes the puzzle that’s within. This one is called Building Blocks, and if you’ve done some Korok hunting, you may be familiar with the mechanics.
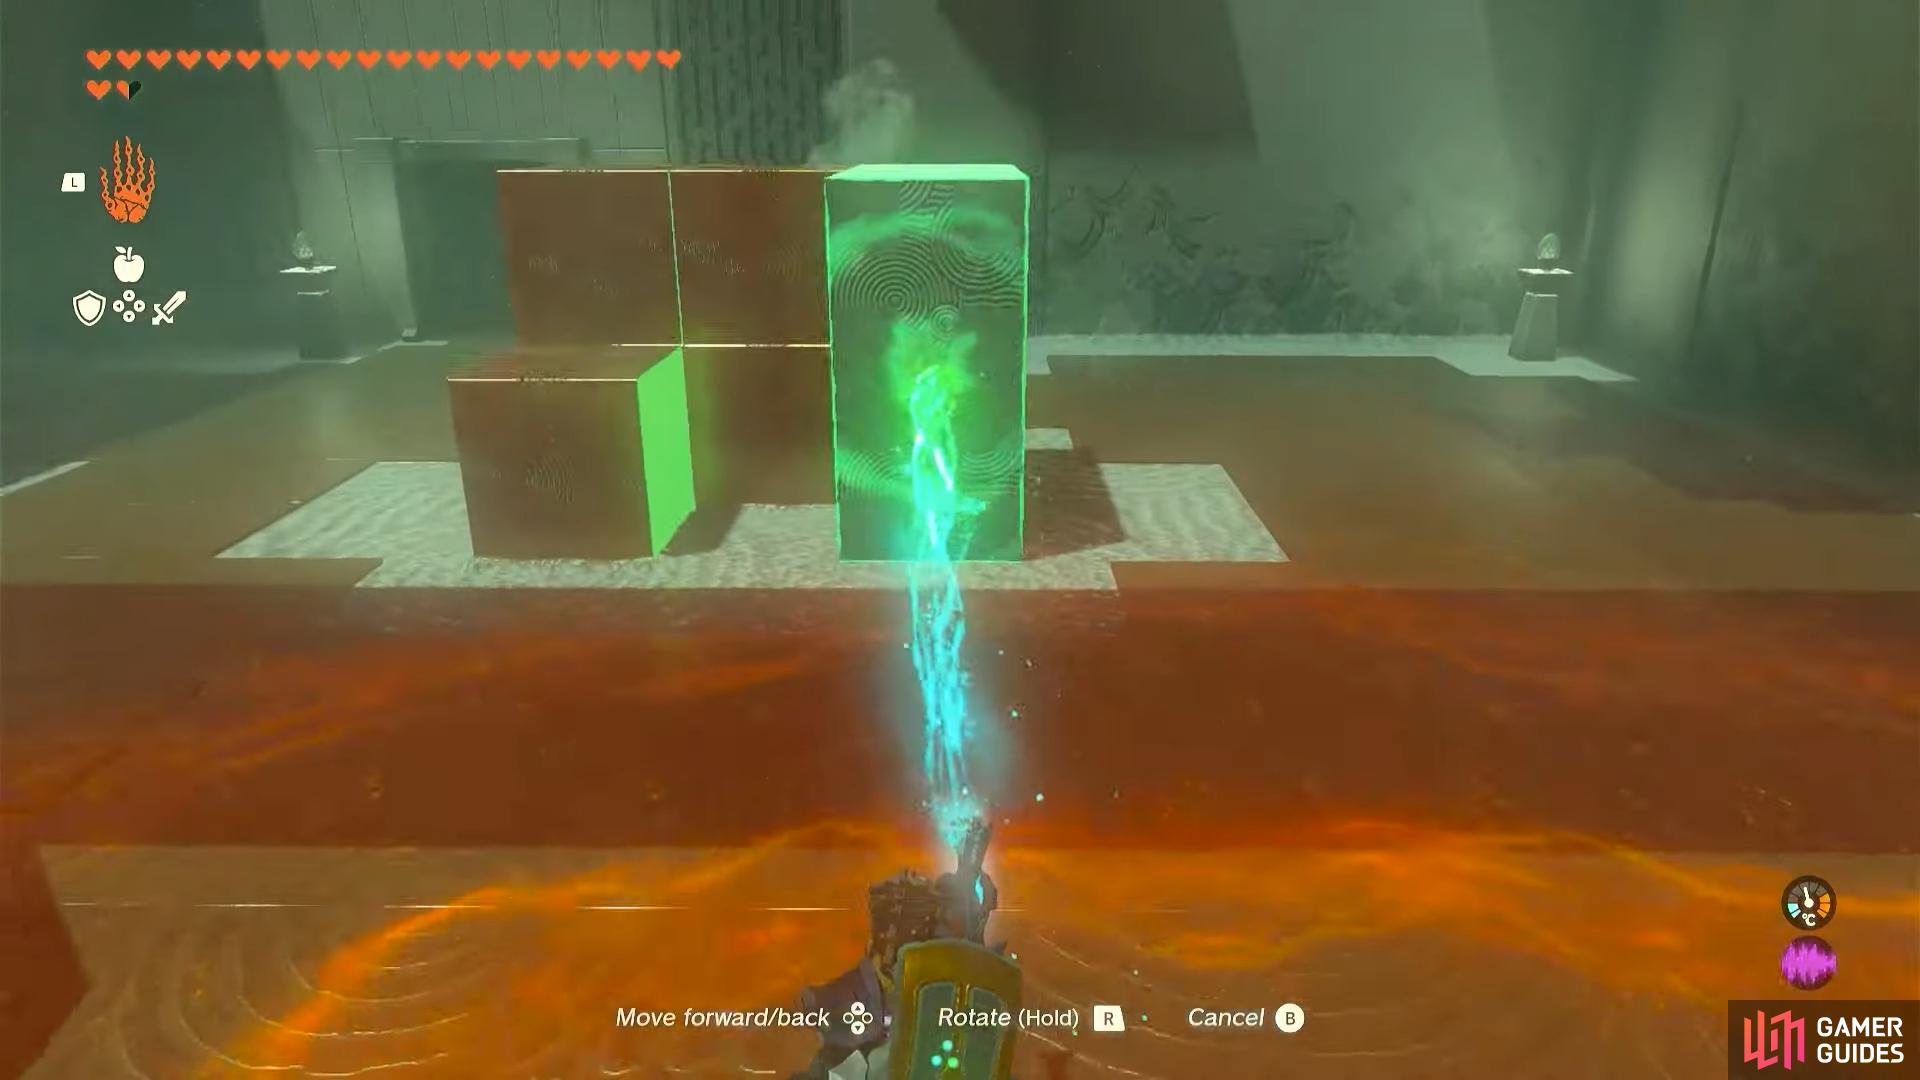
You’ll be presented with a completed block puzzle on the left which you need to emulate with the pieces on the right. The two pieces you’re given are identical so this one isn’t too confusing. To get this one done, grab one of the pieces with ![]() Ultrahand and rotate it so that the two points sticking out are facing forward and downward then place it on the right-hand side. After, pick up the other piece and rotate it so that the points sticking out are facing right and down, then slide it into the gap, completing the puzzle.
Ultrahand and rotate it so that the two points sticking out are facing forward and downward then place it on the right-hand side. After, pick up the other piece and rotate it so that the points sticking out are facing right and down, then slide it into the gap, completing the puzzle.
Placing the first puzzle piece into the structure
placing the second puzzle piece into the structure.
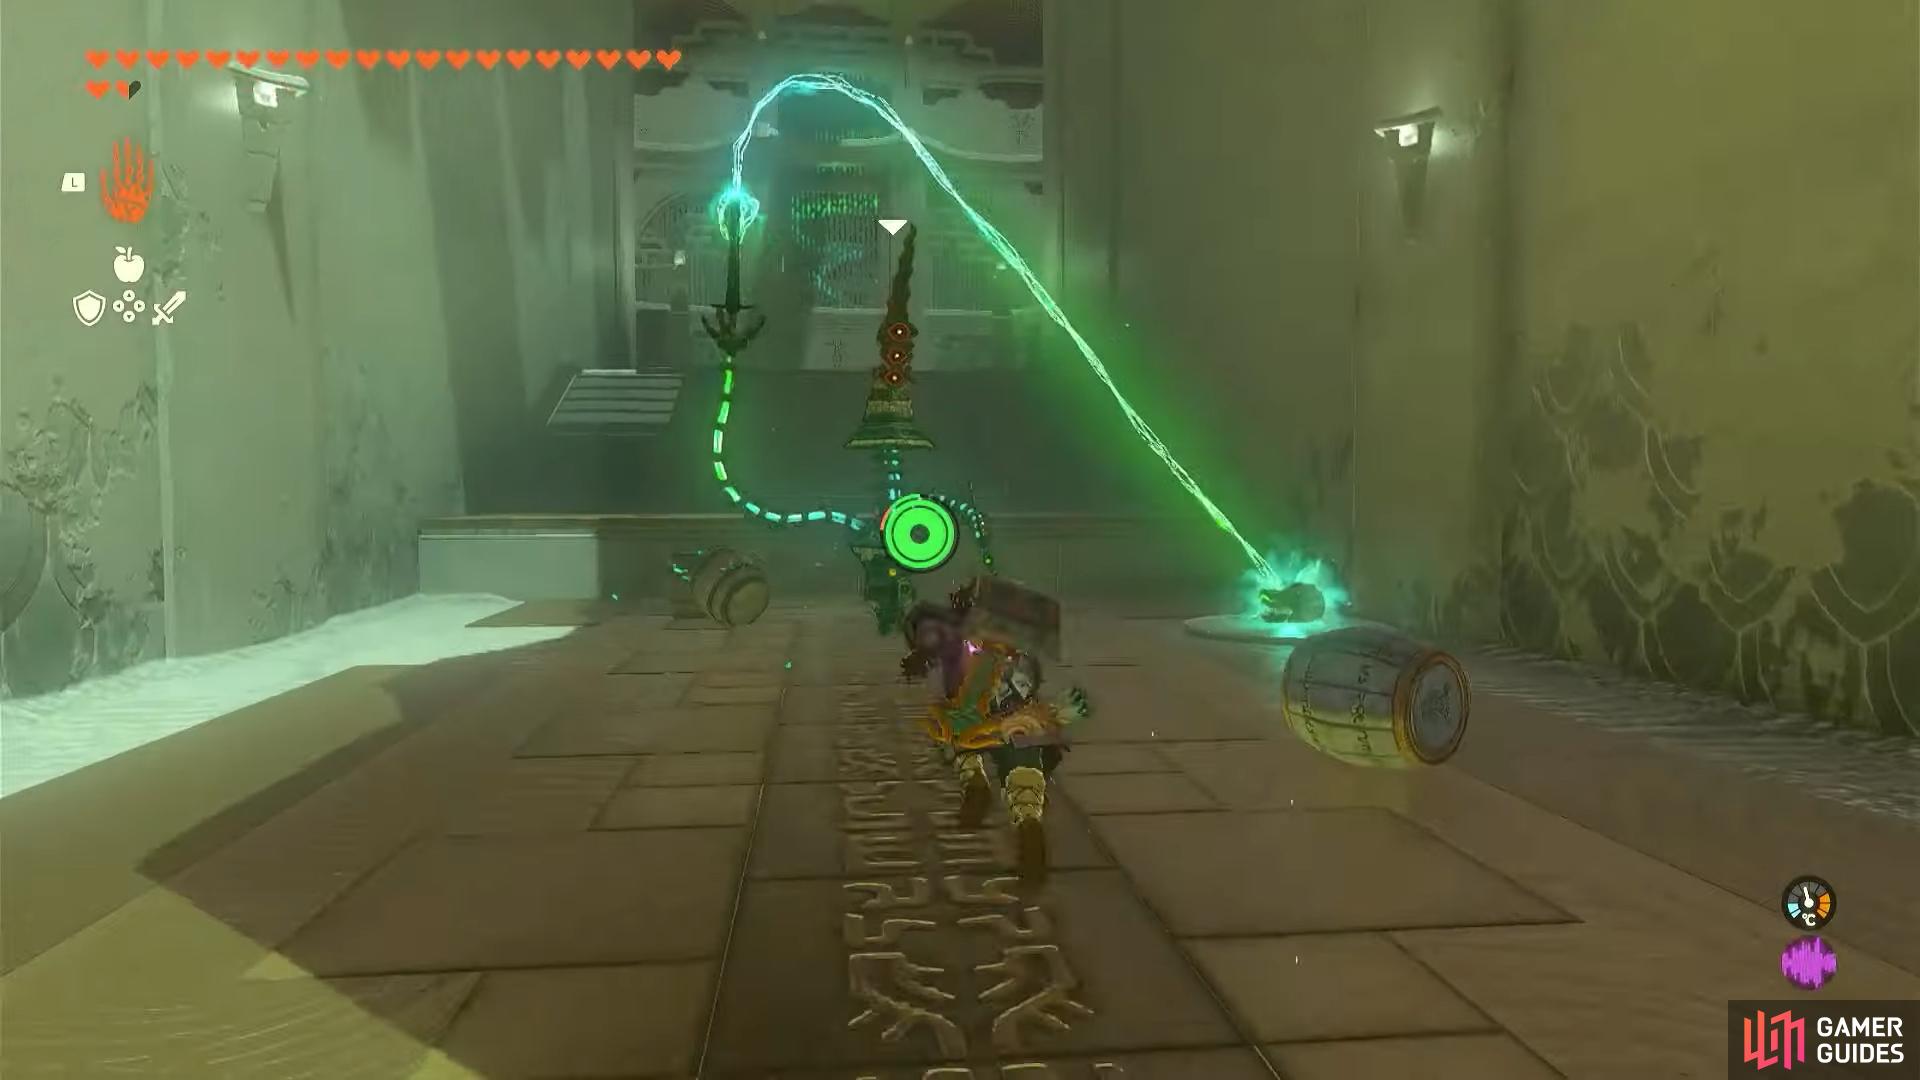
Head through the now open door where you’ll be taking on a Construct. Aim to defeat this as fast as possible before it fuses any of the items on the ground to its weapon, hopefully negating much damage.
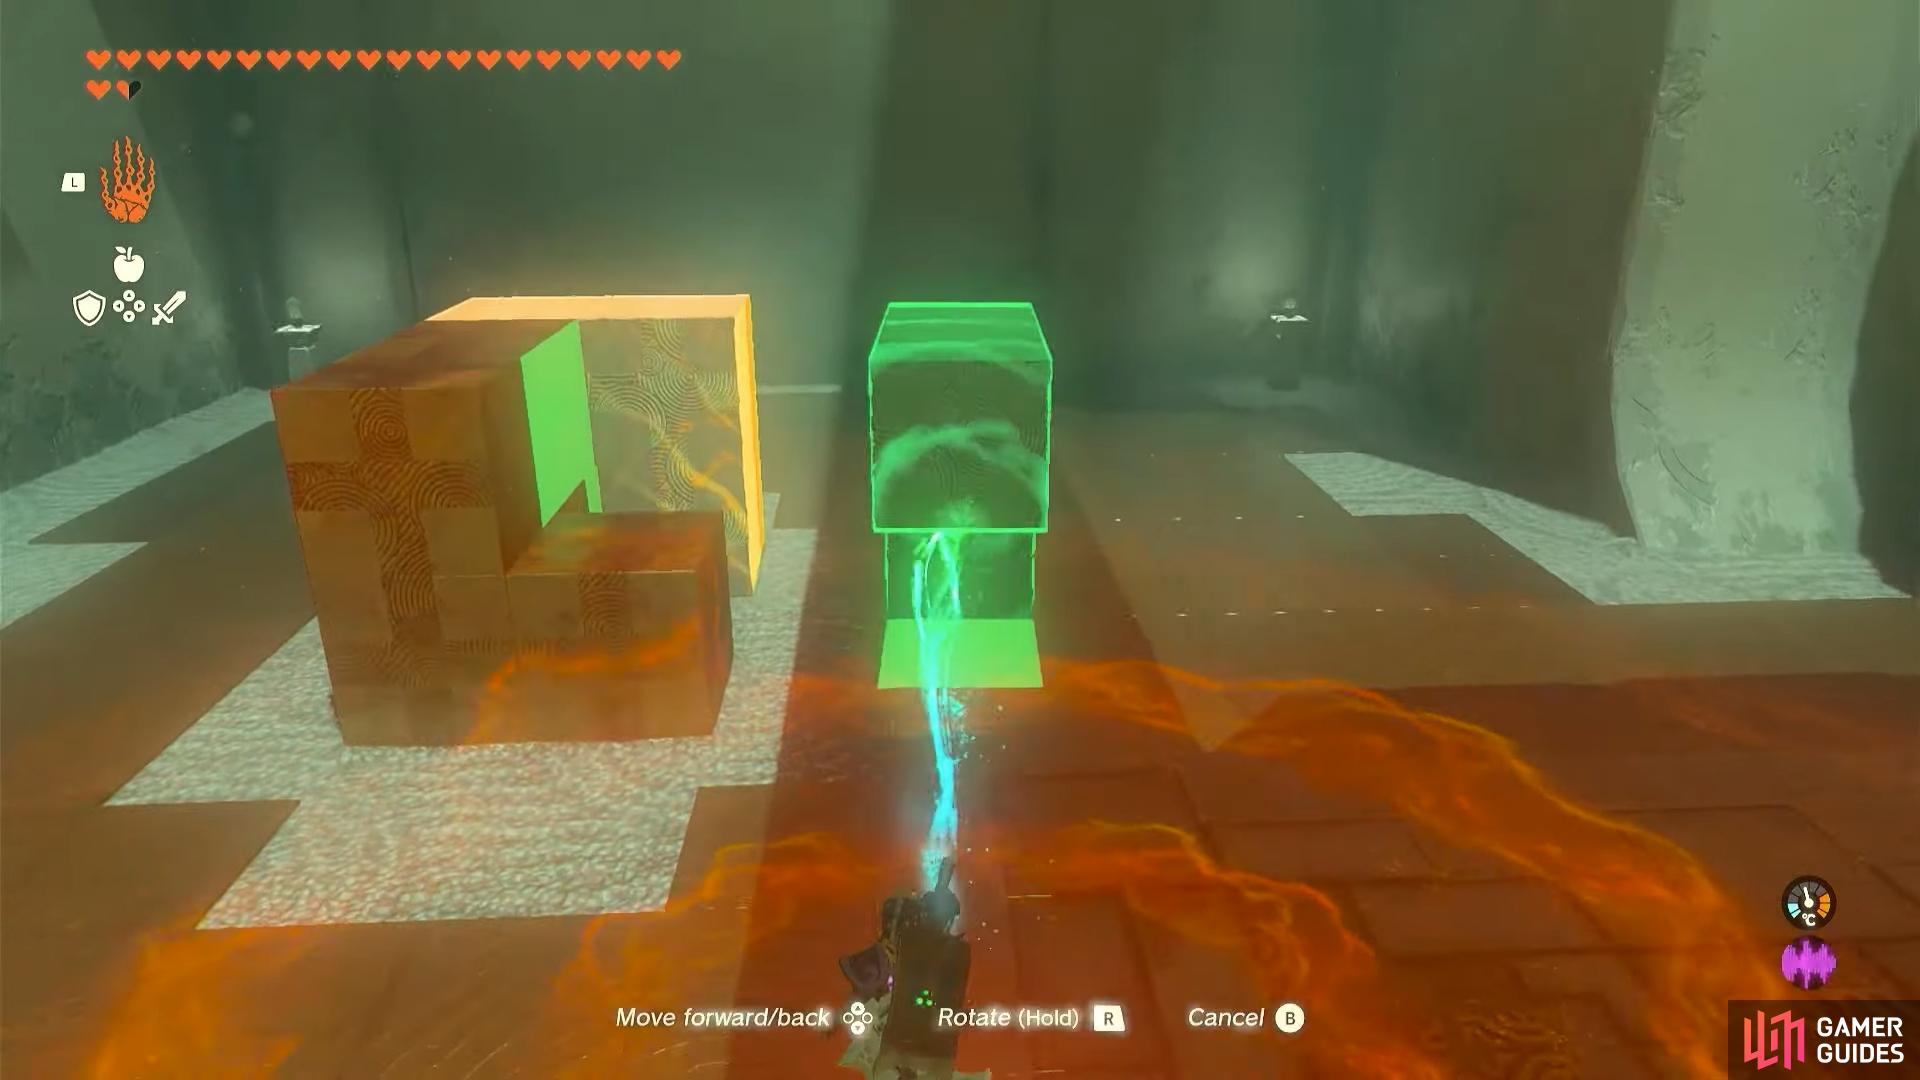
With the Construct out of the way, you’ll be met with another, more complex puzzle. First, grab one of the pieces that look like the same ones you were using in the first puzzle and rotate it in a backwards L position, placing it on the right of the structure.
After this, pick up the piece that looks like an upside-down L joined to a normal L. Head to the back left corner of the structure and rotate it slightly to the right, allowing you to place it down.
Now, you’ll be left with a gap for the final piece. Pick the piece up and flip it over 180 degrees so the one point is facing downward, and you should be able to simply slot it into the available space after putting the initial two in.
Upon doing this, you will complete the puzzle, unlocking the final door of the shrine, then allowing you to exit, picking up a Blessing of !Light along the way.
No Comments