
This page offers a guide on how to complete ![]() Gatakis Shrine, which can be found in Rito Village in The Legend of Zelda: Tears of the Kingdom.
Gatakis Shrine, which can be found in Rito Village in The Legend of Zelda: Tears of the Kingdom.
How to Find Gatakis Shrine
This shrine is found near the general store in Rito Village, Hebra. To get to it, you’ll need to drop down to a small cliff edge below the path. Whilst you’re on this lower cliff, turn around to see a small rock in an alcove. Pick up the rock and you’ll find a Korok hidden beneath!
If you’re struggling with reaching Rito Village, head over to our guide on How to cross the broken bridge to Rito Village for more information!
Gatakis Shrine: Ride the Winds.
Gatakis Shrine: Wind Gust Puzzles
When you first enter into the shrine, you’ll need to paraglide down to the platform below. From here, you’ll notice that a strong gust of wind is blowing to the right. You’ll need to use this gust of wind to travel past a series of lasers up ahead. If you position yourself in the middle of the two vertical lasers you’ll be fine to cross over to the other side without hitting any.
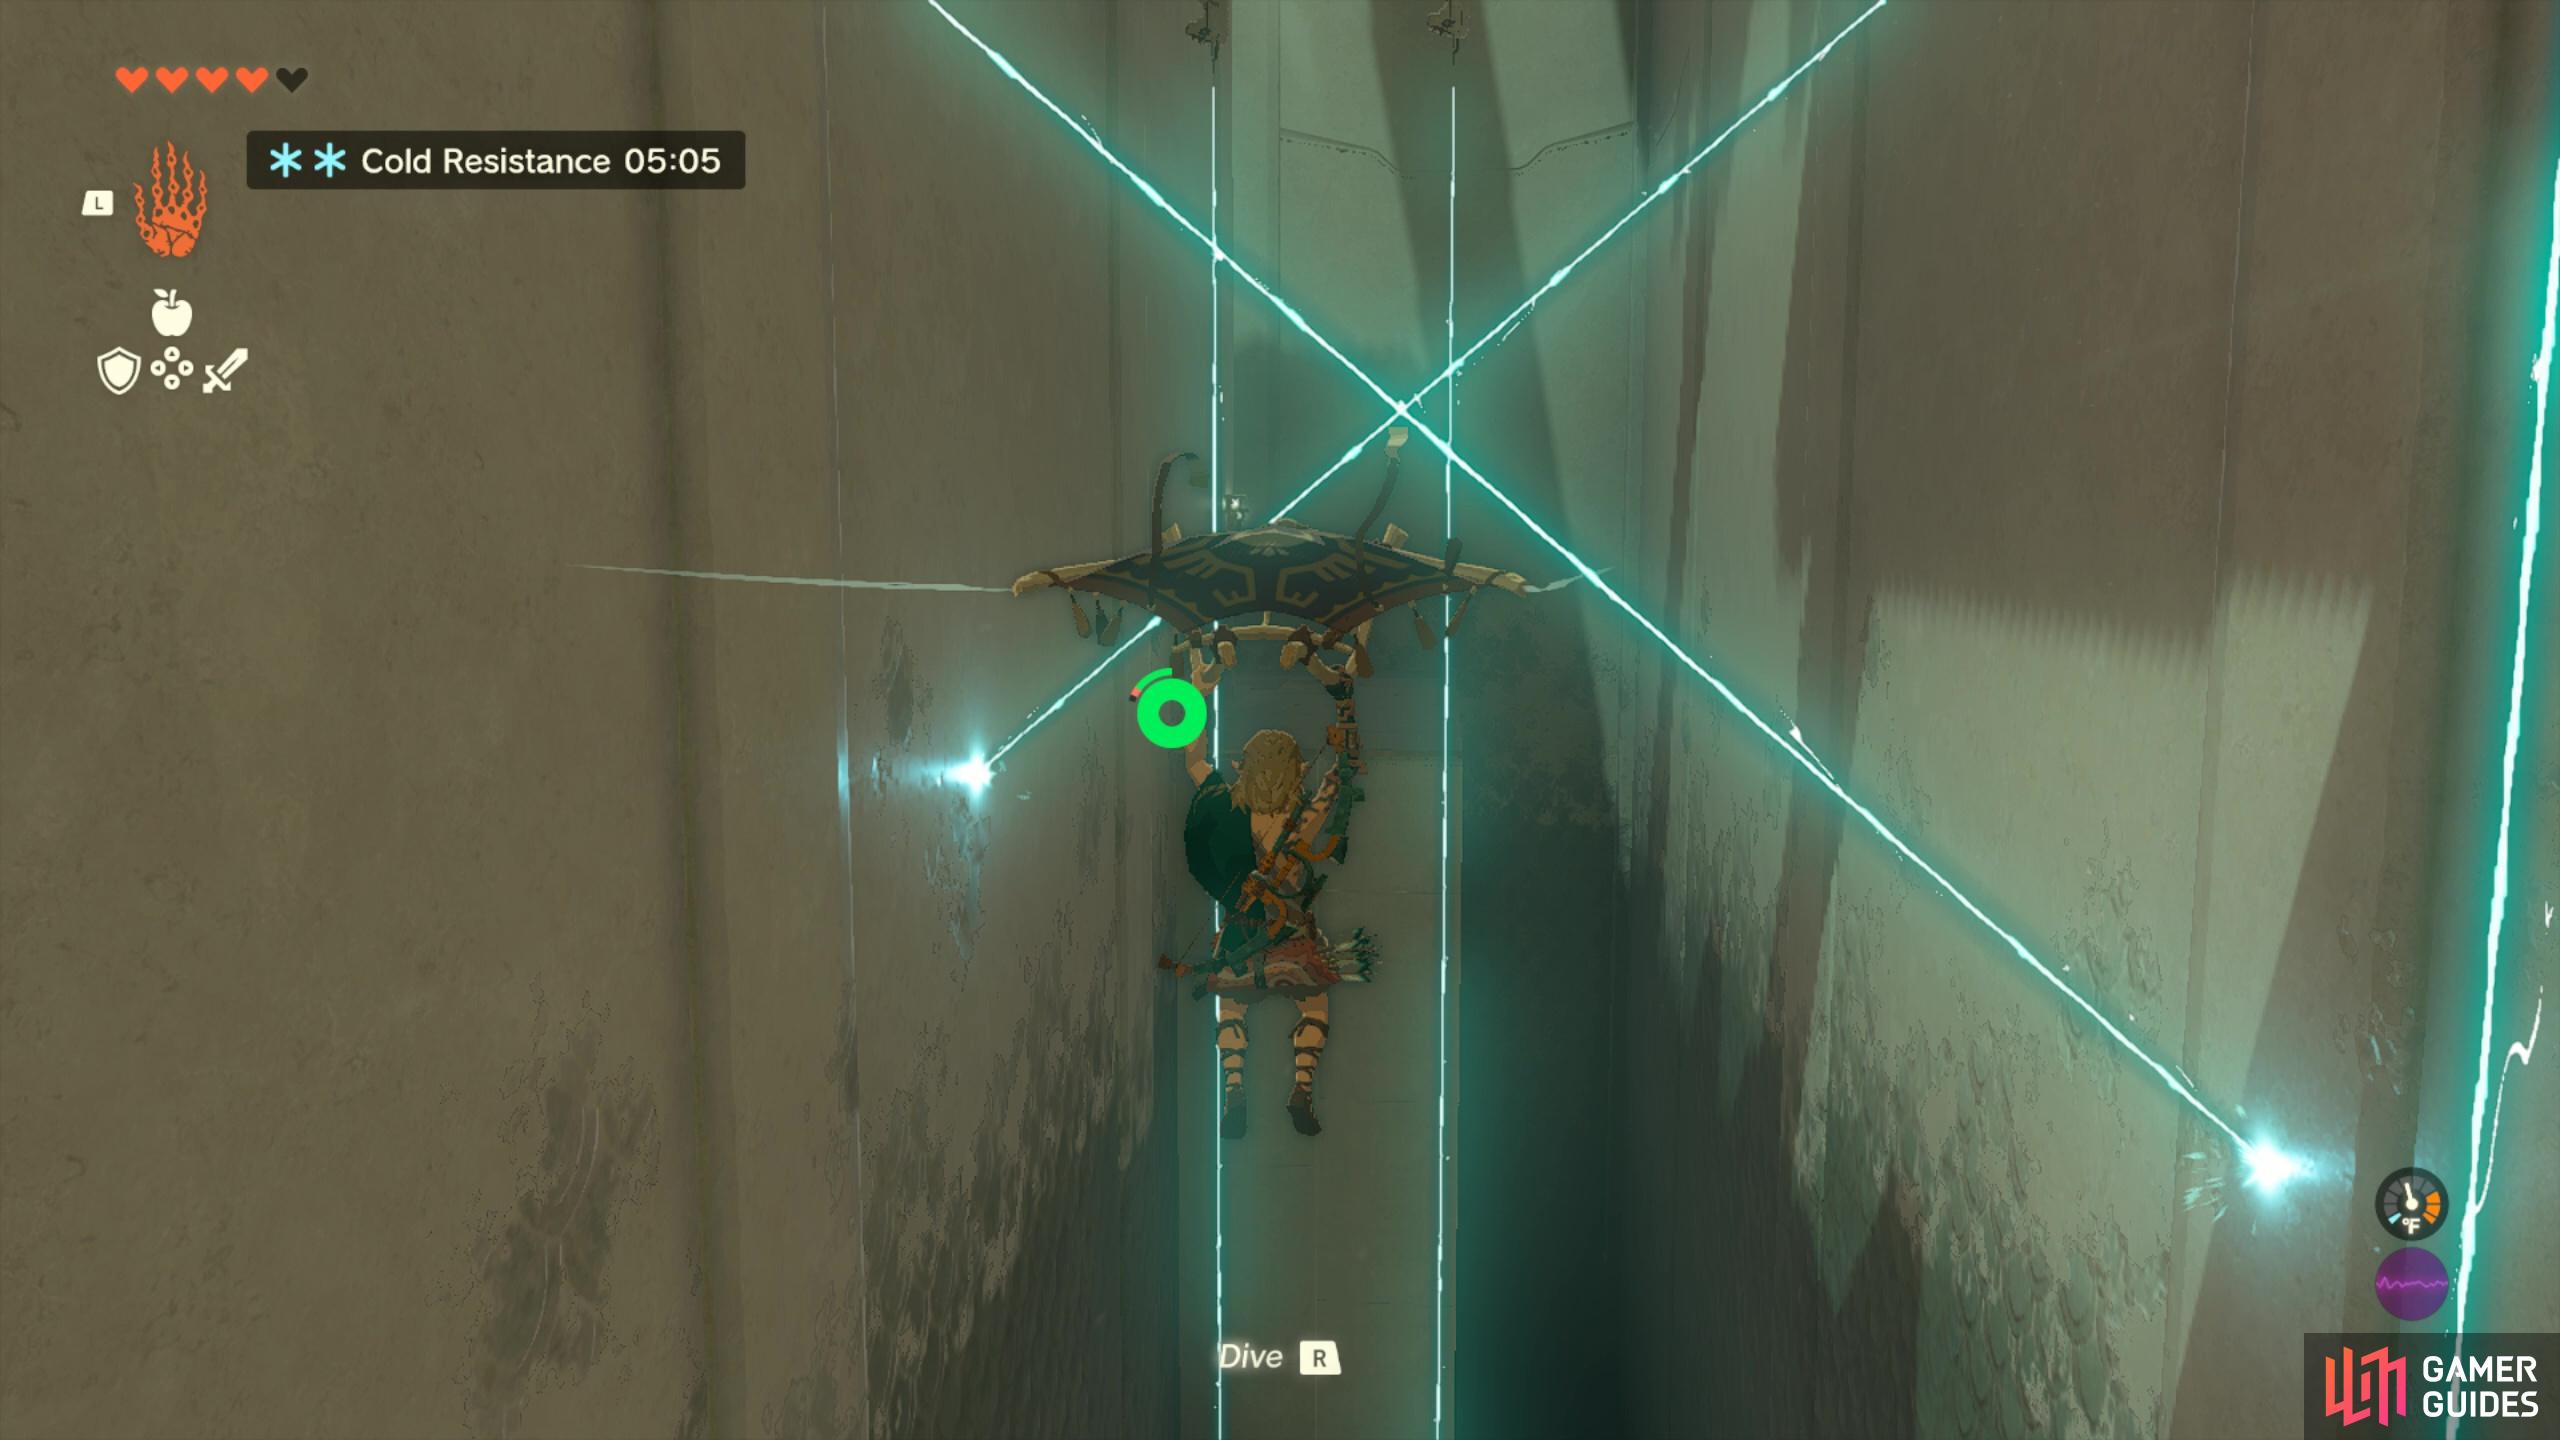
Ride the gust of wind between the lasers.
In the next area, you’ll notice a large vertical tunnel with wind blowing up it. There’s a circular platform with an open wedge spinning around. You’ll need to drop yourself through the open wedge to get to the next part of the shrine. To do this, you’ll want to first equip your paraglider and hover above the tunnel for a couple of seconds so you can time when to drop through the hole. If you drop onto the platform, depending on your health, you might die and have to start the shrine again, so make sure you time it perfectly!
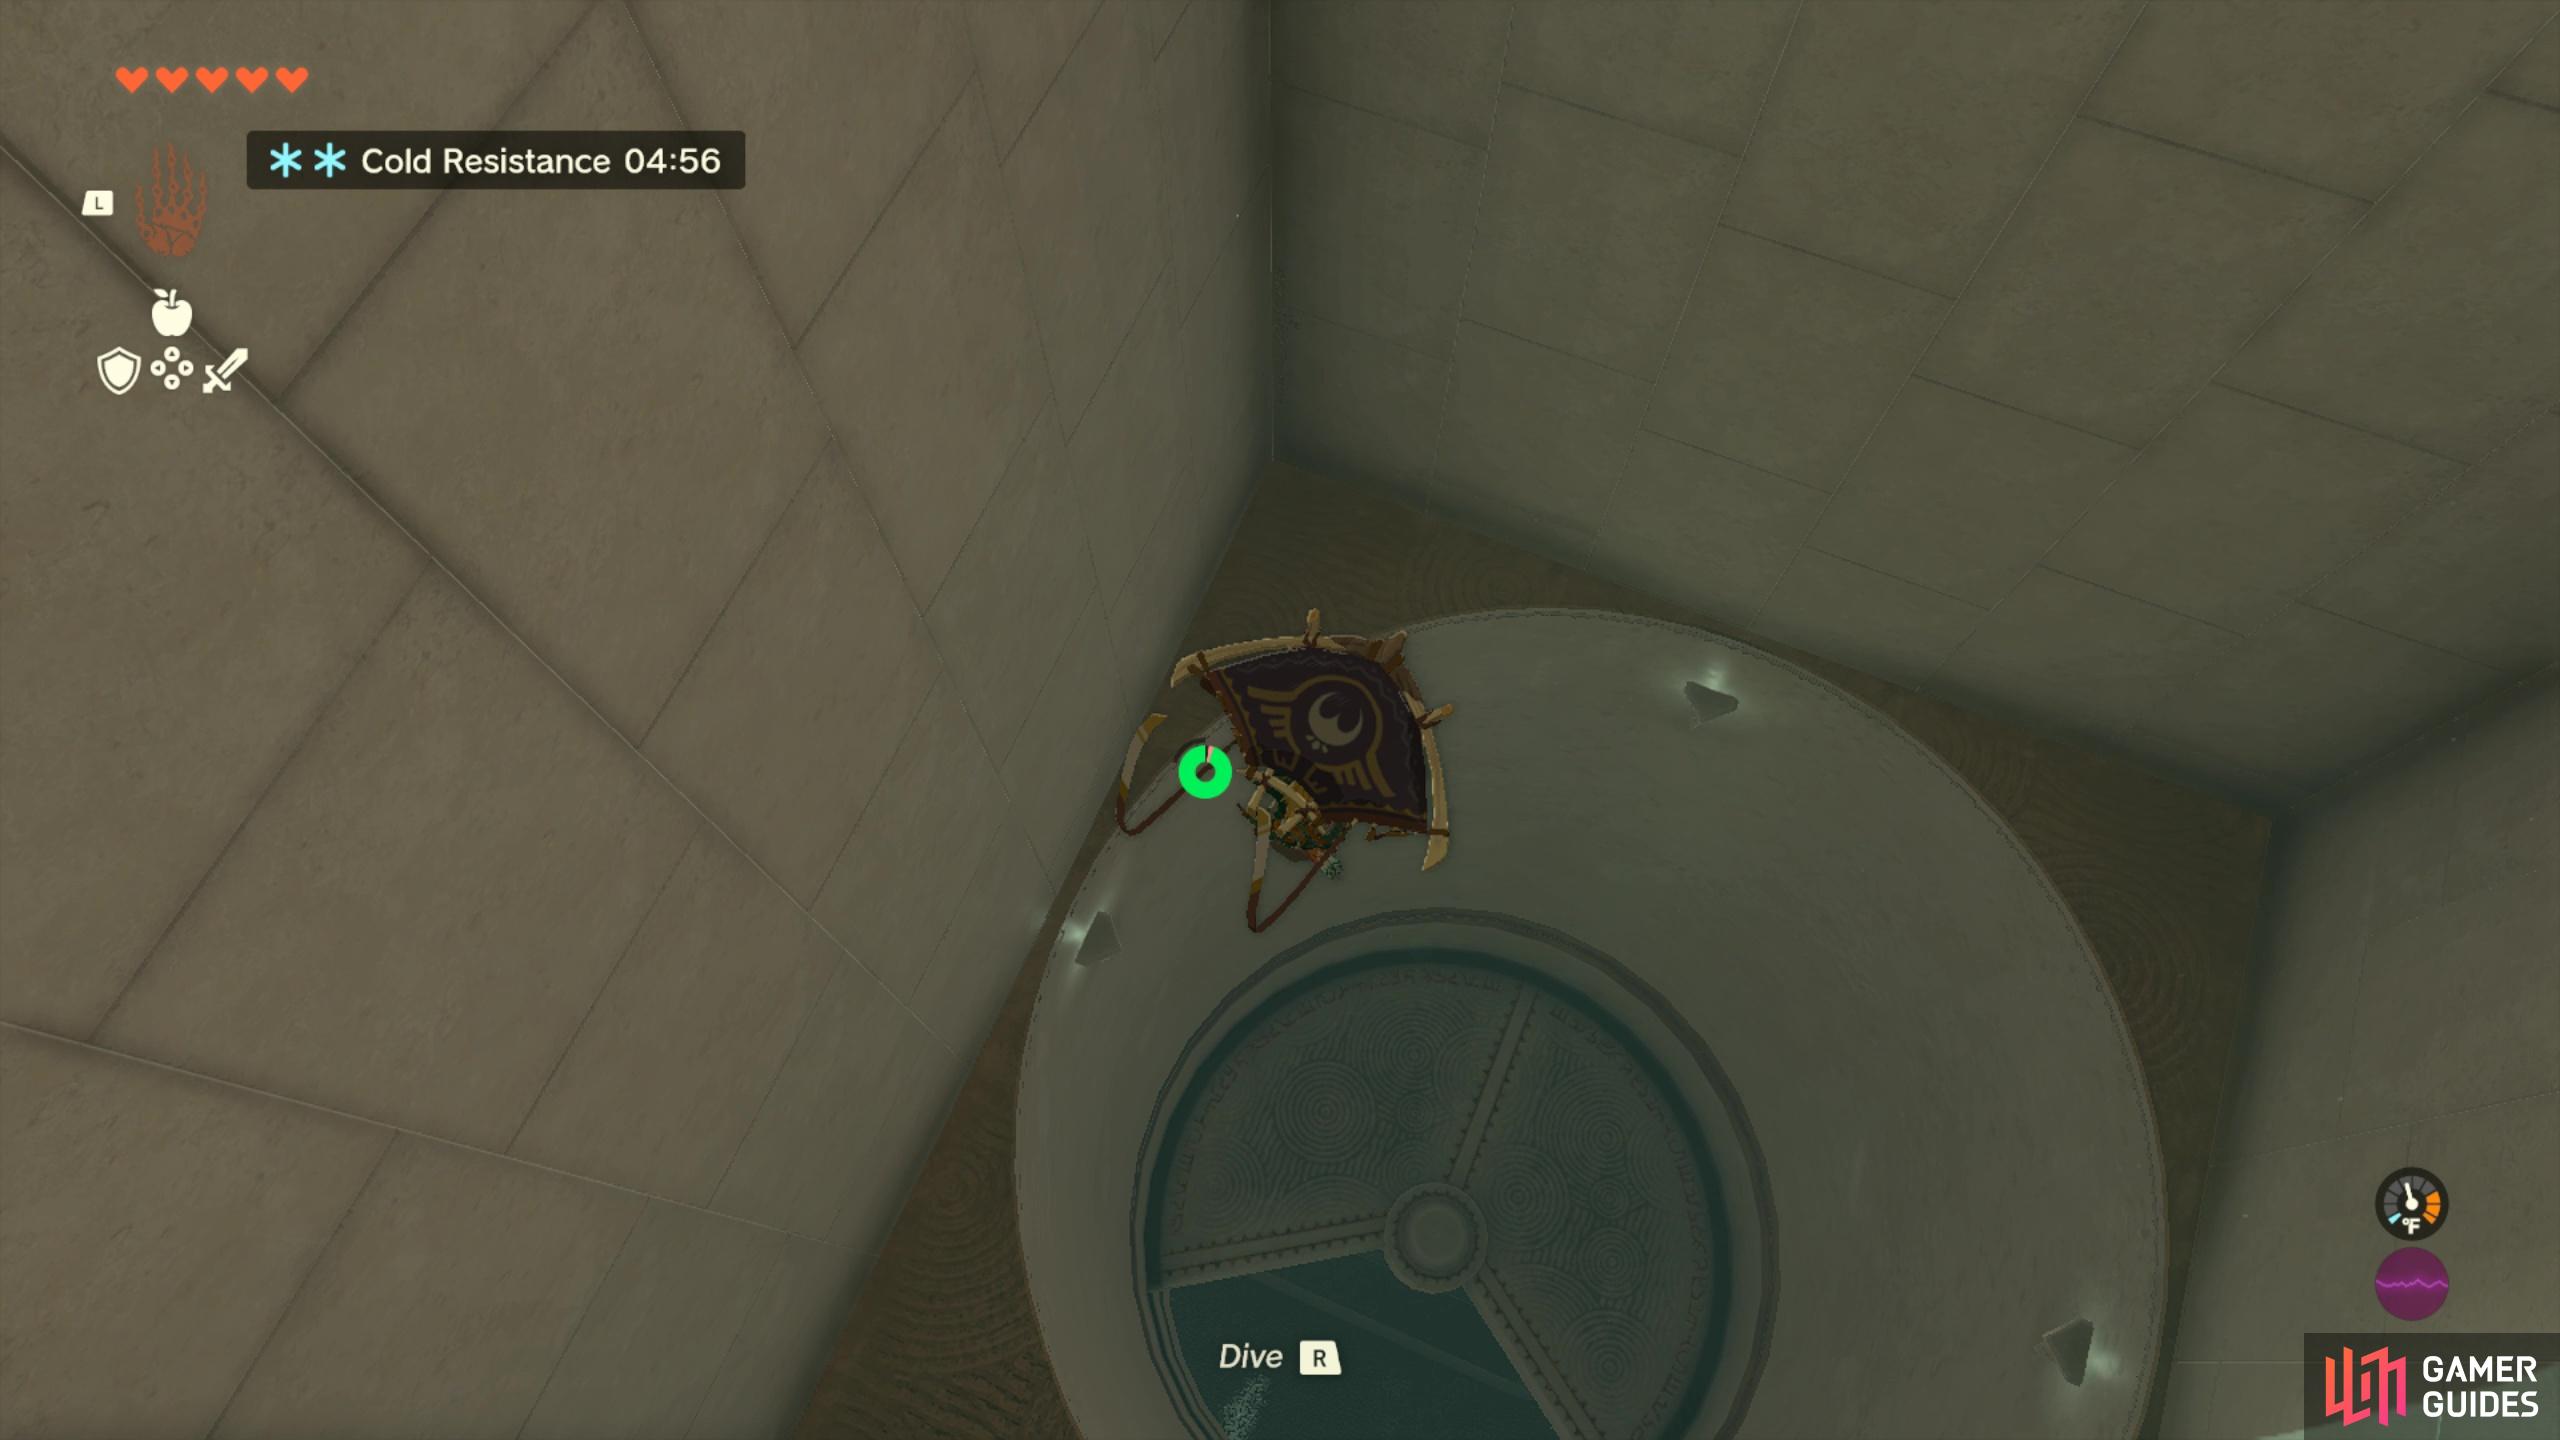
Float above the tunnel
and time when to drop down into the hole!
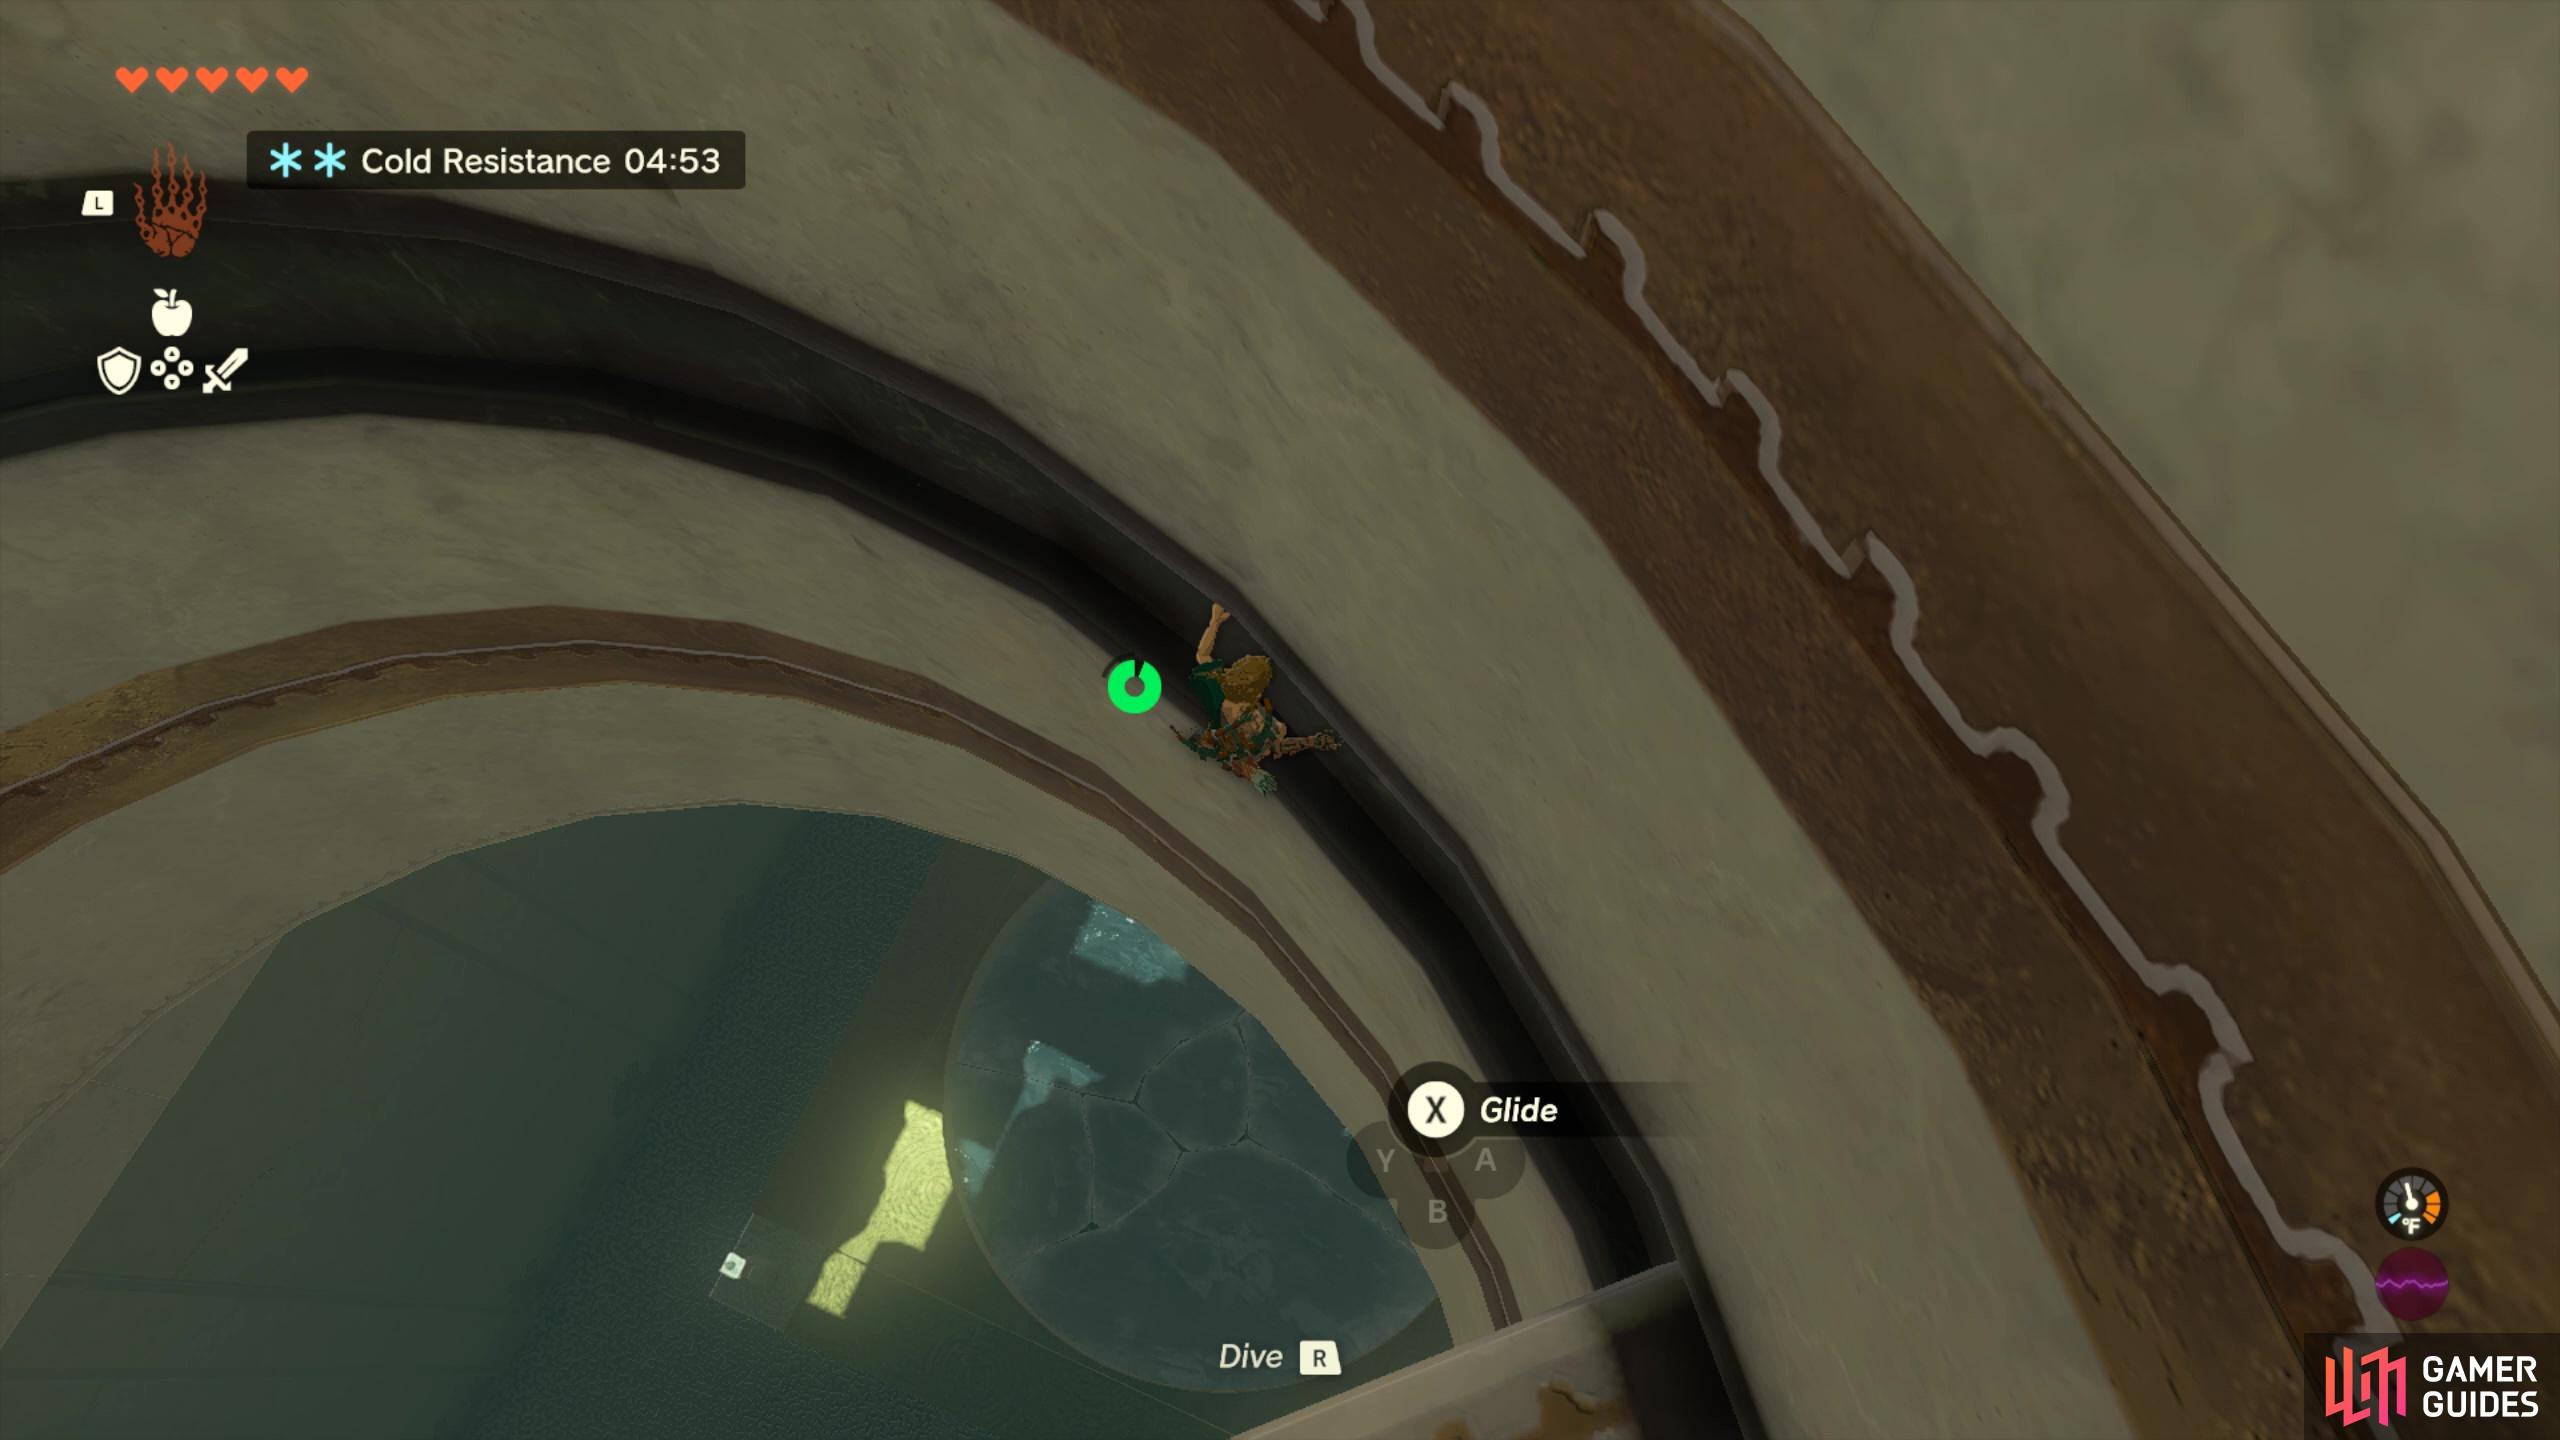
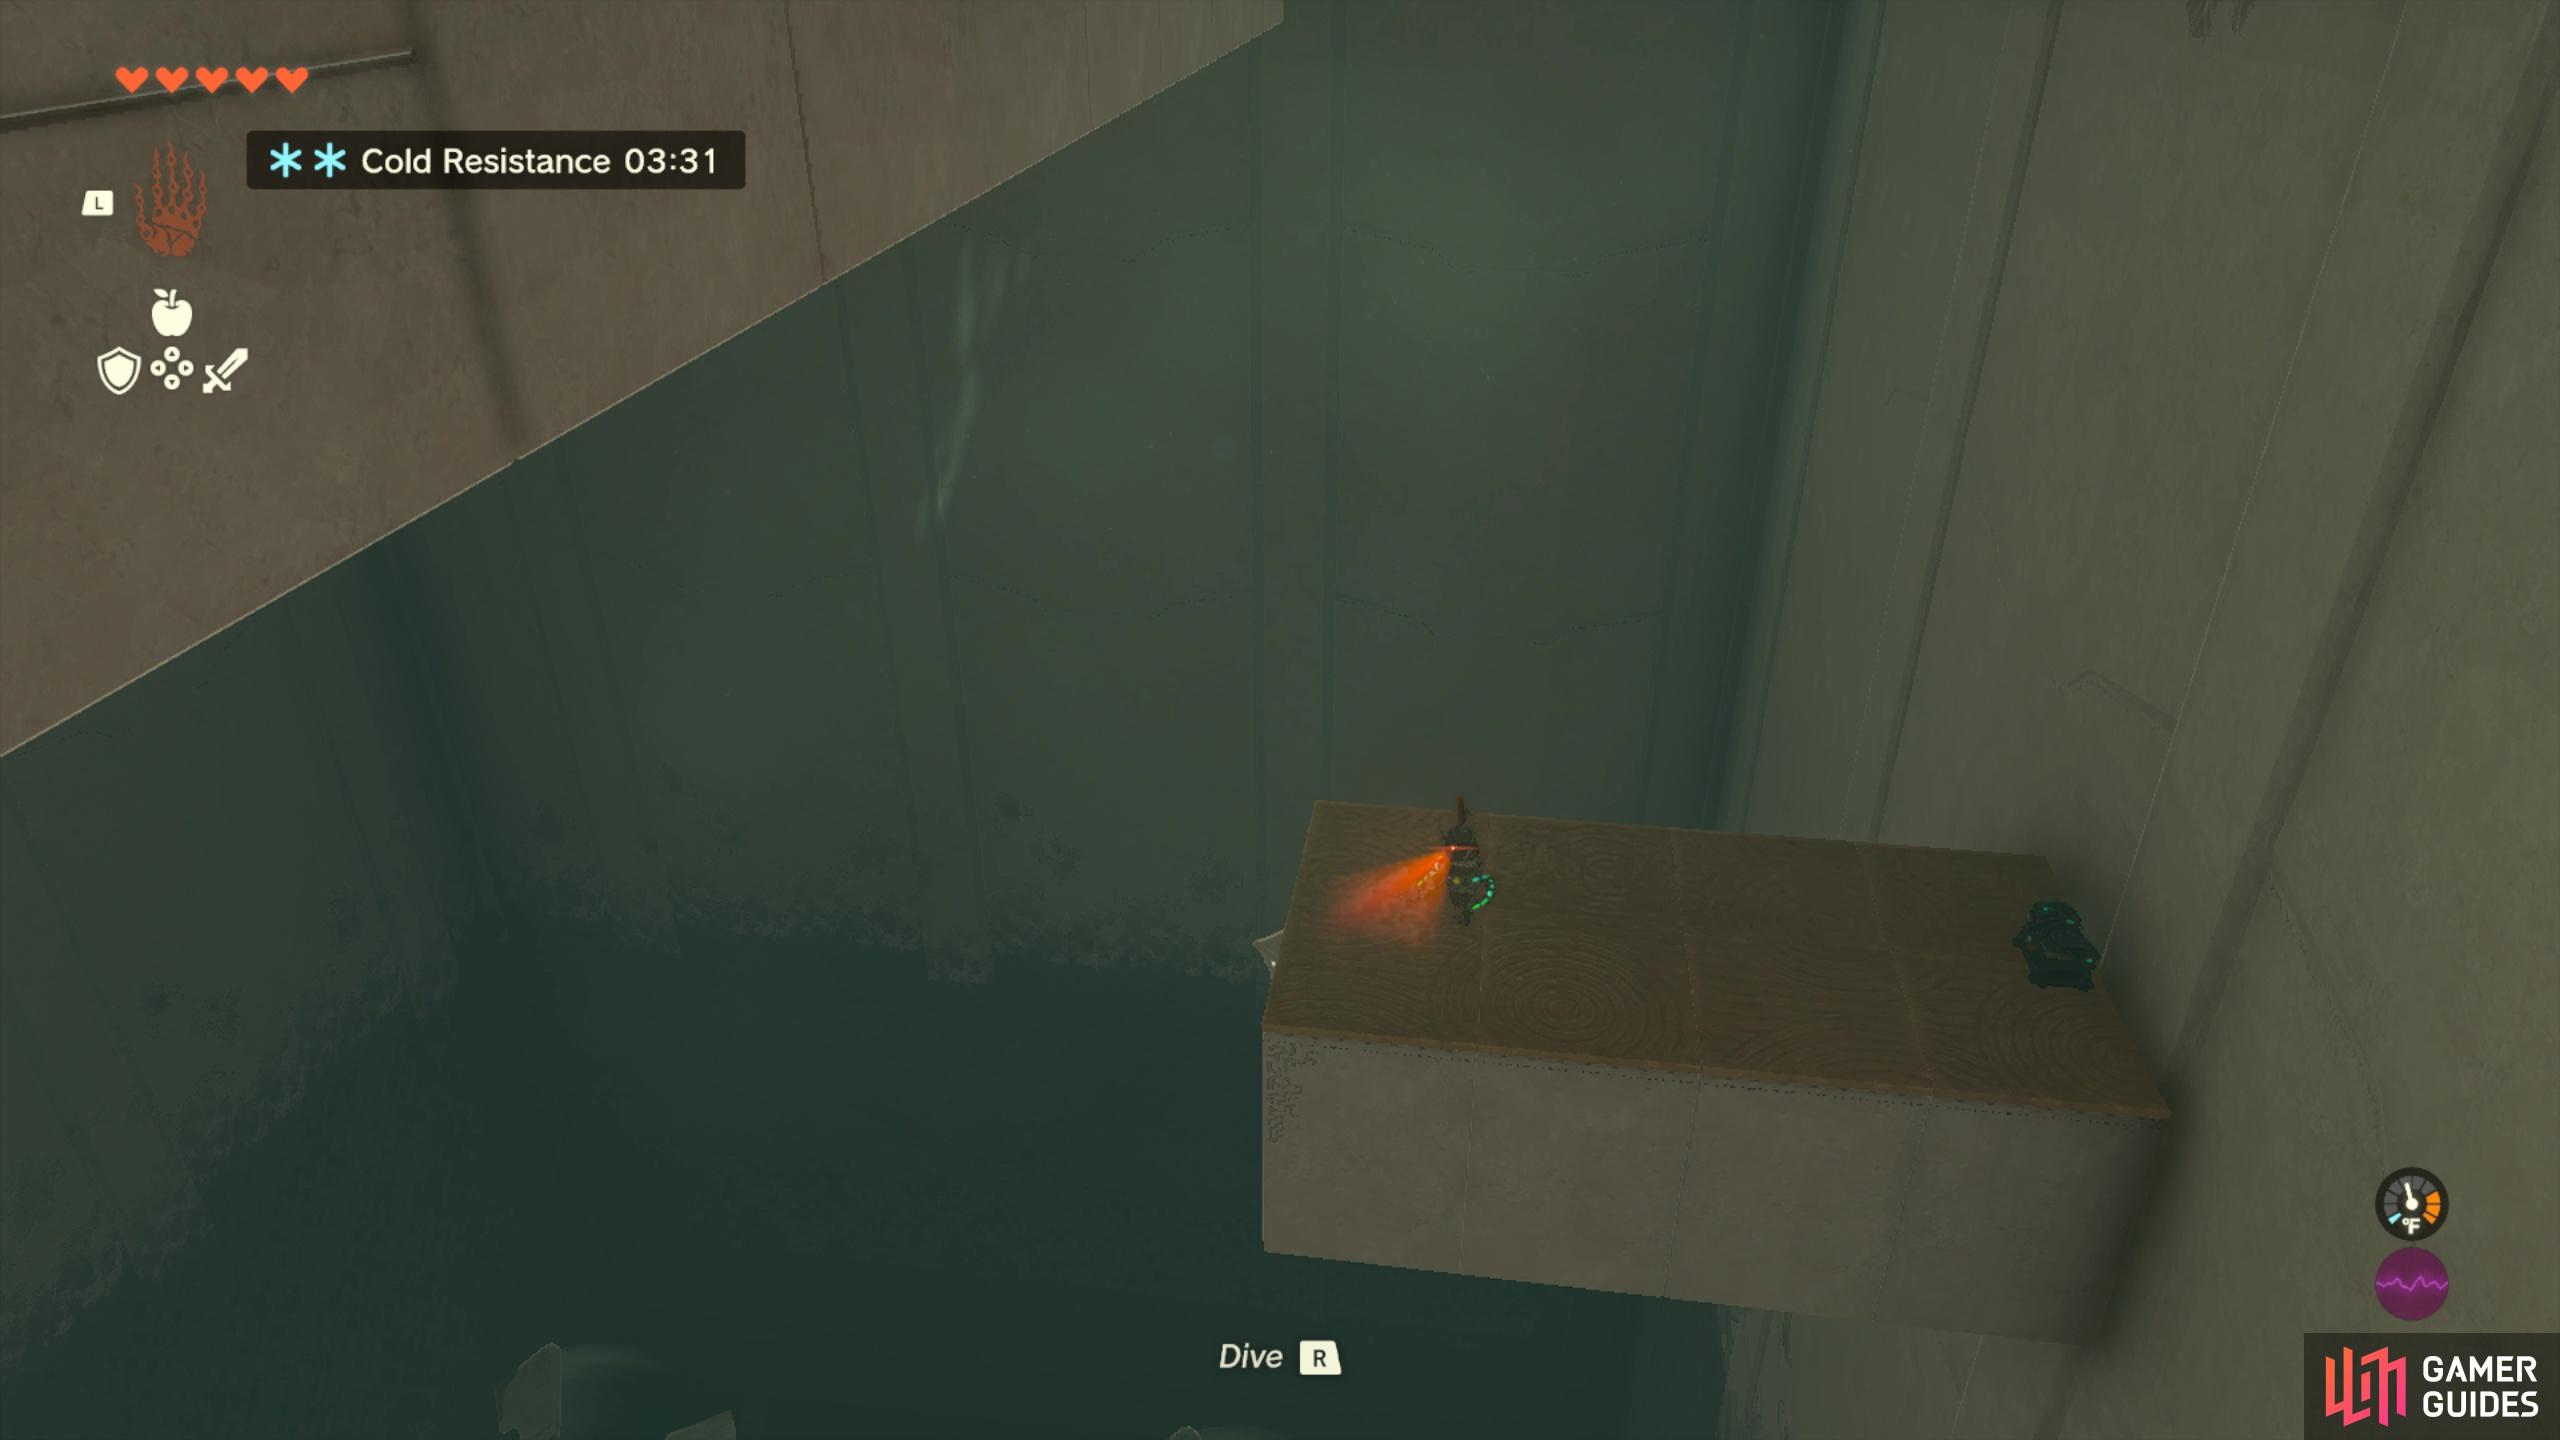
When you drop down, you’ll need to smash the ice below you to pass through another tunnel. The trick with these tunnels is to constantly be unequipping and re-equipping your paraglider so you can control how high you’re flying.
Drop down onto the higher platform with the Construct enemy and defeat him. Then drop down onto the slightly lower platform with the second Construct enemy and beat him up too.
Gatakis Shrine: Where to Find the Treasure Chest
From here, you’ll want to fly over to the other side of this big room to find a third construct enemy guarding a chest on another platform. The chest contains a ![]() Strong Construct Bow, and you can also loot the Construct enemy for some useful items and arrows too!
Strong Construct Bow, and you can also loot the Construct enemy for some useful items and arrows too!
After grabbing the loot, you’ll want to paraglide (remember to control your height by unequipping and re-equipping continually) through the gap in the wall between the first two platforms you landed on in this room. Once inside this passage, let the gust of wind take you all the way up to the end of the shrine where you can claim your ![]() Light of Blessing.
Light of Blessing.
First head over and grab the treasure
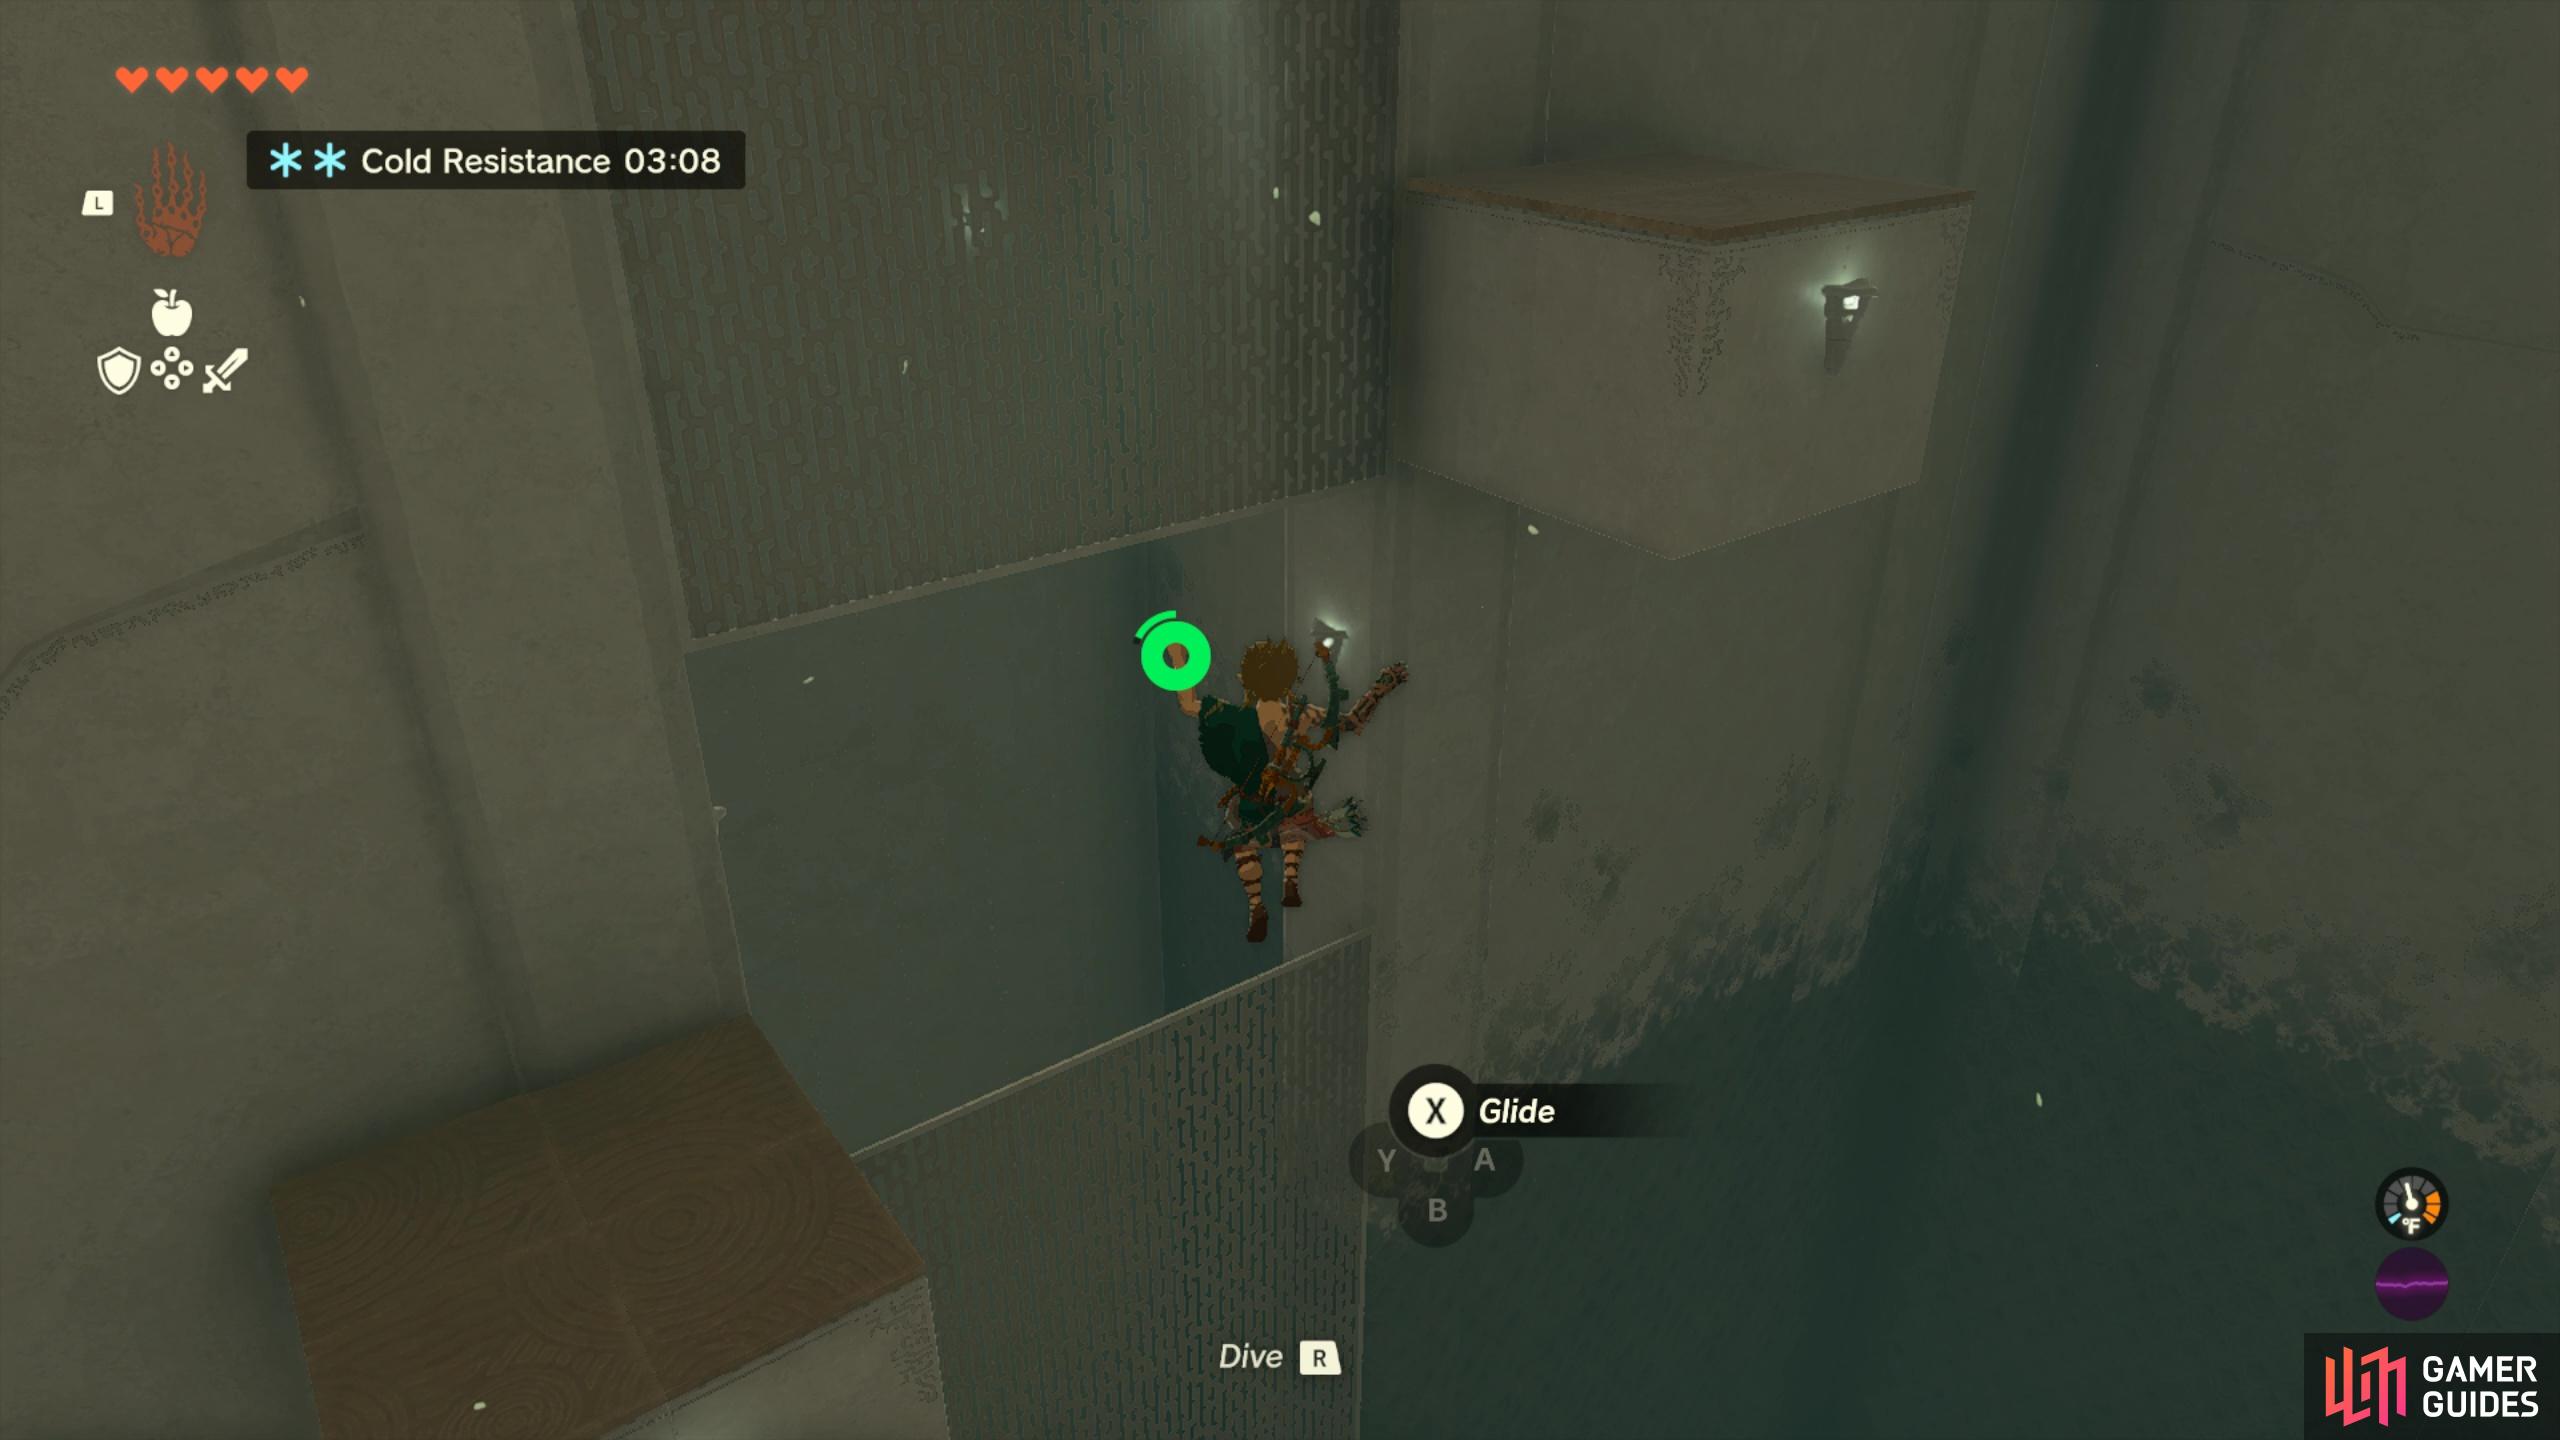
then paraglide over to the gap in the wall to reach the end of the shrine.
No Comments