
Shrines are an important aspect in The Legend of Zelda: Tears of the Kingdom, as the items from them help increase your overall health and stamina. Some of these shrines will be out in the open and not that hard to get to, such as is the case with the Kitawak Shrine. This page will detail where to find that shrine, as well as how to solve the puzzle within it.
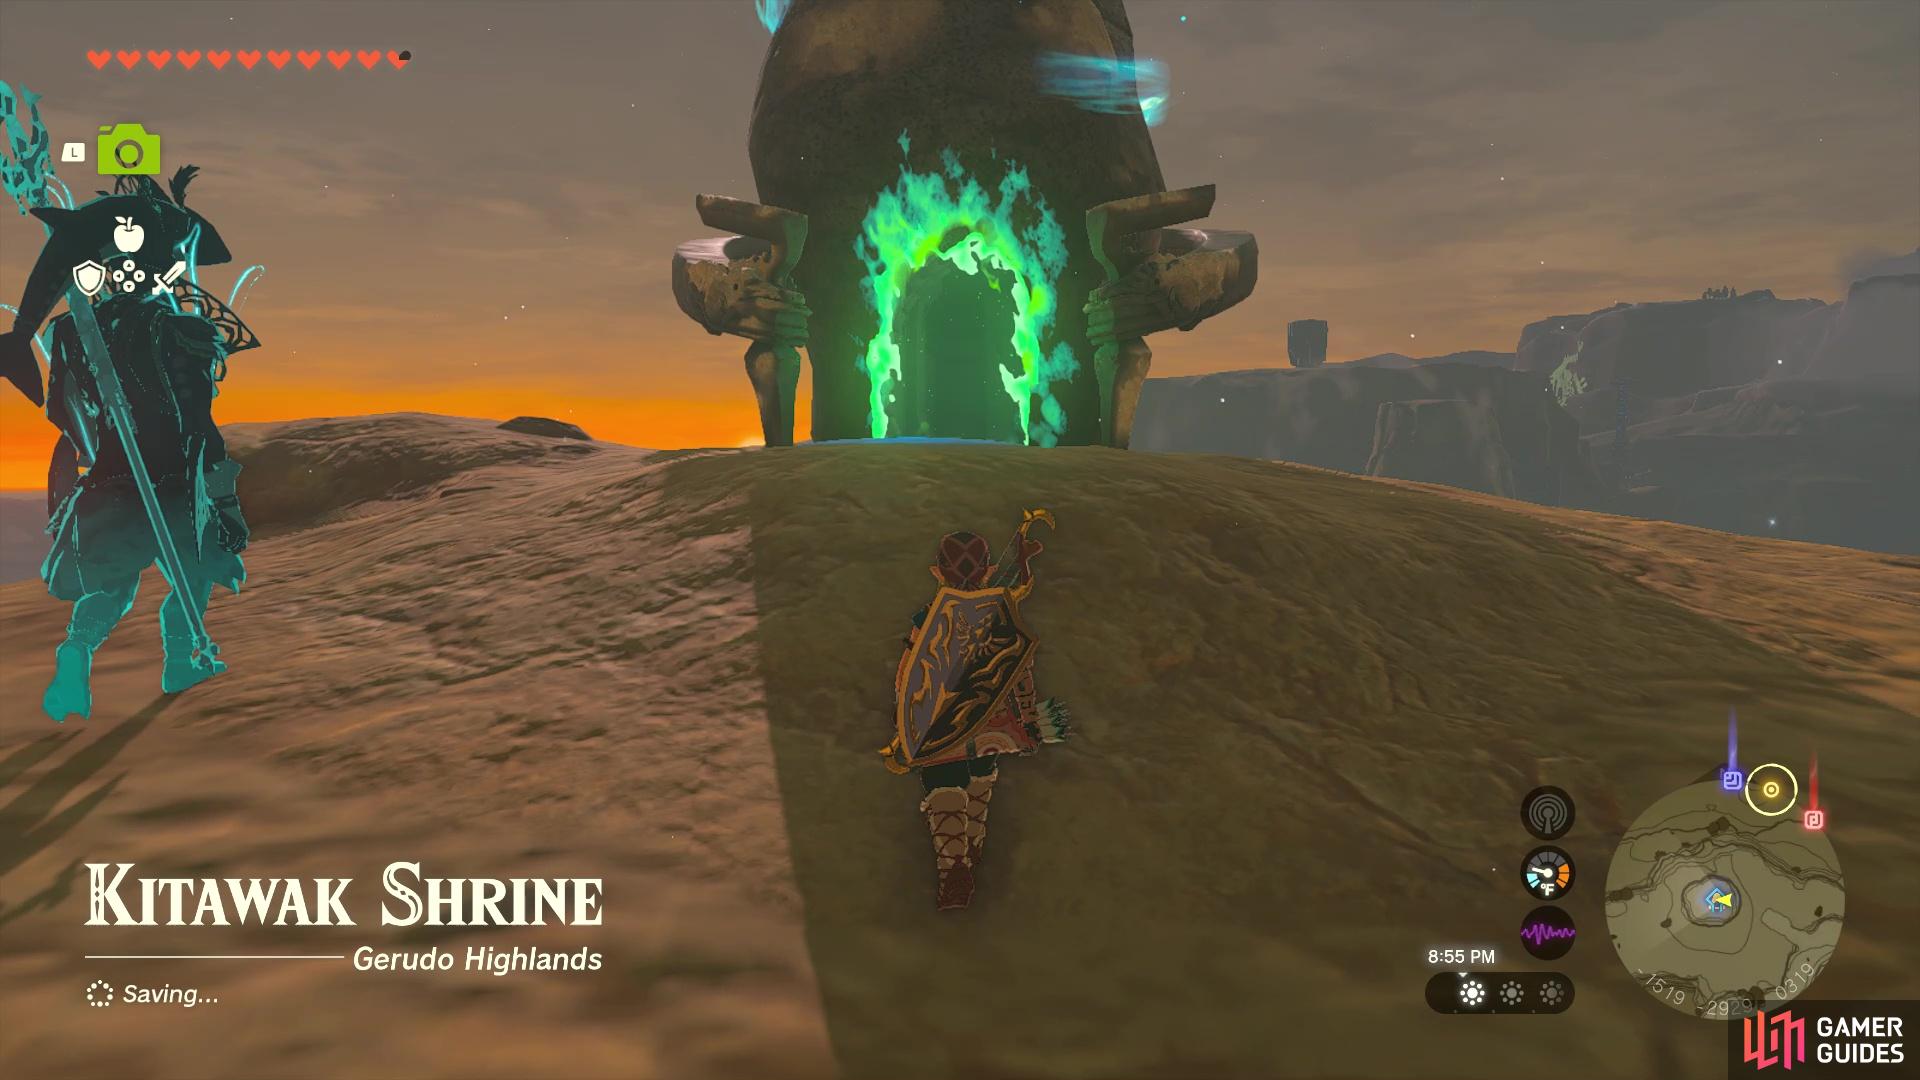
The Kitawak Shrine is found on top of the East Gerudo Mesa.
Where to Find the Kitawak Shrine in Tears of the Kingdom
The Kitawak Shrine is located in the Gerudo area, on top of the East Gerudo Mesa. This is found southeast of Spectacle Rock, which is just southeast of the Gerudo Canyon Skyview Tower. You could try going to Spectacle Rock, but there is a ![]() Flame Gleeok on the southern portion, which is not an easy enemy to overcome. You could launch yourself from the tower mentioned above, then glide down from there. This could definitely get you close enough, provided you have the stamina to go all that way, and climb up the rest of the way to the shrine.
Flame Gleeok on the southern portion, which is not an easy enemy to overcome. You could launch yourself from the tower mentioned above, then glide down from there. This could definitely get you close enough, provided you have the stamina to go all that way, and climb up the rest of the way to the shrine.
Upward and Forward - Kitawak Shrine Walkthrough
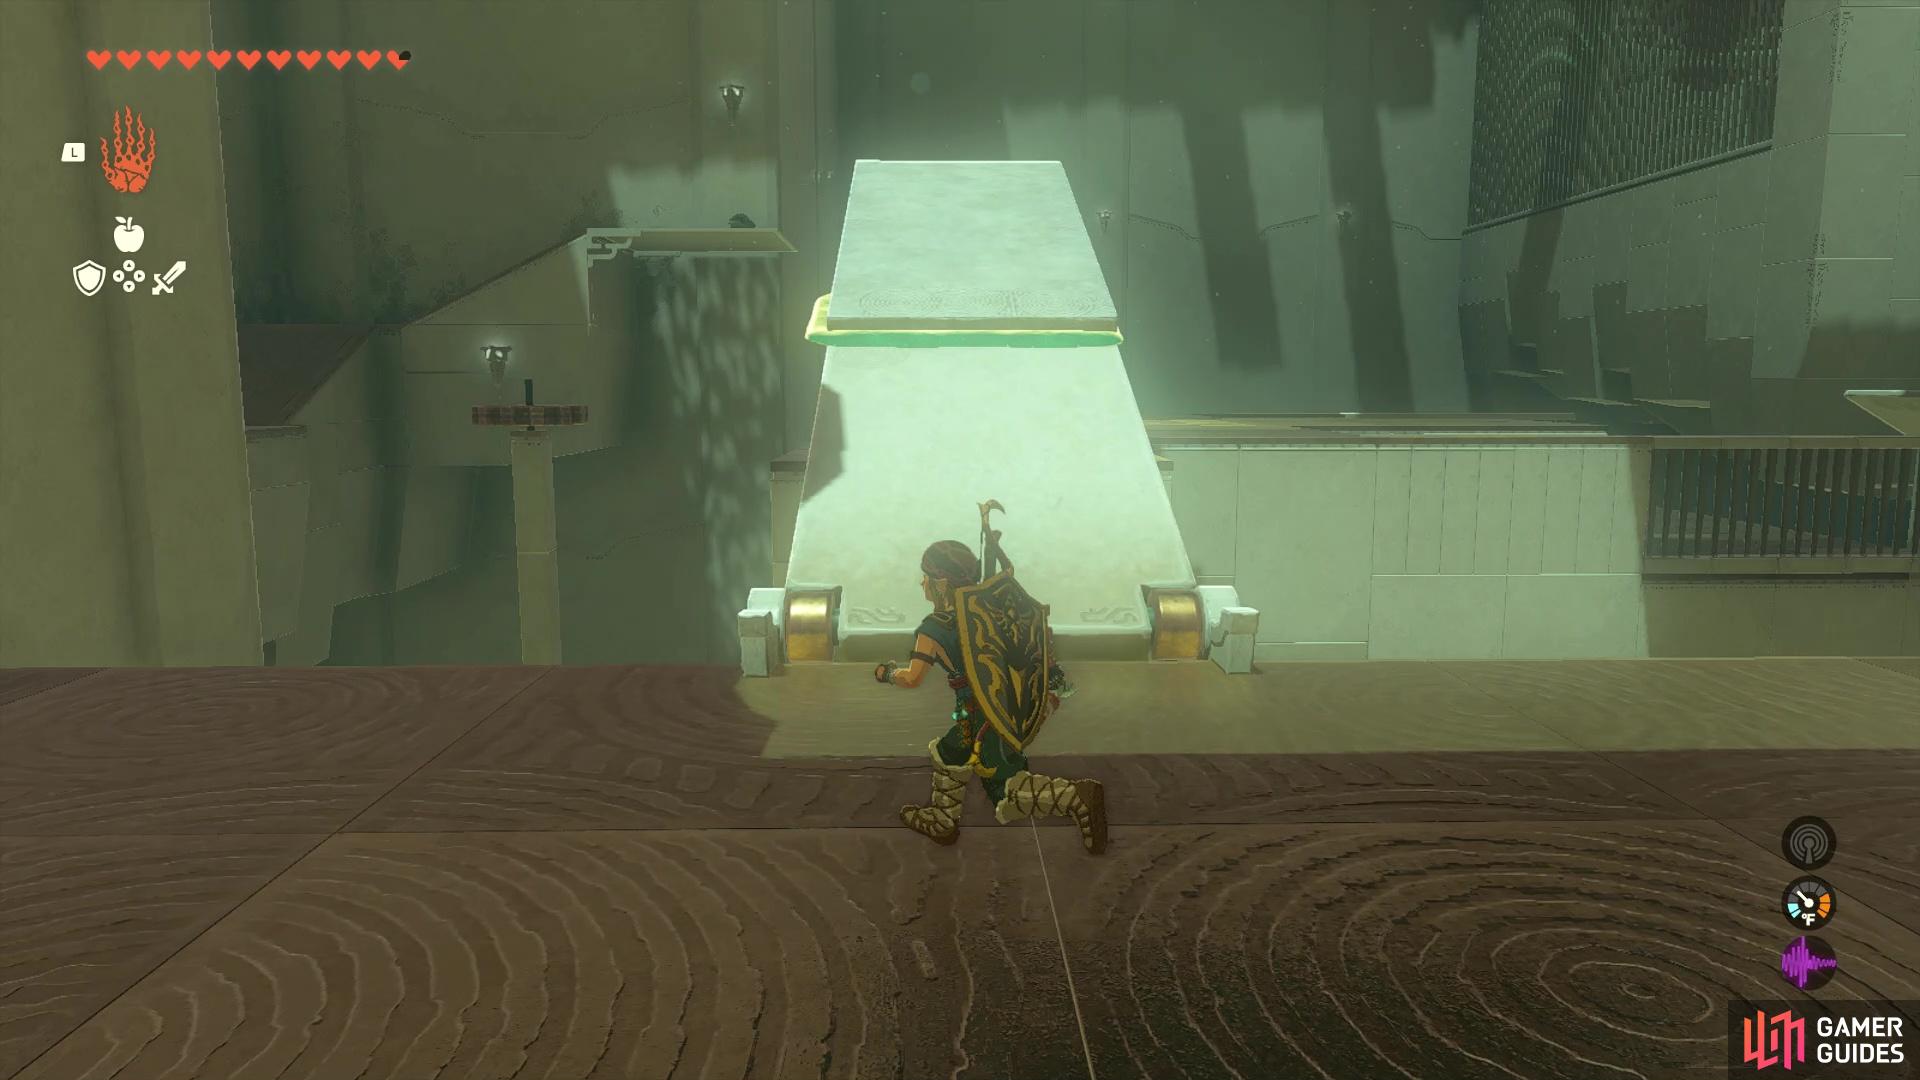
When you first enter the shrine, you will see a bridge that is raised, with no way to drop the bridge, from a quick glance. While facing that bridge, look to the right of it to spy a stone slab, so grab it with ![]() Ultrahand and place it at the top of the previously mentioned bridge. This should weigh it down enough, so the bridge will drop and you’ll be able to cross it to the other side of the gap. As soon as you cross, though, look to your left to see a spinning gear.
Ultrahand and place it at the top of the previously mentioned bridge. This should weigh it down enough, so the bridge will drop and you’ll be able to cross it to the other side of the gap. As soon as you cross, though, look to your left to see a spinning gear.
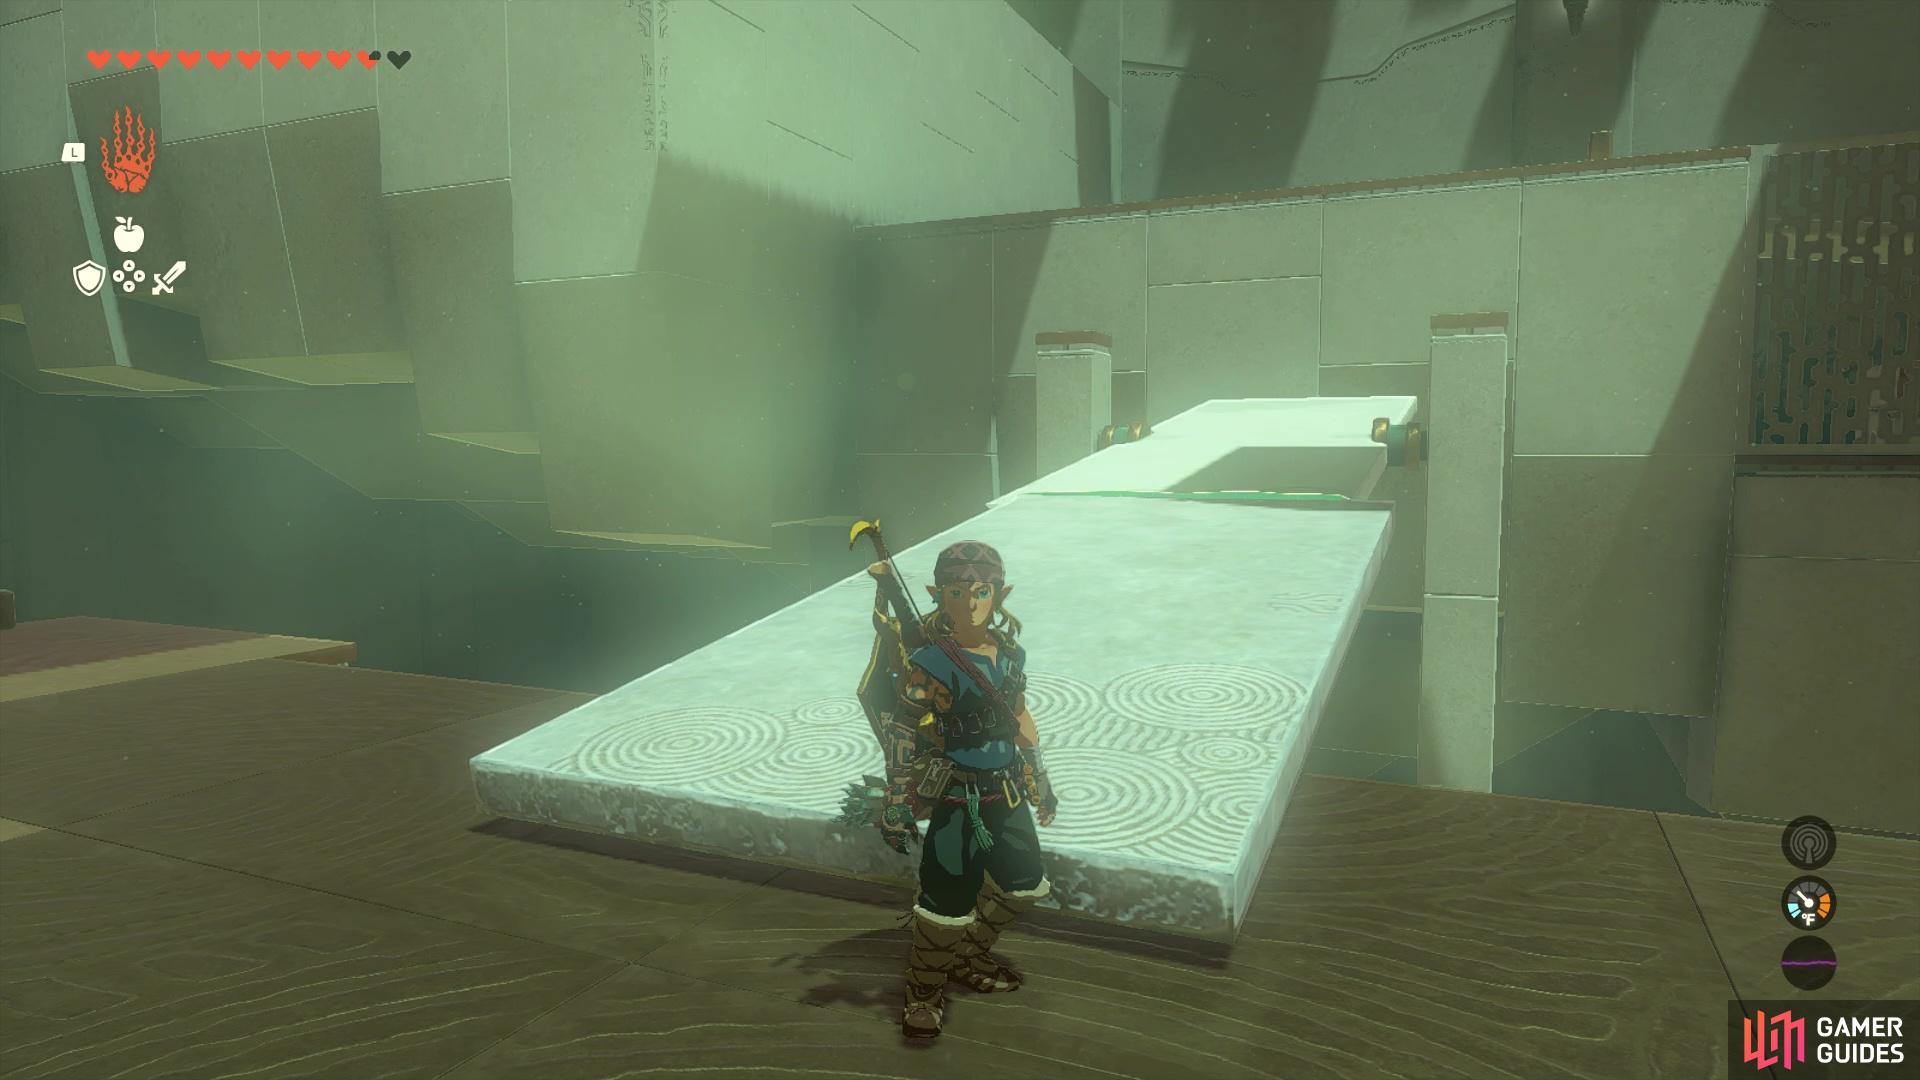
Take the stone slab off of the bridge you just had it on, and attach it to the outer rim of the gear. This will create a spinning platform for you, so wait for it to come back around, then jump on it. Ride the platform to the other side and hop off there, then head up the ramps to find a chest at the top, which contains ![]() Arrow x10. Glide down to the next area, grabbing the stone slab you just used, and connect it to the top of the next bridge. This will bring that down to your level, but you’re not entirely done yet.
Arrow x10. Glide down to the next area, grabbing the stone slab you just used, and connect it to the top of the next bridge. This will bring that down to your level, but you’re not entirely done yet.
Use the slab next to this bridge to create a ramp on it, which allows you to reach the ledge. There will be one more obstacle in your way before you reach the very end of this shrine. Grab the last stone slab you just used and attach it partway to the end of the slab connected to the ledge. Stand at the very end of the whole thing, then use a bow to shoot the switch to cause a piston to hit from underneath. If done right and standing on a good spot, you should be launched into the air and will be able to glide to the very end, where you can nab the ![]() Light of Blessing.
Light of Blessing.
No Comments