
Shrines are a core mechanic in The Legend of Zelda: Tears of the Kingdom, as they are needed to increase your maximum health and stamina. You will find a number of shrines throughout the game’s world, with a large number of them being in the open. One such shrine is the Miryotanog Shrine, located in the !Gerudo Desert. This page will detail how to reach the Miryotanog Shrine, as well as how to complete it.
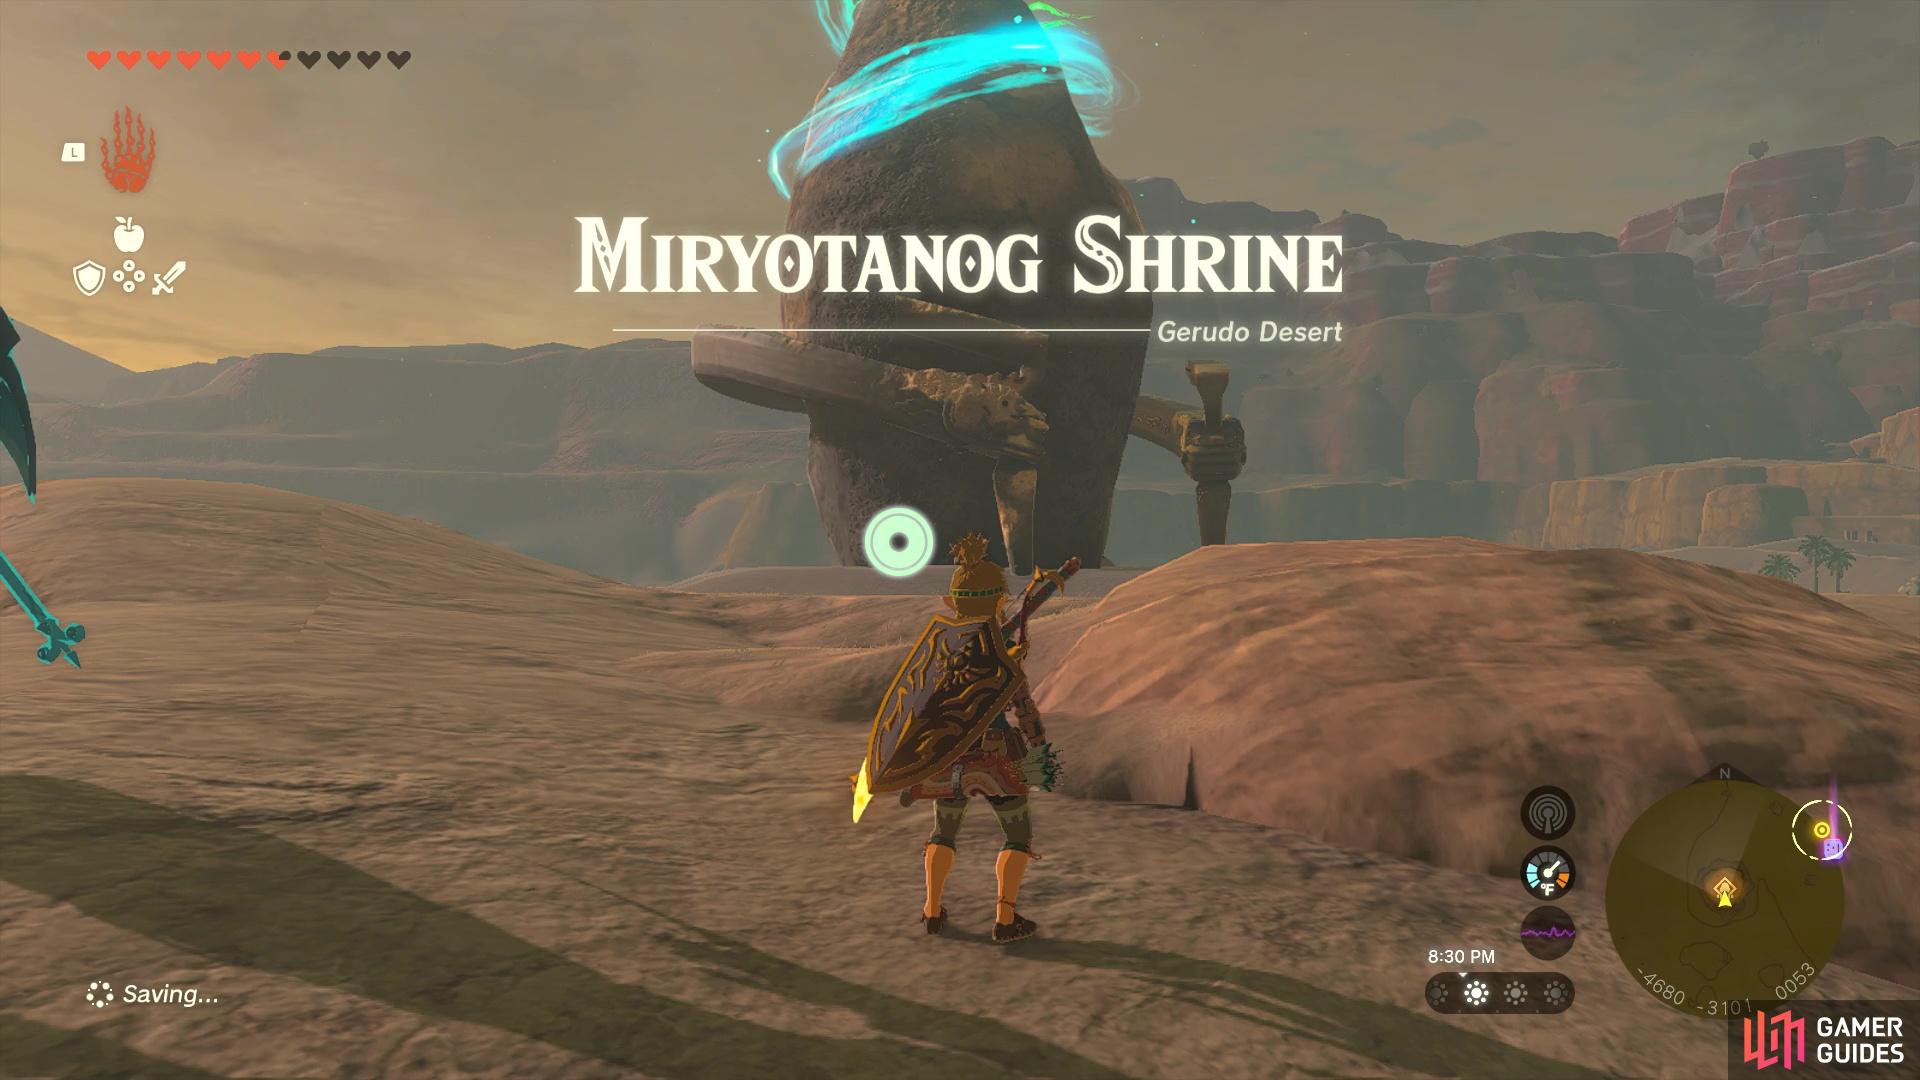
Miryotanog Shrine is found on a rock in the western part of the Gerudo Desert.
Where to Find the Miryotanog Shrine in Tears of the Kingdom
![]() Miryotanog Shrine is located in the western portion of the Gerudo Desert, a little north of the Lightning Temple. As with a lot of the side content in the desert, you will want to wait until you’ve completed the !Lightning Temple before doing it, since you will be unable to see, due to the sand shroud that is covering it. When you reach the shrine area, you will see it’s a similar situation to the
Miryotanog Shrine is located in the western portion of the Gerudo Desert, a little north of the Lightning Temple. As with a lot of the side content in the desert, you will want to wait until you’ve completed the !Lightning Temple before doing it, since you will be unable to see, due to the sand shroud that is covering it. When you reach the shrine area, you will see it’s a similar situation to the ![]() Kudanisar Shrine. It’s surrounded by fast moving sands and there’s plenty of enemies on wooden walkways, around the shrine.
Kudanisar Shrine. It’s surrounded by fast moving sands and there’s plenty of enemies on wooden walkways, around the shrine.

You can see the shrine from the highest point of the Lightning Temple, on the northern end.
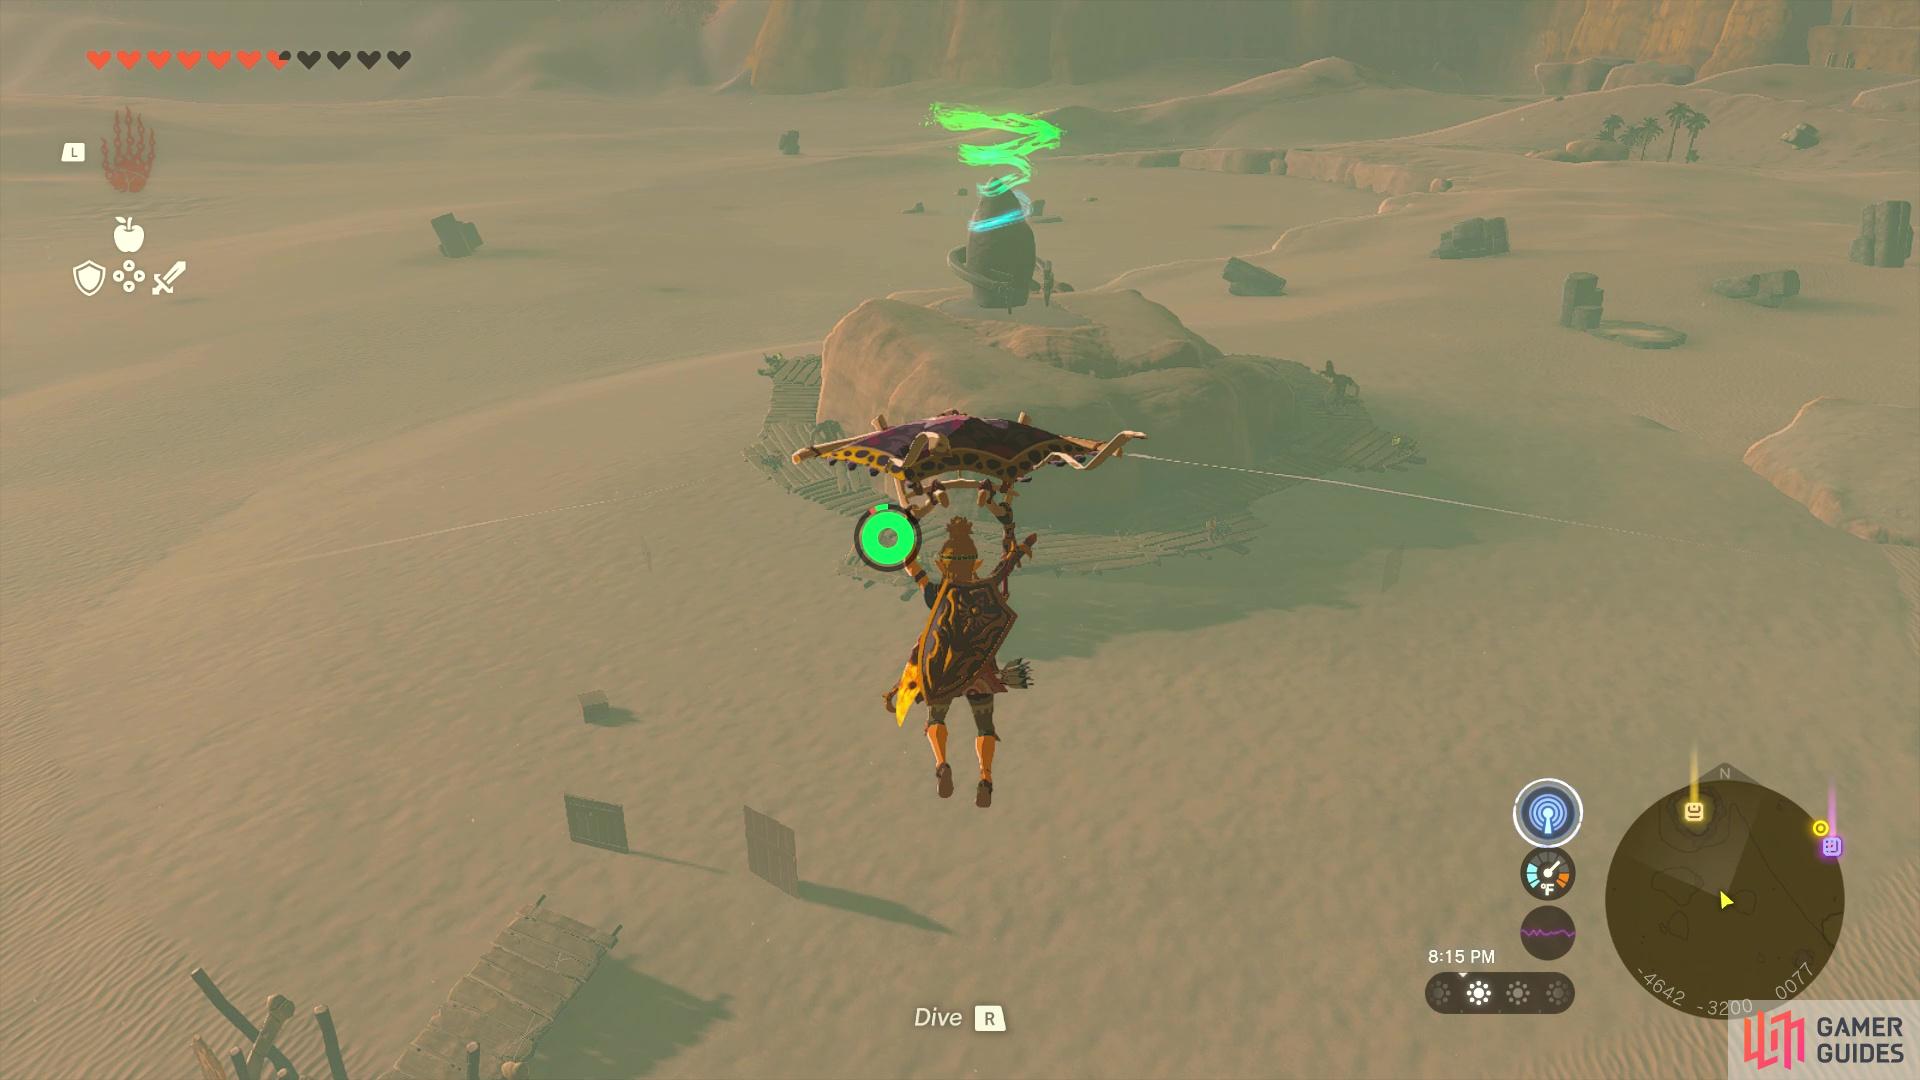
You should just be able to make it onto the wooden platforms while gliding.
The enemies will be ![]() Moblins and
Moblins and ![]() Bokoblins, so they might be a little more dangerous than the Constructs for the other shrine. If you happen to get a piece of debris to fall from the sky nearby, you can use
Bokoblins, so they might be a little more dangerous than the Constructs for the other shrine. If you happen to get a piece of debris to fall from the sky nearby, you can use ![]() Recall on that and glide down to the shrine, bypassing the enemies. However, there doesn’t seem to be any other place that allows you to glide down, especially ones that stand out. However, it is possible to fly down from the top of the !Lightning Temple, as long as you start from the northern tip that is slightly higher than the normal portion of the roof. You will need a little more than one circle of stamina for this, just to be on the safe side.
Recall on that and glide down to the shrine, bypassing the enemies. However, there doesn’t seem to be any other place that allows you to glide down, especially ones that stand out. However, it is possible to fly down from the top of the !Lightning Temple, as long as you start from the northern tip that is slightly higher than the normal portion of the roof. You will need a little more than one circle of stamina for this, just to be on the safe side.
Proving Grounds: Lure - Miryotanog Shrine Walkthrough
This is a combat shrine, but it’s not one of those training ones. When you first enter the shrine, you will have all of your equipment and items stripped from you for this trial. Walk down the stairs and look to your left to spot a ![]() Long Stick,
Long Stick, ![]() Thick Stick,
Thick Stick, ![]() Old Wooden Bow and
Old Wooden Bow and ![]() Arrow x5. You will want these, as you have nothing, so pick them up. The general premise behind this shrine is to lure the enemies within, to traps placed throughout the place. You will encounter your first trap, as you head into the first area.
Arrow x5. You will want these, as you have nothing, so pick them up. The general premise behind this shrine is to lure the enemies within, to traps placed throughout the place. You will encounter your first trap, as you head into the first area.
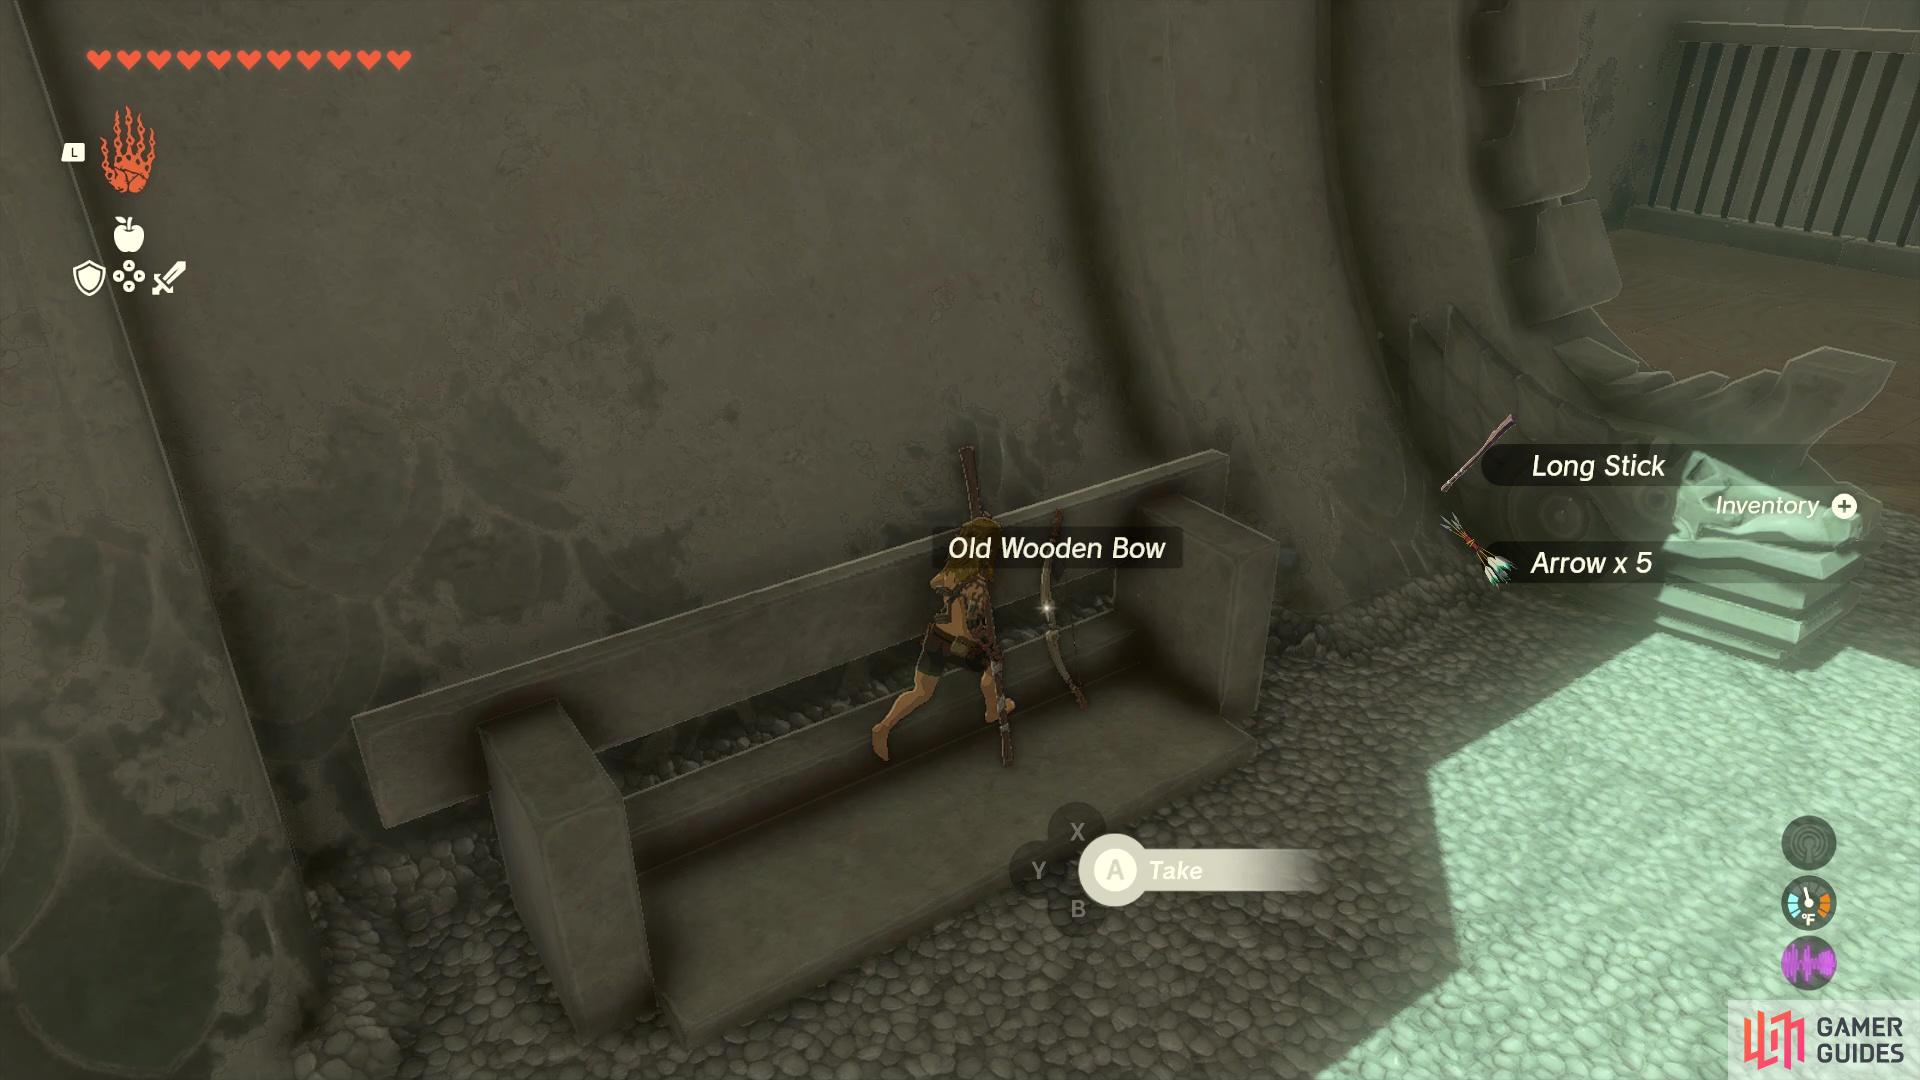
(1 of 4) You will have nothing in this shrine, so make sure to take the weapons at the start.
There will be a few lasers stretching across the initial hallway, which when triggered, will cause three massive spheres to roll down from the far end of the shrine. Thus, you need to make sure you don’t trip any of these lasers here. You can jump over the first two, then crouch under the third, and final, laser. Note that right before the final laser, there is a small alcove to the side, blocked by some wooden crates. Hop over/break the crates to find a small plant with some ![]() Fire Fruits on them. Since you don’t have anything for this trial, grab them, as they could be useful.
Fire Fruits on them. Since you don’t have anything for this trial, grab them, as they could be useful.
As you continue through the shrine, into the next area, you will find another tripwire laser, which triggers a flamethrower trap. Just beyond that will be some objects on the ground, two explosive barrels and two rocks. Feel free to ![]() Fuse a rock to the Long Stick, but leave the other weapon alone for now. Just ahead is another flamethrower trap, but above it will be a Construct on a destructible platform. If you headshot this Construct with your bow, you should be able to one shot it (might require a Fire Fruit). Beyond that, up the ramp, will be more Constructs.
Fuse a rock to the Long Stick, but leave the other weapon alone for now. Just ahead is another flamethrower trap, but above it will be a Construct on a destructible platform. If you headshot this Construct with your bow, you should be able to one shot it (might require a Fire Fruit). Beyond that, up the ramp, will be more Constructs.
Here, things might get a little tricky, as you will have multiple Constructs. The multiple crates are sitting upon some dry leaves, so you could actually wait for the one Construct to get close enough, then set the crates on fire with a fire arrow. The other Constructs (seem to be ![]() Soldier Construct IIIs) here might require a little more finesse, since taking them on with your current loadout isn’t the wisest, despite them having fairly slow weapons. You could catch their attention, then lure them into the various traps you avoided up to this point.
Soldier Construct IIIs) here might require a little more finesse, since taking them on with your current loadout isn’t the wisest, despite them having fairly slow weapons. You could catch their attention, then lure them into the various traps you avoided up to this point.
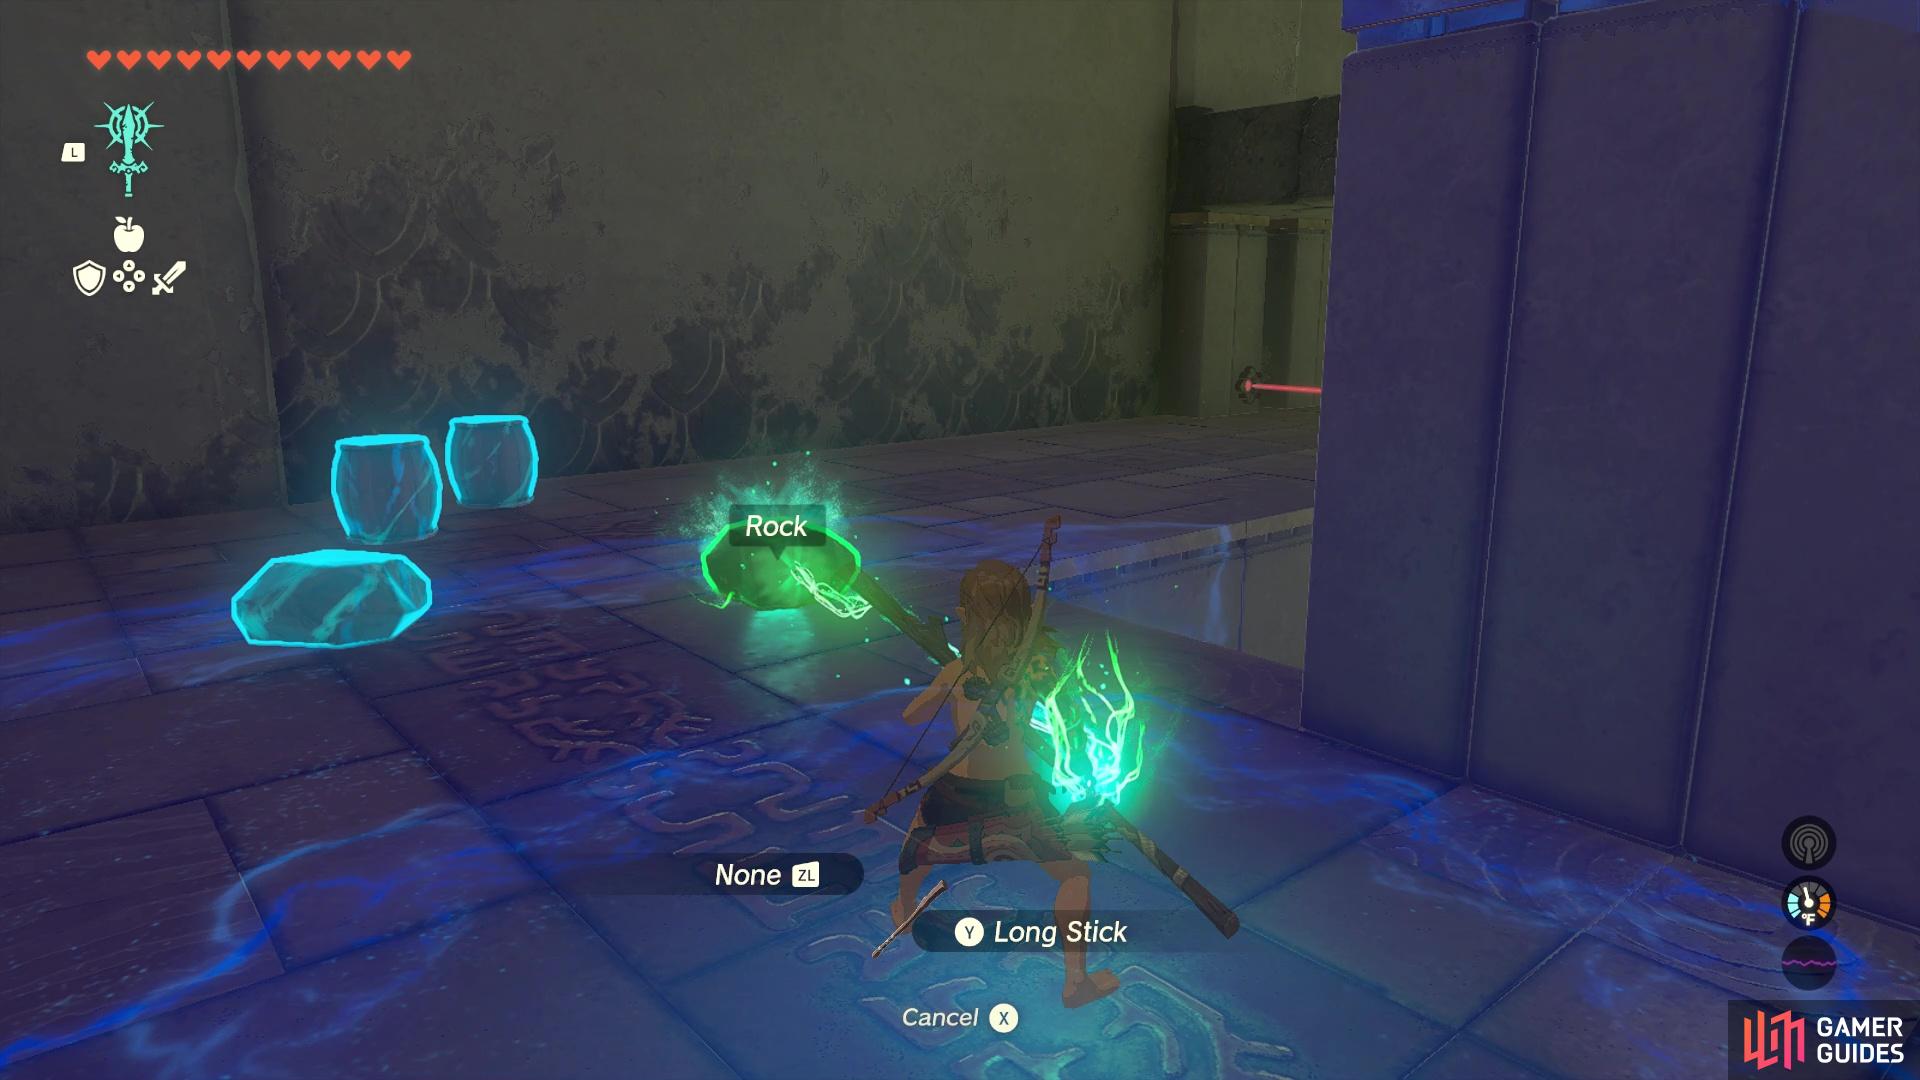
(1 of 6) Feel free to fuse the items on the ground to give your weapons some extra little oomph.
The flamethrowers probably won’t do too much but try to lure them back to the first trap and have the large balls roll over them, which should help to take out the rest of their health. At this point, if these were the final enemies, the door to the altar will open up. However, if that wasn’t the case, then you’ll have to take out any remaining ones. If you picked up any weapons from the Constructs, then you’ll find some Spikes near the end that you can fuse onto the weapon. Use the fused weapon any left to finish off the shrine.
You will have your equipment returned to you upon defeating the final enemy. The chest will be right in front of the altar and contains a Captain III Blade, so grab it if you have room and snatch the ![]() Light of Blessing.
Light of Blessing.
No Comments