
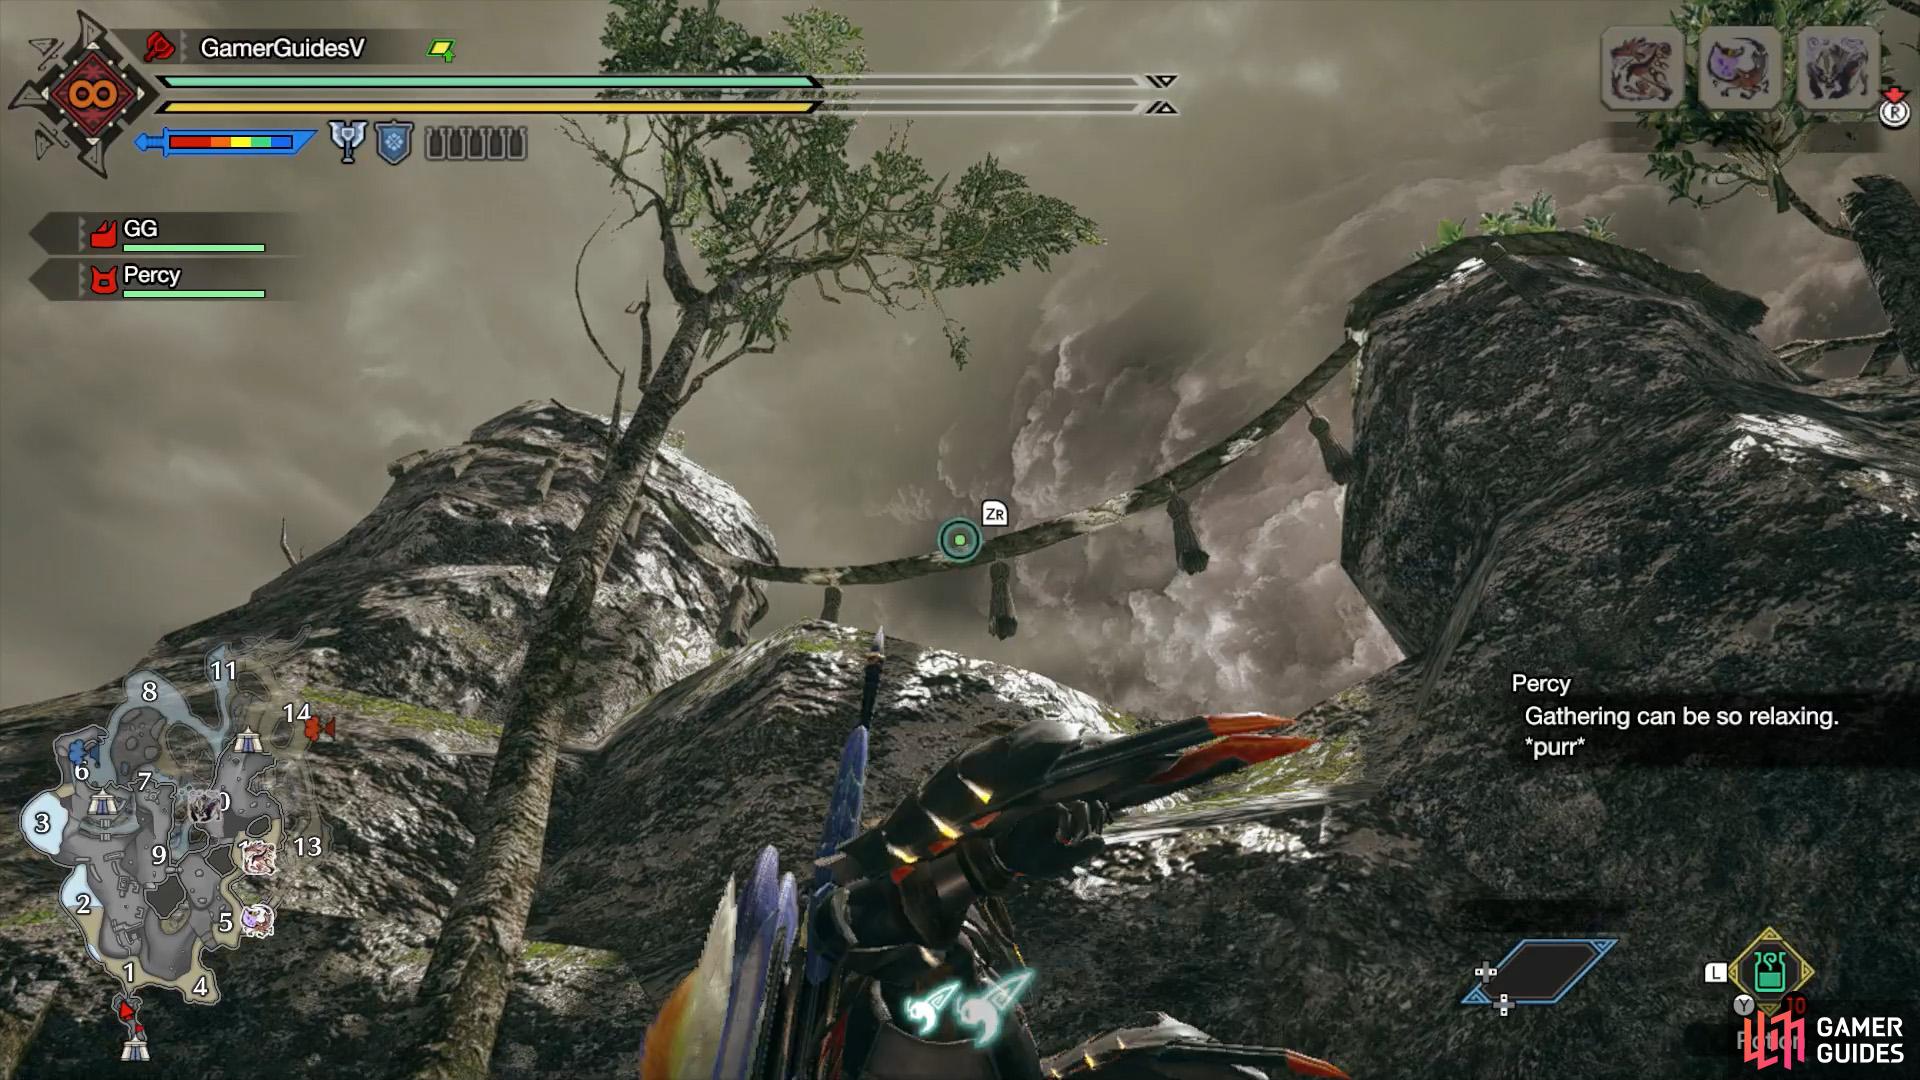
What are Relic Records?
These are artifacts left behind by previous inhabitants, placed in hard-to-find or reach locations of the map. Once you’ve found a record, it will be saved in your Hunter’s Notes, the Notebook section. After finding all 10 records of the same type, speak to Kagero the Merchant in Kamura Village to receive unique carvings for your room.
Relic Record I
Climb to the top of the archway north from the main camp.
The relic’s above a small step on the left.
This relic is found right out of the gate. Or rather, it’s above the archway in front of the main camp. Use your wirebugs to get on top, then climb up a small step on the left.
Relic Record II
Set a course for the big tree in Area 4.
Compared to other relics found in trees, this one isn’t too hard to grab.
On top of a large tree in Area 4. As you arrive from Area 1, you should spot the tree in question directly ahead. Climb up using your wirebugs, then carefully walk across the right branch.
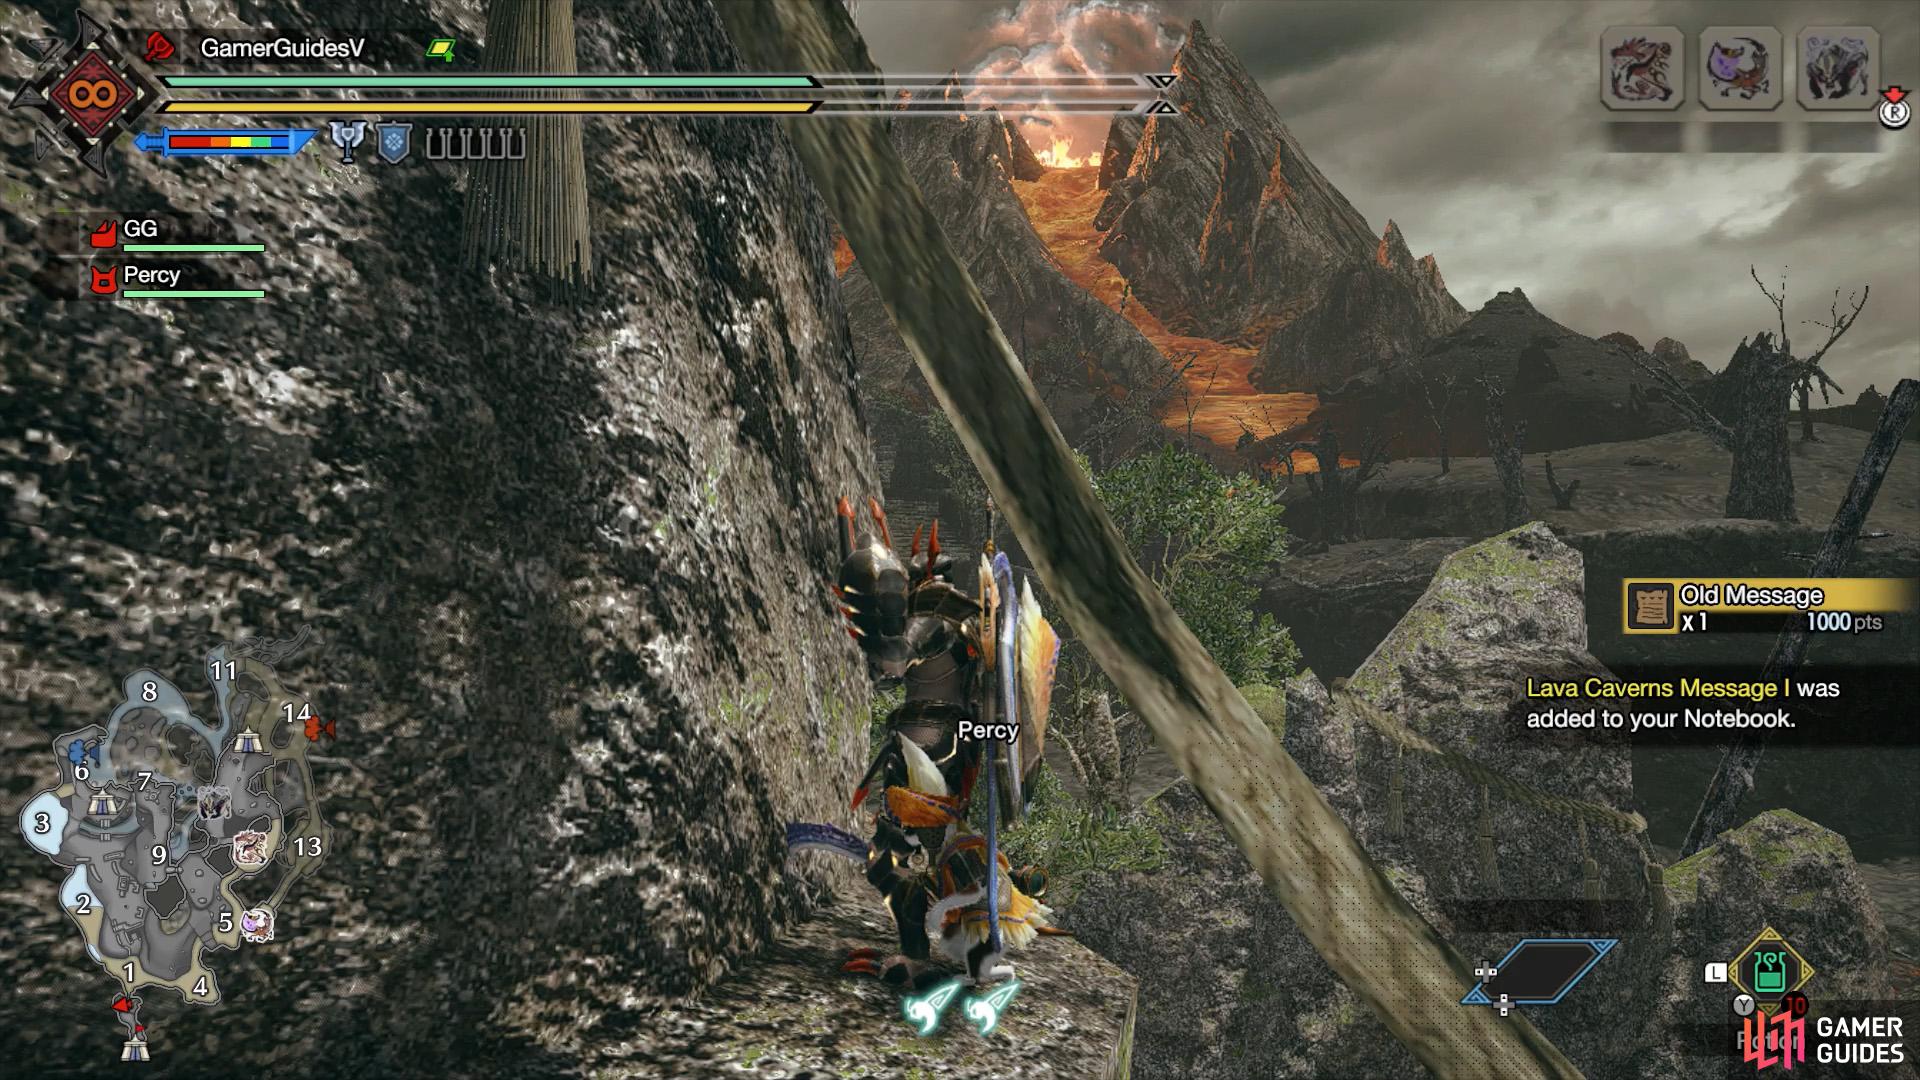
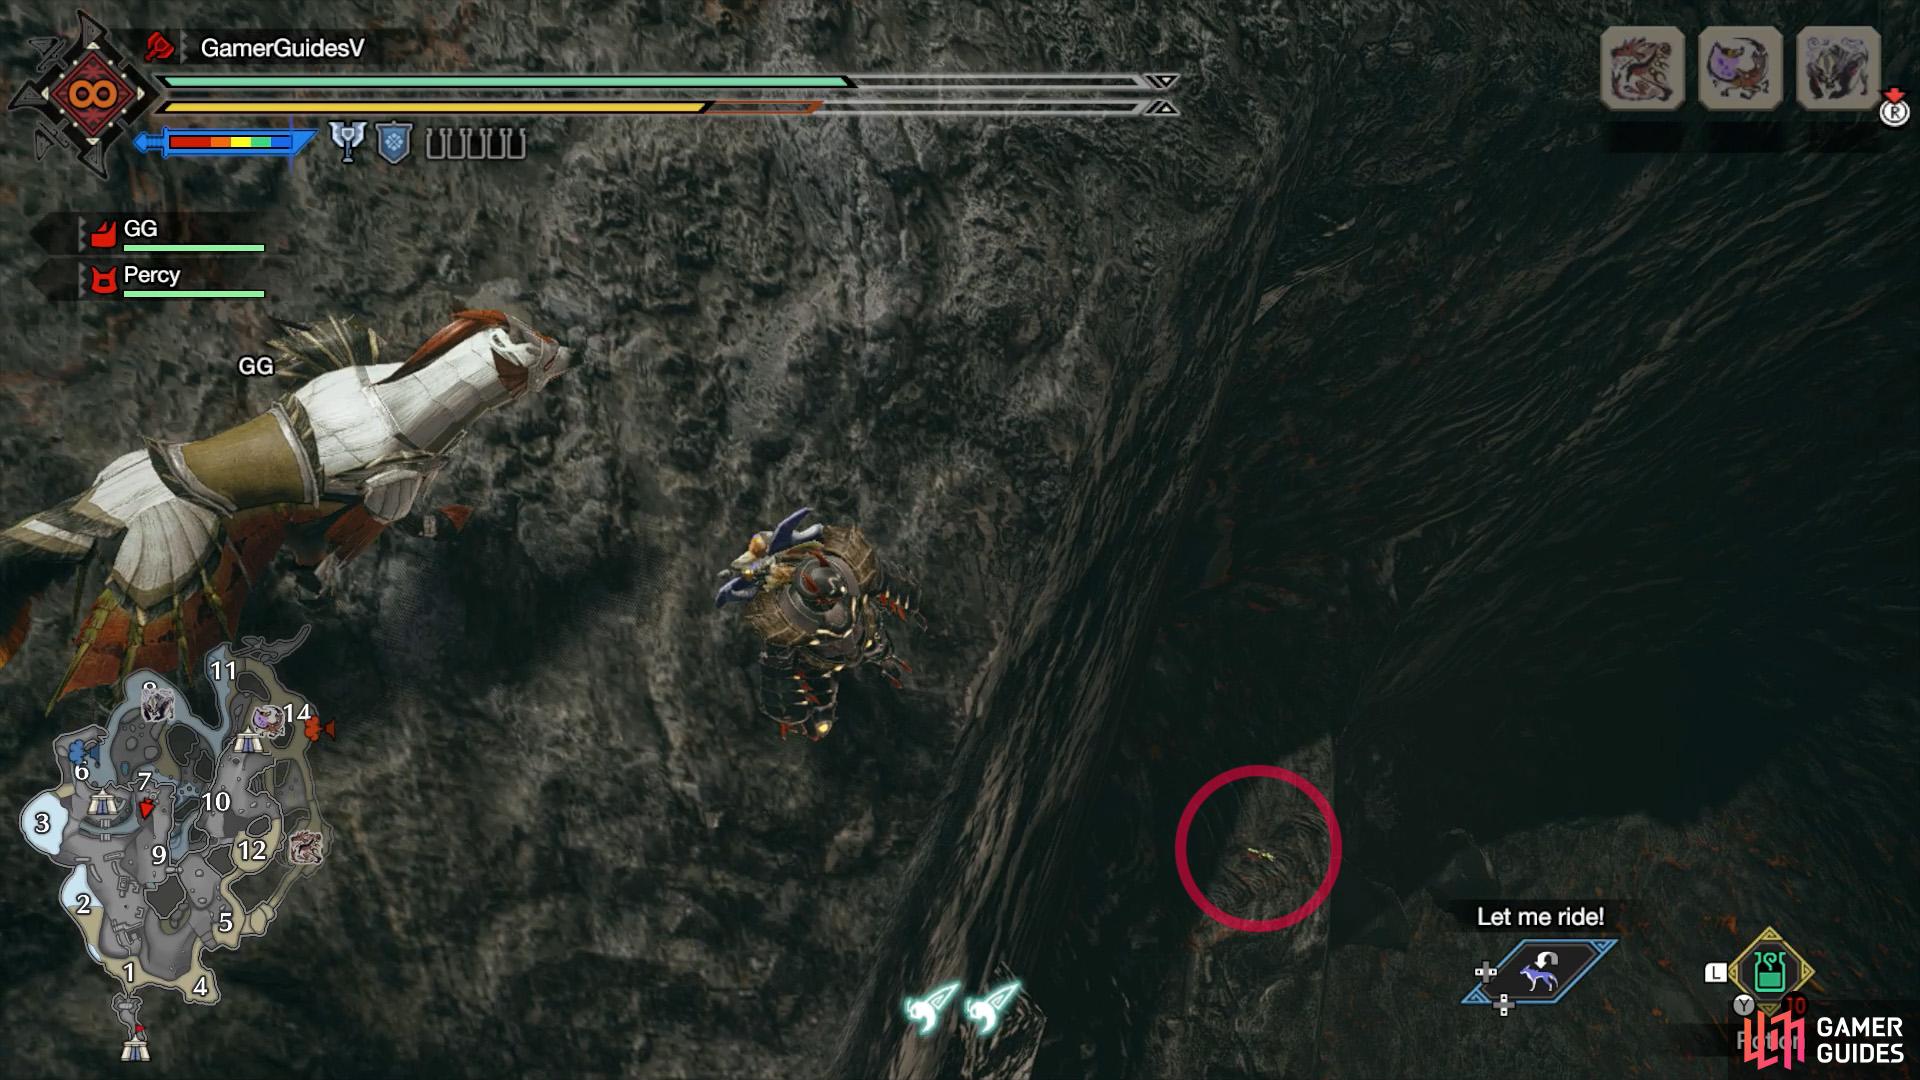
Relic Record III
Here’s the view when looking down at the ledge.
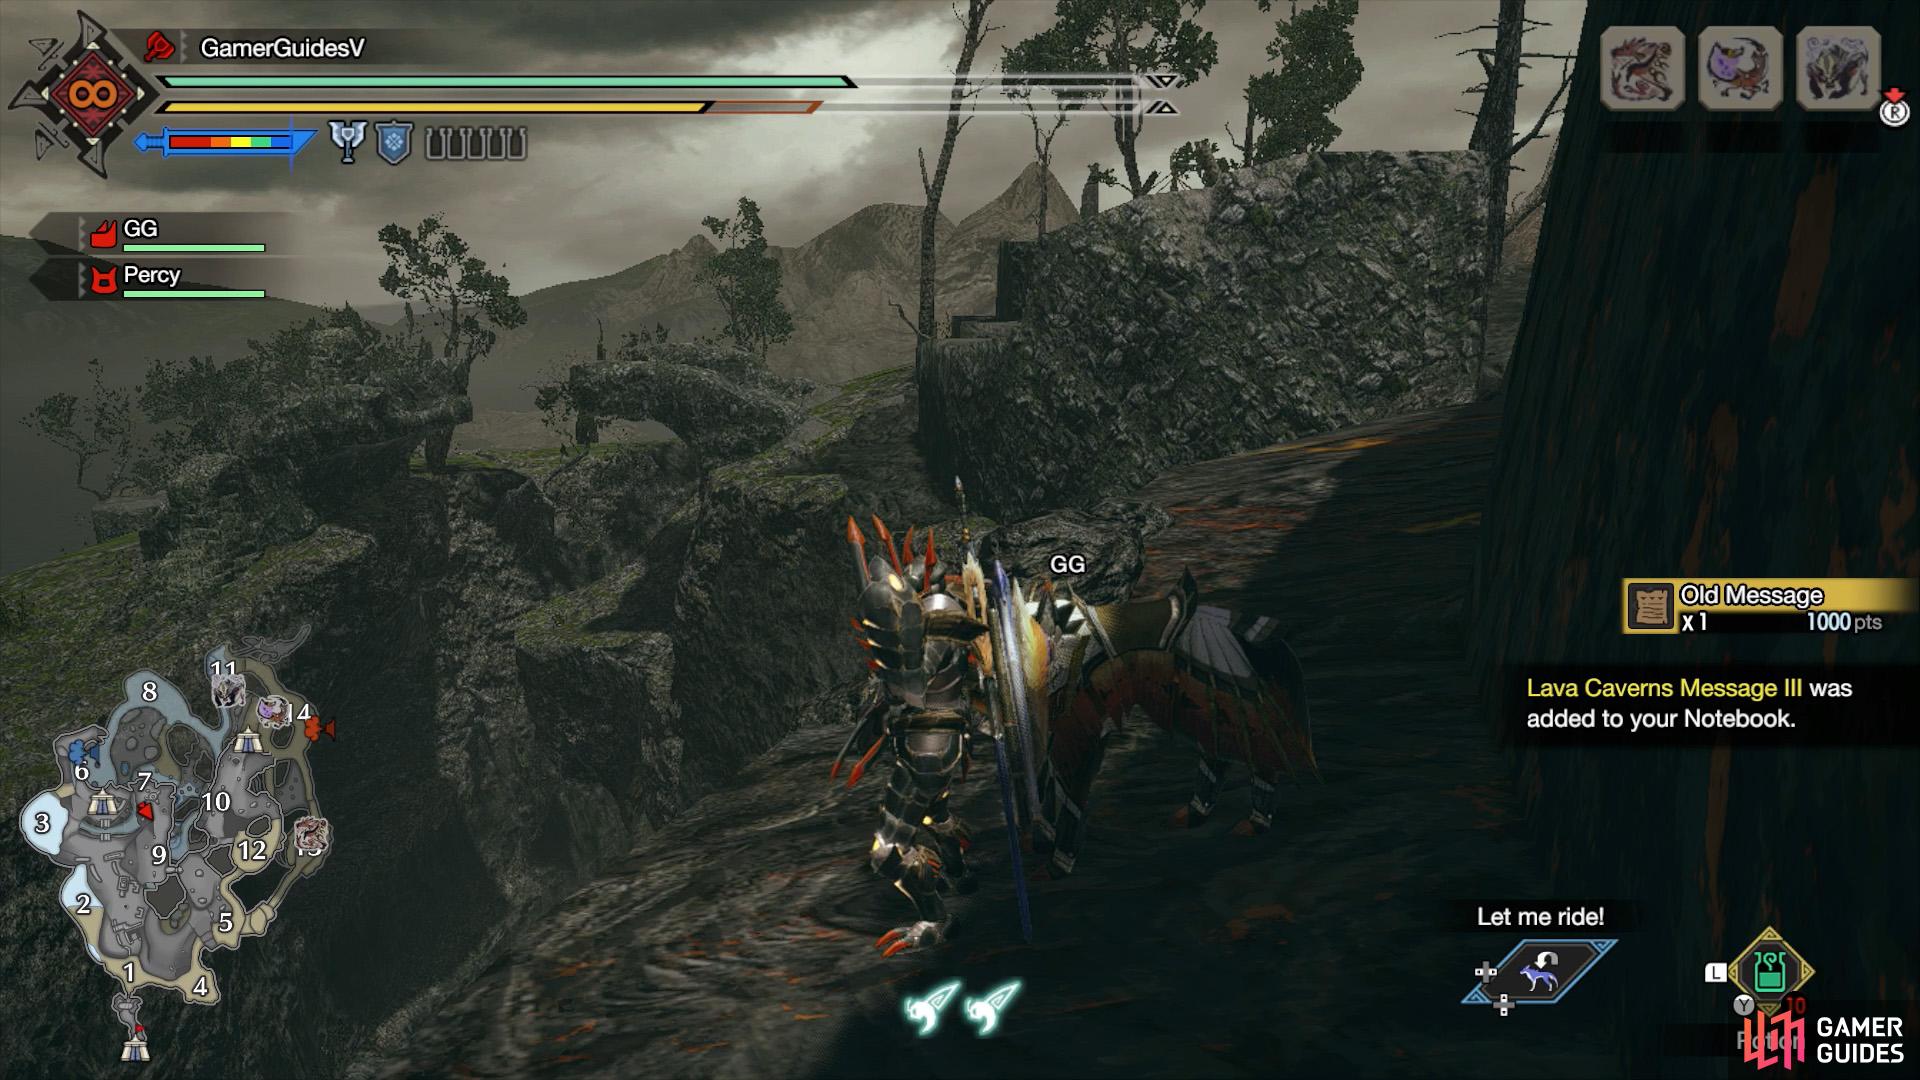
It’s not far from the broken bridge and Sub-Camp 2.
On a ledge by the side of the west-facing cliff between areas 7 and 9. If you’ve unlocked Sub-Camp 2, head east. Before the cliff, there’s a small mountain shaped like a mini-staircase. Climb up to the tallest step on the left. If you face east, you should see the ledge in question, slightly lower down. You can wiredash across (you may need 2 wirebugs).
Alternatively, head over to Area 9 and make your way north towards Area 7. About halfway up, there’s a big hole in the ground. Go past it and stop just before the big rocks in the center of the path. Head west from here (in the direction of Sub-Camp 2 or the broken bridge) until you’re at the cliff’s edge. When you look down, the ledge should be below.
Relic Record IV
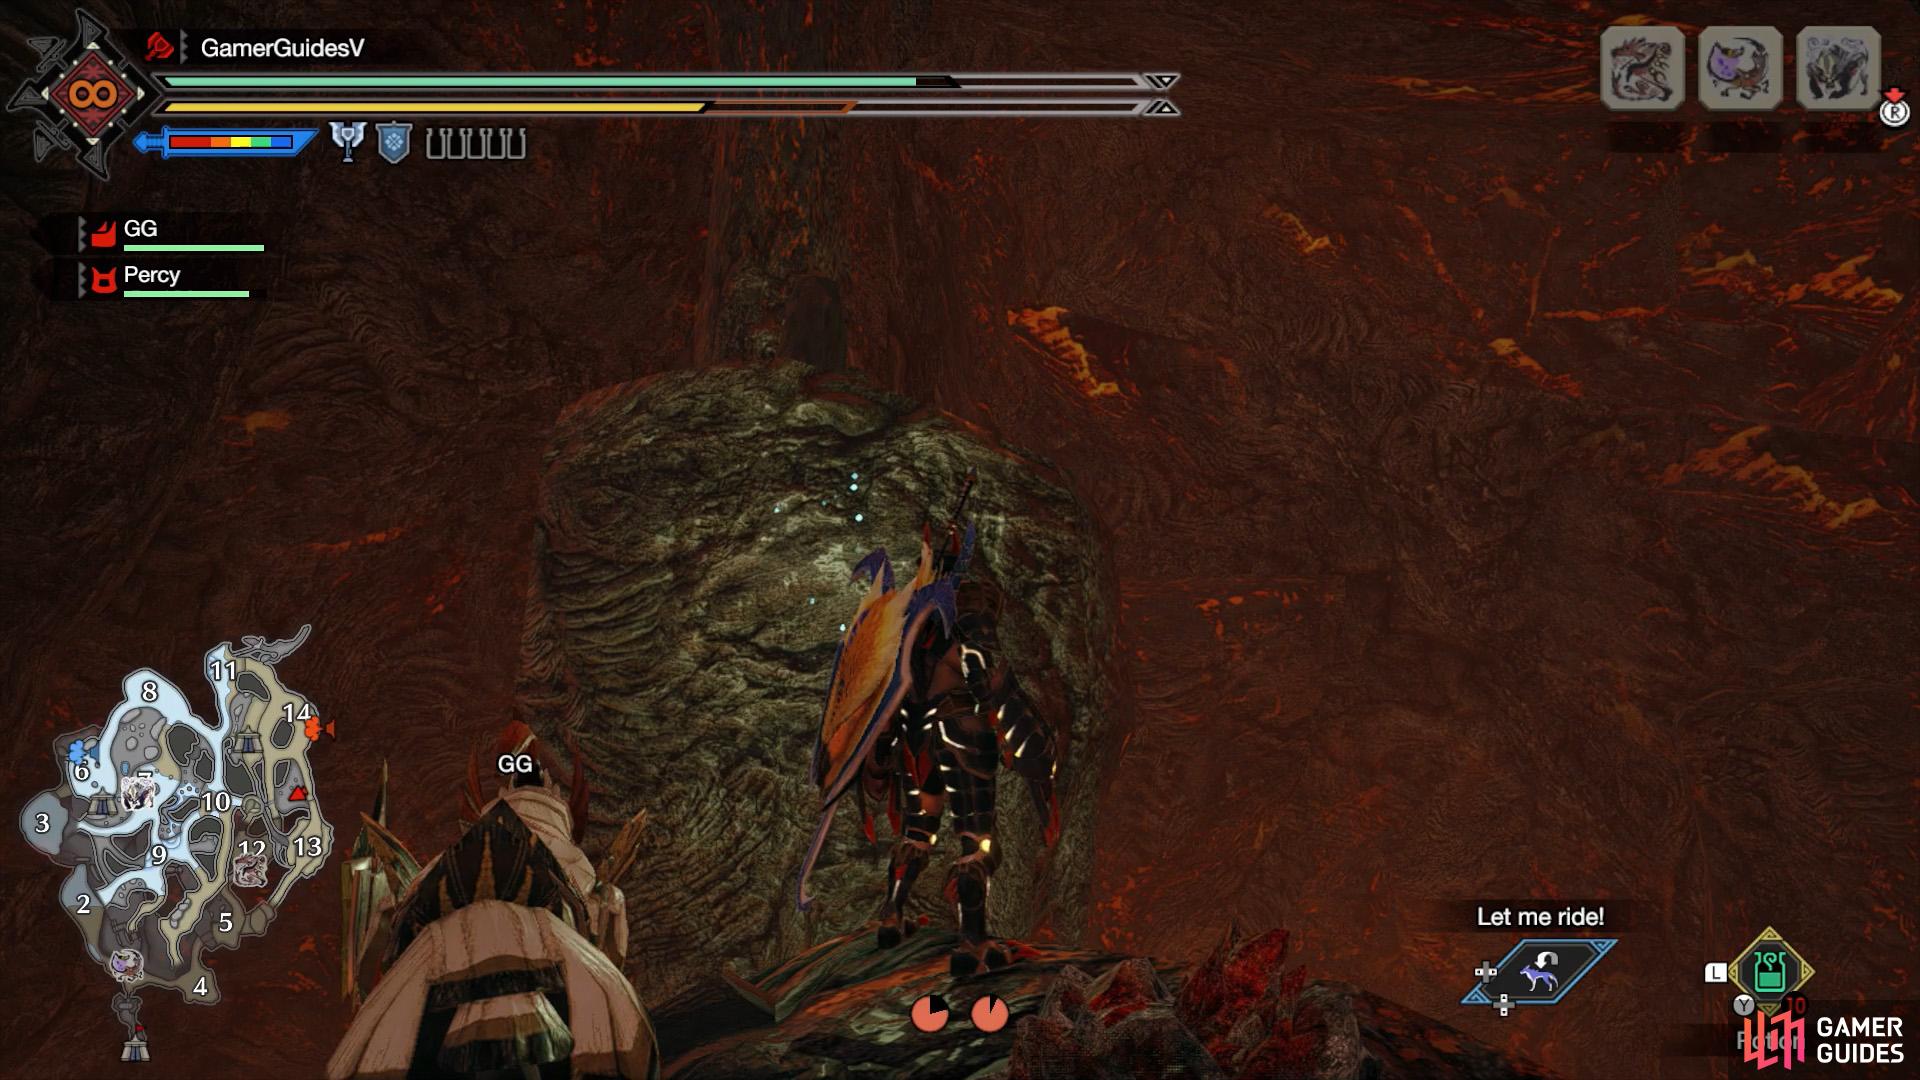
Here’s the view from atop a nearby rock pillar.
You can climb straight up the pillar (stopping to regains stamina) or wiredash from a nearby pillar.
Underground, atop the tallest rock pillar in the lower region between areas 13 and 14. You can quickly reach Area 14 via Sub-Camp 1. We suggest heading to the eastern pathway that connects areas 13 and 14. When you’re near the halfway point of that path, look west. There should be a tall pillar that’s relatively close by, which you can wiredash to. You may need to use 2 wirebugs.
From that pillar, there’s an even taller pillar nearby, with a narrow part in the center that reaches to the ceiling. Once your wirebugs have recovered, wiredash to the flat portion of the pillar in a similar manner as before.
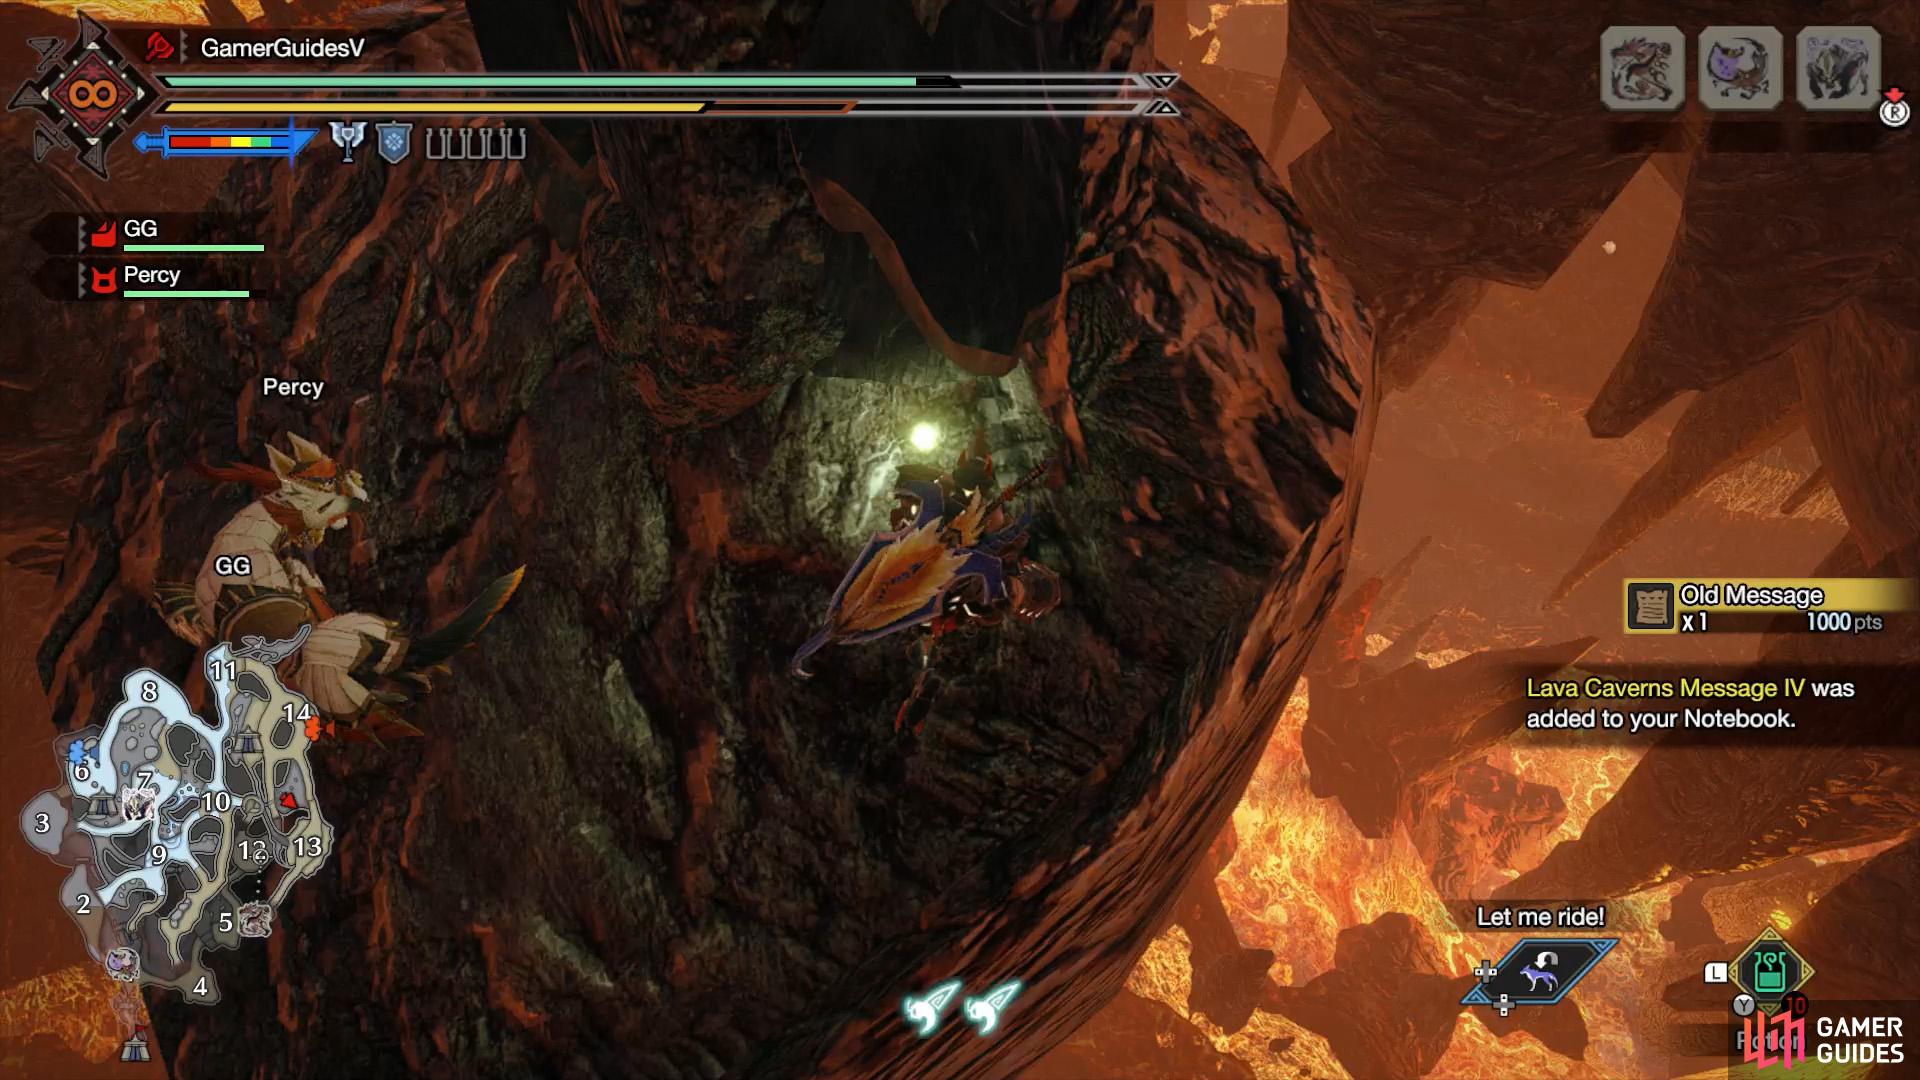
Relic Record V
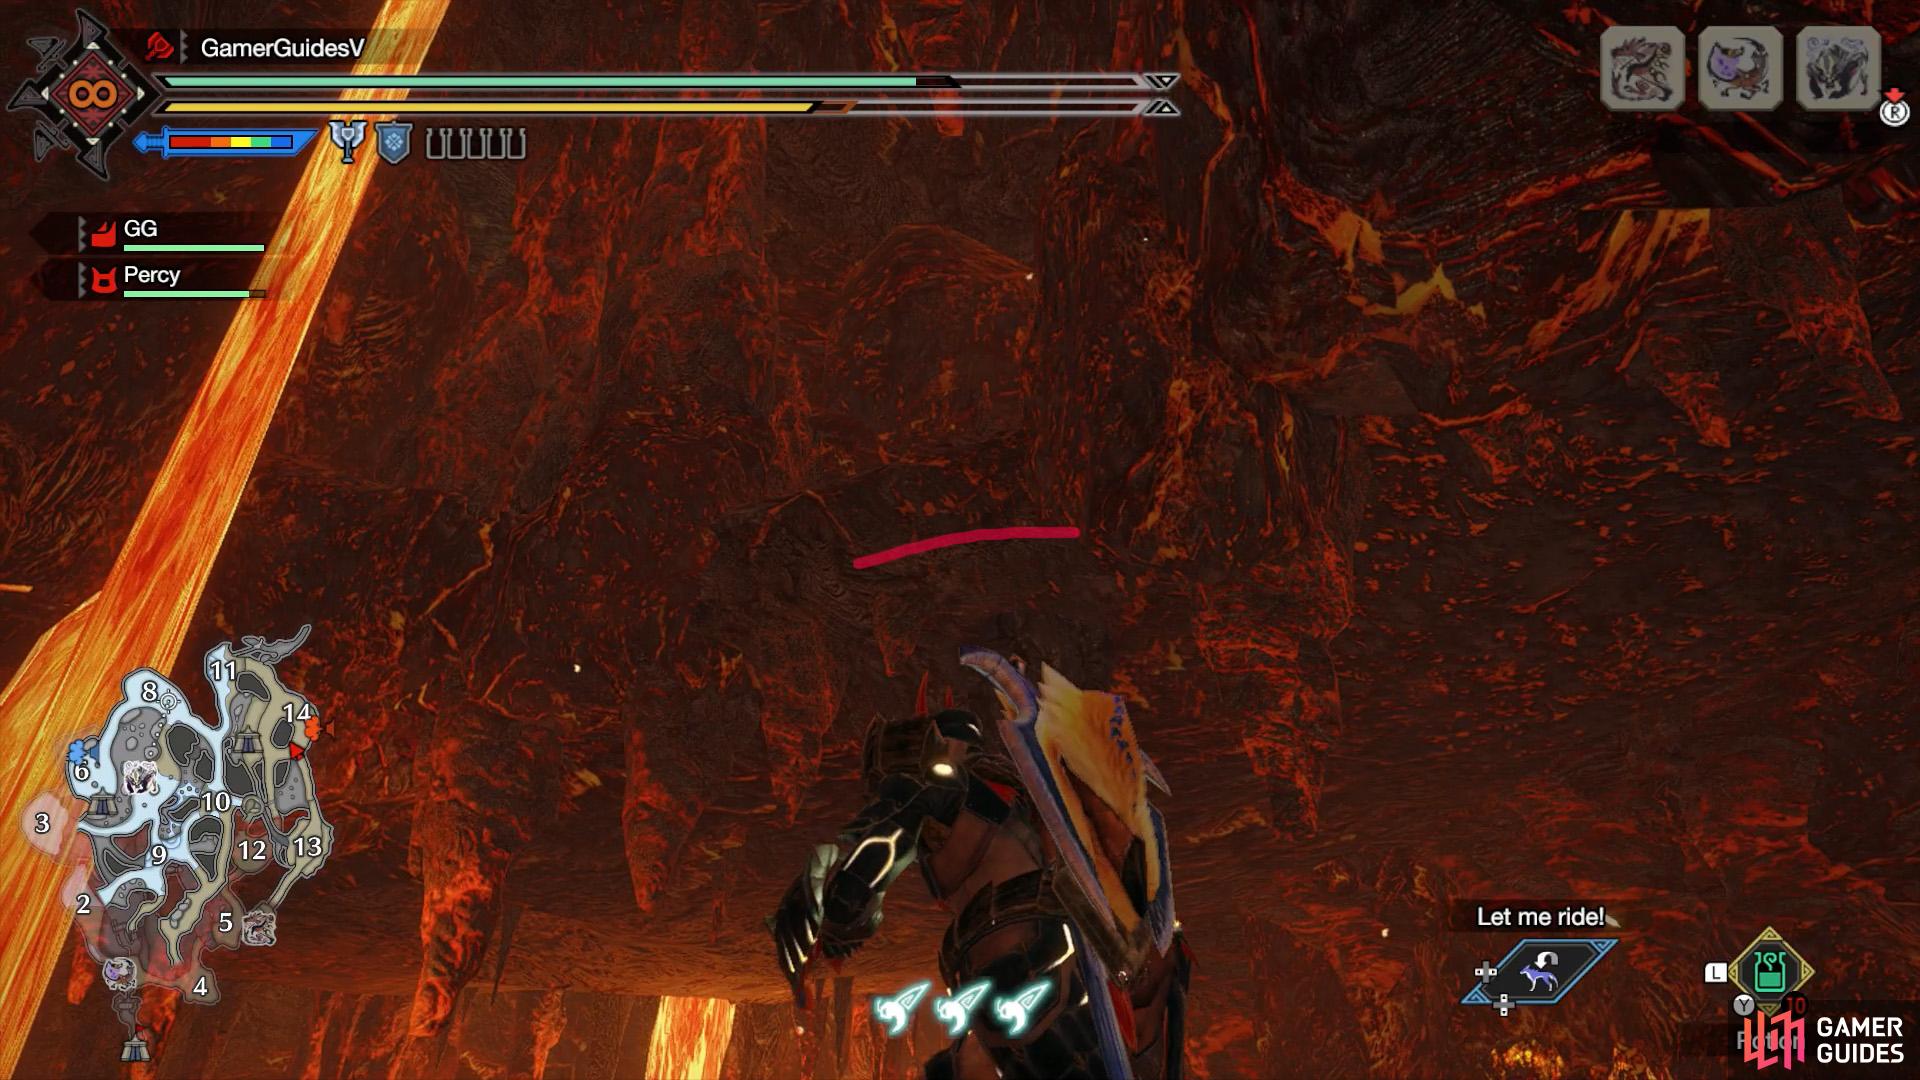
It can be somewhat hard to see, but keep moving the camera and you should spot the hole in the wall.
Wiredash up with 3 wirebugs or use the pillar below it to gain height.
Underground, on a high ledge towards the east side of Area 14. Head towards the south part of Area 14, near the path that leads to Area 13. Grab an extra wirebug nearby. Now look up and try to find a big hole in the side of the wall. It’s above a rock pillar. It might not seem possible at first, but you can actually reach this hole.
If you’re feeling daring, you can launch yourself all the way by manually aiming a wirebug upwards with (using  and
and  ). Due to the distance, you’ll likely need 3 wirebugs and maybe a mid-air roll.
Or you can climb up the rock pillar that’s below. When you’re near the top, let yourself automatically roll (after running out of stamina). Then once you’re far from the pillar, press (using  to hang in mid-air. From here, aim a wirebug towards the hole to get inside.
Relic Record VI
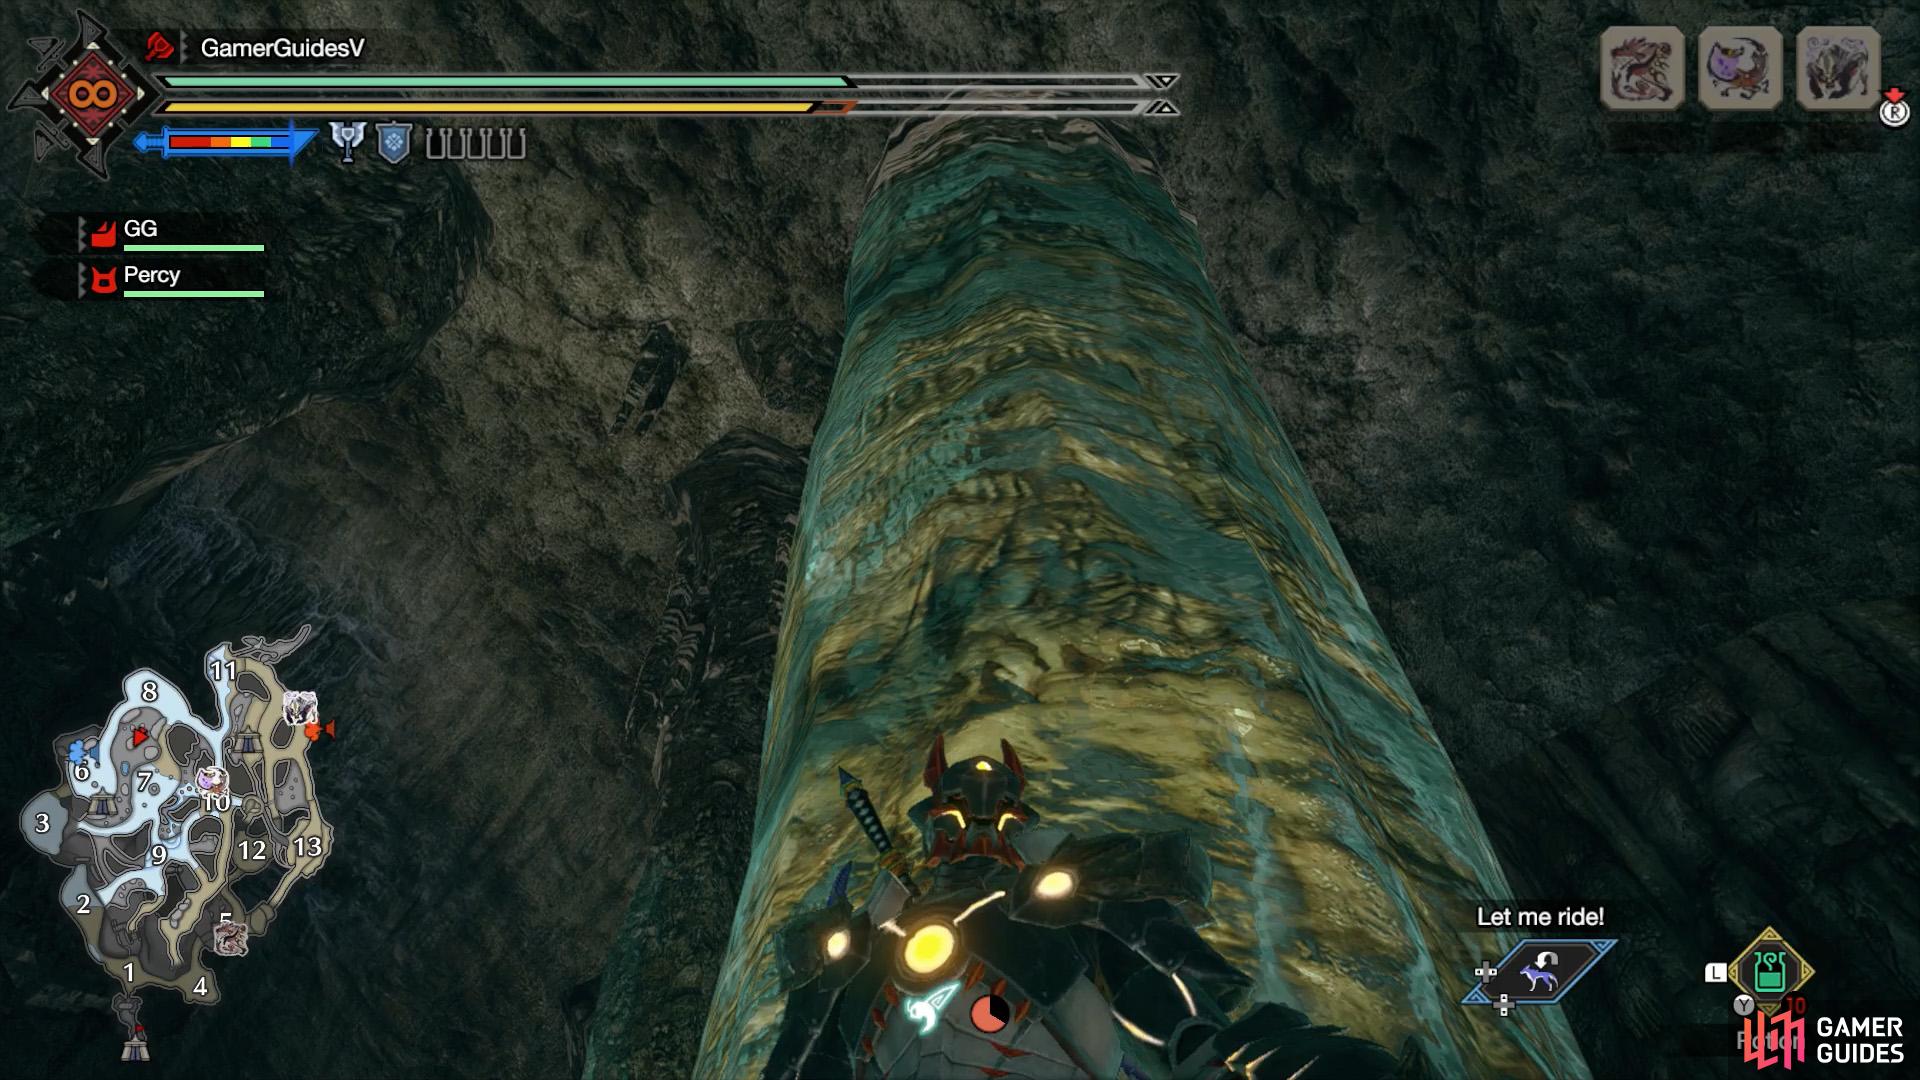
This is the pillar you want.
As usual, remember to press the A button to hang in mid-air after running out of stamina.
Underground, atop a really tall pillar in-between areas 6, 7 and 8. If you head to the center, there’s a section of raised ground with a flowery bush. Stand near or in the bush, then face north-east. The pillar’s just ahead, on the lower ground. Due to the height, you’ll probably need to press mid-climb to hang in mid-air and regain stamina.
Relic Record VII
Run sideways while perpendicular to the vine-covered wall below.
After the wall bends inwards, the alcove is close by.
In a high-up alcove inside the entrance to the underground in Area 12. Make your way to Area 12 (for example, via Sub-Camp 1) and go around until you reach the cave that leads to the underground section of the map (where you can reach Area 10). Just past the entrance, there’s a tall vine-covered wall you can climb down to a lower level.
Stay on your current level and face the cavern wall on the left. Shoot a wirebug forward and run right across the wall. You’ll end up running past a point where the wall bends. After that, the alcove isn’t too far away.
Relic Record VIII
If you approach the corner from the east, you can slide down.

Relic obtained!
Near the far north-west corner of Area 6, above ground. If you’ve unlocked Sub-Camp 2, head north across the land bridge that’s partially obscured by the big “6” on the mini-map, then turn left towards where the floor is sloping downwards.
Relic Record IX
Here’s the view from a platform in-between the broken bridge segements.
The safest way is to just walk around the right of the southern bridge segment.
Behind the southern portion of the broken bridge east from the Area 3 battleground–and directly south of Sub-Camp 2. If you’re approaching from the south, you can walk around the bridge from the right. Otherwise, you can wiredash across from the north.
Relic Record X
This is the entrance to the underground path that leads to Area 9.
The relic’s near a Stinkmink so it’s hard to miss.
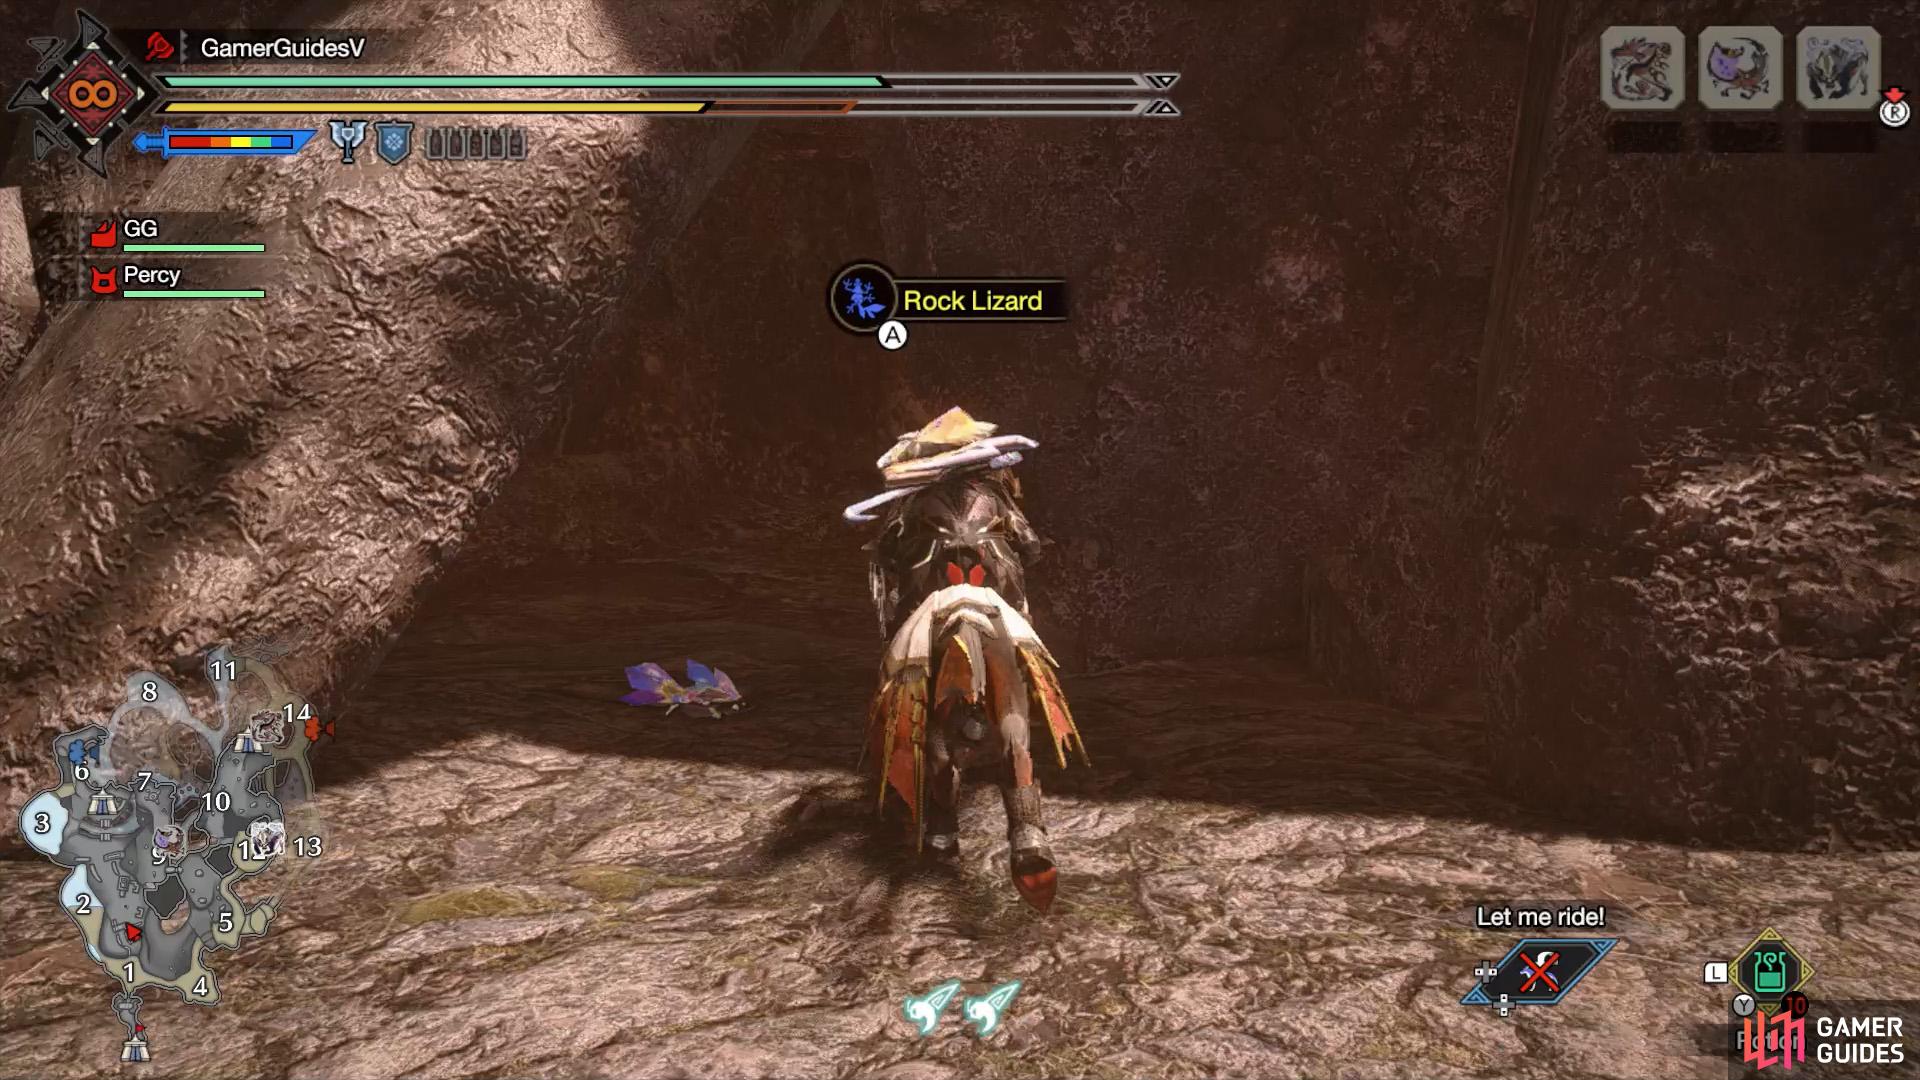
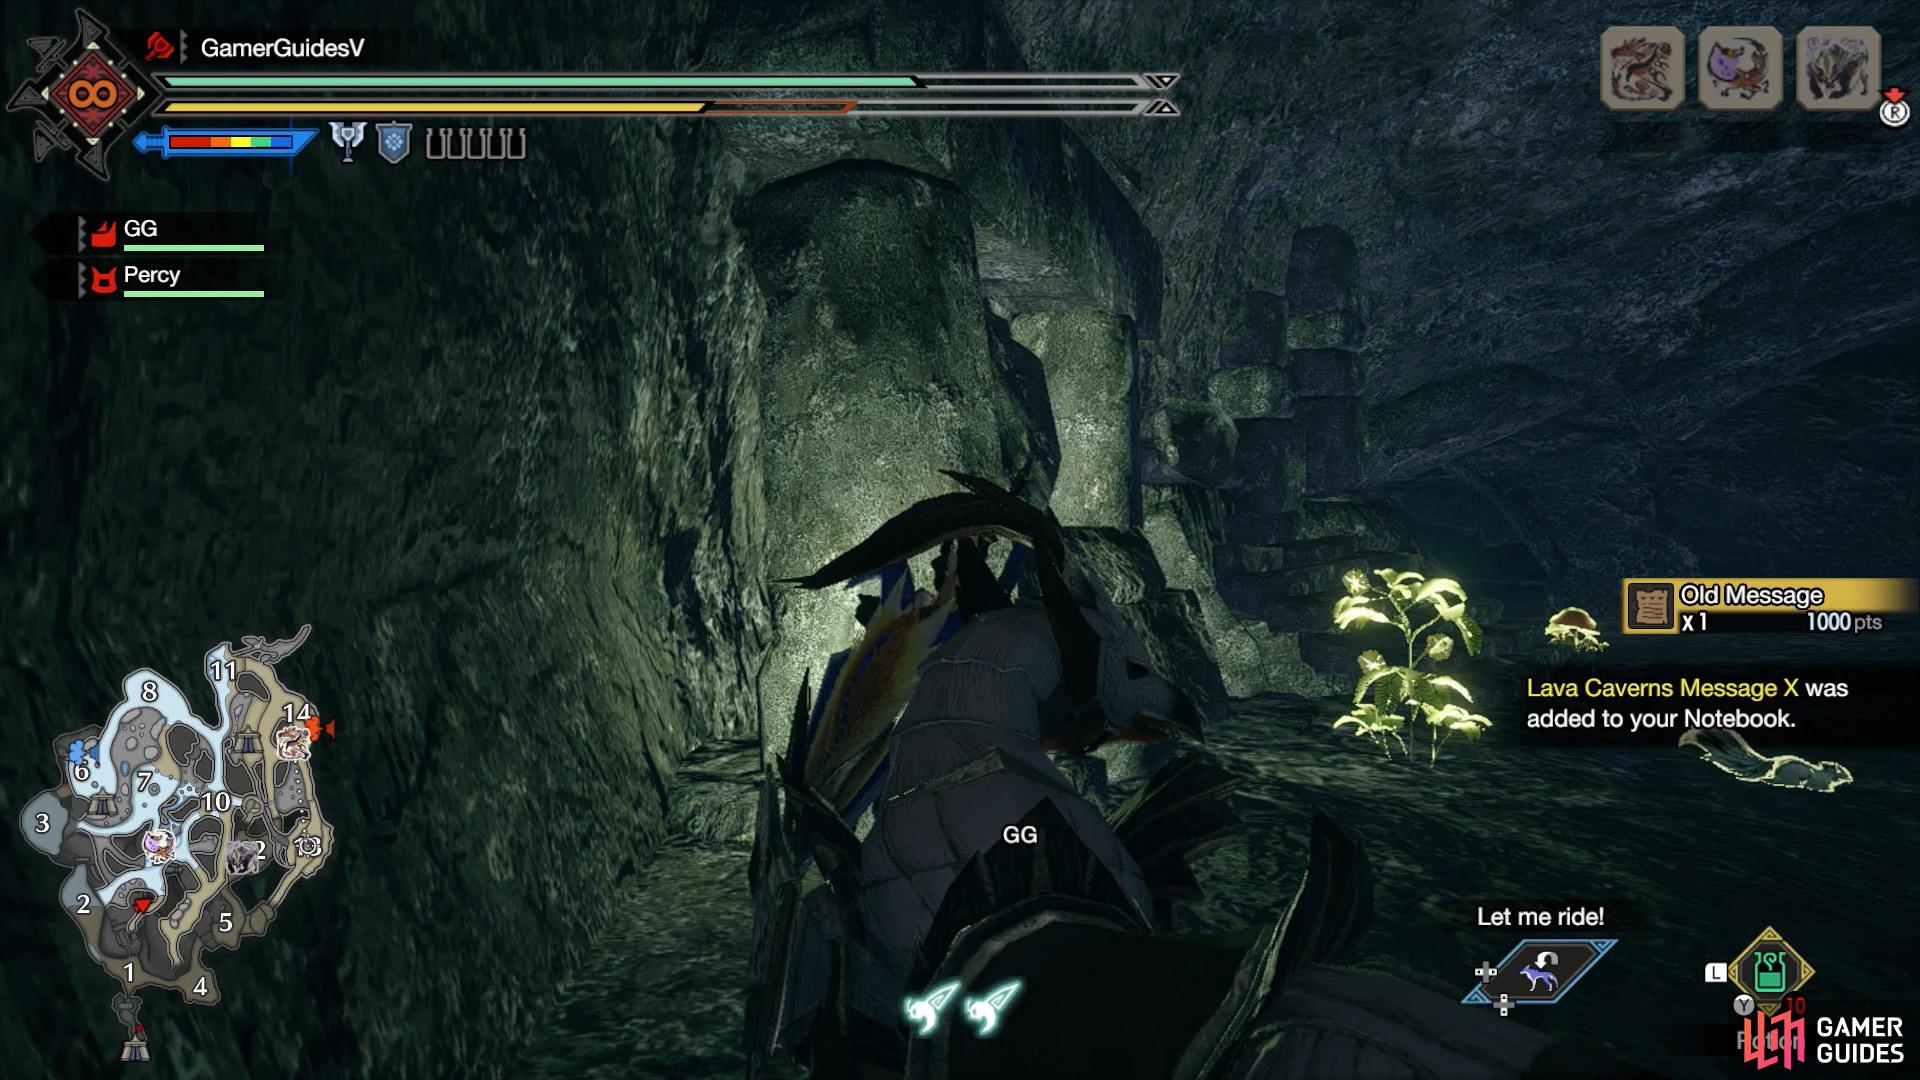
Halfway along the underground path between areas 1 and 9. From the main camp, head north into Area 1 and then climb up the raised land directly ahead. Continue north, along the path to the right of the Honey. It can be hard to see, but near the center of the wall, there’s a triangular gap you can enter, with a Rock Lizard in front.
As you go through the tunnel, keep to the left. The relic’s stuck in the wall near a Stinkmink.
No Comments