
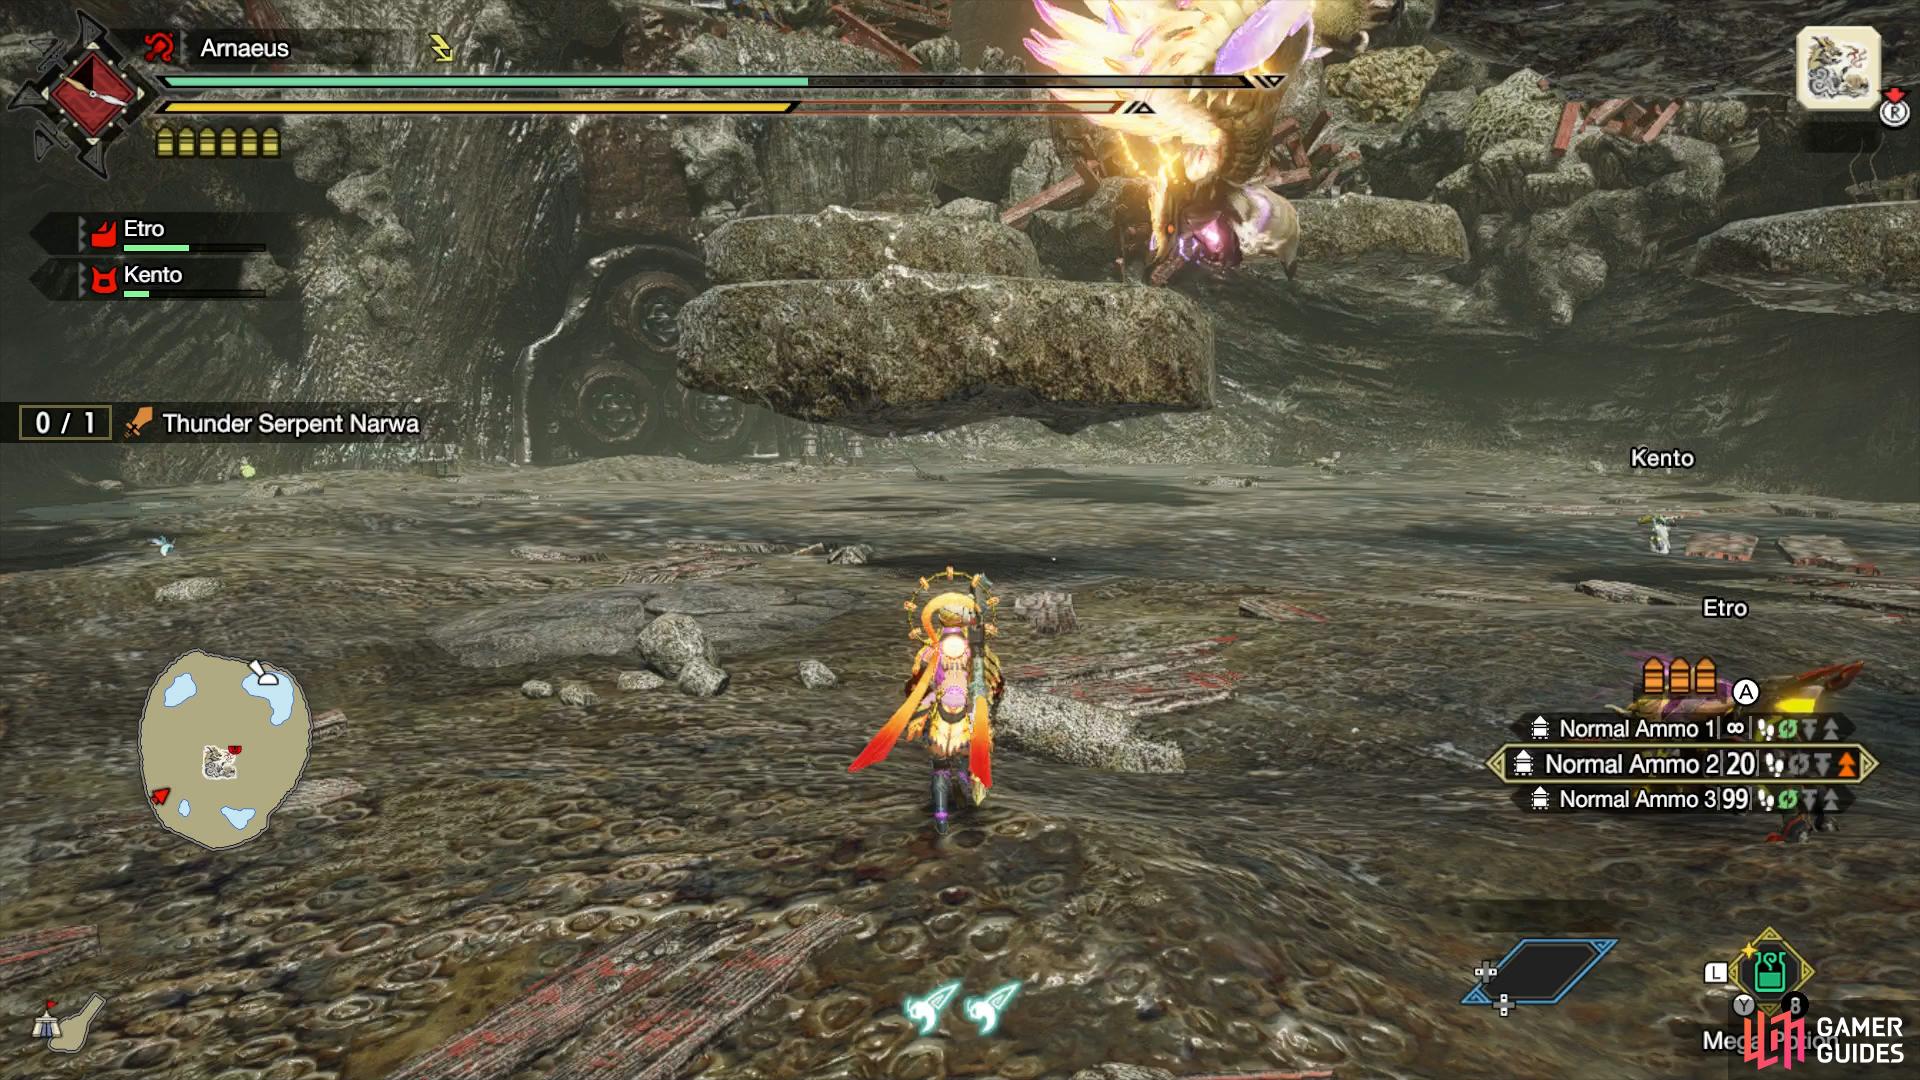
Thunder Serpent Narwa is an elder dragon with the ability to accumulate electricity in its thundersacs, this keeps it in the air. It’s a new monster to the series, being the final fight in the current story. You’ll face Narwa in the 6 star Hub Urgent Quest “Serpent Goddess of Thunder”.
| Quick Jump |
|---|
| Material Drops |
Overview
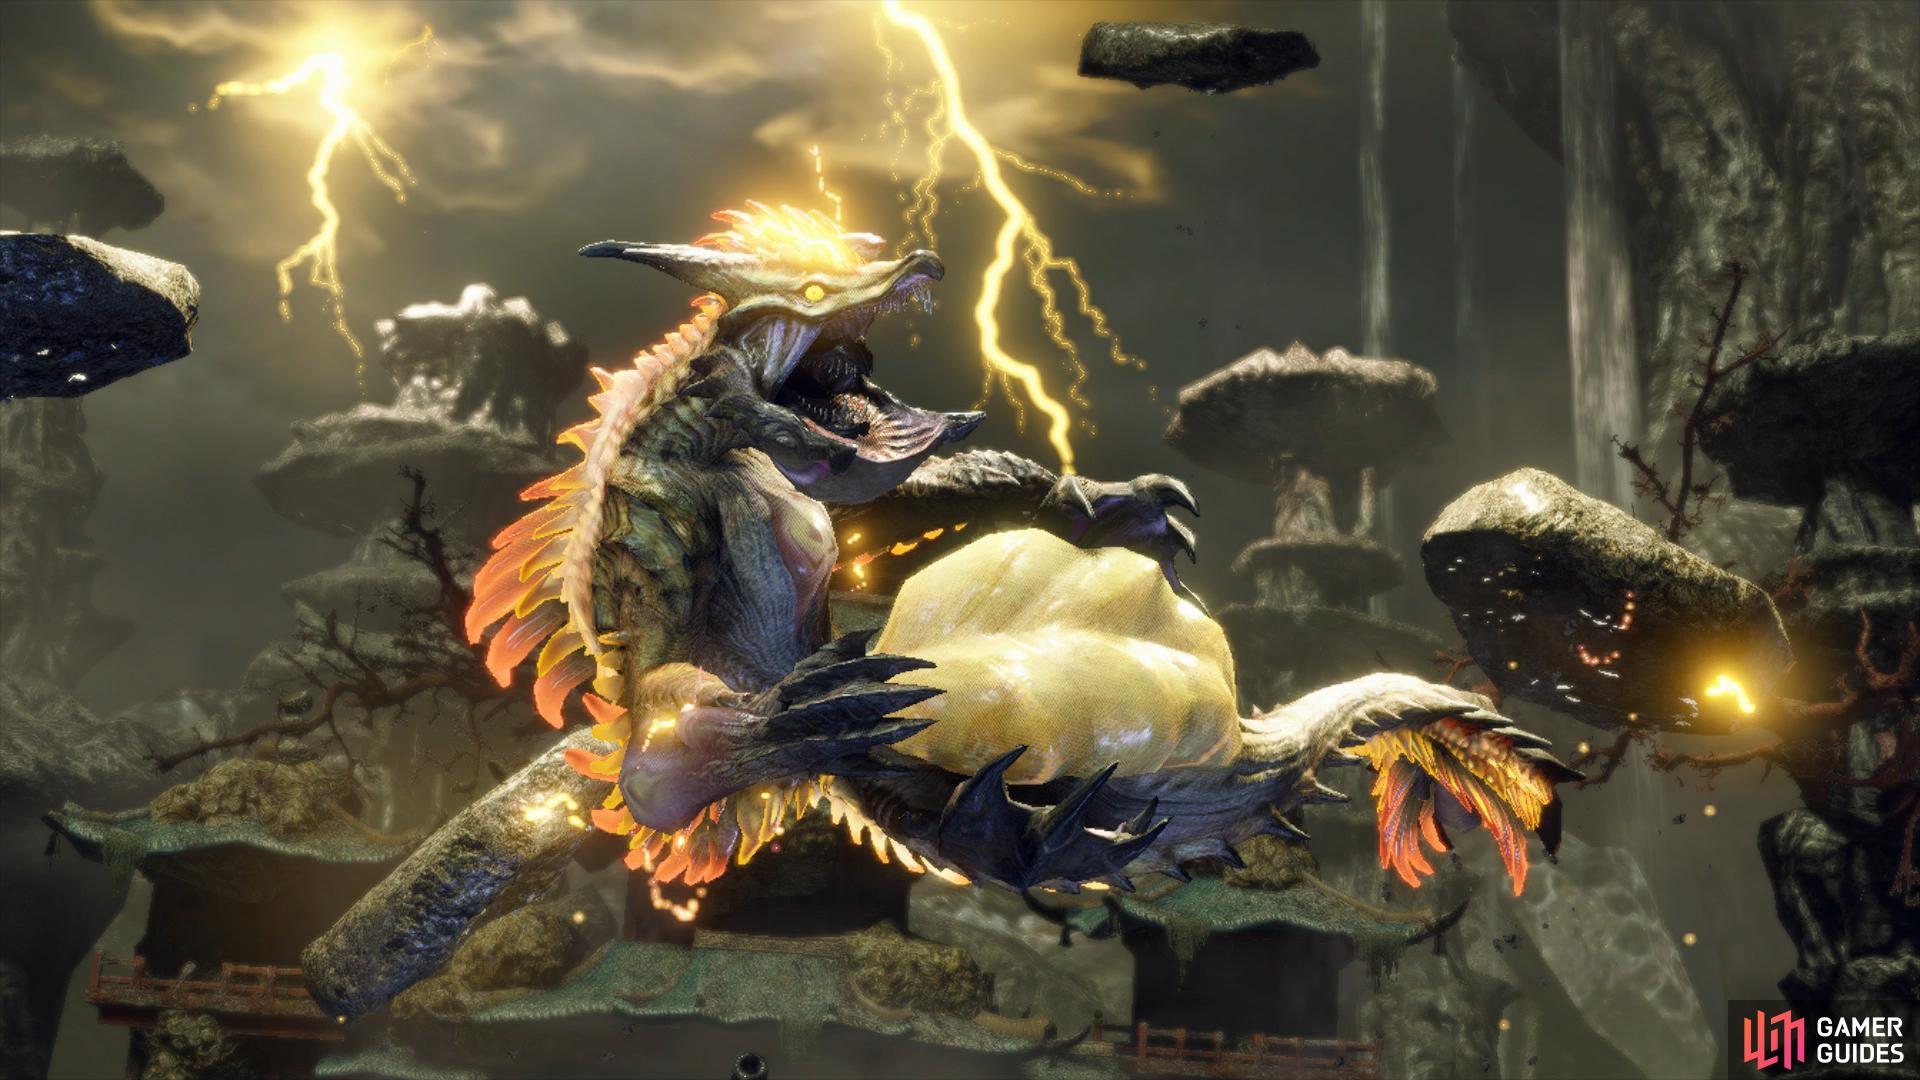
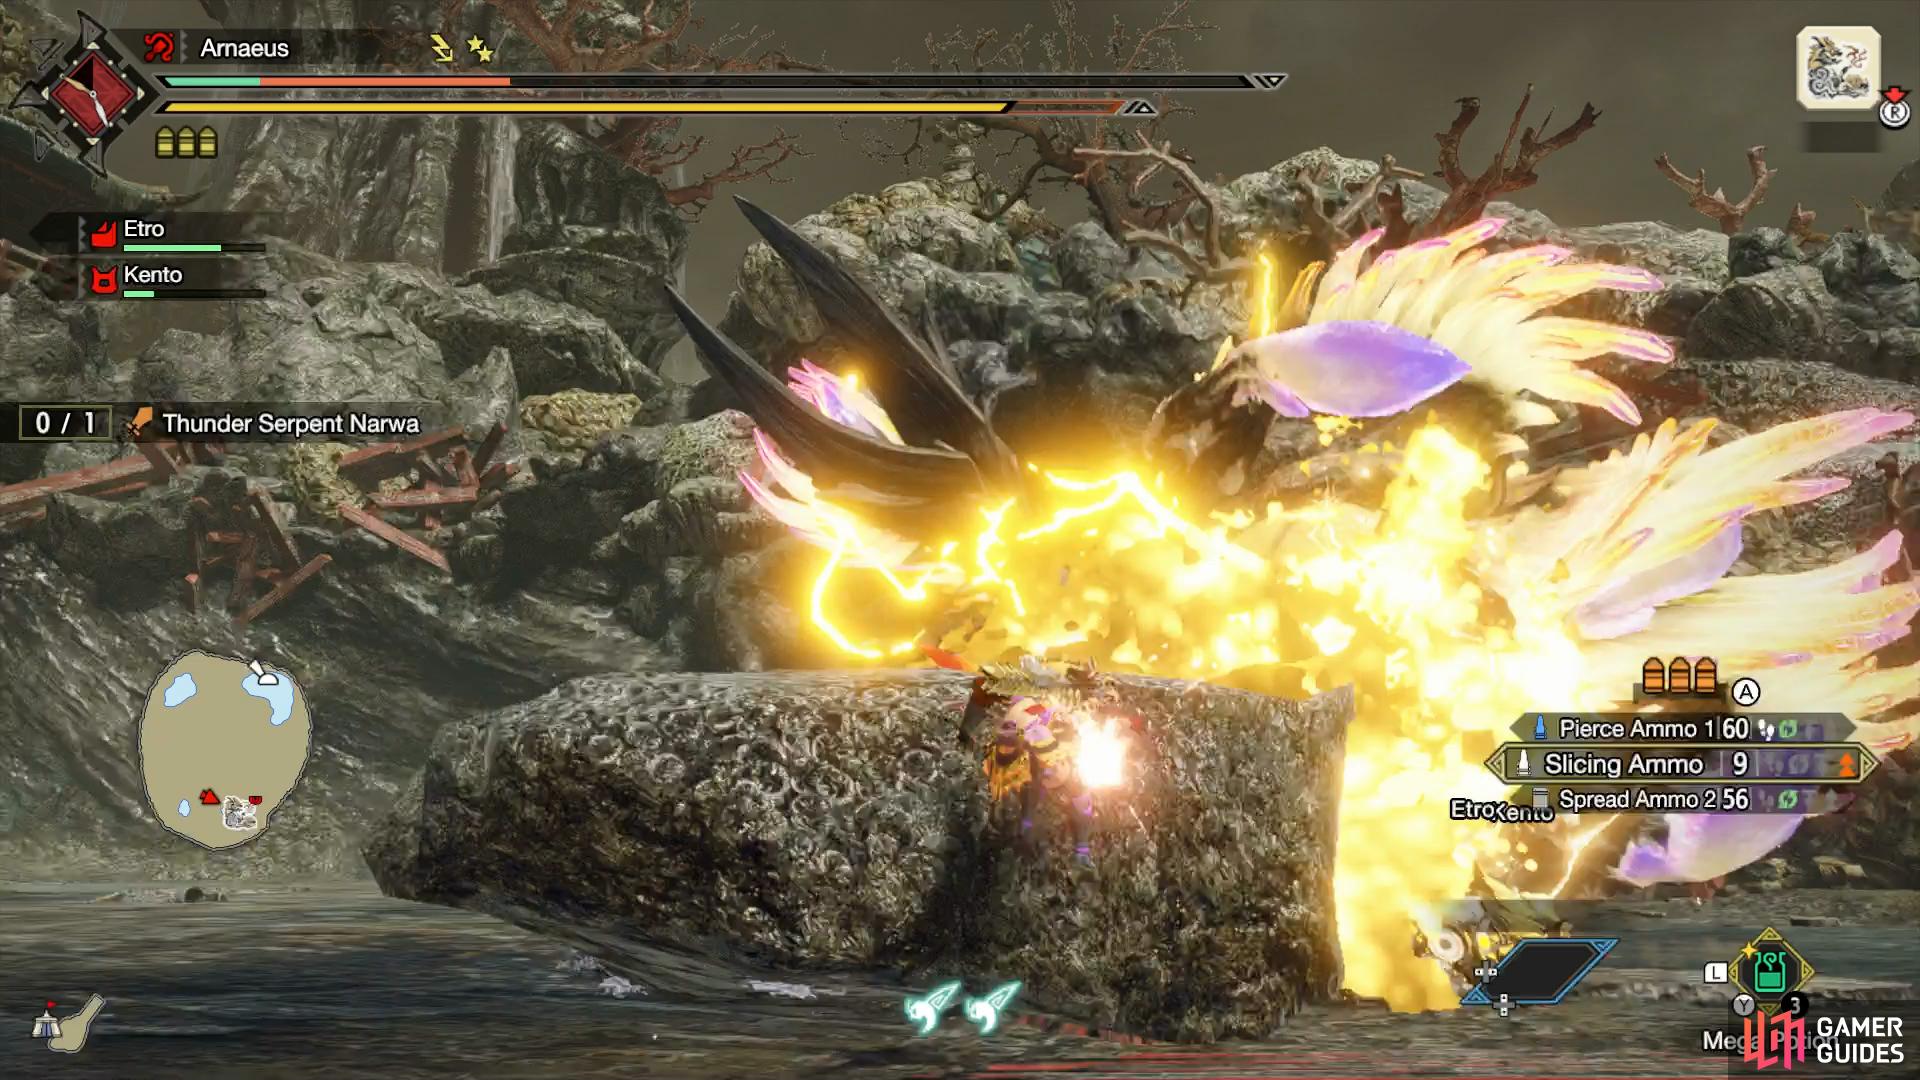
Thunder Serpent Narwa conjuring up a thunderstorm in the Coral Palace.
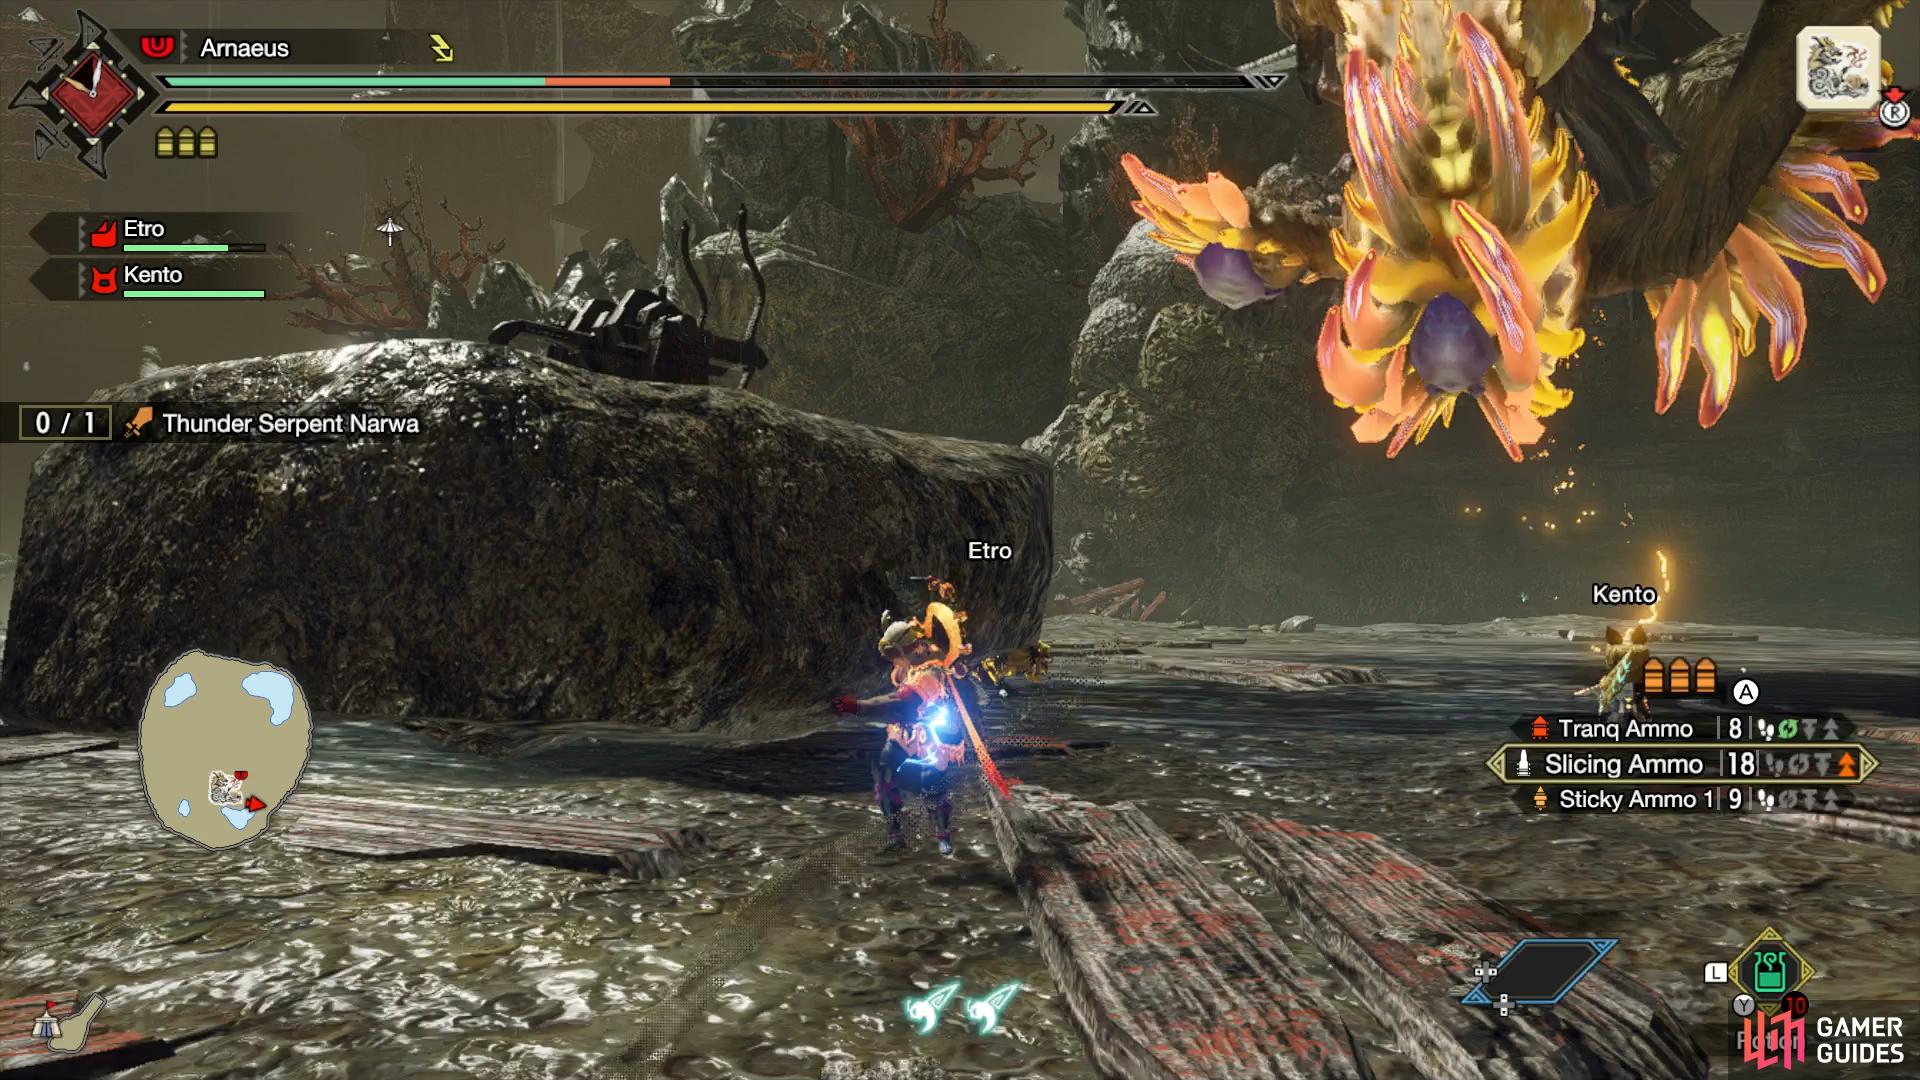
Thunder Serpent Narwa is a new monster to the series, and its hunt is quite unique. Throughout the battle Narwa will raise stone platforms for a short while, these platforms will regularly host weapons like cannons and machine guns to use against it.
Weaknesses
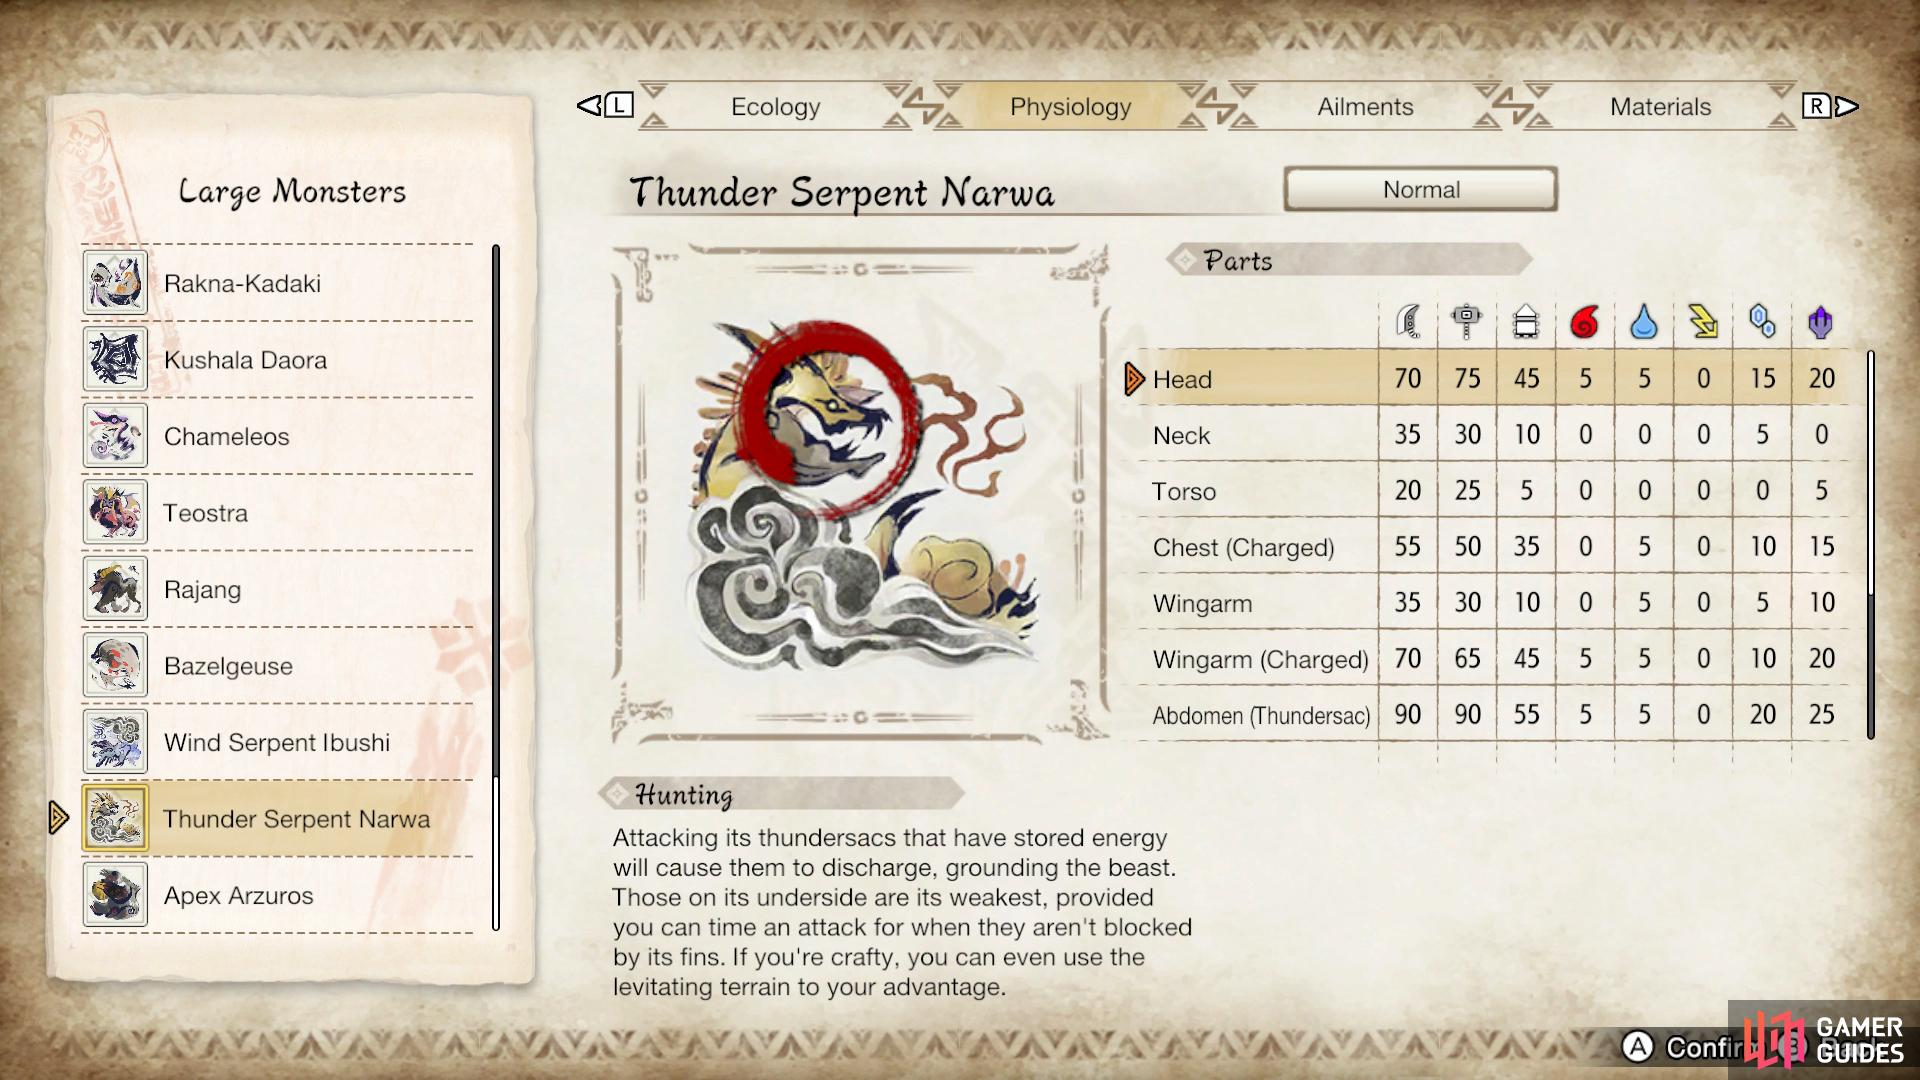
Head, Abdomen (Thundersac), and Wingarm (Charged) are the weakest parts of Narwa
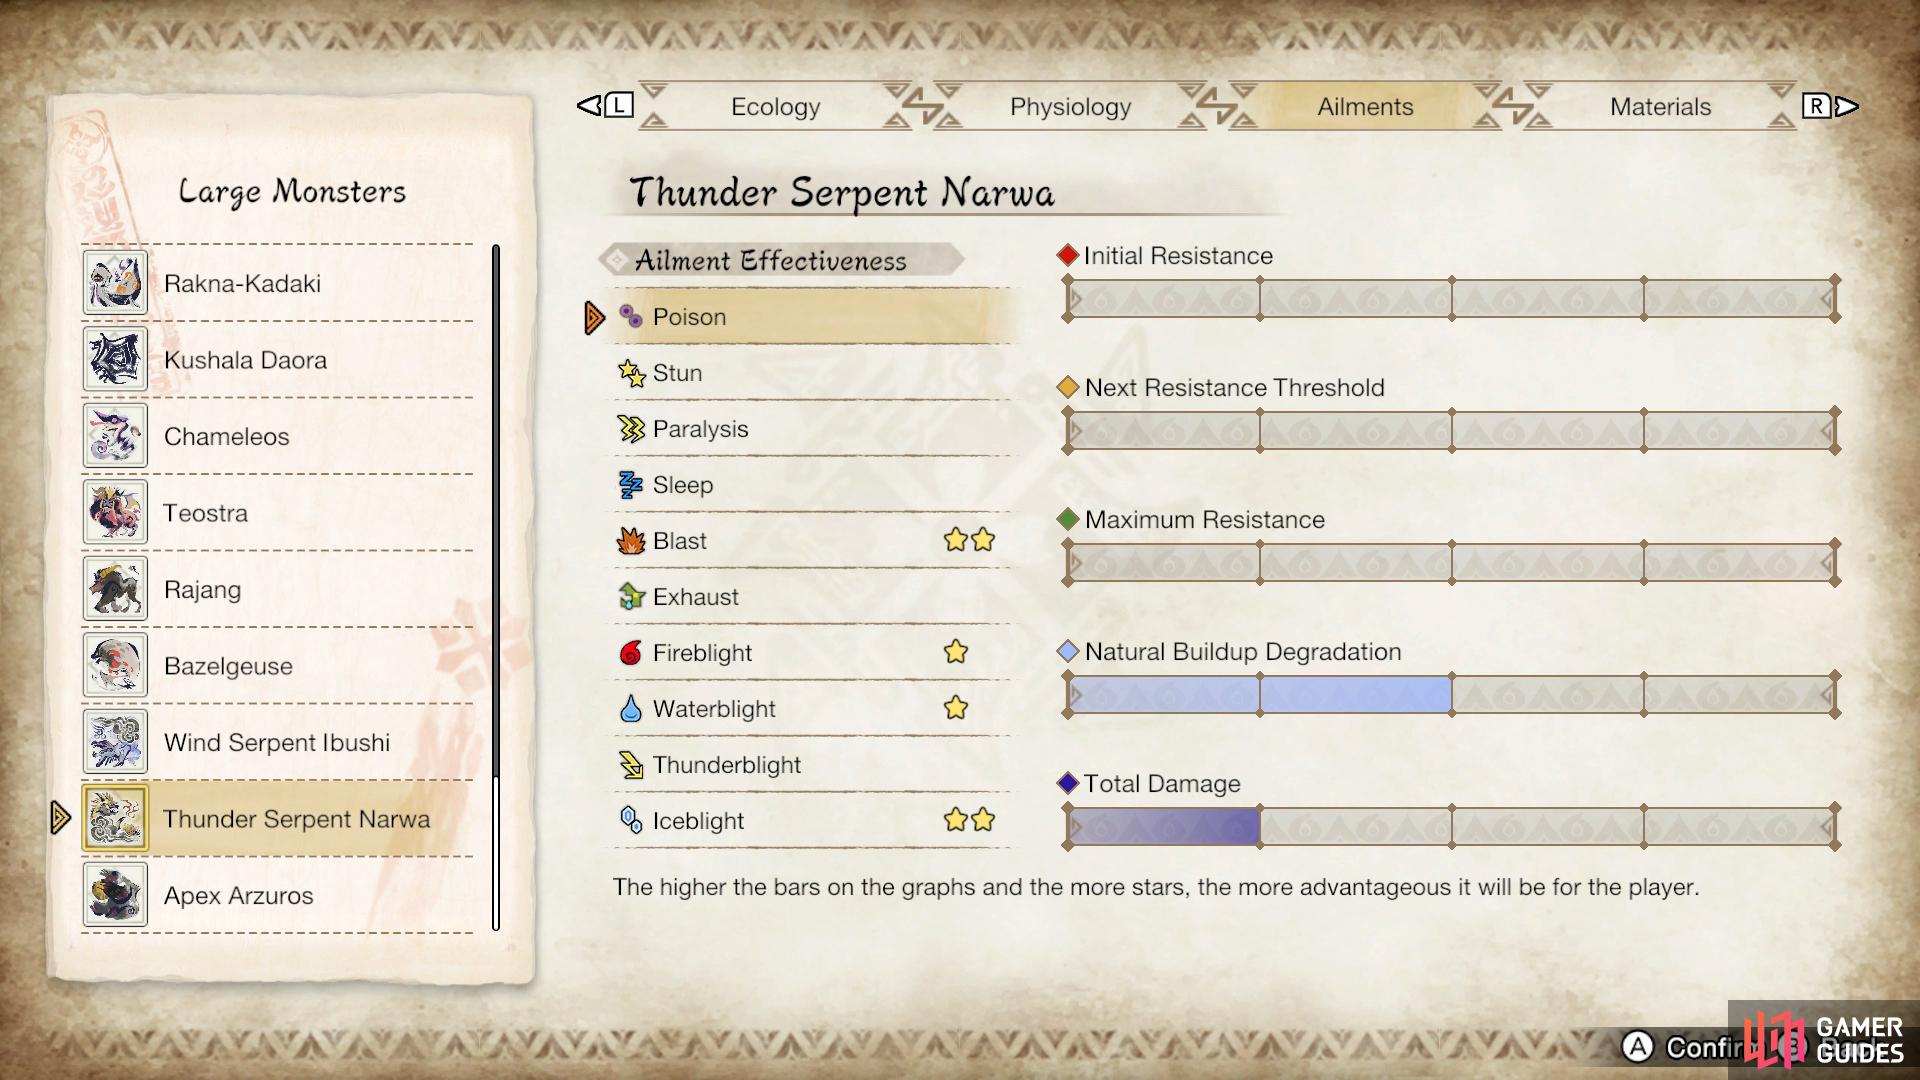
Dragon is the element to use with Ice being a close second. Blast and Iceblight are the best Ailments to use.
| Parts | Elements | Ailments |
|---|---|---|
| Head, Abdomen (Thundersac), Wingarm (Charged) | Dragon, Ice | Blast, Iceblight |
Attack Patterns
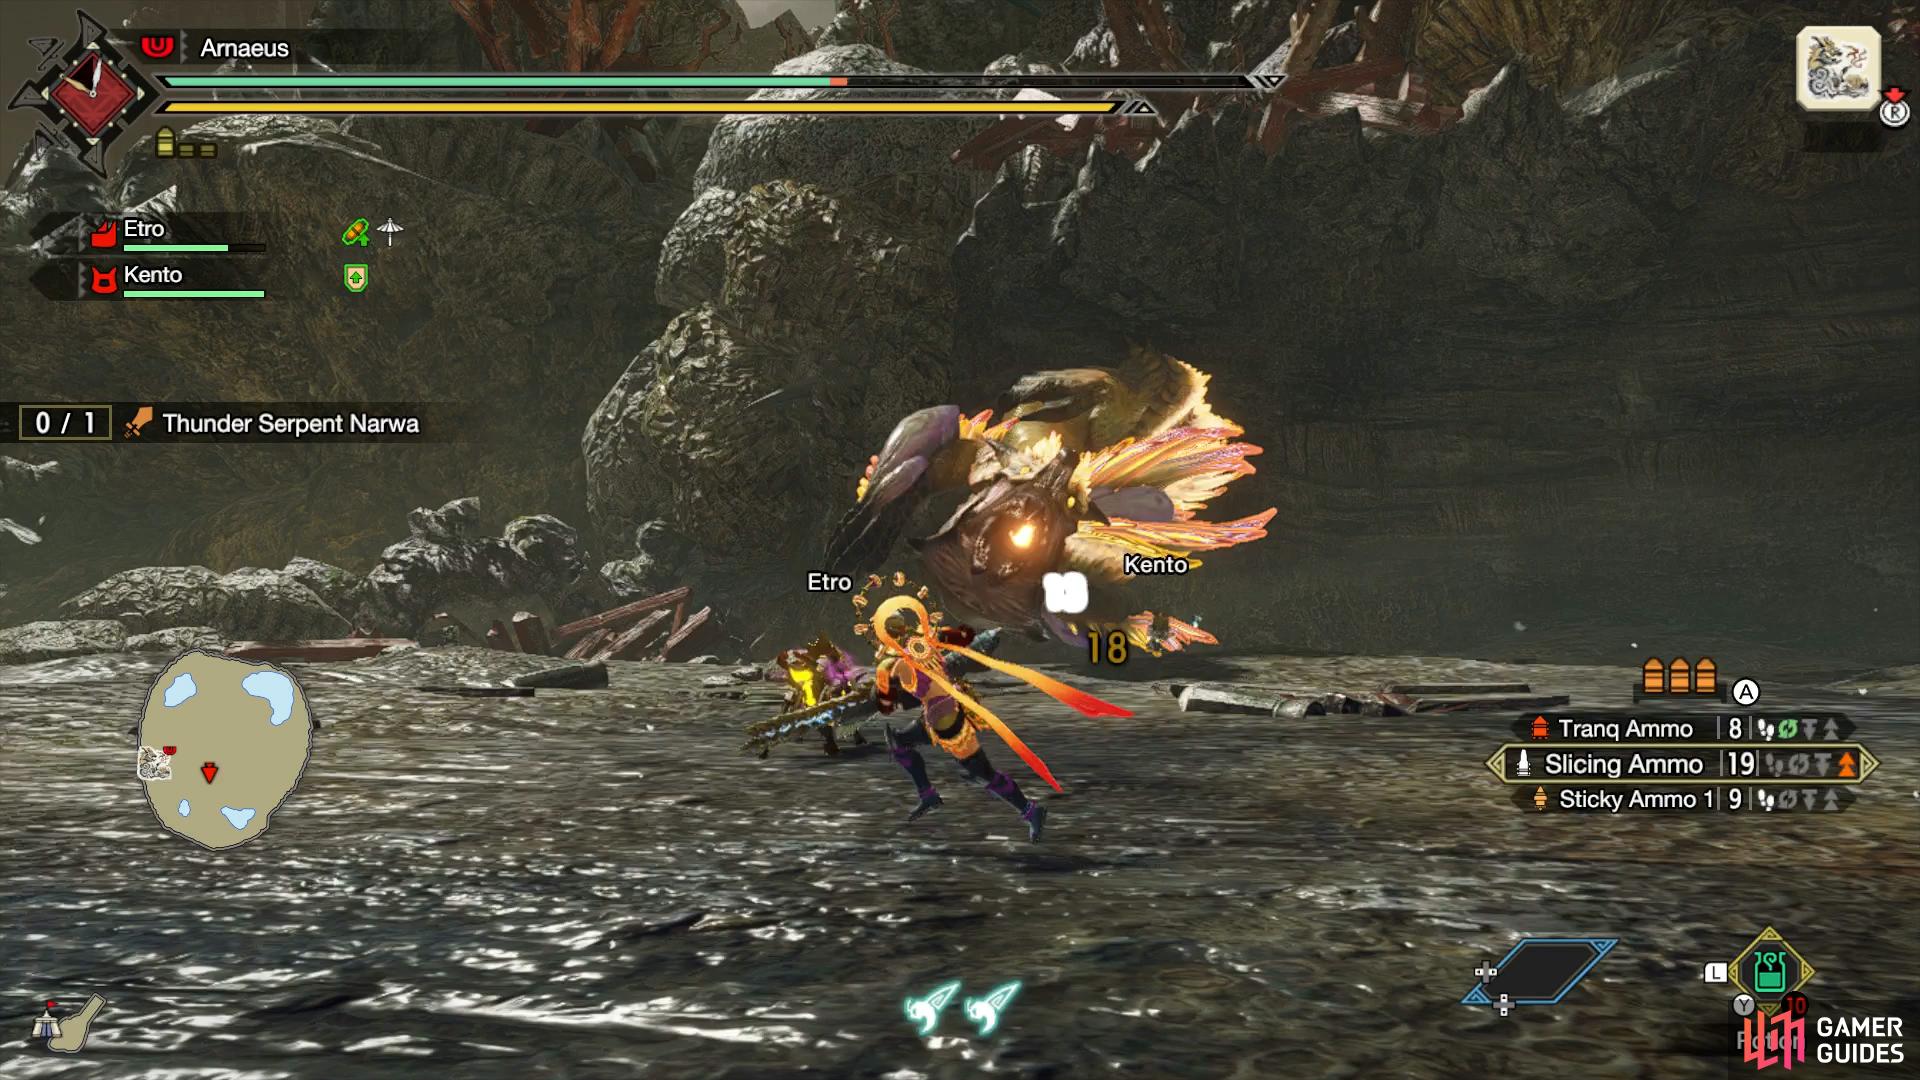
Charge
Narwa will turn to its side, and twist its head, then instantly charge at you with its mouth open.
Narwa will turn to its side, twist its neck
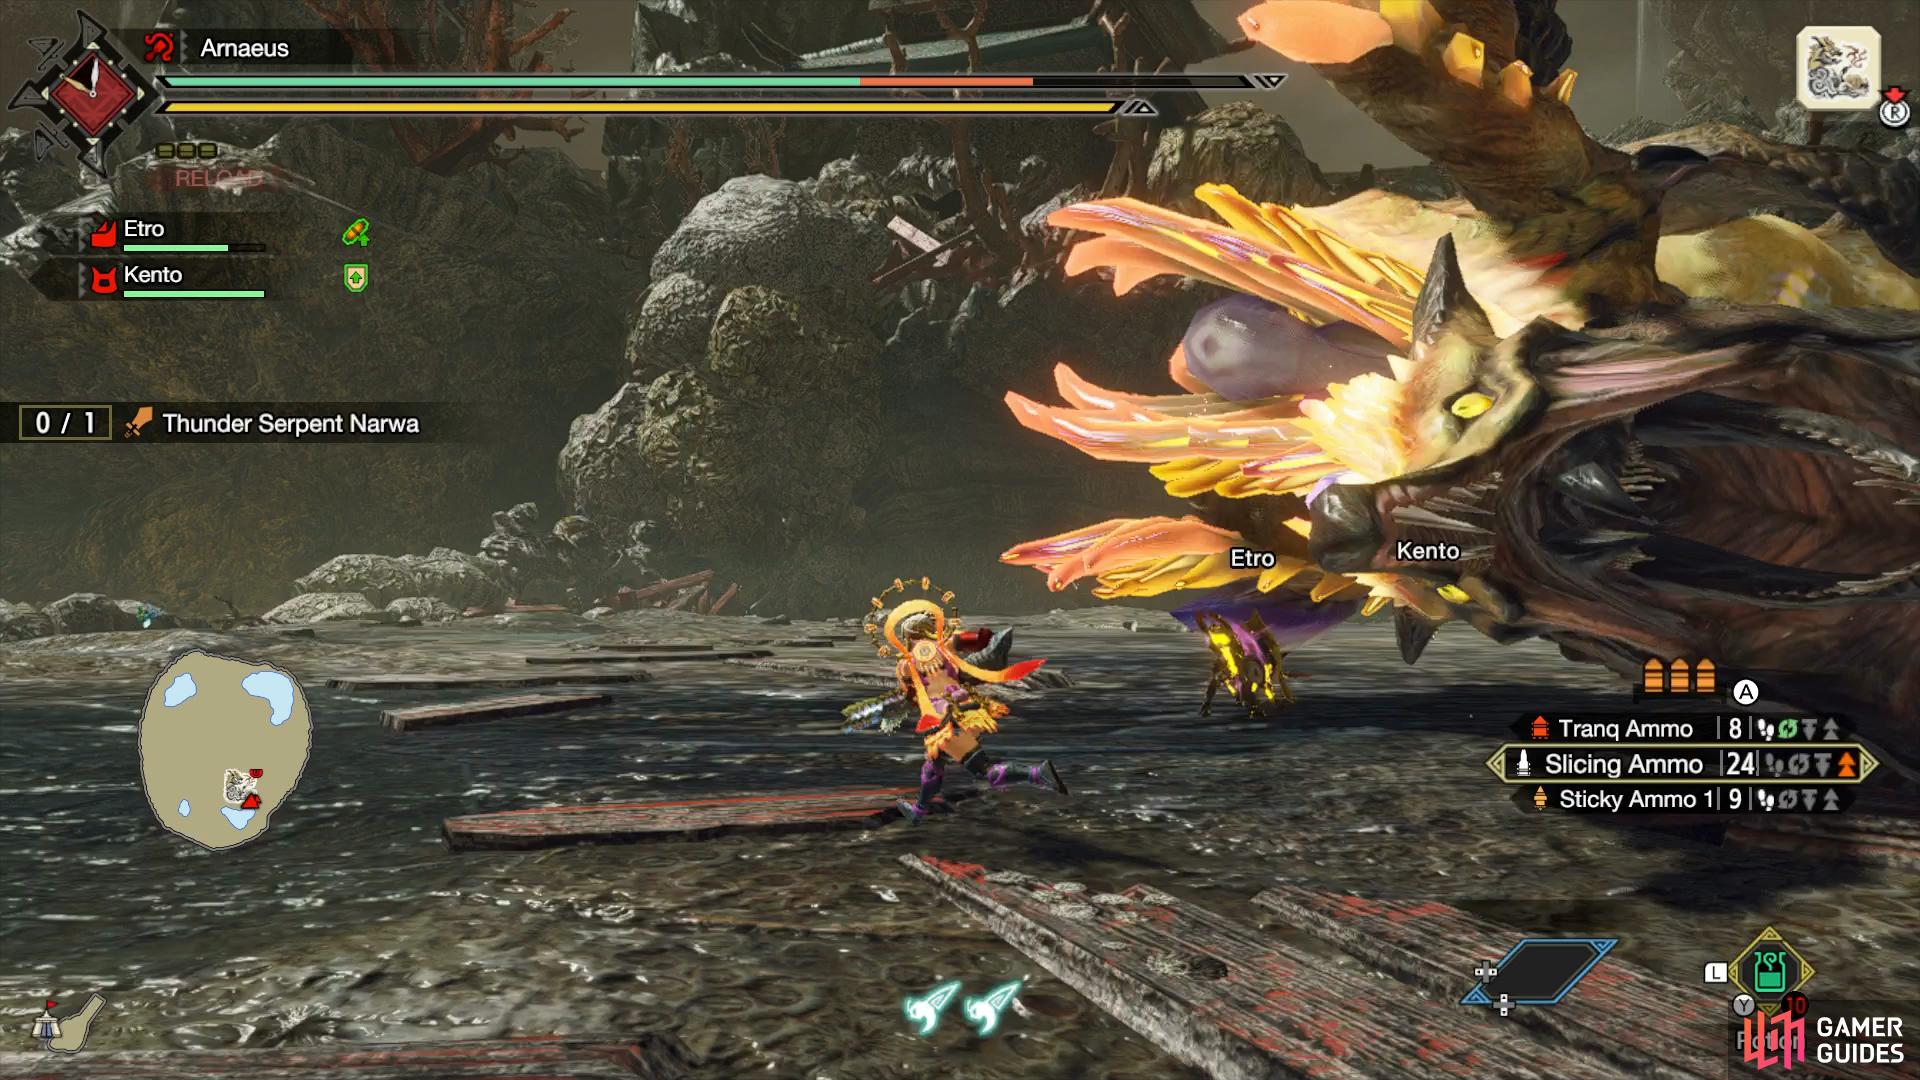
and charge at you, with a bite.
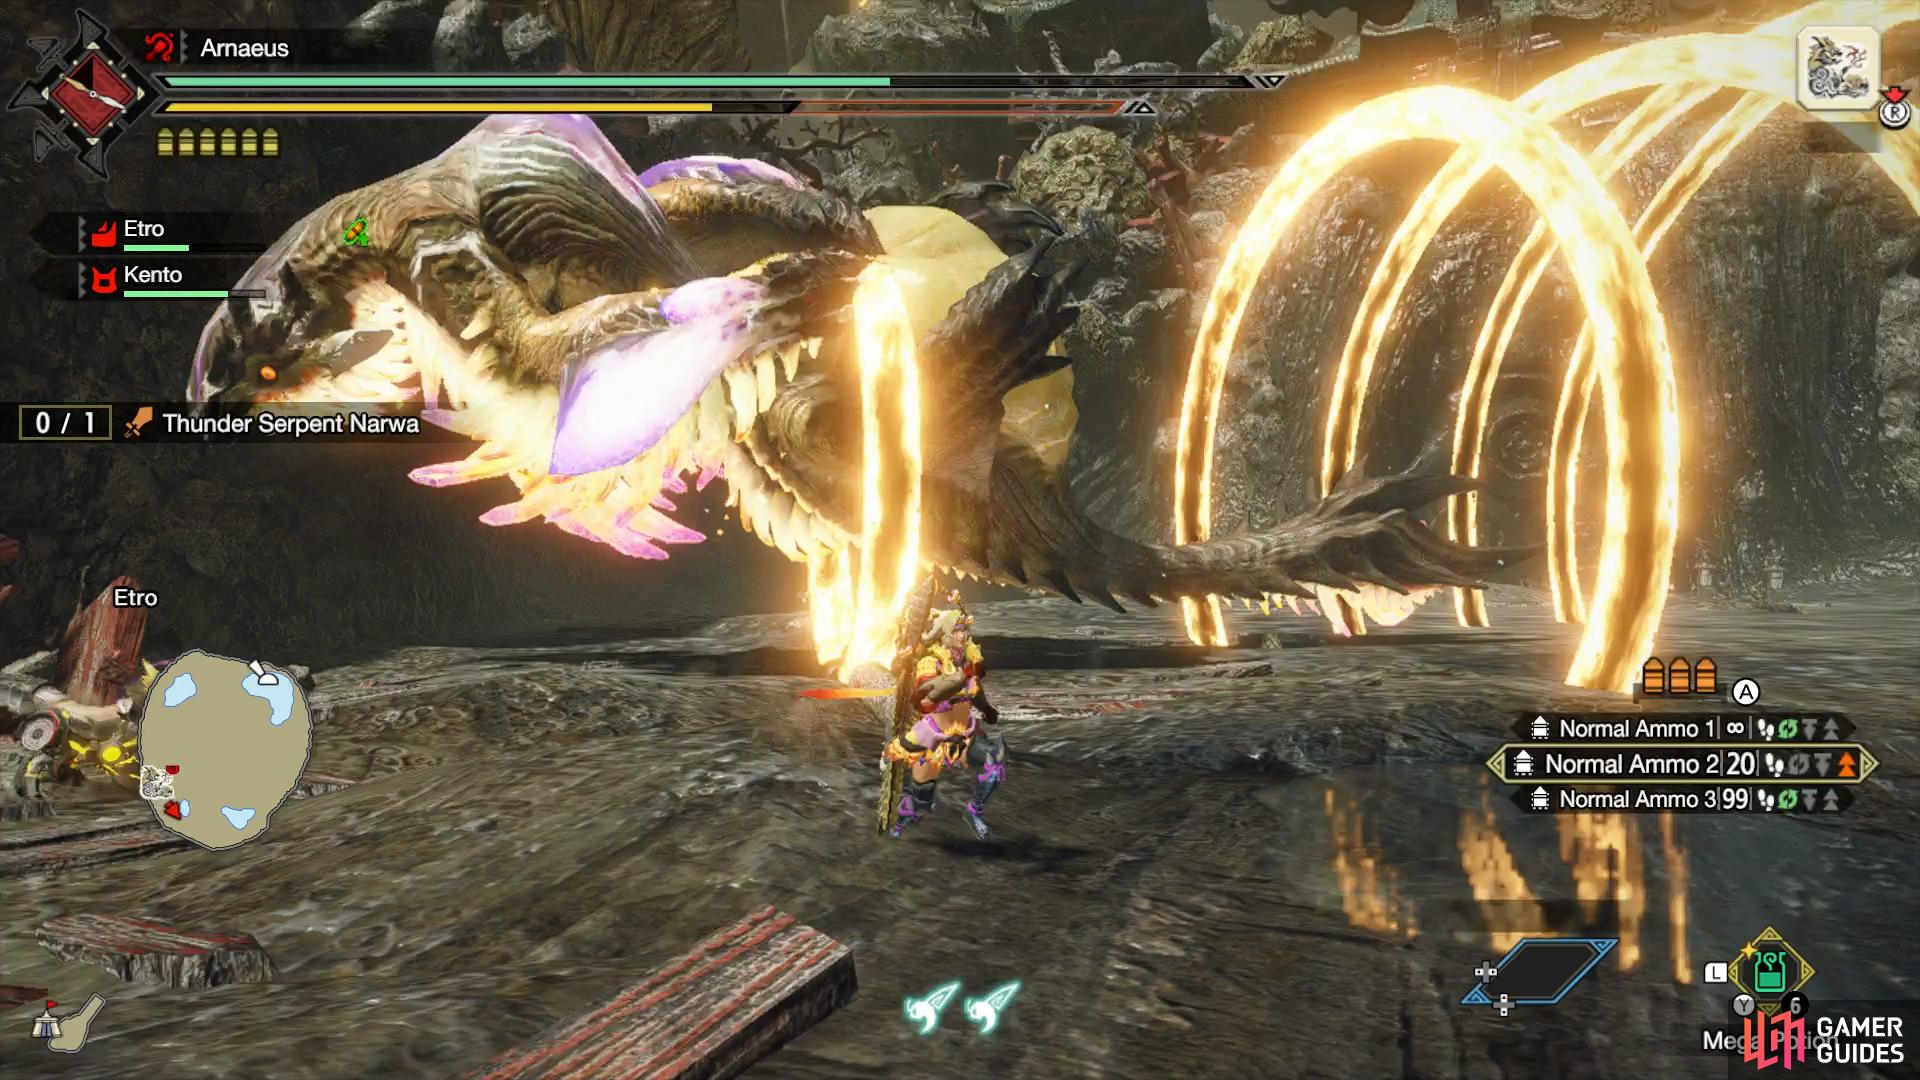
Thunder Rings
Narwa’s claw will glow yellow
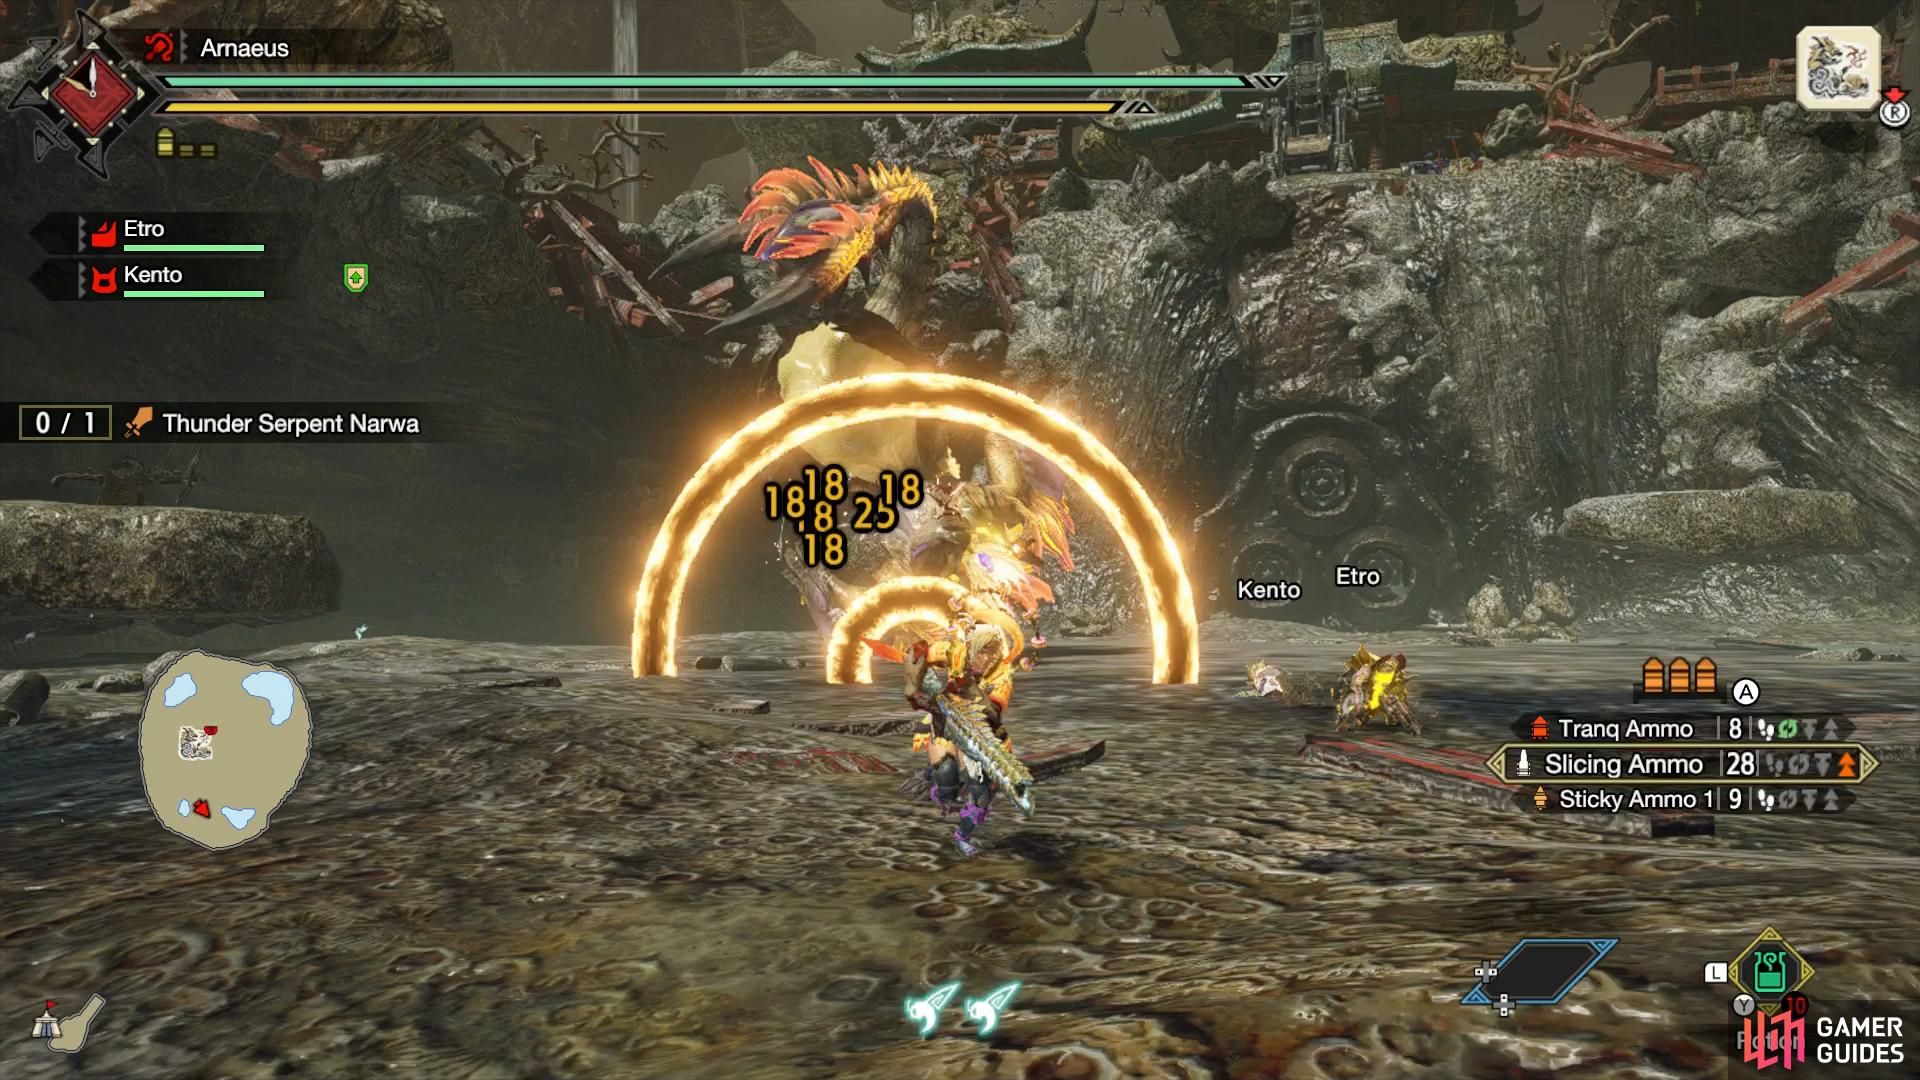
before throwing a series of thunder-based rings at you.
Narwa will hang upside down, claw glowing yellow, just before launching a series of golden yellow rings of thunder element straight at you.
Three Rings Combo
Narwa will start off this combo with a regular Thunder Rings attack, as that is going towards you, it’ll follow up with another Thunder Rings attack, this time, from its other claw. Finally, after pausing for approximately one second, it’ll finish the combo with a Thunder Orb.
Tail Slam
Narwa will hang upside down for a second
slamming its tail down on to you.
Narwa will get close to you, with its head upside down before crashing its tail straight down upon you.
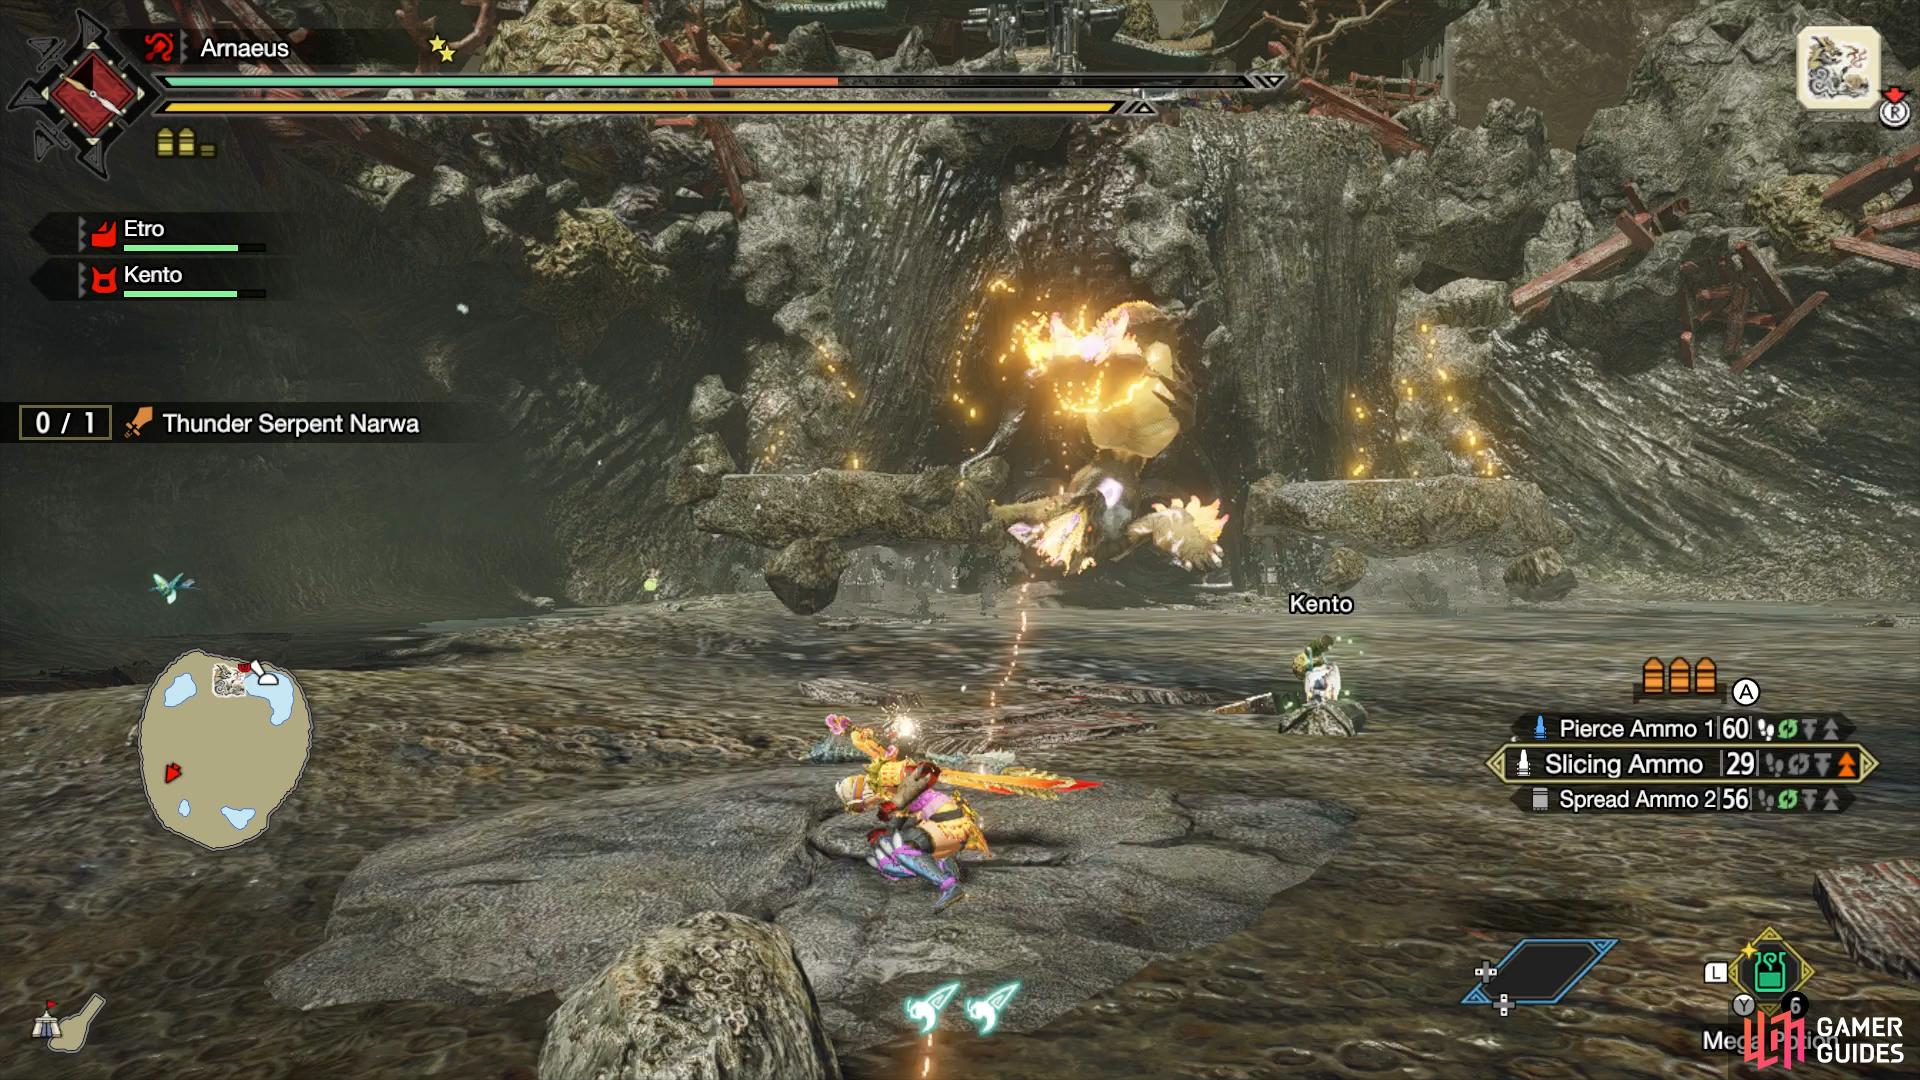
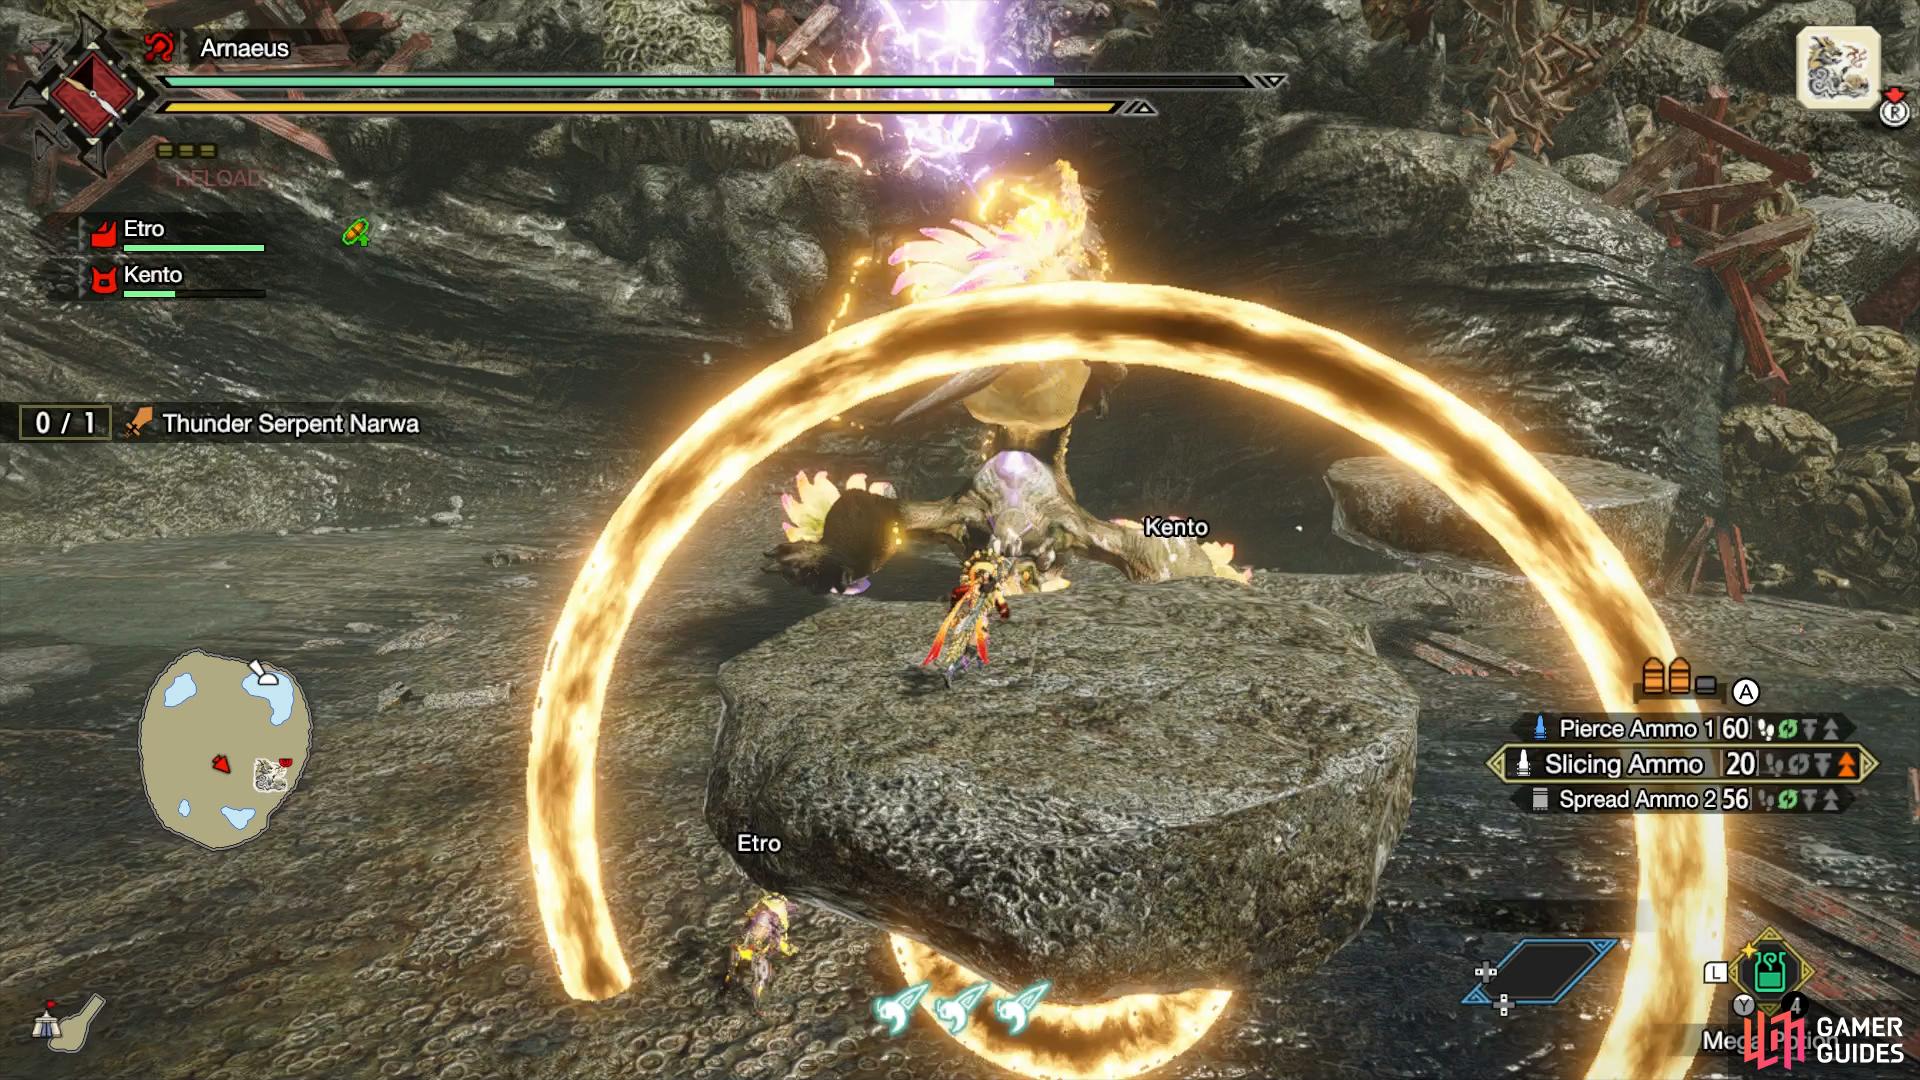
Ring Drop
Narwa will charge up thunder around its head

then drop three rings underneath itself.
Narwa will charge up its head with thunder then drop a series of three thick rings of thunder one after another right underneath it.
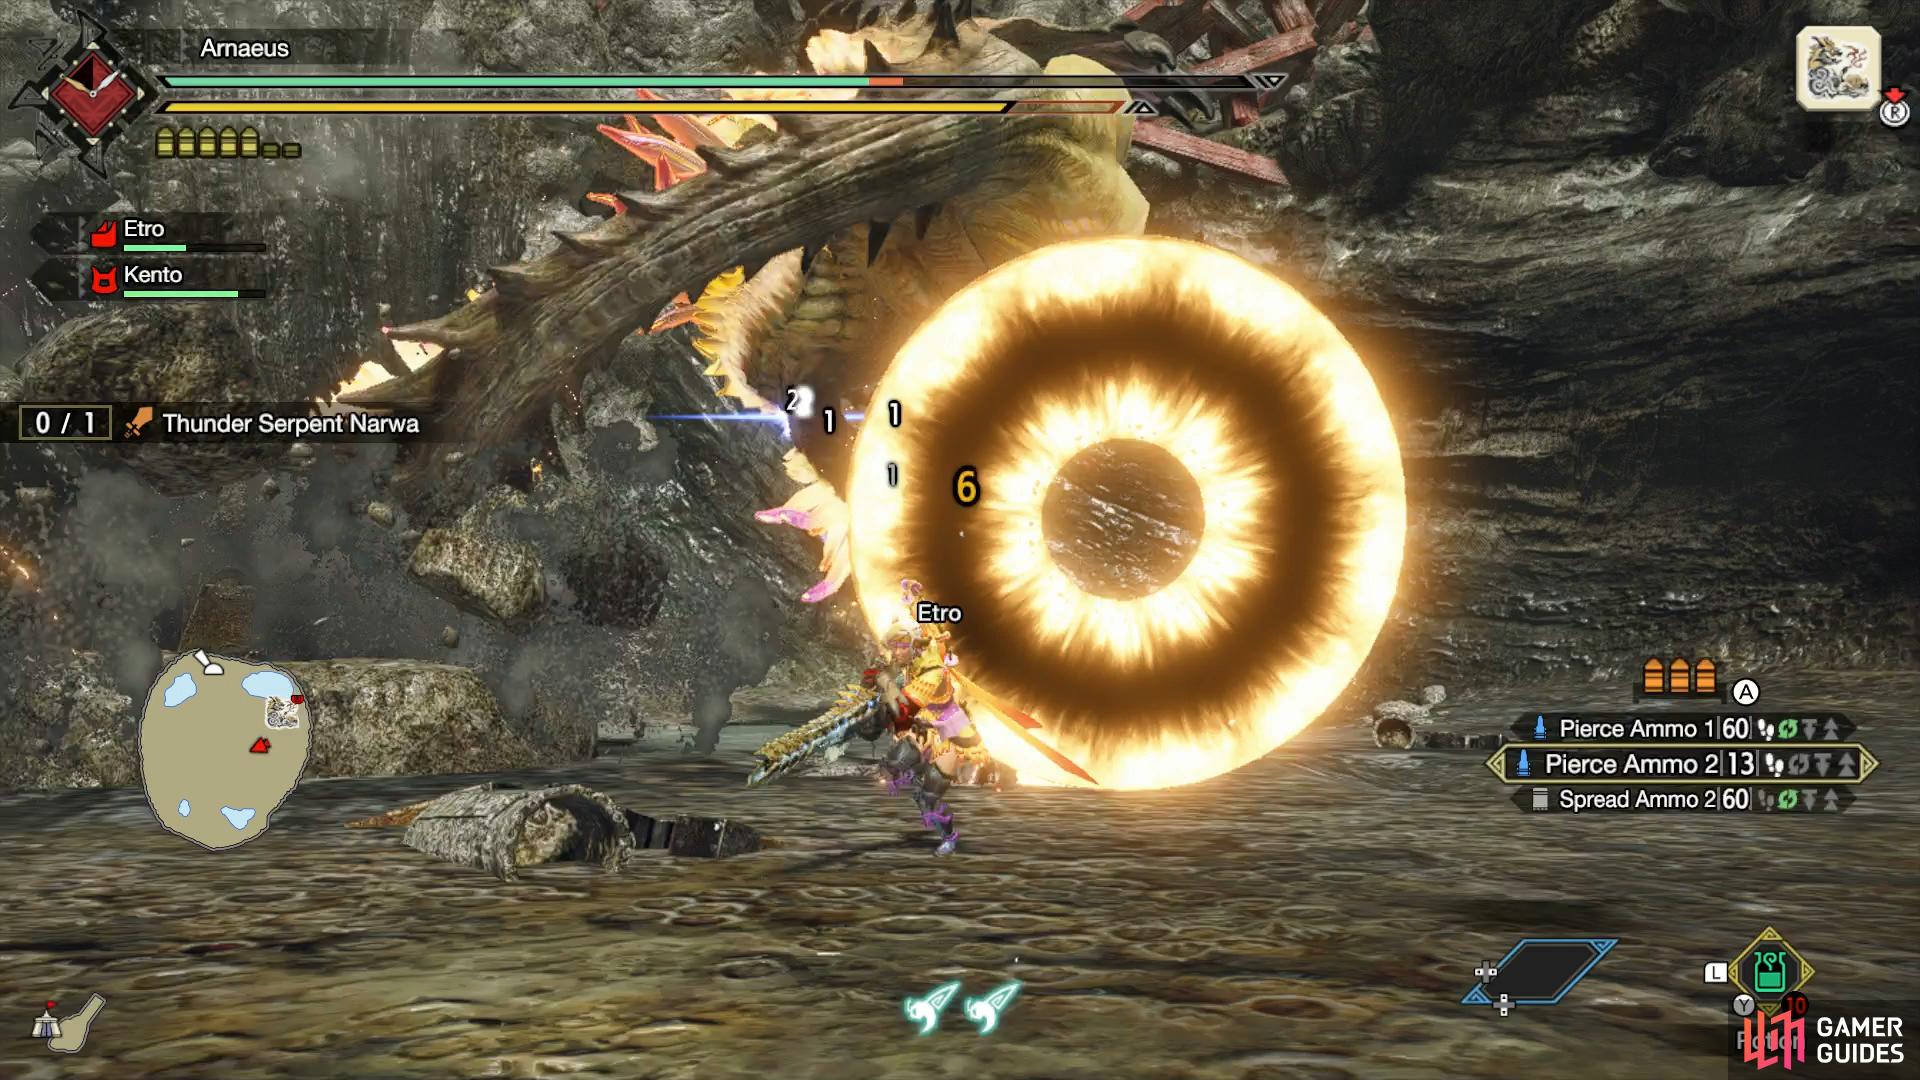
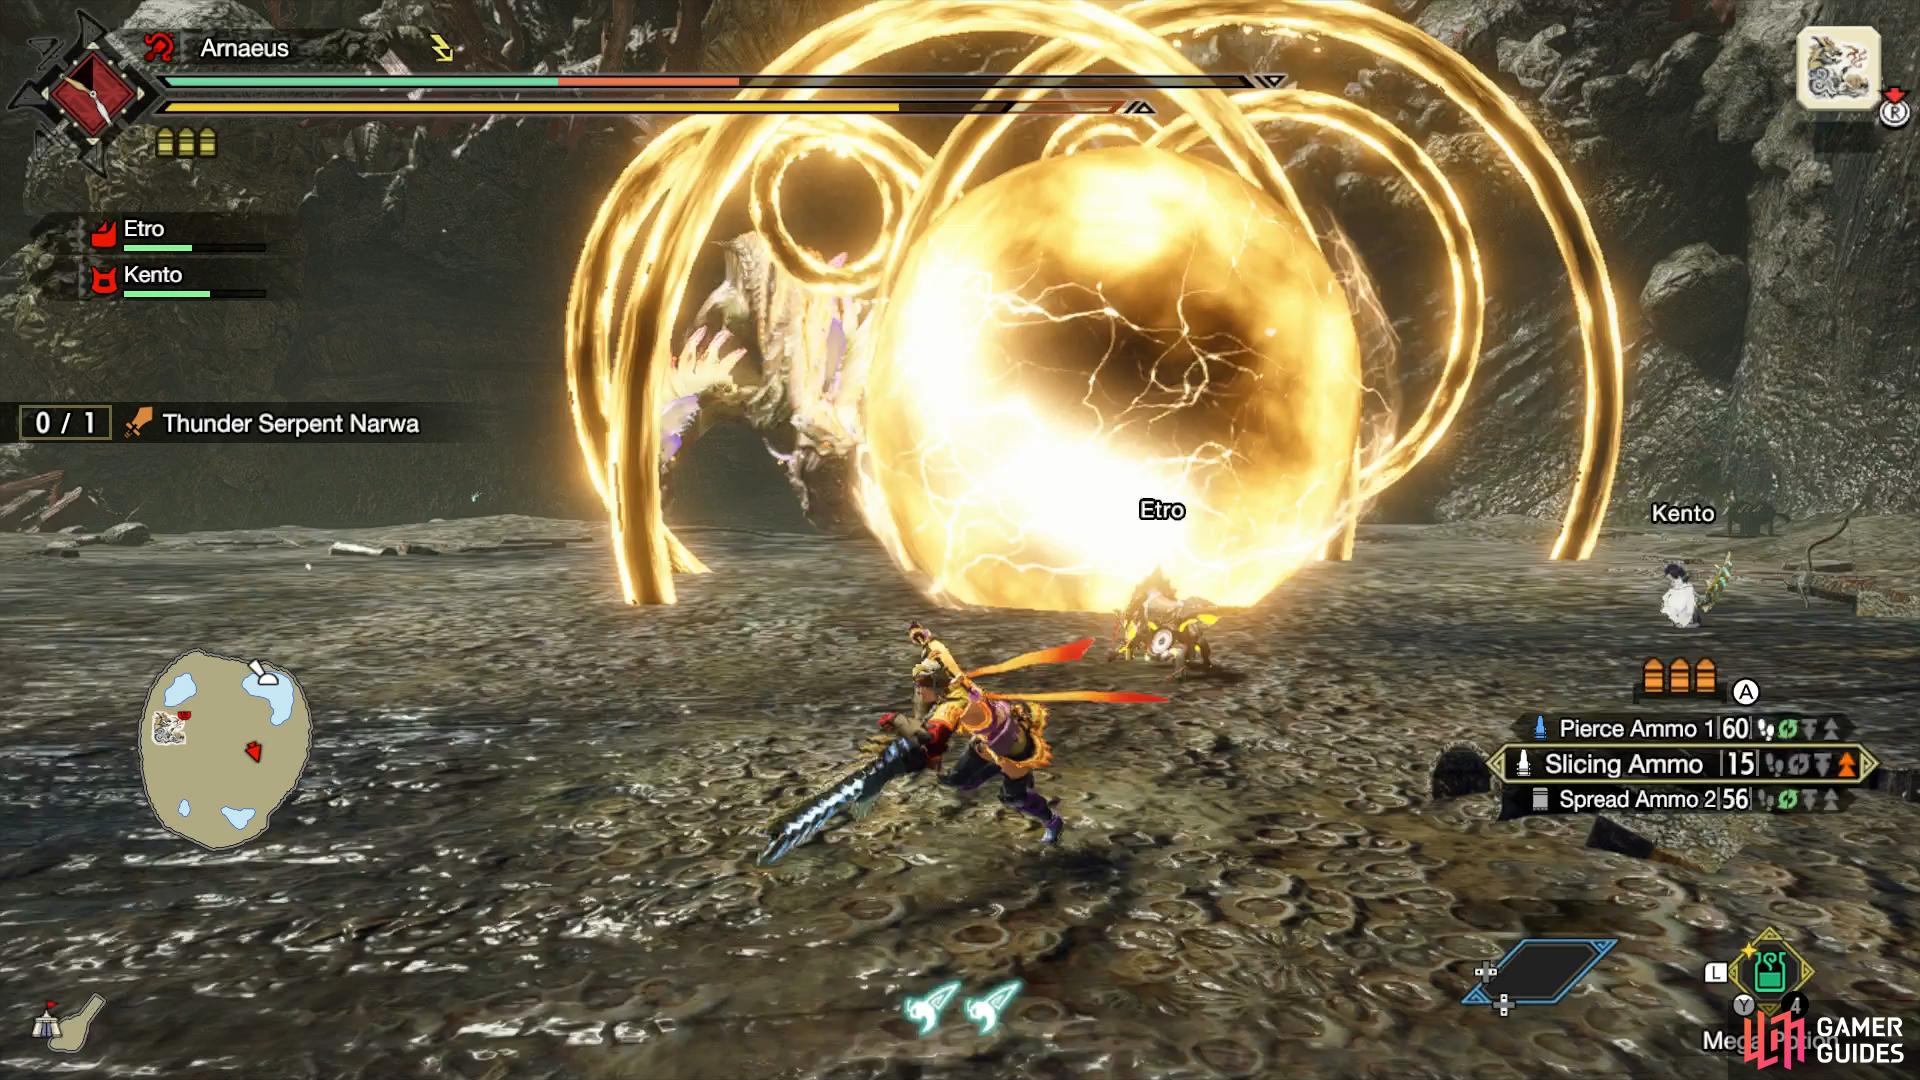
Thunder Orb
Narwa will open its mouth, showing a small ball of thunder
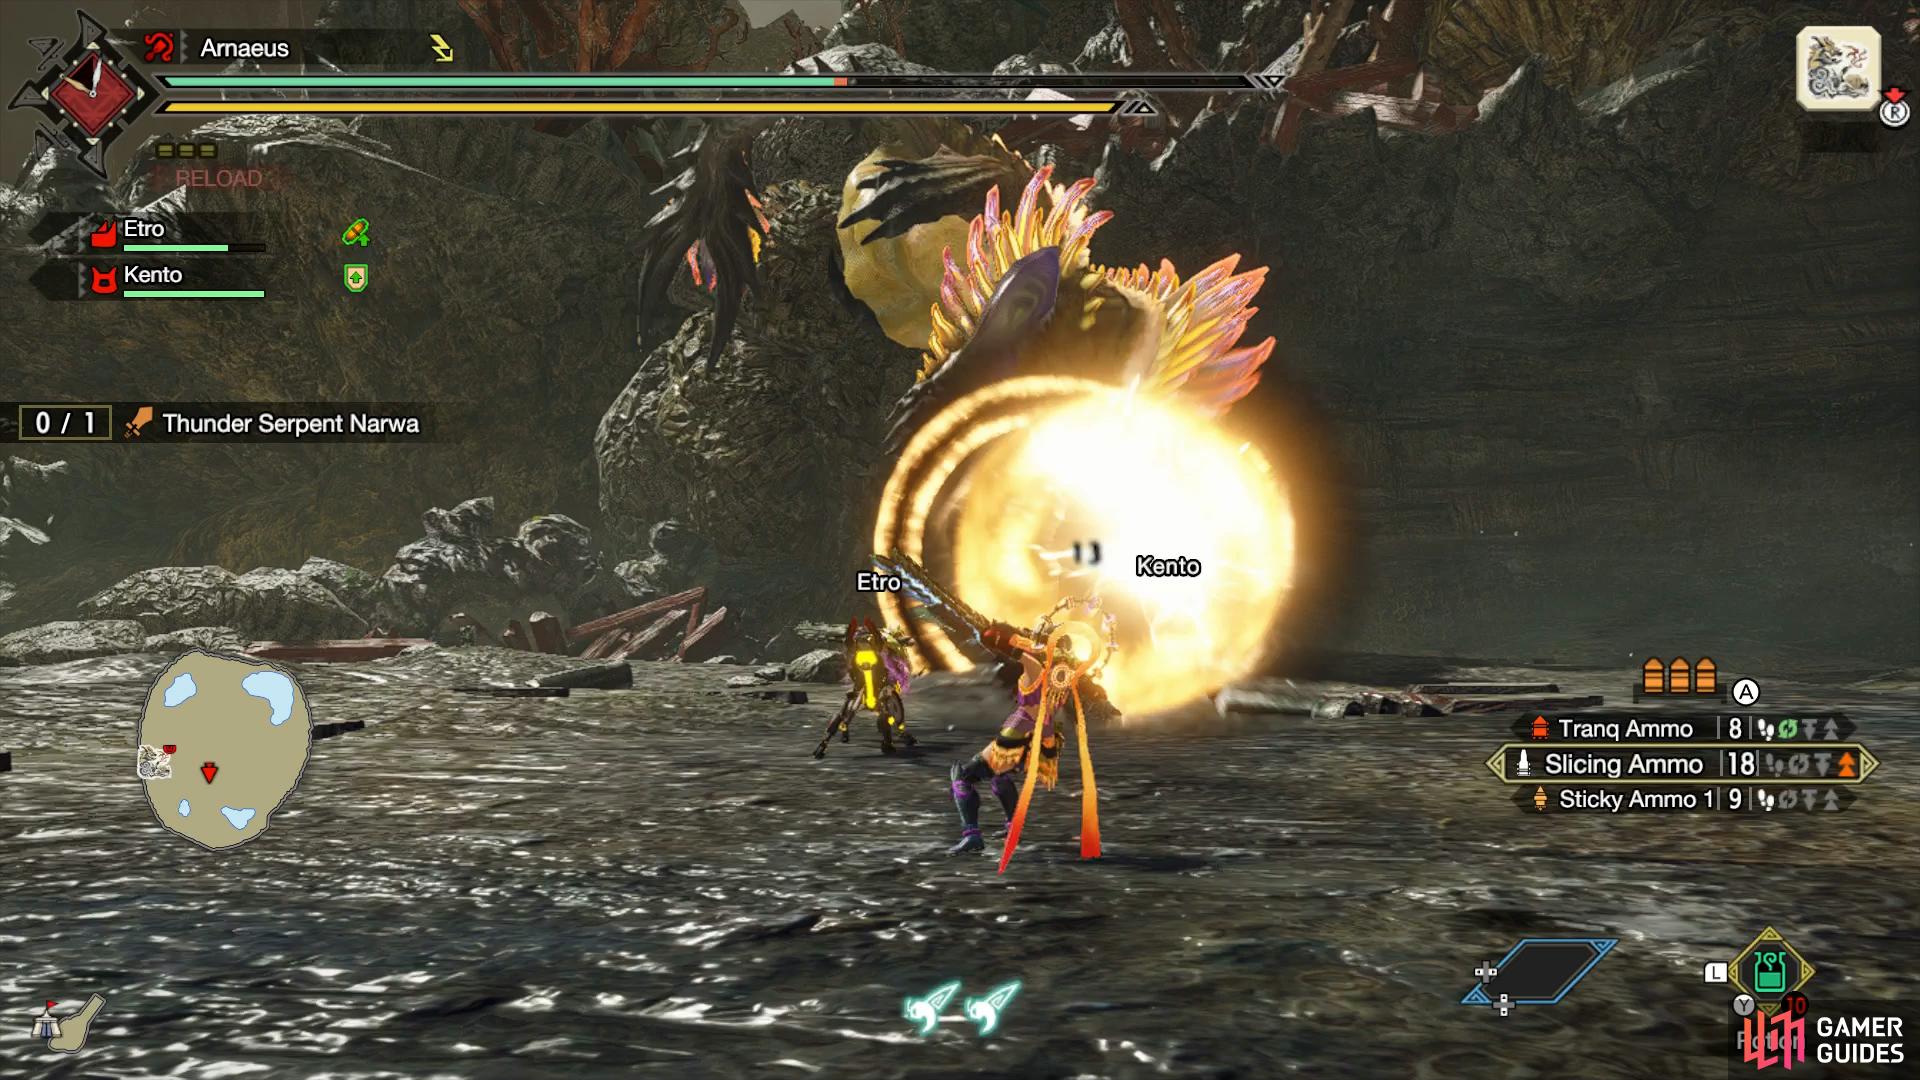
right before it launches an orb of thunder at you.
Narwa will twist its head, and open its mouth, showing a small ball of thunder hidden inside it, it’ll then launch a large orb or thunder accompanied by a ring around it.
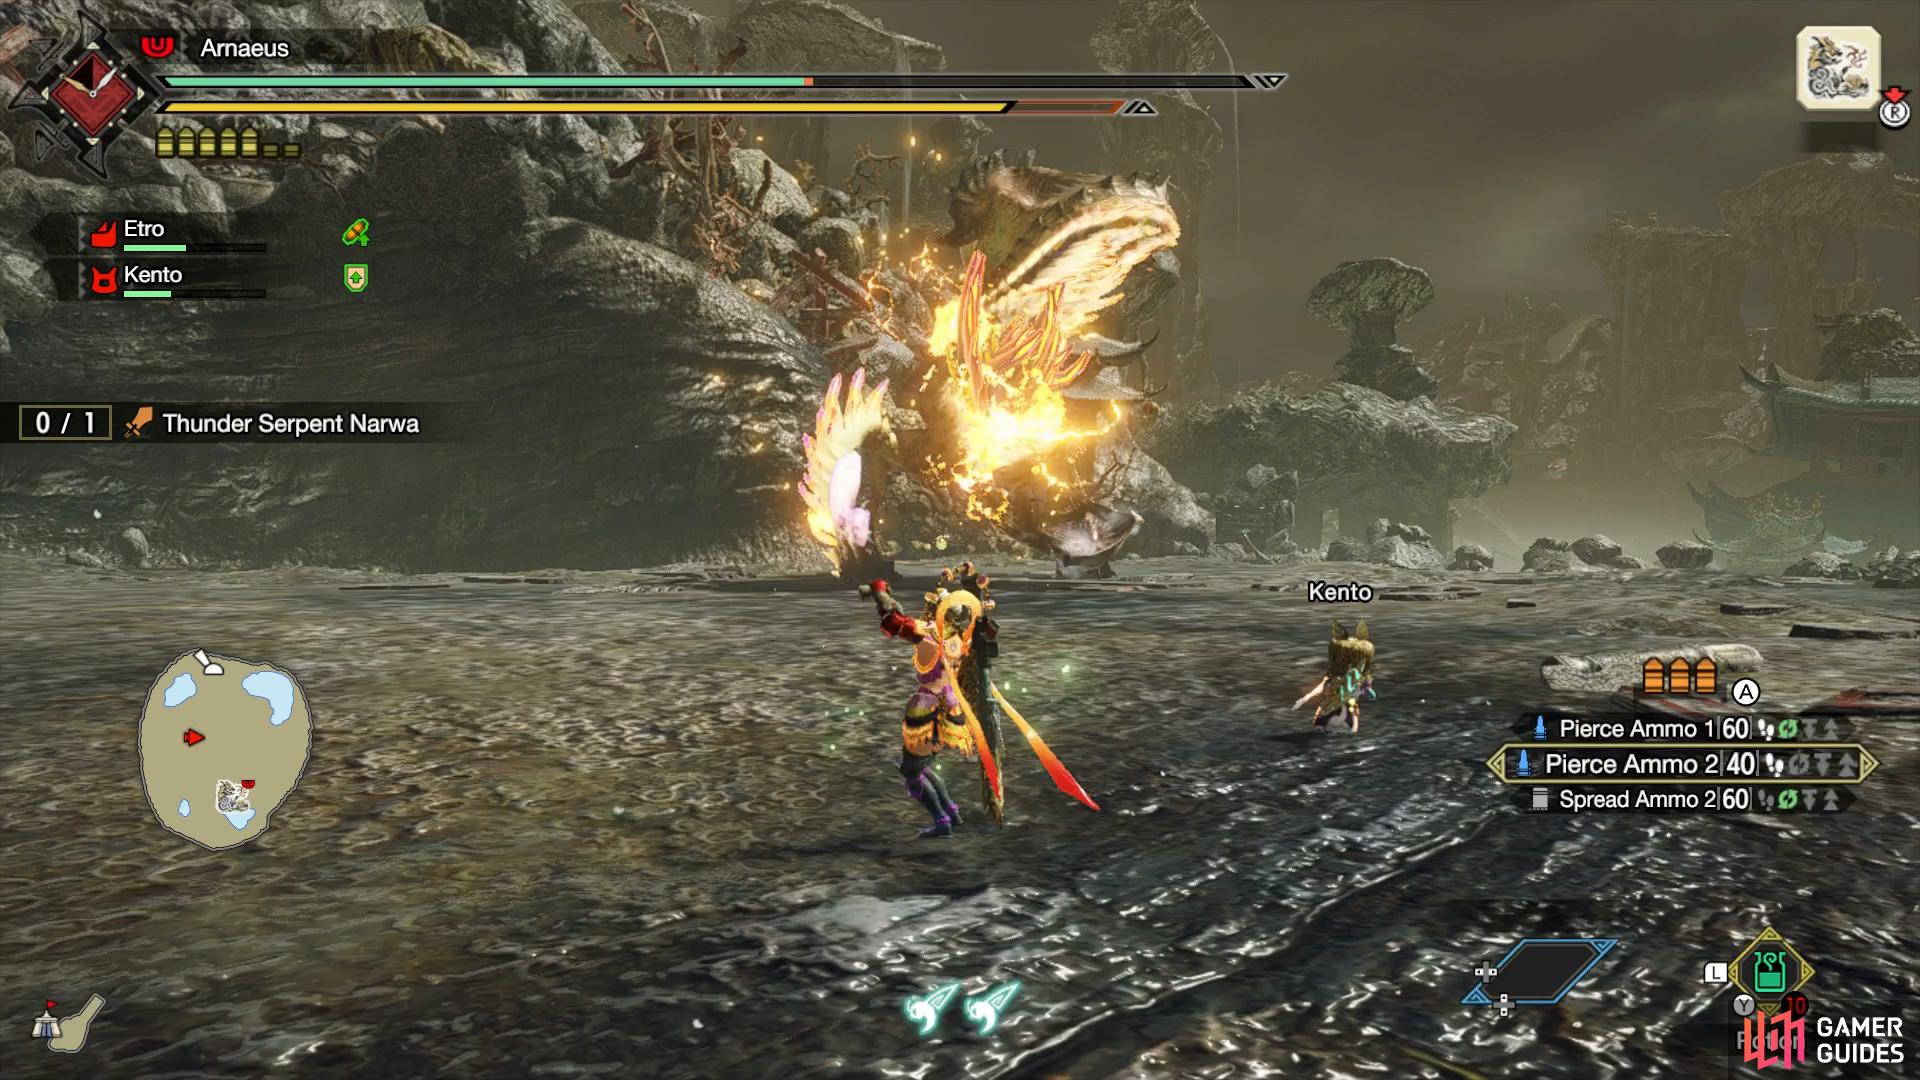
Thunder Blast
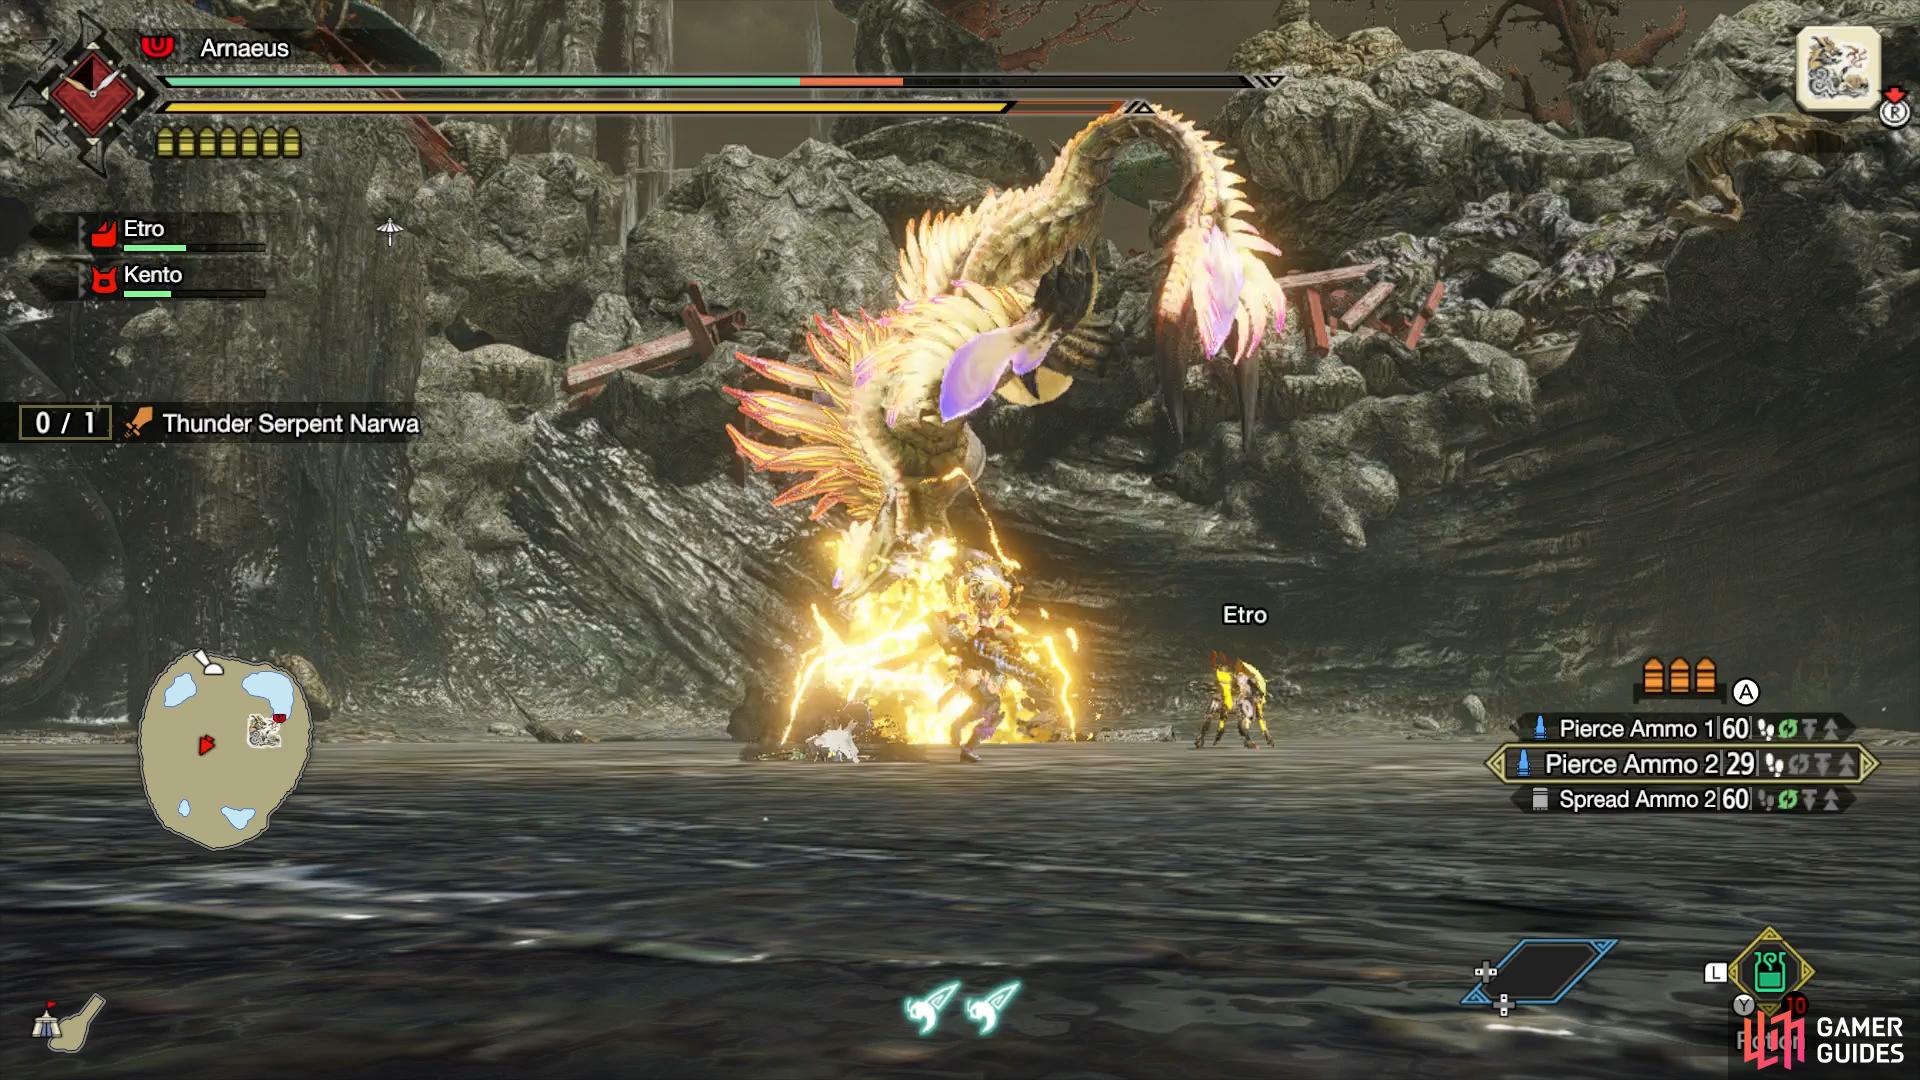
Narwa will breathe thunder into the ground
then raise its head whilst blasting it your direction.
Narwa will start gathering thunder energy around its mouth, then blast a thick beam of thunder into the floor whilst rising its head, as it rises up, it’ll leave behind a small trail of explosions underneath it.
Thunder Ring Explosion
Thunder particles will appear around Narwa’s claw
before it sends a thick ring at you which will explode on impact.
Similar to a normal thunder ring attack, but this time, it’ll be just one thick ring. This will come at you fast then explode on impact.
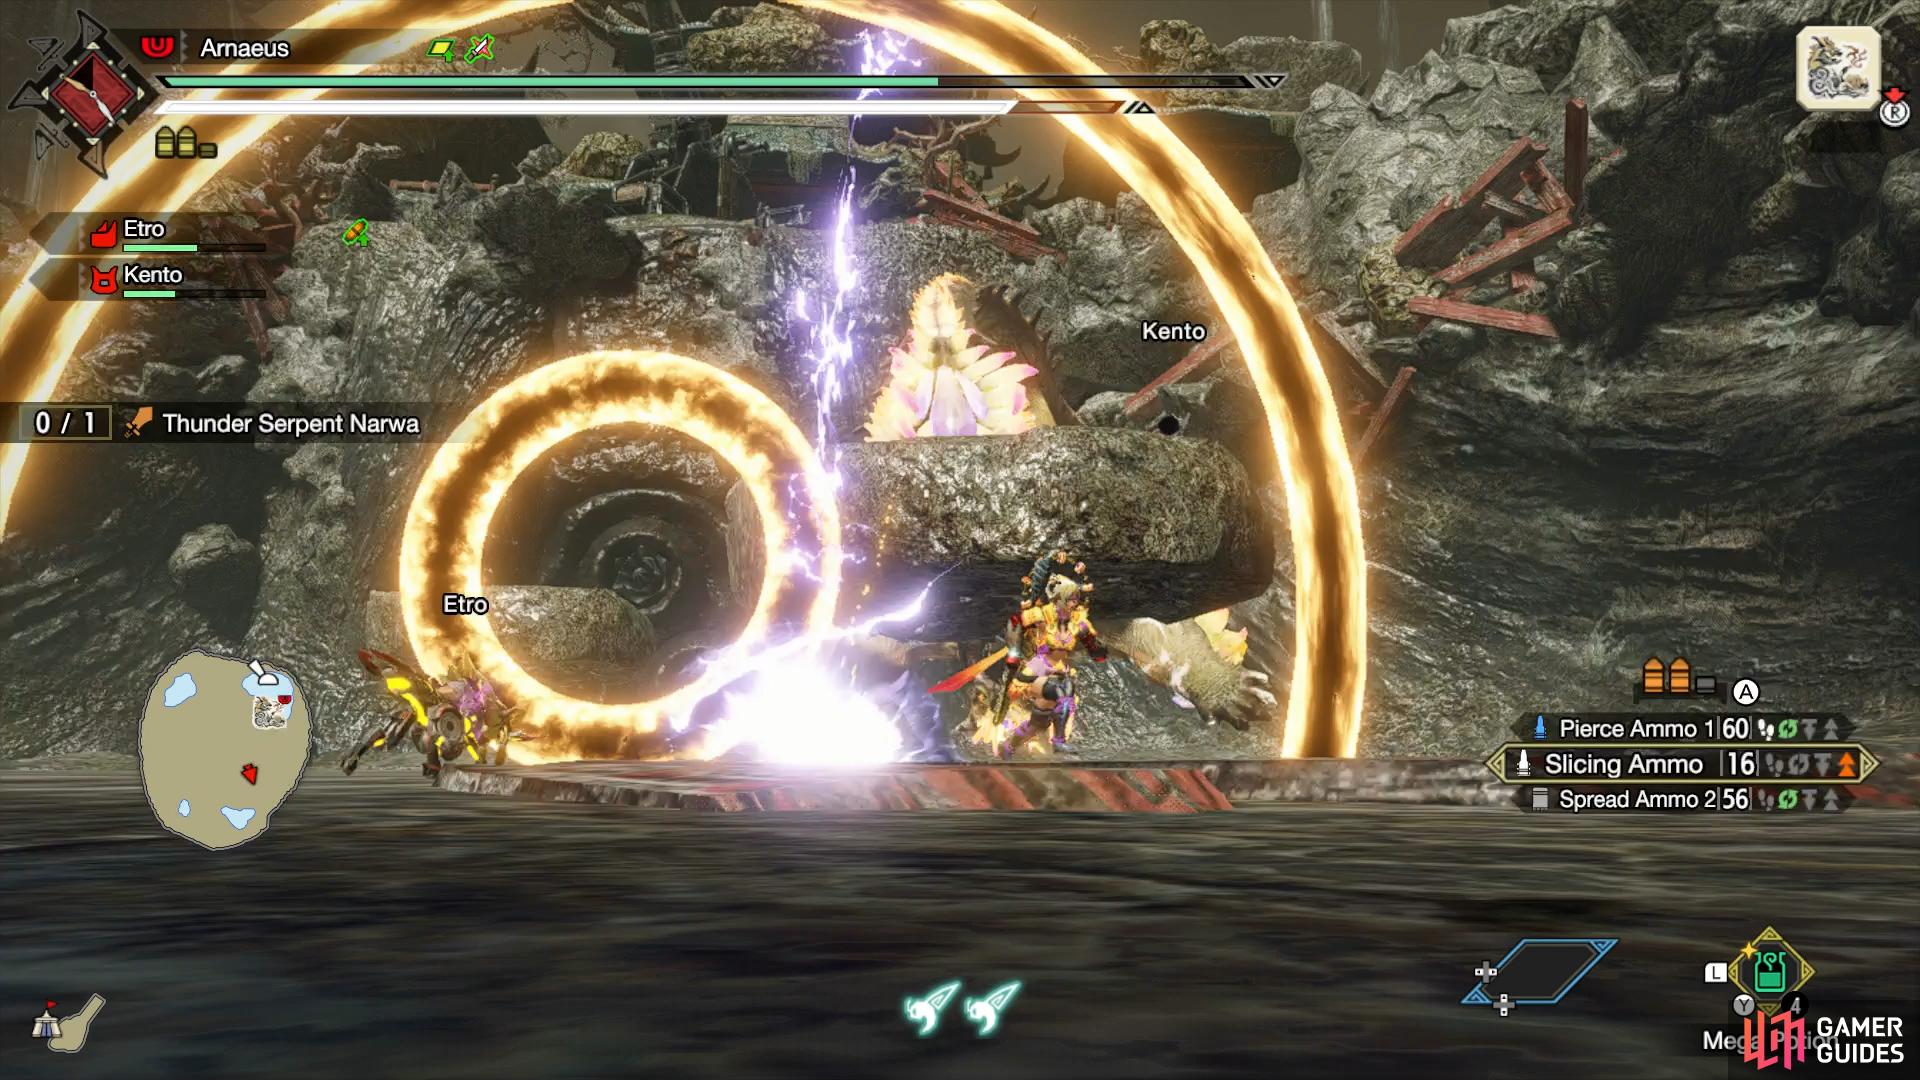
Thunder Ring Dash
Narwa will twist its body into a coil and start
dashing across the arena, firing off multiple rings whilst its moving.
Narwa will twist its body up like a coil, using it to spring its body into a dash across the arena, whilst it is dashing, it’ll disperse multiple thunder rings across the arena, walk in between them to avoid being hit.
Sweeping Beam
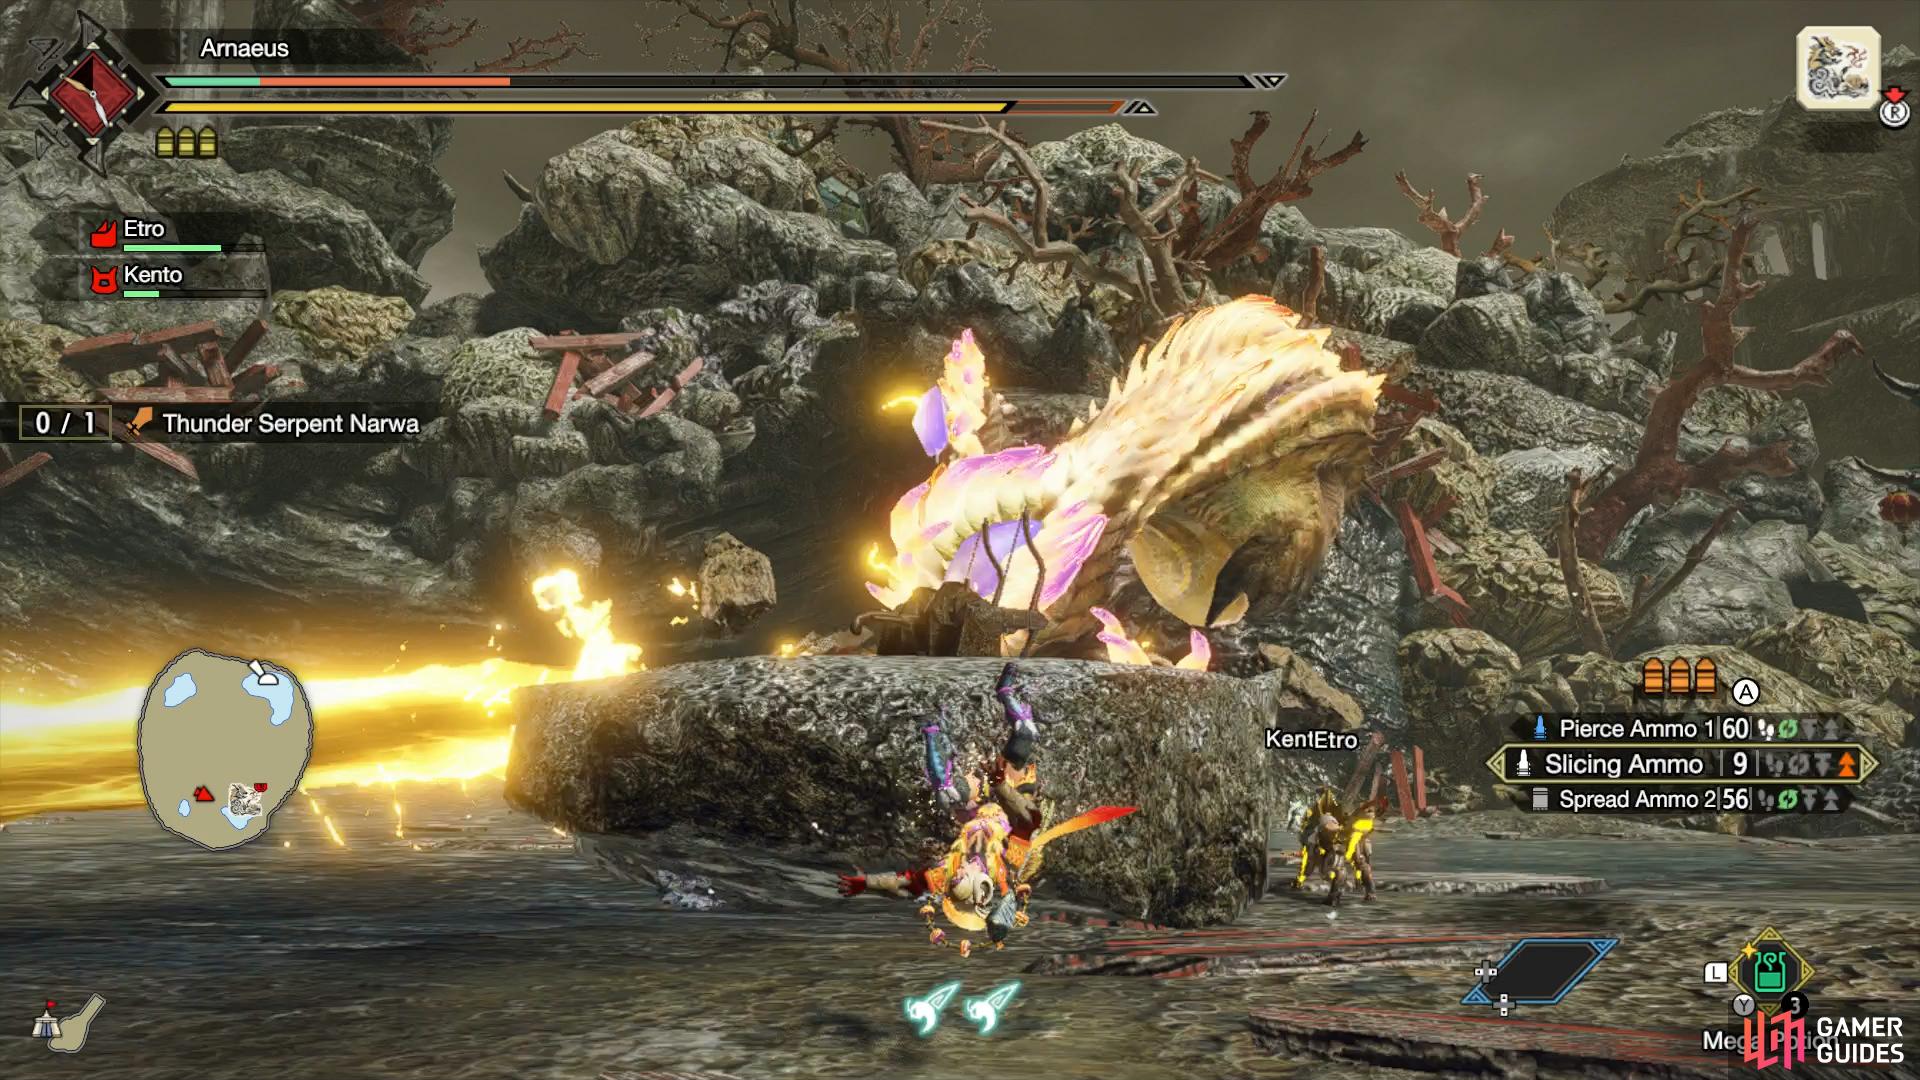
Narwa will shoot a beam of thunder, sweeping it left to right.
It can be blocked by using the rocks in the arena as cover.
Narwa will sweep a beam of thunder from left to right. Make sure to use the stone platforms as cover against it.
Thunder Multi Ring
Narwa will channel energy around its mouth
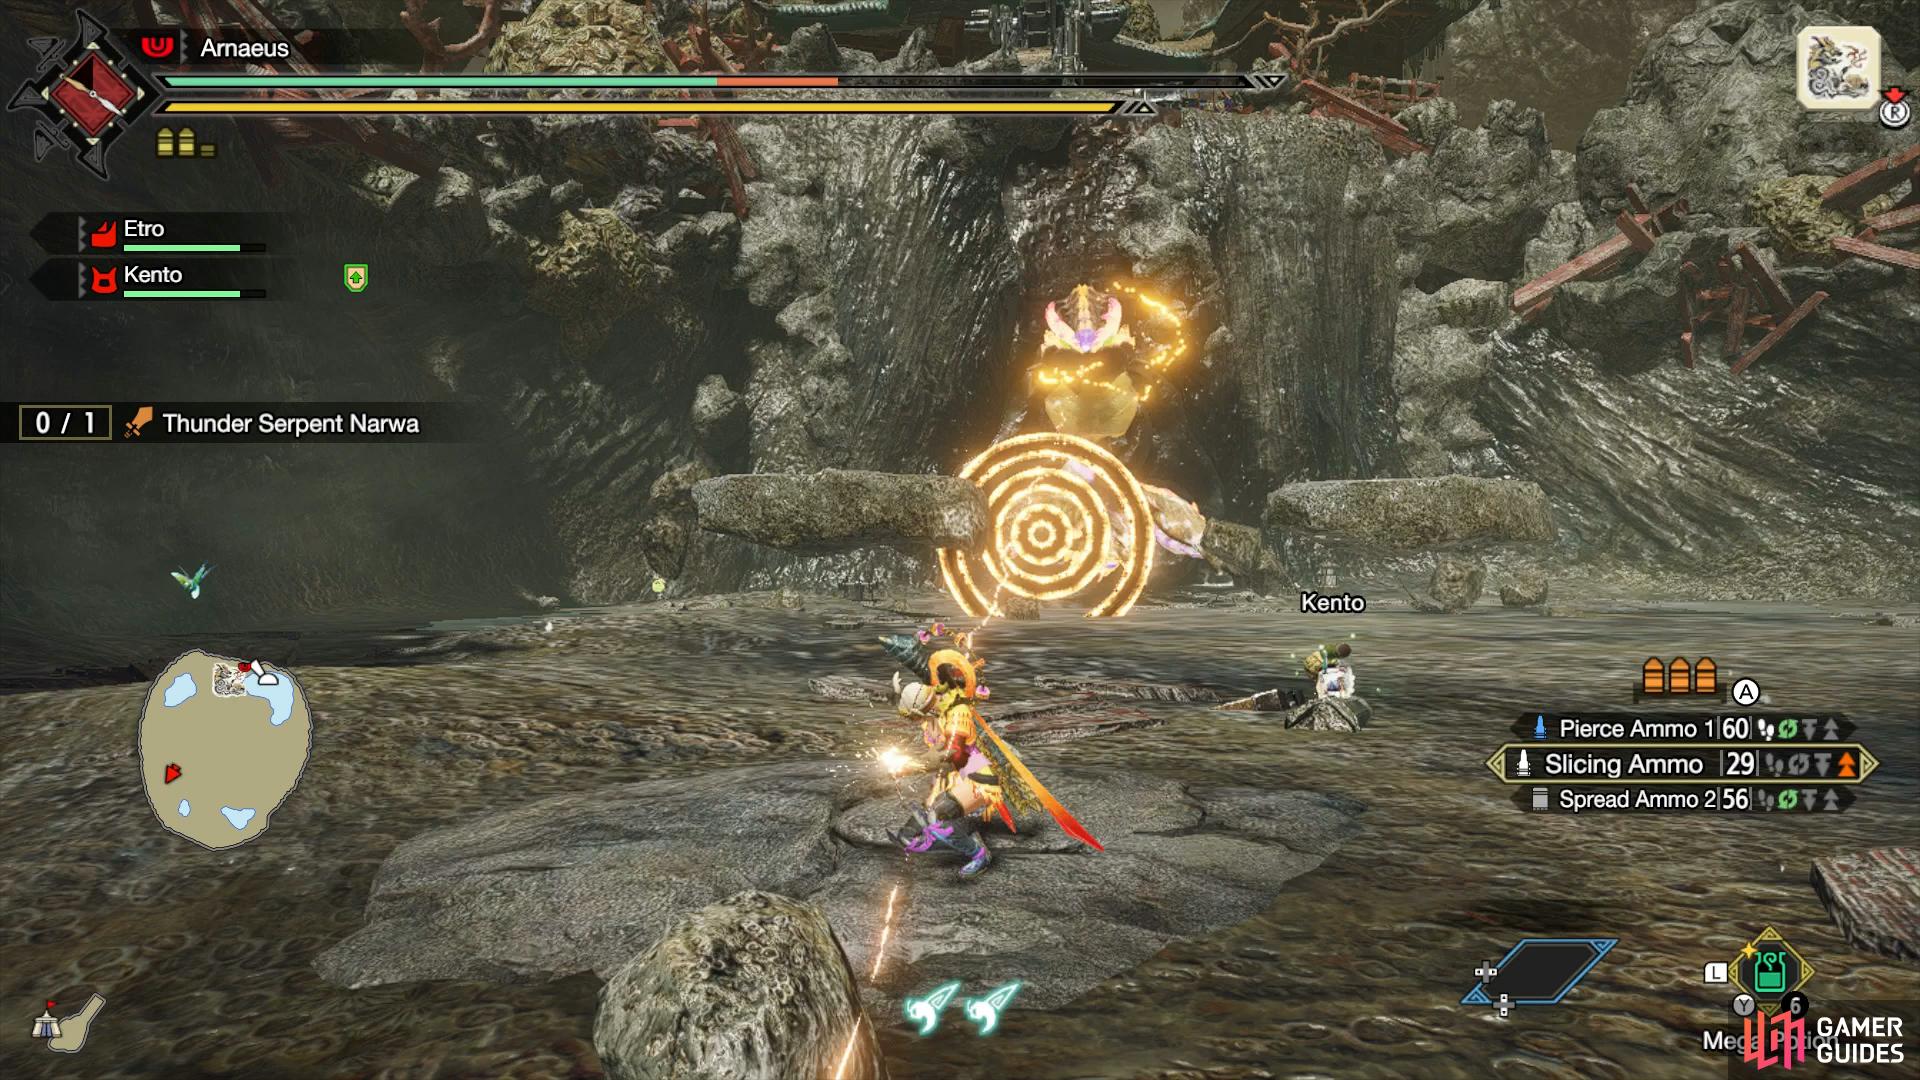
sending three expanding rings your way.
Narwa will start channeling energy around its mouth, then send three expanding rings your direction.
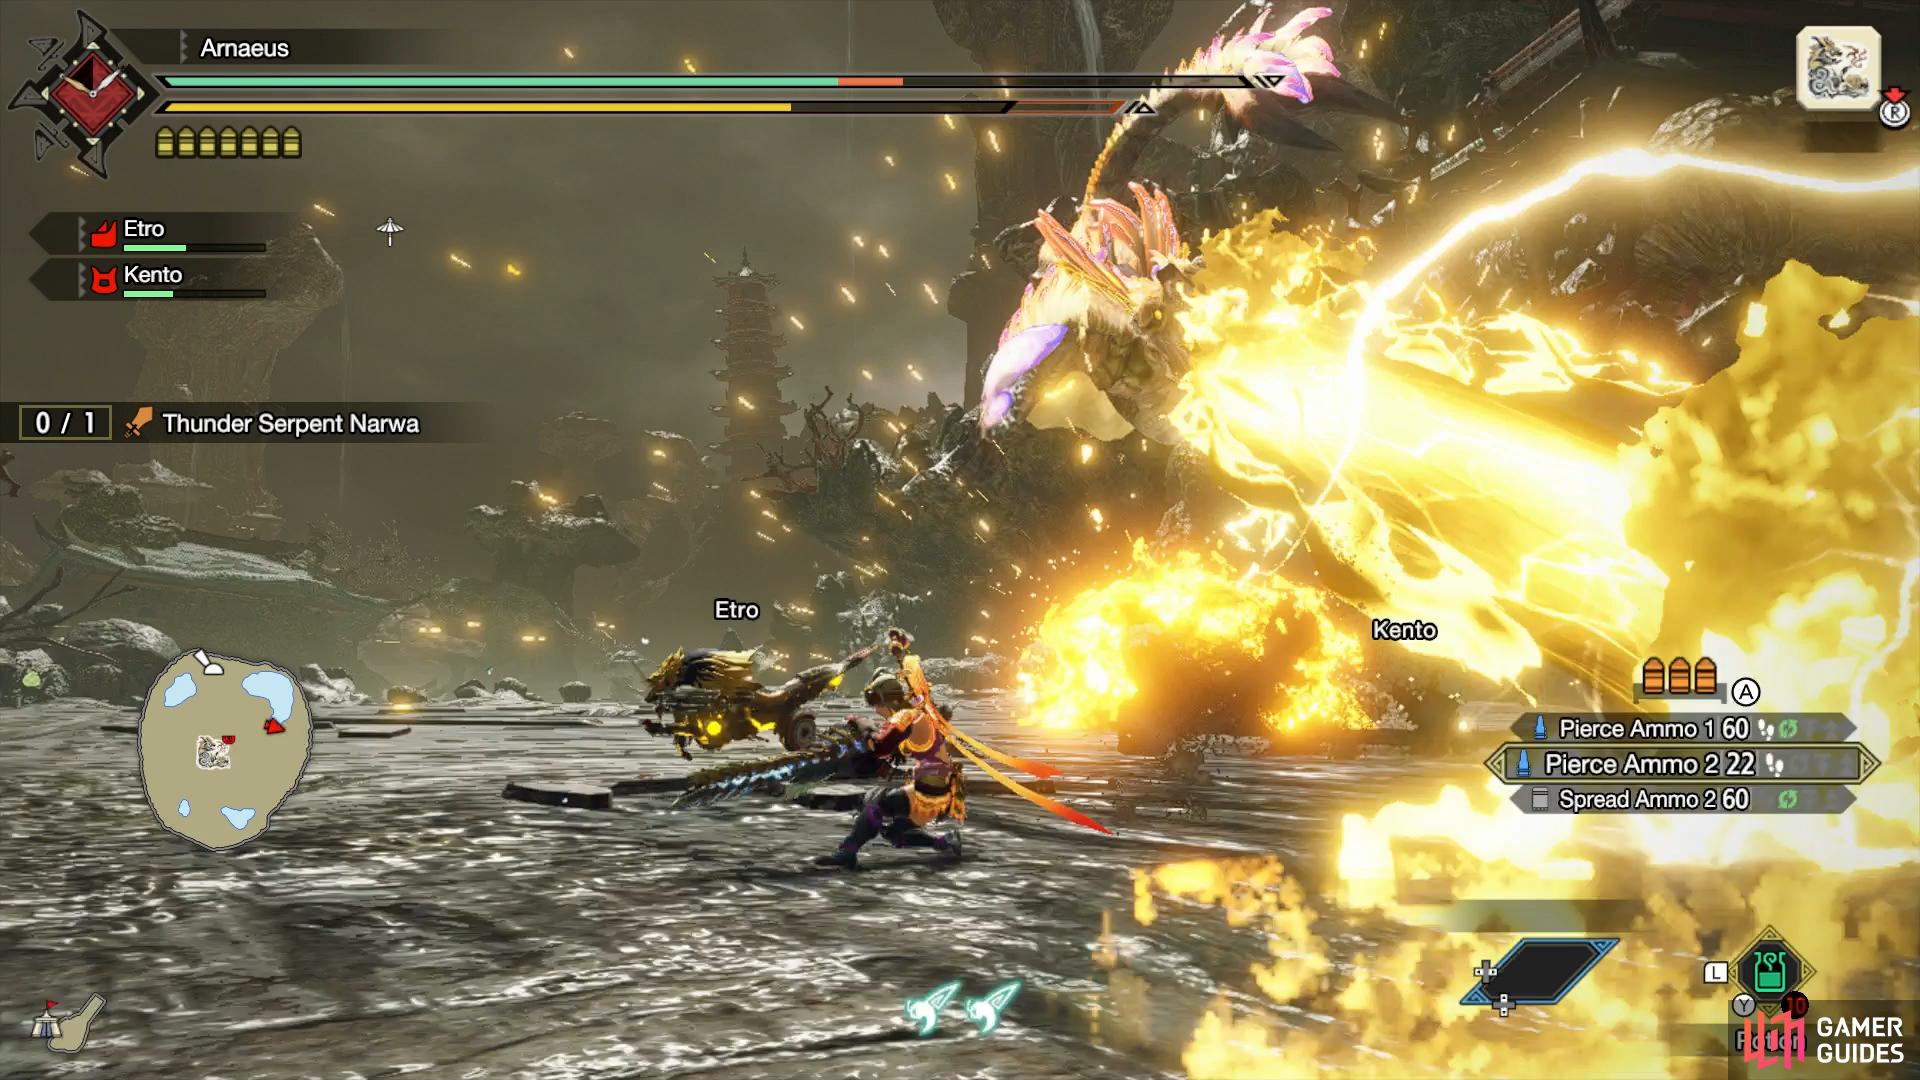
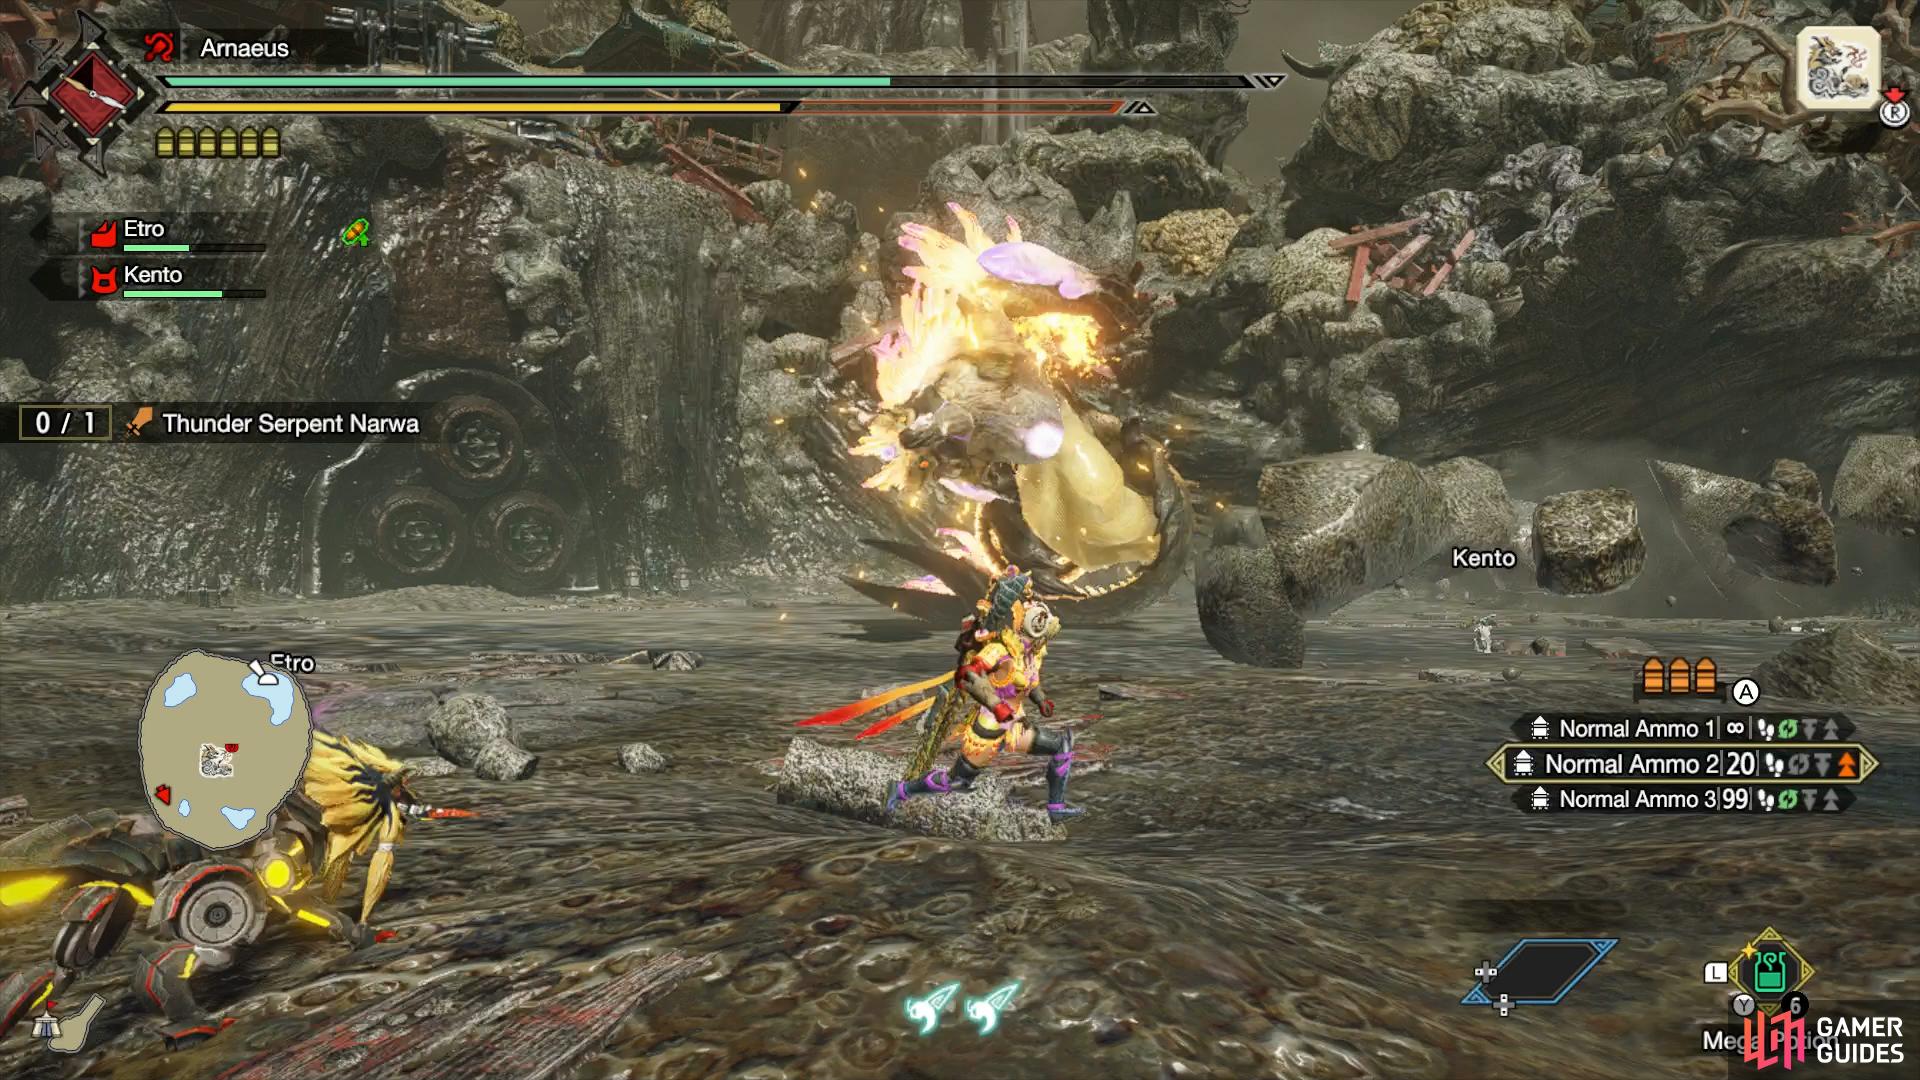
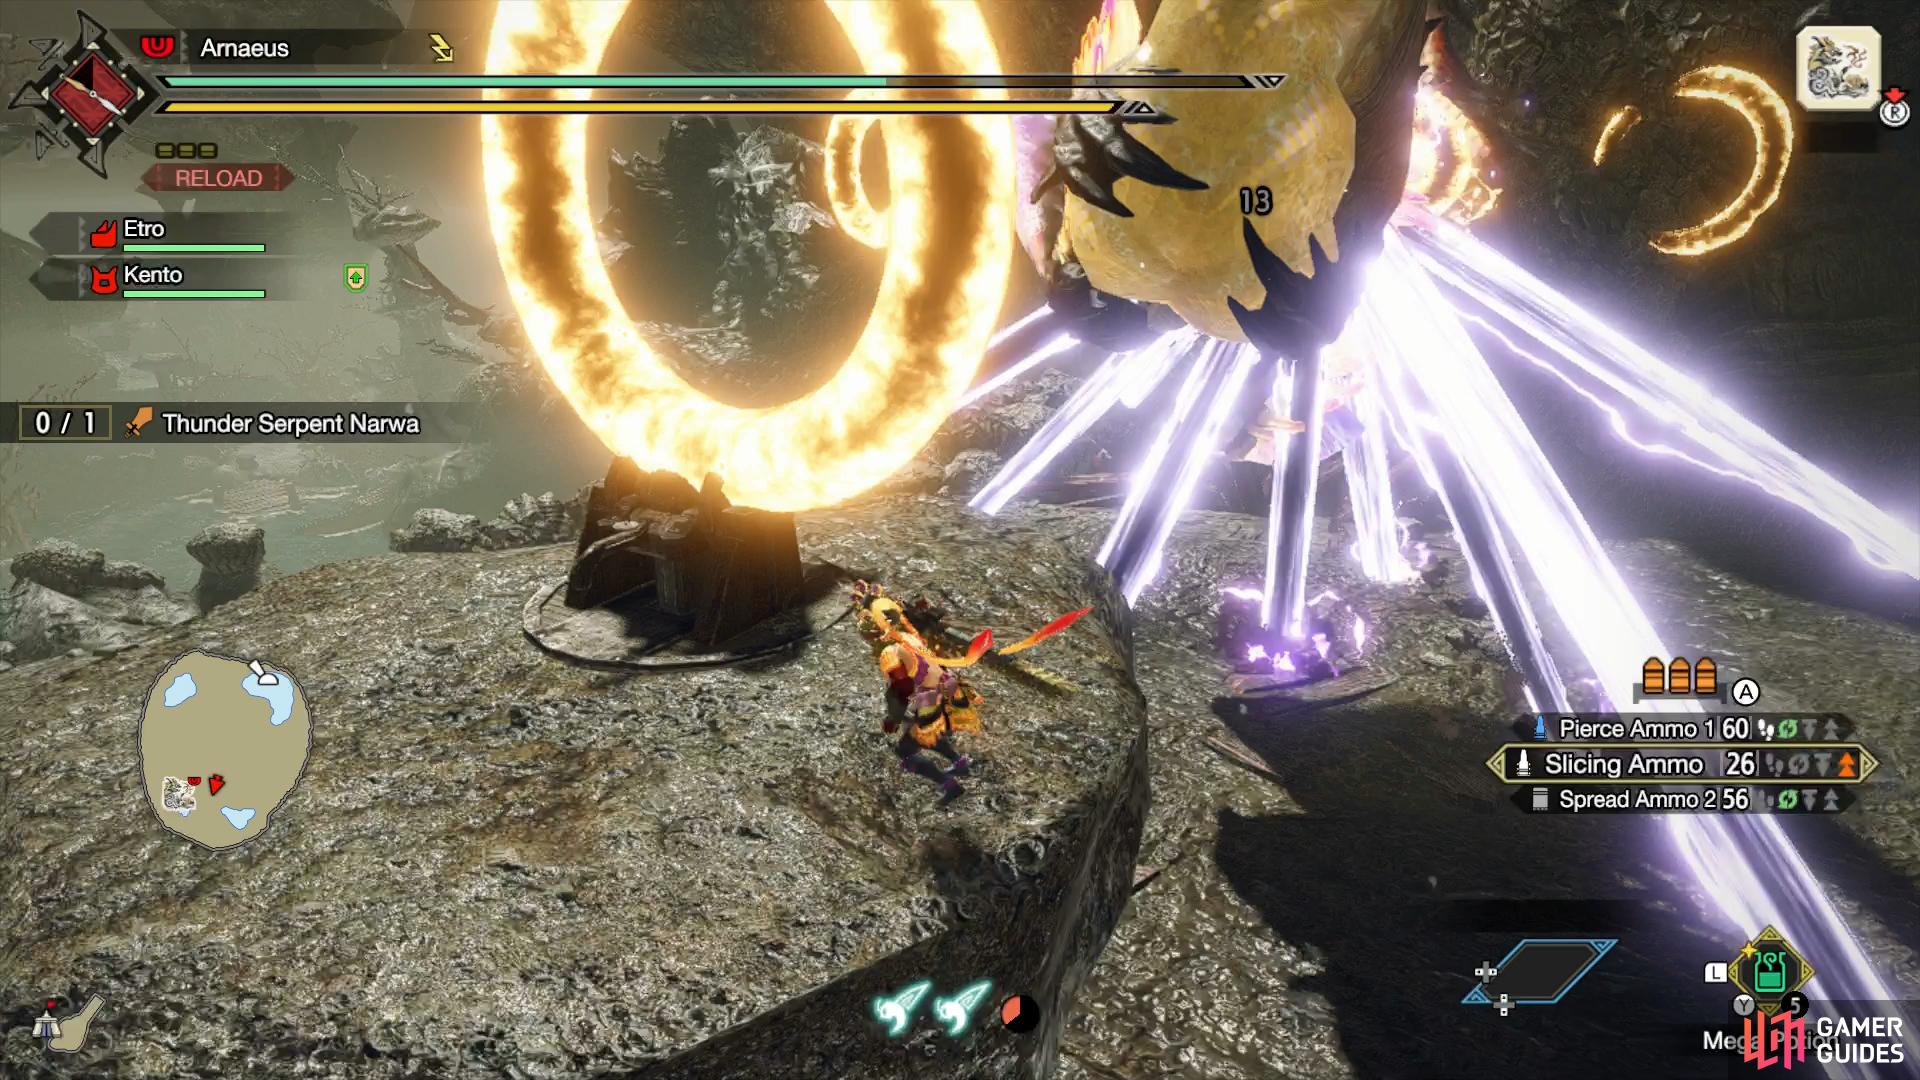
Thunder Beams
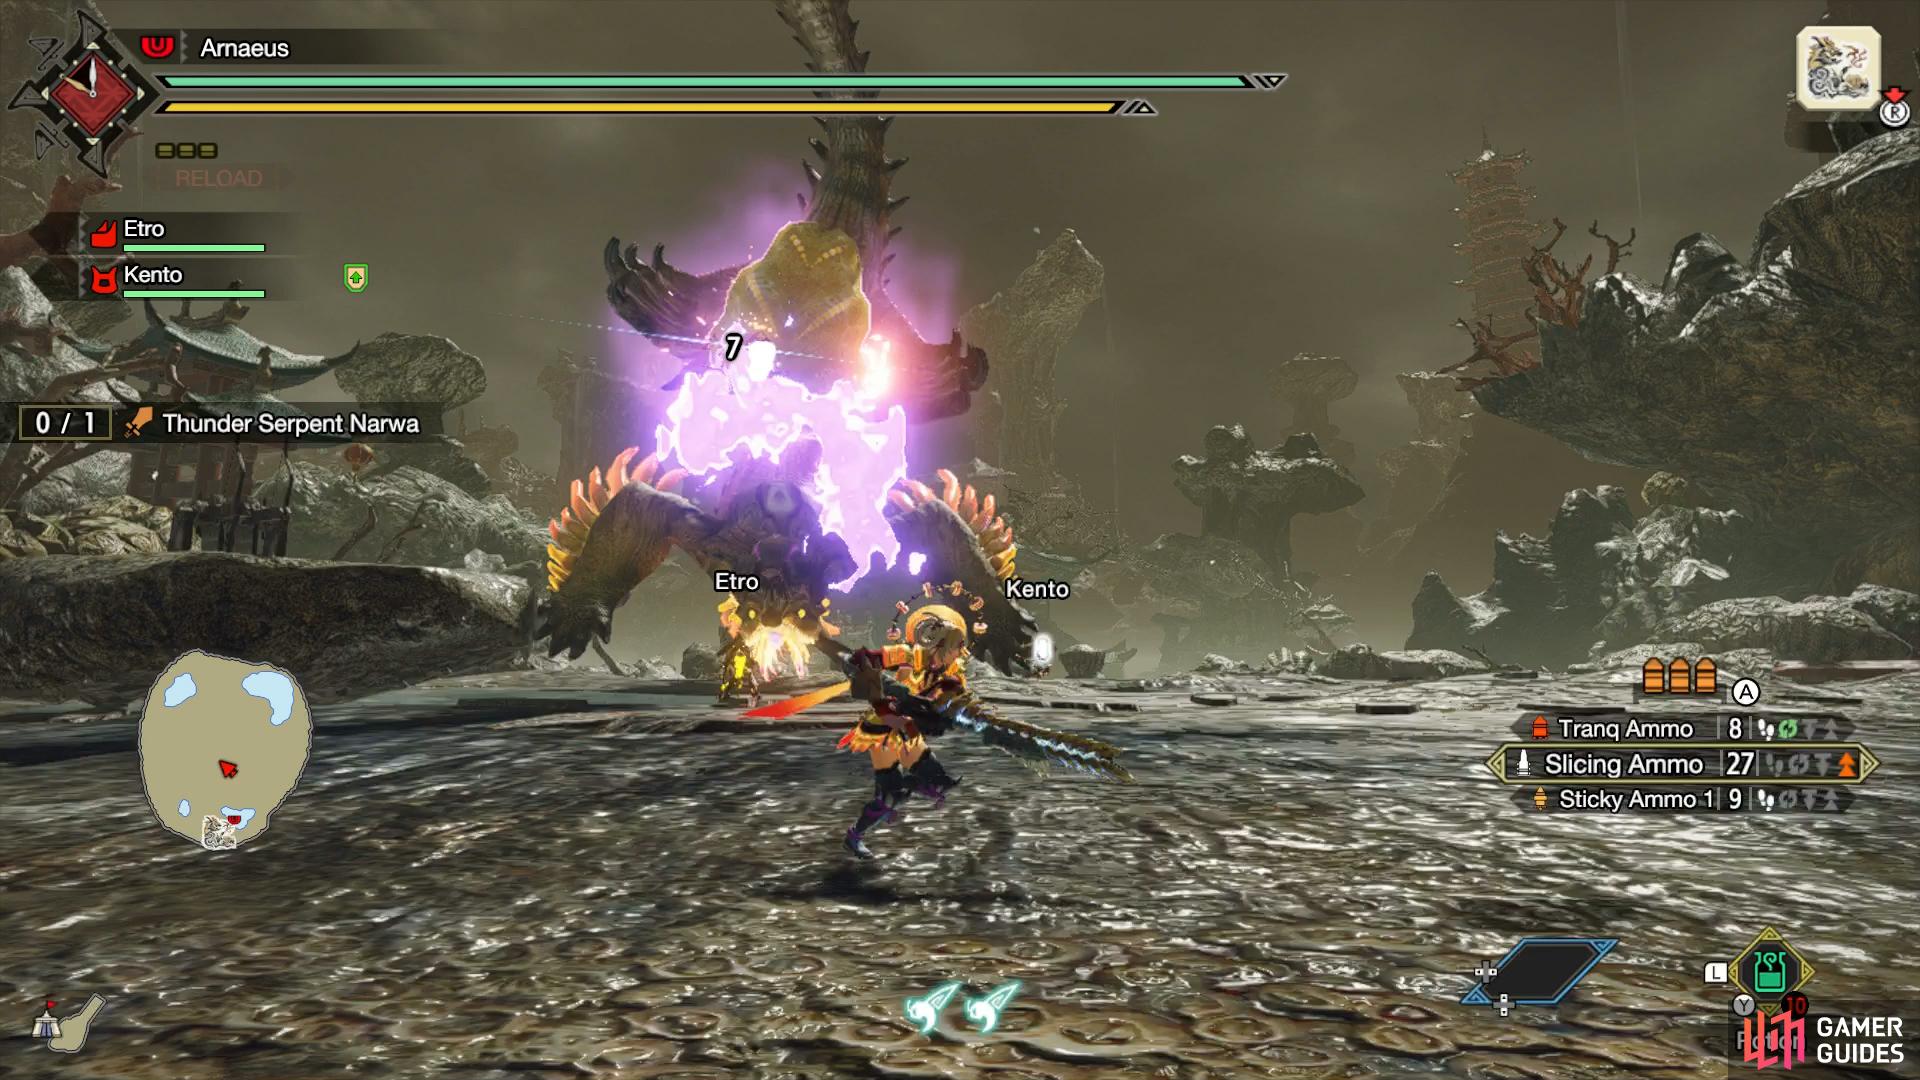
Narwa will generate purple energy around its thundersac
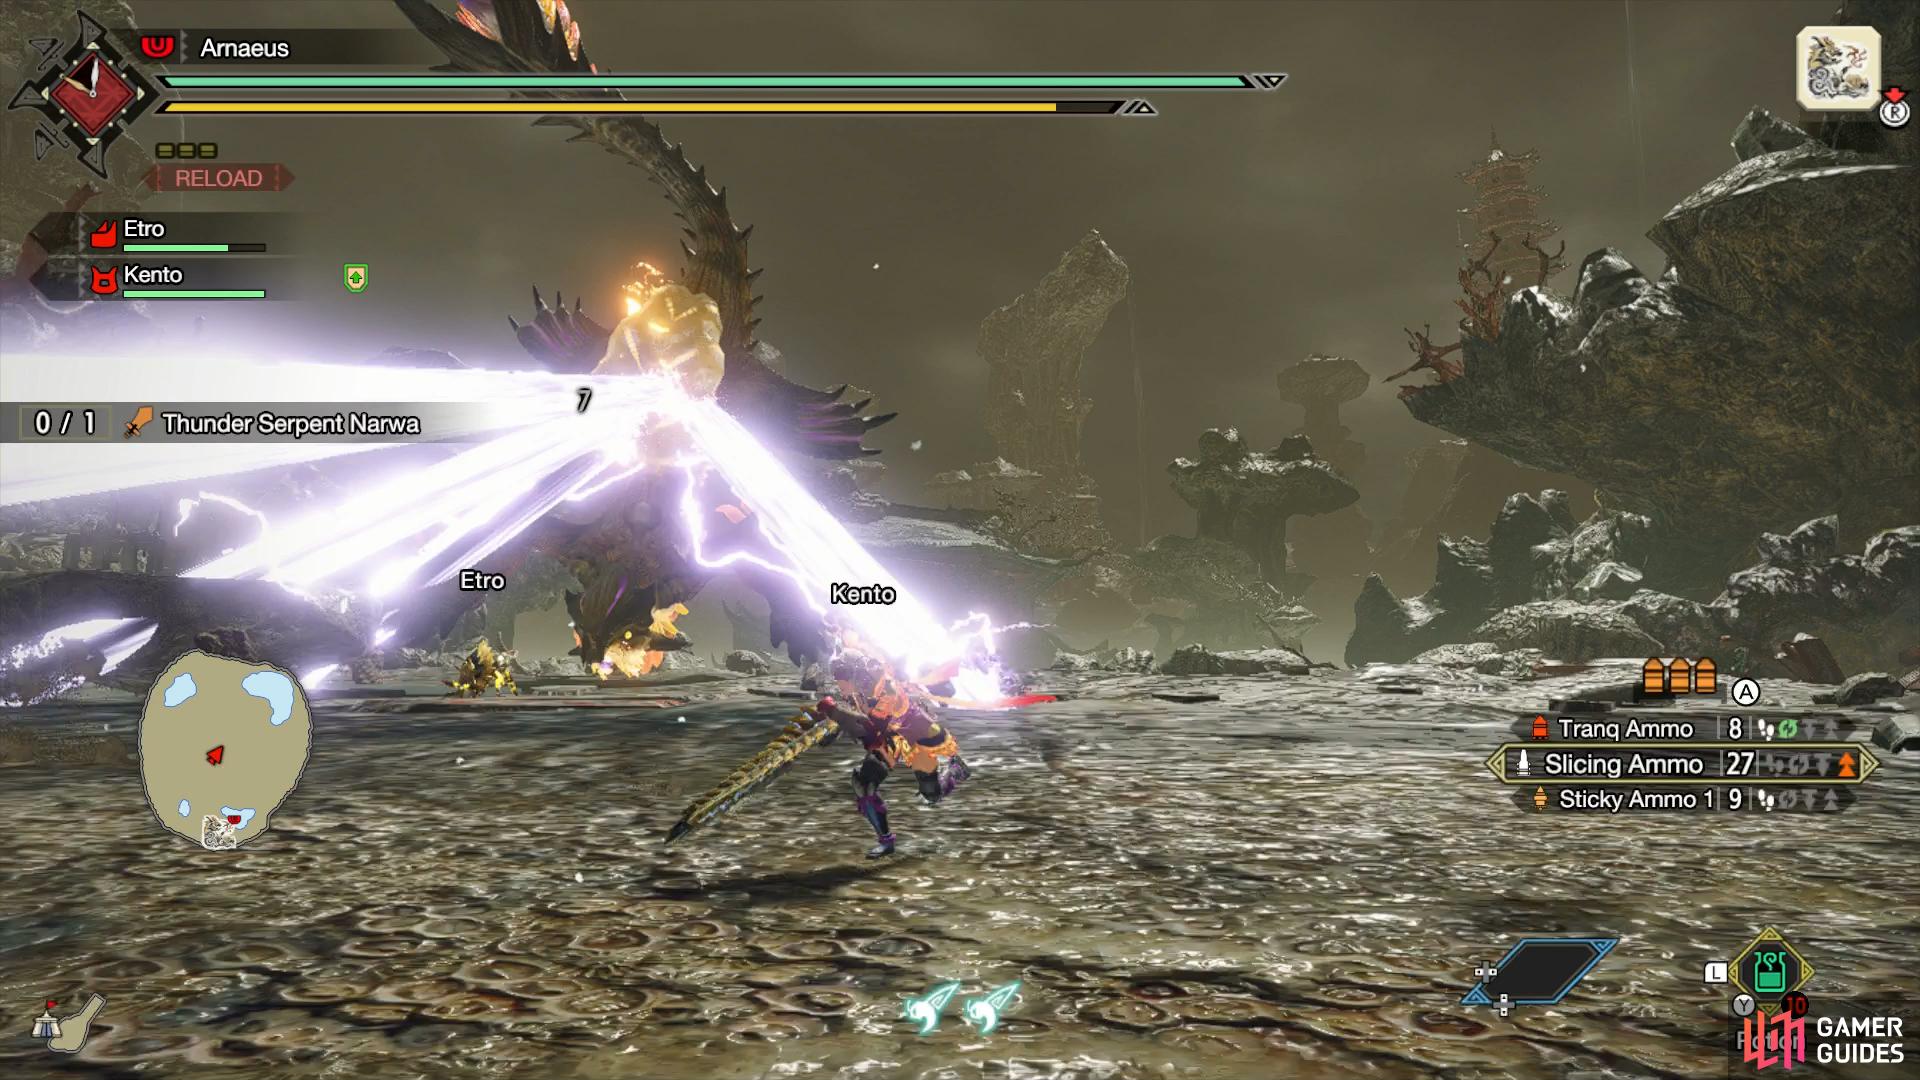
before unleashing a barrage of purple beams around it.
Narwa will channel purple energy around its thundersac, then it will unleash several beams into the ground, and they’ll start rising towards you.
Rings ‘n’ Beams

Narwa will unleash multiple beams which rotate around it
whilst also shooting thunder rings on every stone platform.
Later on into the fight, stone platforms will materialize in the air. These will have weapons like Ballistas on it. To prevent you from using them, Narwa will shoot multiple purple beams from its thundersac, these beams will rotate around the platforms whilst rings of thunder will also be shot out at the same time towards the platforms.
Ring Strike
Narwa will throw a normal thunder ring attack at you,
whilst also having a purple lightning bolt coming out at the same time which can strike you.
Narwa will unleash what looks to be a normal Thunder Ring attack, but you’ll see some purple energy above it. As the rings get nearer to you, the purple bolt will strike upon you, leaving you stunned.
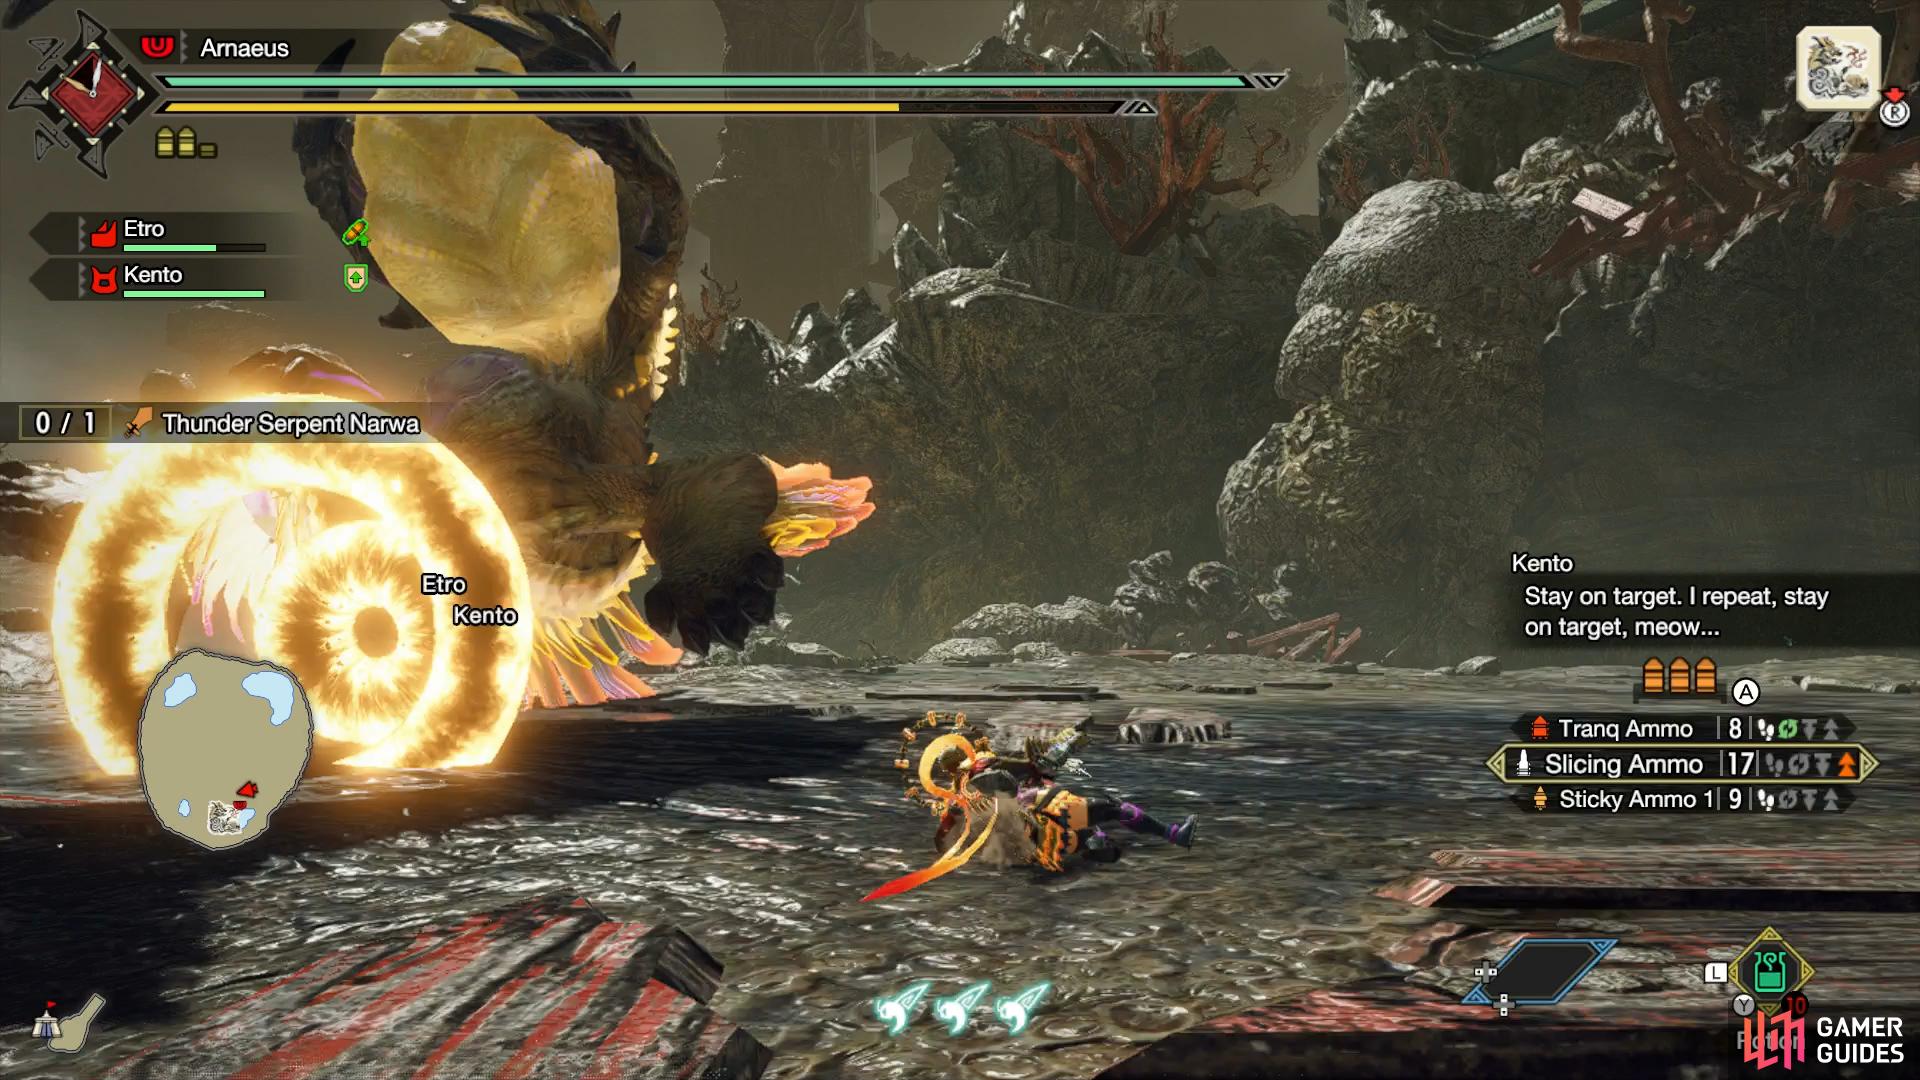
Devastation
Narwa will hang upside down, mouth pointing to the floor
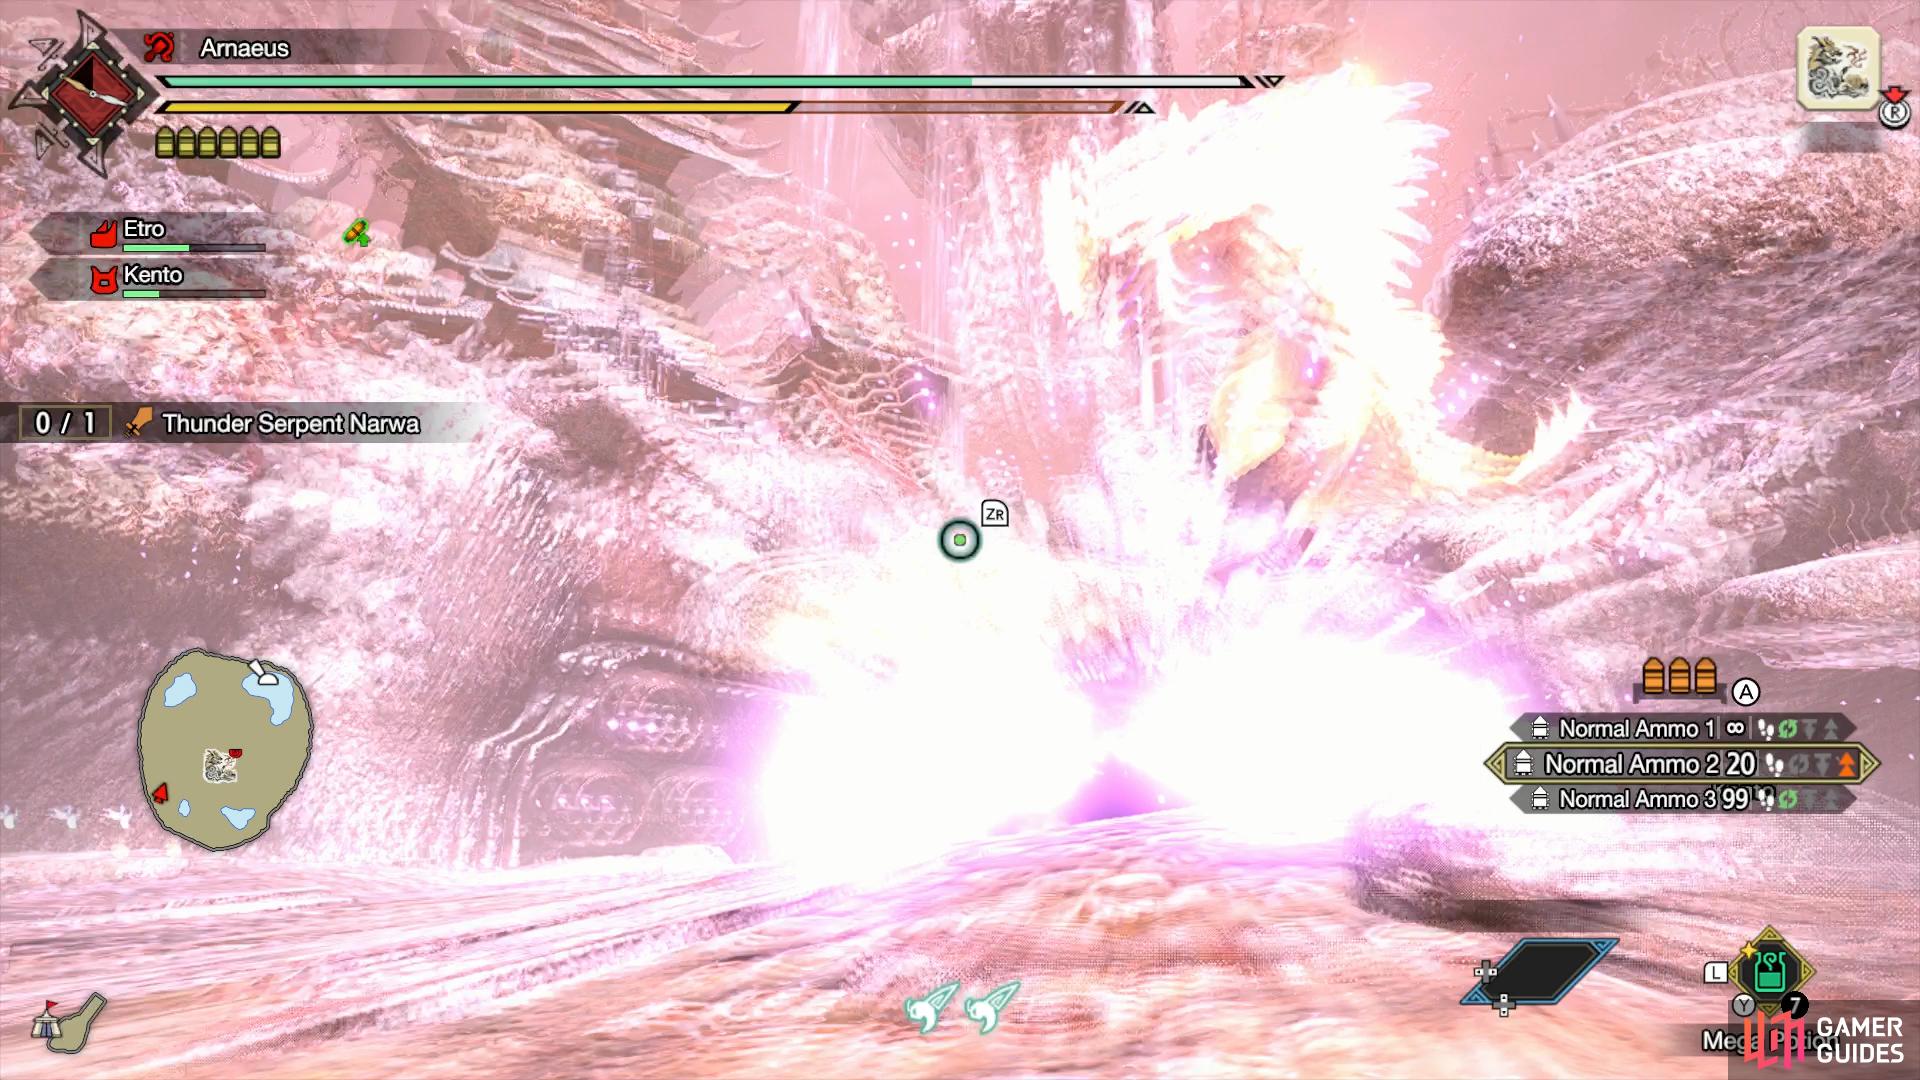
before unleashing a devastating explosion of thunder.
One of the hardest attacks to avoid. Narwa will go high in the air and aim its mouth to the ground. It’ll then gather some purple energy into its mouth before unleashing a devastating explosion of thunder in a large radius. Get on the stone platforms to avoid this.
Ring of Orbs
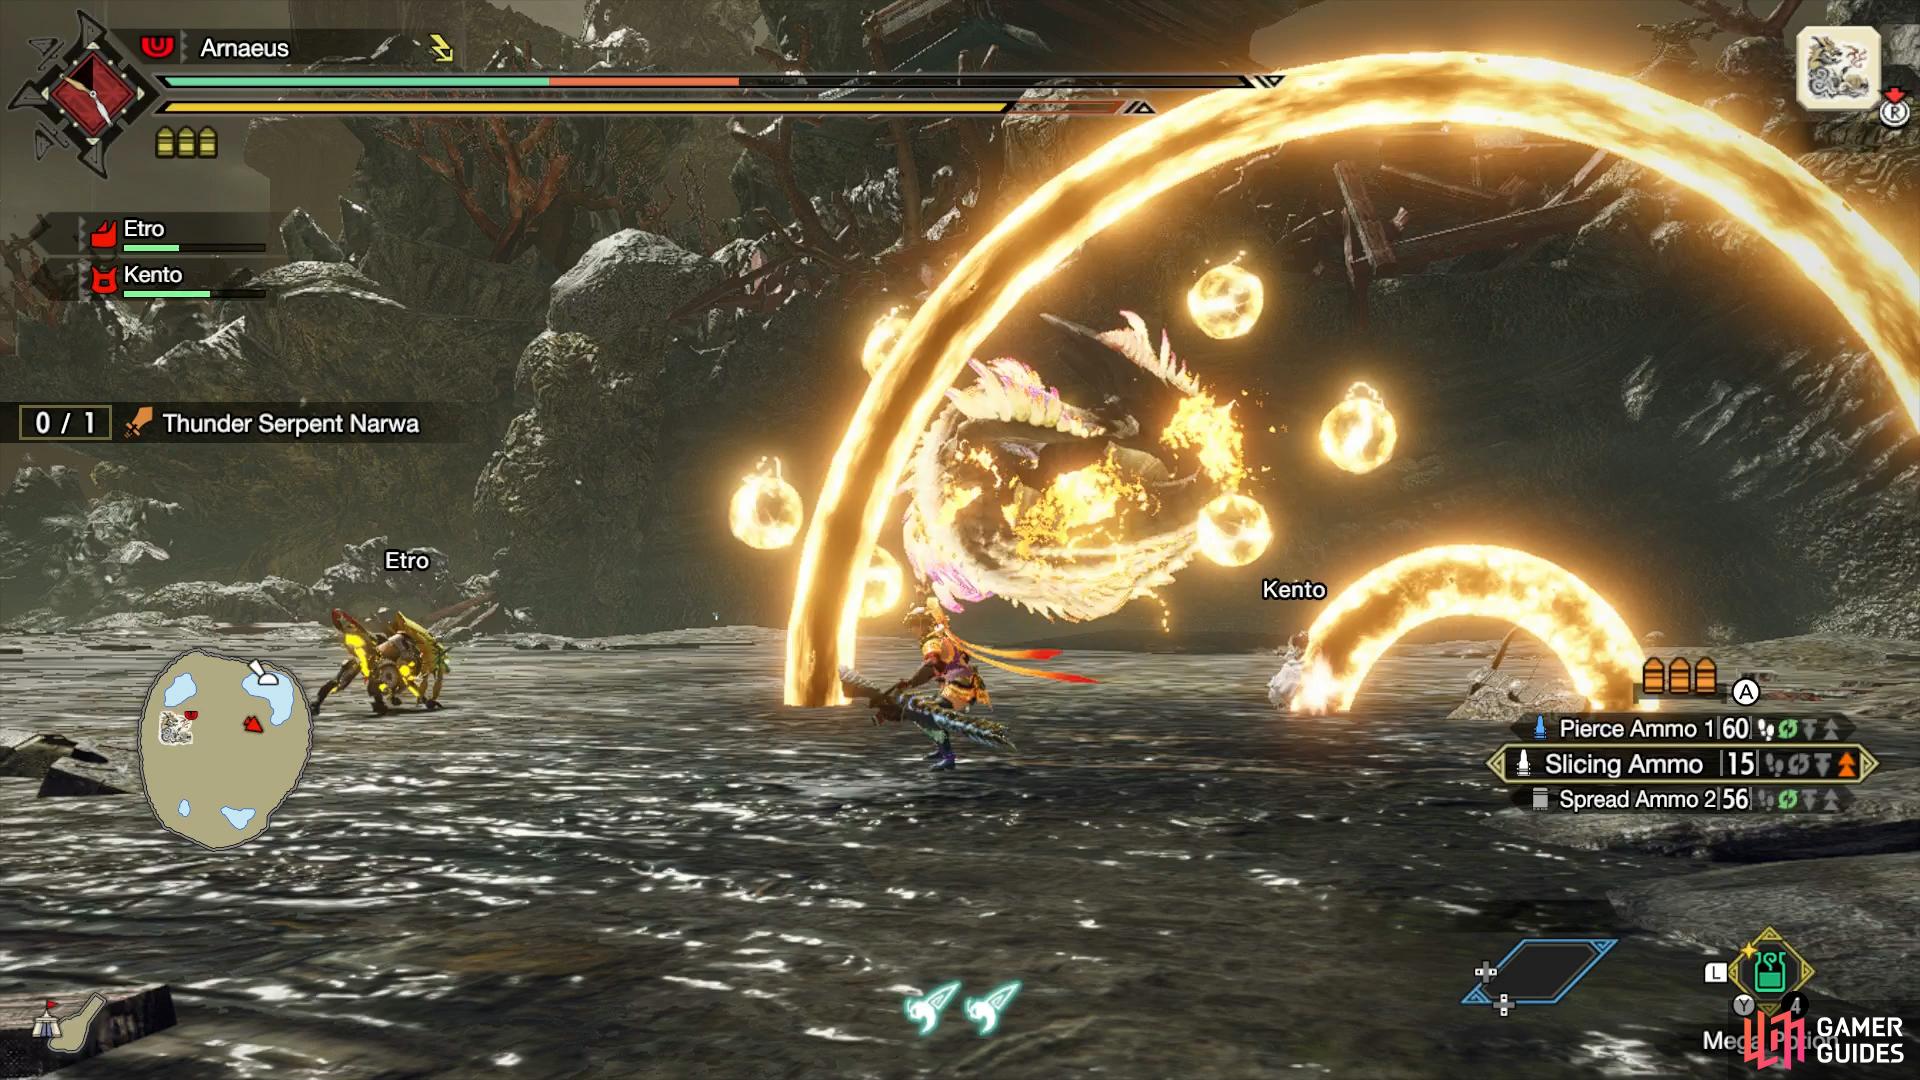
Narwa will conjure several thunder orbs around itself.
The orbs will transform into multiple rings with one of them being a large thunder orb.
Narwa will curl up in the air, and several orbs of thunder will materialize around it. Most of the orbs will transform into multiple rings and start heading your direction, as this is happening, one large thunder orb will shoot straight through them at you.
Strategy
Before going in to the hunt, make sure to bring max potions/megapotions, because they’ll be needed. Also come prepared by having as much thunder resistance as possible as well as eating the thunder res Dango. A lot of Narwa’s attacks are unique, and involve rings of the thunder element, it will constantly barrage you with them whilst throwing traditional attacks like charges, tail slams, and beam attacks.
You can avoid the ring attacks by backing off, and waiting for them to expand a little before running through them. Occasionally it will send a large orb of thunder through the ring to catch you off guard, simply dodge to the side to avoid them. Also, it can chain three Thunder Ring attacks together with the last one having a Thunder Orb with it. There are other variations of the Ring attacks which you can read about above.
One of the tougher attacks to avoid is its Devastation attack. Narwa will hang upside down and channel energy into its mouth, after a second or two, it will blast it into the ground creating a devastating explosion for major damage. To avoid this, use your Wirebug to reach one of the many stone platforms around the arena, or Guard if your weapon allows it.
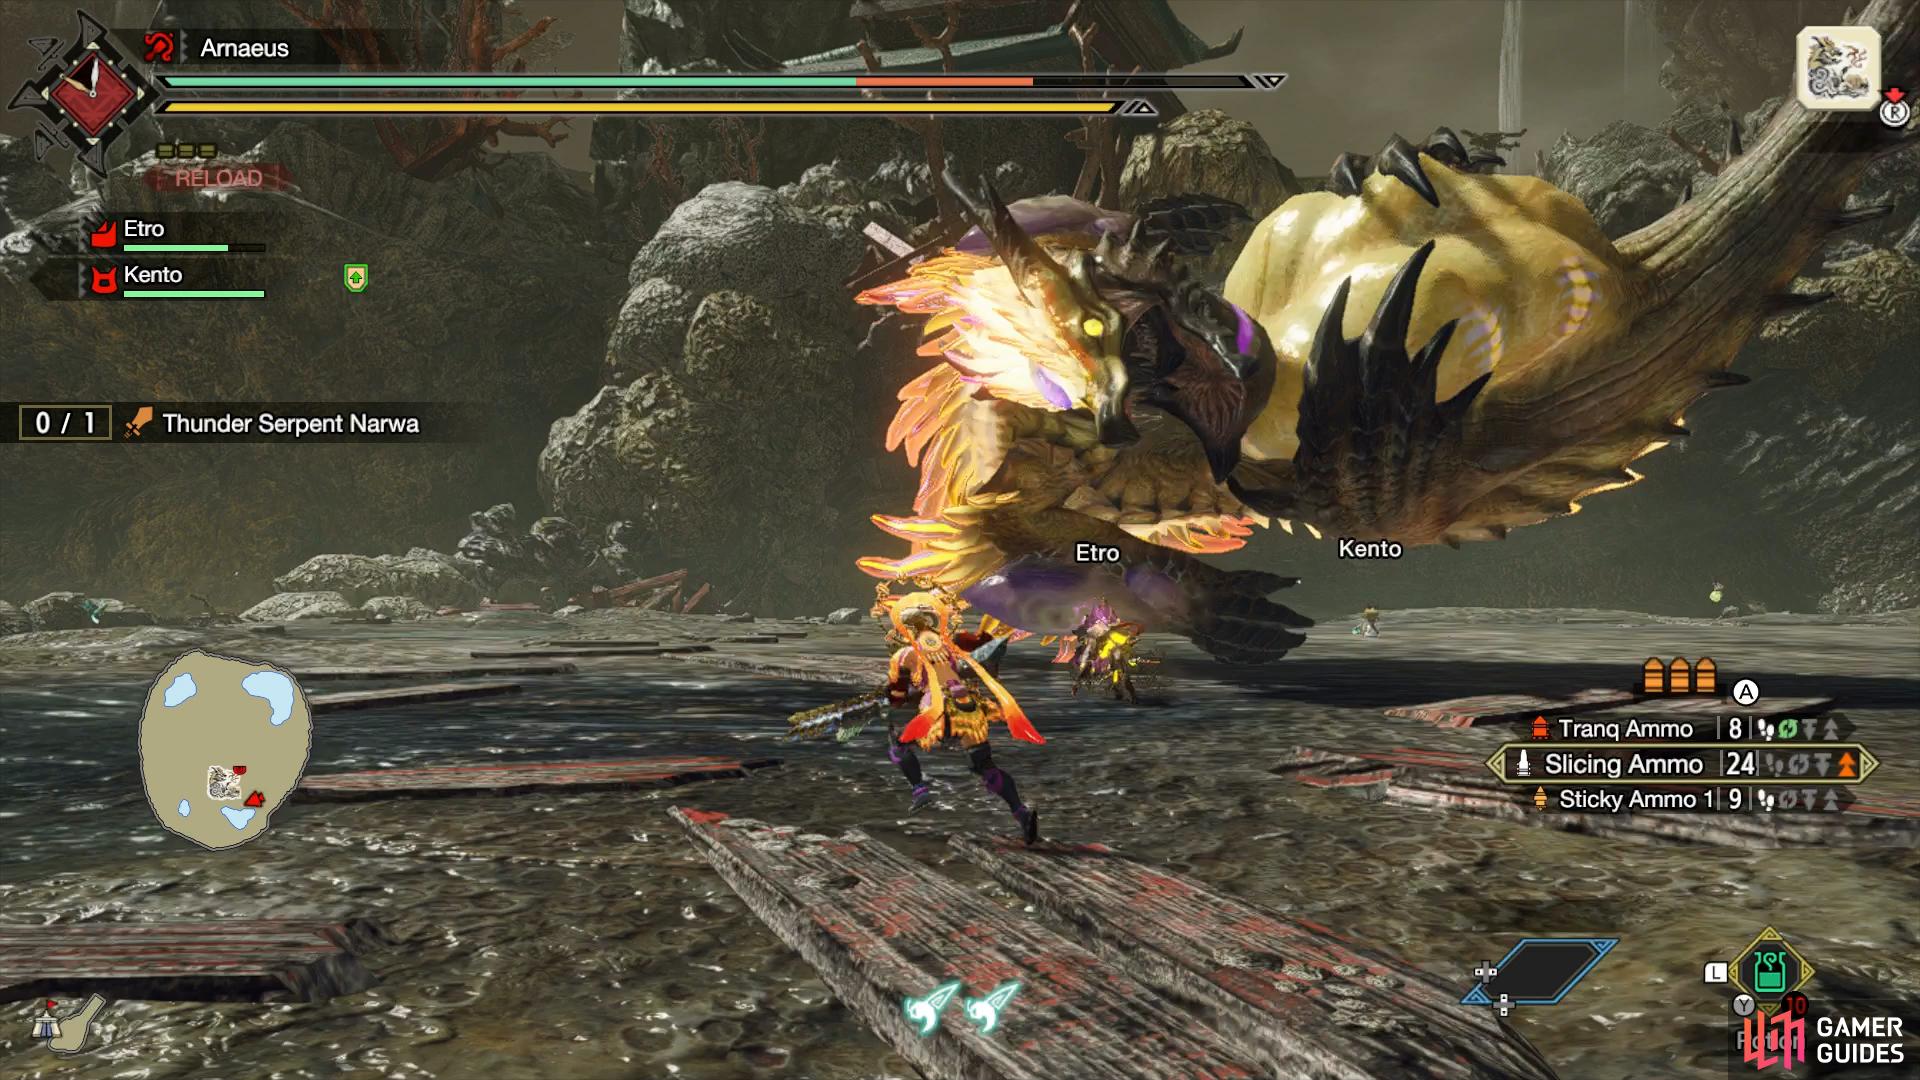
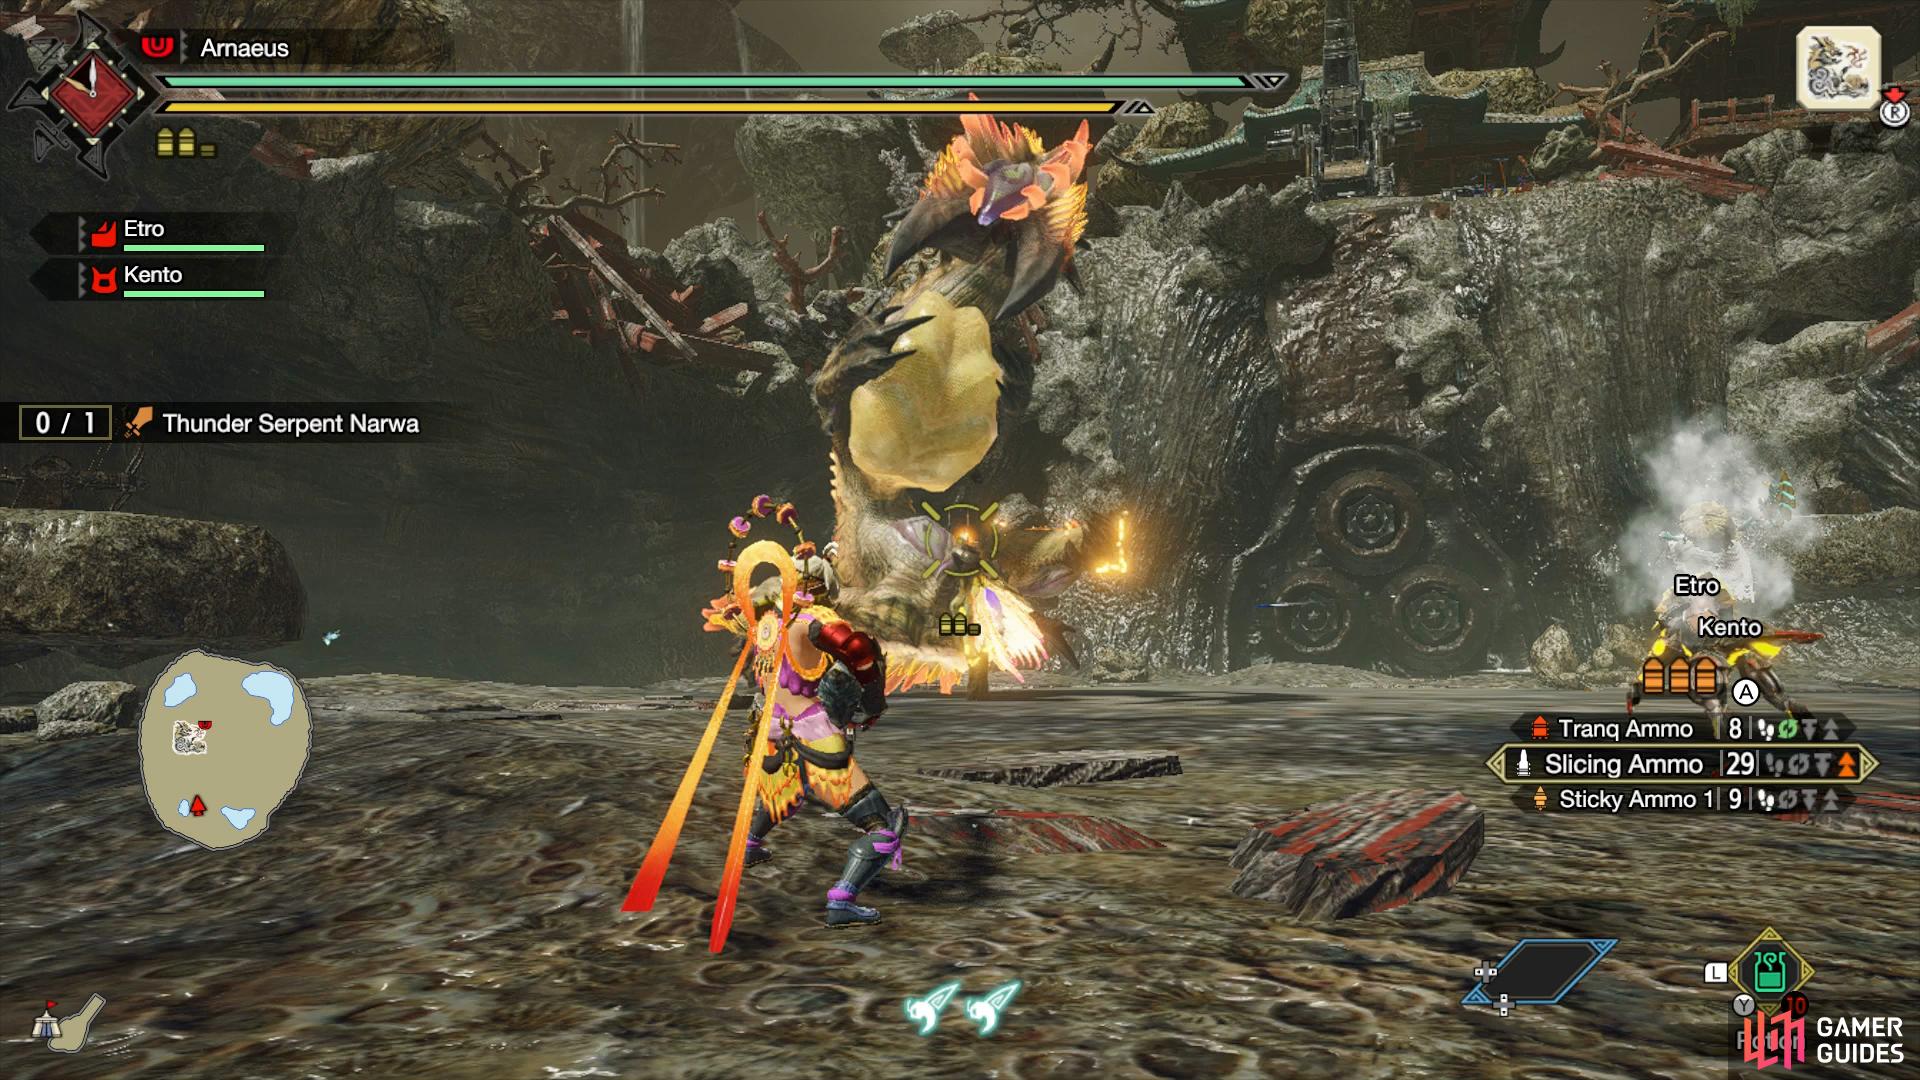
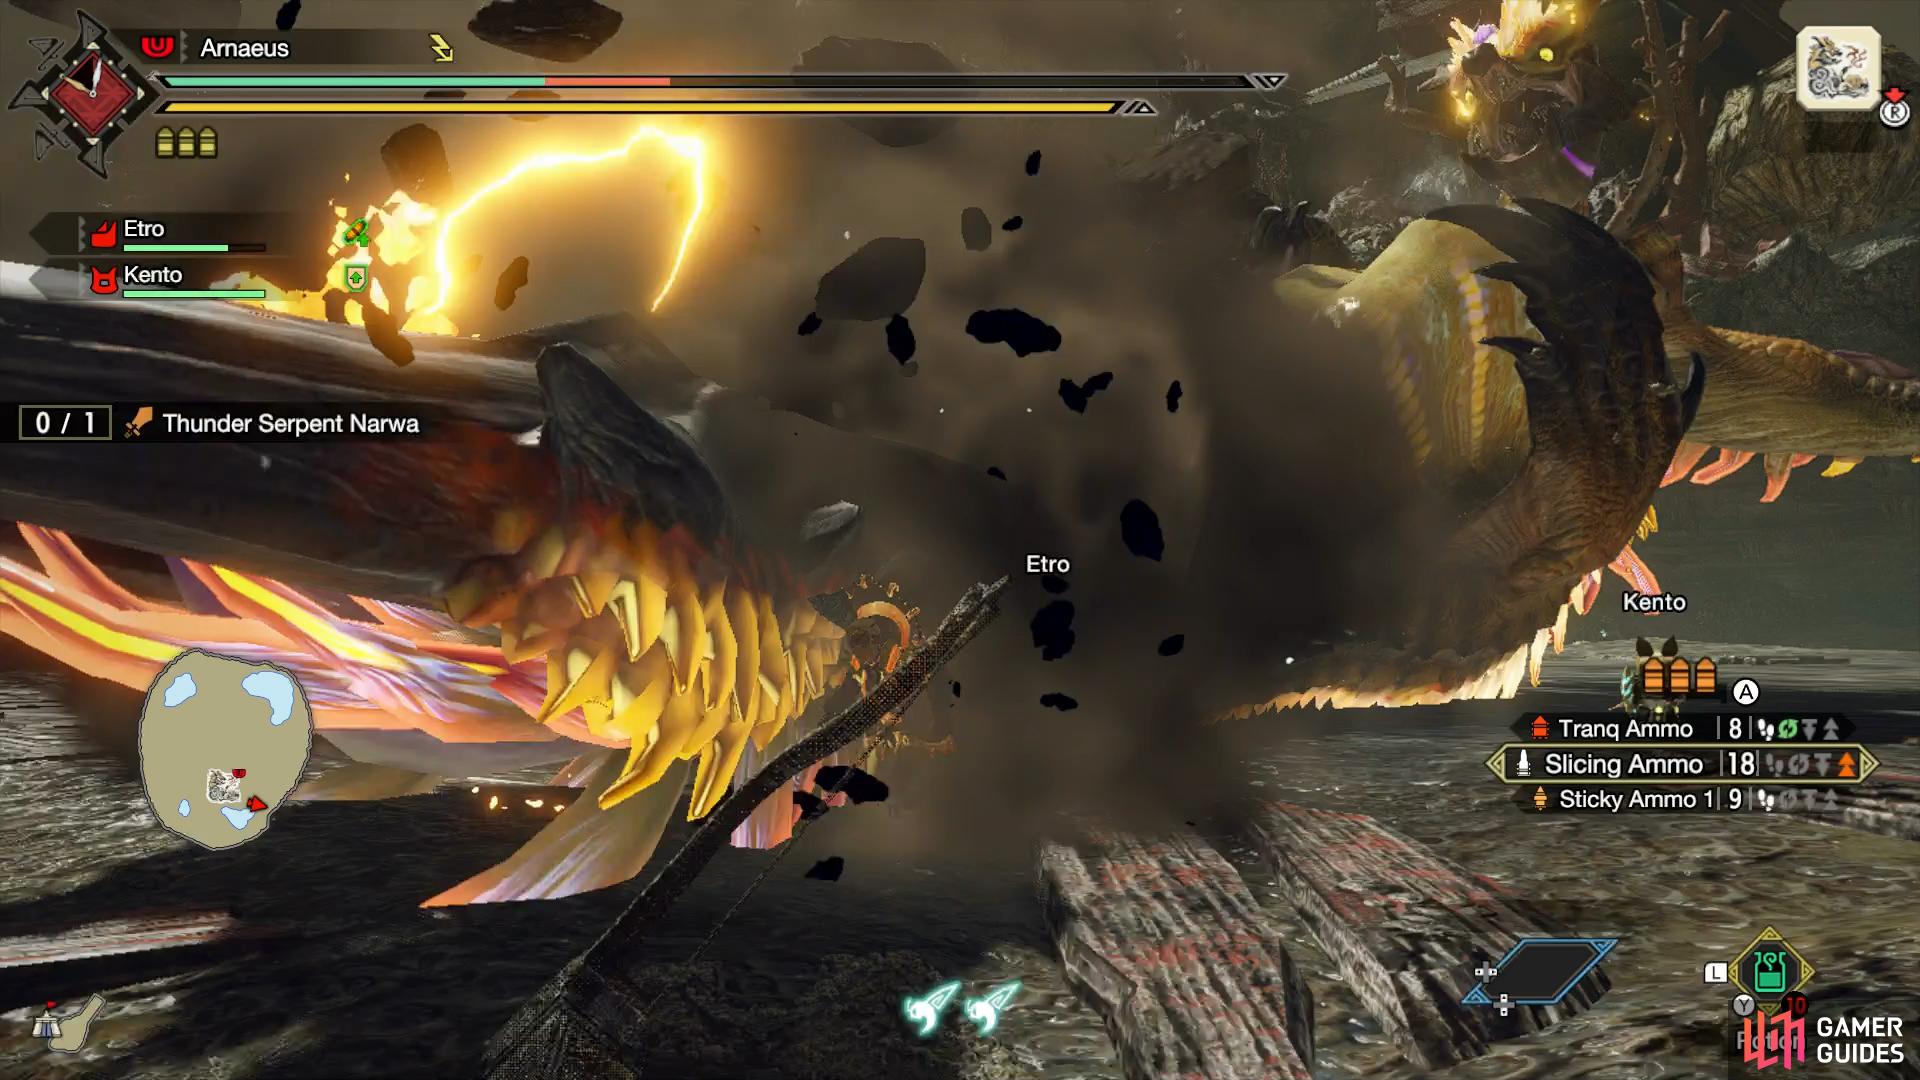
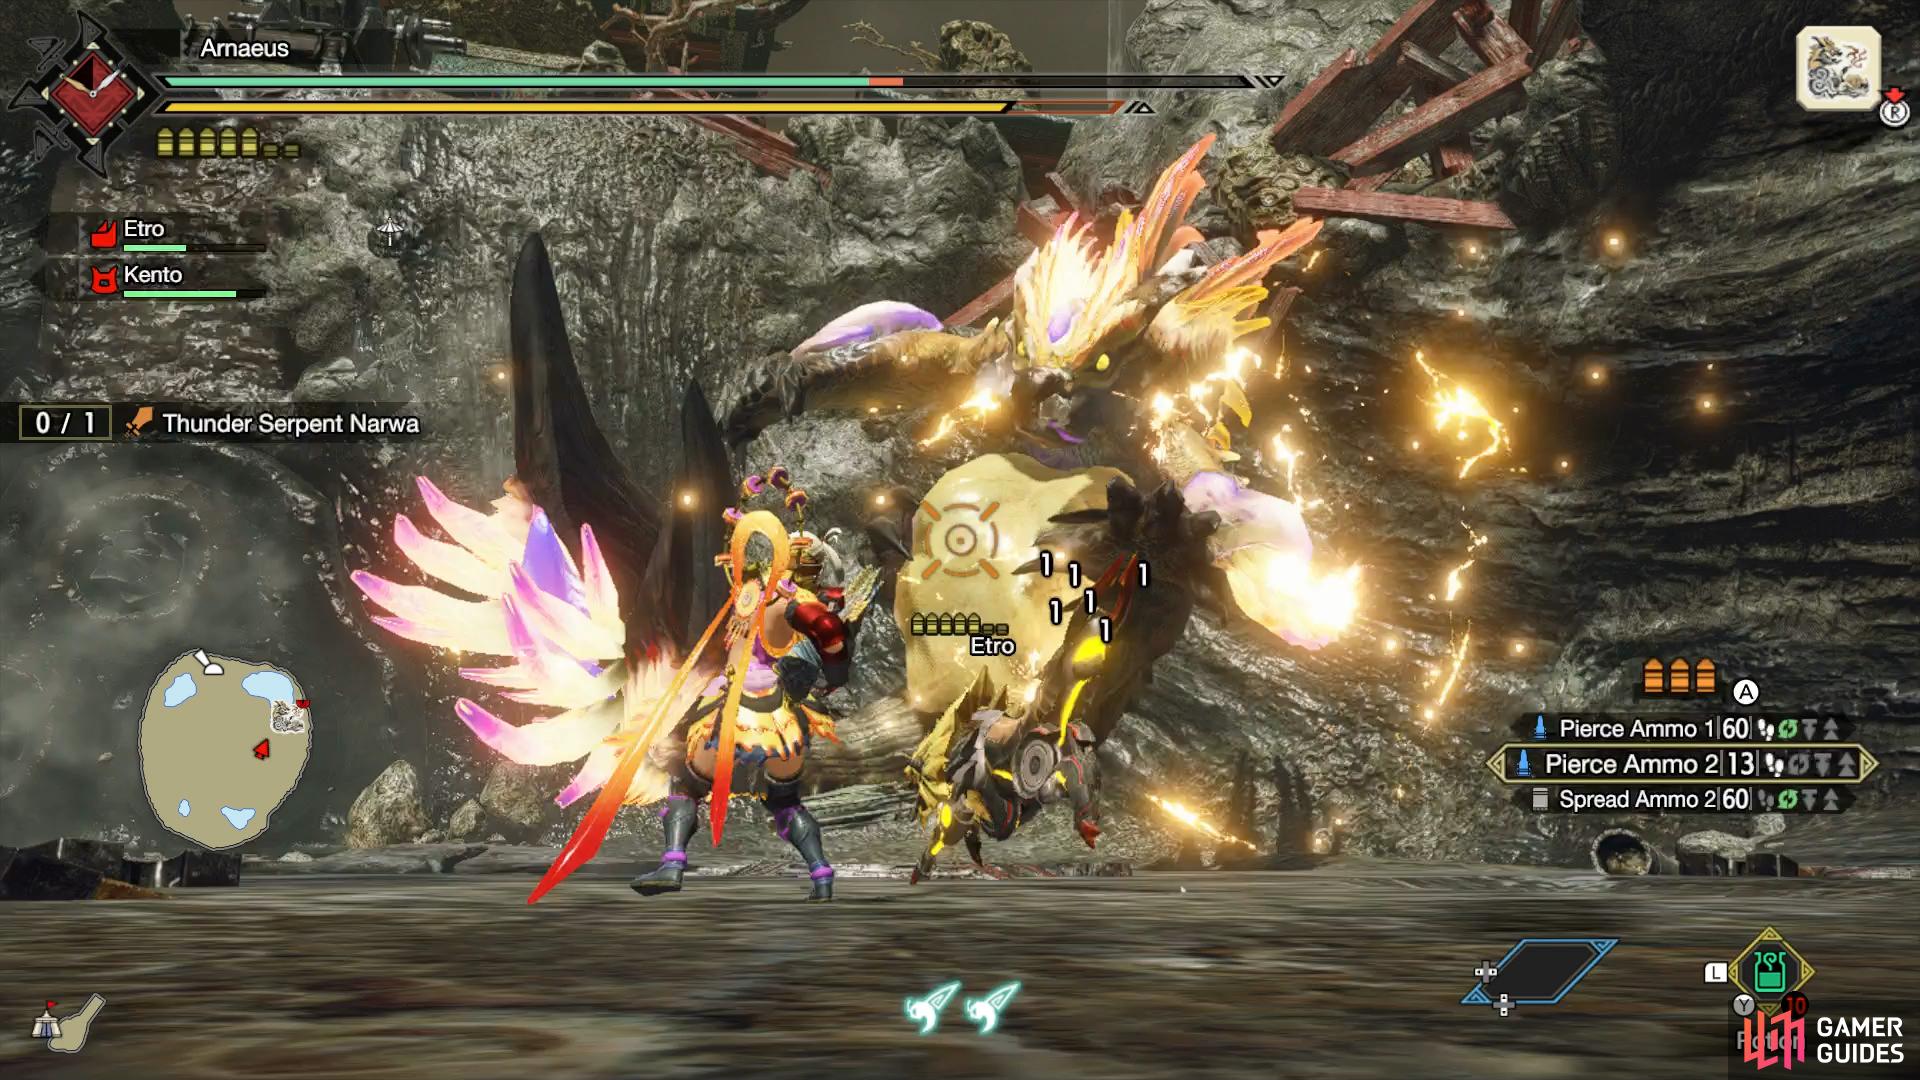
Talking of stone platforms, throughout the battle, multiple platforms will materialize around the arena, these will usually host weaponry like, Ballistas, Machine Cannons, and regular cannons. These don’t stay up for long, so you’ll have to be quick to get on the platforms to utilize them, but they are worth the trouble, because they can deal major damage to Narwa. Later on in the battle, Narwa will throw attacks at you to prevent you from using them. Furthermore, when Narwa gets knocked down to the floor, stone ramps will appear either side of its thundersac, allowing melee to climb up next to it and deal lots of damage to its weak point.
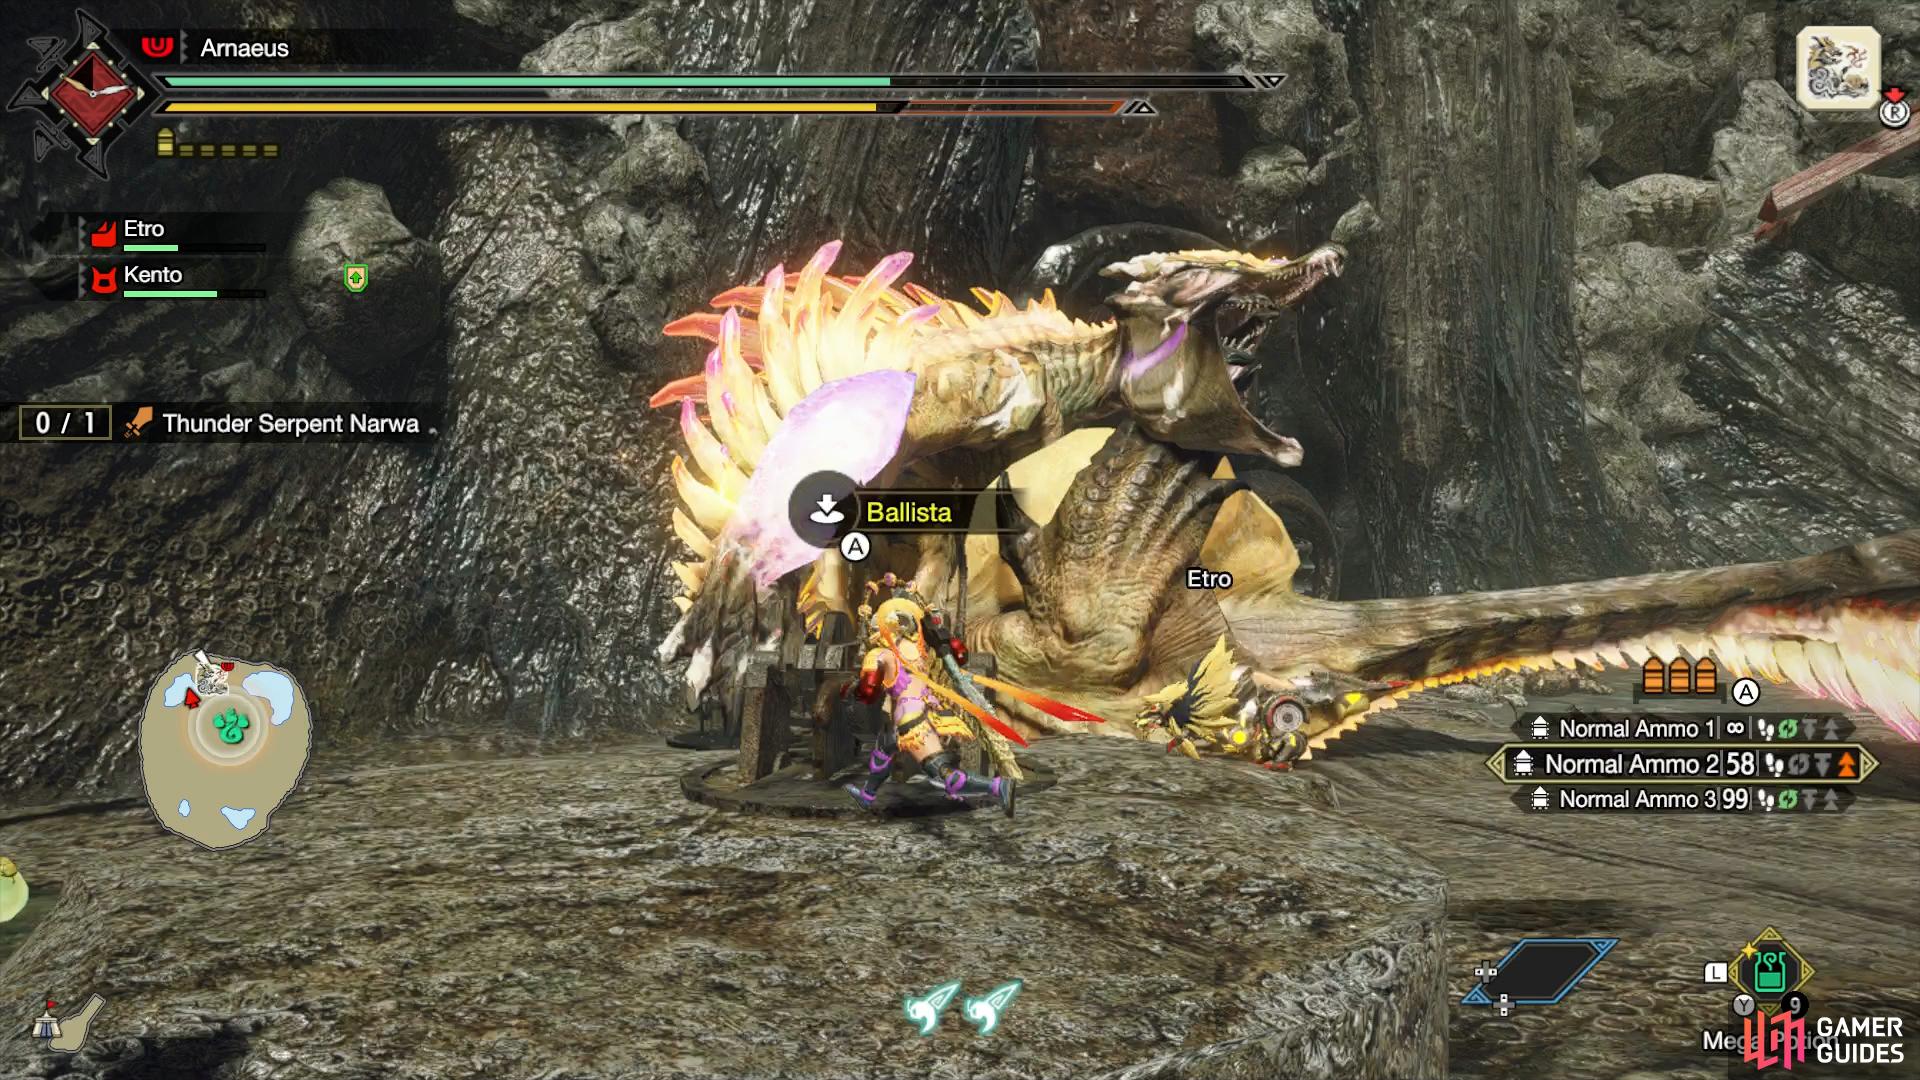
Also throughout the battle, you’ll see the “Splitting Wyvernshot” and the “Dragonator” are available, these can be found at the north side of the arena, next to each other. These two contraptions will do tremendous damage to Narwa, providing you don’t miss with them.
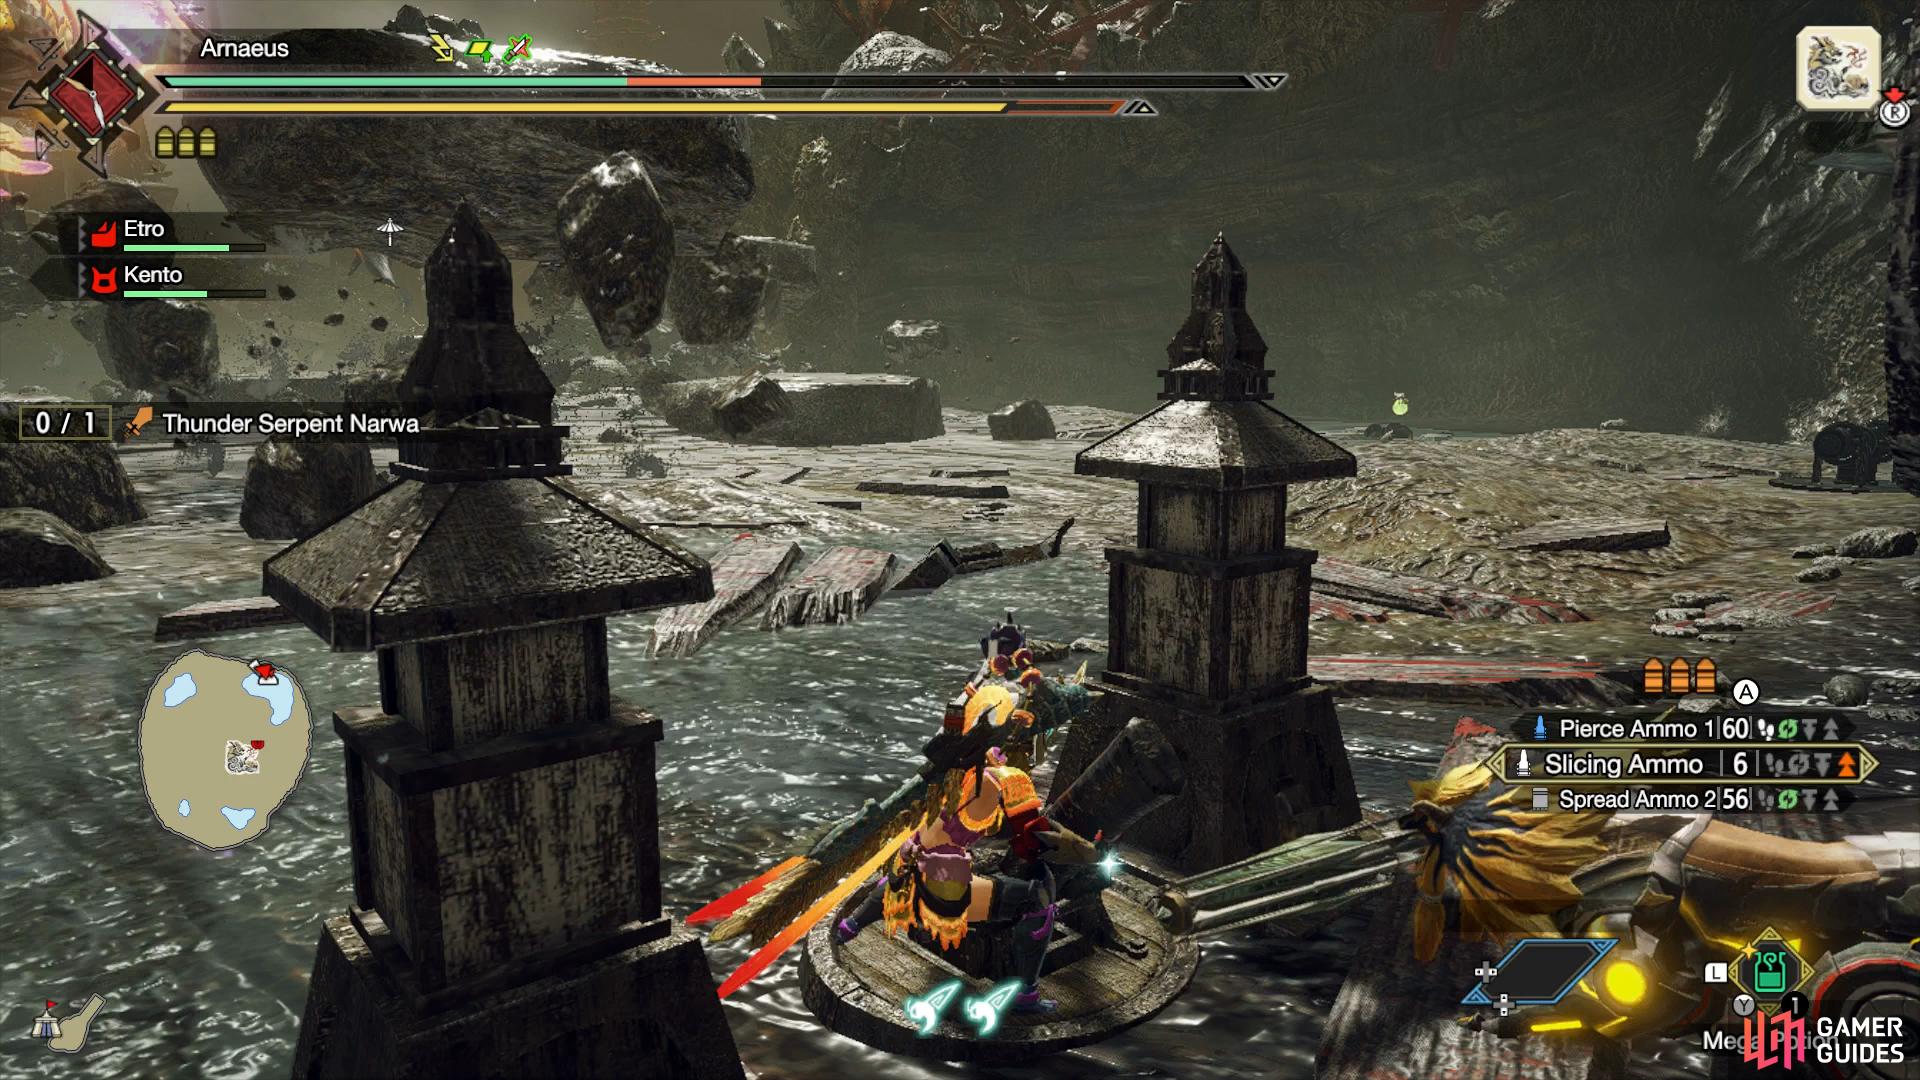
(1 of 5) The Dragonator can be found at the north side of the arena, and will become unlocked during the battle
You’ll get a scene when Narwa is defeated, and you’ll find shards of its body around the large hole it created, there are about four carves to get, which is shown on the minimap as a tail icon. Make sure to carve them up!
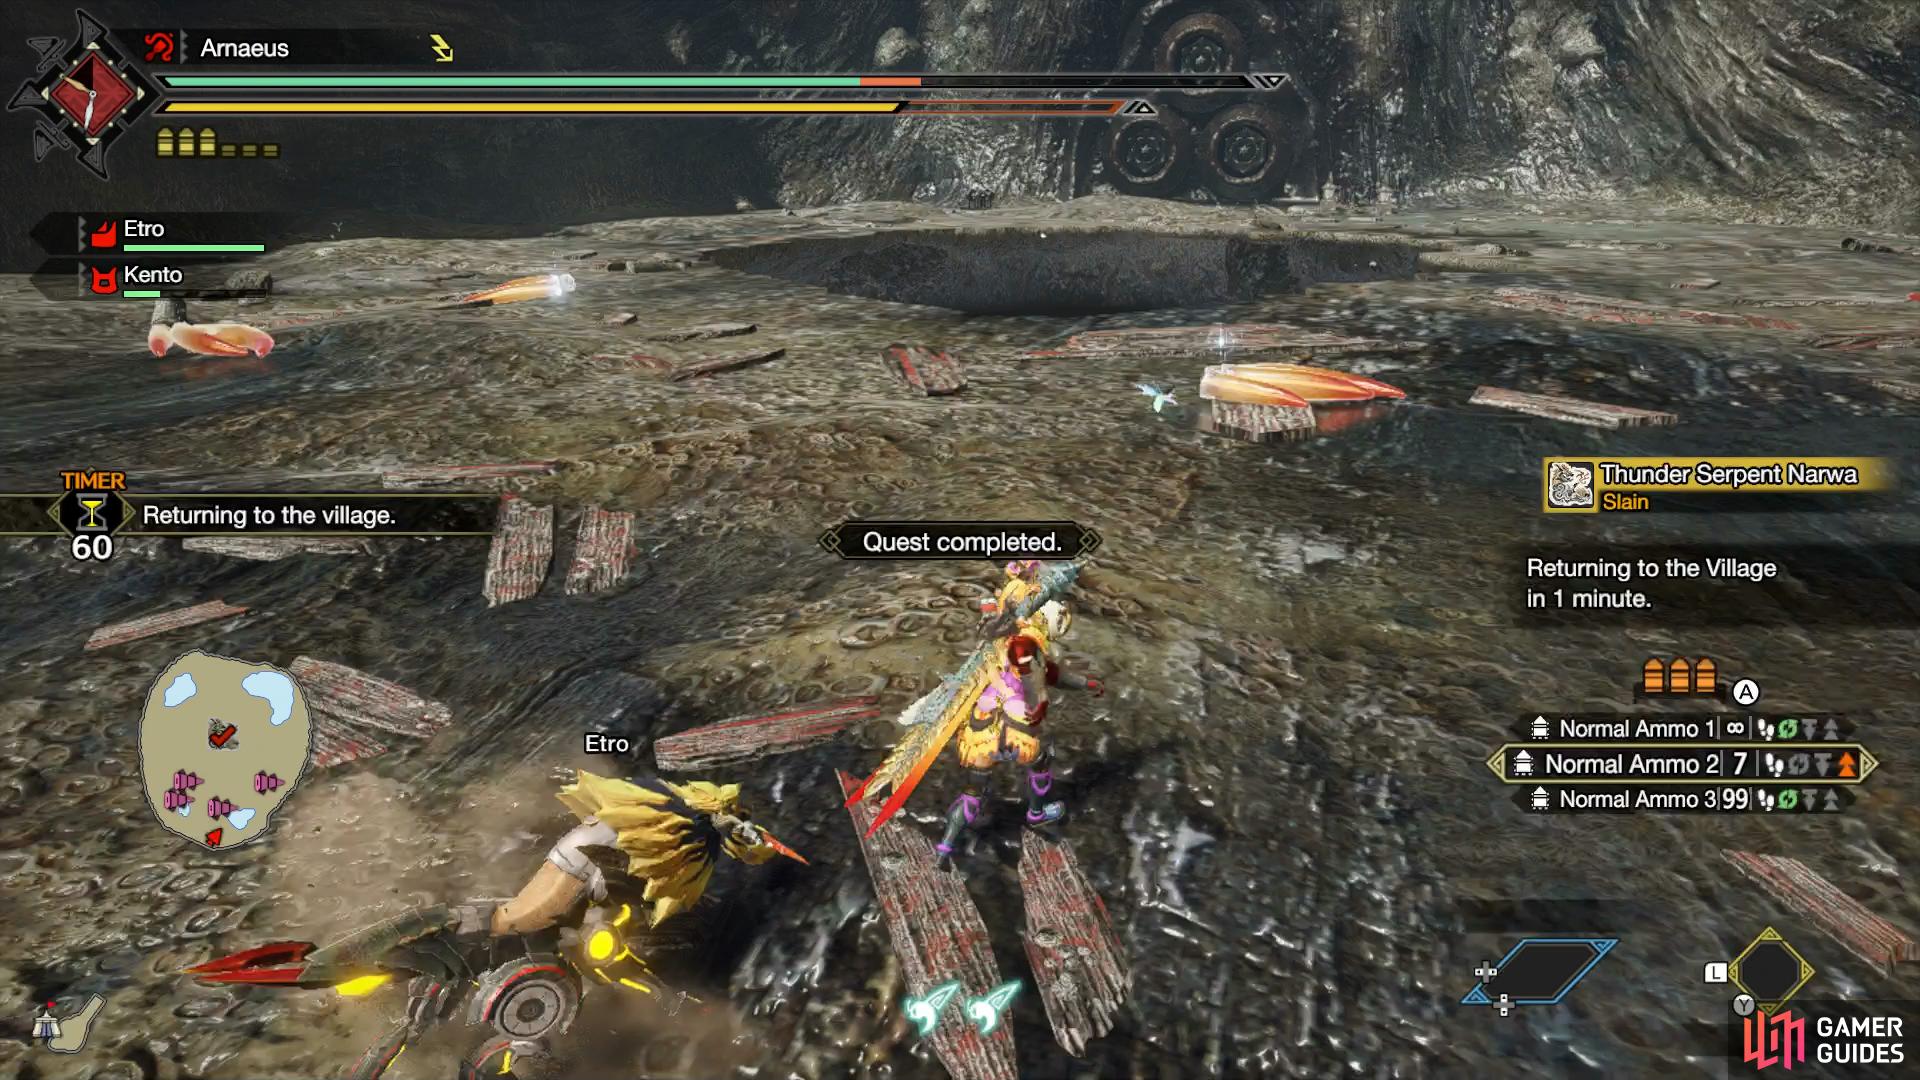
Make sure to collect all the rewards by going around the large hole, carving up Narwa’s fragments it left behind, use the minimap to make sure you have it all carved.
Material Drops
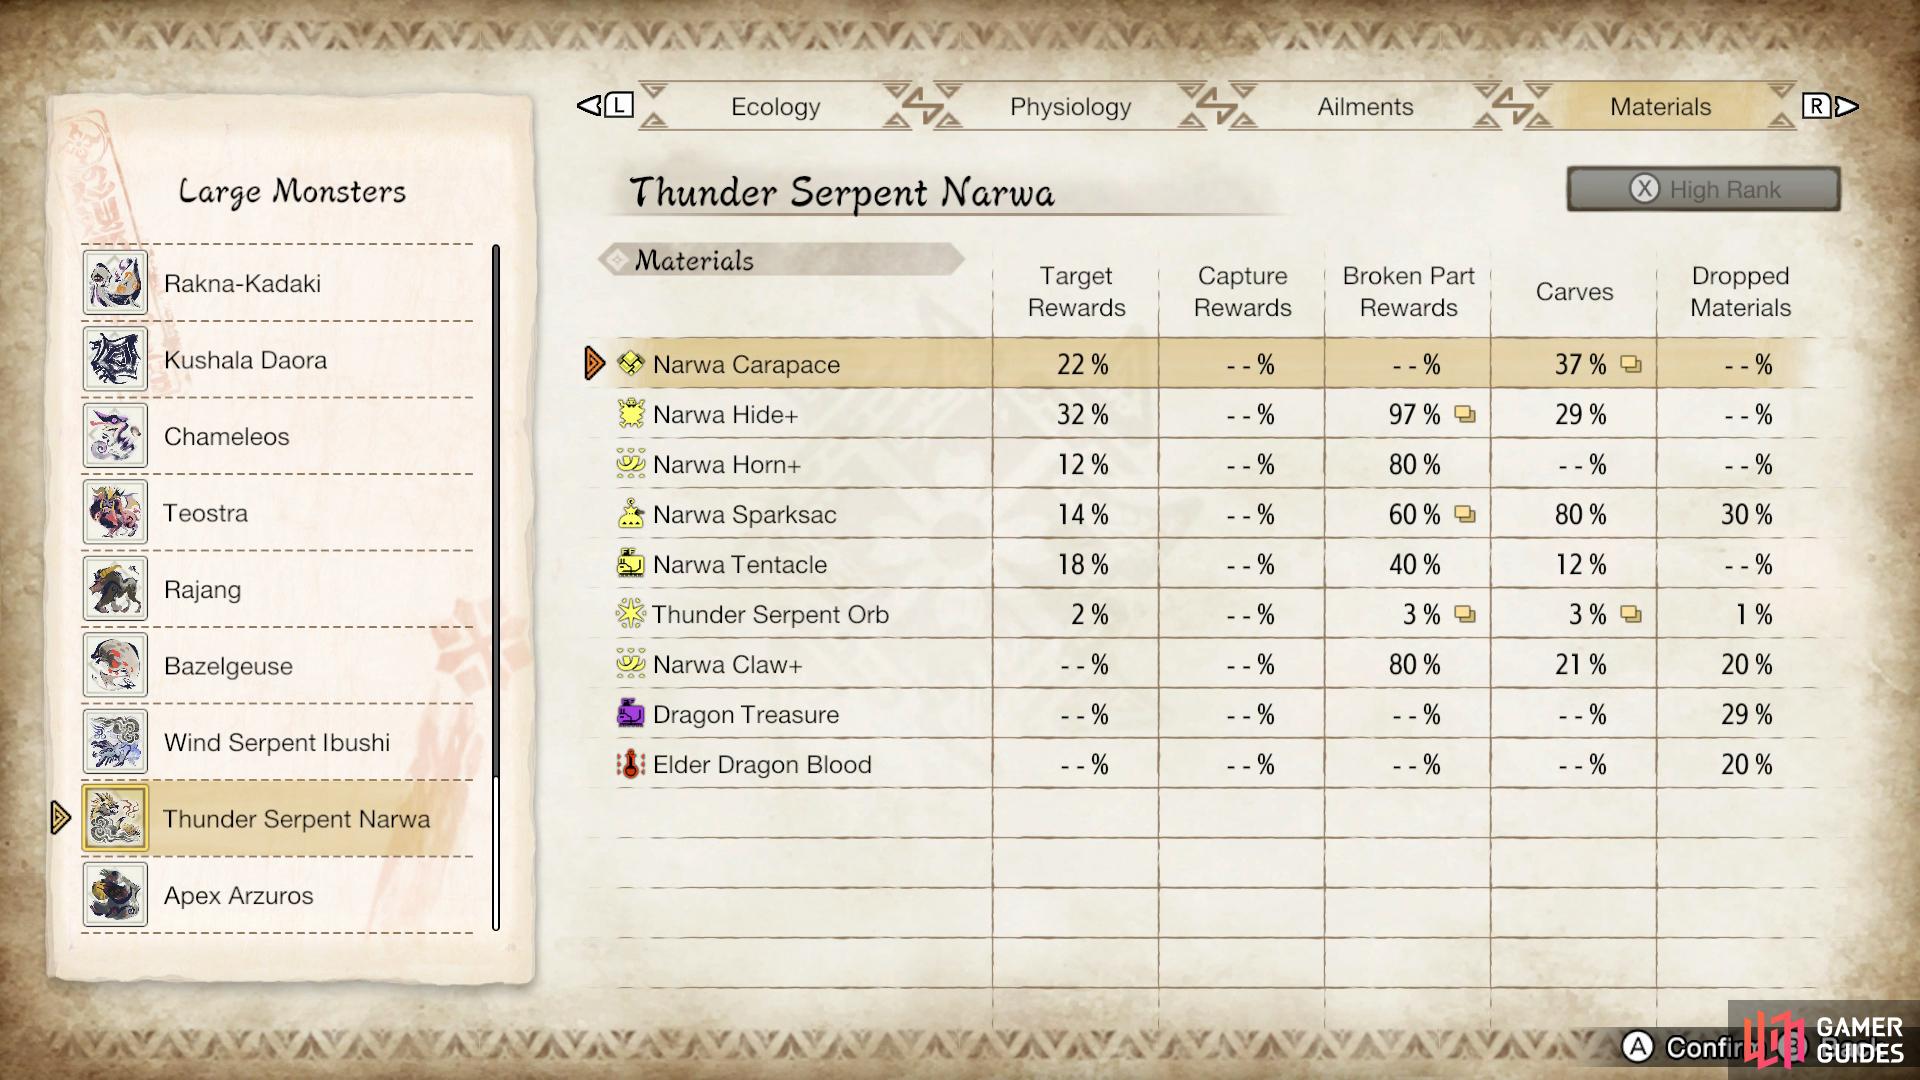
Narwa material drops.
Target Rewards
| Material | Drop Rate (%) |
|---|---|
| Narwa Carapace | 22% |
| Narwa Hide+ | 32% |
| Narwa Horn+ | 12% |
| Narwa Sparksac | 14% |
| Narwa Tentacle | 18% |
| Thunder Serpent Orb | 2% |
Broken Part Rewards
| Material | Drop Rate (%) |
|---|---|
| Narwa Hide+ | Horn - 17%, Abdomen - 97% |
| Narwa Horn+ | Horn - 80% |
| Narwa Sparksac | Back - 60%, Wingarm - 20% |
| Narwa Tentacle | Back 40% |
| Thunder Serpent Orb | Horn - 3%, Abdomen - 3% |
| Narwa Claw+ | Wingarm Left - 80%, Wingarm Right - 80% |
Carves
| Material | Drop Rate (%) |
|---|---|
| Narwa Carapace | Body - 37%, Tail - 17% |
| Narwa Hide+ | Body - 29% |
| Narwa Sparksac | Tail - 80% |
| Narwa Tentacle | Body - 12% |
| Thunder Serpent Orb | Body - 1%, Tail - 3% |
| Narwa Claw+ | Body - 21% |
Dropped Materials
| Material | Drop Rate (%) |
|---|---|
| Narwa Sparksac | 30% |
| Narwa Claw+ | 21% |
| Thunder Serpent Orb | 1% |
| Elder Dragon Blood | 20% |
| Dragon Treasure | 29% |
No Comments