
Tobi-Kadachi is a Fanged Wyvern that made its first appearance in Monster Hunter World. It’s encountered in the Village Quest, Streaking Shadow.
Overview
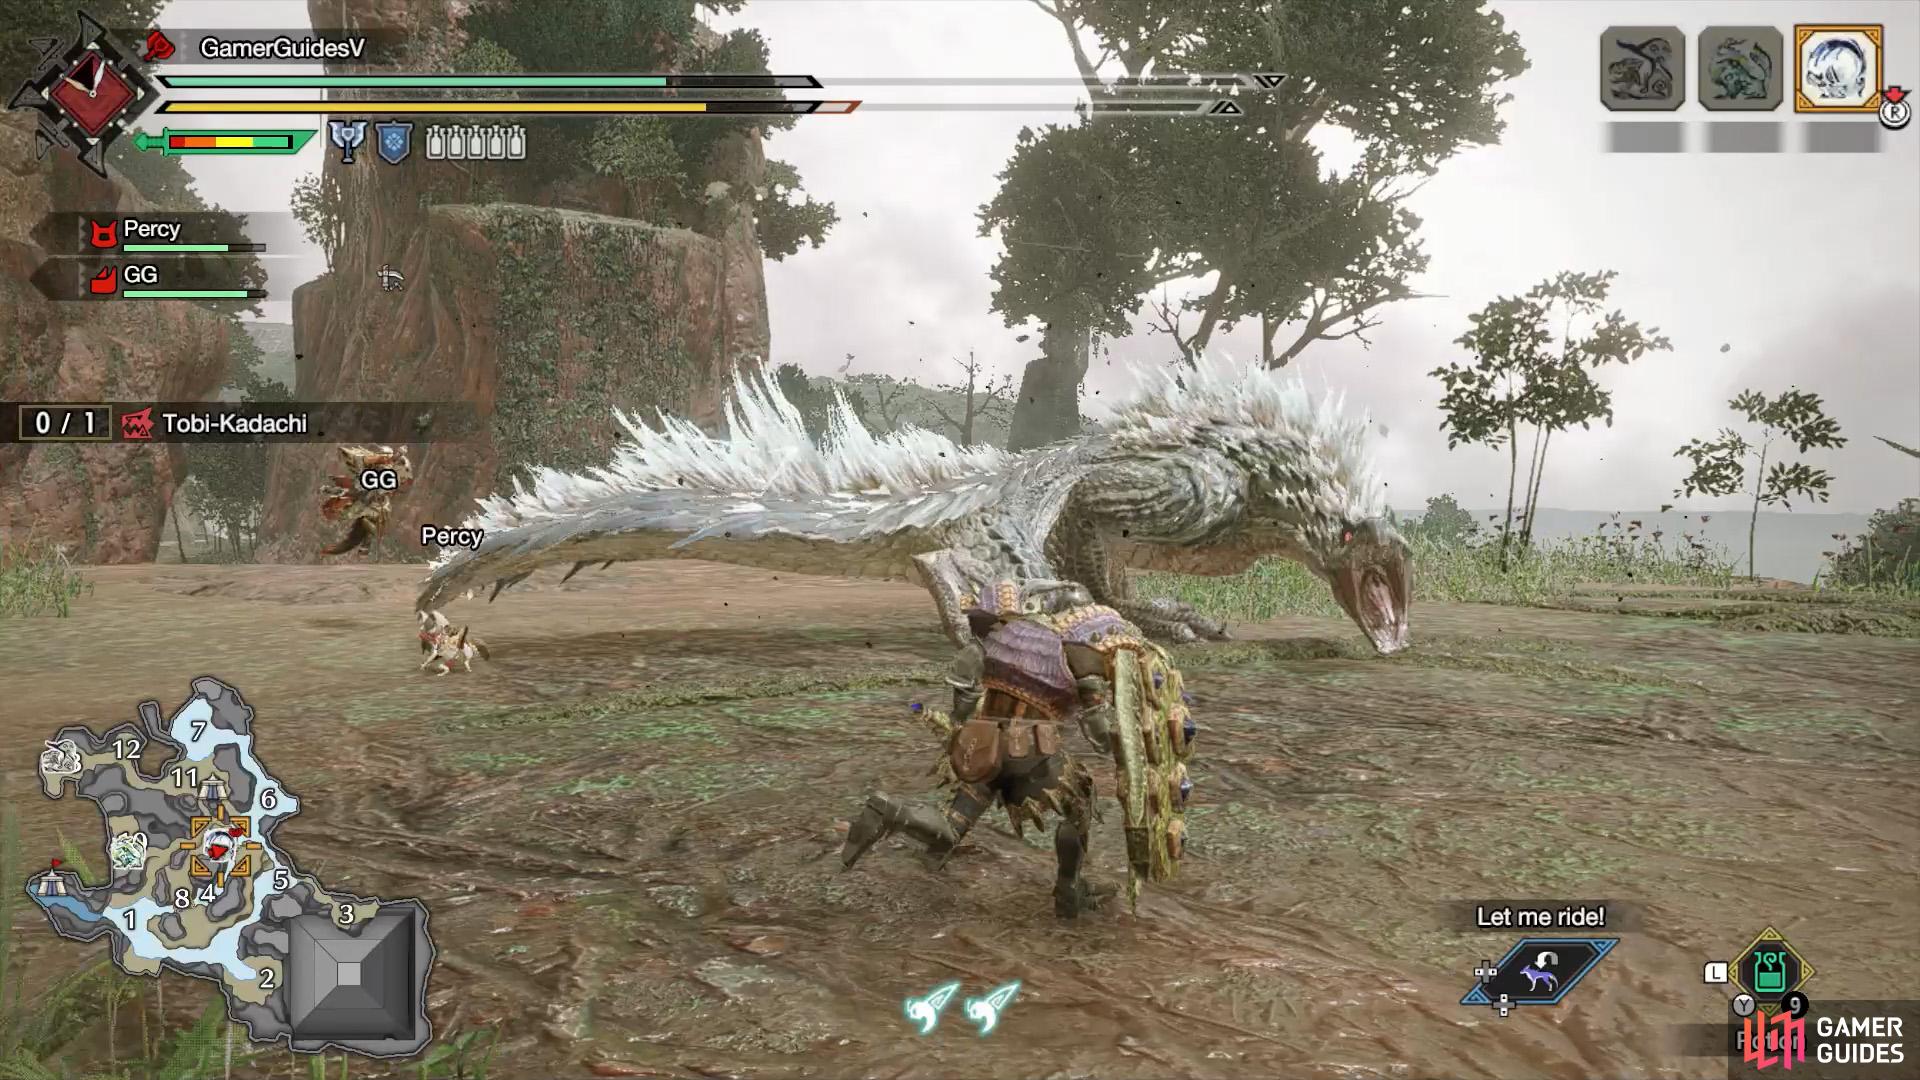
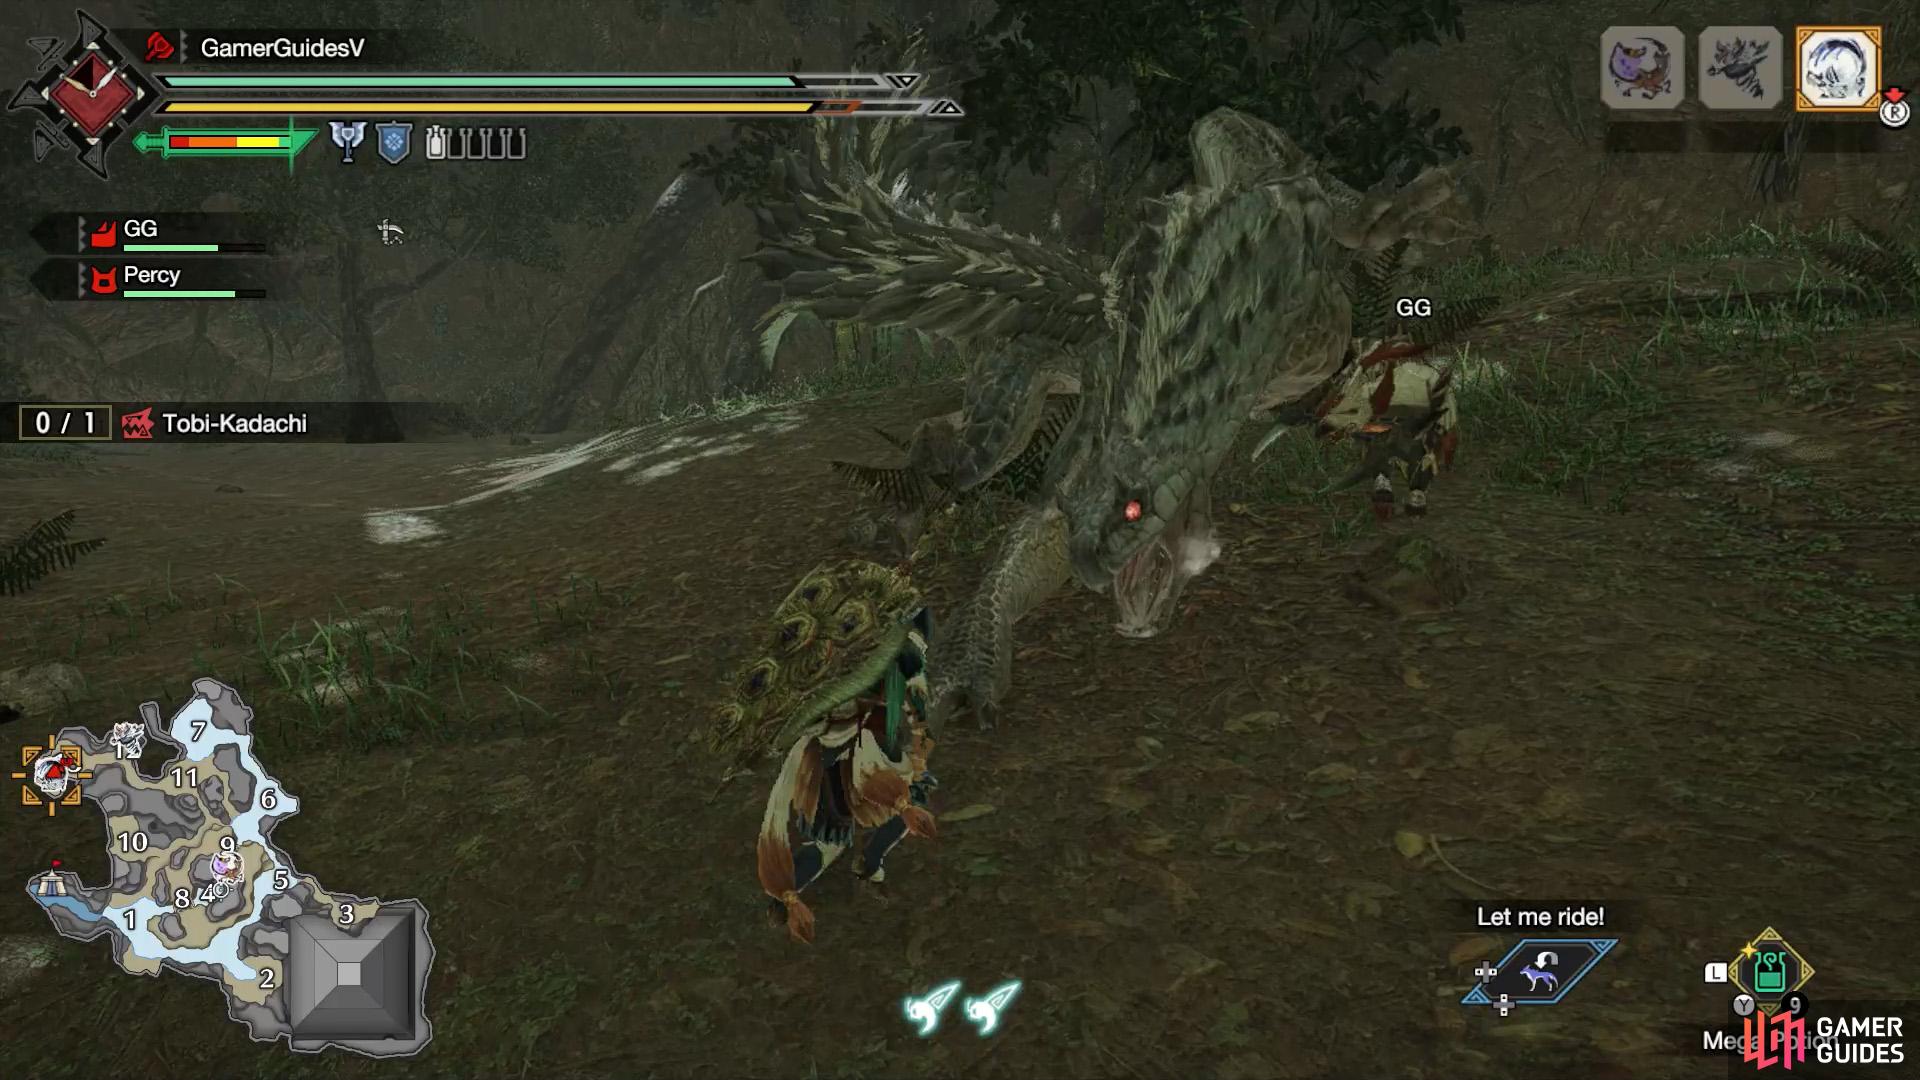
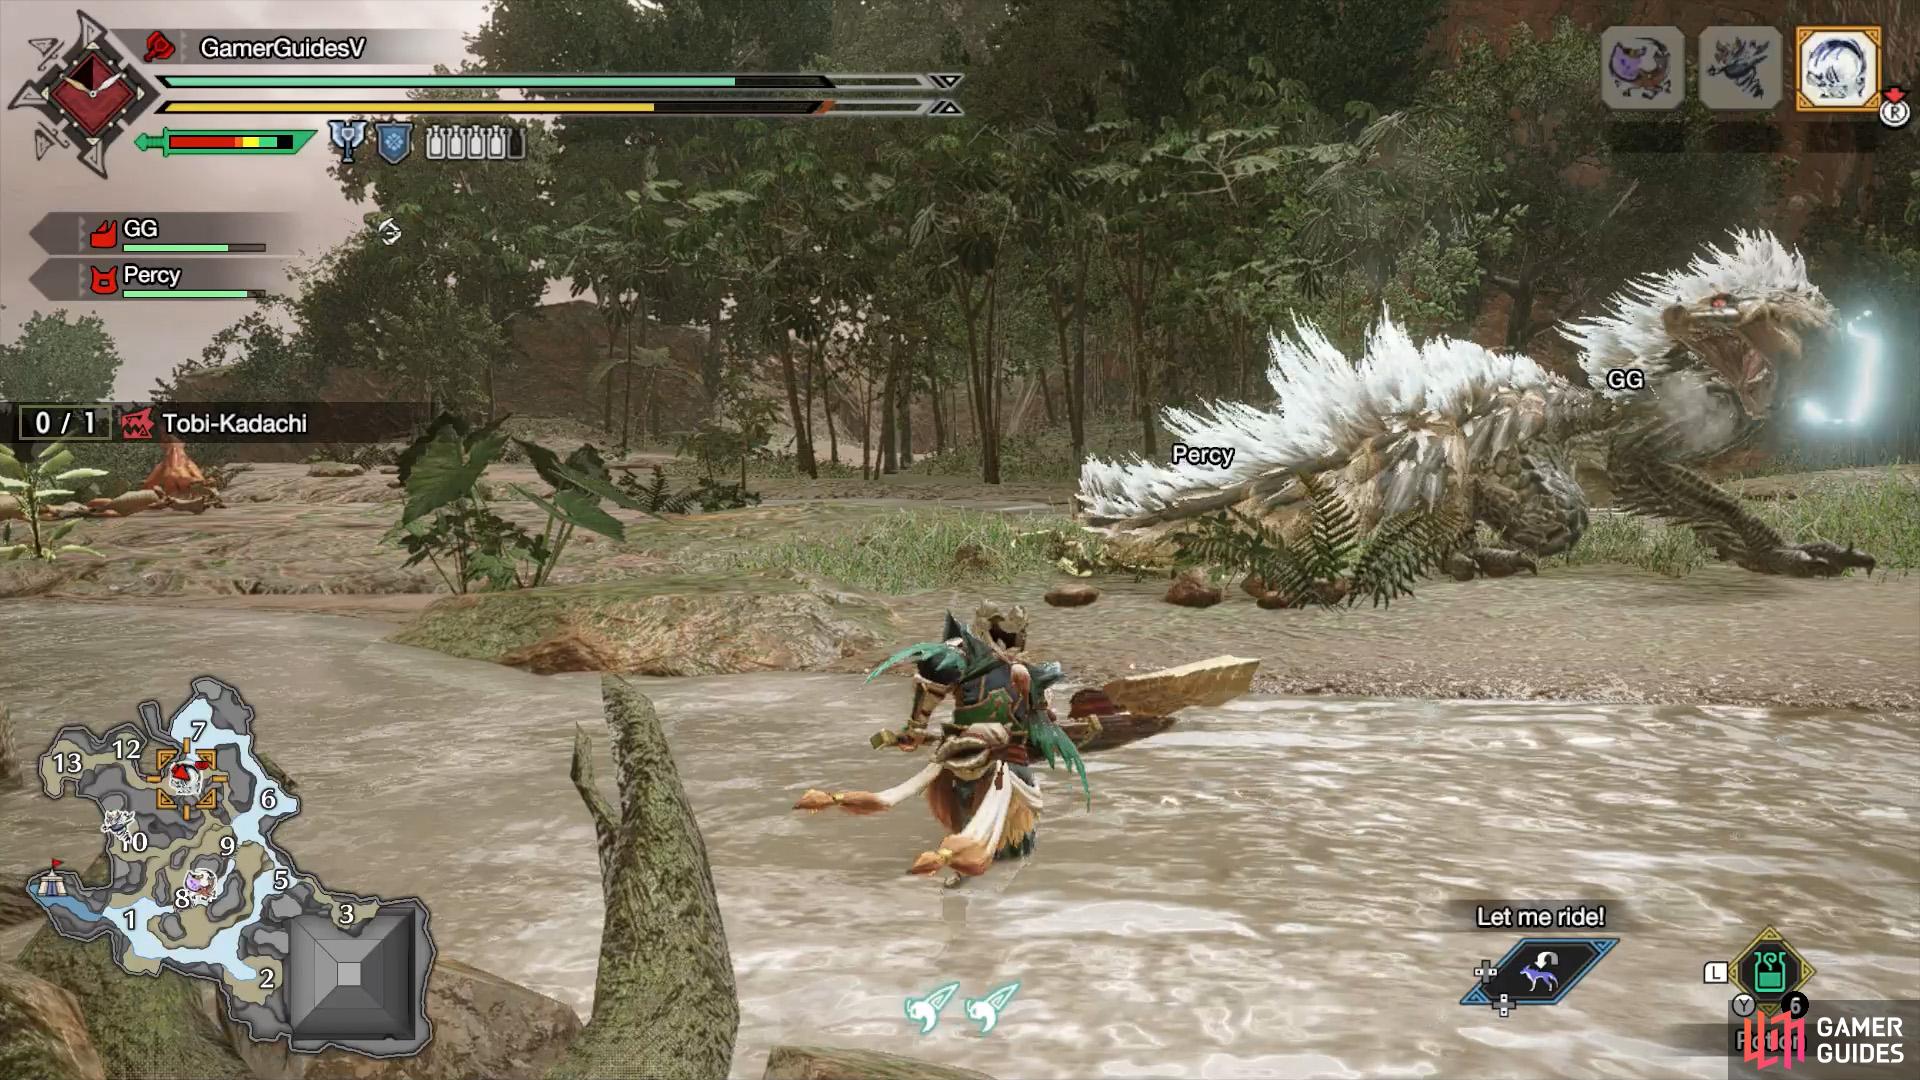
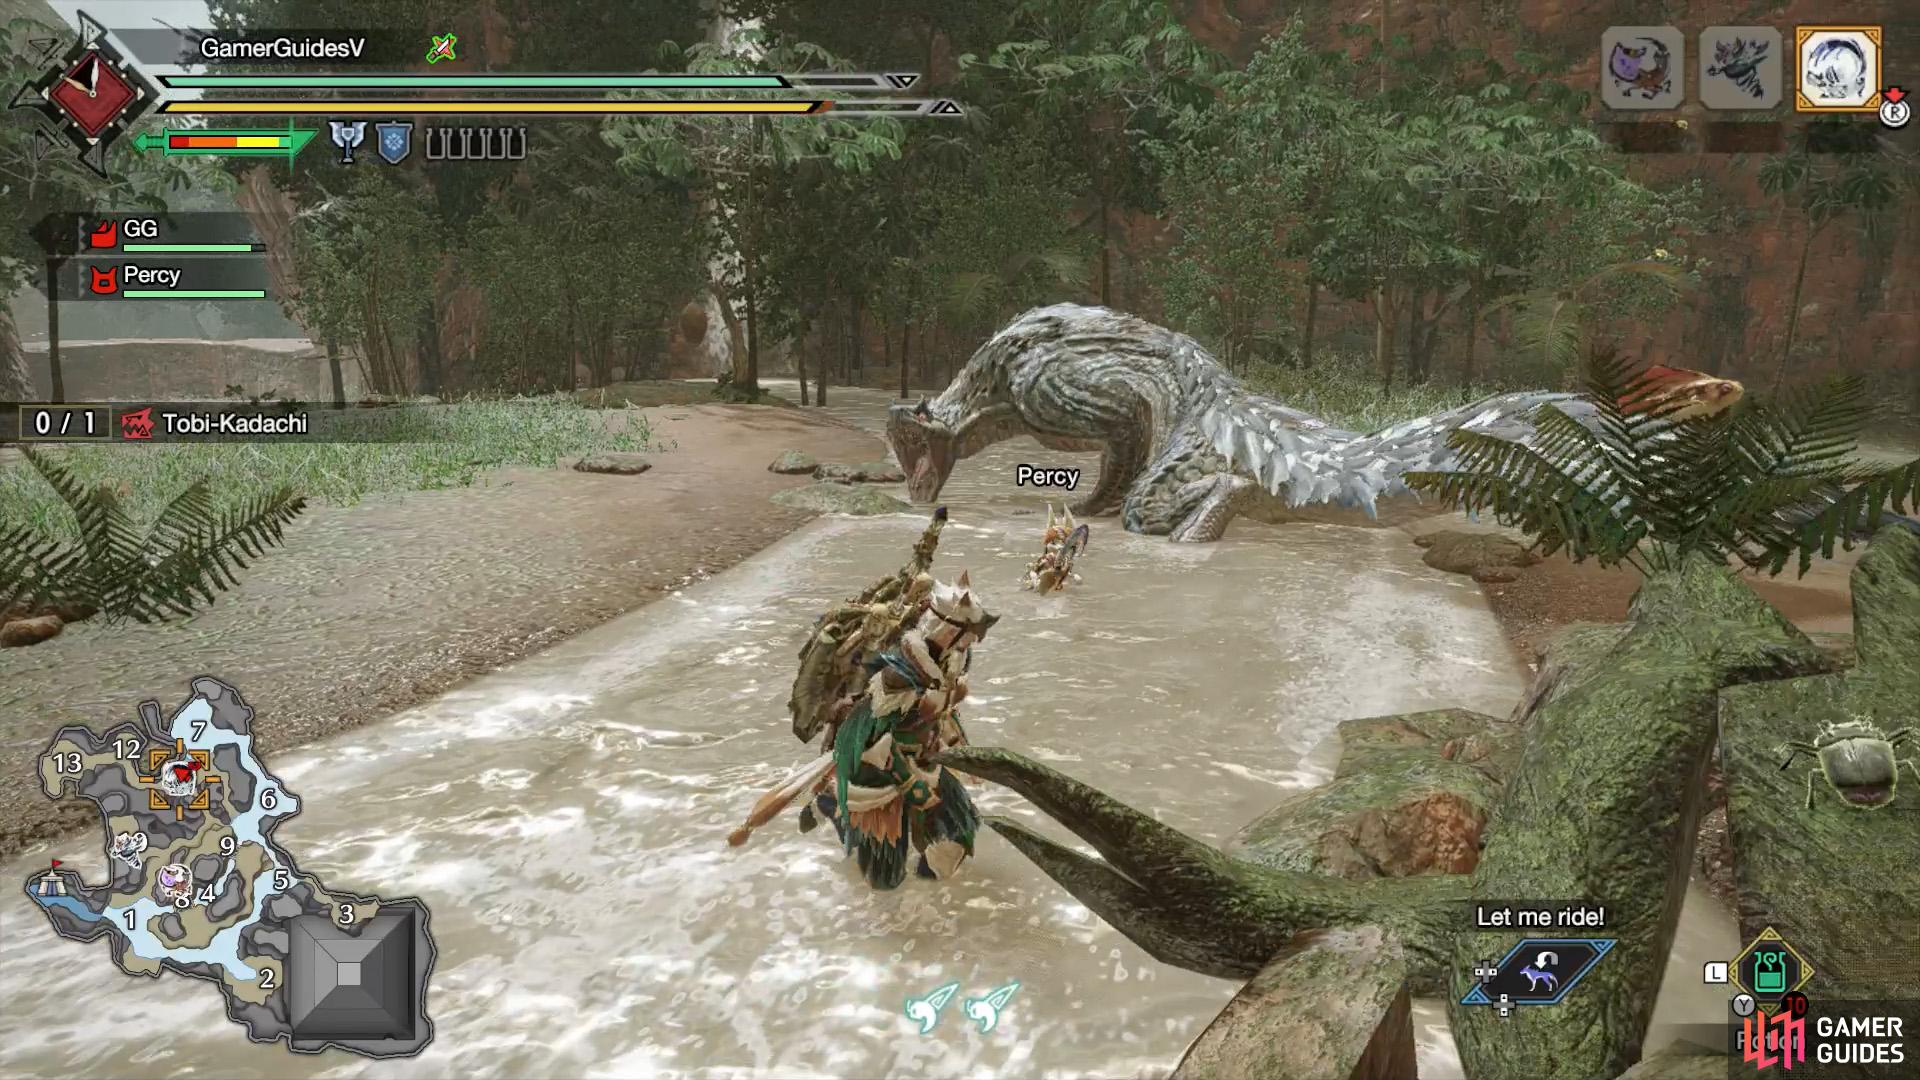
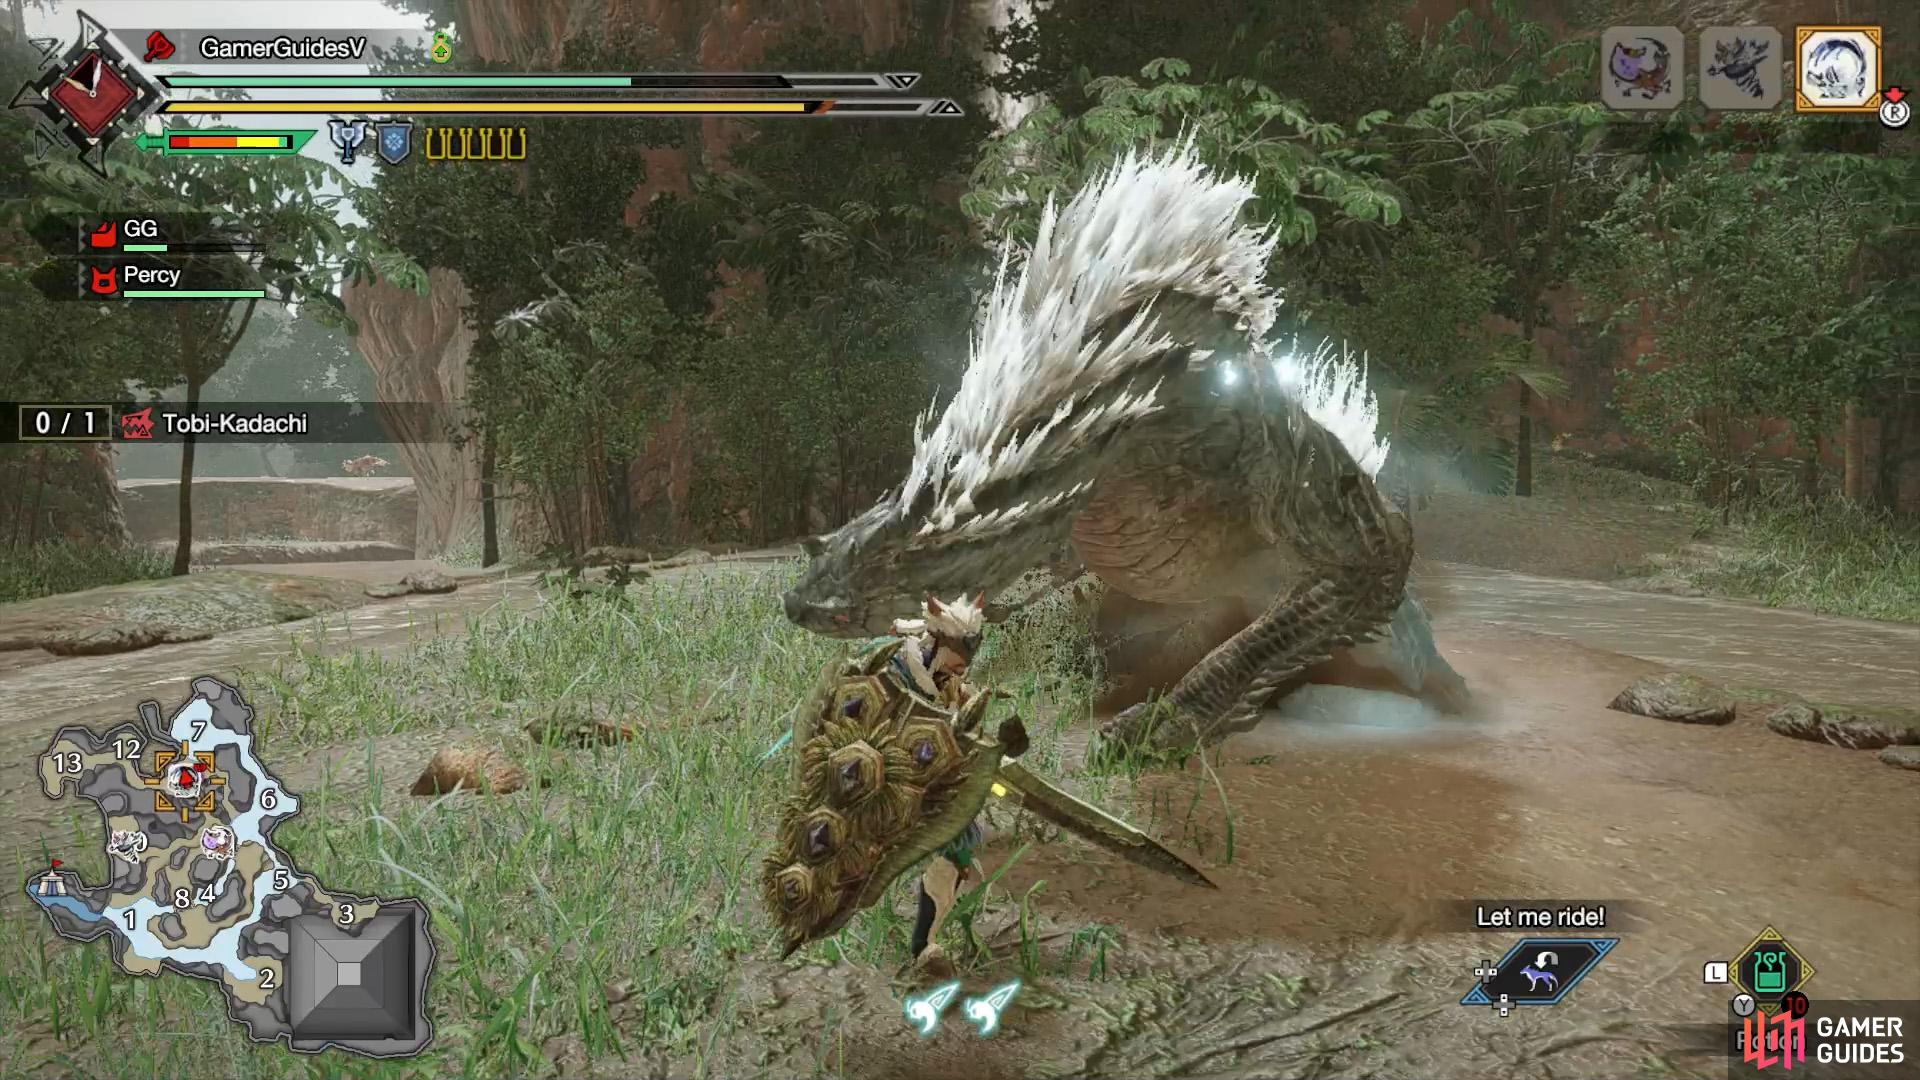
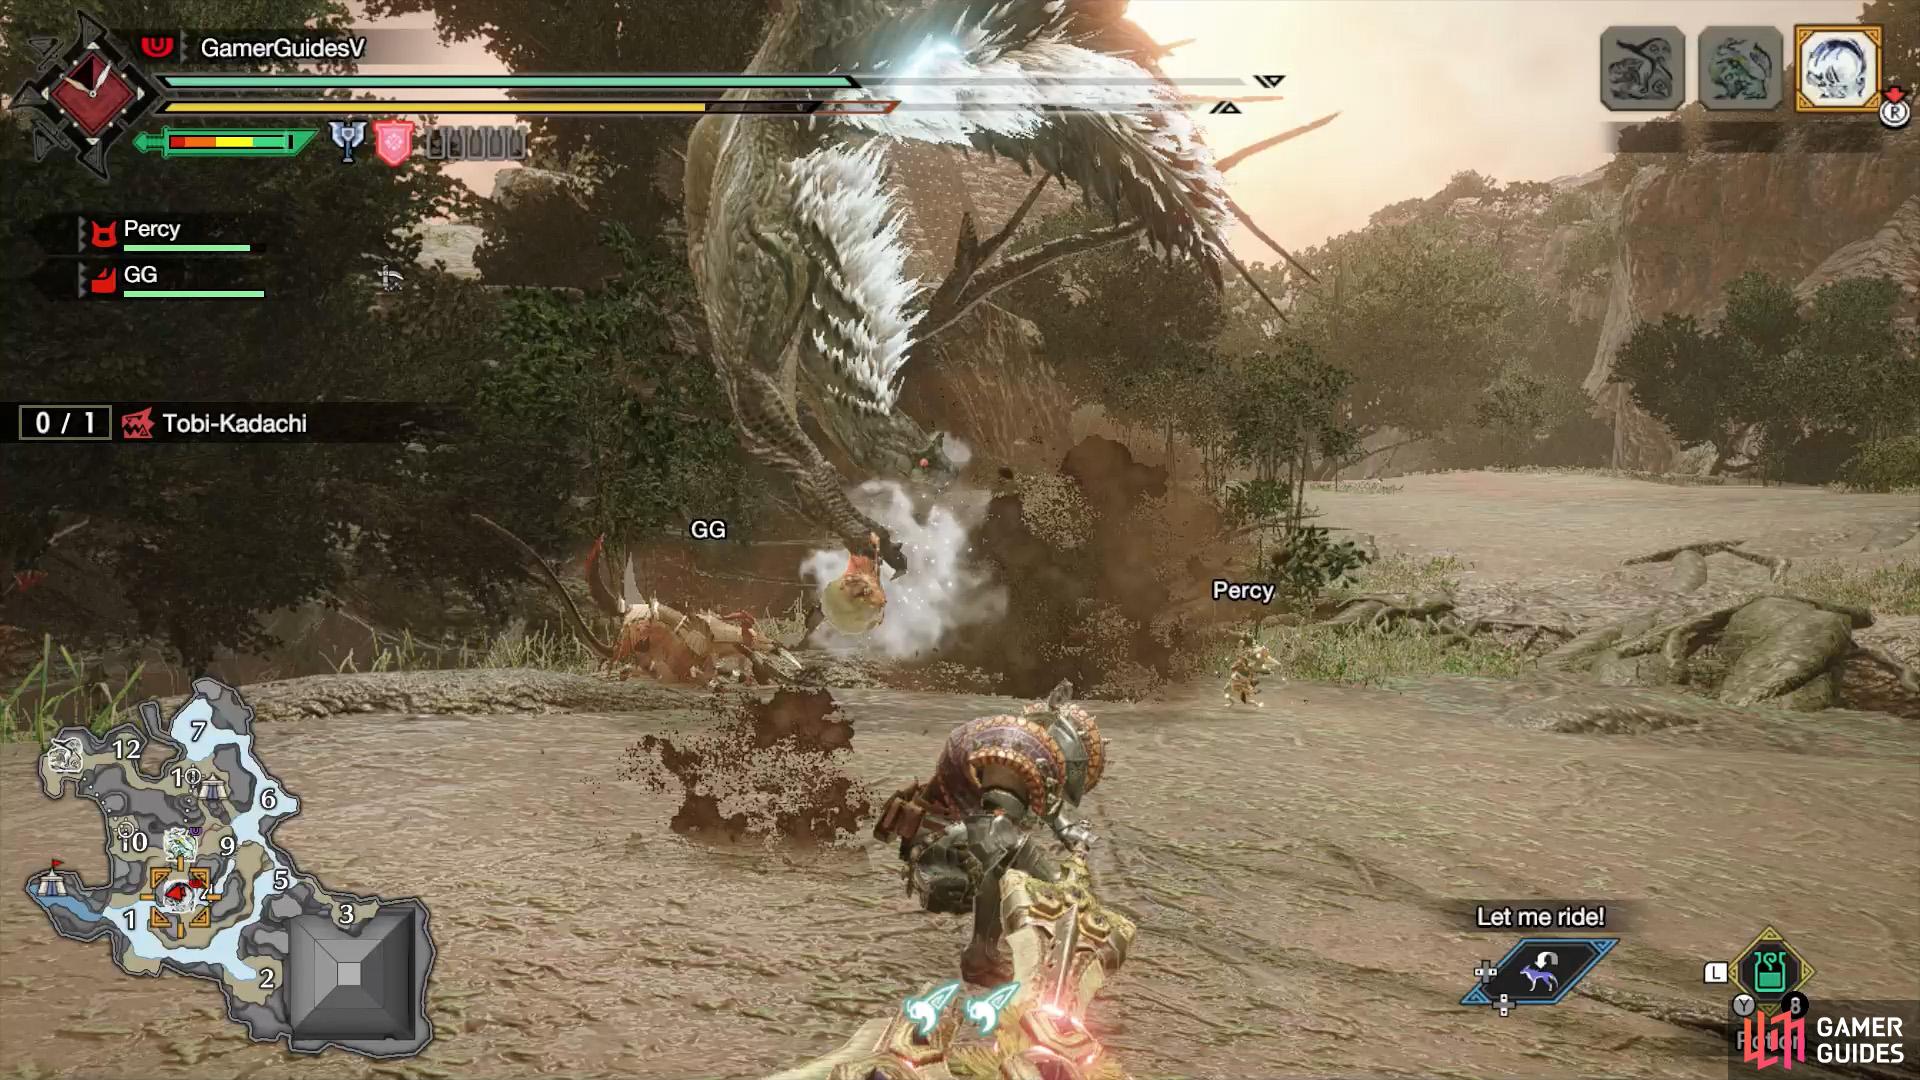
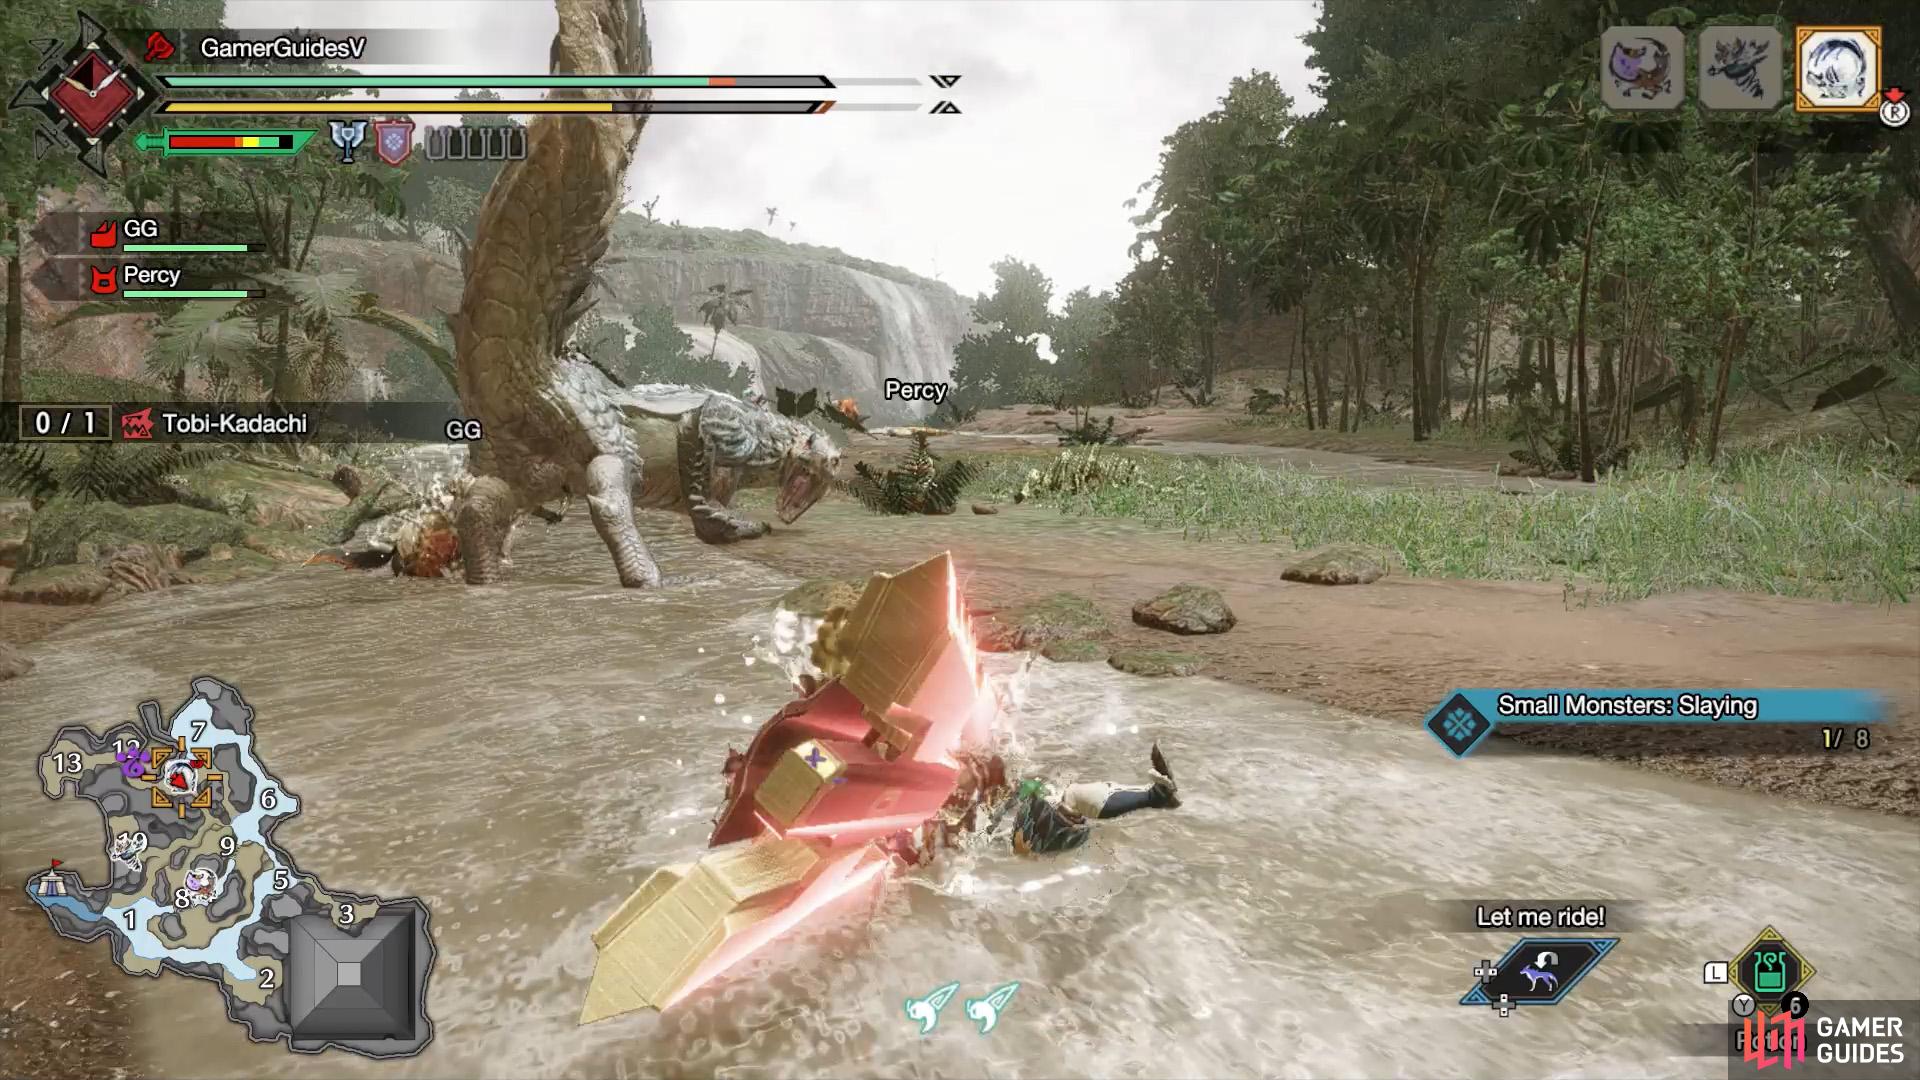
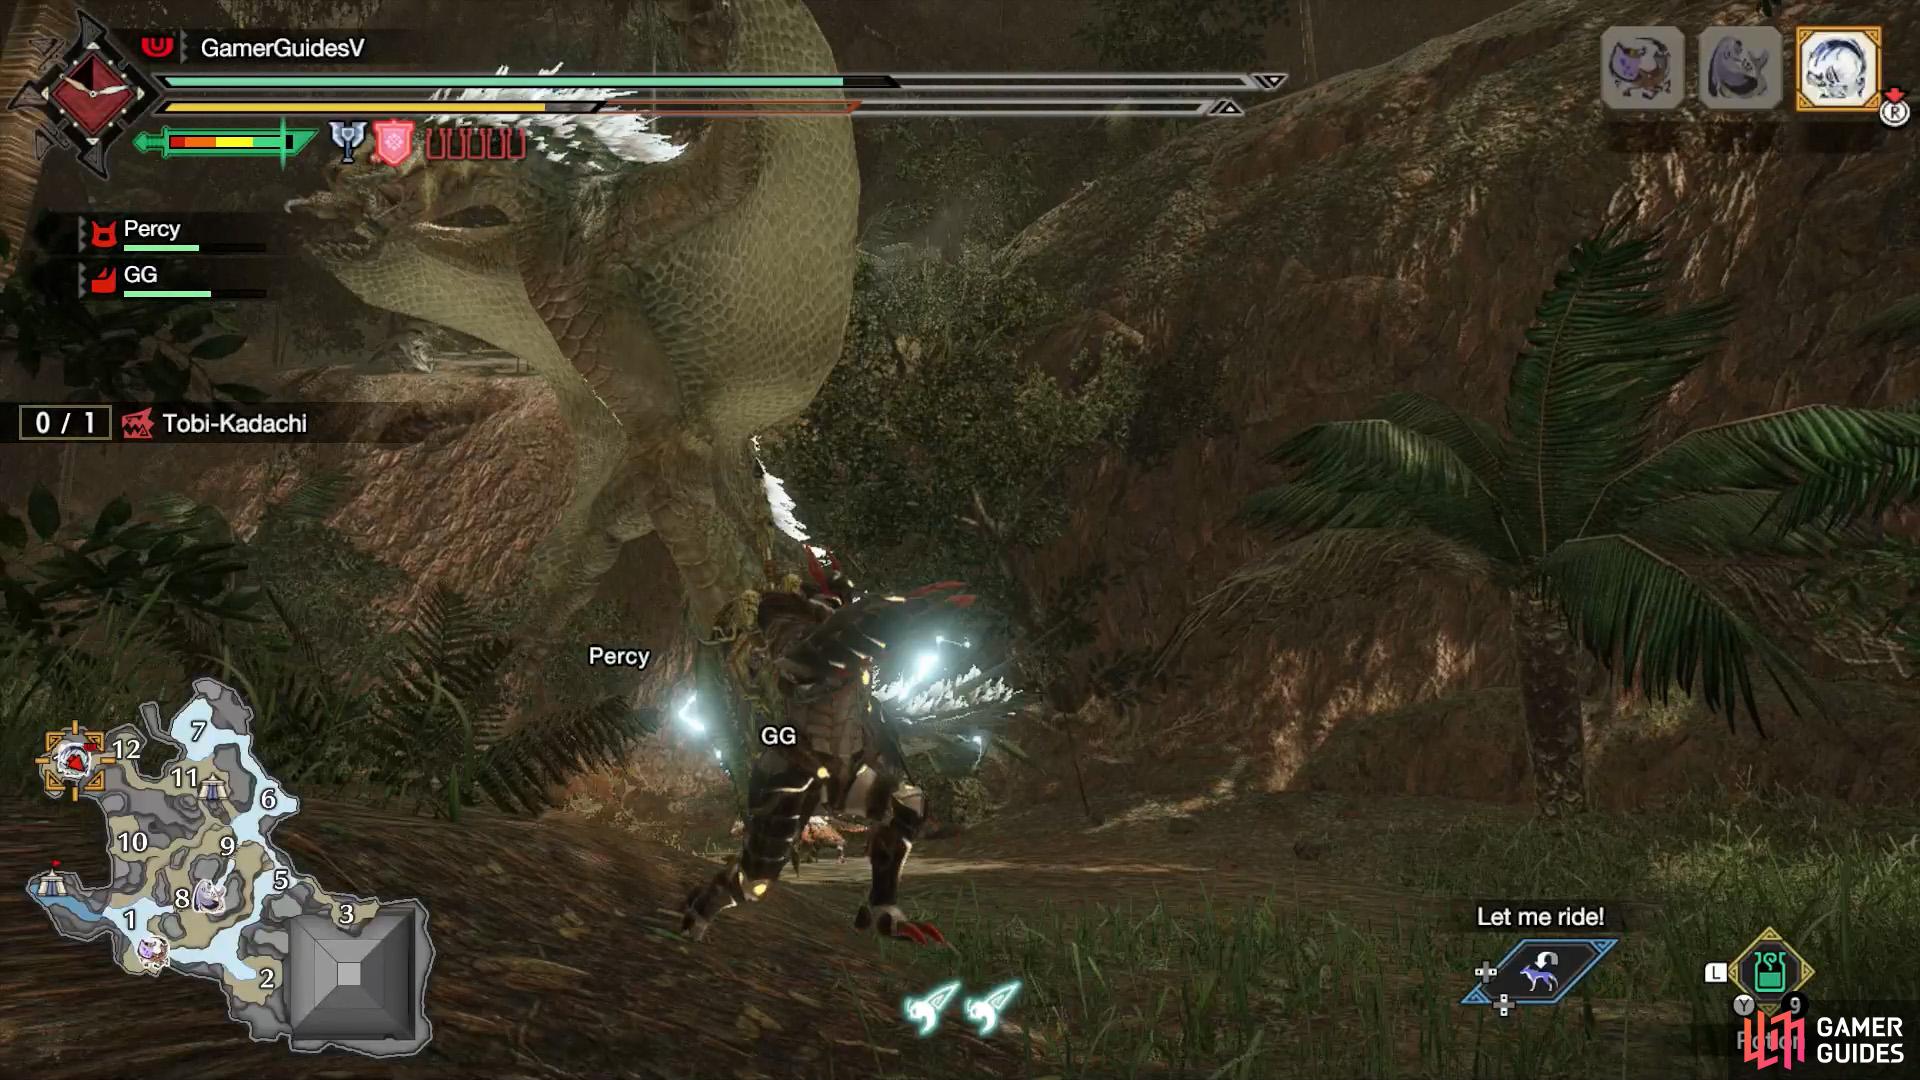
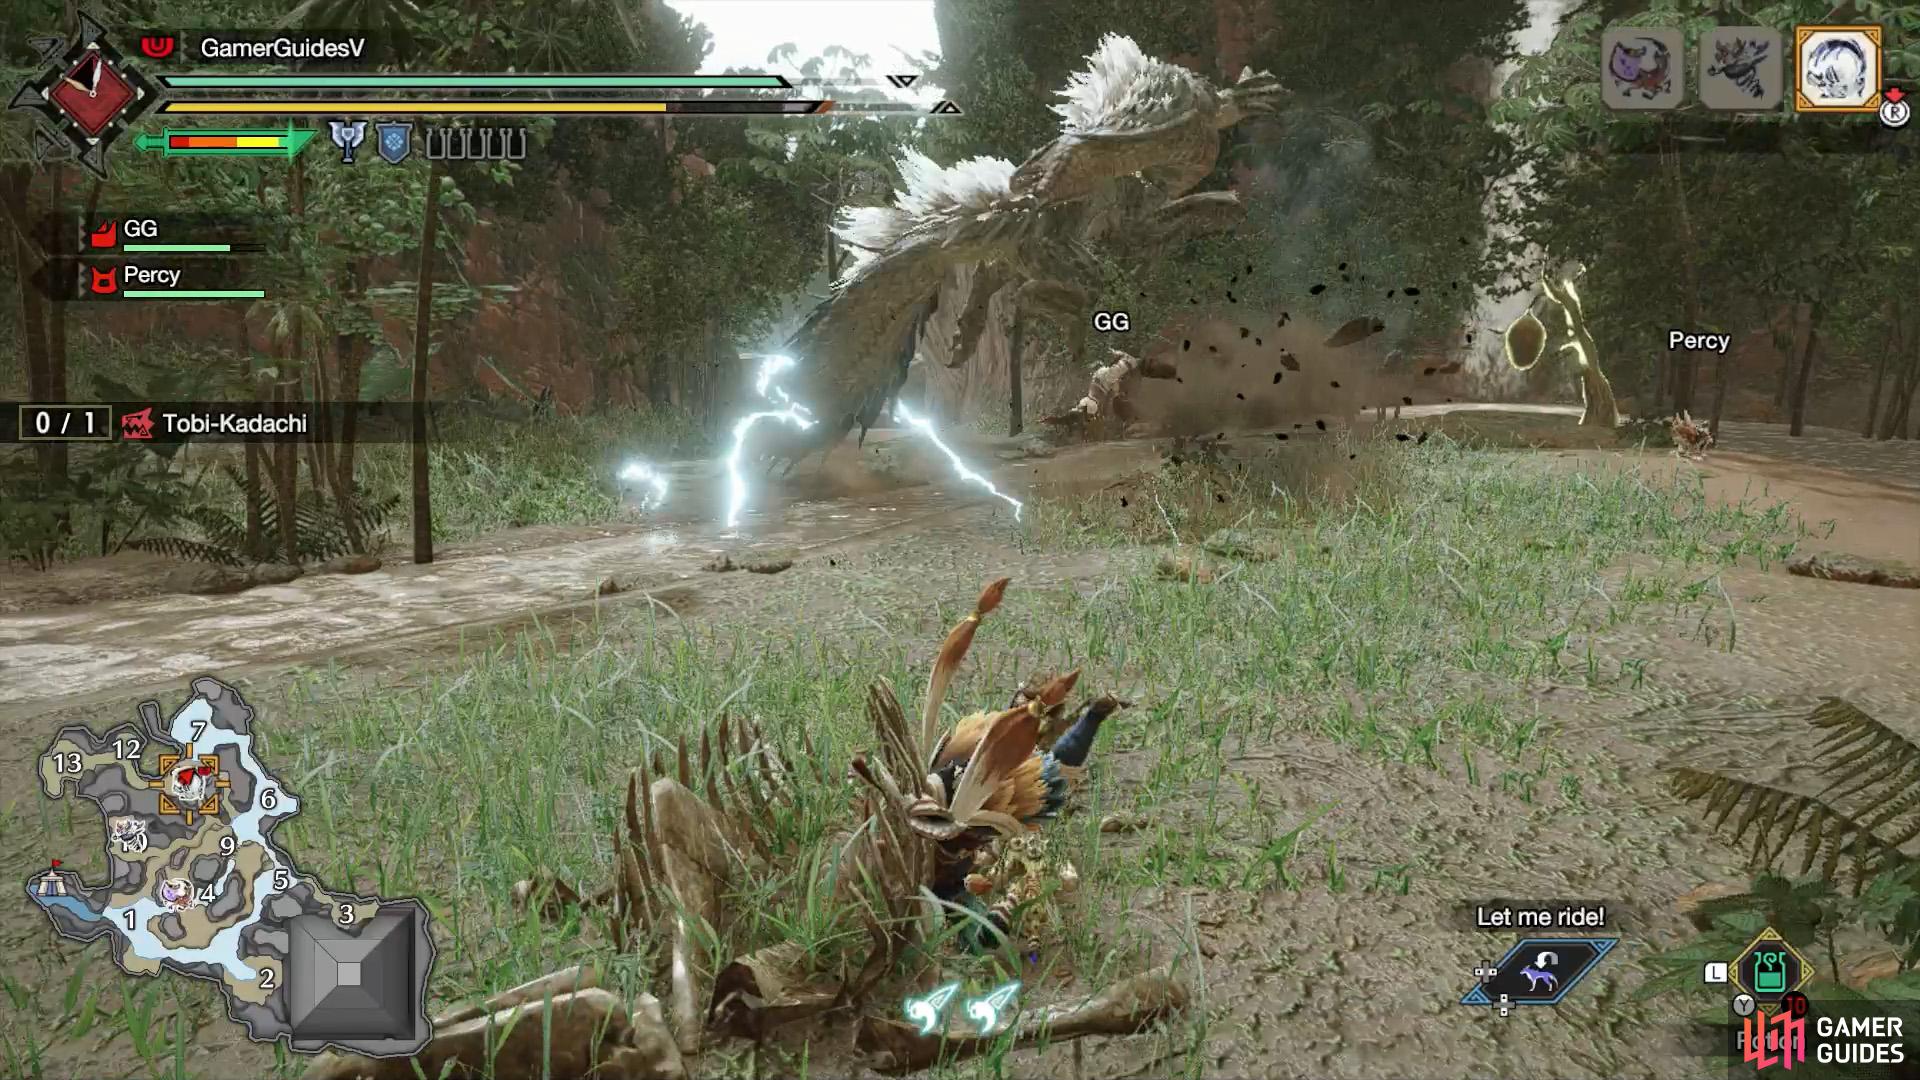
Fighting Tobi-Kadachi at the Flooded Forest.
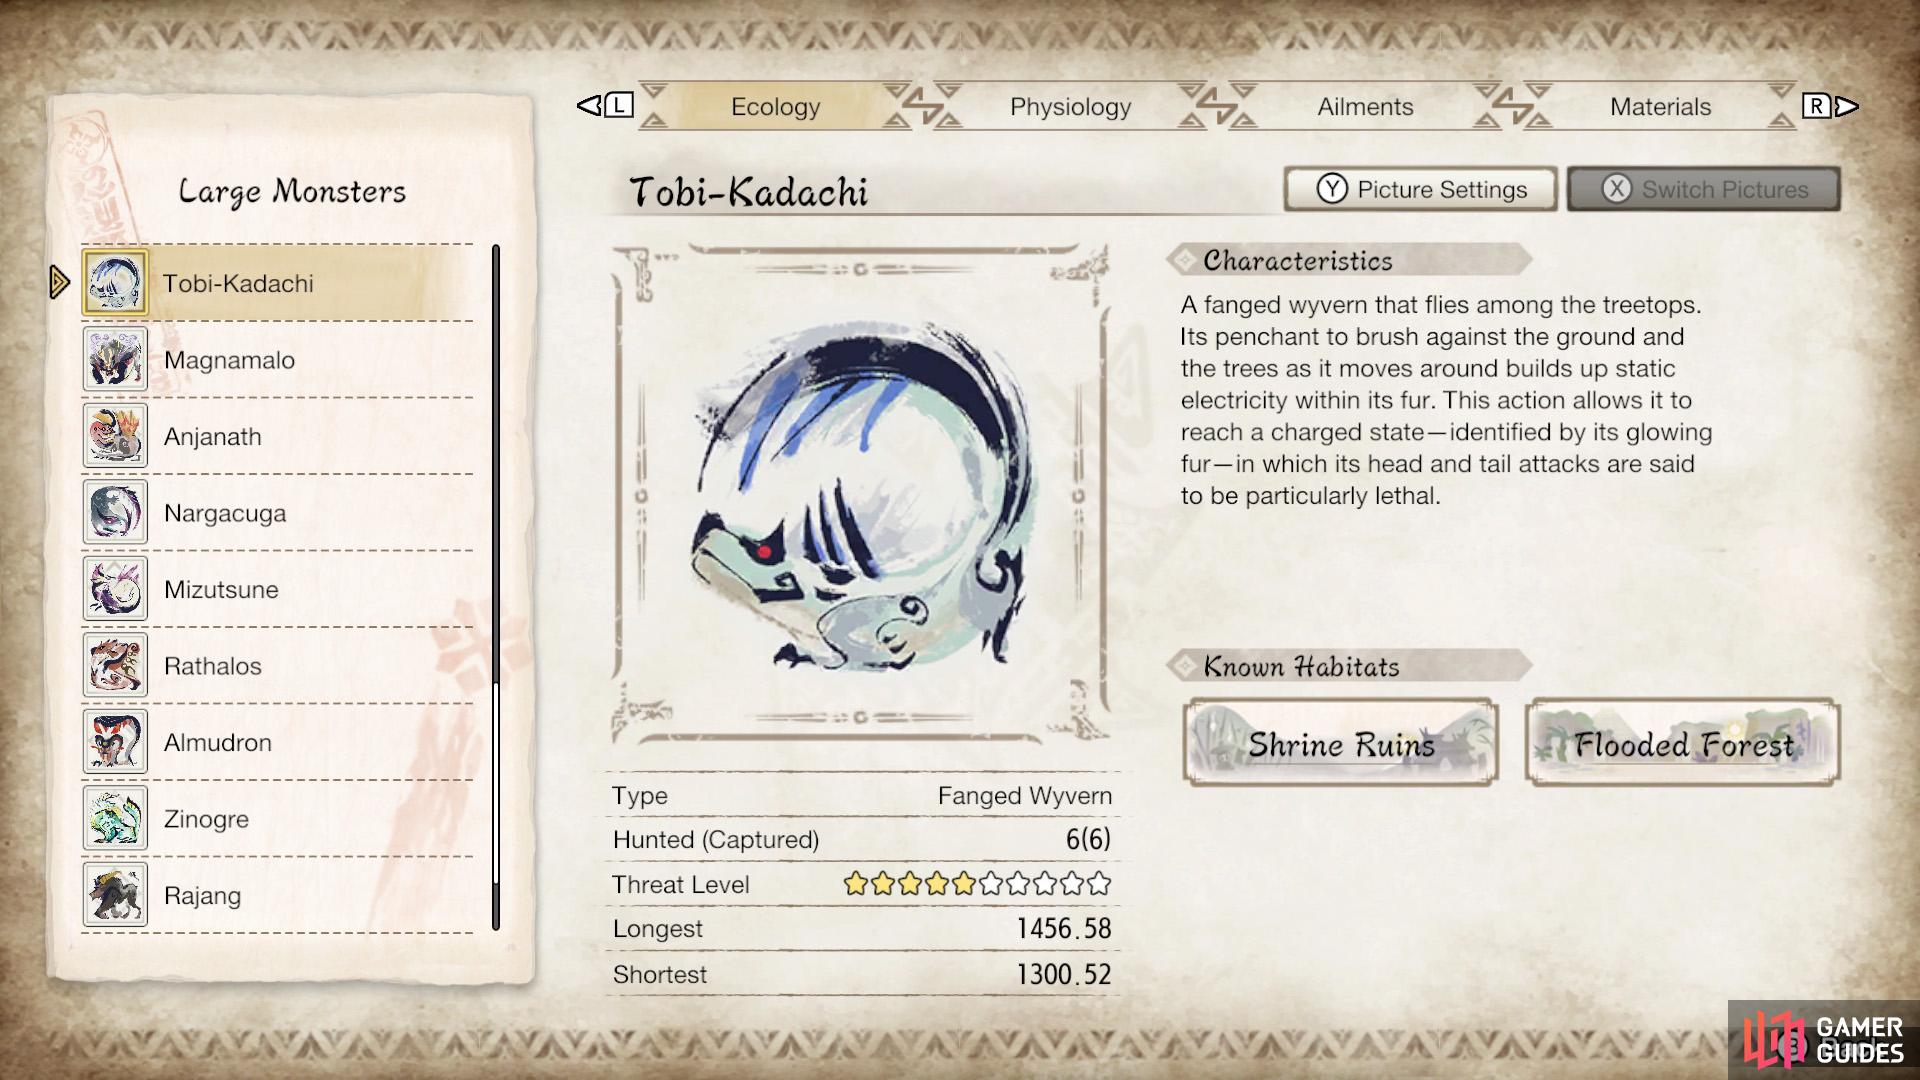
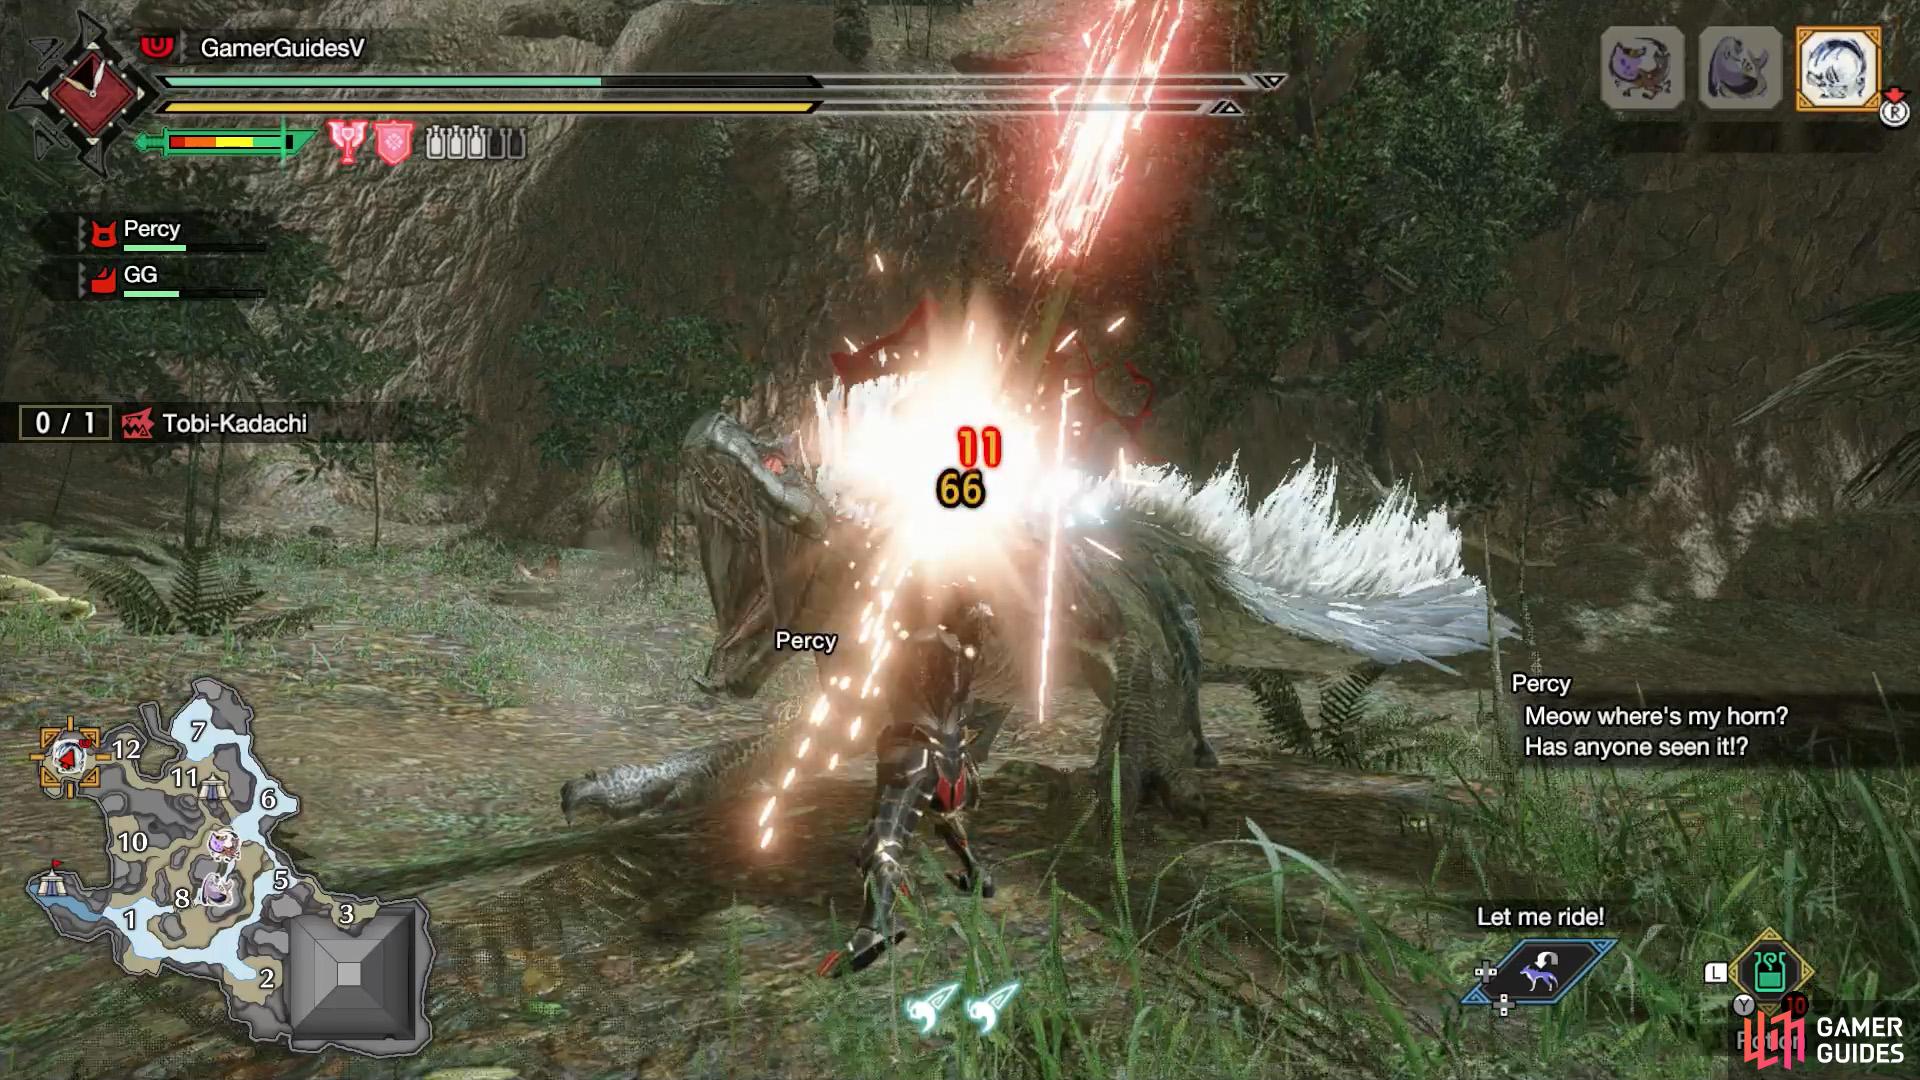
Tobi-Kadachi’s profile in the Hunter’s Notes.
Tobi-Kadachi (who we’ll frequently shorten to just “Tobi”) is an agile and deceptively dangerous monster. If you fought it before in Monster Hunter World, you may be surprised how much stronger it is now.
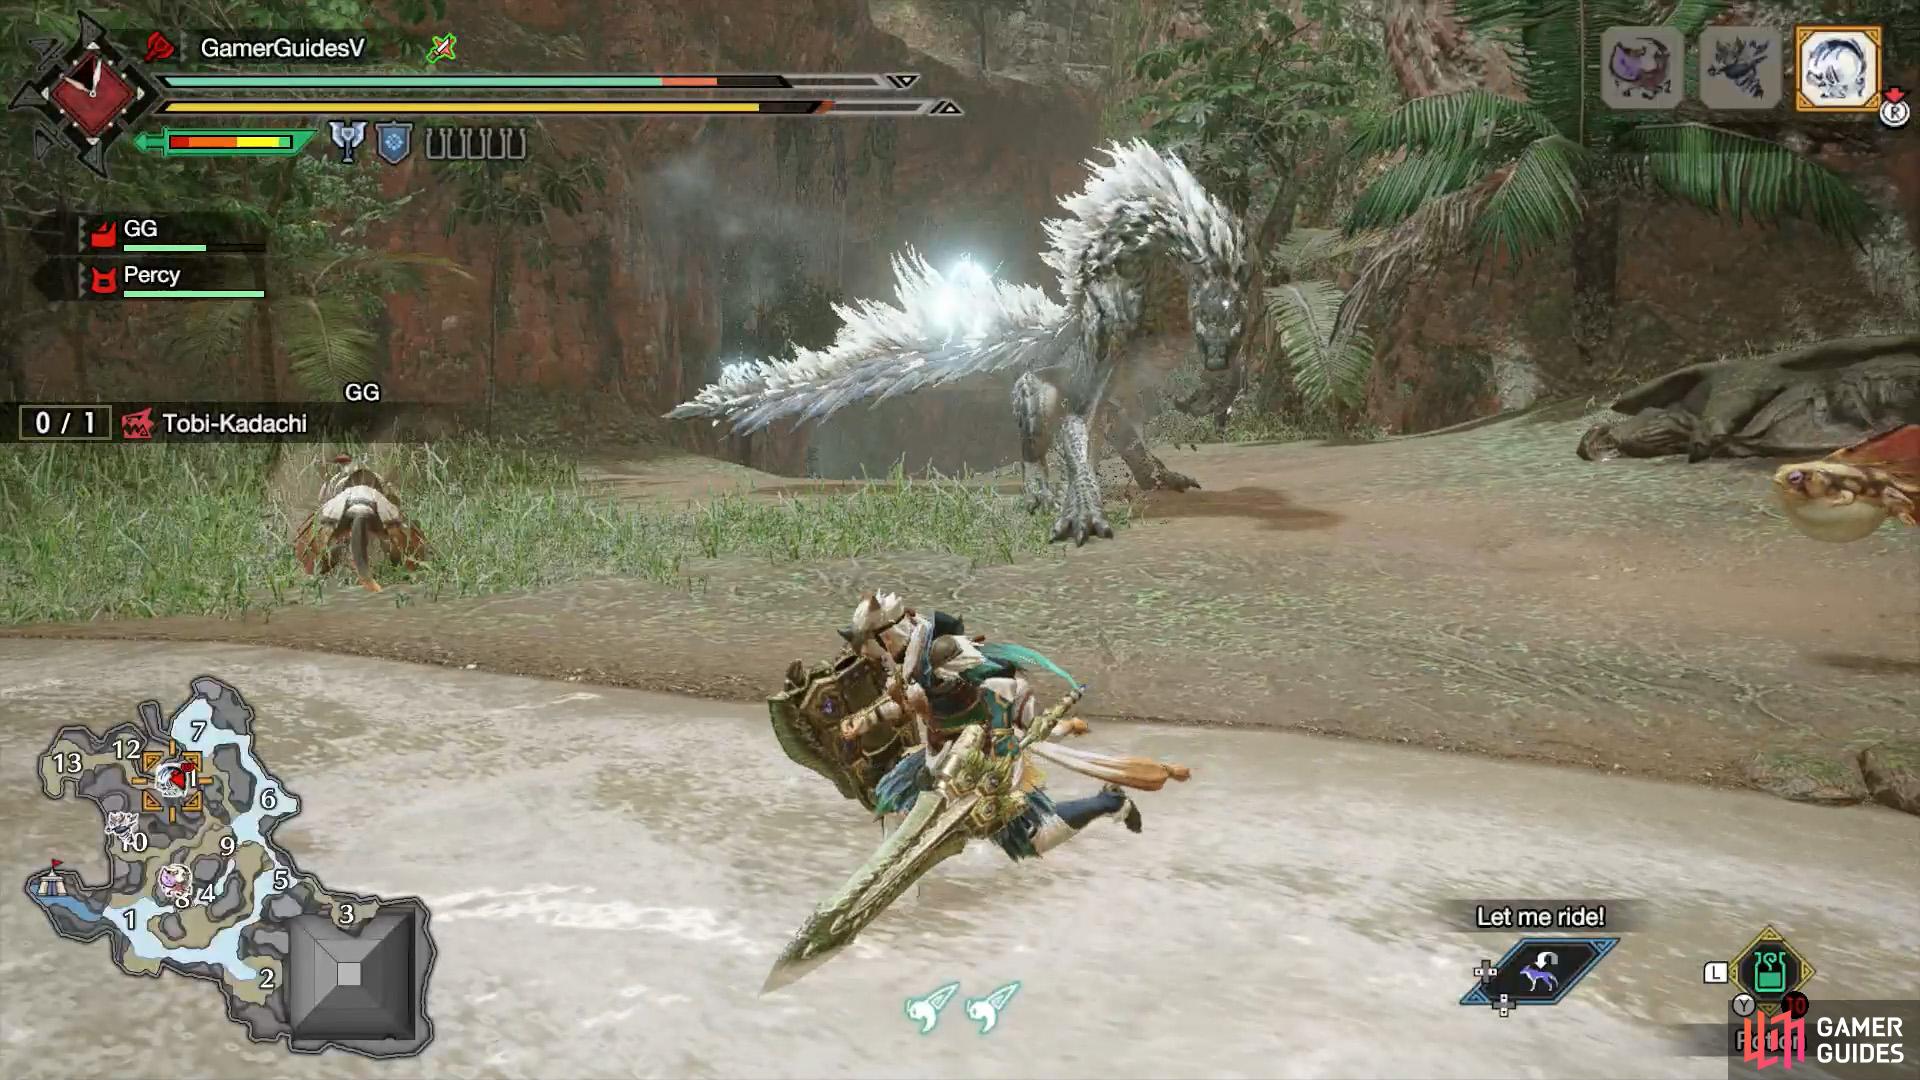
This vicious fiend is nearly always on the move and loves to jump around to confuse hunters. On top of that, it can charge its body with electricity similar to Zinogre. If that wasn’t enough, it can also briefly fly around with the wings between its legs.
Weaknesses
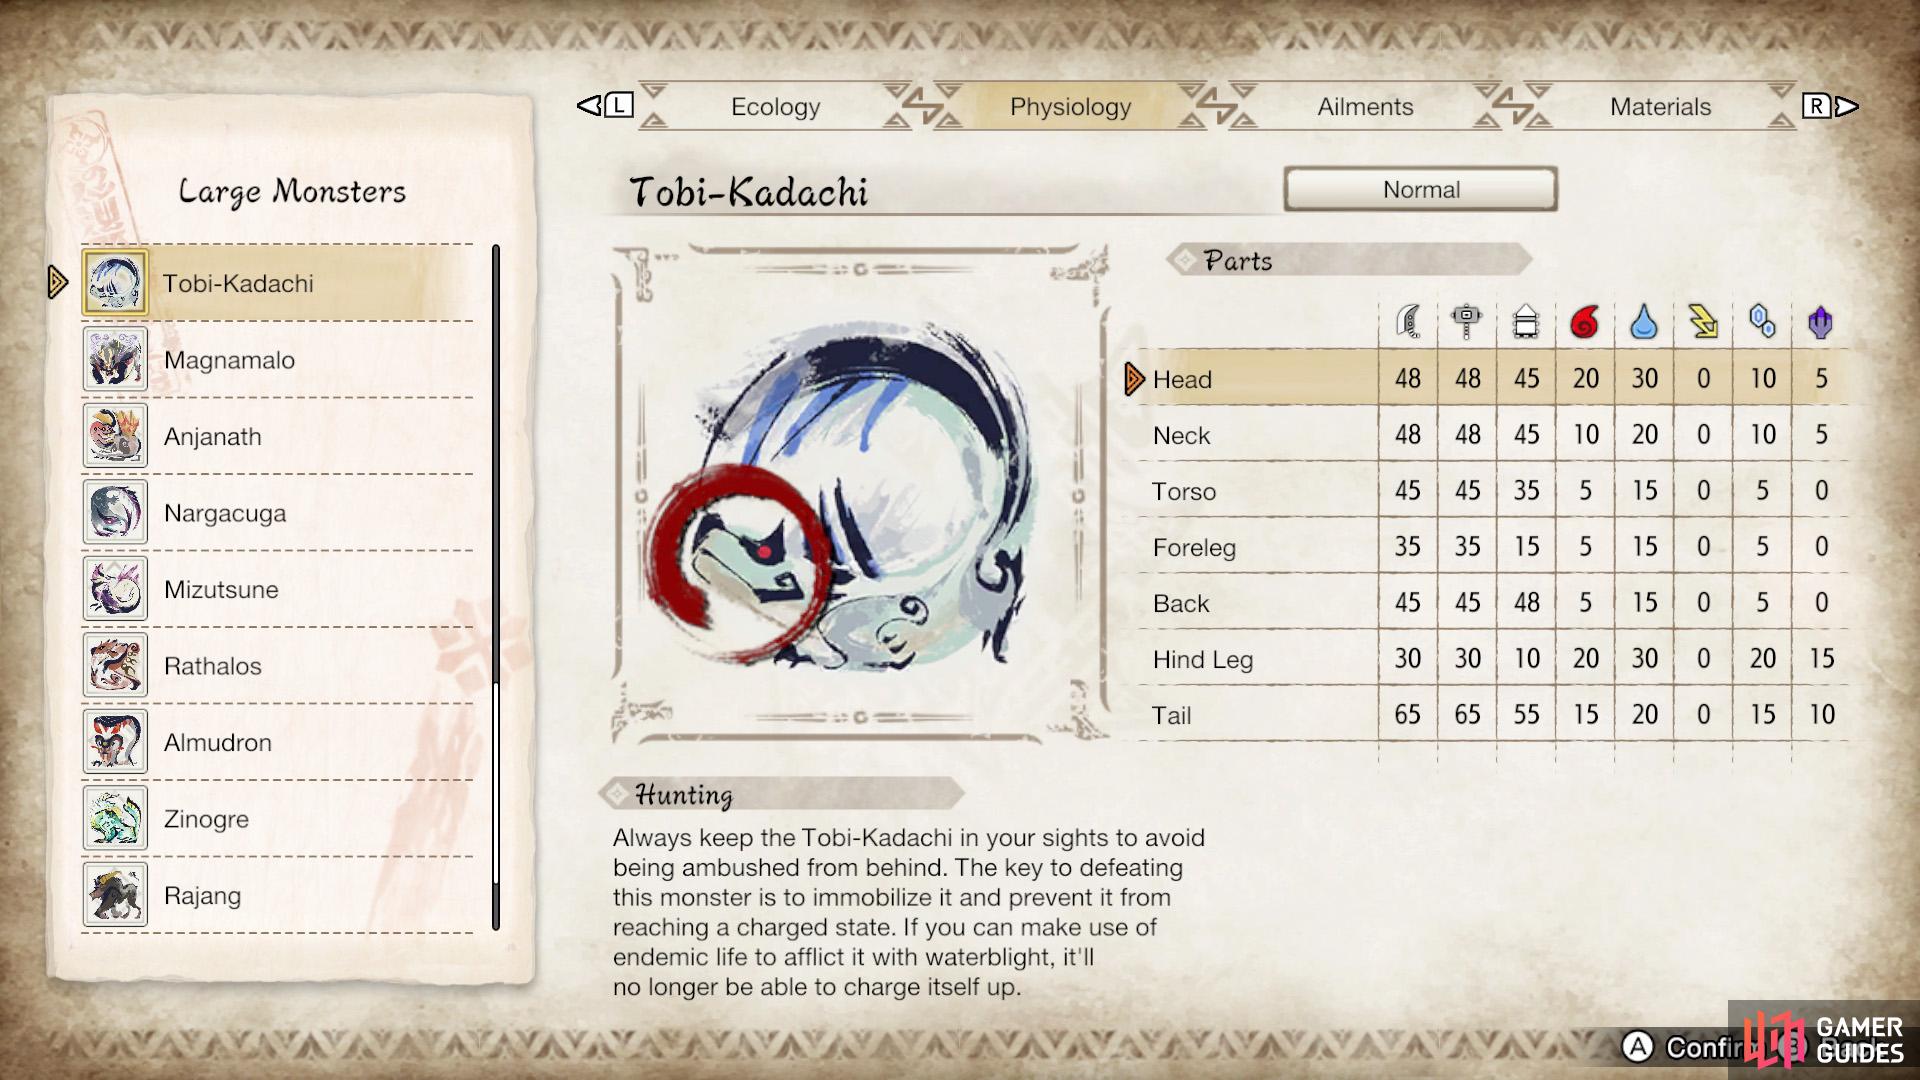
Tobi-Kadachi’s parts/elemental susceptibility.
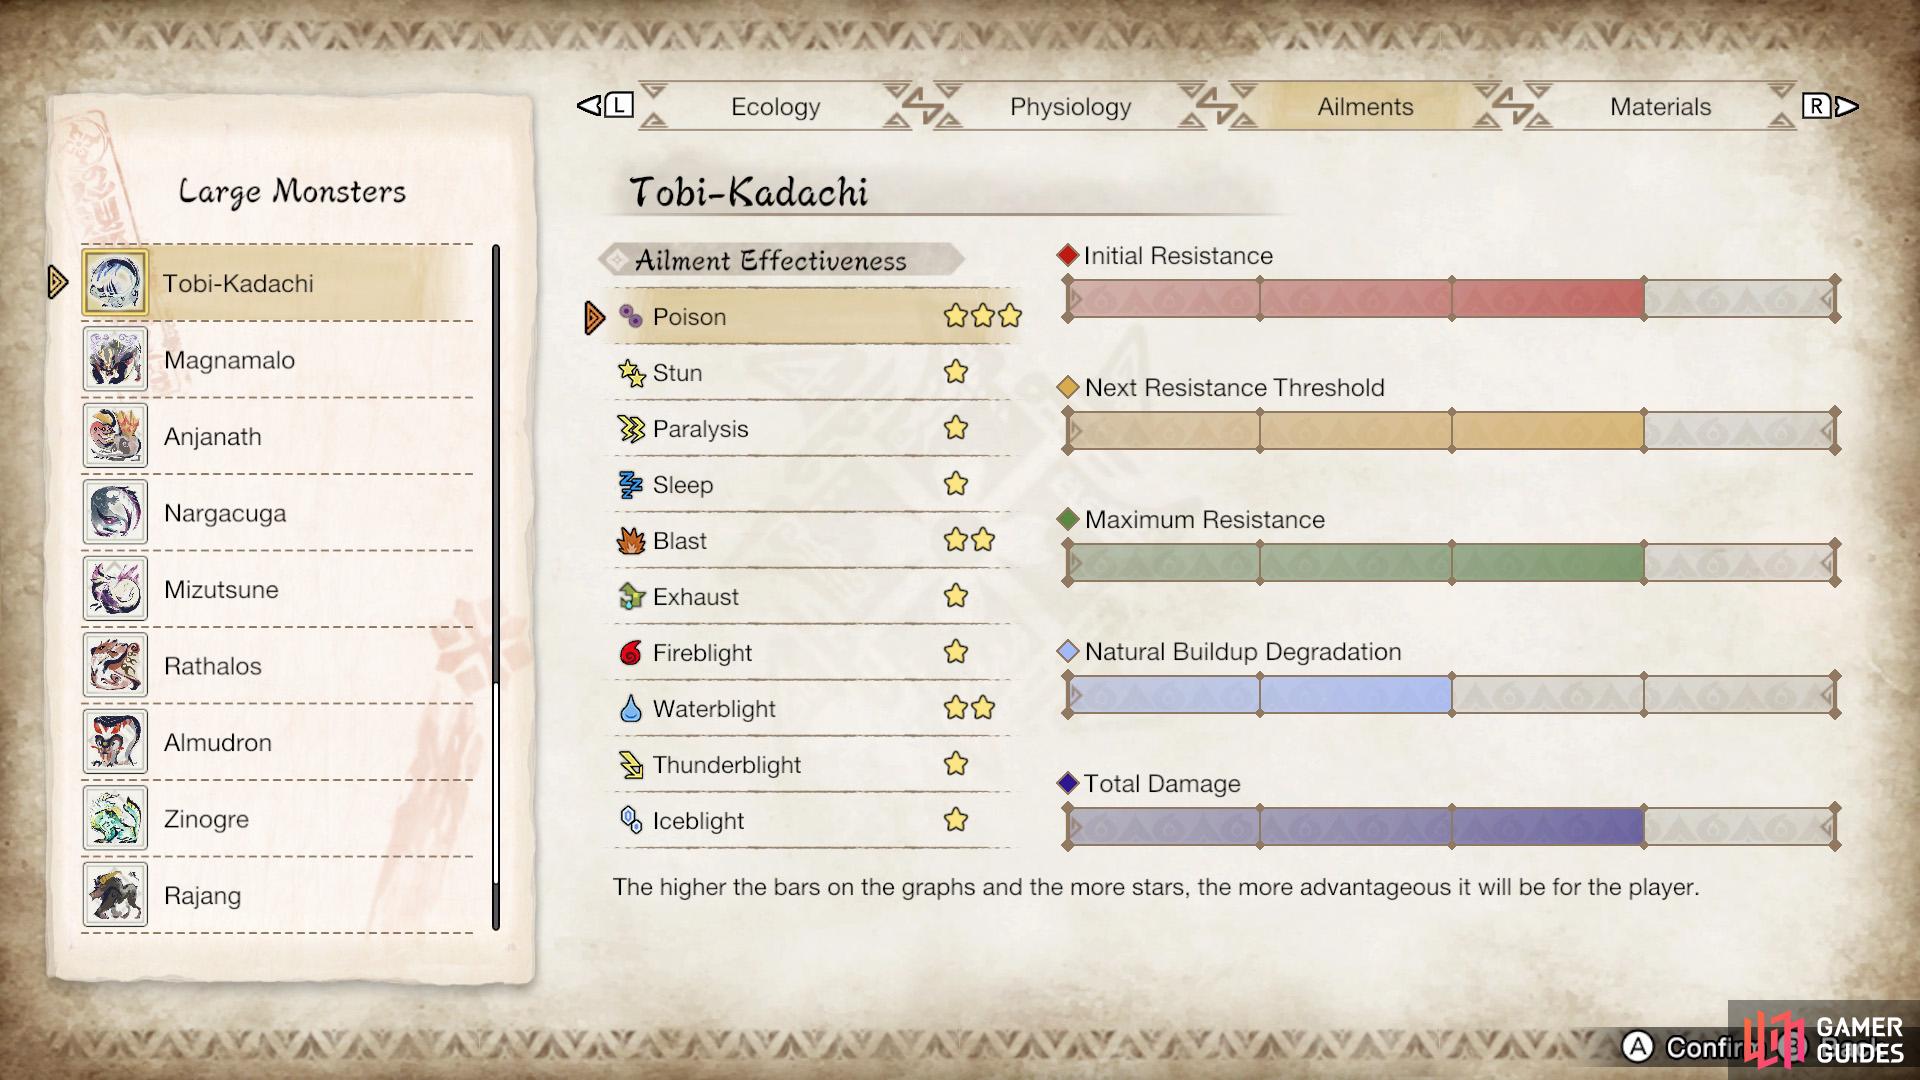
Tobi-Kadachi’s ailment susceptibility.
| Parts | Elements | Ailments |
|---|---|---|
| Tail | Water | Poison |
Attack Patterns
Headbutt
Tobi pulls its head back and lifts one of its forelegs off the ground.
It’ll then thrust its head forward, thorns poking out. Yowch.
Tobi-Kadachi will pull its head back, while lifting one of its forelegs off the ground. Immediately afterwards, it’ll move in the direction it’s facing, thrusting its head forward, with its head thorns out. You’ll also hear a “voom” sound.
Arm Swipe
Tobi raises one of its forelegs.
It’ll then swipe across using that foreleg.
A somewhat rare attack. Tobi will raise one of its forelegs–something you’ve probably seen many other monsters do. Next, it’ll swipe that foreleg in front of itself. Since its forelegs are rather short and it doesn’t move forward much, this attack has poor range.
Bite
Tobi-Kadachi looks sideways, head off the ground and mouth wiiiide open. Next, it’ll move in the direction it’s facing to bite its prey.
If Tobi is enraged (electrified), it’ll move further than usual and it’ll immediately turn around to perform a second bite. In the enraged state, getting hit by either bite will momentarily disable your wirebugs.
Side Dash
Tobi looks sideways, its head near the ground.
It’ll then quickly dash in the direction it’s facing.
Tobi-Kadachi looks sideways with its head near the ground and mouth wide open. It’ll also make a reverberating growl. Tobi will pull back its neck and then swiftly charge in the direction it’s facing. Afterwards, it’ll pause for a short while.
Shoulder Bash
Tobi quickly crouches down while looking sideways.
It’ll then stand up, drop back down and try to ram you with its shoulder.
Tobi-Kadachi quickly crouches down, while looking sideways. You might be able to hear a quiet humming sound. It’ll then stand up, lifting both forelegs off the ground. Then it’ll drop back down and thrust its shoulder outwards. Afterwards, it’ll stumble.
Leaping Pounce
Tobi moves a tiny bit backwards and faces forward, mouth open.
The agile monster will then leap forward.
Tobi-Kadachi shuffles back very slightly, while facing forward and mouth wide open. It’ll also make a reverberating growl. Next, it’ll leap forward a considerable distance, damaging anyone in its path.
Most of the time, Tobi will follow up with a Tail Slam, so don’t think you’re safe. However, if Tobi is tired, it will stop and idle instead. This is a very common move/combo, so be sure to learn it.
Tail Slam
Tobi looks backwards with its tail halfway up.
After a short while, it’ll backflip and slam its tail down.
Tobi looks backwards with its tail slightly up. It’ll very quickly wave its tail upwards once, then perform a backflip, slamming its tail down.
Tail Whip
Tobi looks backwards, but its tail is all the way up.

After waving its tail sideways, Tobi will sweep its tail from one side to the other.
Tobi looks backwards with its tail all the way up. It’ll wave its tail sideways a few times and then sweep it from one to side to another.
Tail Darts
Tobi crouches diagonally while looking forwards.
Next, it’ll spin around on the spot, lashing its tail out and shooting a flying dart.
Tobi crouches diagonally while looking forwards, with its tail raised slightly up. Tobi will also make that reverberating growl you’re probably familiar with. Next, it’ll spin around on the spot, lashing its tail out.
Besides causing physical damage, the tail motion will cause a flying dart to shoot forward. Afterwards, the dart will remain on the ground for a while.
Be careful as Tobi likes to use this attack twice in a row.
Hang from Wall

Watch out when Tobi aligns itself horizontally and stares viciously at you.
It’ll then jump off and perform a dangerous attack.
On occasions, Tobi-Kadachi can jump onto a nearby wall and remain there for a brief spell. While on the wall, if Tobi is shuffling around, this means it’s scouting for prey. Beware when Tobi aligns itself horizontally and looks in your direction with its mouth open. Soon afterwards, it’ll perform a Flying Tail Lash.
Meanwhile, if Tobi is barely moving and saliva is coming from its mouth, it means it’s hanging on the wall to recover. If you attack Tobi in this state, you can easily cause it to collapse on the floor.
Flying Slam
Tobi will start flying by spreading its arms like a flying squirrel.
It may perform a forward somersault and slam straight down.
Tobi will fly fowards, by spreading its arms like a flying squirrel. It’ll then perform a forward somersault and slam straight down.
Flying Tail Lash
Tobi takes to the air like a flying squirrel.
It’ll then land nearby and violently lash out its tail.
This is Tobi’s strongest move, which it can use when enraged (electrified).
Tobi will fly fowards, by spreading its arms like a flying squirrel. There will usually be an audible warning, but don’t rely on it. Soon afterwards, Tobi will land and immediately lash out its tail. After using this move, it’ll briefly idle.
Strategy
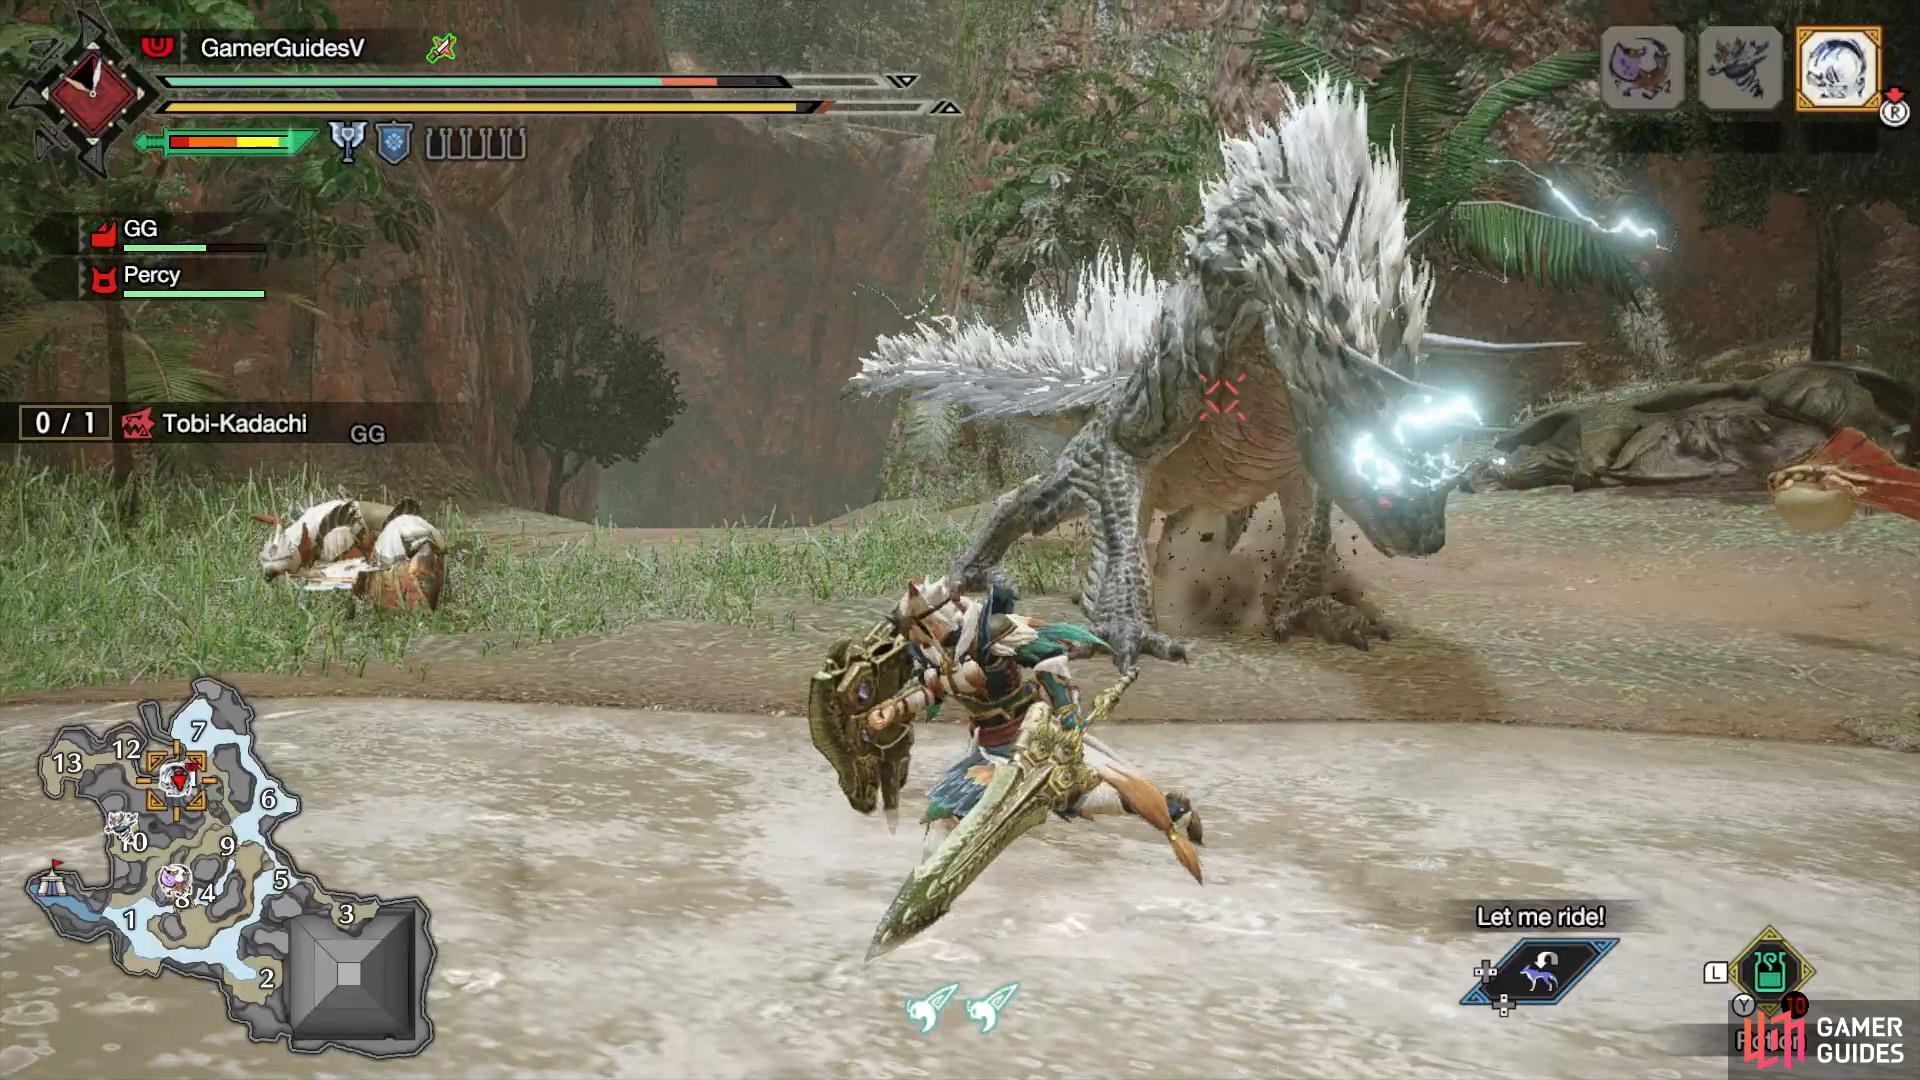
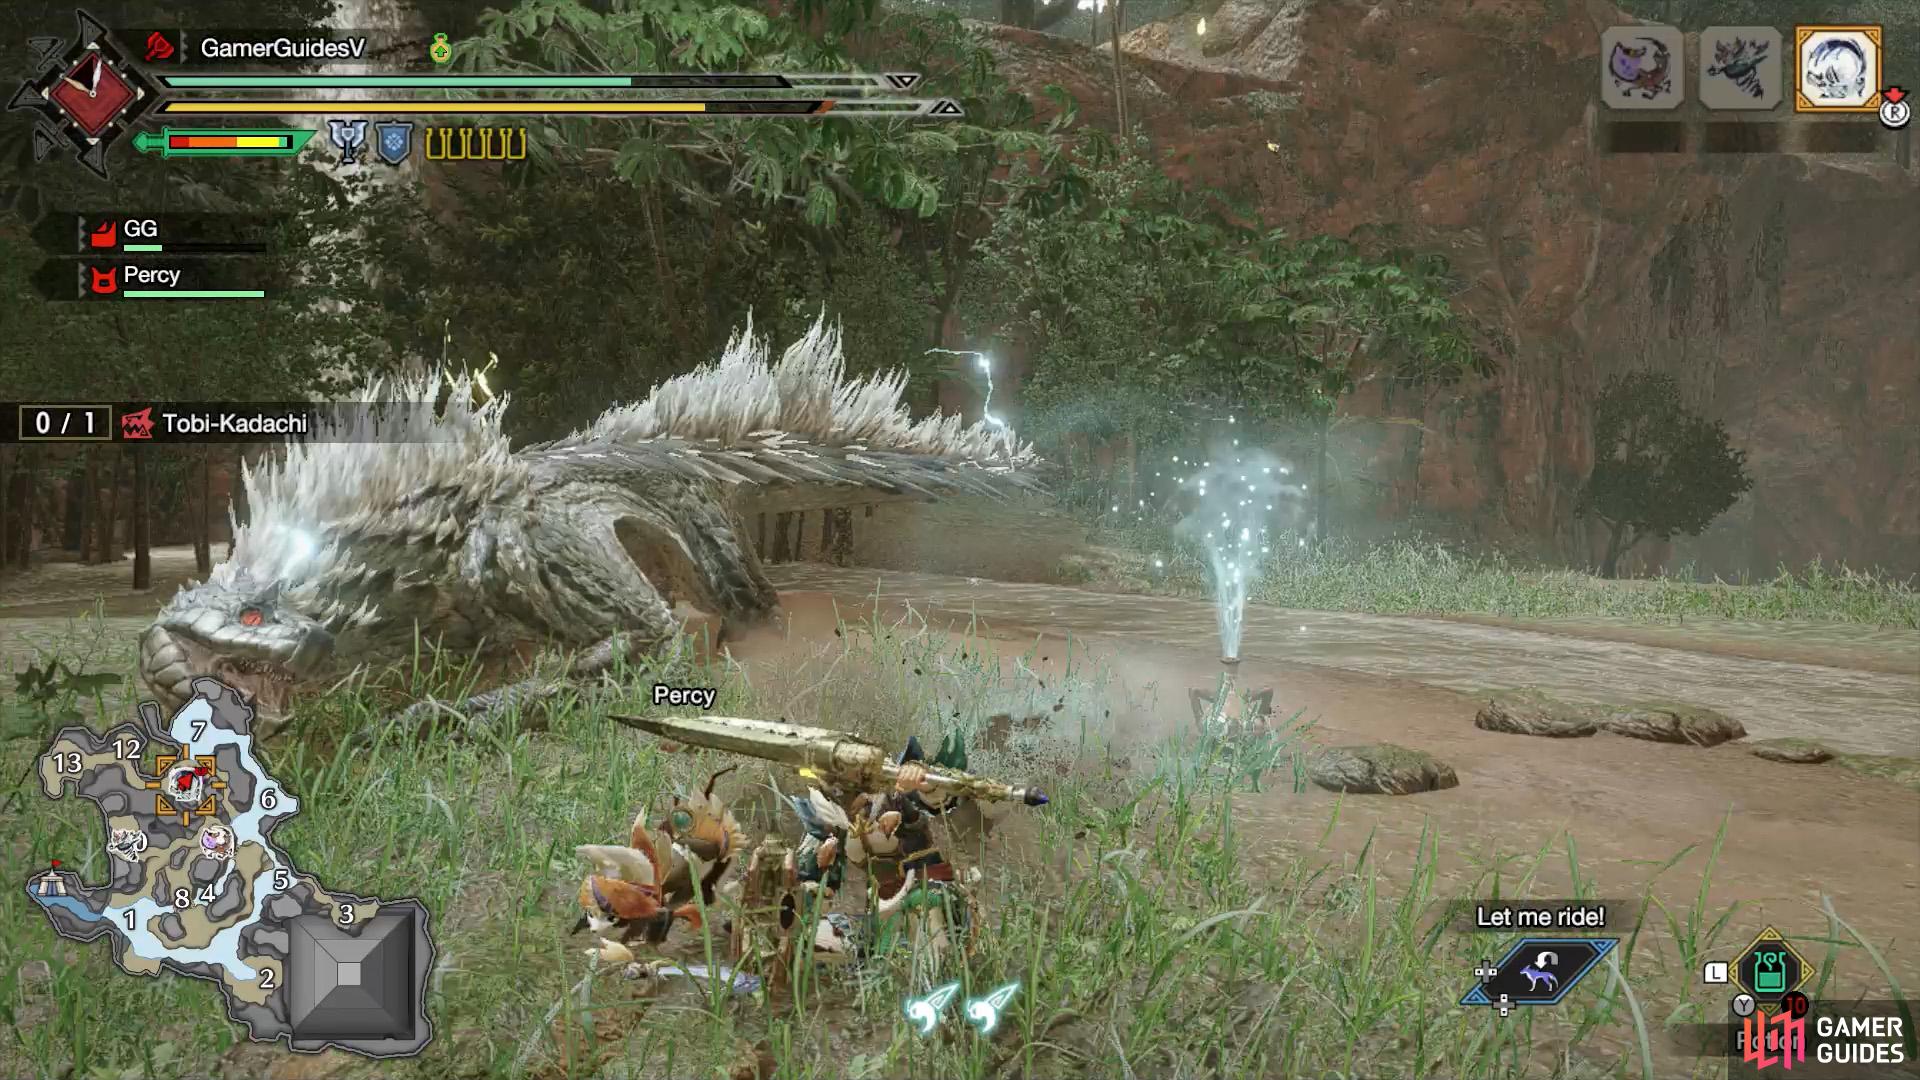
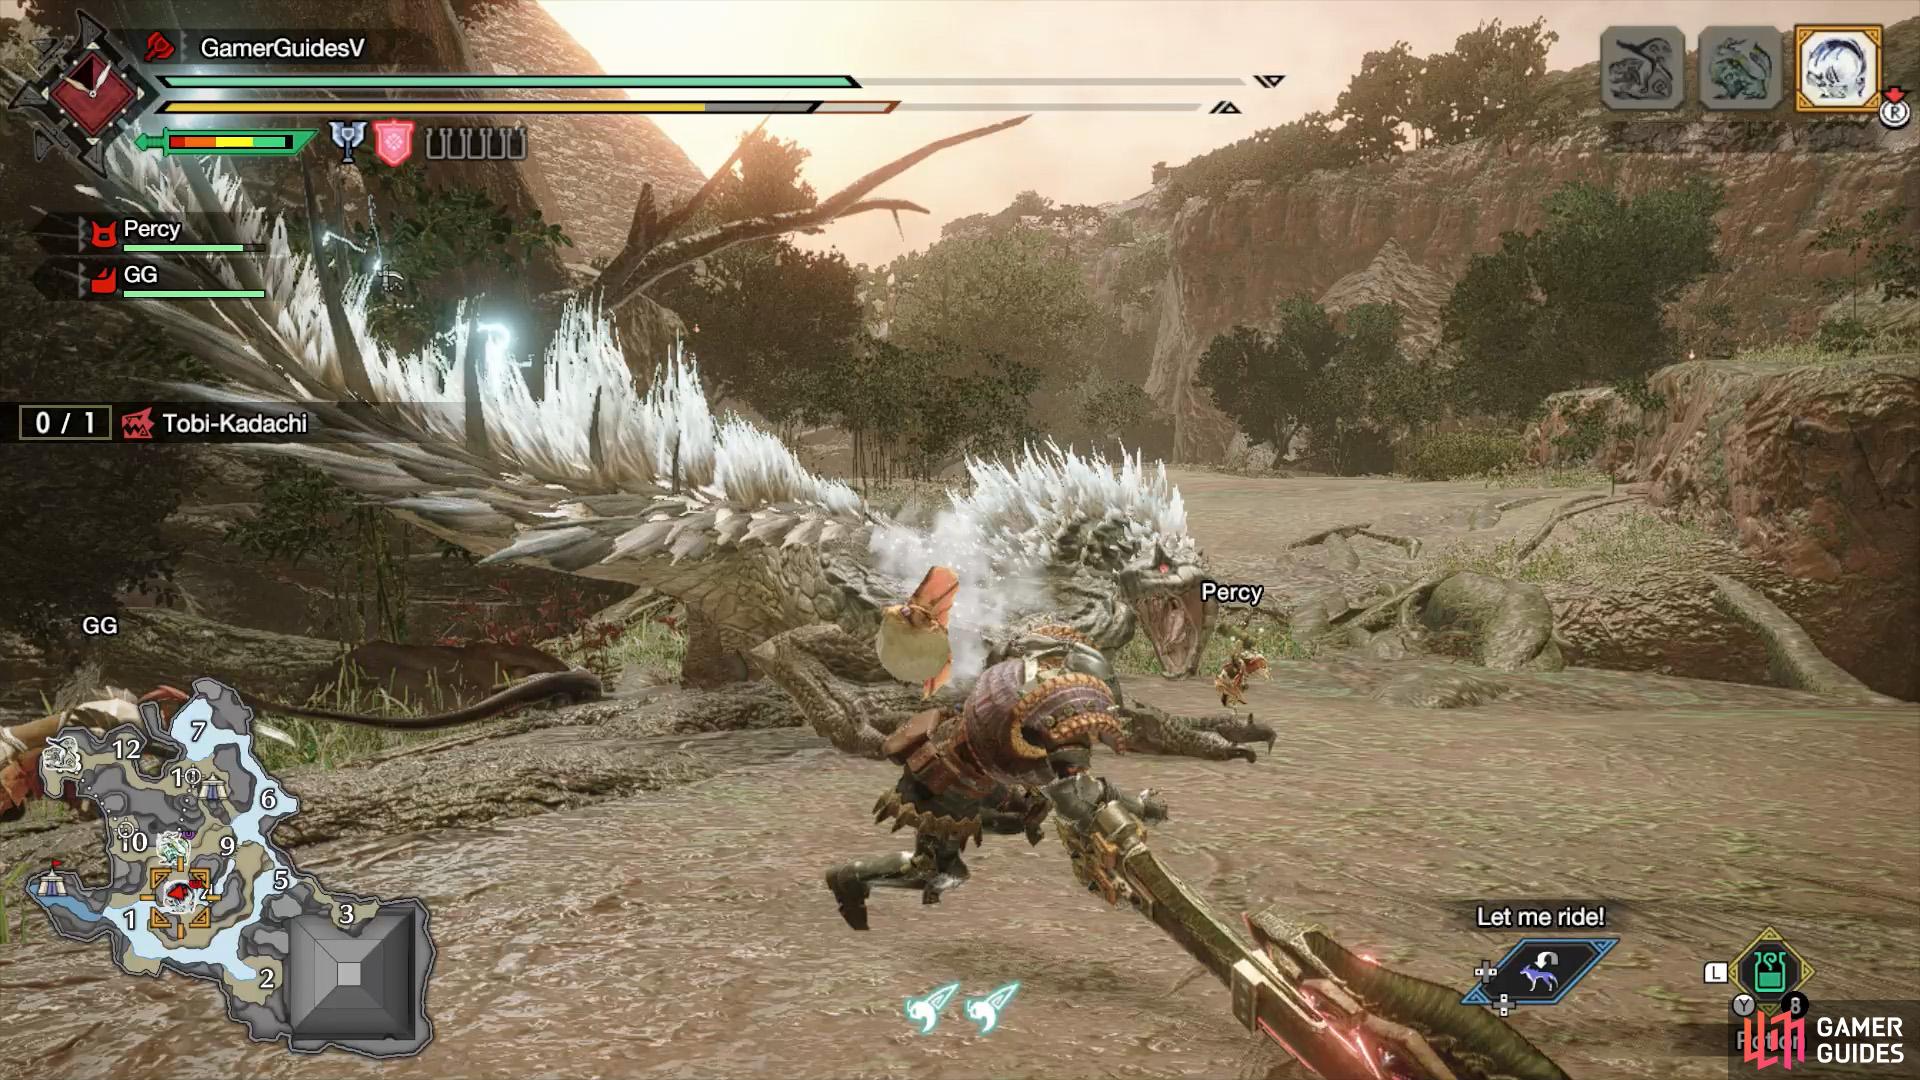
Before you begin the hunt, we suggest donning gear that provides Thunder Resistance. When Tobi-Kadachi electrifies its body, many of its attacks will gain Thunder damage and inflict Thunderblight, which increases your chance of being stunned by attacks.
There’s the Barroth armor, although it can be annoying fighting the muddy behemoth. Also, you might as well snack on the Thunder Res boosting dango. Hopefully that’s enough to get you above 20 Thunder Resistance; if not, bring Nulberries to remove Thunderblight.
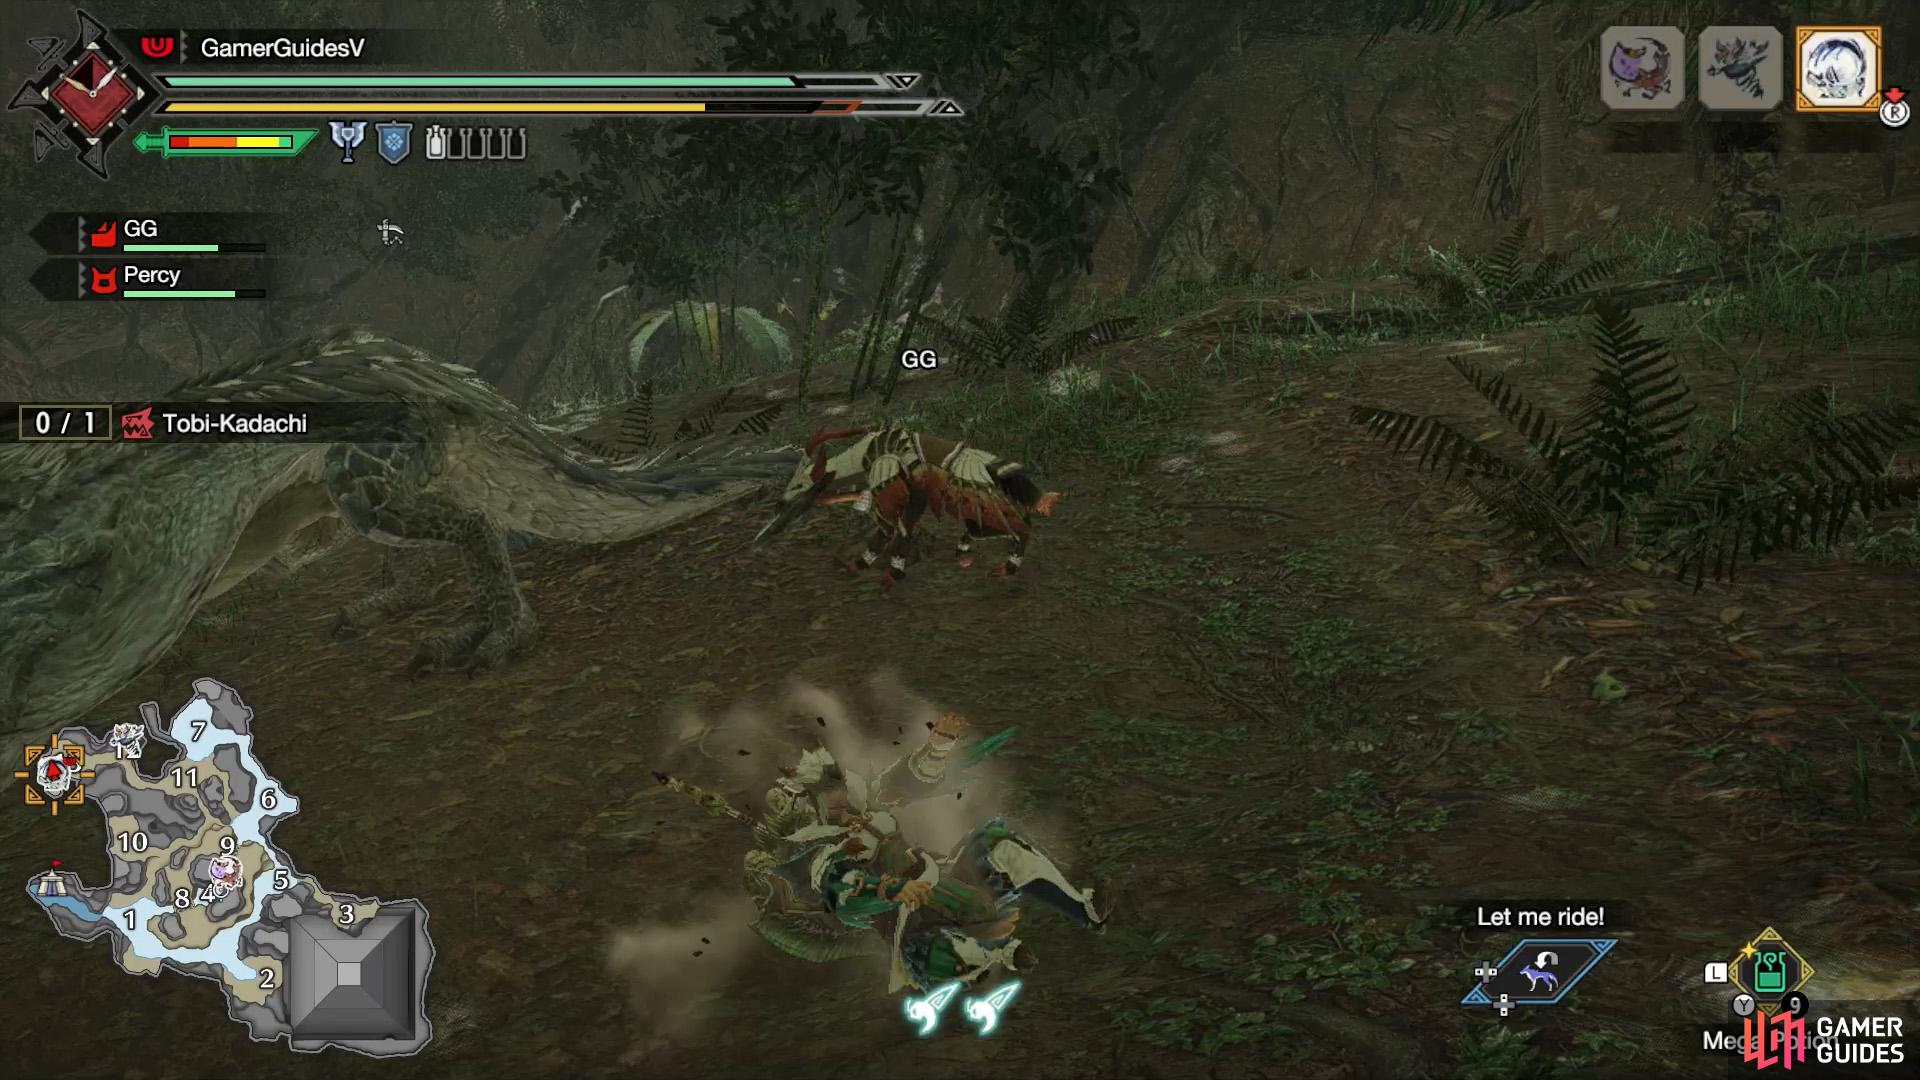
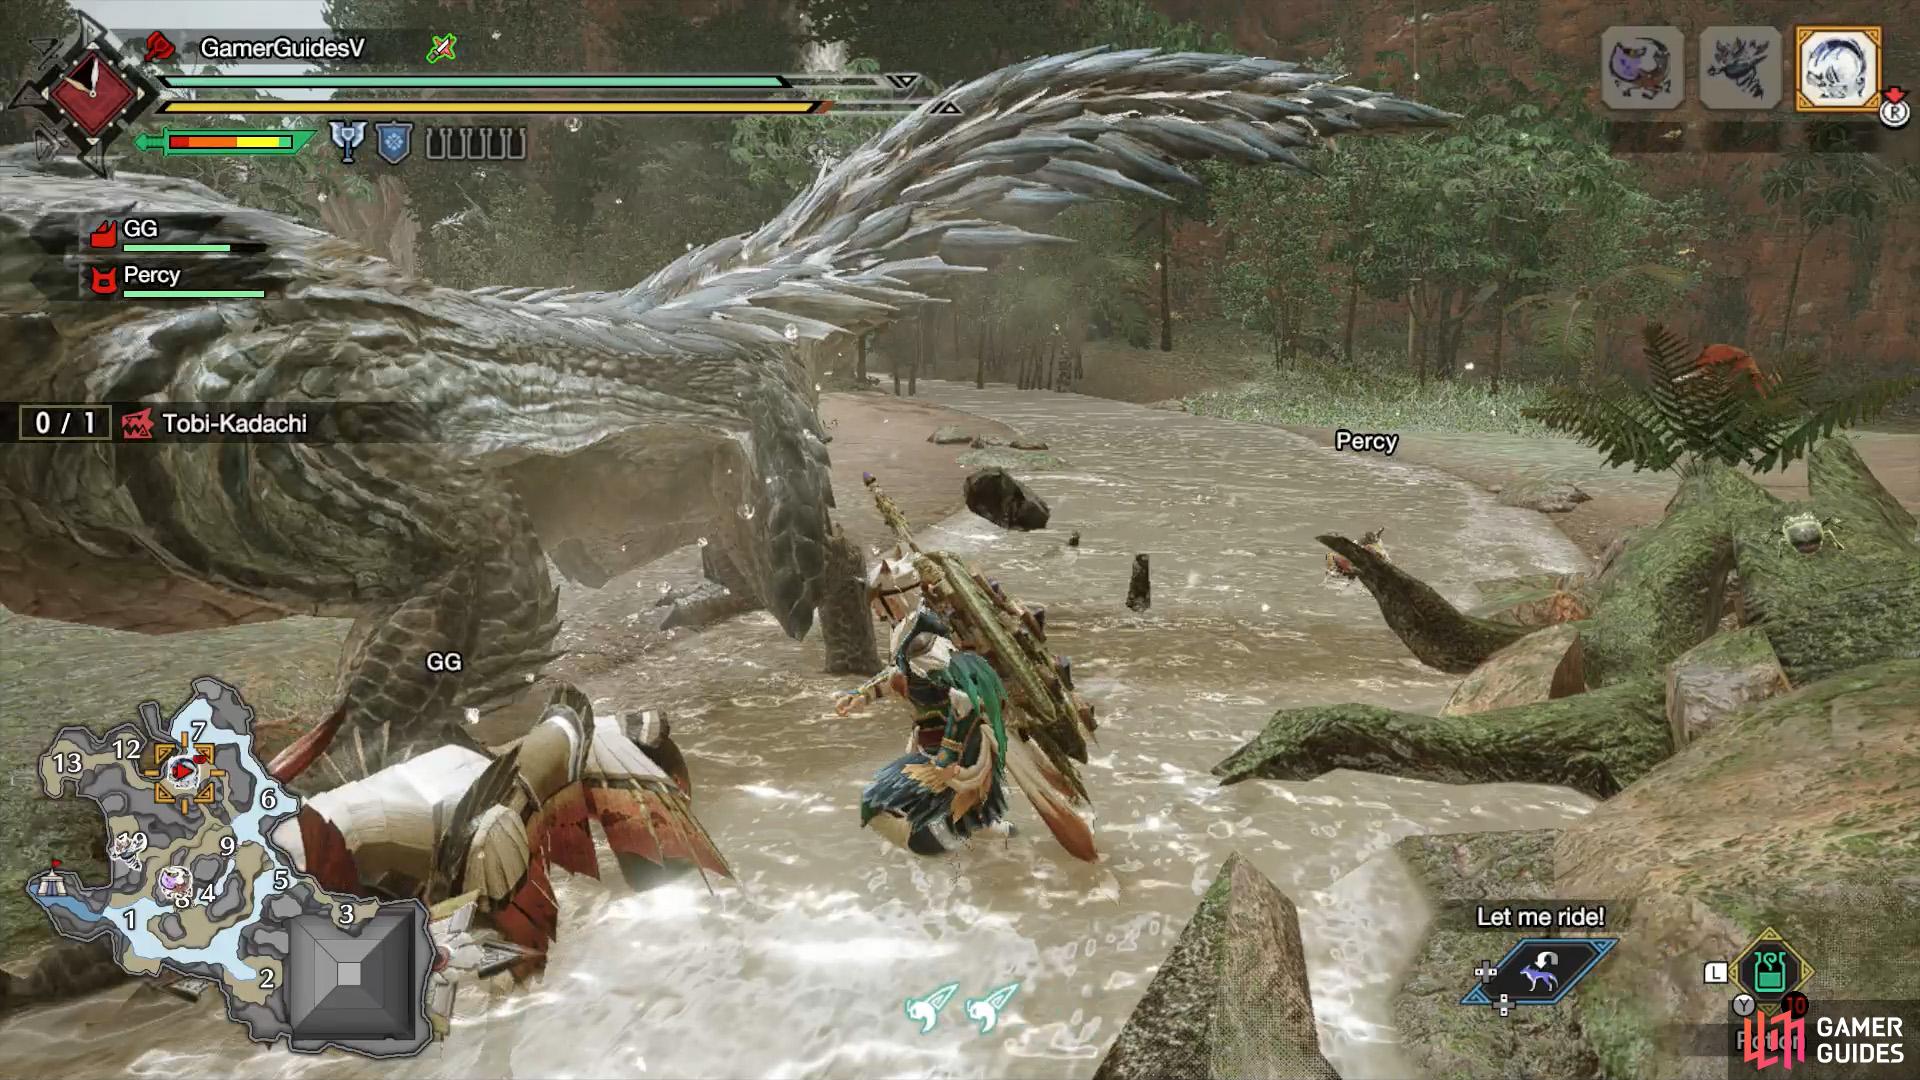
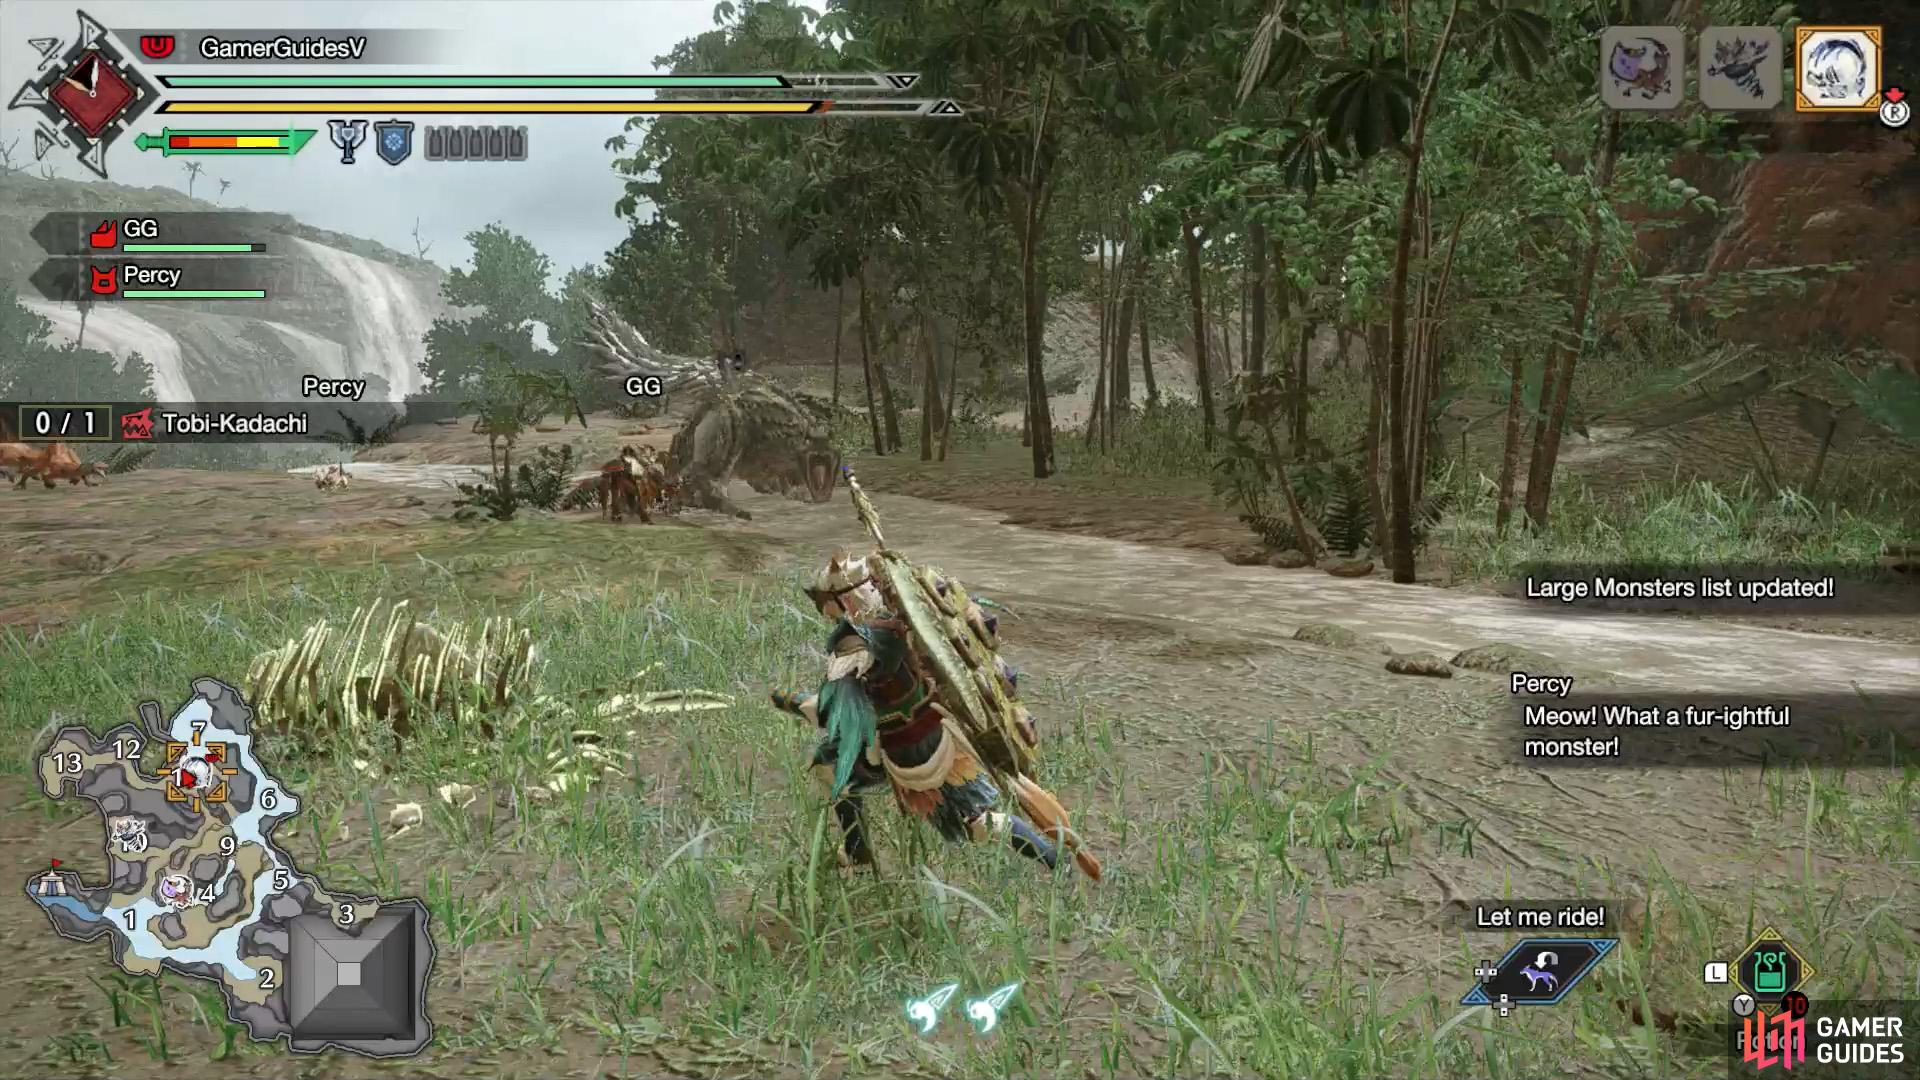
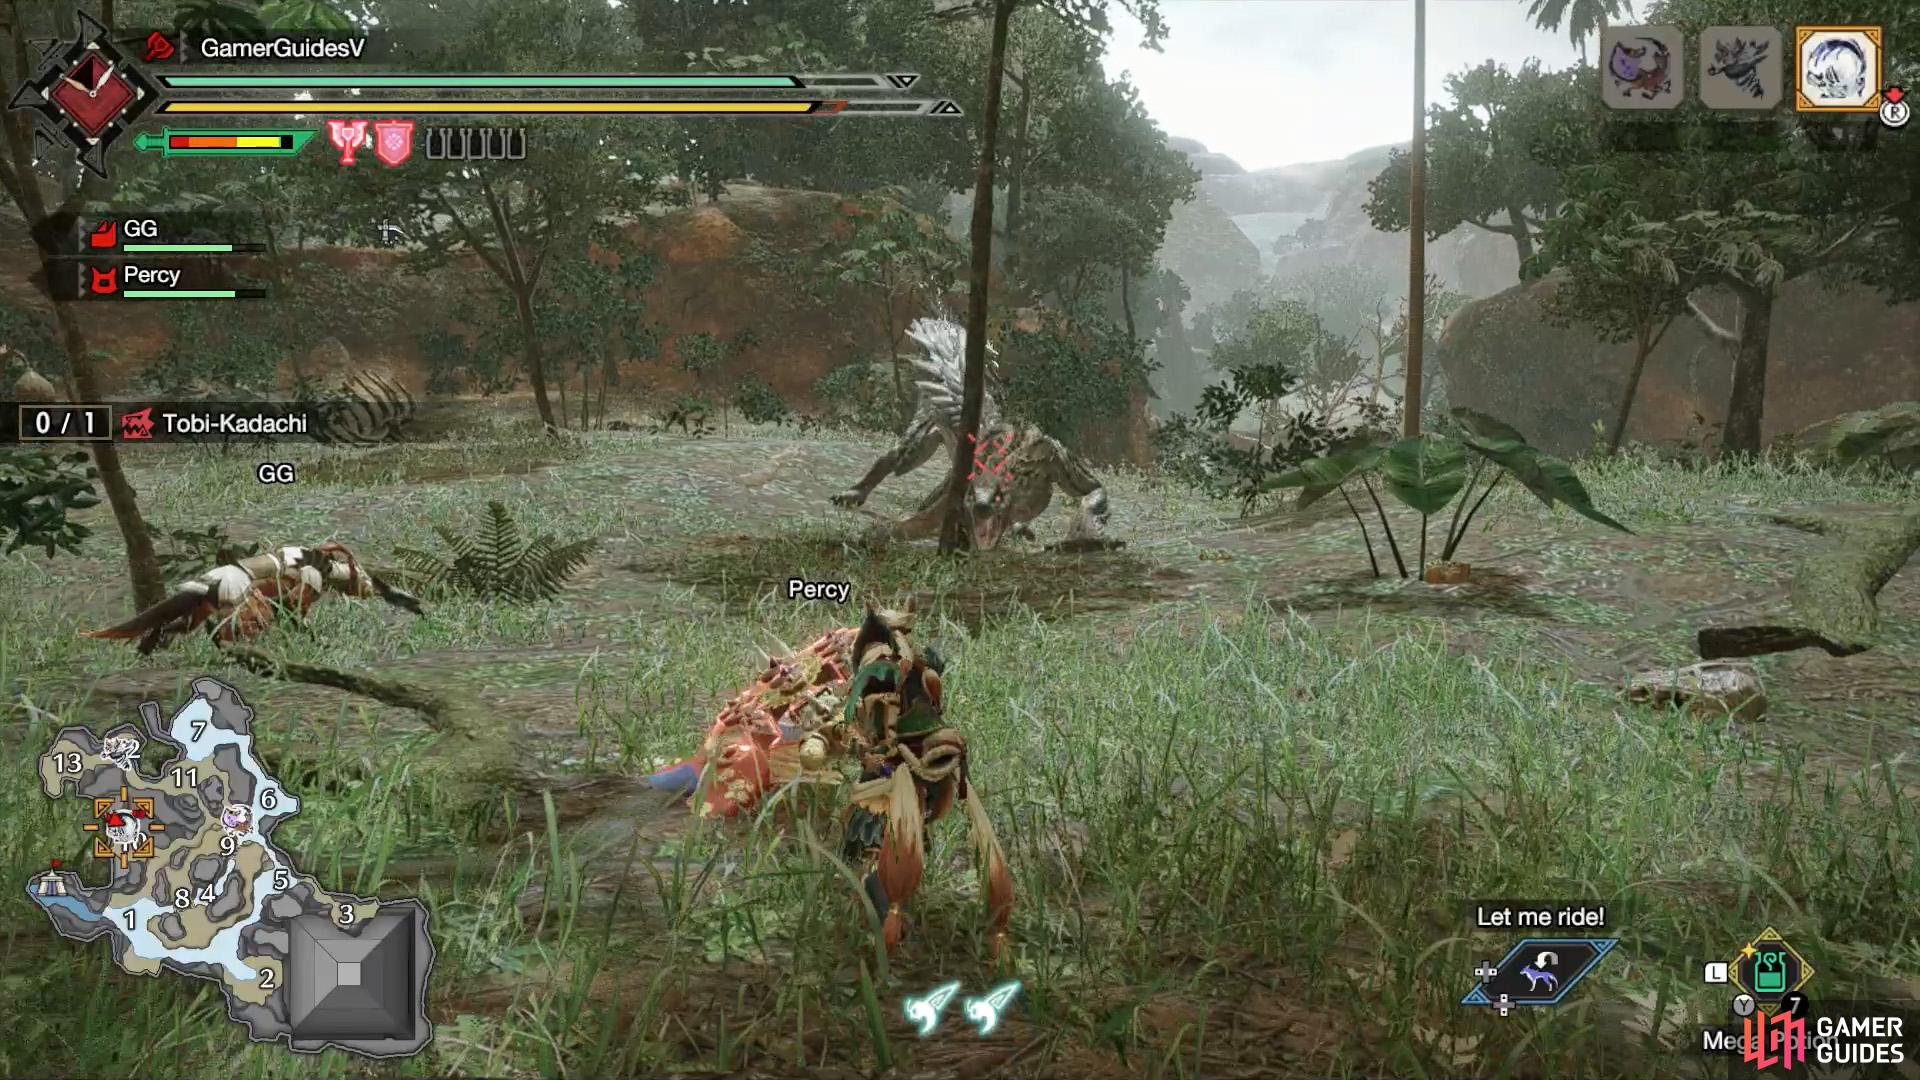
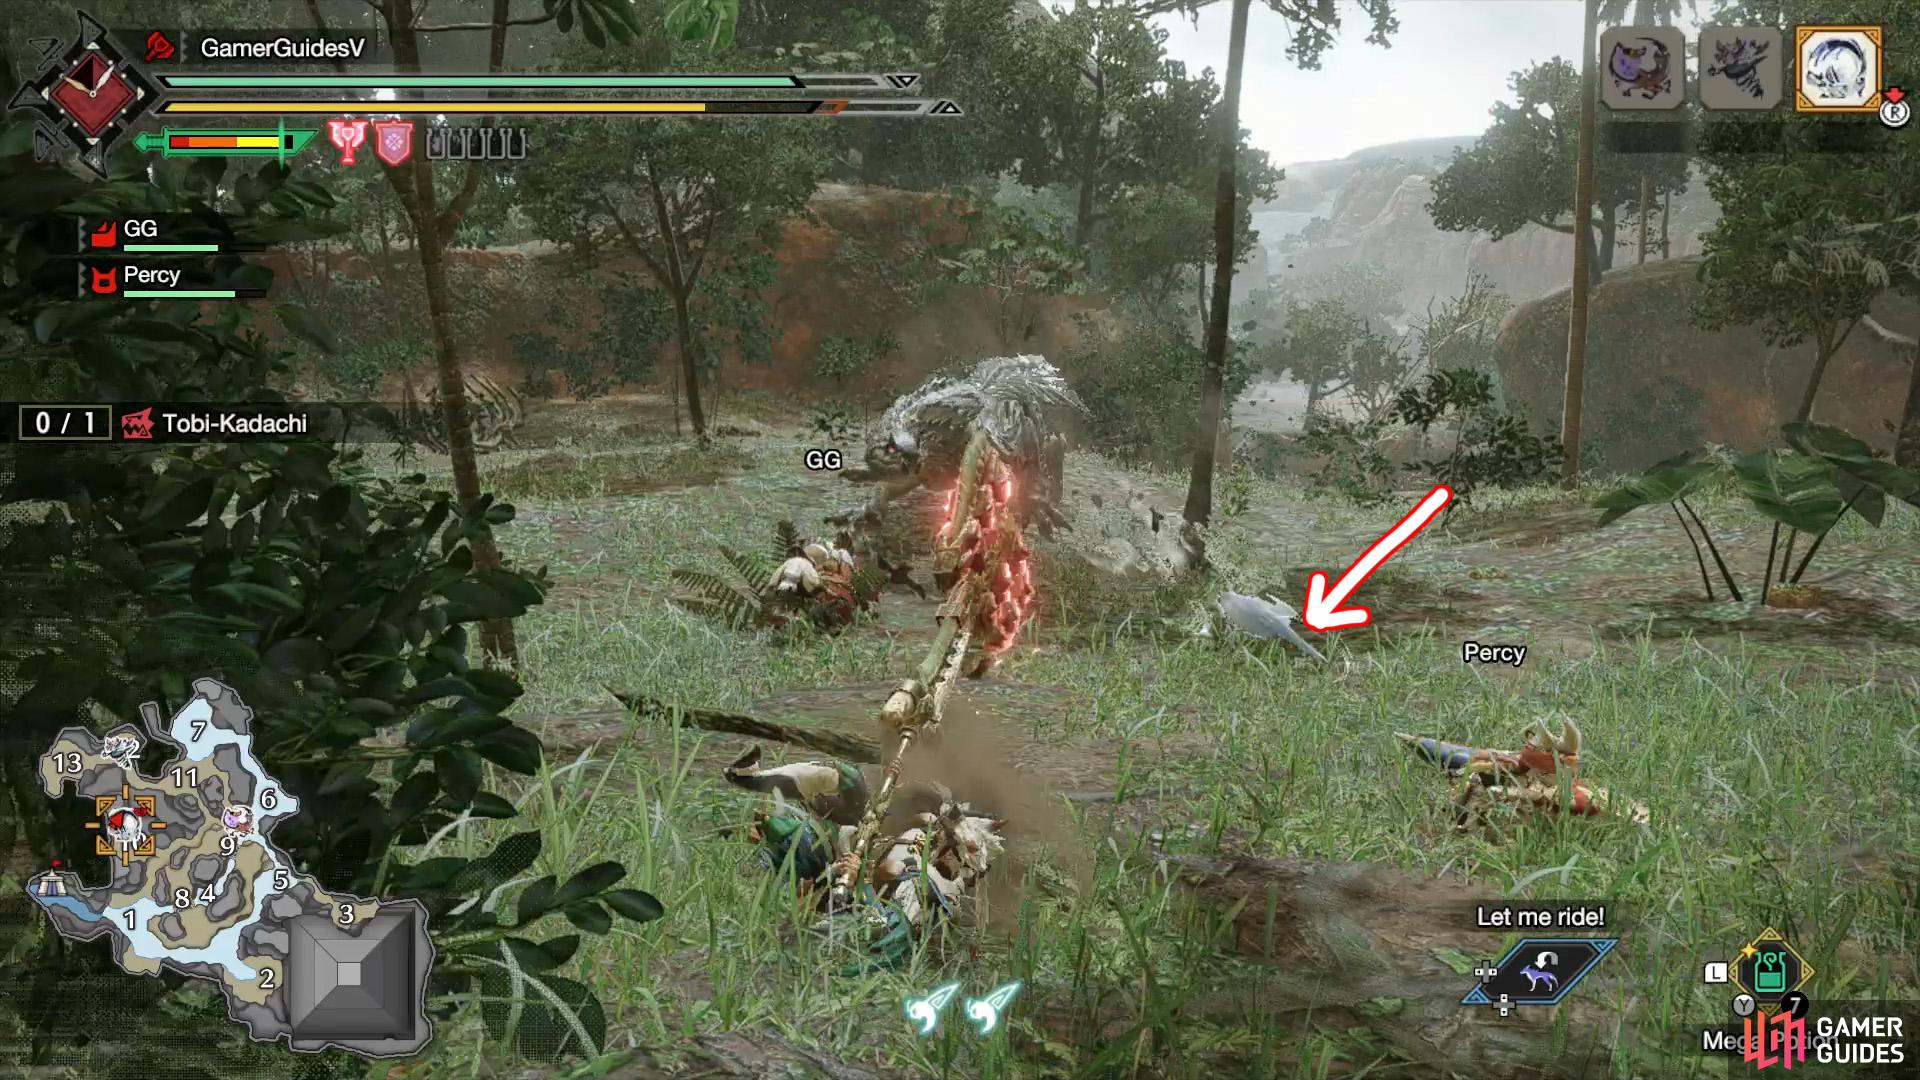
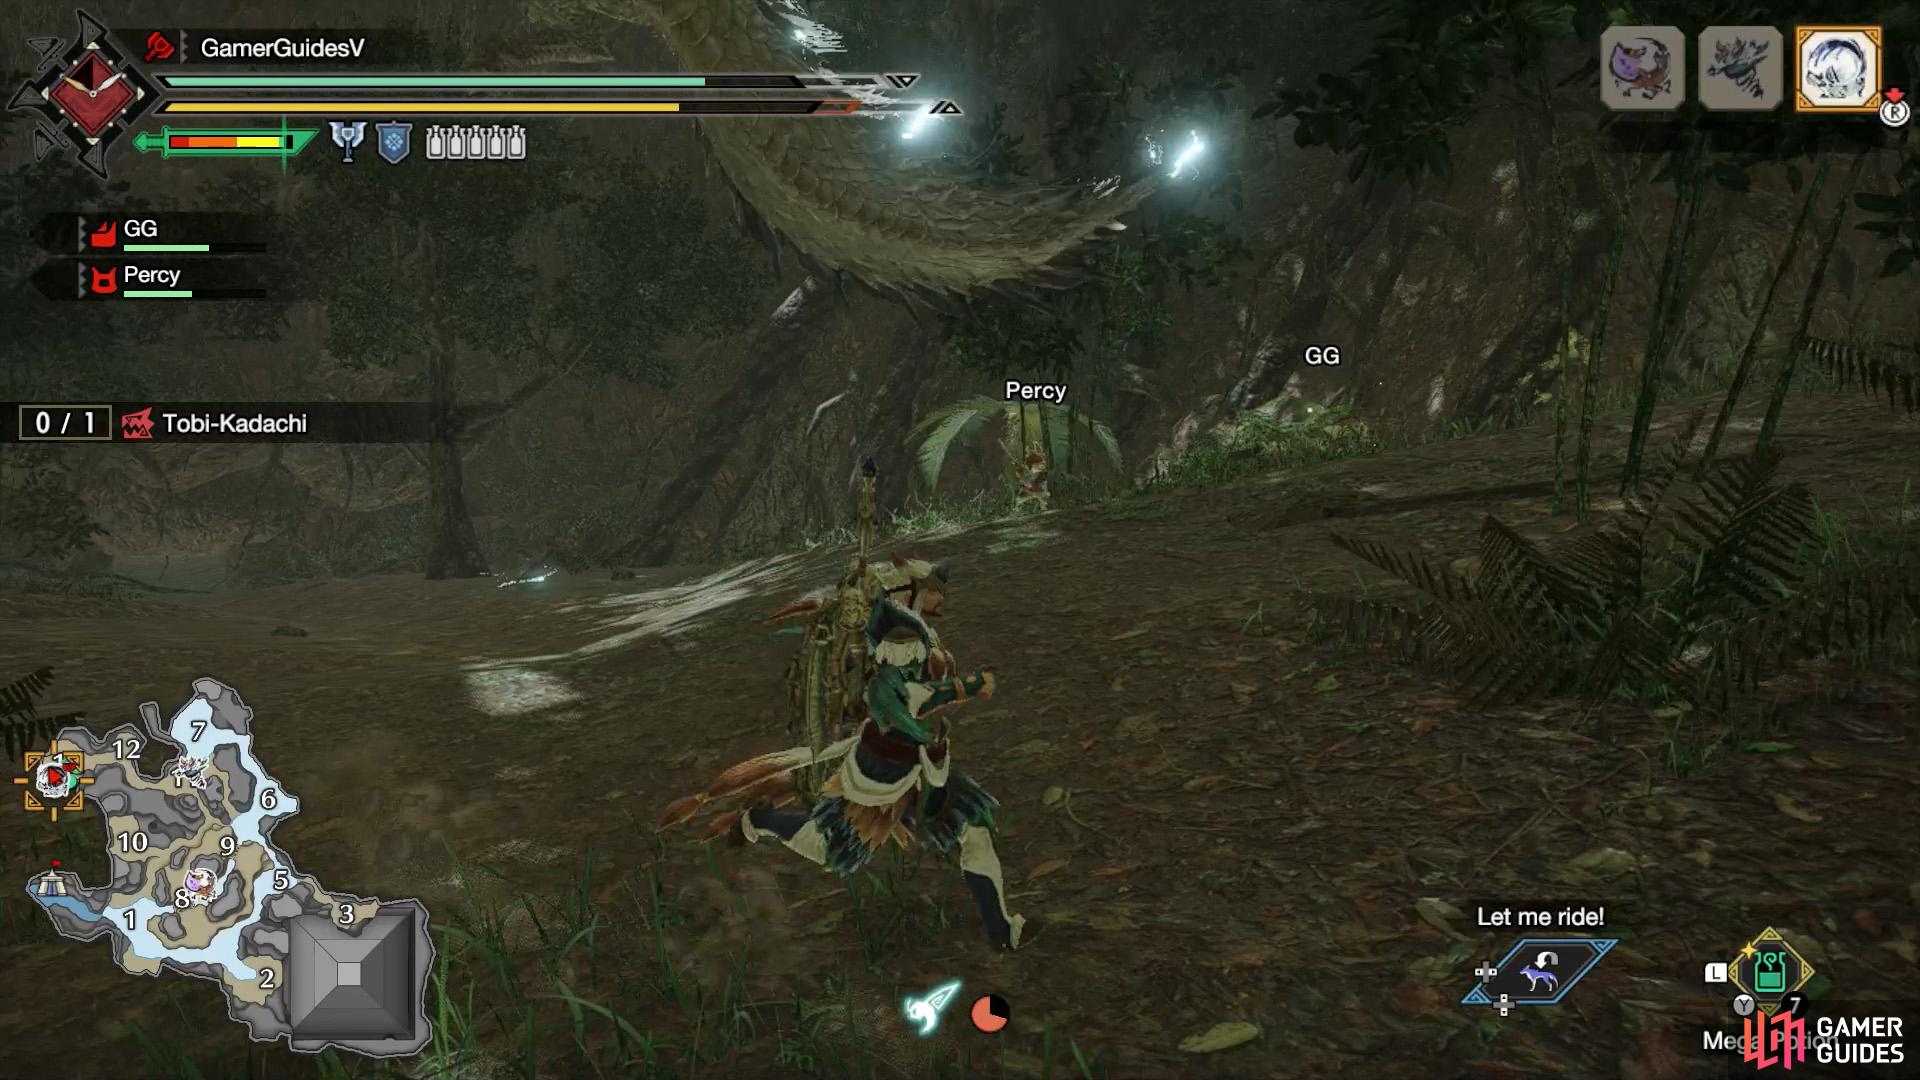
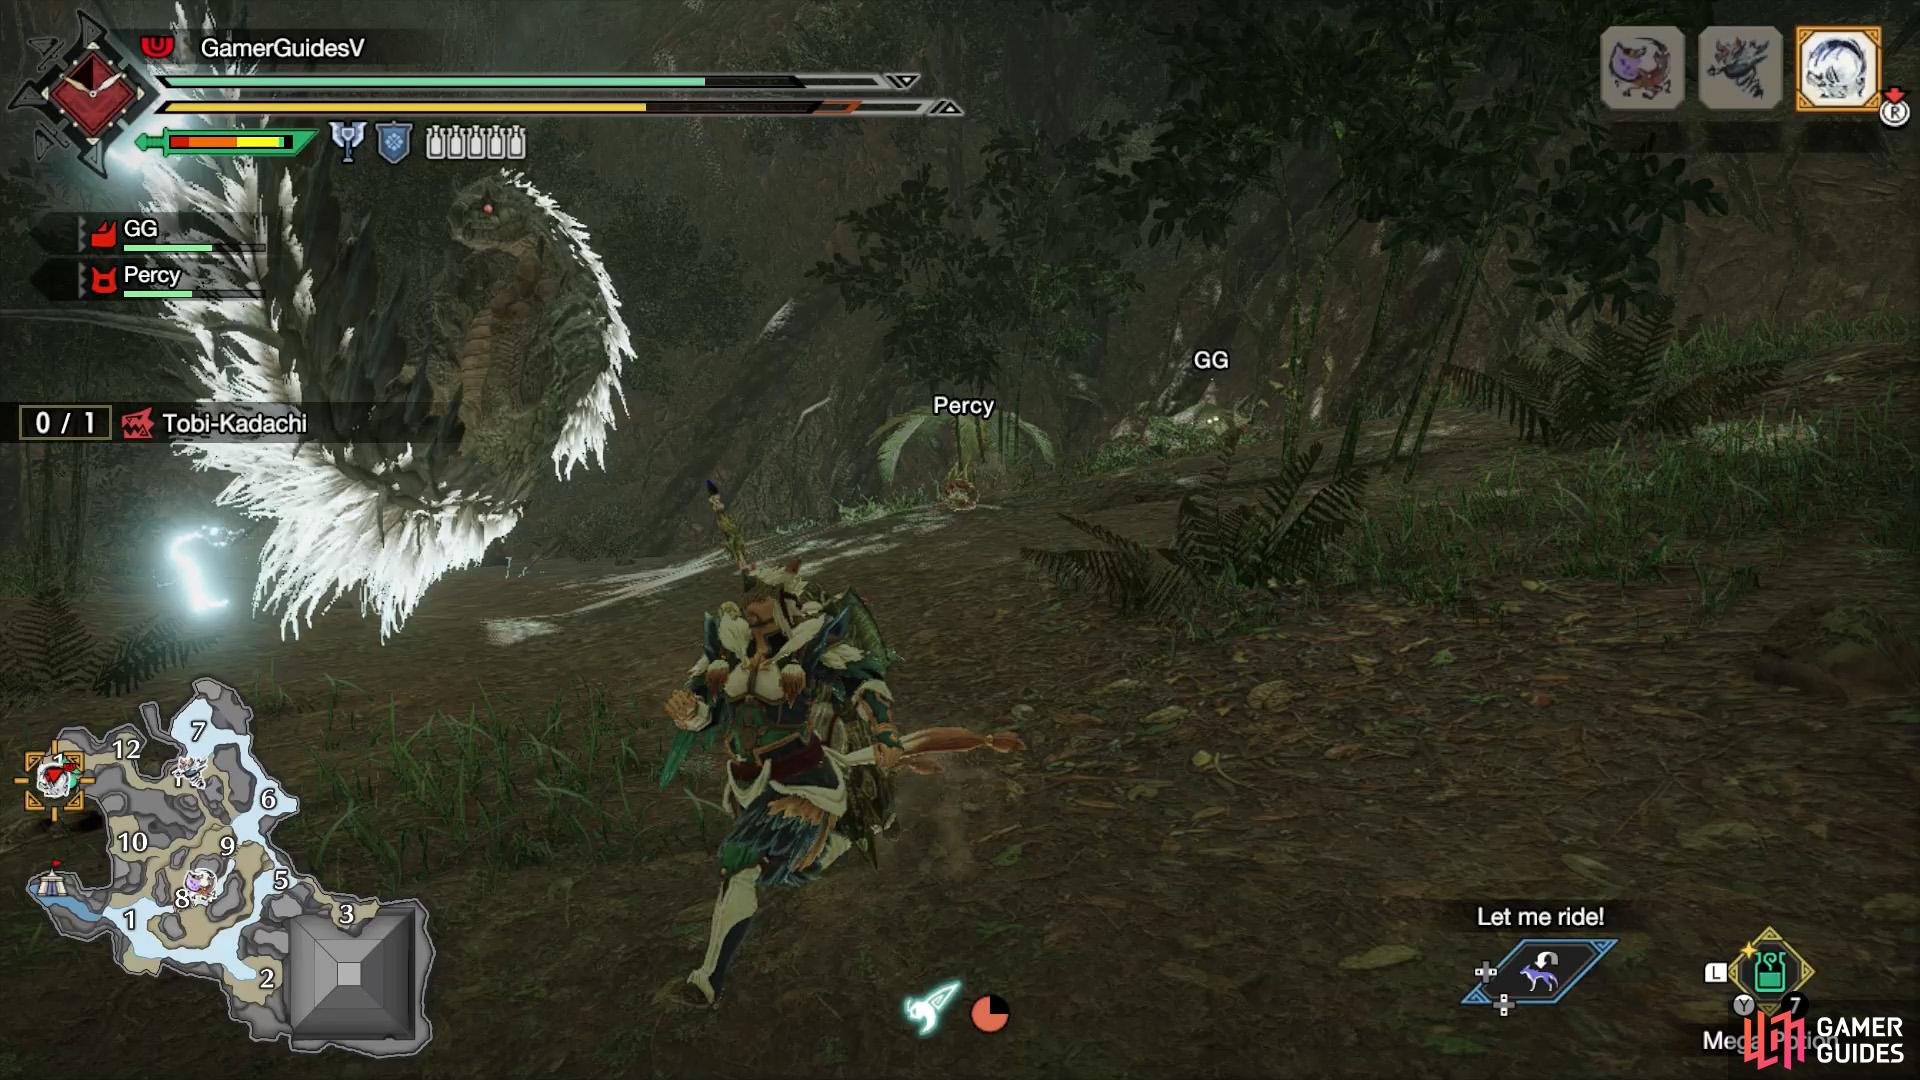
Despite its quick movements, Tobi leaves itself open after many attacks, like the Flying Tail Lash…

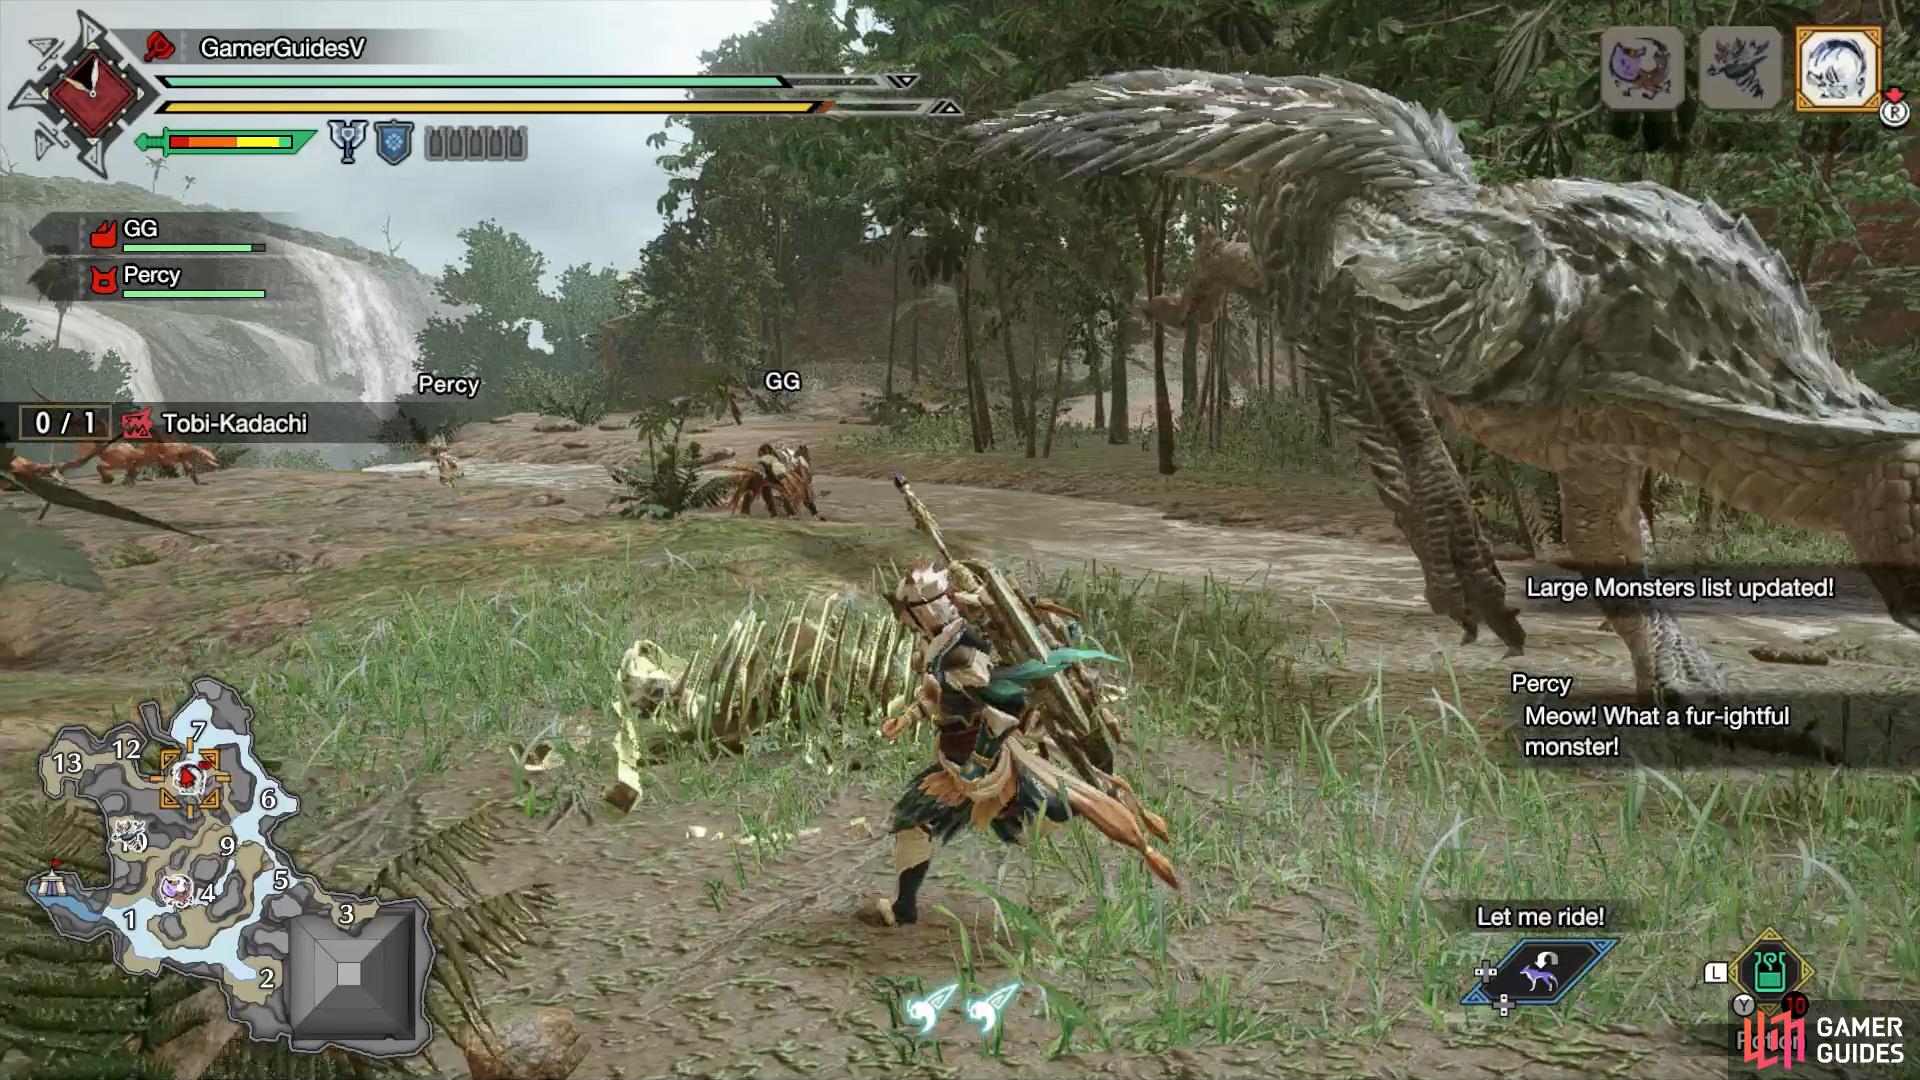
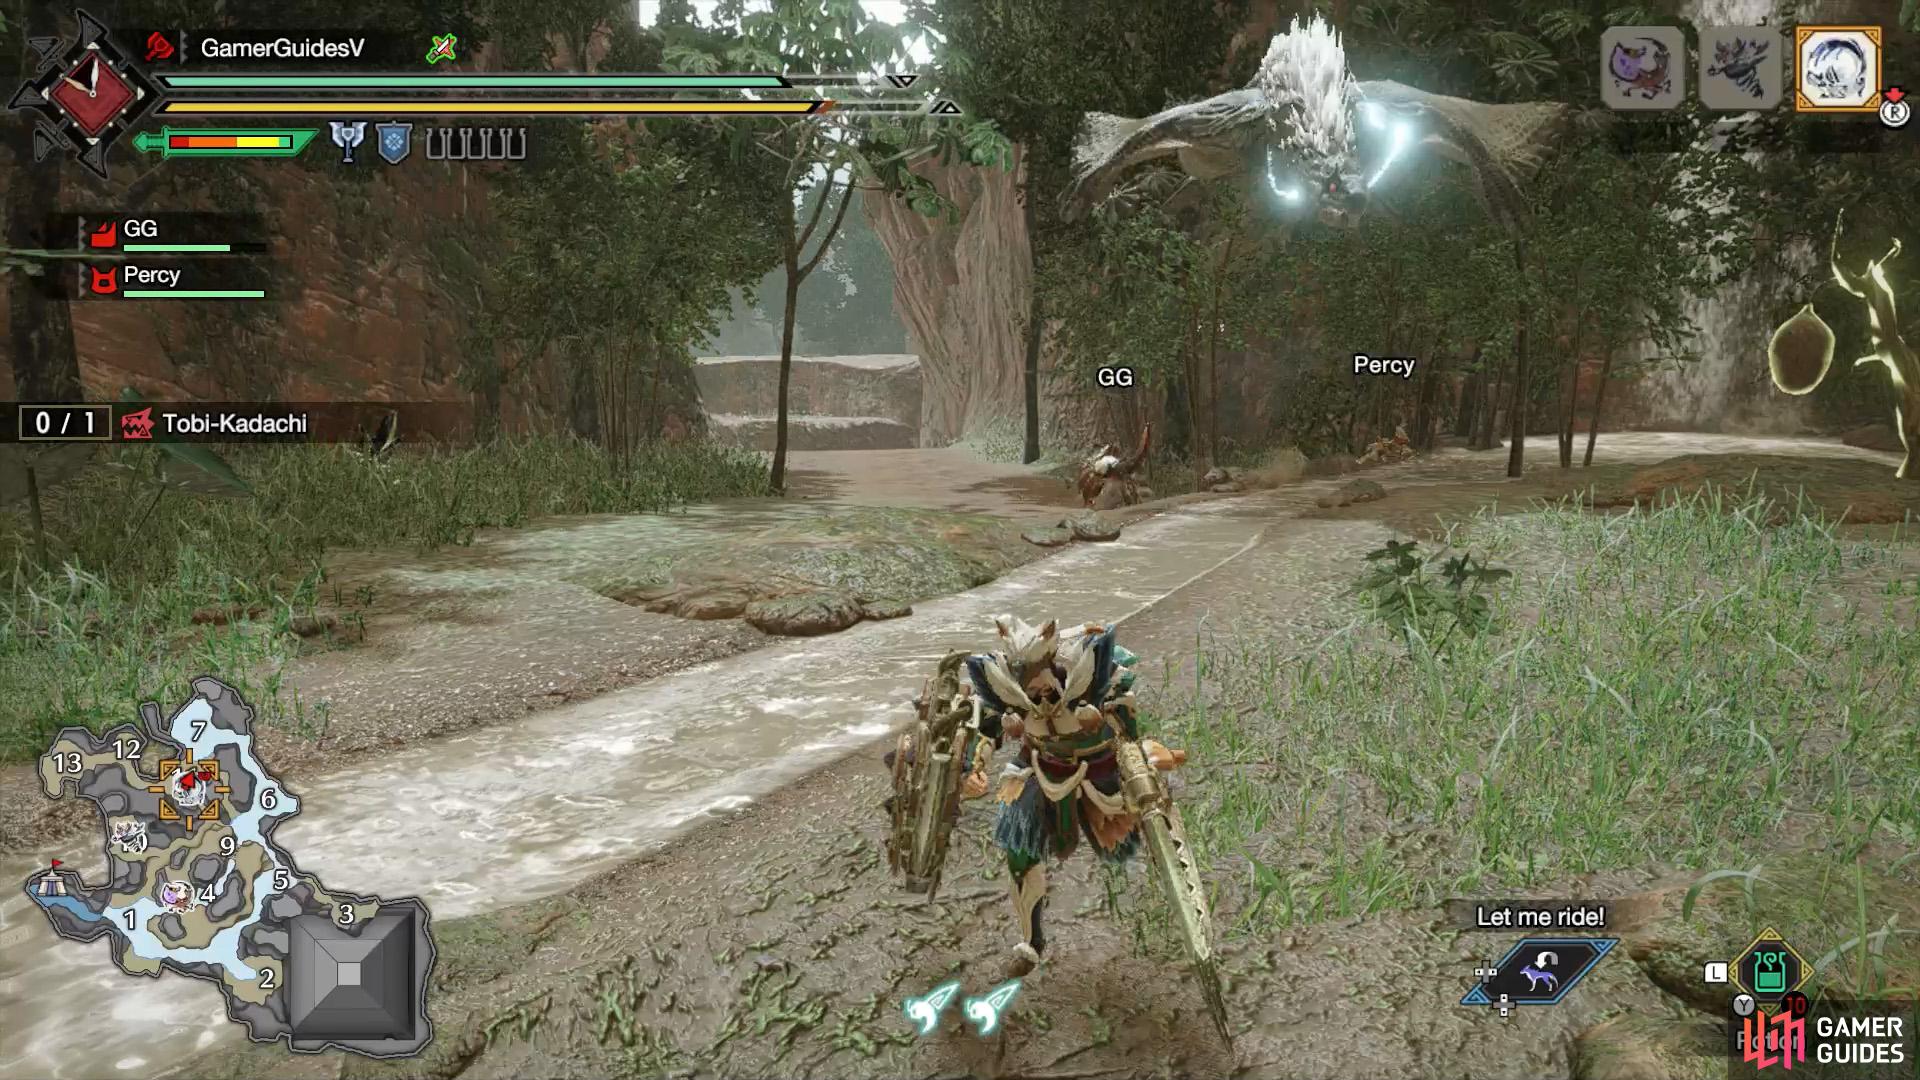
Or a Tail Slam, which is usually preceded by a Leaping Pounce.
As for the fight itself, patience is a virtue. Tobi frequently moves around, waiting for you to attack and drop your guard. Poke Tobi if you want, but try to wait until Tobi attacks first, before going all in. However, do not attack after Tobi performs a Leaping Pounce, unless its tired. Because it’ll usually chain a Tail Slam.
Also, since Tobi moves around a lot and loves to jump all over the place, don’t forget to use the Lock-On command to keep tabs on Tobi. To refresh your memory, click  inwards so the cursor in the top-right corner is on Tobi’s icon. Then press
  to focus the camera on Tobi.
Besides that, try to focus on Tobi’s long and furry tail, which happens to be its weak spot and where you can avoid many of its frontal/side attacks. There are a number of attacks you’ll need to watch out for though–namely the Tail Whip, Tail Slam and Tail Darts. But the tells are fairly obvious (if it shakes its tail, step back).
Material Drops (Low Rank)
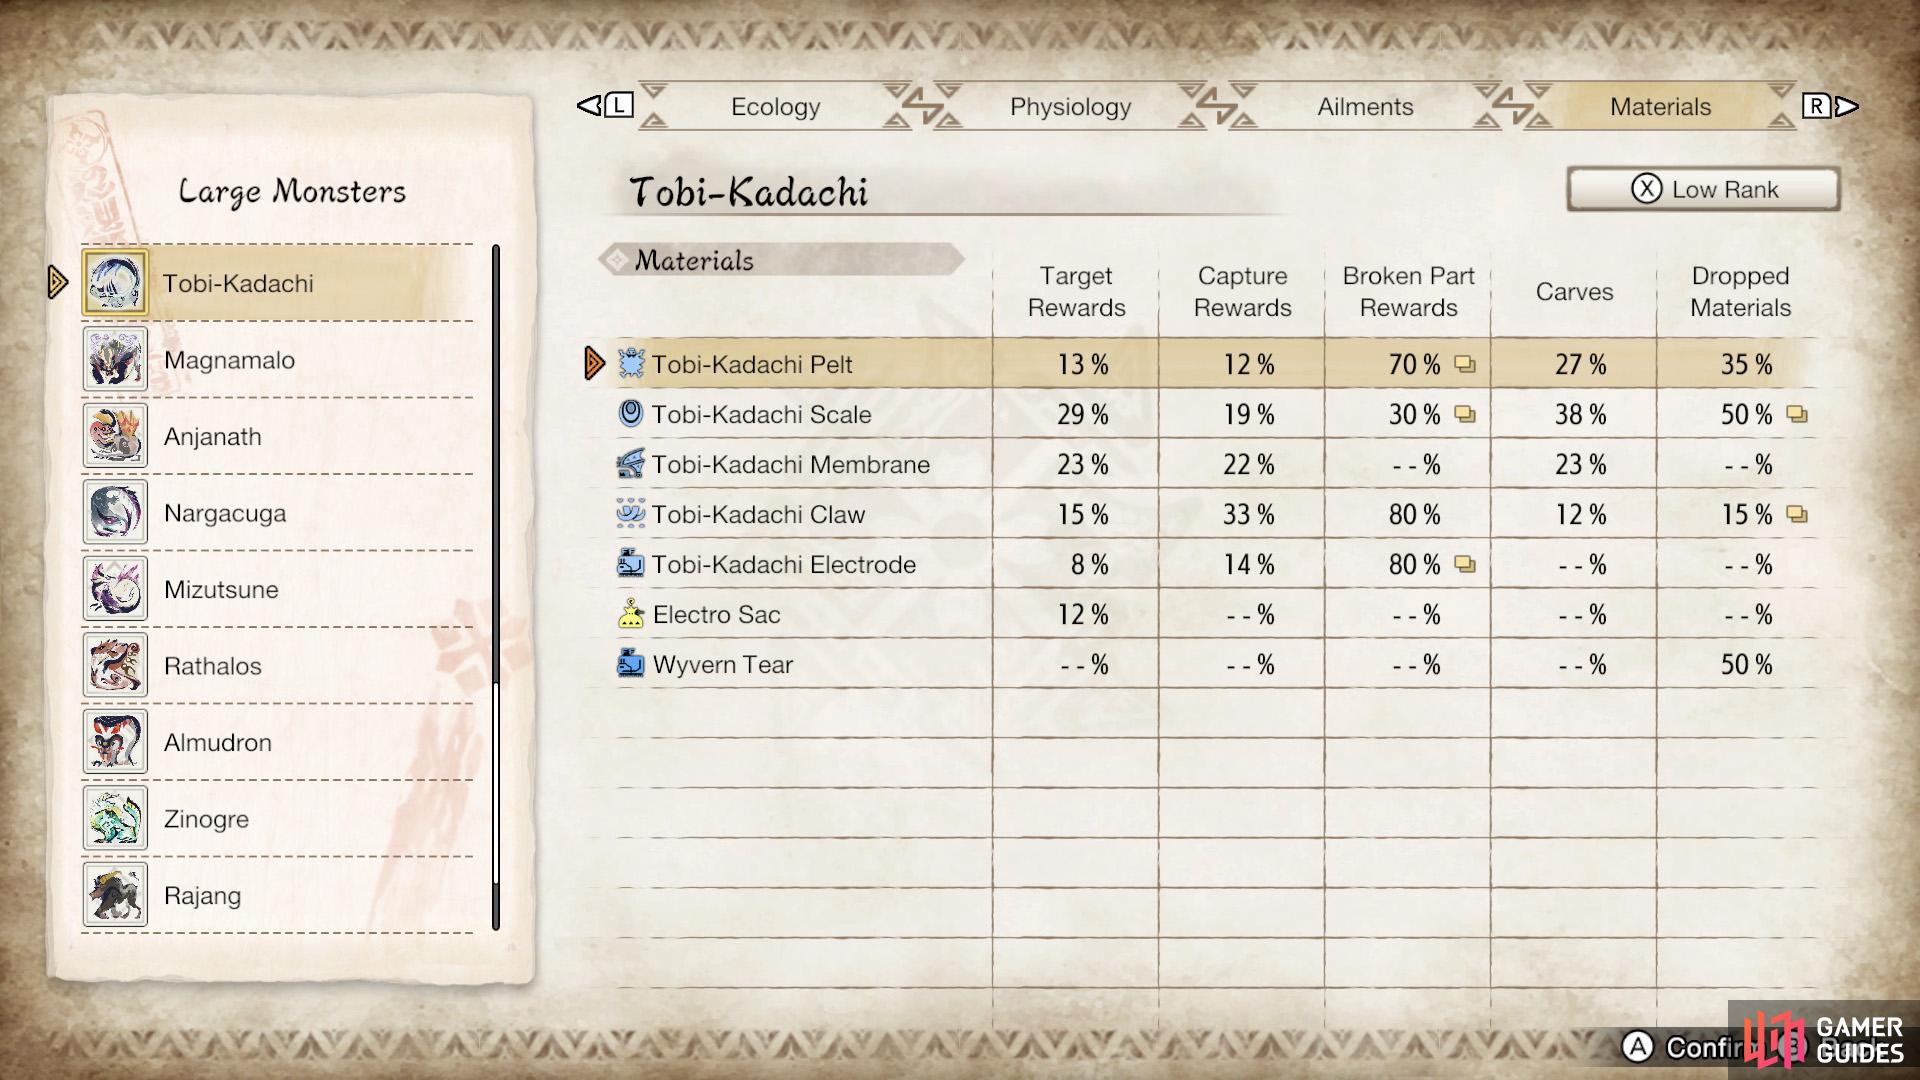
Tobi-Kadachi’s Low Rank drops.
Target Rewards
| Material | Drop Rate (%) |
|---|---|
| Tobi-Kadachi Pelt | 13% |
| Tobi-Kadachi Scale | 29% |
| Tobi-Kadachi Membrane | 23% |
| Tobi-Kadachi Claw | 15% |
| Tobi-Kadachi Electrode | 8% |
| Electro Sac | 12% |
Capture Rewards
| Material | Drop Rate (%) |
|---|---|
| Tobi-Kadachi Pelt | 12% |
| Tobi-Kadachi Scale | 19% |
| Tobi-Kadachi Membrane | 22% |
| Tobi-Kadachi Claw | 33% |
| Tobi-Kadachi Electrode | 14% |
Broken Part Rewards
| Material | Drop Rate (%) |
|---|---|
| Tobi-Kadachi Pelt | Back - 70%, Tail - 20% |
| Tobi-Kadachi Scale | Head - 20% (x2), Back - 30%, Foreleg - 20% |
| Tobi-Kadachi Claw | Foreleg - 80% |
| Tobi-Kadachi Electrode | Head - 80%, Tail - 80% |
Carves
| Material | Drop Rate (%) |
|---|---|
| Tobi-Kadachi Pelt | 27% |
| Tobi-Kadachi Scale | 38% |
| Tobi-Kadachi Membrane | 23% |
| Tobi-Kadachi Claw | 12% |
Dropped Materials
| Material | Drop Rate (%) |
|---|---|
| Tobi-Kadachi Pelt | 0%, 35% |
| Tobi-Kadachi Scale | 40%, 50% |
| Tobi-Kadachi Claw | 10%, 15% |
| Wyvern Tear | 50%, 0% |
Material Drops (High Rank)
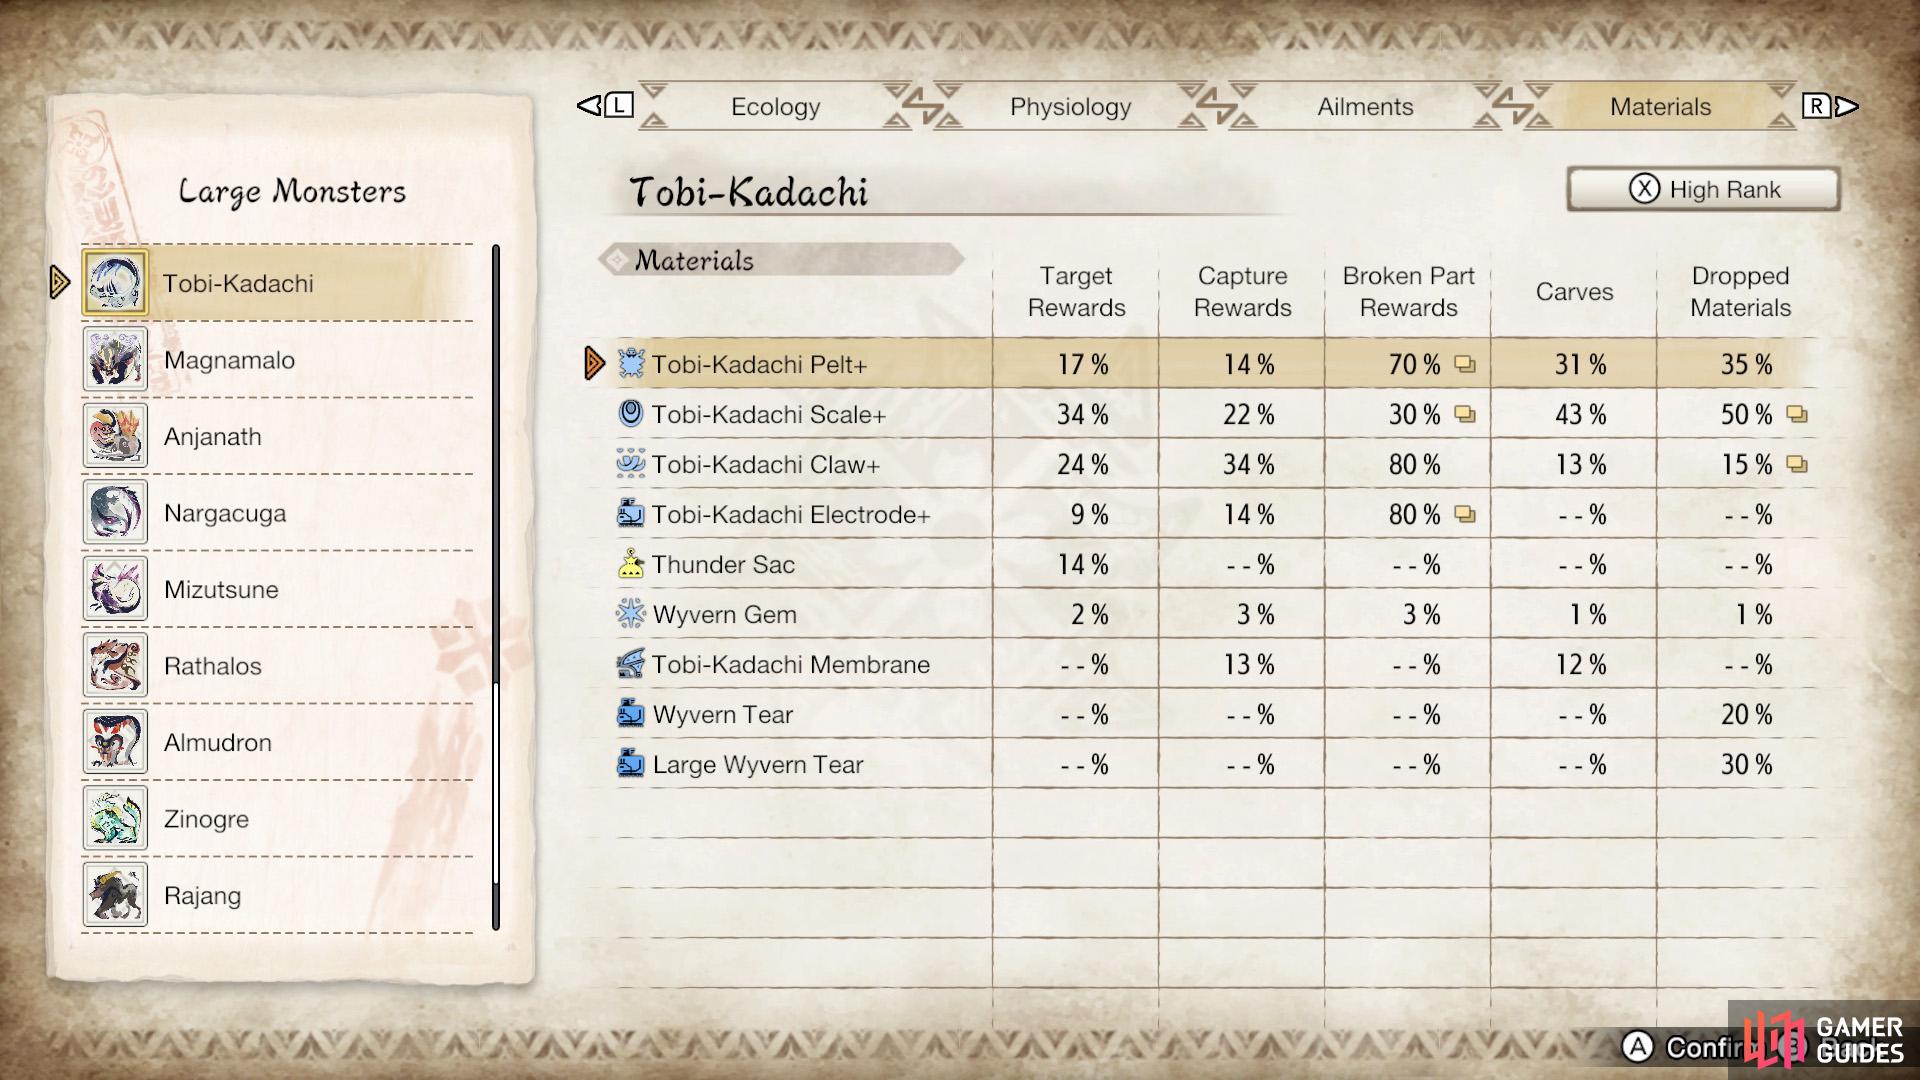
Tobi-Kadachi’s High Rank drops.
Target Rewards (HR)
| Material | Drop Rate (%) |
|---|---|
| Tobi-Kadachi Pelt+ | 17% |
| Tobi-Kadachi Scale+ | 34% |
| Tobi-Kadachi Claw+ | 24% |
| Tobi-Kadachi Electrode+ | 9% |
| Thunder Sac | 14% |
| Wyvern Gem | 2% |
Capture Rewards (HR)
| Material | Drop Rate (%) |
|---|---|
| Tobi-Kadachi Pelt+ | 14% |
| Tobi-Kadachi Scale+ | 22% |
| Tobi-Kadachi Claw+ | 34% |
| Tobi-Kadachi Electrode+ | 14% |
| Wyvern Gem | 3% |
| Tobi-Kadachi Membrane | 13% |
Broken Part Rewards (HR)
| Material | Drop Rate (%) |
|---|---|
| Tobi-Kadachi Pelt+ | Back - 70%, Tail - 20% |
| Tobi-Kadachi Scale+ | Head - 17% (x2), Back - 30%, Foreleg - 20% |
| Tobi-Kadachi Claw+ | Foreleg - 80% |
| Tobi-Kadachi Electrode+ | Head - 80%, Tail - 80% |
| Wyvern Gem | Head - 3% |
Carves (HR)
| Material | Drop Rate (%) |
|---|---|
| Tobi-Kadachi Pelt+ | 31% |
| Tobi-Kadachi Scale+ | 43% |
| Tobi-Kadachi Claw+ | 13% |
| Wyvern Gem | 1% |
| Tobi-Kadachi Membrane | 12% |
Dropped Materials (HR)
| Material | Drop Rate (%) |
|---|---|
| Tobi-Kadachi Pelt+ | 0%, 35% |
| Tobi-Kadachi Scale+ | 39%, 50% |
| Tobi-Kadachi Claw+ | 10%, 15% |
| Wyvern Gem | 1%, 0% |
| Wyvern Tear | 20%, 0% |
| Large Wyvern Tear | 30%, 0% |
No Comments