
Mount & Blade II: Bannerlord Combat Mechanics
The combat system in Mount & Blade: Bannerlord may at first seem rather basic, but when you’re on a battlefield with over 500 enemies relentlessly charging you, it helps to know some of the intricacies of movement, combos, blocking, parrying, feinting, and chambering to utilise them in different battle scenarios and remain in the fight for as long as possible.
Blocking & Parrying
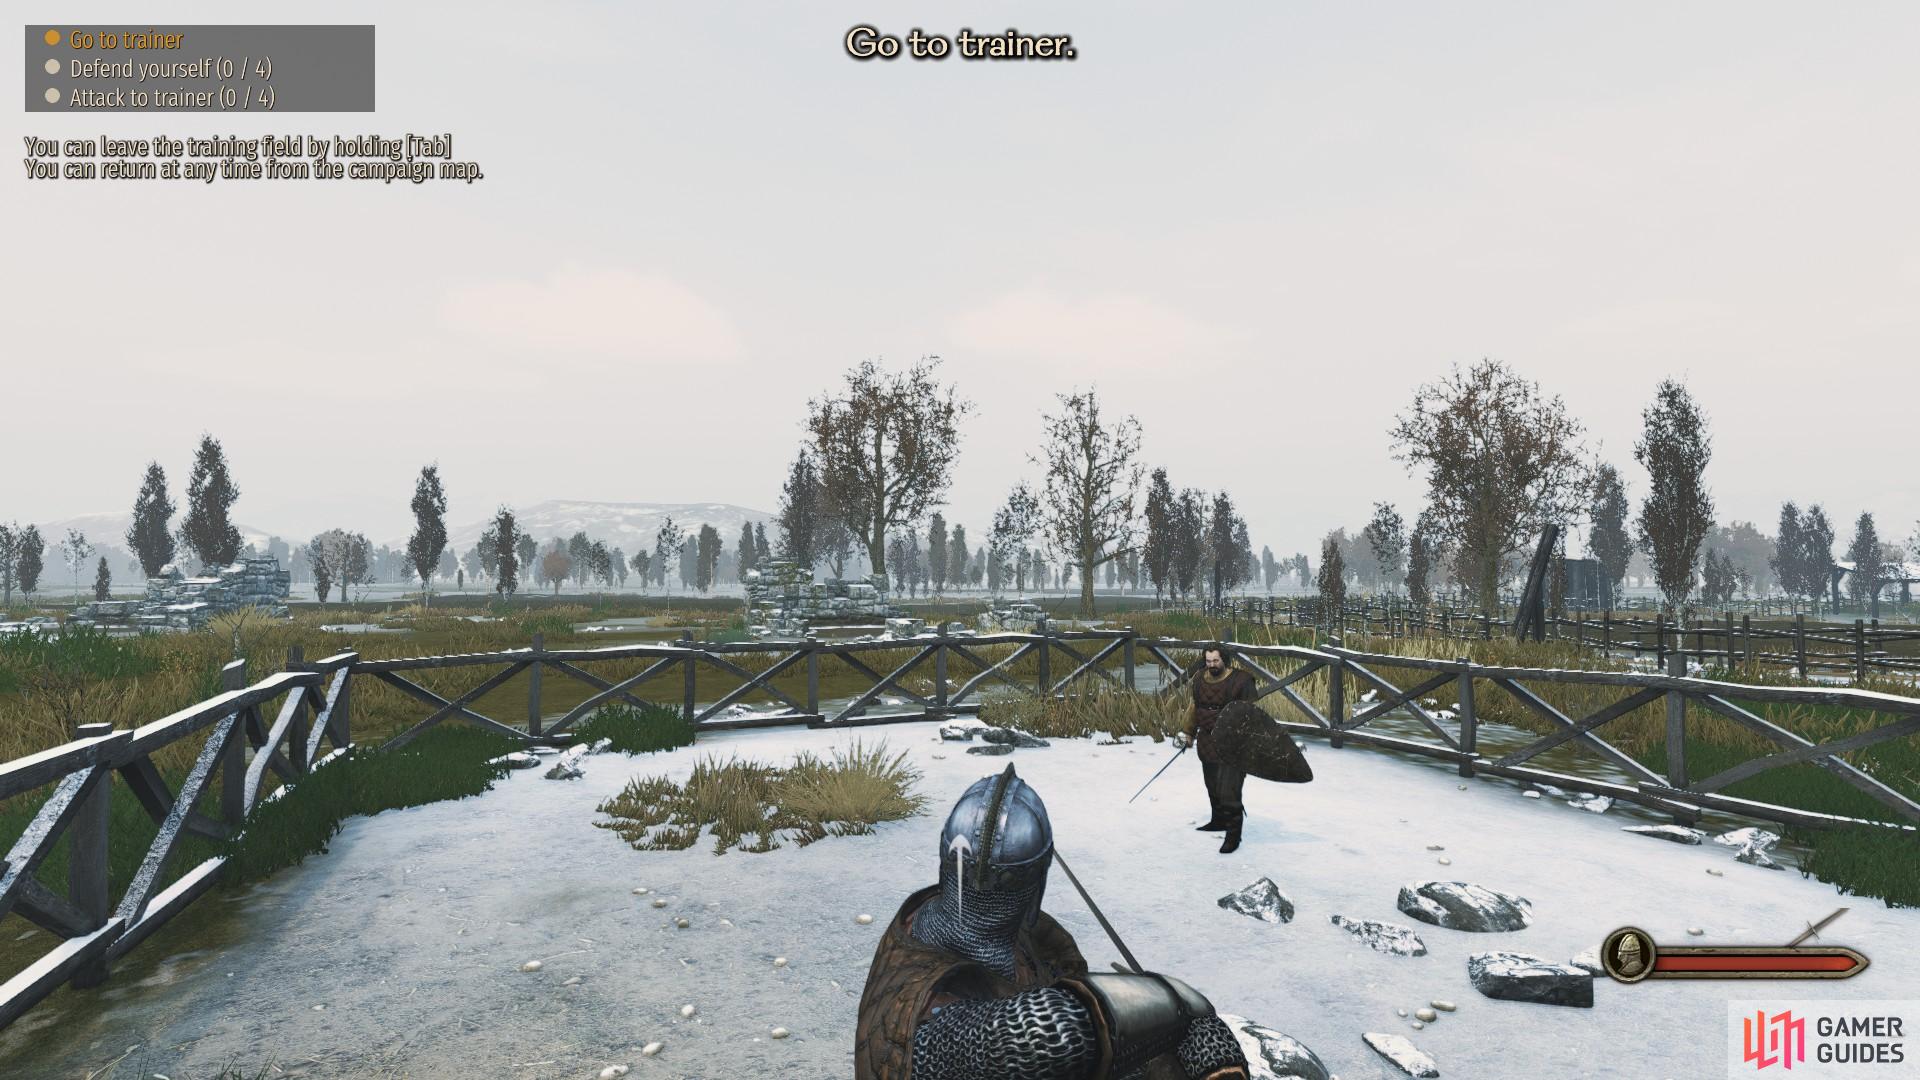
The ability to block and parry in Bannerlord is essential to staying alive. You may be able to hack and slash your way through a small group of pitiful bandits, but if you try that with a fully armored and well trained army, you will quickly be overwhelmed. It is easy to become frustrated with blocking and parrying at first; it’s not entirely obvious where you need to aim to perform a defensive maneuver. The key is to pay close attention to your opponent, and try to face one enemy at a time if possible. More specifically, you should be paying attention to the sword-arm of your opponent (or axe-arm, lance-arm, whatever they may be wielding…) and look out for three things:
- Windup: The point at which an opponent draws their weapon back, ready to strike with a stab or swing.
- Release: The point at which the opponent releases their weapon, i.e. the moment at which it is about to hit.
- Recovery: The time in which the opponent is recovering from their latest attack, leaving them vulnerable.
Once you can recognise each of these phases of attack, you can begin to gauge the most opportune moment to block an incoming attack. As you observe the windup phase, you should mirror the direction of the incoming attack. For example, if an opponent is about to strike you from the left, you should aim your mouse to the left before you initiate the block or parry. If you aim to the right or above your head as you initiate the block or parry in this case, the blow will always hit you from the left. The concept is simple, but in practice it can be difficult to respond in time to the windup phase. As you level in athletics and with the melee combat skill of your choice (one-handed, two-handed, or polearms), you will find it easier to respond to the windup phase as your attack speed is increased.
(1 of 3) The windup of a stab attack, whereby you draw your weapon in as you aim your strike.
The release phase is the point at which an opponent commits to their attack in a particular direction. For the most part, low level units will always strike at your from the initial direction of their windup, but some higher level units may attempt to change this as the last moment. This is called feinting, which you can learn how to execute yourself below. It is important to leave the moment you commit to a block as late as possible to avoid being tricked by a feint. So once again: pay close attention to the sword-arm of your opponent. You may begin to recognise the direction of an attack more intuitively as you become more accustomed to the combat system, but you will need to remain focused on every movement until then, especially when fighting multiple opponents.
The recovery phase provides you with an opportunity to swiftly counterattack before your opponent can even consider initiating their next attack. It is the moment after they have just executed the release of their attack. The best way to take advantage of this is when you’re able to evade an attack altogether by moving back or to the side just enough so that you avoid the tip of an opponent’s weapon. This will allow you to begin your own windup for an attack just as your opponent has begun theirs. However, it is still possible to exploit a recovery phase by first blocking or parrying an incoming attack. You will need to be quicker in this case since the flow of your movement is interrupted, but you can speed up your counterattack by moving your mouse in the direction of the attack, thereby accelerating the speed of the strike.
Recognising each of these phases of attack can be taxing, particularly when you have to do it for dozens of individual opponents in a massive battle, but if you commit to learning these three basic principles you will rarely succumb to surprise attacks, even from multiple opponents. A shield is recommended in most battles, even if it is not your main weapon; you will find it more forgiving when defending against multiple opponents and invaluable as you approach a group of archers or crossbows.
Feinting & Chambering
To feint an attack means to initiate the windup phase in a particular direction and then quickly cancel it before you switch direction and release. The idea is that the feint will trick your opponent into thinking that you’re about to attack from a specific direction, thereby causing them to initiate a block or parry in that direction, leaving them exposed to other directional attacks. This works best against opponents which are more reserved and defensive; a crazed berserker is unlikely to be fooled and will combine attacks regardless of your attempts to feint.
To execute a feint, hold your attack button [LMB by default] and aim in one direction. Before you release, change the direction of the attack and tap block [RMB by default]. This will briefly block any incoming attacks from the initial direction, but it will also allow you to swiftly attack from the new direction. With any luck, by this time your opponent will have attempted to block from the initial direction, leaving them exposed to attack from any other.
As you draw your weapon back during the windup phase, wait for the opponent to commit to a block or parry before you cancel and switch the direction of the attack.
When chambering, you need to mirror the attack of your opponent in relation to their stance.
The frequency with which an opponent will be tricked by a feint varies depending on their level, but even the highest level opponents will fall for it every now and then if you time it correctly. Other ways to feint your opponent involve winding up your attack and cancelling from multiple directions in quick succession. If your opponent is primarily defensive, you can continue to do this until they flounder by committing to a block or parry, providing you with a brief window of time in which to attack from any direction other than the one they chose to defend from.
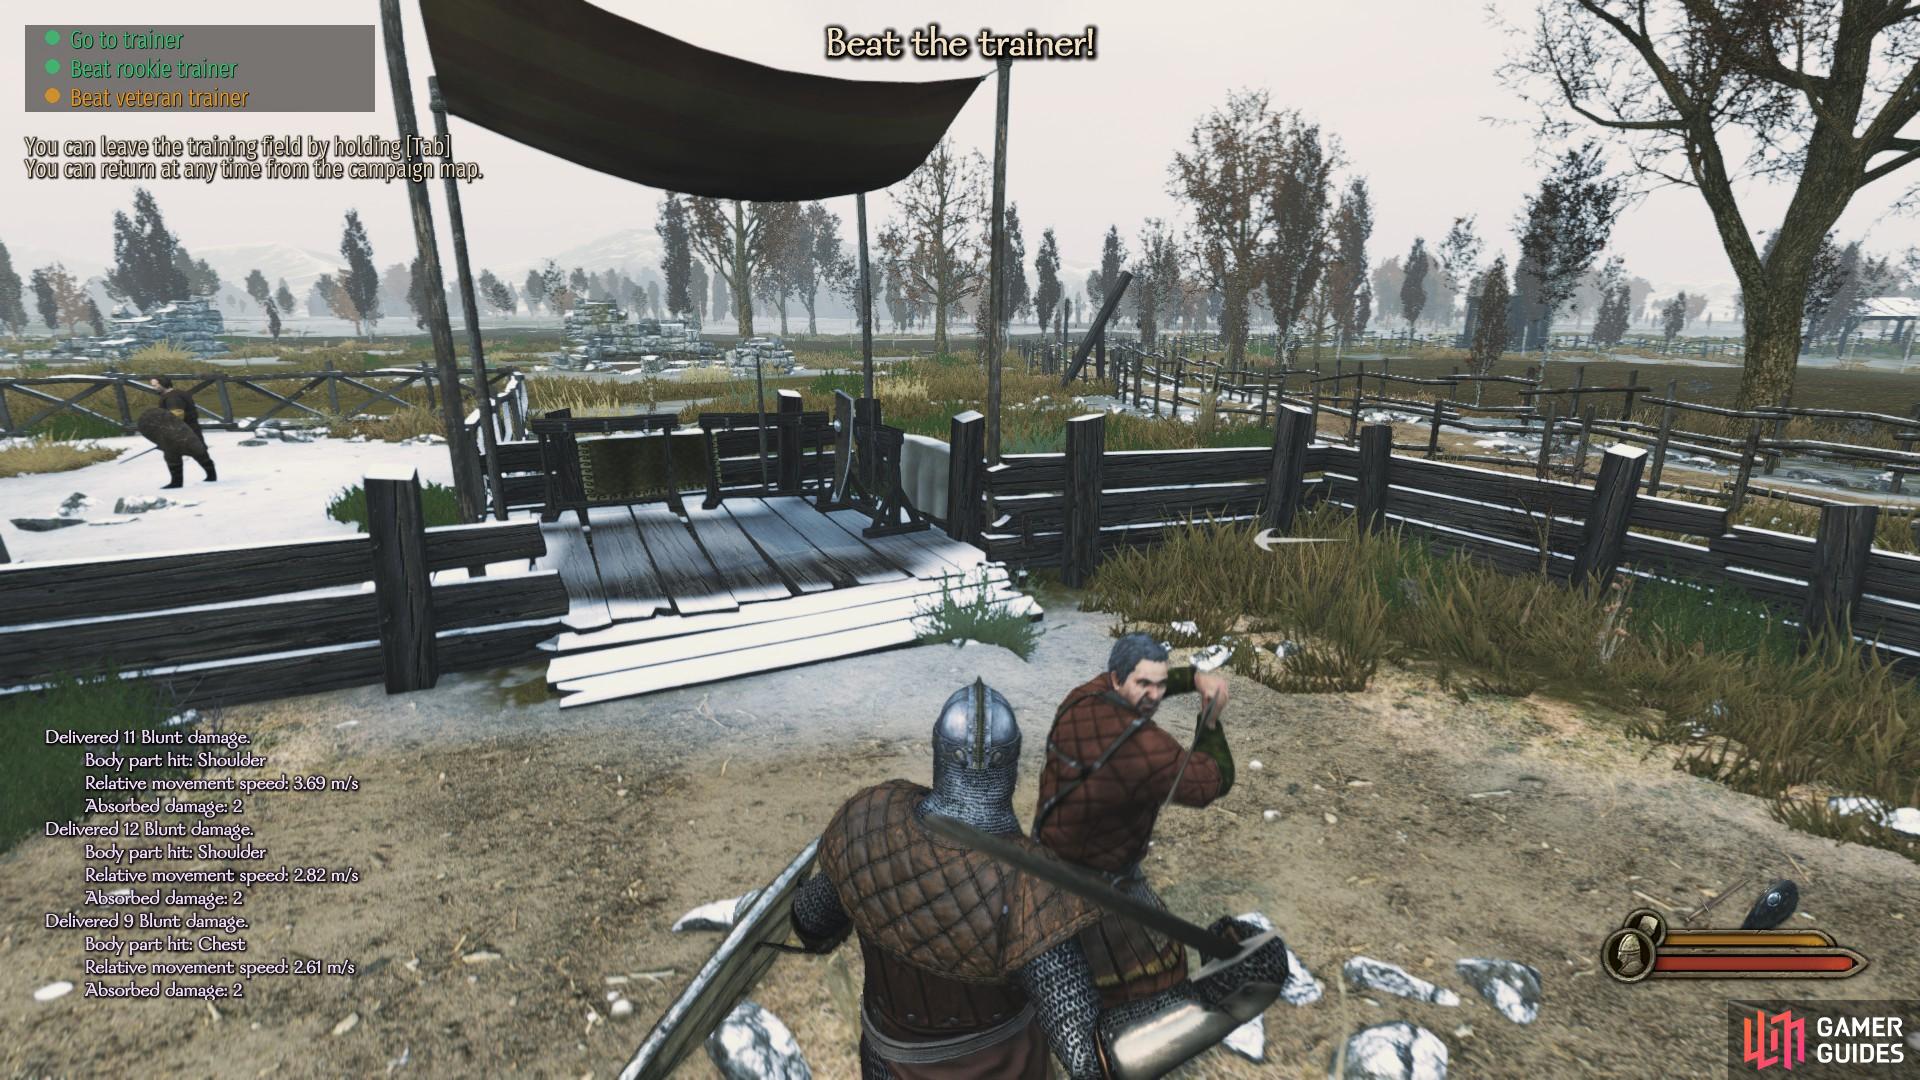
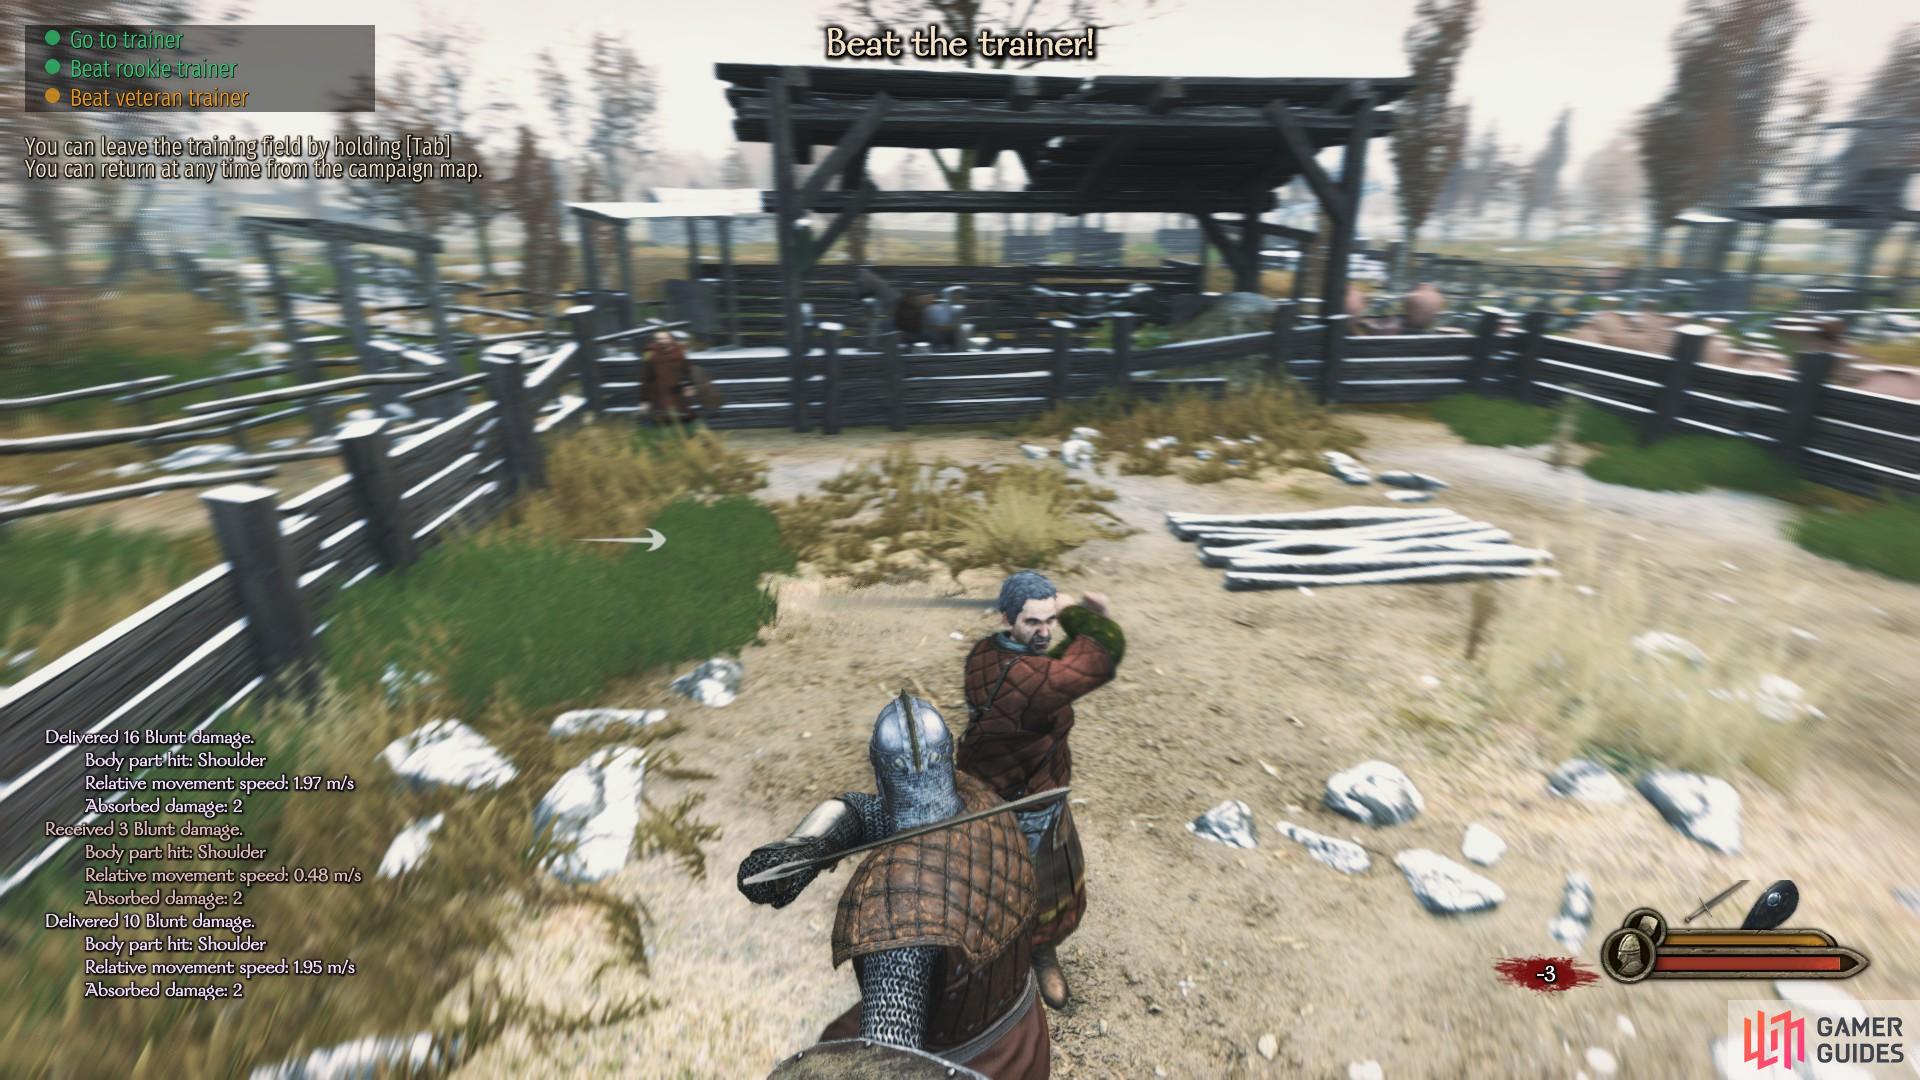
To pull off a chamber requires a bit more practice than your average block or feint. To execute one, you need to mirror the attack direction of your opponent as they release the attack. This will cause your weapons to collide and deflect each other in the same direction. This is essentially the definition of a chamber, although there are some exceptions in Bannerlord. For example, if your opponent strikes vertically with a stab from a downward direction, you can chamber this by aiming your mouse both downward and upward, whereas you must meet the direction of an attack if the opponent is striking horizontally. A chamber can be a risky move, but if you execute them correctly you will be able to follow it with an immediate combo attack, making them particularly useful against multiple enemies.
Combos
A combination attack (or ‘combo’ for short) may sound complicated, but it is actually one of the easiest techniques to execute correctly. All you need to do is chain attacks with the same weapon by attacking in different directions in quick succession. Technically, the best moment to do this is immediately after the release of the first attack, but to ensure that you continue to combine attacks, you may find it easier to simply press the attack button [LMB by default] as quickly as possible and as much as possible. This will allow you to follow an initial attack with a more powerful secondary attack much faster than you would if you were to wait a moment before striking again.
Although powerful, combo attacks can leave you vulnerable to being hit as you expose yourself from multiple directions without the ability to block mid-swing. It is therefore recommended that you only use combo attacks when you are confident enough that you can take a few hits between attacks without being defeated, or when you are attacking a number of enemies from behind. With some luck and a lot of focus on the direction of incoming attacks from multiple opponents, you may be able to combine combo attacks with chambers, thereby allowing you to deflect incoming blows from one opponent with a combo while swiftly changing direction to hit another opponent immediately after.
Movement
In all aspects of combat knowing how to move properly is essential to success. This includes footwork, controlling your mount, aiming your bow, crossbow, or shield, and discerning when to initiate attacks. The latter we have covered above, but that knowledge is useless without being able to maneuver effectively on the battlefield. You will need to avoid incoming arrows and bolts, evade or counter a cavalry charge, and move around a melee fighter to expose their defences.
This last point is perhaps the most useful for a build focused on melee combat; you should never remain stationary in a battle. Not only will this make you an easy target for ranged units, it will also make it easier for melee opponents to surround you. If you’re being charged by multiple enemies, move backward as you strike at them, and try to manoeuvre around them to expose their weaknesses. For example, if an opponent is wielding a shield which seems impossible to breach, move around them toward their sword-arm and continually strike from that direction, rather than from the shield-arm. This will allow you to break through their defences much easier, especially if you combine your attacks and utilise feints or chambers where possible.
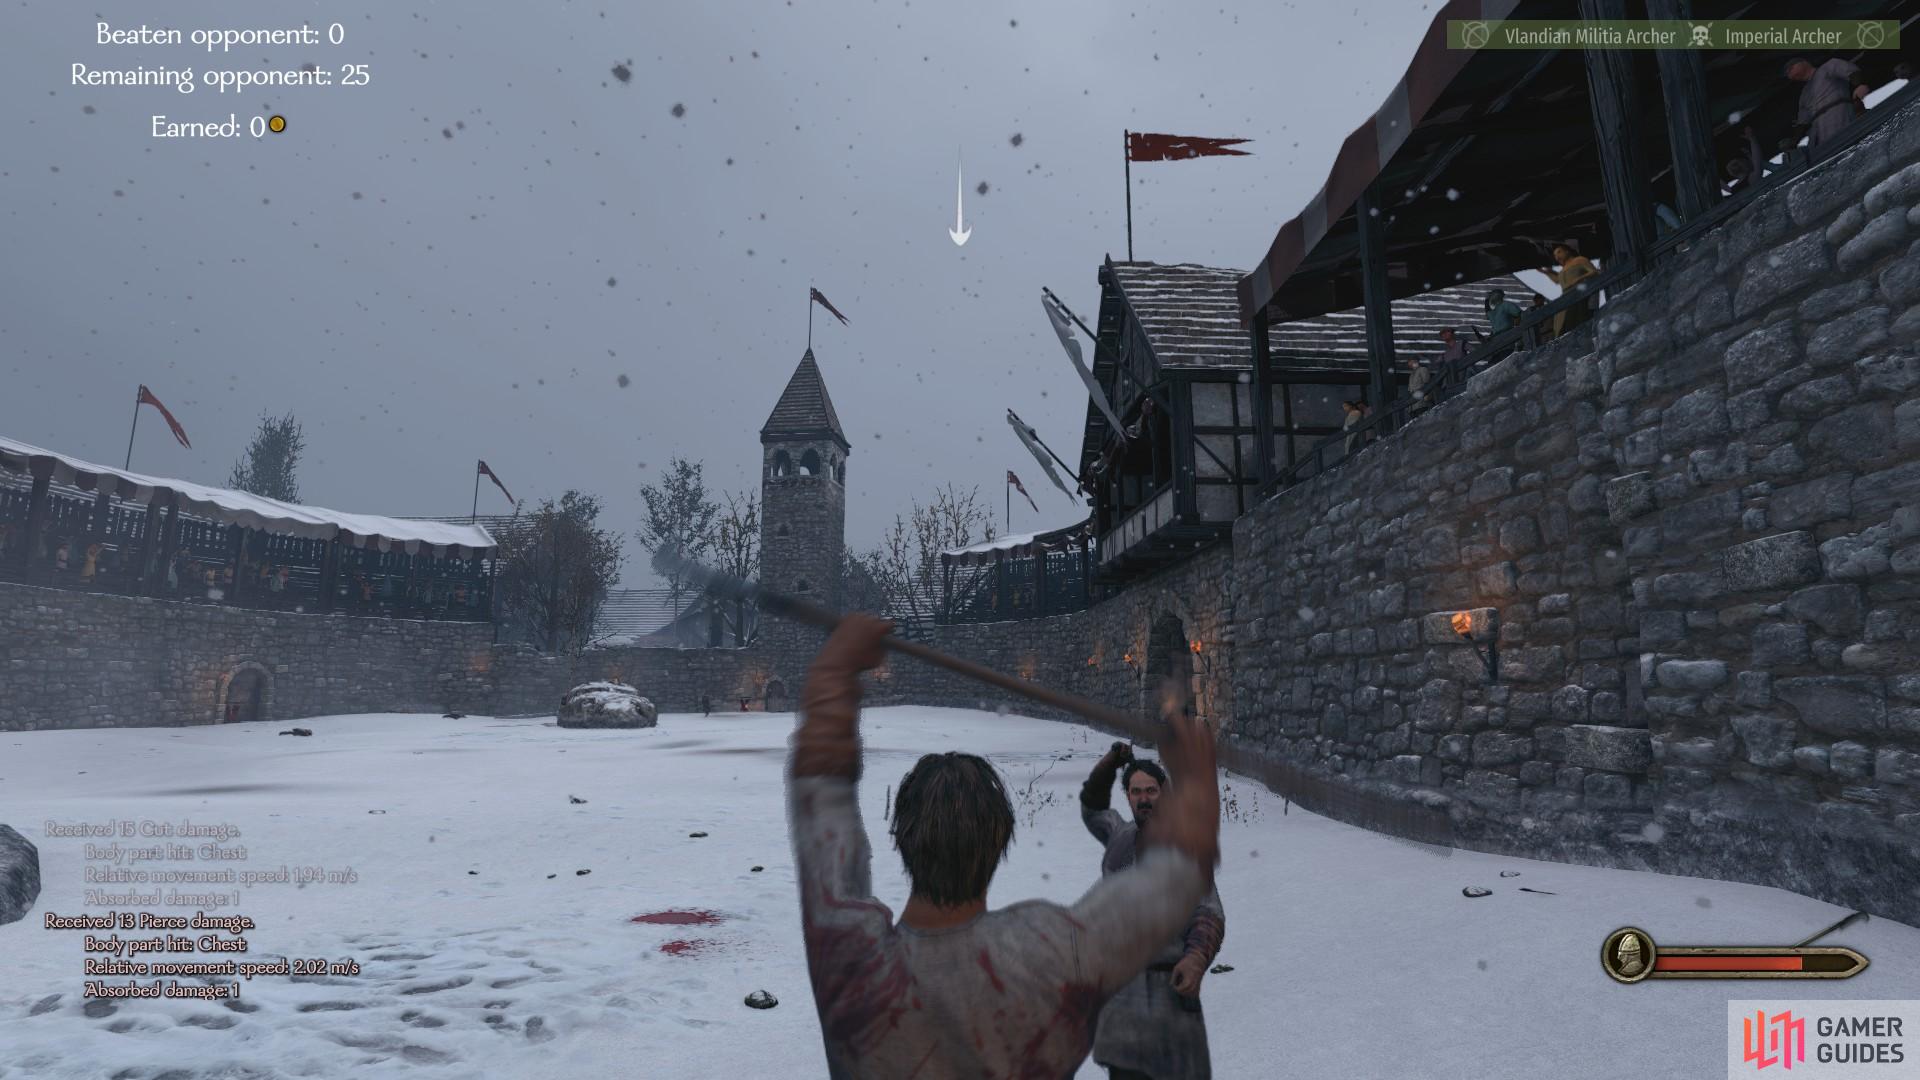
One of the most deadly forces on the battlefield are groups of archers and crossbows. Without a proper shield, you are essentially leaving it to chance whether you will be fortunate enough to avoid their arrows and bolts. However, there is one method of avoiding ranged attacks which will almost always ensure success when executed properly. This involves moving parallel to any singular or group of ranged units, gradually edging nearer to their location to force them into melee. The trick is to move parallel to them until they have fired and missed, and then zig-zag back the other way as you reduce the distance between yourself and the ranged units. This method will always work effectively against a handful of ranged units, but you will still be vulnerable to a large group as you won’t be able to avoid an entire volley. It is therefore perhaps most useful in tournaments and small skirmishes.
(1 of 4) Example of appropriate aim when wielding javelins. Requires significant elevation gauge at as distance.
When wielding a ranged weapon yourself, you will need to consider movement in different ways. As a ranged unit on foot, you will be targeted by enemy cavalry, so you should keep an eye on what their cavalry is doing at all times. If you can, remain behind a wall of shielded infantry, preferably on a patch of high ground where possible, to reduce the chances of being flanked and killed in one swift charge. When aiming on foot, you will need to account for the ways in which specific types of bows and arrows, and crossbows and bolts, will fire differently based on your position. There is no one size fits all here; you will simply become accustomed to the intuitive feel of your specific combination, but the general rule is that you will need to aim higher when shooting at enemies from afar, and aim in front of them as they run in a particular direction to account for their precise location when the arrow or bolt reaches them.
When riding a horse on the battlefield you will at first find it cumbersome and slow, even if you have invested a lot of points in horse riding from your backstory. The speed and maneuverability of your mount will increase and improve as you level your horse riding ability, allowing you to perform a cavalry charge at short notice or move between both friendly and enemy infantry and ranged units with accuracy. While mounted, you will be able to charge through a group of enemies to stagger them and inflict relatively minor damage, but the real benefit of a mount comes with the ability to wield a polearm or large two-handed weapon as you sweep through enemy lines and hit multiple opponents at once. This can be extremely effective at dispersing enemy ranged units and swiftly breaking their morale. However, you should be careful to avoid enemy cavalry in the process; if you hit another horse you will stop dead in your tracks, exposing you to ranged fire or infantry spears.
No Comments