Local Enemy Bestiary
| Enemy Name | Notes |
|---|---|
| Ahriman | Flying |
| Bicocette | None |
| Bully Cap | Weakness to Fire |
| Dr. Goon | None |
| Fem-Goon | None |
| Flam Amarillo | Weakness to Water |
| Flan Palido | Weakness to Fire |
| Fly Eye | Flying |
| Protochimera | None |
| Shantak | None |
| Takouba | Weakness to Fire, strong in Oversoul form. |
| Viper Sniper | None |
| White Fang | None |
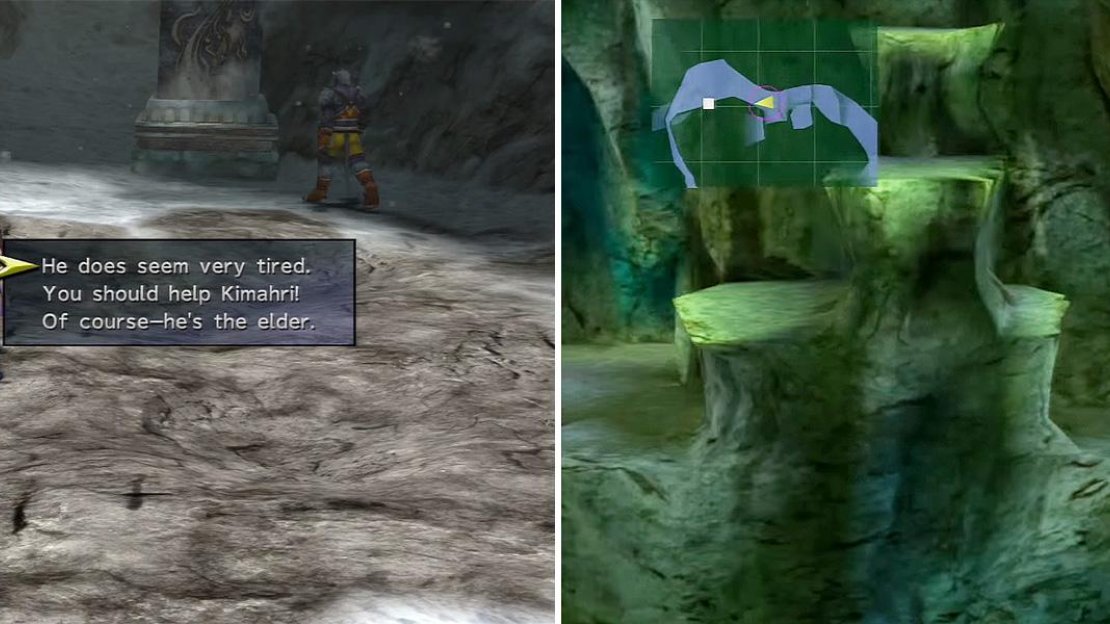
When you arrive, go speak with Kimahri, then speak with him again. As with Chapter 1, speaking with the Ronsos here will have impacts on later Chapters in the game, so you should pick these choices whenever you speak to someone:
- “You have to figure this out on your own.”
- “And what of the Guado?”
- “What if the Guado retaliate?”
- “Please, try to think about it some more.”
- “He does seem very tired.”
- “Then … there won’t be anyone left to fight.”
- “Maybe the Guado really are to blame.”
- “They should take better care of the mountain.” - This Ronso is on the mountain trail rather than the entrance clearing.
After this stuff, it’s a long, linear trek to the Fayth Scar areas. A mission will start there; begin by climbing up the ledges nearby. At the top, walk east and hold Circle: you’ll be able to jump to another platform, which happens to have an Elixir . Go back to the previous ledge and enter the cave there.
Go along the path in the cave for a bit. Go east at the first interesection, then go up the ledges to find a Hi-Potion . Go back down to the intersection and, this time, head north and you’ll find the exit. Once outside, go east and up some ledges, then drop down on the right side of the second platform so you can follow the person down there. Don’t follow her (unless you don’t give a damn about 100%-ing the game ), though - we had to make this spot known to those willing to cut corners. Continue up the path to the summit, then go west. Jump to the floating platforms and grab the White Cape , then go back across the gap and east to another cave.
Here, grab the Phoenix Down nearby, then start climbing. Eventually, you’ll see a kind of outcrop to the side; walk on it and you’ll find a Syndicate Uniform , just conveniently lying there. After the scene, go back to the Save Sphere and try to leave; you’ll deal with a couple of enemies before an actual boss battle begins.
You must speak with the Ronso and give them advice as in Chapter 1 (left). If you follow the She-Goon down here (right) you forfeit 100% completion!
Boss - Ormi
| Ormi | Details |
|---|---|
| Max HP / Max MP | 1,150 HP / 22 MP |
| Elem. Weak / Resis / Immunity / Absorb | None / None / Gravity / None |
| EXP / GIL / AP | 80 / 120 / 3 |
| Common Steals / Rare Steals | X-Potion / Elixir |
| Common Item Drops / Rare Item Drops | Beaded Brooch / None |
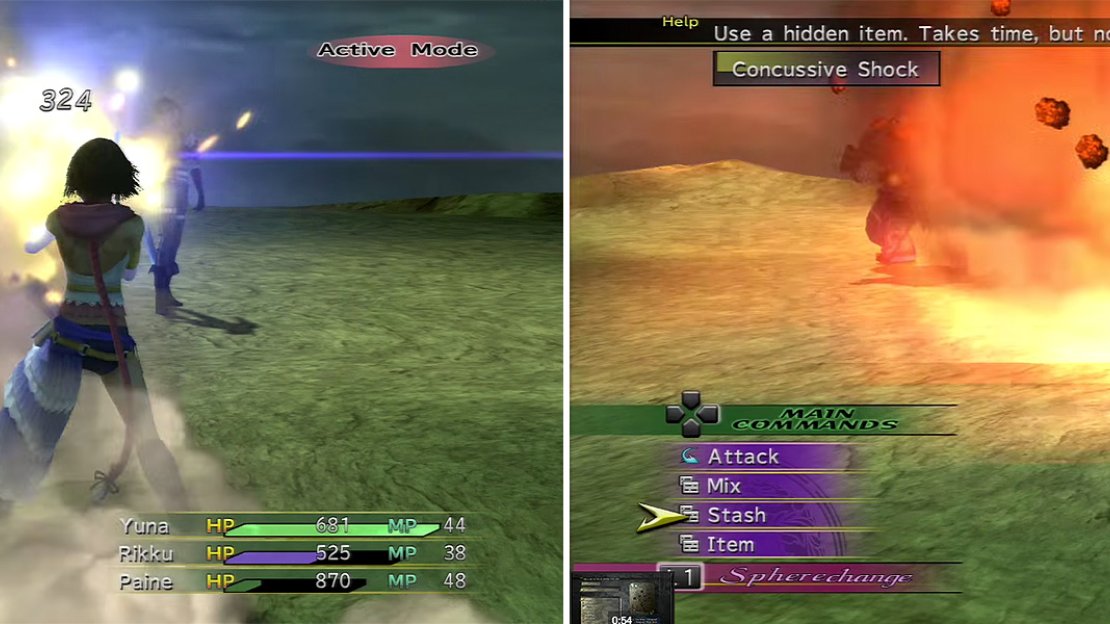
Ormi’s offense is the same as the last few times you’ve fought him. He can do a basic Attack and his Pirouette Pitch , each hitting for 200-400 damage to a single target. There’s also the annoying Concussive Shock , hitting everyone for around 200 unblockable damage.
Yes, Ormi’s noticeably more buffed up than he was in the previous fights, but that’s the main difference. Here, opening with Power Break and Protect will reduce his damage to a pitiable 50-75 level, except Concussive Shock obviously. In any case, using Darkness Dance or the like on him will also work by blinding him, further weakening his offense. From there on out, it’s a simple grind.
One thing you will notice is Ormi is significantly buffed from previous fights. Concussive Shock (right) is especially brutal.
Afterwards, you’ll get the Stonehewn Garment Grid and the Bum Rush Garment Grid . You’re welcome to leave this frozen summit now that you’ve gotten all three of the Syndicate Uniforms you need.


No Comments