
Crisis Core Final Fantasy VII: Reunion has plenty of missable Trophies/Achievements, especially throughout the main story. The Hero of Wutai War is one such Trophy/Achievement in Chapter 1.


You must defeat all of the Wutai forces in the fort to obtain this trophy.
The Hero of the Wutai War Missable Trophy
The Hero of the Wutai War Trophy is a missable one in Crisis Core Final Fantasy VII: Reunion and as such, you must get this Trophy/Achievement
Receive the highest evaluation from Lazard for Assault on Fort Tamblin
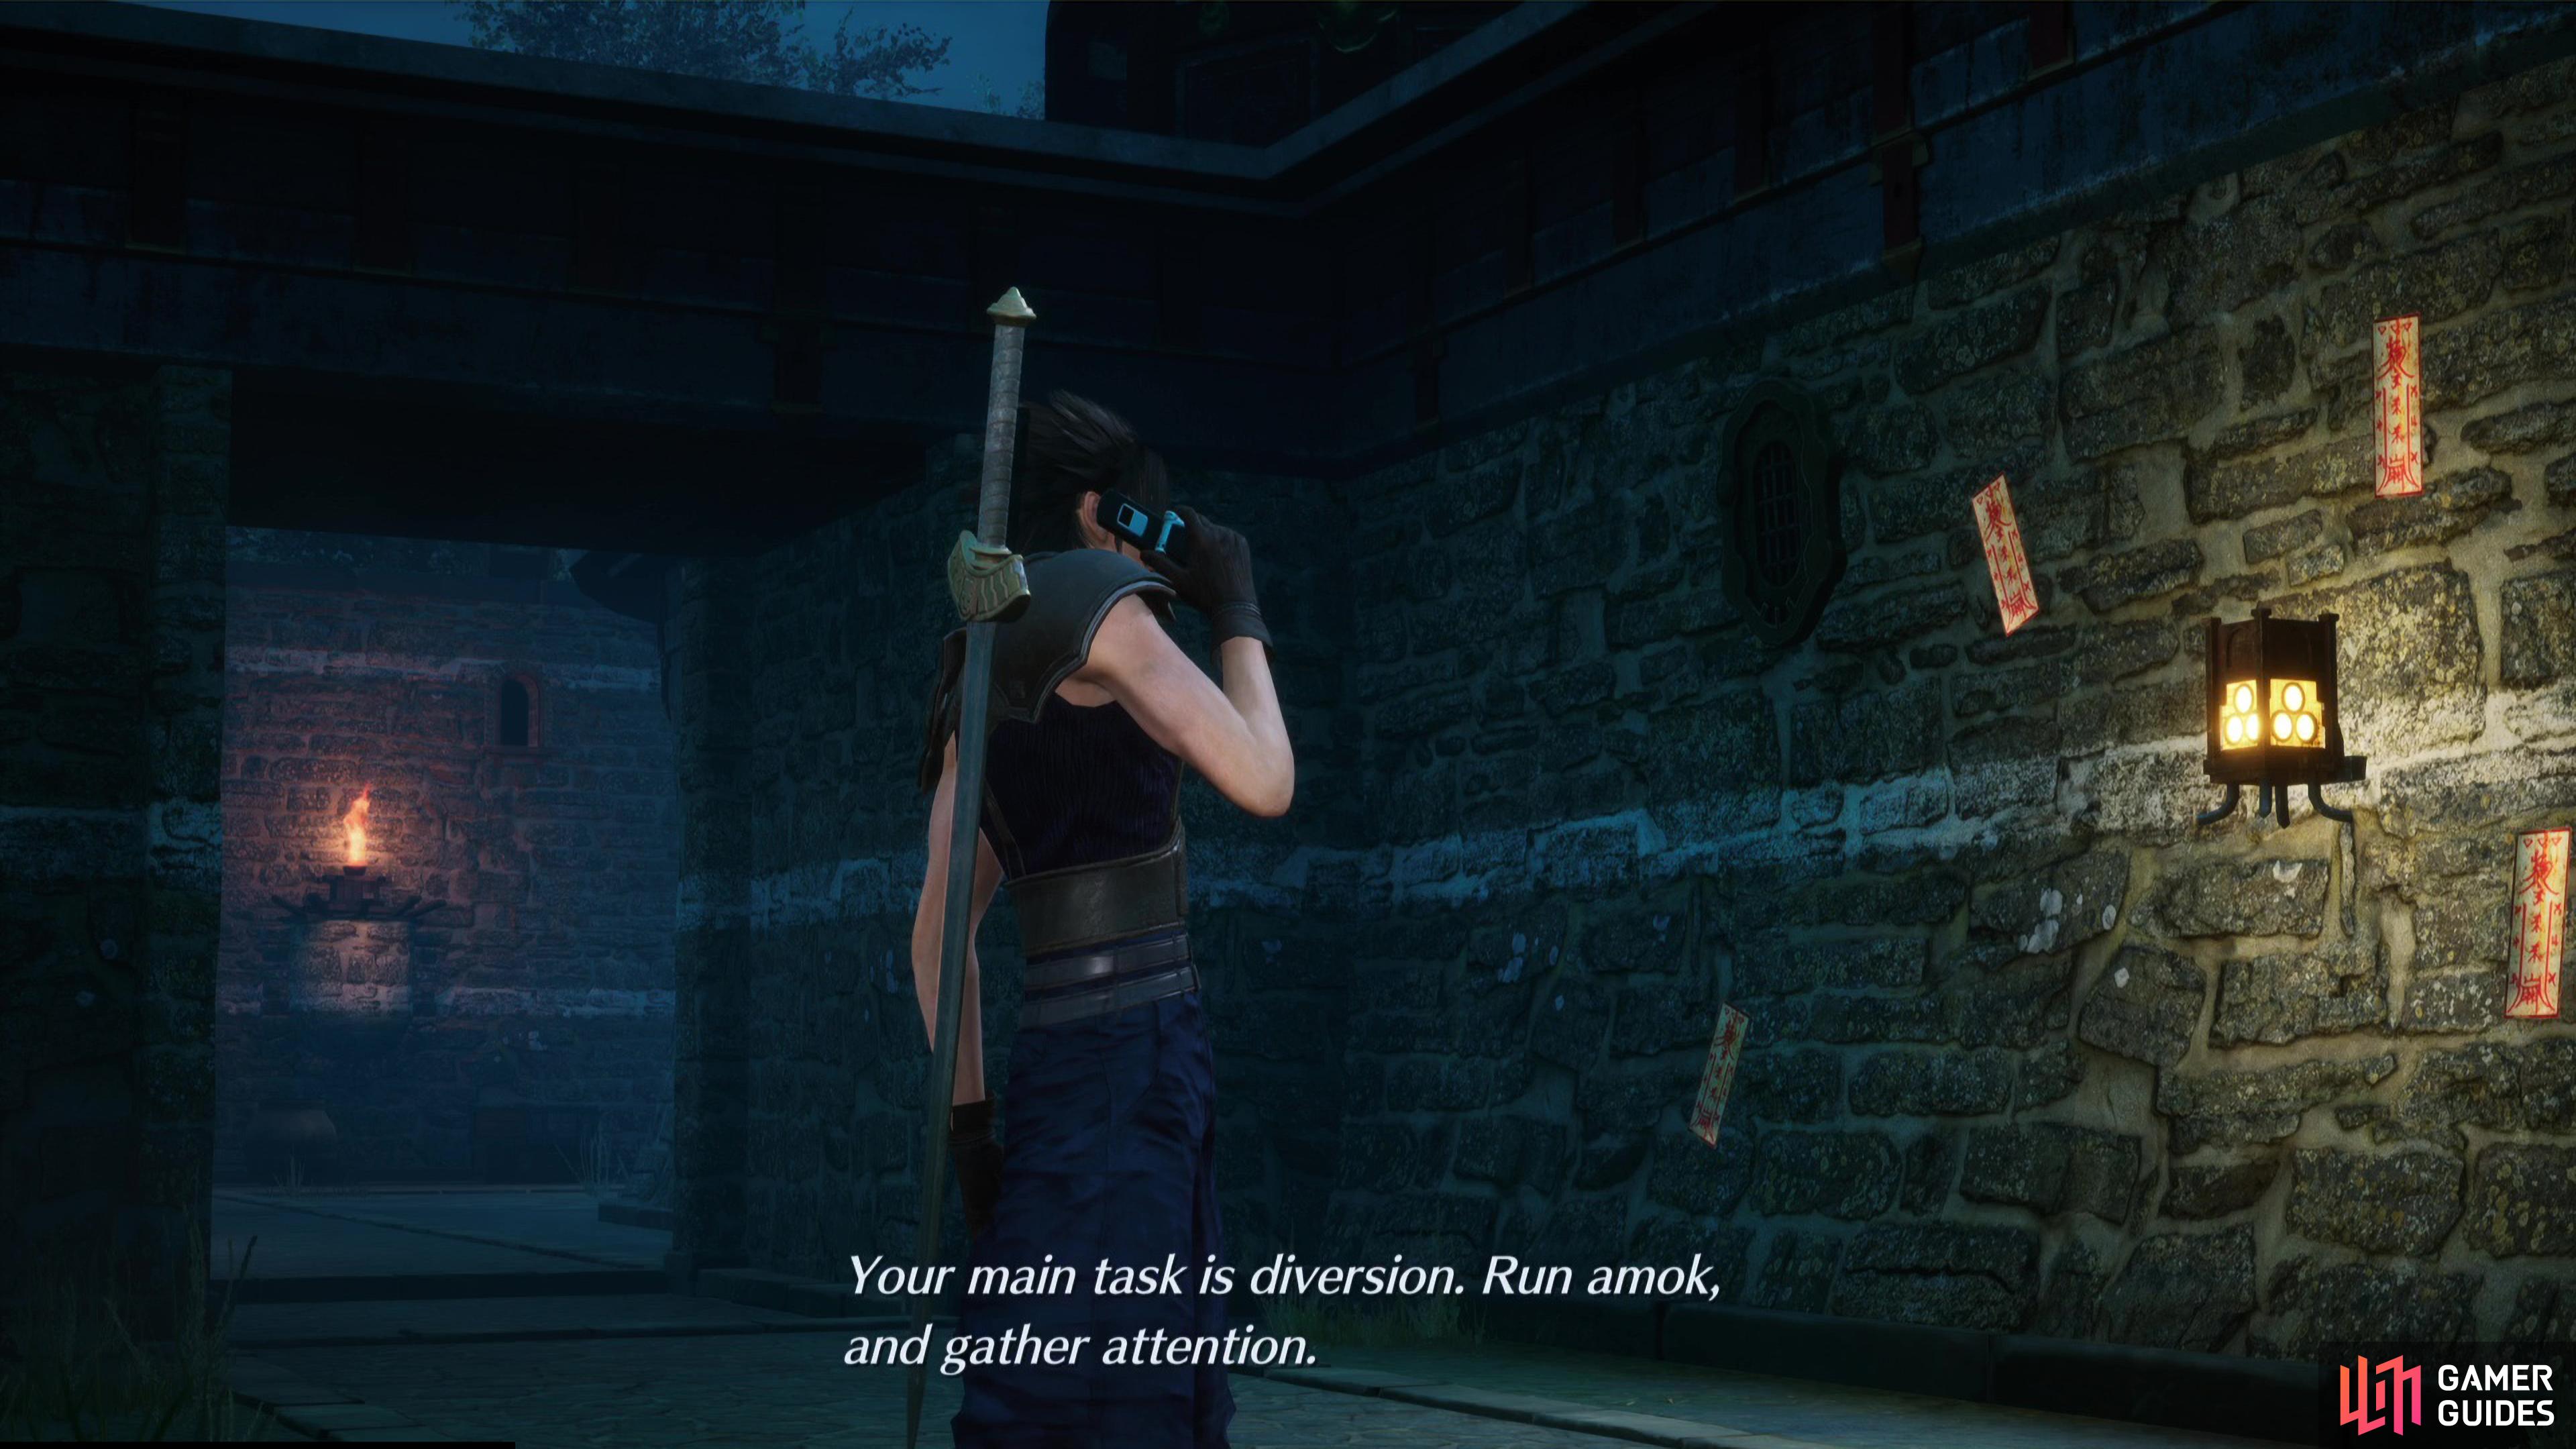
This is the first missable story Trophy/Achievement of Crisis Core Reunion, so before you proceed to the mission at Wutai, be sure to create another save somewhere so that you can come back if you manage to miss it.
Proceed through the mission as normal, up until you reach the Mt Tamblin – Mountain Path Save Point, the Assault on Fort Tamblin follows shortly after this. Your main goal is to defeat all of the enemy groups during your time in the fortress and thankfully, the game will keep track of this in the top left of the screen. If you go to leave and you don’t have all the green checkmarks, then go back and finish off any remaining forces.
All Enemy Groups
Below, you’ll find information on where to find each of the enemy groups, along with battle advice where applicable:
-
You’ll come across the first group automatically. These will be a mix of
 Wutai Privates and
  Wutai Sergeants of which you can easily mow down, get used to using AP attacks after a combo for increased damage.
 -
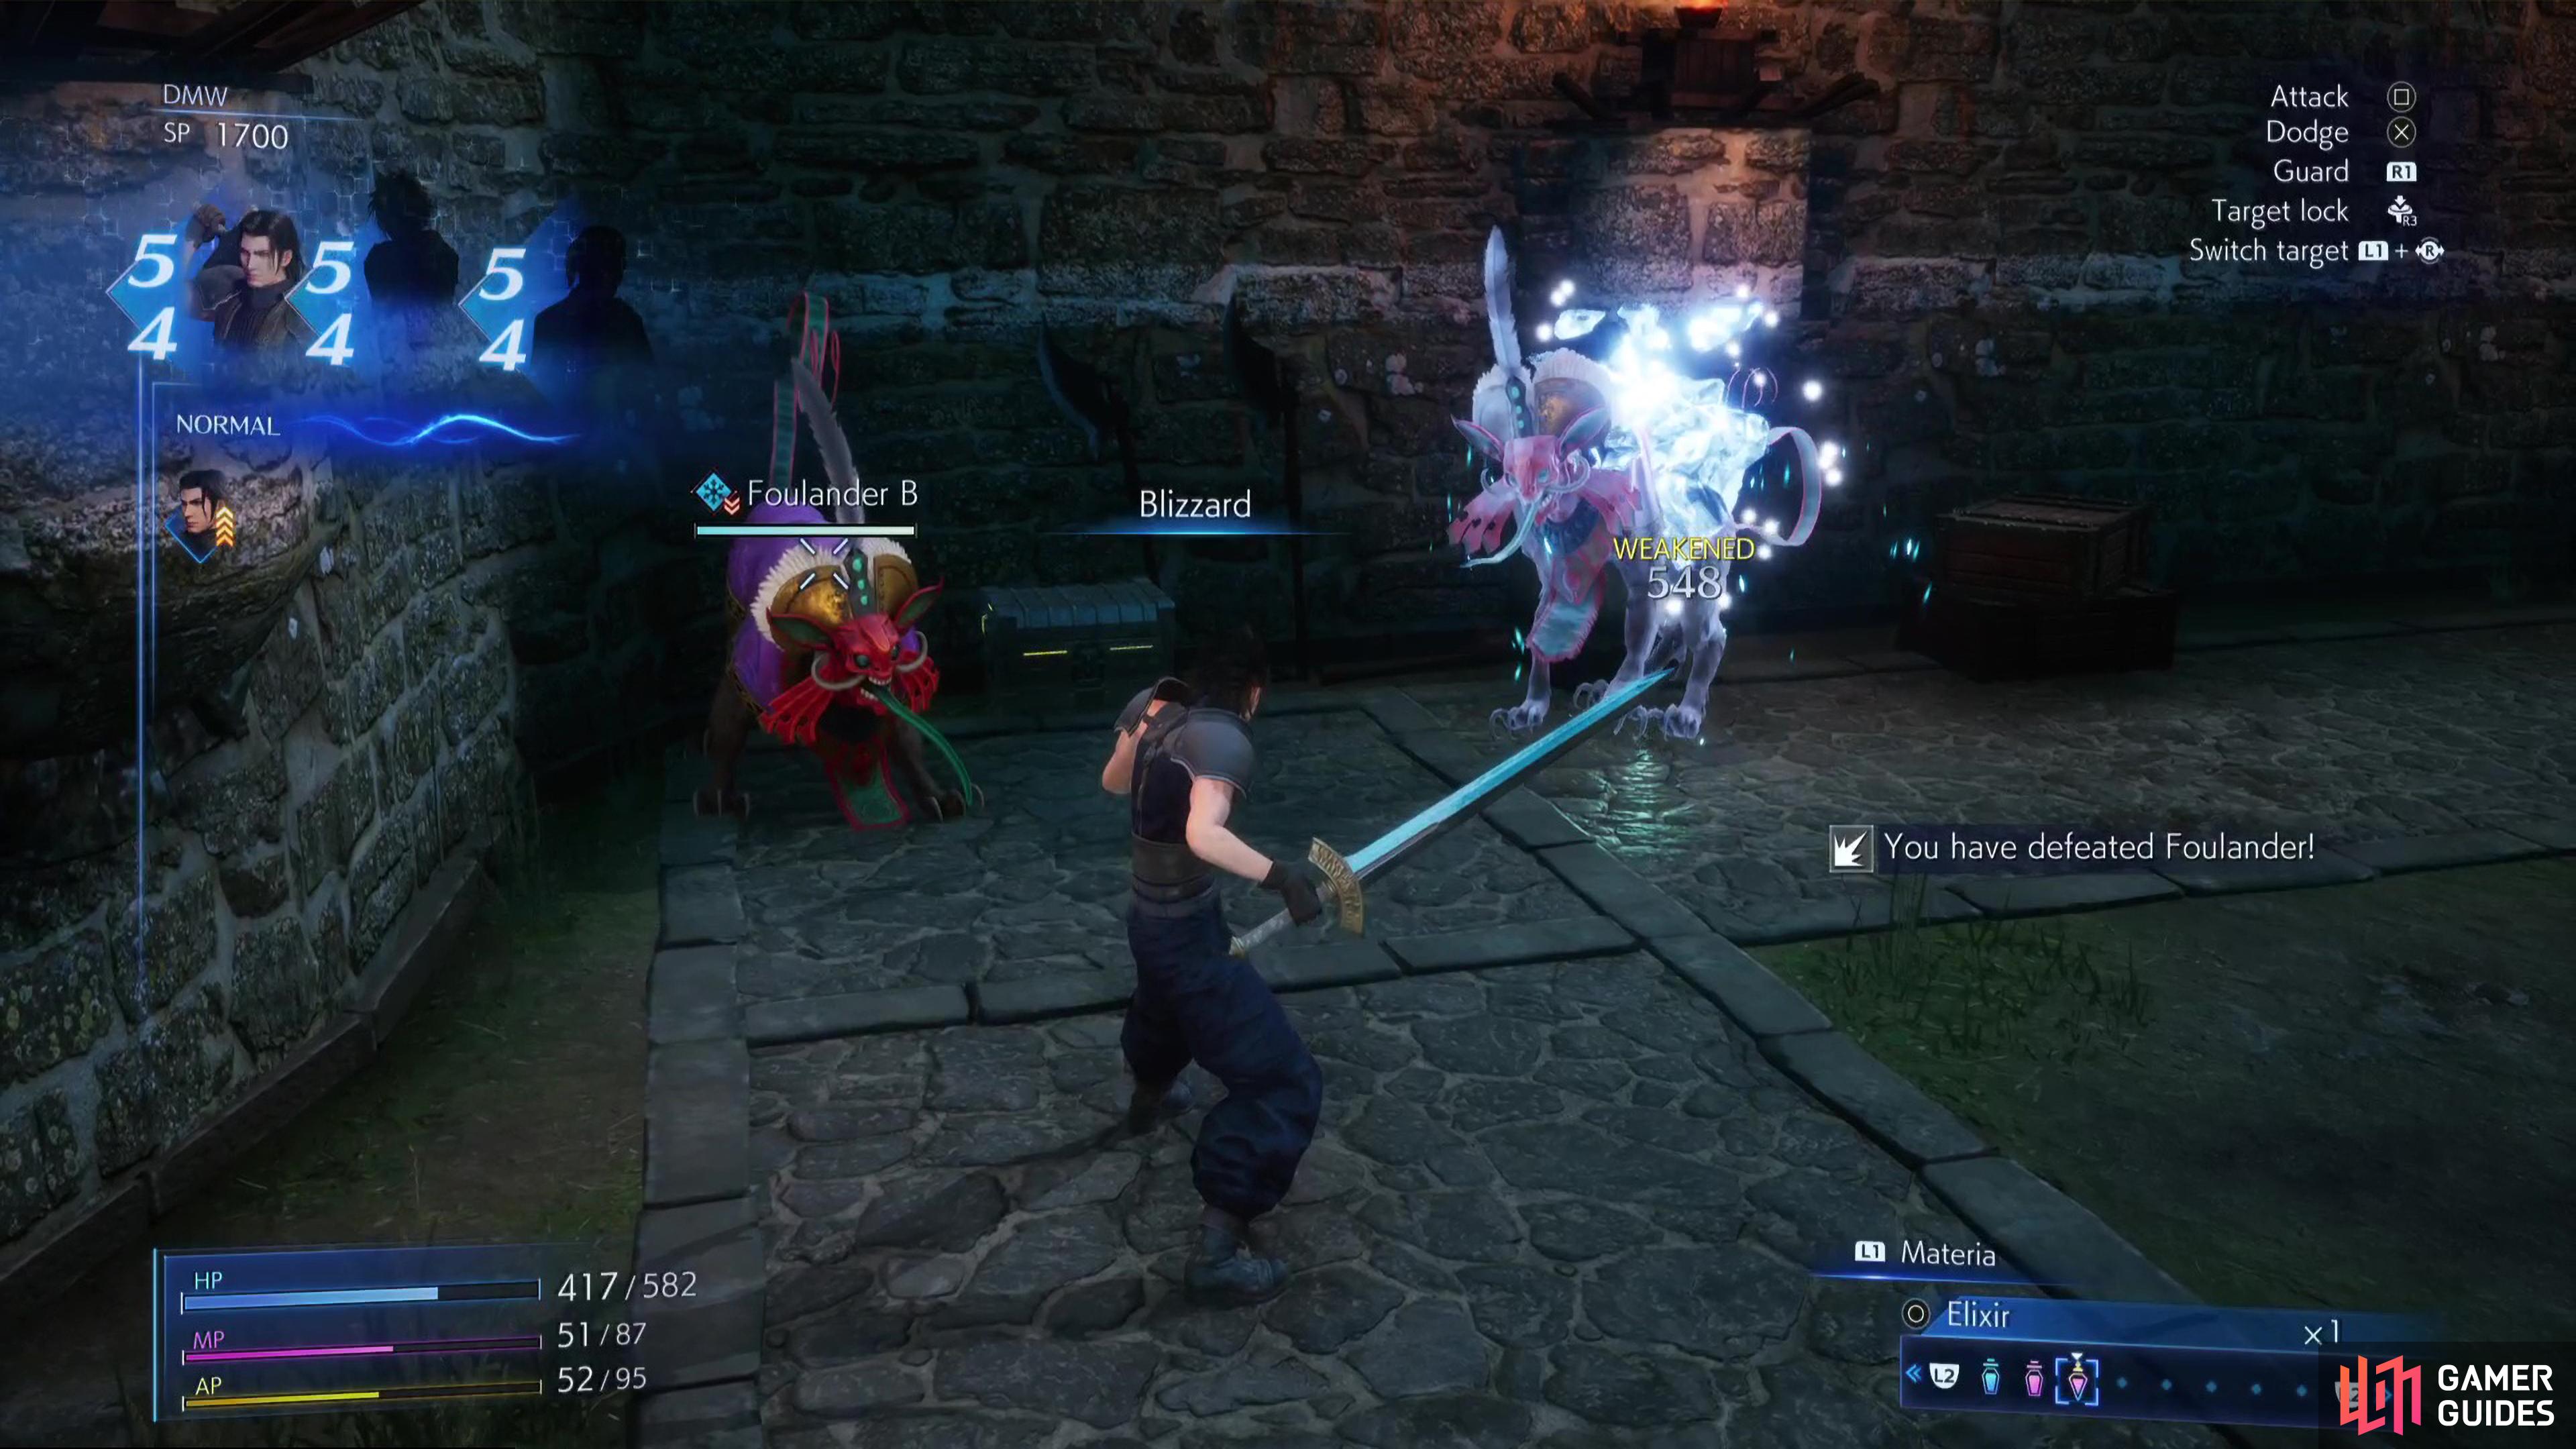
Go west and beyond the watchtower you’ll trigger a battle. You’ll be introduced to Weaknesses here (indicated by the symbol next to an enemy’s name) so make use of
 Blizzard to deal with the two
  Foulanders.
 -
Continue north up the corridor to run into the next group which contains a Foulander and two Wutai Privates.
-
Follow the linear path around the corner to initiate a battle with two Wutai Privates and a Wutai
 Sergeant.
 -
Three more Privates will attack from the end of the corridor. Run toward them and they’ll run away and as you go to follow them; you’ll be ambushed from behind via the revolving wall. This battle is against another two Wutai Privates and a Wutai Sergeant.
-
This is the first easy one to miss. You’ll notice you can now interact with these revolving walls. Do so, and you’ll ambush the next group chasing you, another two Privates and a Sergeant.
- Another easy one to miss. Go back to the first watchtower and examine the front of it, this will cause the next group to attack you. You’ll be surrounded by three Wutai Sergeants so make use of Air Twister here.
-
Return to where the first revolving wall was and continue to find two chests. The second chest is empty but will trigger a battle with the next group containing three Private and a Sergeant.
-
Continue east (you can’t interact with the revolving door from here) and you’ll find the next group containing two Foulanders (remember to use Blizzard against these).
-
There’s another revolving wall you can’t interact with from this side so continue under the arch to trigger the next group. This is a much larger group containing a battle against two Foulanders and two Privates. Focus on the Foulanders here as their
 Fire magic can hurt.
 -
Head toward the chest to the northwest and another battle will initiate against two more Foulanders.
-
Now use the revolving wall near the chest to trigger a battle against three Privates and a Sergeant.
-
Head south and examine the watchtower to fight the next group, this battle contains two Foulanders and two Sergeants. As always, focus down the Foulanders with Blizzard before you deal with the Sergeants.
-
Go to the corridor to the east of the watchtower and you’ll find the next group. When given the choice, choose to “Charge” to cause the Privates to flee and leave you with just the Sergeant to deal with.
-
Another easy one to miss, go back on yourself and examine the last revolving door to trigger a battle against three Foulanders begging to be hit with Blizzard.
-
The final group can be found by heading to the exit of the area, another three Foulanders will attack.
If you’ve successfully taken out every group, you’ll get a call from Angeal to inform you that you’ve managed to occupy the fort.
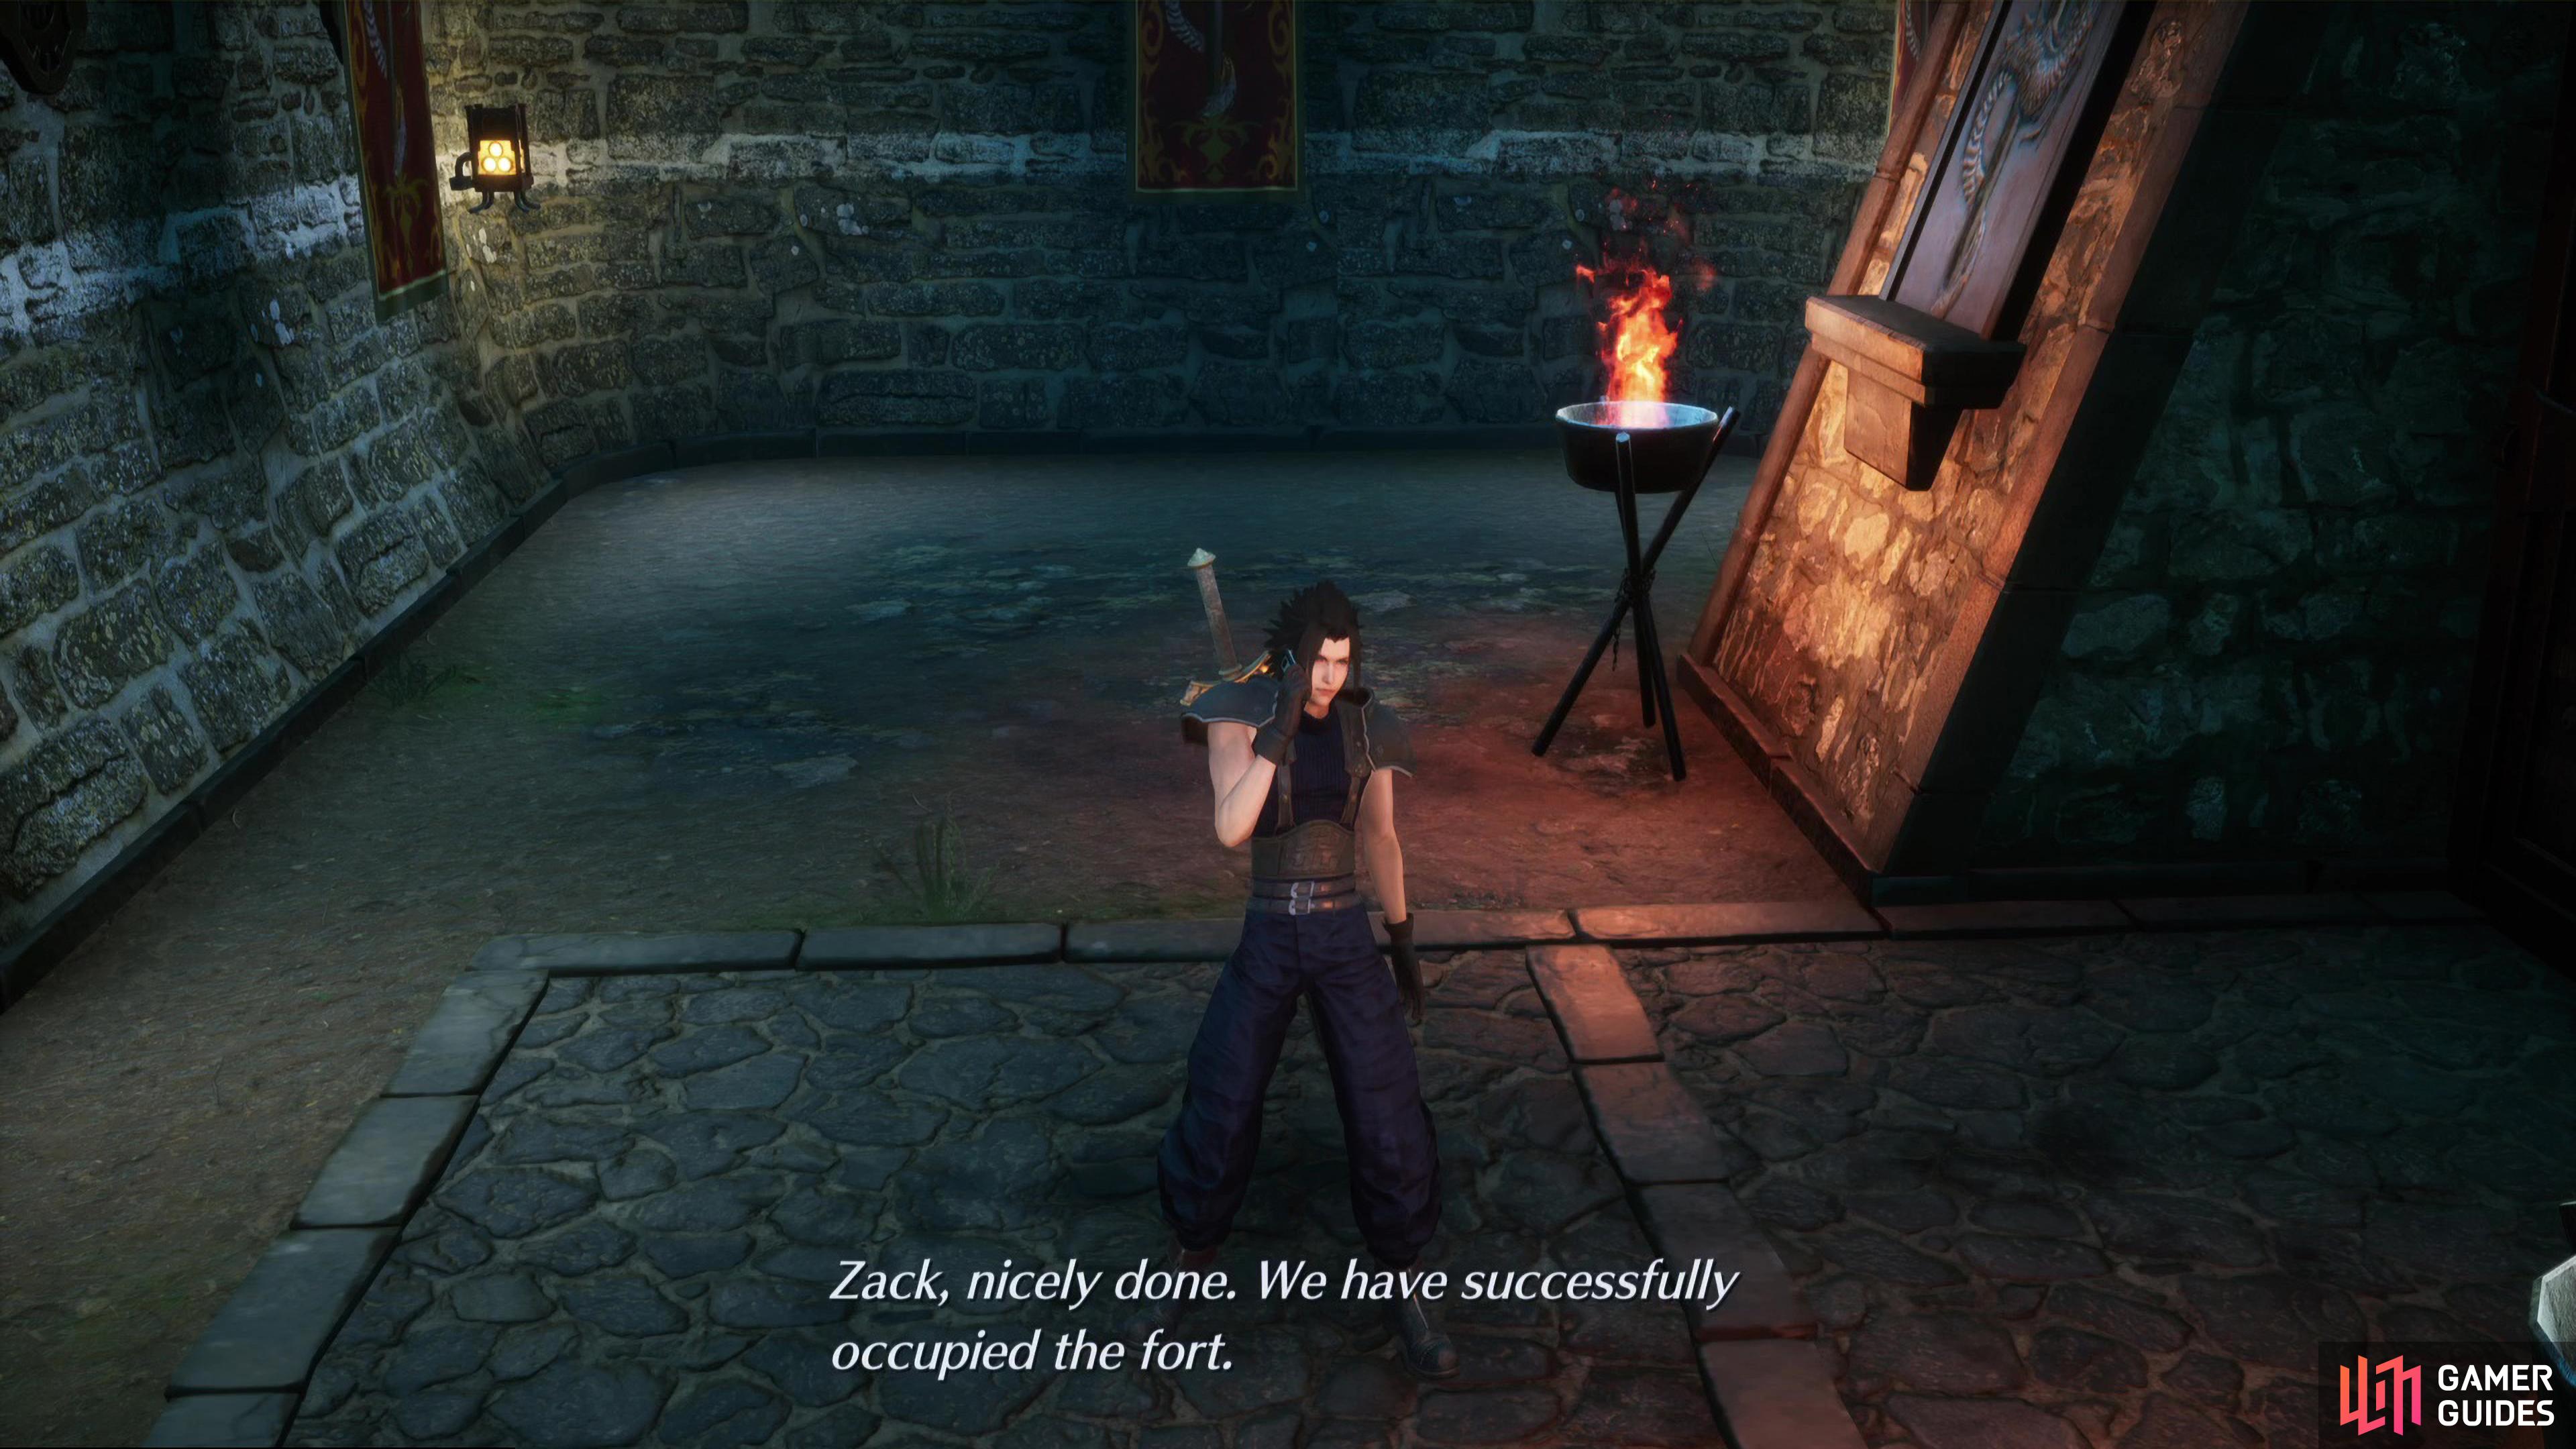
You will get a call from Angeal once you wipe out all forces

the Fire Armlet you get for defeating them all is useful for the upcoming boss.
Lazard Rewards
You won’t get your rewards until you actually proceed beyond the next point and defeat the boss. Following the battle, you’ll find yourself back in the forest and you’ll get a reward from Lezard based on how many groups you took out.
| Forces Defeated | Reward |
|---|---|
| 10 | |
| 11-13 | |
| 14-15 | |
| 16 | Fire Armlet |
The ![]() Fire Armlet especially is a great accessory and will be immediately useful in the boss battle that follows. You’ll also get the Hero of the Wutai War? Trophy/Achievement.
Fire Armlet especially is a great accessory and will be immediately useful in the boss battle that follows. You’ll also get the Hero of the Wutai War? Trophy/Achievement.
No Comments