
In Crisis Core Final Fantasy VII: Reunion, the DMW plays a large role in combat. When the reels stop on the same image three times, you’ll get a limit break or summon. This page will tell you how to get the ![]() Bahamut Fury Summon.
Bahamut Fury Summon.
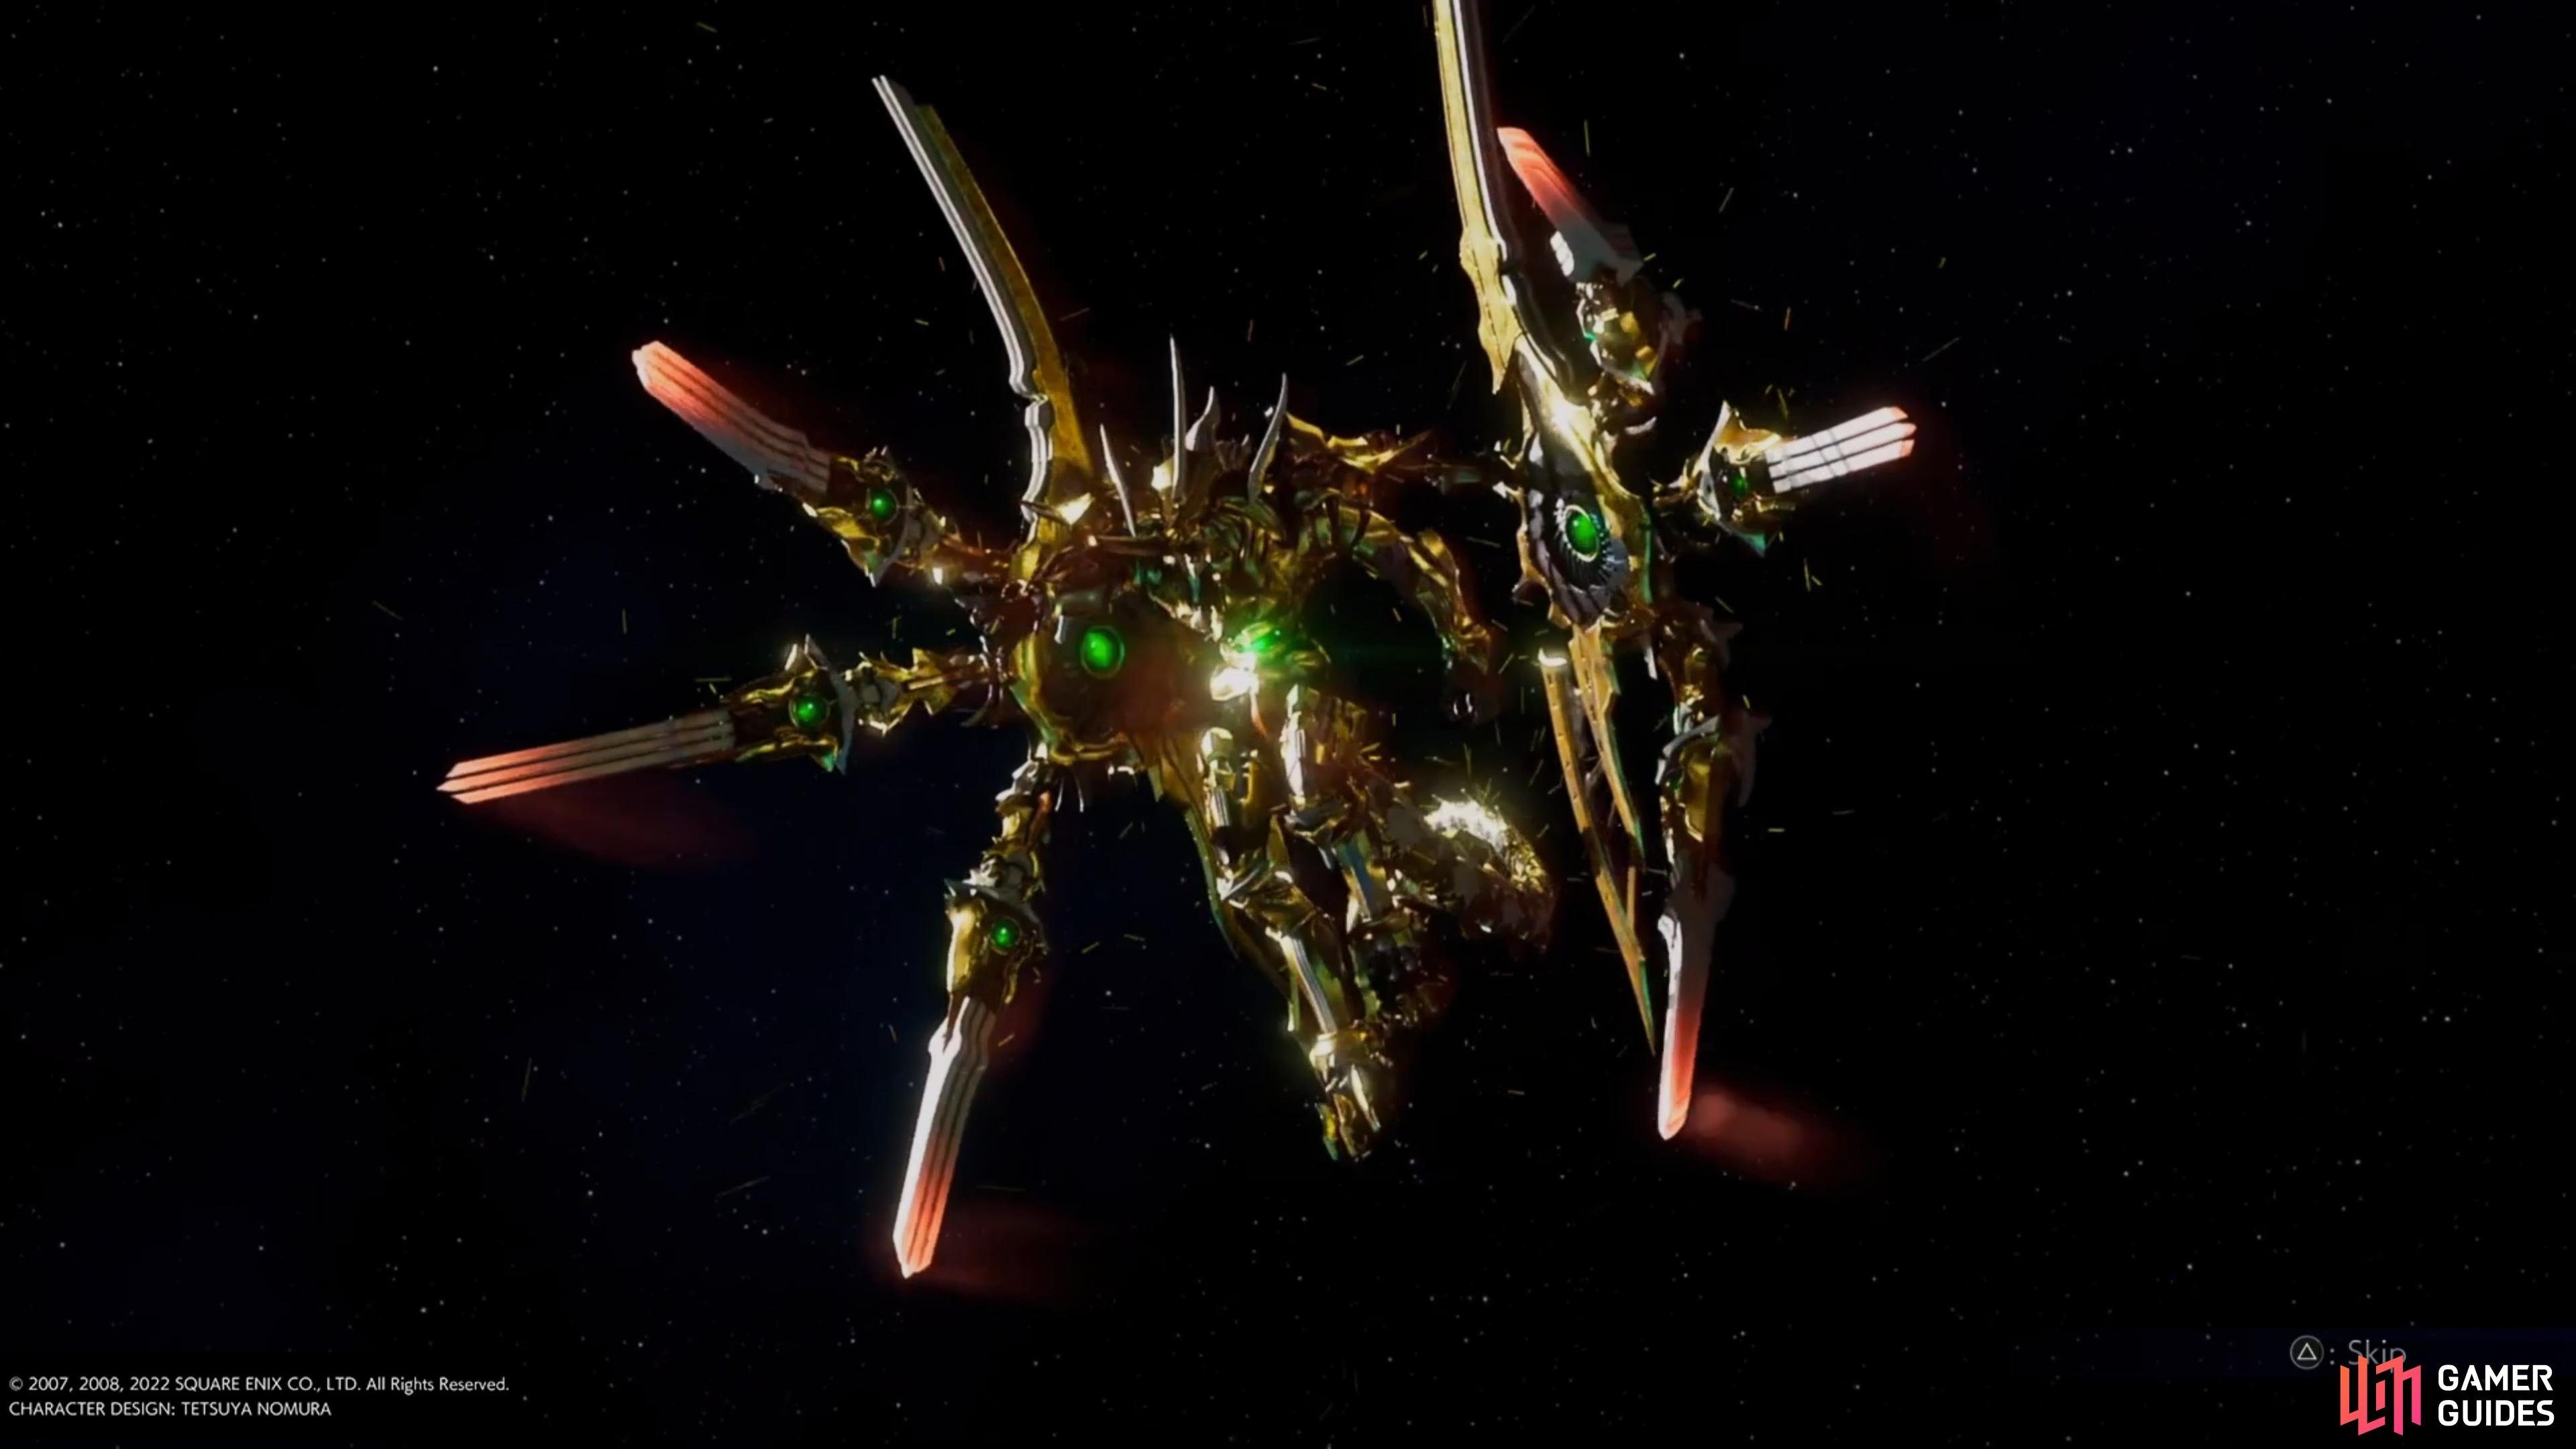
Bahamut Fury will use the devastating Exaflare.
| Icon | Image | Description |
|---|---|---|
 |
Deals magic-defense ignoring damage to all enemies present |
You can obtain ![]() Bahamut Fury as early as the end of Chapter 3, so long as you know what you’re doing and track down the correct mission chains. Be warned though, you will have to defeat Bahamut Fury to acquire the Summon and that is no easy feat, you’ll have to make sure you have the means to survive the devastating
Bahamut Fury as early as the end of Chapter 3, so long as you know what you’re doing and track down the correct mission chains. Be warned though, you will have to defeat Bahamut Fury to acquire the Summon and that is no easy feat, you’ll have to make sure you have the means to survive the devastating ![]() Exaflare.
Exaflare.
Where to Find Bahamut Fury
Once you reach the end of Chapter 3, you’ll find yourself in Mako Reactor 5. Once you gain control, head towards the ladder on your left and you’ll unlock a Mail (Treasure Princess - Recruitment) along with Mission 8-4-1. This begins the Yuffie series of Missions, and there are a lot of them. Work your way through the following steps to reach the mission that awards the Bahamut Fury Summon:
-
Reach the Mako Reactor 5 in Chapter 3 and approach the ladder to the left to unlock Mission 8-4-1.
-
Complete Missions 8-4-1 - 8-4-6 to unlock Mission 8-5-1
-
Complete Missions 8-5-1 - 8-5-5 to unlock Mission 8-5-6 (you will meet Bahamut Fury at the end of 8-5-5 but flee).
With access to Mission 8-5-6 you can now reach the Bahamut Fury battle by opening the chest in the northwest corner of the area, just be sure you’re ready for a tough battle before opening the chest!


(1 of 2) You will need to reach Mission 8-5-6 to fight Bahamut Fury
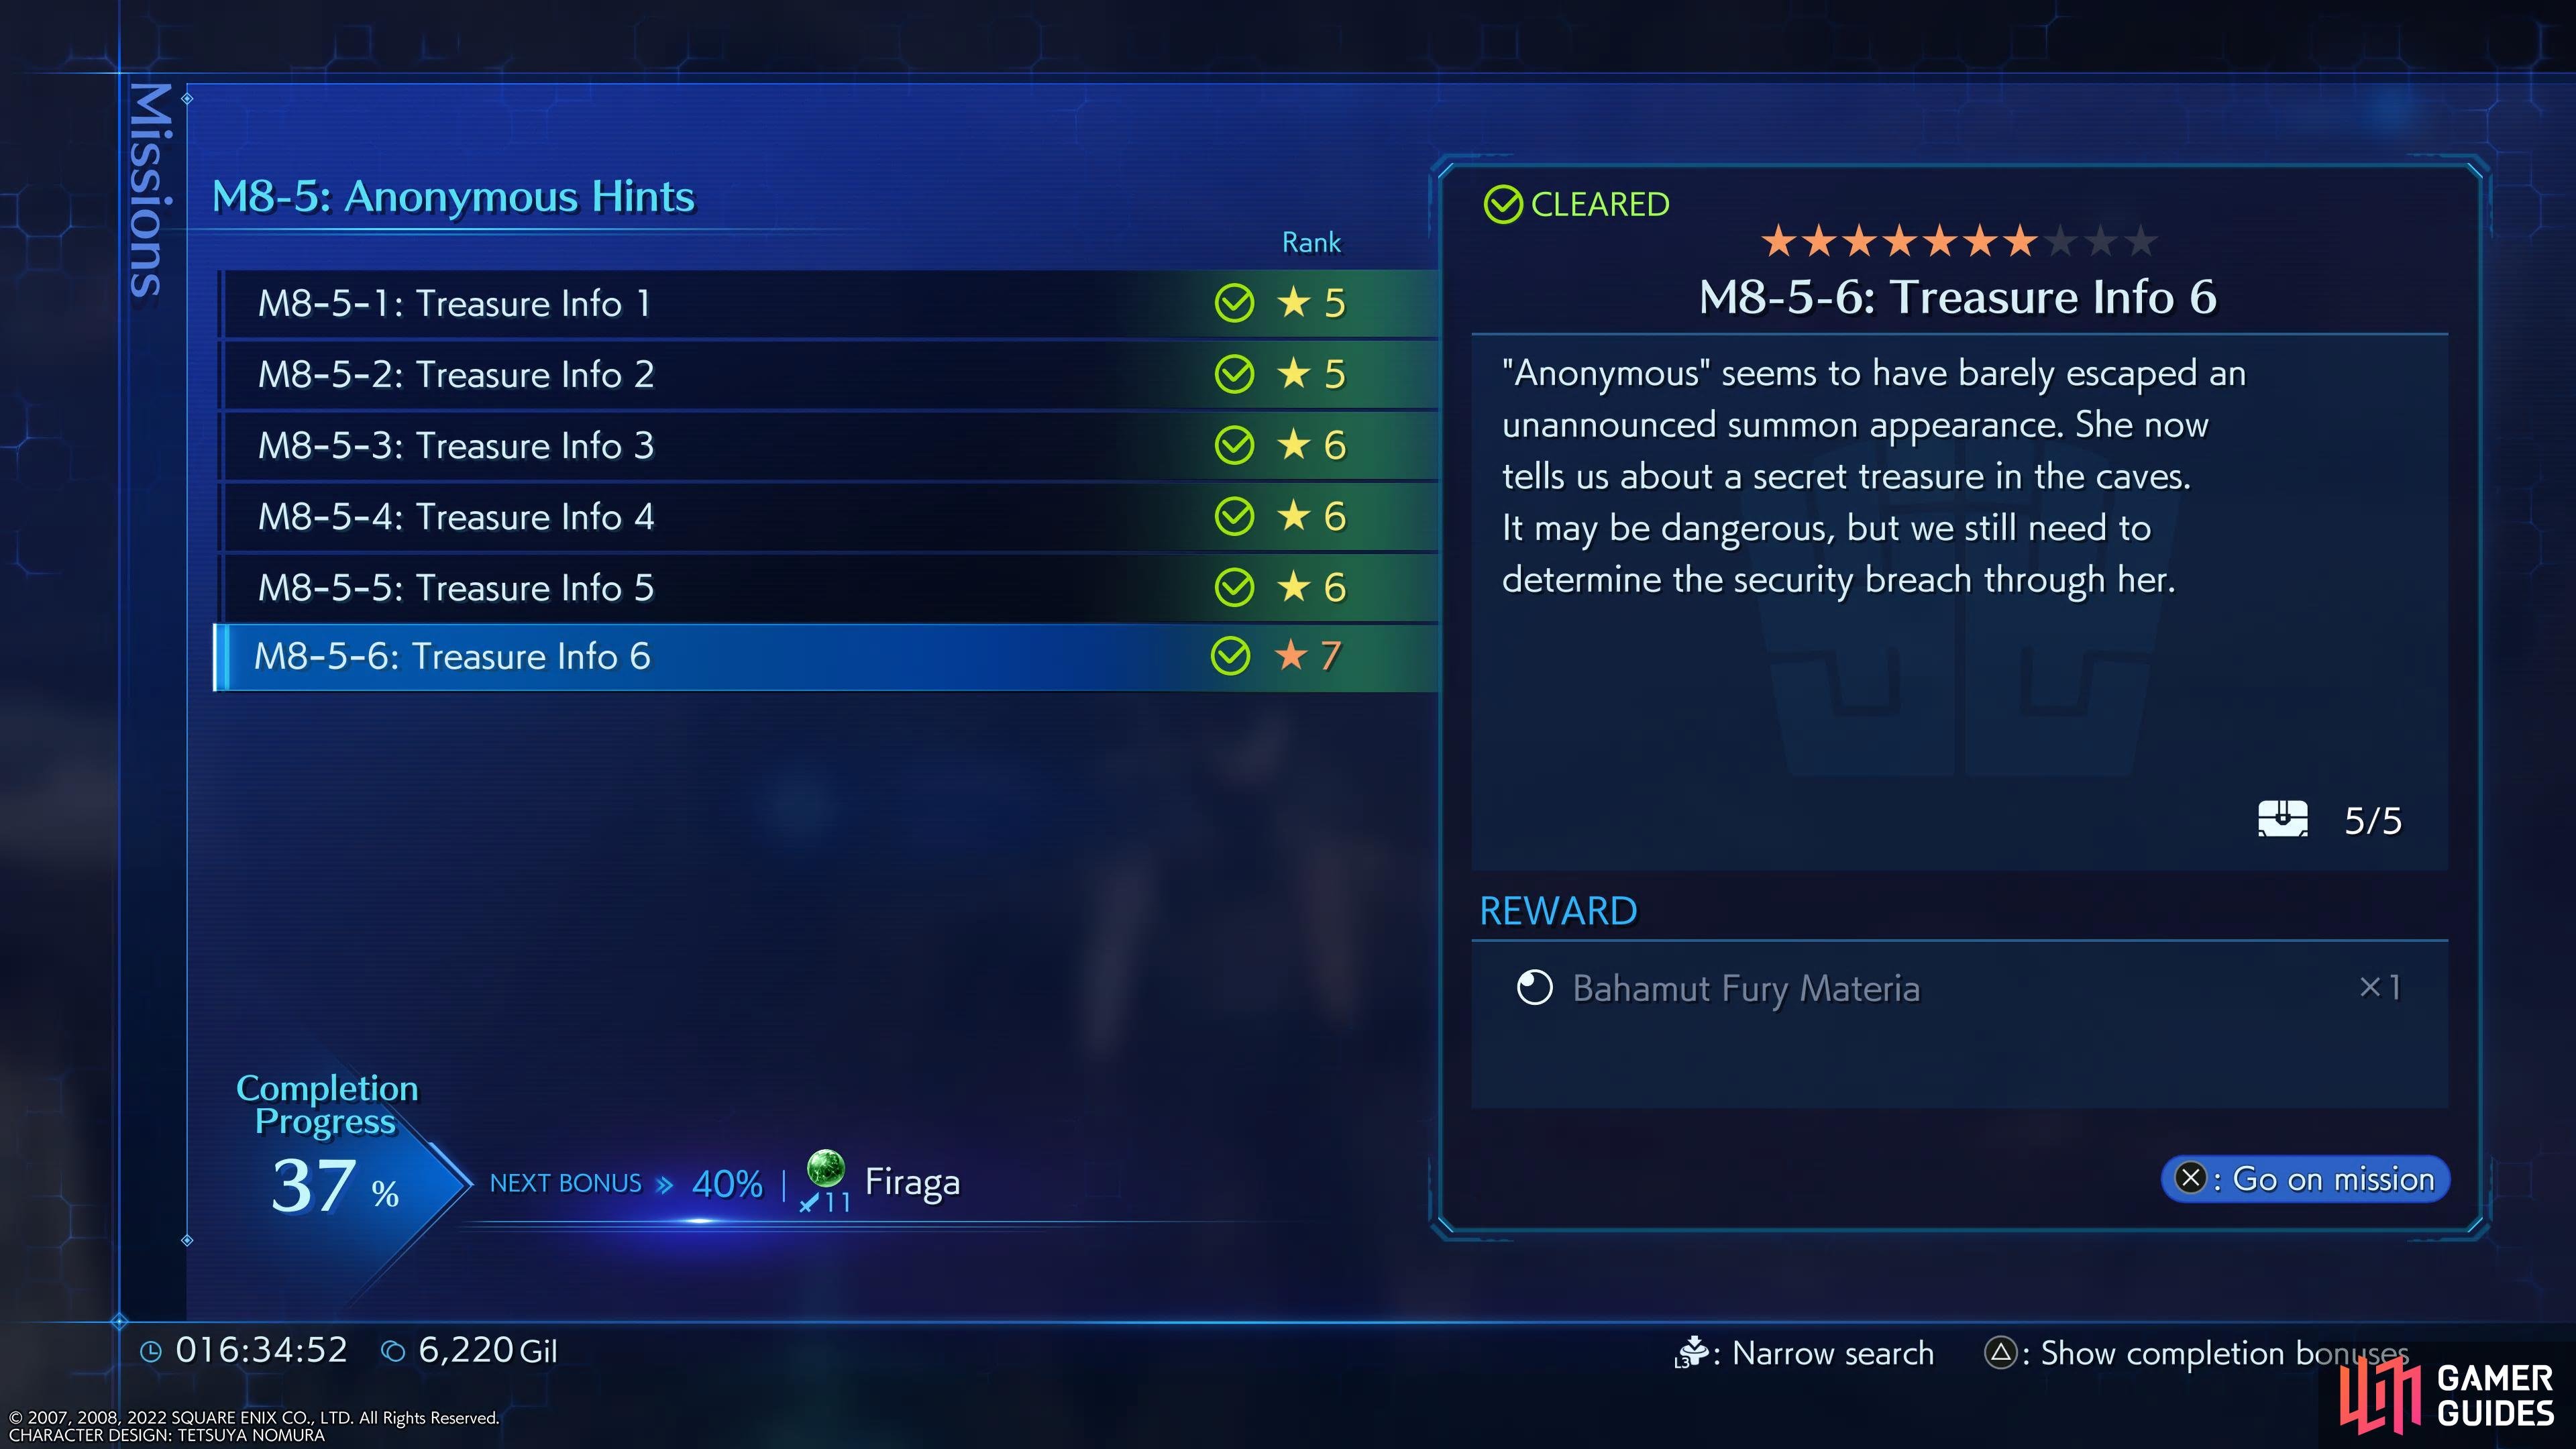
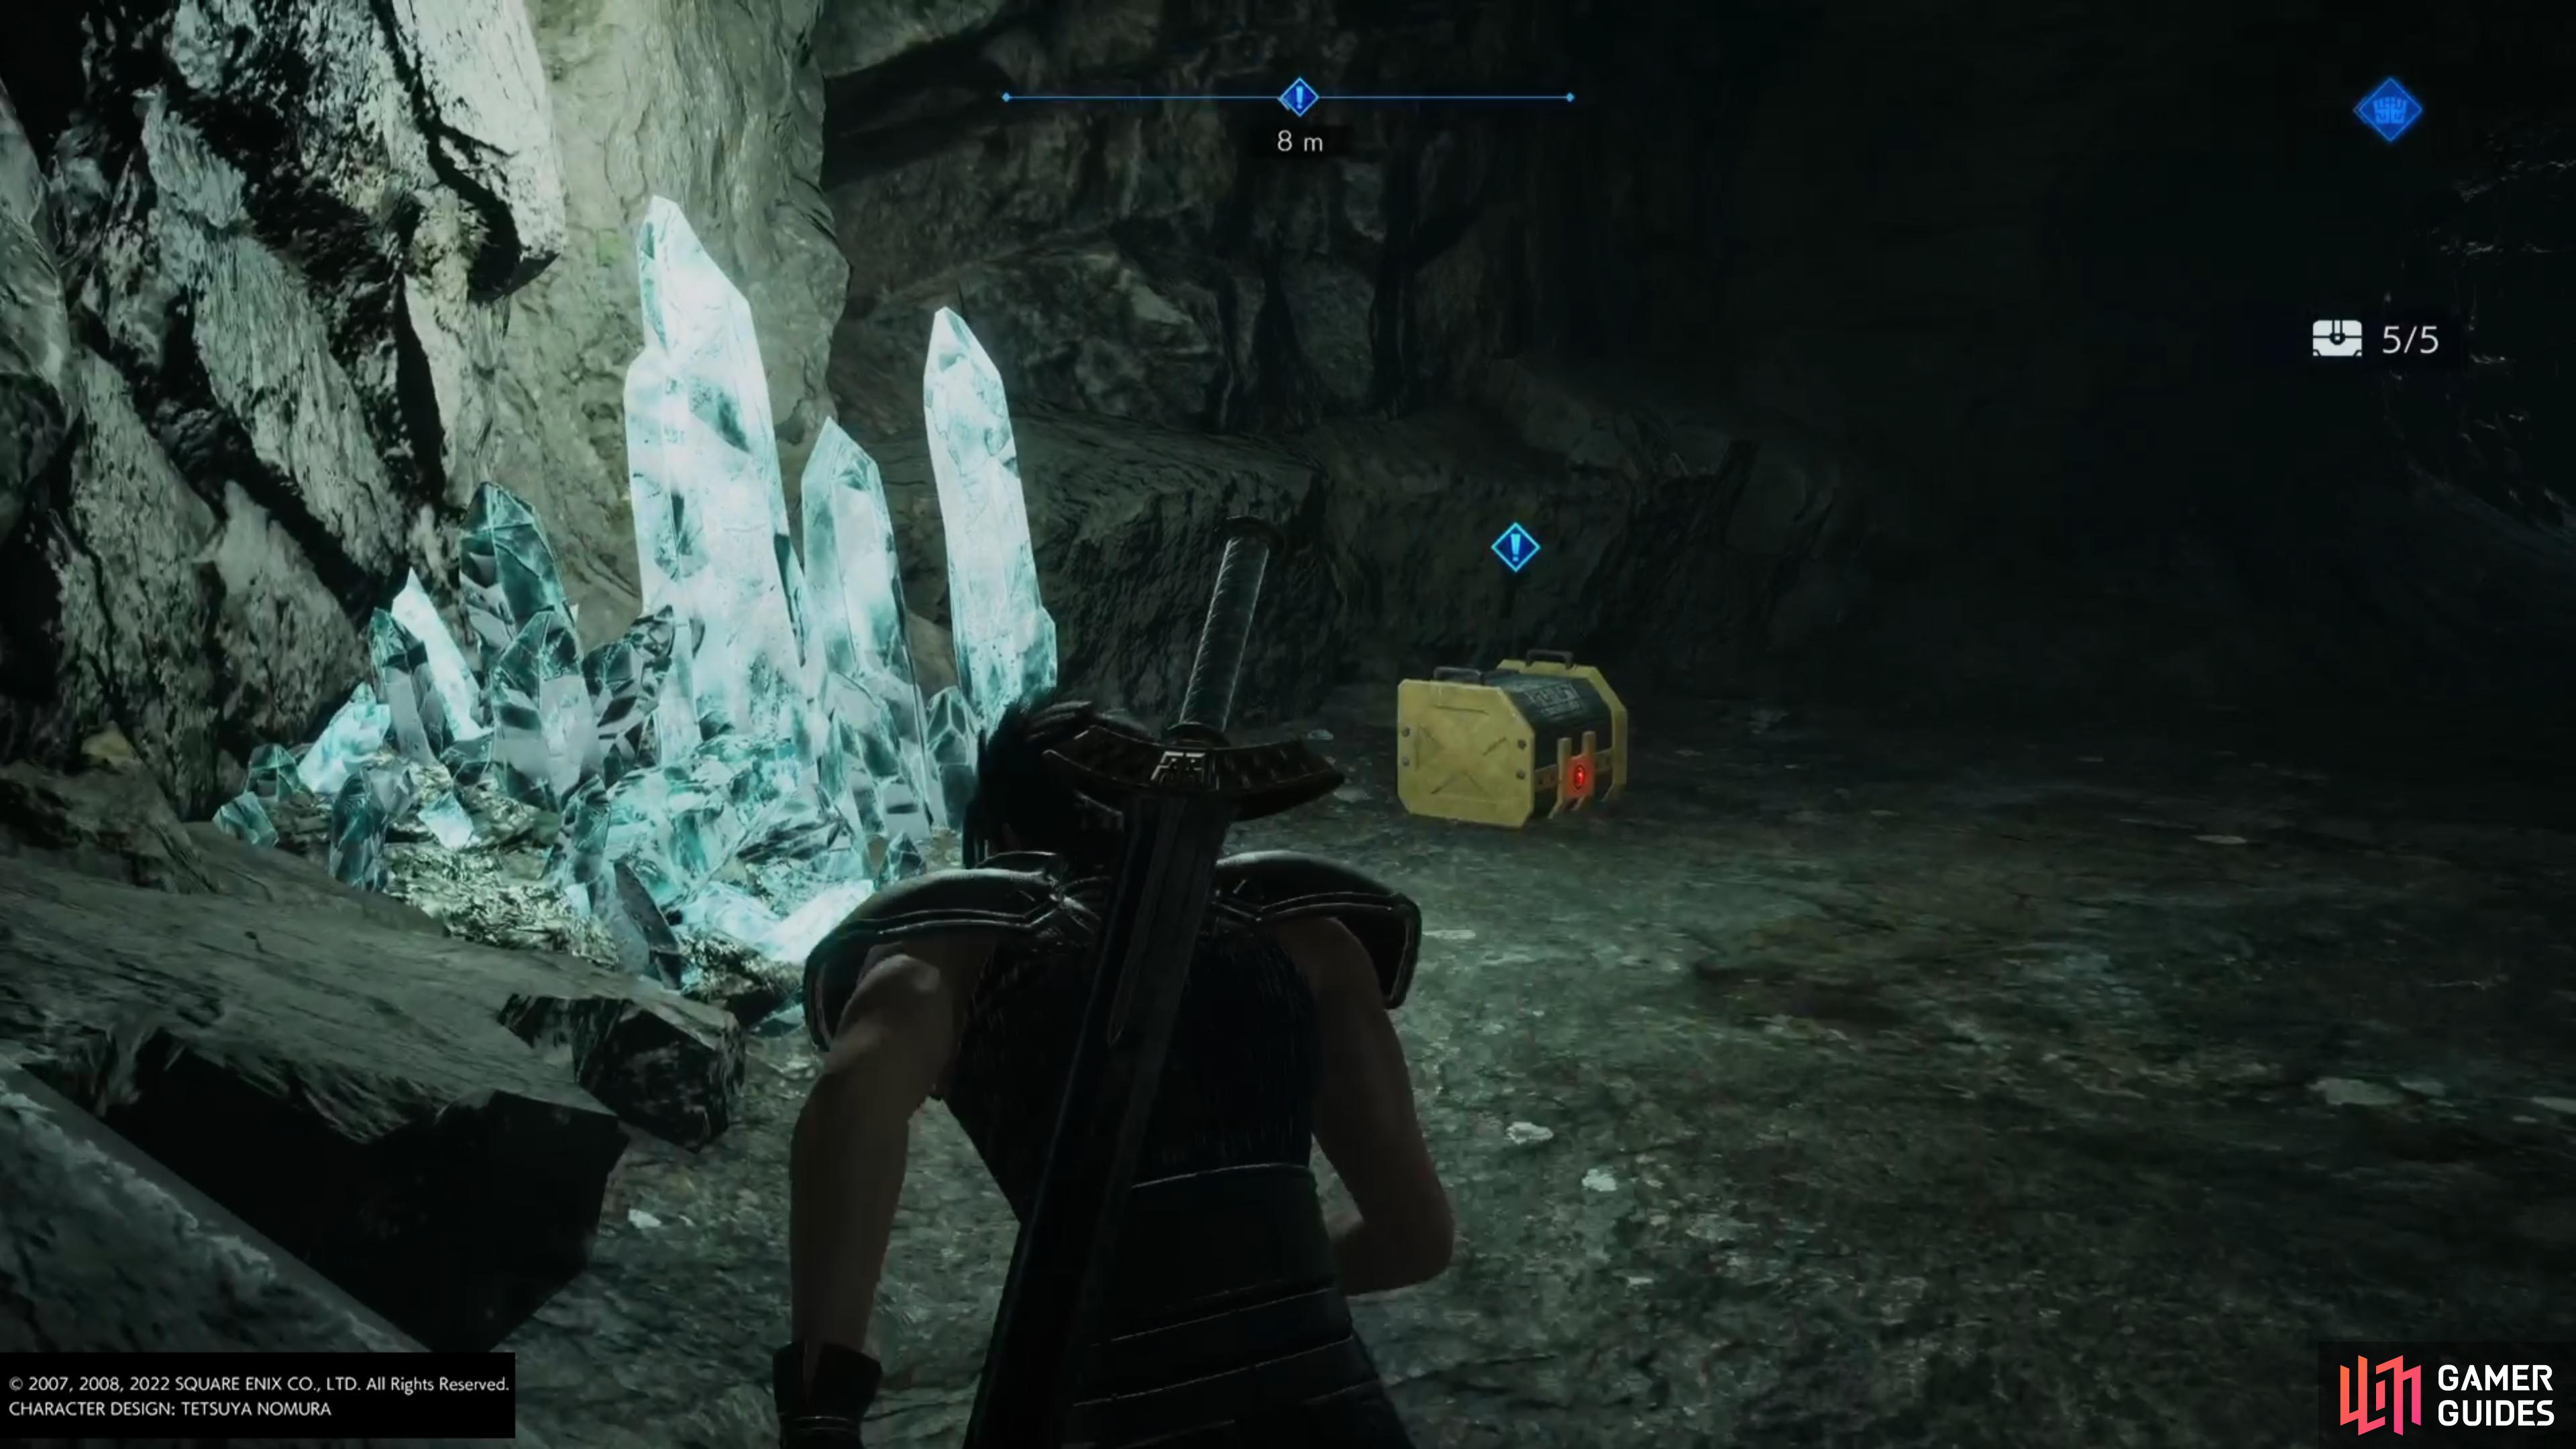
You will need to reach Mission 8-5-6 to fight Bahamut Fury (left), examine this chest to get the battle underway. (right)
How to Defeat Bahamut Fury
Bahamut has a ton of HP and some of his attacks (Exaflare especially) can really hurt if your stats aren’t up to scratch. You’ll want to ensure you have at least ![]() Wall and
Wall and ![]() Curaga set but ignore magic attack spells (outside of non-elemental) as Bahamut Fury will resist them. You’ll also want to have your HP as high as possible (breaking the limit if you have the accessory already) and to stack your stats with VIT and SPR using accessories such as
Curaga set but ignore magic attack spells (outside of non-elemental) as Bahamut Fury will resist them. You’ll also want to have your HP as high as possible (breaking the limit if you have the accessory already) and to stack your stats with VIT and SPR using accessories such as ![]() Aegis Armlets,
Aegis Armlets, ![]() Shinra Betas, and
Shinra Betas, and ![]() Tarot Cards.
Tarot Cards.
Once the battle begins, cast Wall and never let it drop for the entire battle, it will help massively against all of Bahamut Fury’s attacks. You’ll also want to close the distance between the two of you and begin unleashing attack combos. If at any point, you lose at least some of your HP, top it up and use ![]() Ethers if necessary.
Ethers if necessary.
You can use Commands like the Jump abilities, ![]() Gil Toss, and other like-minded commands (of course, use
Gil Toss, and other like-minded commands (of course, use ![]() Costly Punch if you have it already) but it can also be useful to just stick with regular attack combos so you can be ready to dodge at a moment’s notice.
Costly Punch if you have it already) but it can also be useful to just stick with regular attack combos so you can be ready to dodge at a moment’s notice.
Bahamut Fury’s Swipe attack hits four times so be sure to dodge through the attack when you see it pull its arm back. Cluster Sphere will fire out three large orbs in a fork in front of it, when you see the name, back away so you have more time to dodge between one of the orbs.
Judgment of Light will see Bahamut Fury retreat away from the platform and then fire a large orb at you, wait for it to get closer and then dodge to the side to avoid it. Hexafang will drop two mines either side of it that will then explode in an AoE around where they landed, retreat away from Bahamut Fury again to avoid.


Black Hole is Bahamut Fury’s version of gravity, dropping three orbs close to each other. This is the easiest attack to avoid, just simply dash back a little and you’ll avoid it easily. ![]() Flare covers a massive AoE, but has a long wind-up so make sure you’re guarding after you see the name appear to cut the damage you receive.
Flare covers a massive AoE, but has a long wind-up so make sure you’re guarding after you see the name appear to cut the damage you receive.
Bahamut Fury’s ultimate attack, Exaflare, is the deadliest as you’d expect. Do everything in your power to try and get the Ability % to at least 75% and make sure you have max HP and Wall cast to cut down the damage. You’ll not only suffer damage, but it’ll remove all of your AP and MP too, so make sure to restore them via Ethers/![]() Somas or by popping an
Somas or by popping an ![]() Elixir.
Elixir.
Bahamut Fury is a lengthy battle, but Wall will do most of the work for you so long as you keep your HP topped up. Getting lucky with the DMW will help speed things up, Cisnei’s ![]() Lucky Stars being a particular favorite as it’ll allow you to whack away at Bahamut Fury for constant Criticals.
Lucky Stars being a particular favorite as it’ll allow you to whack away at Bahamut Fury for constant Criticals.
Once Bahamut Fury finally falls, you’ll add it to your growing list of DMW Images, ready to summon and use against your foes!
No Comments