
1) Vernon East/Takoma Park Metro
Book - Lying, Congressional Styile
To get to Takoma Park you’ll need to head through the Vernon East/Takoma Park Metro (marked as Vernon Square East on your World Map), which is north-east of the highly radioactive crater in the middle over Vernon Square… meaning you’re going to catch some rads discovering this place if you haven’t already. Once inside you’ll want to head west until you find a ticket booth, upon the counter of which you’ll find a copy of Lying, Congressional Style . Well, this place is off to a promising start.
2) Metro Dwelling
Go around a corner and kill some Super Mutants. Go into the large metro hub and kill more Super Mutants. Now if you head to the lower level you’ll be presented with an option. Go east to continue to Takoma Park, or go West to score some extra loot. If you go west head down onto the traintrack and disarm any Frag Mines you find as you go. On the rubble between the two barricades at the end of the western tunnel will be a rather obvious pressure plate rigged to a shotgun. Disarm it, take the Combat Shotgun, and head south to find a small dwelling, replete with a bed, a safe [Average], and a Nuka-Cola Quantum.
3) Mirelurk Massacre
Go back into the metro hub and take the tunnel east. You’ll find that the path is liberally strewn with Mirelurks. Meander merrily amid the metro mercilessly mauling Mirelurks you meet. Um… yeah, go east and kill everything in your path. There’s not much to grab along the way, and you can tell that this place is boring when your FAQ writer starts to alliterate. You’ll probably want to be sneaking before you exit to Takoma Park.
4) All Quiet on the Eastern Front
At first, all seems calm as you cautiously emerge from your metro. Head east and you’ll notice that cars along the road are already aflame, which sort of indicates that you might not want to get too close. Soon enough they’ll explode, and Super Mutants will begin walking downhill to the west. The Super Mutant with the Missile Launcher should be the first priority, especially if, as in my case, the Super Mutant in question was a Super Mutant Overlord. Also beware that there is an overturned rigged baby carriage on the road, which you’d do well to avoid while fighting. When you’re done smiting Super Mutants head into Nifty Thrifty. This store has some minor loot inside, including the unique Baseball Cap Takoma Park Little Leaguer Cap .
5) Takoma Park
You can now safely head up the hill to the west, grabbing the Nuka-Cola Vending Machine, refrigerator, and various food items scattered about as you go. Don’t get too gung-ho, however, as there are more Super Mutants to the north once you get on top of the hill. Kill them and loot their tent for a pair of first aid boxes and ammo boxes, and access to a bed. Continue up the hill to the north east until you reach a dead end, then head north through a house. Keep going past the fence to the north until you come to a large, fenced factory building. Super Mutants will skirmish with Talon Company Mercenaries, and if you approach you’ll discover Takoma Industrial.
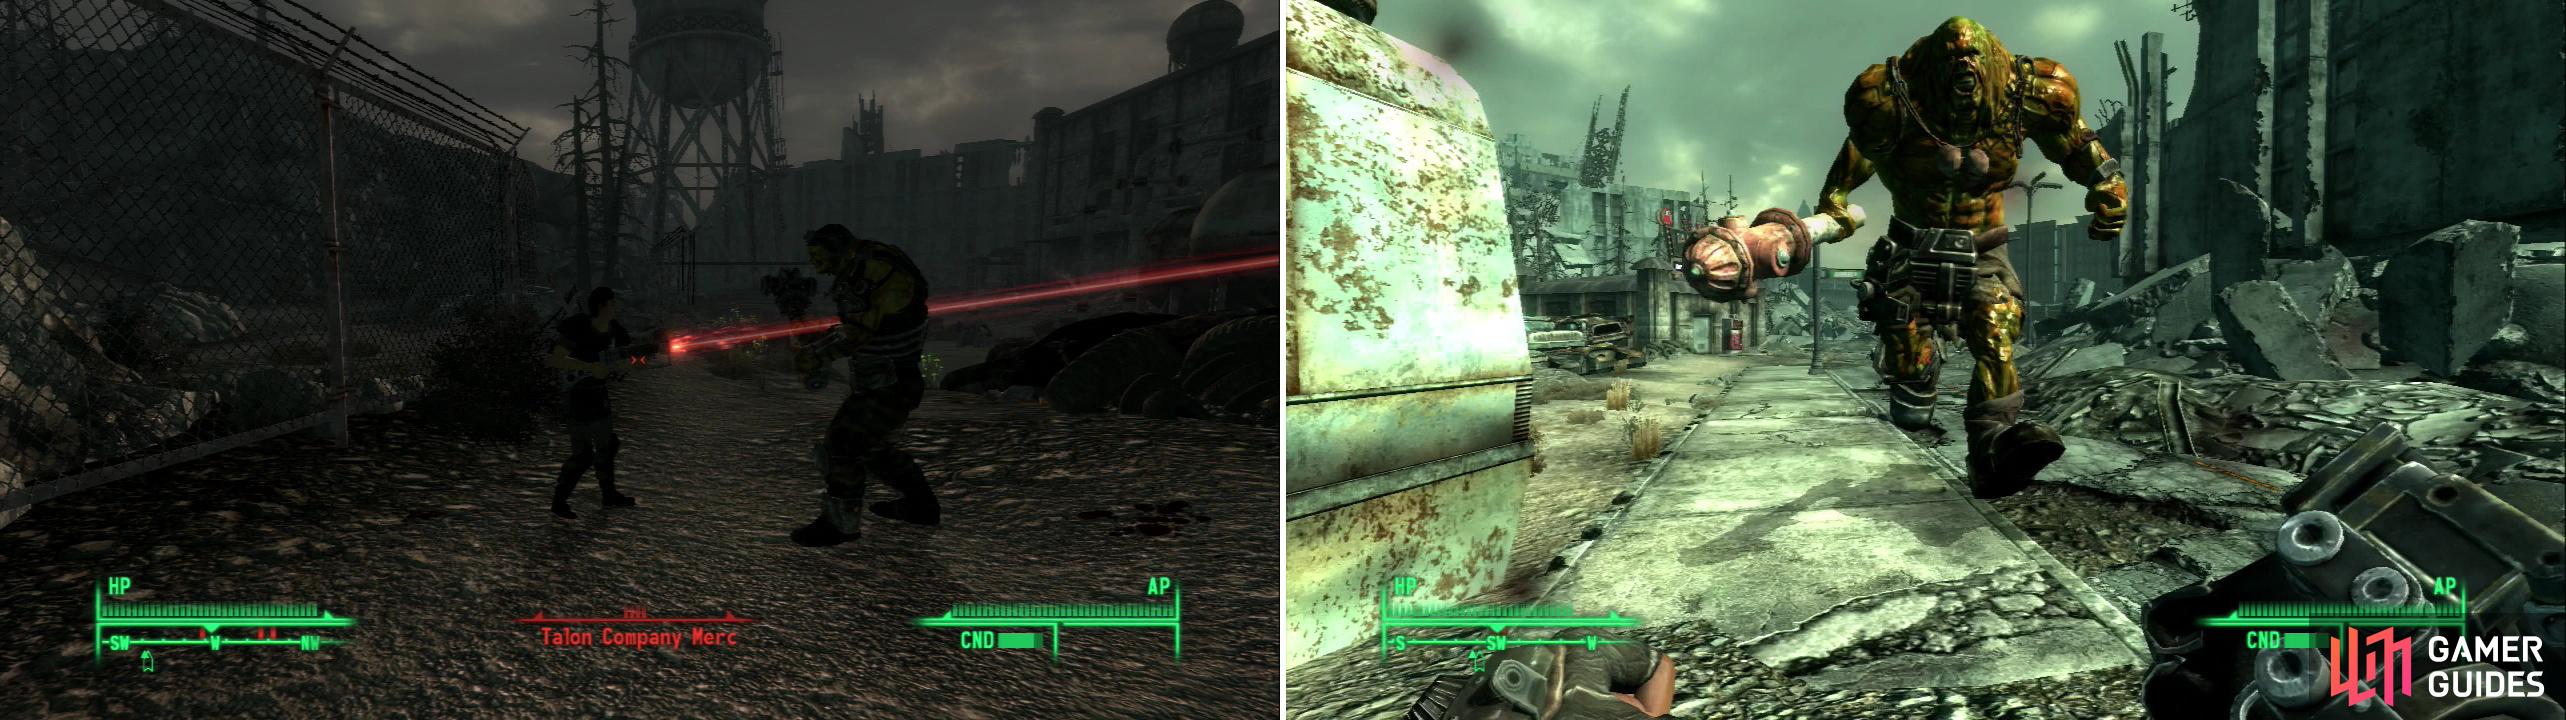
Talon Company Mercs and Super Mutants clash outside of the factory in Takoma Industrial (left). To the west you’ll find larger prey… (right).
6) Factory, Top Floor
Let the Super Mutants and Talon Company Mercenaries fight it out, and pick off the survivors. When you’re done killing and looting head into one of the many entrances, it doesn’t really matter which. If you’re dreading another lengthy area like the Red Racer Factory, don’t fear. This factory is quite small… comparitively. First go up the stairs to the east to find-besides a Super Mutant-a door leading outside. If you go outside you can find a small balcony with a dead Talon Company Mercenary and his Sniper Rifle on it. Wee… Now go back into the factory and head up the stairs to the west, then go north. For now ignore the central area, instead jump over the railing to the north and head down the ladder/ramp to reach a small landing. Go around the generator to find a Nuka-Cola Quantum in a wooden crate. Now go back to the south and explore the raised central area. You’ll find two ammo boxes and a first aid box, as well as a… rigged computer.
7) Factory, Bottom Floor
Book - Lying, Congressional Style
The ground floor has plenty of… Abraxo Cleaner… Kill your way to the northern end of the ground floor and turn east, heading up some stairs and through a door to another part of the factory. Loot your way to the east and up some more stairs to find a small room with some bookshelves in it. On one of the bookshelves you’ll find yourself a copy of Lying, Congressional Style … as well as all the mundane loot you can carry (and then some!) When you’re done backtrack to the room to the west and go up the stairs, exiting back to Takoma park via the northern most exit on the area map.
8) Ghoul Research
When you get back outside you’ll be behind the factory. Head down some stairs and when you reach the ground travel along a narrow path to the east, taking care to disarm a tripwire along the way. In the water to the north you’ll find a fallen support tower that can-with some fancy controller-work-be used to cross over to the ledge on opposite side of the moat. Continue north between two buildings and turn east until you find an irradiated “pond” occupied by several Ghouls. Kill them and search the nearby shack.
Isabella Prouds’ terminal contains some information on the adventures of Isabella Proud and Jason, who were attempting some research on the local Ghouls. Coincidentially, their bodies are to the north, near the lake. It’s a good place to score some chems and a few Radiation Suits. While you’re looting, the Ghoul Samuel will show up and introduce himself.
9) Factory, Rear
When you’re done profiting from the stupidity of Isabella Proud, return back to the moat and jump in. Swim up to some stairs to the south an exit near a tent short ways off. Inside the tent you’ll find a dead Talon Company Mercenary, some beds, two first aid boxes, and two ammo boxes. Once you’re done looting head south, up a ramp, and over a fence to return to the front of the factory.
10) Takoma Industrial
Book - U.S. Army: 30 Handy Flamethrower Recipes
Super Mutant Behemoth
Head west past the front of the factory and go through a chain gate. You’ll pass numerous trucks with ramps leading up to them, providing some cover for the fight that is about to occur. On top of one of the trucks you’ll find a Talon Company Mercenary with the note “Takoma Park Artillery Note”. You remember Seward Square? Same idea. With this you can bomb the Super Mutants in the parking lot to the west a few times to get a good first start. If you have a high Repair skill you can fix the switch when it breaks, and if you’re frugal you can do some serious damage to the Behemoth… but seriously, with Paralzying Palm we don’t really need to sit around and cheese it to death. Once the Super Mutants are dead, go explore the Auto Shop. There’s some minor loot around, but the thing to look out for is the copy of U.S. Army: 30 Handy Flamethrower Recipes on the desk behind the counter.
Now we’re done with Takoma Park… only one place left, and one more Super Mutant Behemoth to put down. It’s time to explore the Capitol Building. You can fast-travel there, but you might want to practice some discretion if you haven’t been there in a while. Super Mutant Overlords love to spawn there (as well as Enclave Soldiers, later on in the game), and this can cause your trip to end before it’s even begun.
No Comments