
It’s been a while since we’ve bothered with the main story, and if you forgot, we were supposed to investigate Little Lamplight to see if we could find our way into Vault 87, which is supposed to have a G.E.C.K. There’s no point in trying to take Project Purity back if we can’t get it started, right? Head over to Little Lamplight secure in the knowledge that there are no more distractions lurking to draw your attention away from the Enclave… well, mostly.
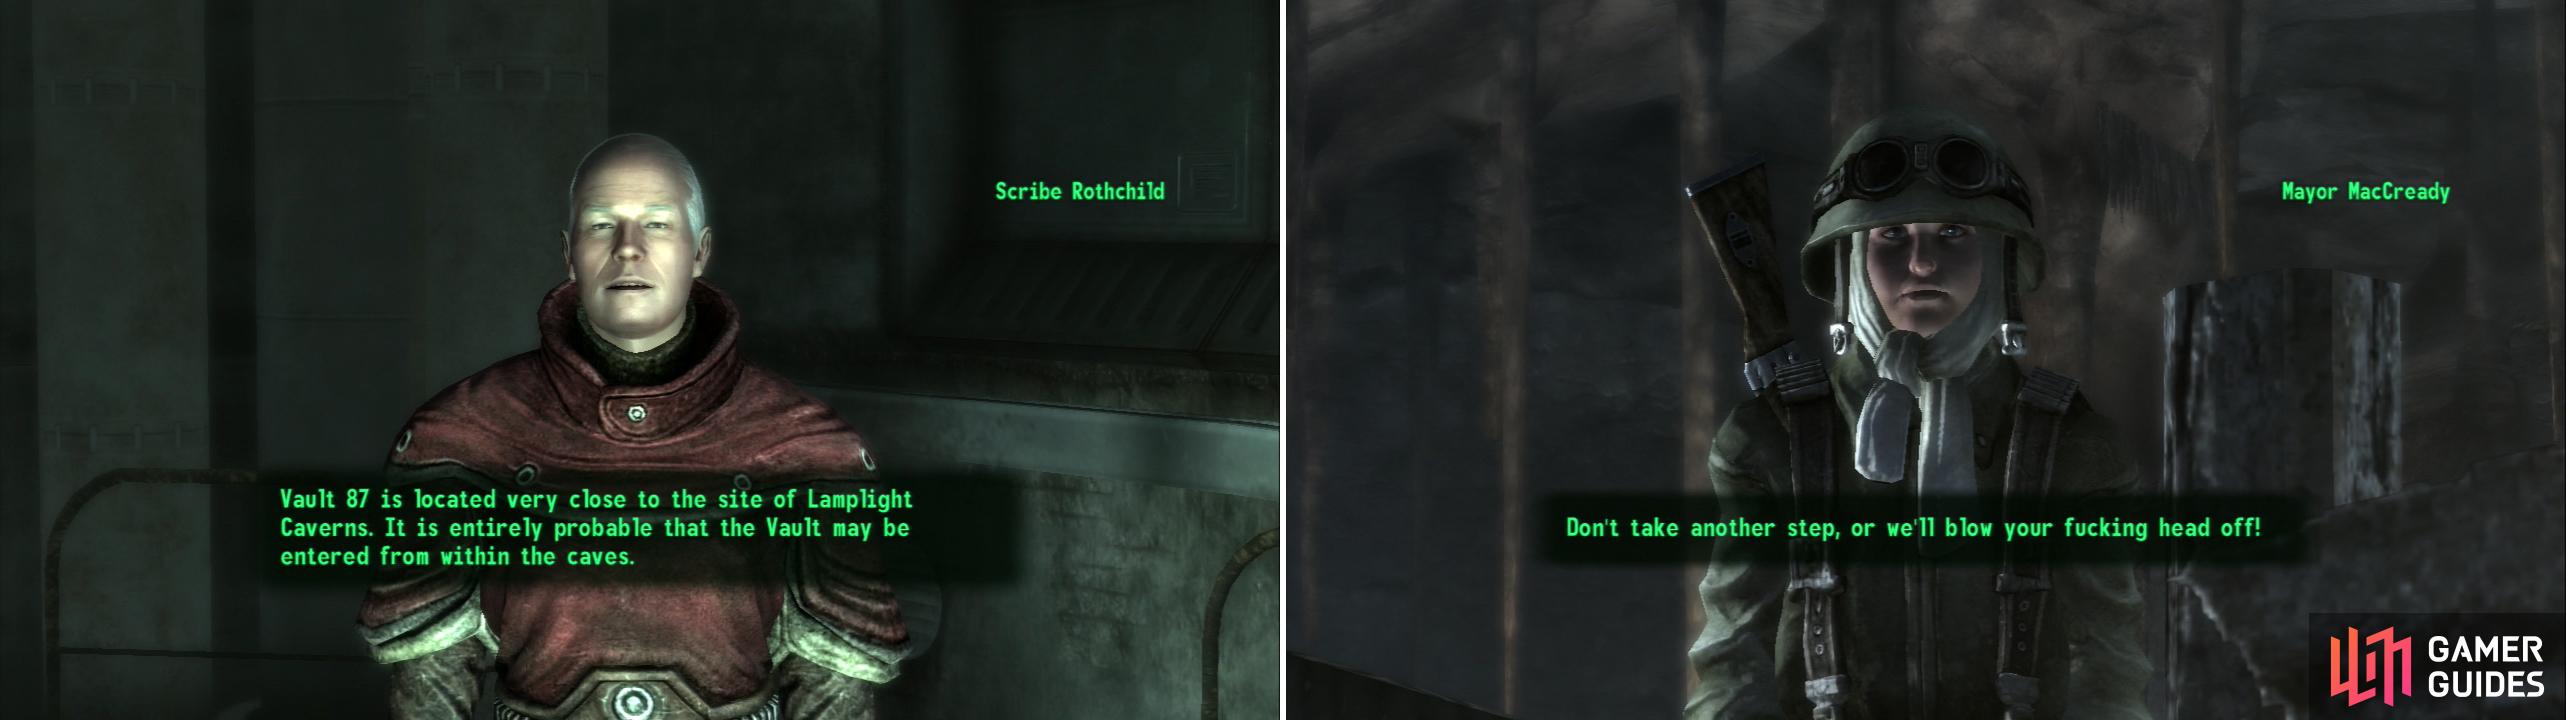
Scribe Rothchild will point you towards the Lamplight Caverns, through which we might reach Vault 87 (left). but Little Lamplight isn’t unnoccupied-you’ll have to deal with Mayor MacCready to gain access (right).
1) Meeting with MacCready
We’ve been here before, remember? It was during our first epic Bobblehead hunt. Okay, we never went inside, but we should have at least discovered the map marker by now. You’ll find Little Lamplight along the far western edge of the map, north of the Yao Guai Tunnels. Go inside and when you come to a barricade you’ll be harassed by one Mayor MacCready, who is a bit of an ass. Either succeed at a Speech check (which by now should be cheese) or tell MacCready that you saved the kids from Paradise Falls to gain access. Go on in and talk to MacCready about Vault 87, who will tell you that a cheery place called “Murder Pass” is the only route since some computer was broken. Get him to open it for you-by now we have little to fear from any “Murder Pass”. Alternatively, we can also go find some kid named Joseph and see if we can’t get the back door open, hence bypassing “Murder Pass”.
2) Escorting Stick
Just west of the entrance gate you’ll see a boy named Sticky getting exiled for getting too old and becoming a mungo. Talk to him and he’ll try to solicit an escort to Big Town from you. He’ll give you a Party Hat if you asked why he was wearing it, for what that’s worth. You won’t get anything for helping him out, but it’s only a fast-travel away if you feel like doing it anyways.
3) Bumble’s Boogeyman
From the entrance gate head east, north-east to find the “Little Lamplight Office Building”, in this building-which doubles as the schoolhouse and hospital you can typically find Lucy, who will heal you up. There are also two notes in the medical room ‘Journal of Carrie Delaney, Entry 1“ and “Journal of Carrie Delaney, Entry 2”. You can also find Bumble, a clumsy girl you can convince to come outside with you for wonderful enslavement purposes, should you succeed at a Speech challenge. Lure her outside and watch the Slaver Eulogy sent over go to work. You’ll lose karma, of course, and if you go check up on Eulogy, you’ll get the Boogeyman’s Hood .
4) Unsavory Trades for Unsavory Treats
Return to the entrance gate again and head down a tunnel to the north, then west, stopping when you reach a fork with some wooden signs. If you follow the path to the south-west (signs pointing here indicate “Spelunkers” and “Great Chamber”) you’ll reach a chamber with several pools of suspicious-looking water in it. Here you can find Eclair (as well as a rotation of most of the Little Lamplighters). Talk to Eclair and ask about where the fungus comes from, then talk to MacCready again and either succeed at a Speech challenge to get yourself ten pieces of Cave Fungus (and lose some karma) or succeed at a Barter check to bring MacCready two pieces of Strange Meat or Buffout for some Cave Fungus. If you run into Zip you can trade some Nuka-Cola for Mutfruit. That’s right, trade an expensive item that can be used to make powerful grenades for useless fruit. Pass. If you run into Knock-Knock you can tell her a story about your life so far.
5) Souvenir Shop
Schematic - Bottlecap Mine
Continuing west will lead us to the Great Chamber… which we’ll get to, eventually. Instead backtrack back up to the north-east and return to the fork, this time exploring the western branch (the sign pointing in this direction reads “Souvenirs”). Follow the winding path a short distance until you find two structures-one elevated, one on ground-level. The ground level restrooms are pretty boring, so visit the elevated Souvenir Shop, instead. From Knick-Knack (the proprietor) you can buy the Schematic - Bottlecap Mine . This should be our last Schematic in the game. Huzzah. If you haven’t yet, be sure to craft one of each Schematic weapon to score a trophy/achievement.


6) Picking on Princess
To the west lies another entrance to the Great Chamber, while to the north you’ll find the (now-opened) gate to Murder Pass. You should find Princess by the gate to Murder Pass, and you can get Sammy to tell you why she’s named Princess with a Speech check. Once you’ve started in on her, you can make a [Charisma] check to tell her she has no friends and lose some karma. Because we’re petty like that. We can now go off to Murder Pass-but first lets check out the Great Chamber.
7) The Back Door
Wandering somewhere around here you’ll find Joseph, the teacher of Little Lamplight-and a barber. Ask him about the route to Vault 87 and he’ll tell you that the computer that opens the door to Vault 87 is broken. Ask him to turn the terminal back on, and he’ll do so. Now you just need to succeed at hacking the terminal [Average] to get access to Vault 87. Well, that wasn’t so bad, right?
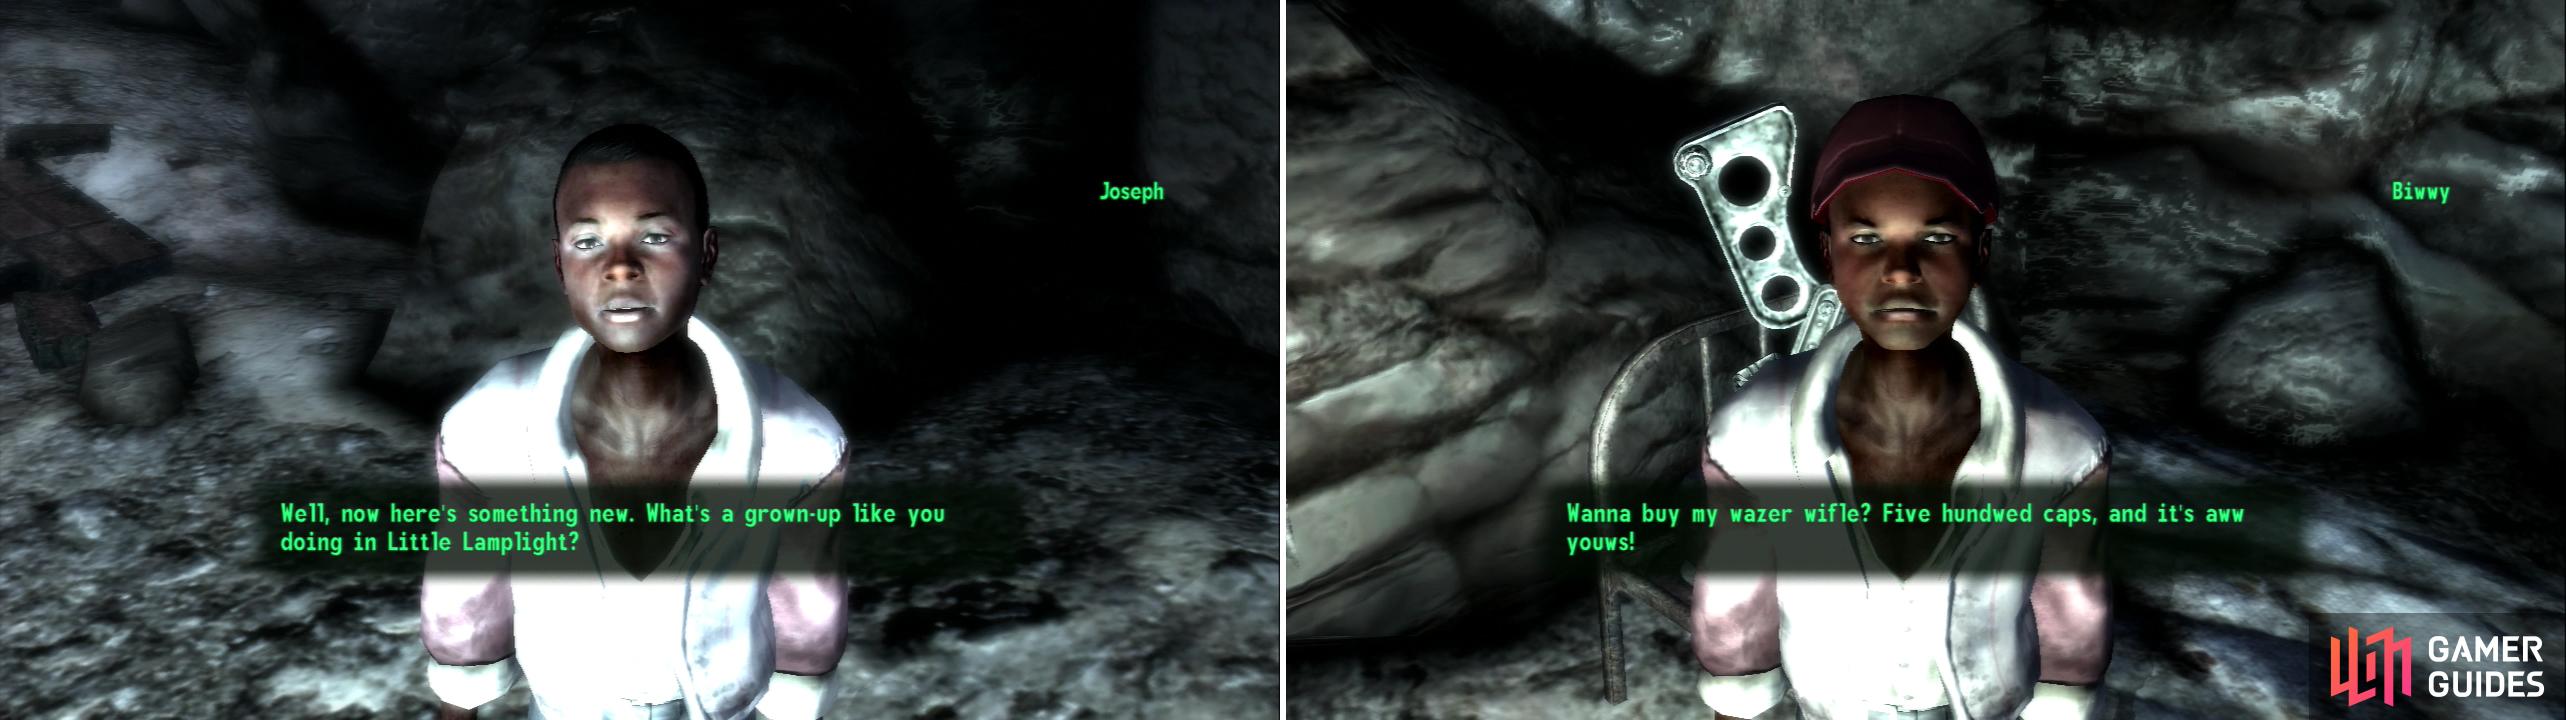
Jaseph will turn on a terminal that can give you access to Vault 87 (left), while Biwwy wiww seww you his Wazer Wifle (right).
8) Biwwy’s Wazer Wifle
Before we head on out, there’s a few more things to do. You can find the note “January 26, 2077 – Little Lamplight!” on a pool table. There’s also Biwwy, who will offer to sell you his Wazer Wifle for 500 Caps. You can talk him down to 250 Caps with a successful Barter check. Now we’re free to go to Vault 87. We can get into the Vault via The Great Chamber, but it’s more rewarding to go through Murder Pass.
9) Murder Pass
Book - U.S. Army: 30 Handy Flamethrower Recipes
From the entrance head north, then when you reach a fork a short distance on, turn west. You’ll see a bridge in the distance with a tripwire trap in front of it. Disarm the trap then head across the bridge, killing whatever Super Mutants you find along the way. Continue down a slope to the west until you find a small round table, on top of which is are two first aid boxes and a copy of U.S. Army: 30 Handy Flamethrower Recipes . There are also two ammo boxes nearby.
10) Tales on Top of a Toilet
Book - Tales of a Junktown Jerky Vendor
Go back to where you entered the level and follow the north fork until you come to a large chamber. Head past some barricades and turn east to find a shack. Around the eastern side of the shack you’ll find the entrance to the shack, for one, but more importantly a wooden ramp leads to a make-shift bathroom. On top of the toilet tank you’ll find a copy of Tales of a Junktown Jerky Vendor .
11) Murderin’ More Mutants in Murder Pass
From the shack head north over a collapsed fence, then turn west, north-west, then into a tunnel to the north. Follow this tunnel until you reach another fork. There’s a sign that reads “KEEP OUT NOT PART OF TOUR” near some sandbags. If you head north you’ll set out on a path that leads to Vaul 87, but first considering exploring down to the path to the south-west, which will take us to the northern end of the large chamber we were in earlier, which we passed through on our way to grabbing a copy of U.S. Army: 30 Handy Flamethrower Recipes . There are Super Mutants to kill and first aid boxes and ammo boxes to loot.
12) To Vault 87
Return to the fork and explore the north-western path now, pass the sand bags and onward to Vault 87. Continue northish until you reach a fork. The western path is a dead-end with a trip-wire rigged to a dead Brahmin corpse, so take the eastern path. Keep going until you spot a fence with a hole in it. There’s another trip-wire in front of a dirt ramp which you can either avoid or disarm. Pass through the fence and head down a tunnel to the east, turning north when you much until you find a vault door.
13) Looting the Vault Room
In the small room beyond you can score a first aid box, three ammo boxes, a Nuka-Cola Quantum, and a Stealth Boy on a shelf. There’s also a pressure plate rigged to a Grenade Bouquet near a desk in the room. Go through a door to the north and continue on until you reach a door leading to the Reactor Chamber. Once you enter the quest “Picking Up the Trail” ends and “Finding the Garden of Eden” begins.
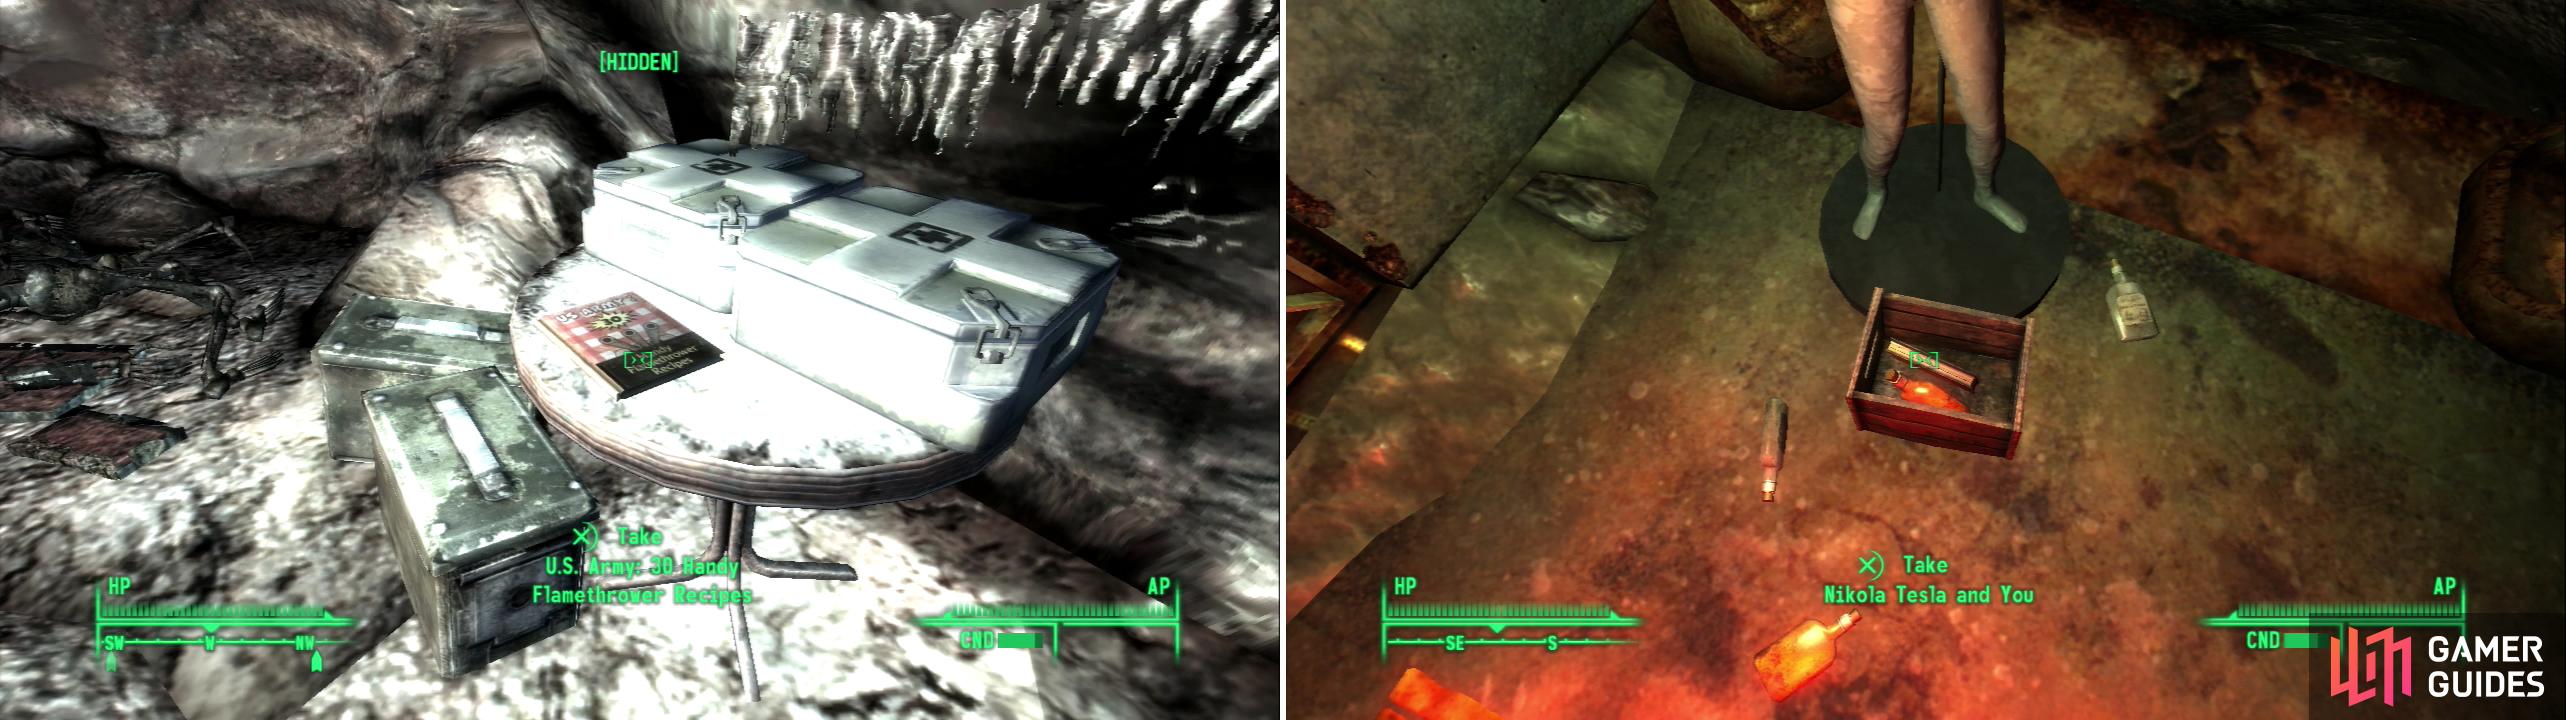
Despite the existence of a back door into Vault 87, there’s plenty of incentive to go through Murder Pass (left). Be sure to grab the copy of Nikola Tesla and You this mannequin is guarding (right).
14) Reactor Chamber
Book - Nikola Tesla and You
Make your way up a path heading north, then west, then north again to reach another metal door. Enter the vault and continue north a short distance until you reach a fork. Turn west and head some stairs, then continue west until you reach a fork. Turn south and go through a door, wherein you’ll find a mannequin with a wooden crate in front of it, which in turn contains some Whiskey and a copy of Nikola Tesla and You. Leave this room and go through another door to the north, past a rude metal barrel and into a room where a safe [Average] and a “Peter Stevens Personal Journals” terminal on a nearby table. If you continue to the north you’ll find the exit out to The Great Chamber, as well as some Makeshift Bedding. You might need the healing.
15) To the Living Quarters
Backtrack to the south and return up the stairs to the east. When you reach the fork at the top of the stairs turn north and head down the unexplored tunnel in that direction, which leads to a Radroach occupied room. A Super Mutant will probably barge in on you at some point, but it’s nothing a few bullets can’t fix. Go through a doorway to the north and continue down a tunnel, turning west when you must and heading up some stairs and into a small reactor room. Dispatch some Super Mutants and go through another doorway to the south and up some stairs to reach the Living Quarters of Vault 87.
No Comments