
1) Living Quarters
Head east up two flights of stairs until you reach the large two-storied atrium room, a typical feature of almost every vault we’ve found so far. There are numerous rooms around here with some minor loot inside-the most lucrative is to the west, where you can find some ammo boxes, first aid boxes, and Frag Grenades on some metal shelves. Where you really want to go is through a door to the east, however (this door is north of the one through which you entered the rom). Go east, then turn around a corner and up some stairs to reach the second level of the vault.
2) Through the Atrium
On your left you’ll find a locked door [Very Hard]. Of course we can pick it by now, but there’s really no point-we can just walk around. There are also some doors along the northern side of the hall, and they contain a bit of loot, but nothing to get excited about. Go through one of the doors on the southern side of the hall to reach the upper atrium, which is populated by some leveled Super Mutants. Make them dead, cross the atrium, and head through one of the two doors to the south.
3) The Final Skill Book
Book - Pugilism Illustrated
Head east down a hallway, turn south down some stairs, then turn west and into a room, slaying Super Mutants as you go. In this room you’ll find an “Engineering Section” terminal, and a wall safe [Hard] nearby. Along the western wall are some metal shelves and lockers that can be looted, and Makeshift Bedding, should you have any boo-boos that need healing. Return upstairs to the north and head down the hallways to the west until you find a locked door [Average] to the south, beyond which is a supply room containing a locked safe [Average] and a copy of Pugilism Illustrated and a Nuka-Cola Quantum on a shelf. This is, in fact, the final book we’ll pick up in the entire game. At least, if you’ve been following the guide.
4) To the Test Labs
Go west up some stairs, bypassing a radiation-filled dead-end tunnel to the south, instead continuing north around one corner, then east around another, then into a room to the south. Here you’ll find more Super Mutants and a terminal [Average] that you can use to open a locked safe [Average], where you can grab some medical supplies. Loot and leave, continuing to the east until you reach a fork. If you head some some stairs to the north you’ll just hit a dead-end, so head south, go through a doorway to the east, and head up two flights of stairs to find the door to the Test Labs.
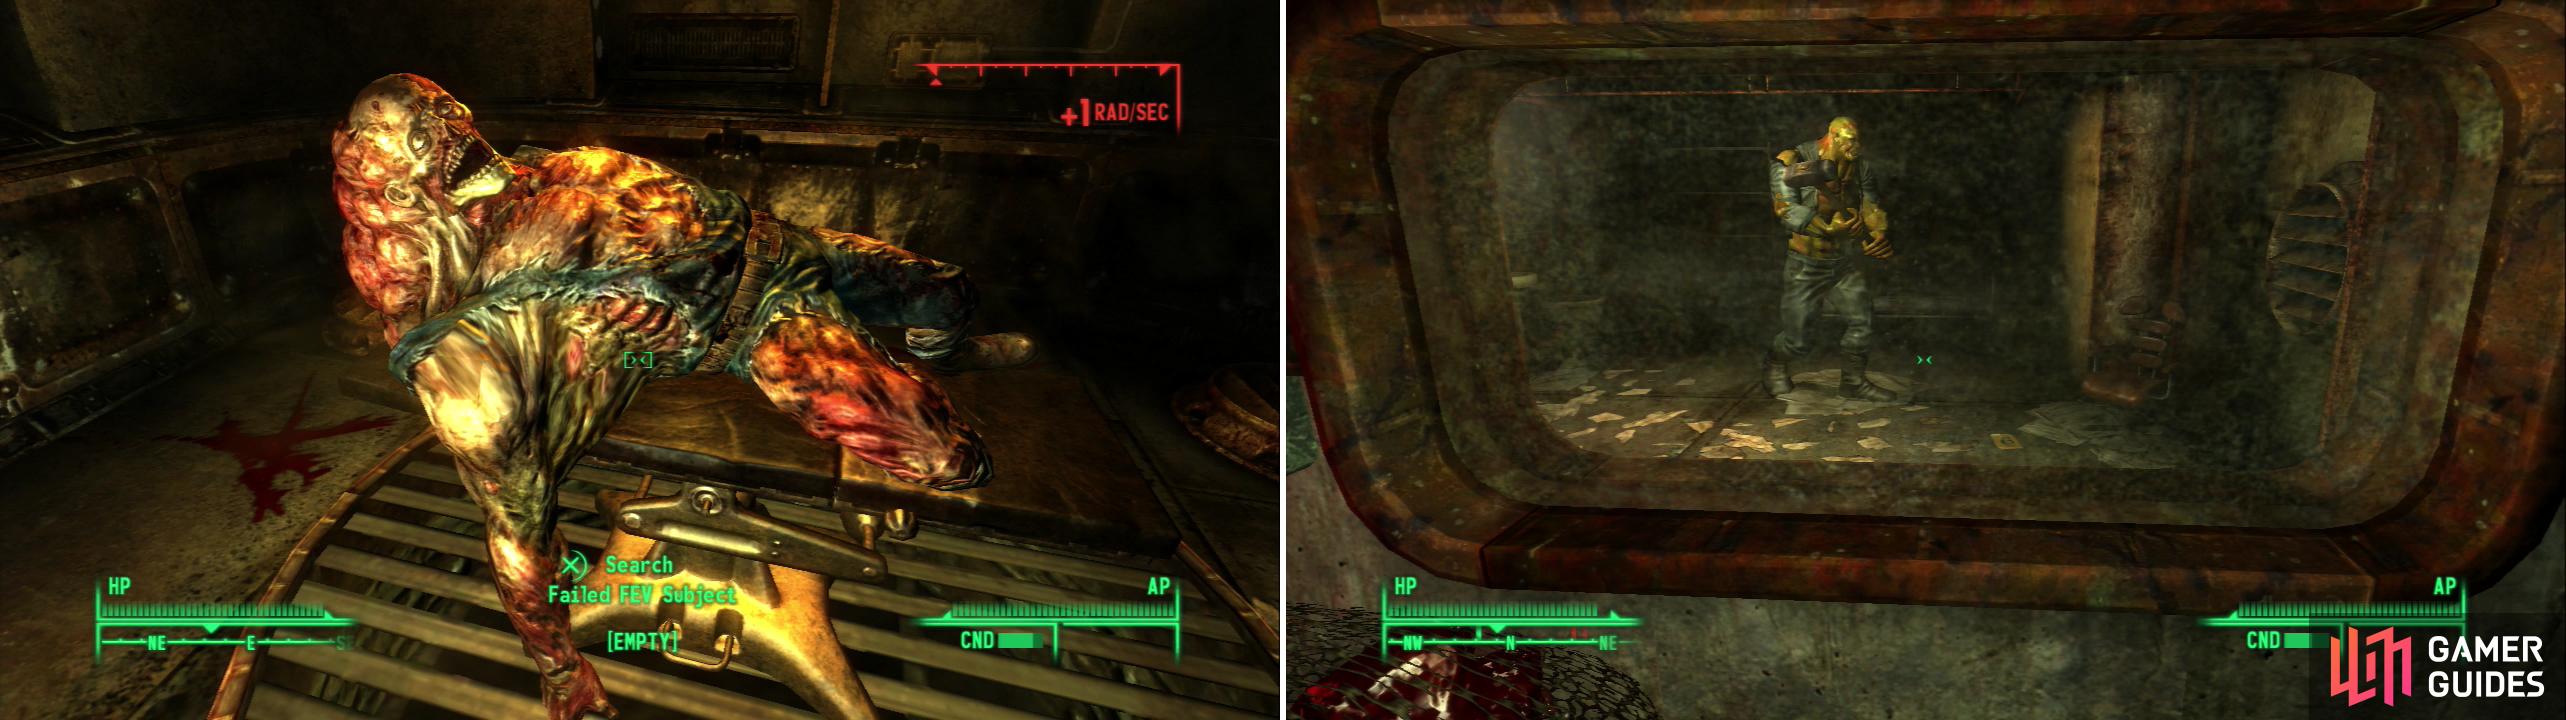
As hideous as Super Mutants are, failed F.E.V. mutations are even more wretched (left). Fawkes is one of the few sane Super Mutants you’ll find (right), and the Super Mutant’s inherent immunity to radiation might just come in handy…
5) The Price of Failure
In the room to your right you can find a safe [Easy] and an ammo box [Hard], as well as some unlocked metal boxes and an ammo box. Loot and leave, continuing south past Test Chamber 01, which contains a failed FEV Test Subject. In this case “failed’ means “dead”. When you reach the end of the hallway turn west and continue past Test Chamber 02 and 03, then turn north. After you pass Test Chamber 04 go into the room on your right to score some chems. You can also consult the “Chief Physician’s Terminal”, for what that’s worth.
6) Finding Fawkes
Leave the room and continue north until you come to a fork. Turn west and activate an intercom to talk to a Super Mutant locked in a room. Meet Fawkes, who will tell you where the G.E.C.K. is and how to reach it. That’s the good news. The bad news? You’re not a Ghoul or Super Mutant, both of which are resistant to the effects of radiation, so getting the G.E.C.K. ourselves is going to be tough (well… not really, but for story purposes, pretend it is!) Fawkes’ offer is simple-you offer freedom, Fawkes’ll fetch the G.E.C.K. You can do this simply by hacking the terminal [Hard] near the cell door. There’s an alternative solution as well, if that’s too hard for you, which is simply doing what Fawkes suggests…
7) Scoring Radiation Supplies
Before we do that, however, let’s explore the rest of this place. Baby-sitting an NPC is tedious, even one as big as Fawkes, and it’ll be easier to search the place without a Super Mutant tromping around behind us. From Fawke’s room head west down a tunnel, turning south up some stairs, then going west again into a room occupied by some leveled Super Mutants. Kill them and continue west through a tunnel and into a room with two doors-one to the west, and one to the north. Since the door to the west is sealed, go through the door to the north, up some stairs, and around a corner to the east. If you continue east you’ll find a locked door [Hard], beyond which is a health cache of radiation supplies, including an Advanced Radiation Suit, some Rad-X, RadAway. You can also score a safe [Average], some lockers, and a Laser Pistol on a Table.
8) Where No Human Should Tread
Head back out into the hallway and through a doorway to the north. Pass through a room where the only noteworthy thing inside is a “Lab Technician Terminal” [Average] (which opens the radiation storage room to the south) and through one of two doors to the north. Kill any Super Mutant stragglers and continue north, then turn east, go through a doorway, clear the room beyond, and go through another door to the east. Keep going east, then go through a doorway to the south and through a series of rooms. There’s some minor loot to score along the way-some lockers, and a first aid box in the third (southern-most) room, for example. Along the western side of the southern-most room is a “Chamber Terminal”.
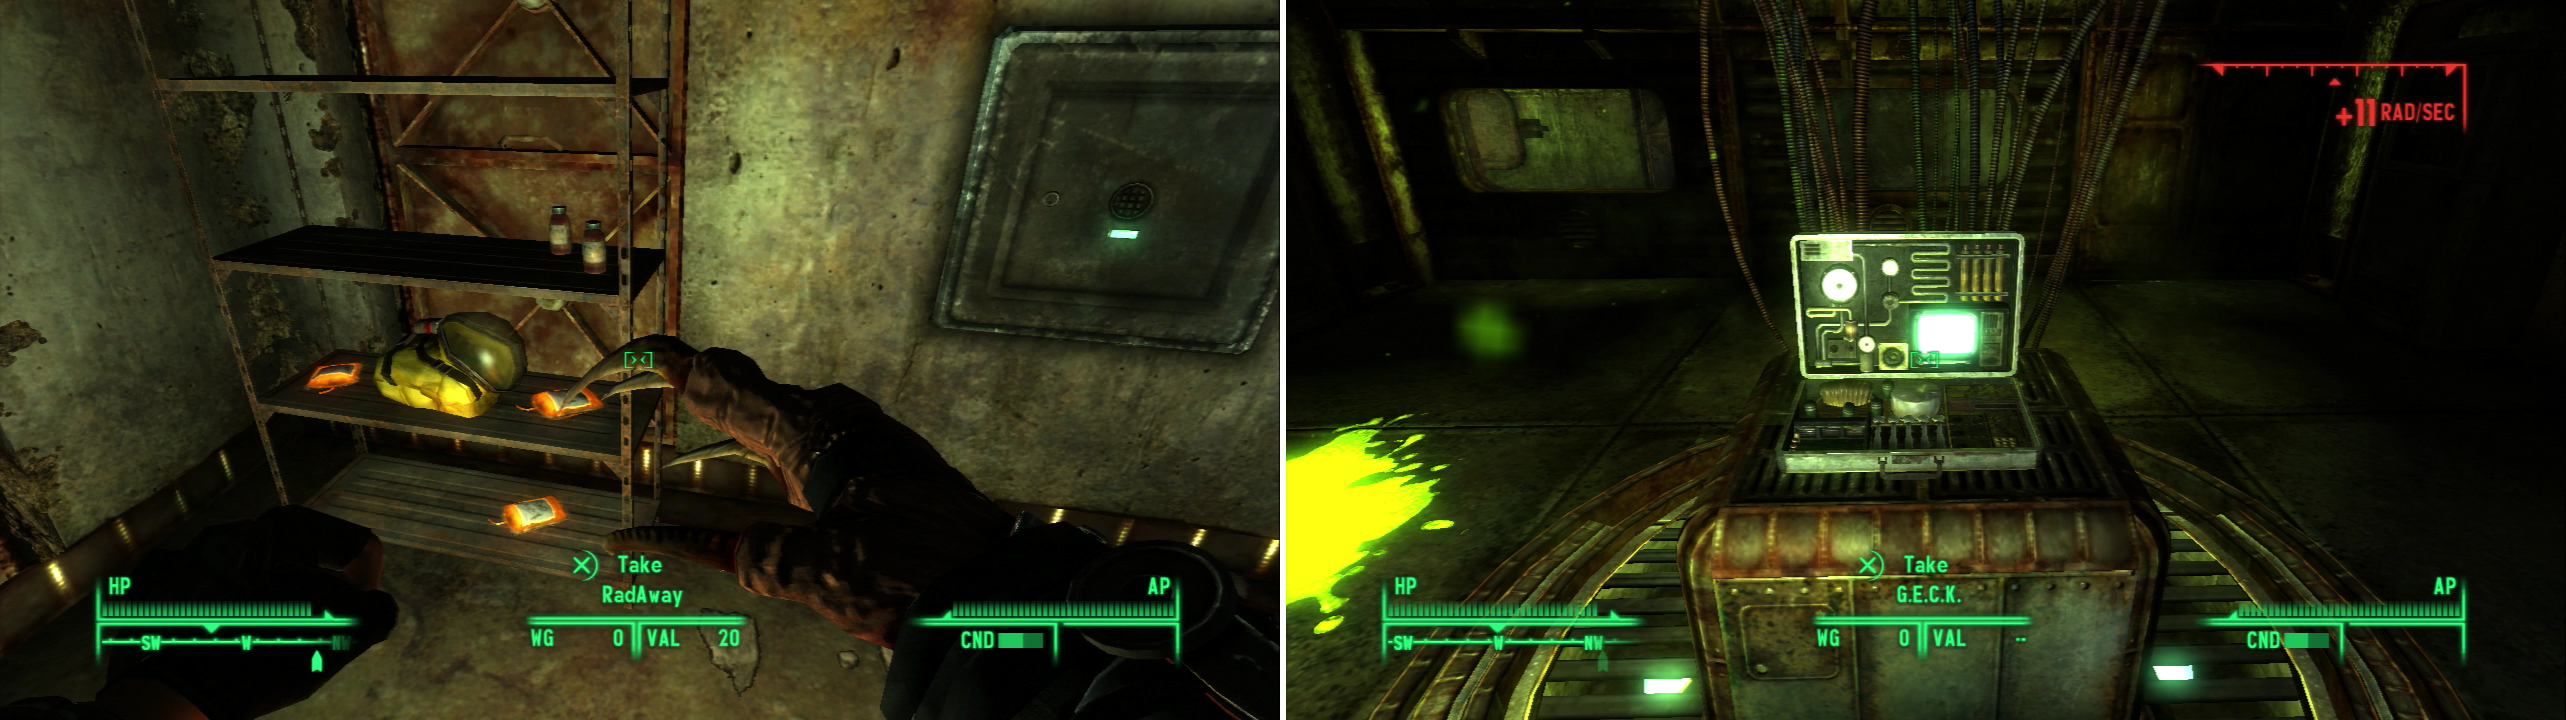
If you plan to grab the G.E.C.K. yourself, a little protection (or a lot) will be in order (left). Make your way through the irradiated halls around the G.E.C.K. to claim your prize (right).
9) Grabbing the G.E.C.K.
The door nearby leads to the G.E.C.K., but the hallways beyond are highly irradiated. If you put the Advanced Radiation Suit on (and perhaps pop a Rad-X to bring your radiation resistance to 85%-the maximum value) you can make it to the G.E.C.K. Head north through the doorway, then turn east, then north again until you find a door to the west. You’ll be collecting around 20 Rads per second on average, but you should be able to make it to a cylinder marked as the “GECK Container”. Activate it and, after an unwelcome animation, you’ll finally be able to access the G.E.C.K. Grab it and head out of the fire. You’ll probably need to pop a few RadAway to stay alive during this process, but… it’s a small price to pay. Or you can just go help Fawkes, which has its own rewards.
10) Freeing Fawkes
Return to where Fawkes was, and from his cell head down the hallway to the east, then turn north and bypass the Isolation Rooms until you reach the end of the hallway, then take a right and head into a maintenence room. Kill the Super Mutants within, then either hack the “Medical Wing Maintence Terminal” [Average] to selectively open the Isolation Rooms (you want to open Isolation Room 05 to free Fawkes). Or you could activate the Fire Control Console to open them all, which also frees some unwanted guests, and a deranged man named Sid. You can also hack ead Isolation Room terminal and choose the “Terminate Specimen” option… but if you could do that, why not just free Fawkes the same way?

If you free Fawkes, you can send the Super Mutant to recover the G.E.C.K. for you (left). Unfortunately, the Enclave was waiting for you to do all the dirty work so they can claim the G.E.C.K. (right).
11) Fetch, Fawkes!
Return to Fawke’s cell, where Fawkes will talk to you, and, perhaps unexpectedly, actually keep their promise to help you out. Talk to Fawkes some more to learn a bit about the Super Mutant. If you’re a super-greedy loot collector, pick the option “Let’s trade equipment” and snatch Fawke’s Super Sledge . Whatever the intensity of your greed, follow Fawkes to the G.E.C.K.-the way should be cleared by now. Fawkes will walk through the fire for you and deliver the G.E.C.K., as promised. Despite Fawke’s warning, however, no “lesser-minded brethren” intrude on us while Fawkes is away-they’re all too dead. Take your prize and go to leave the vault. All goes good and well until… well, you’ll see.
No Comments