
1) Reclining Groves Resort Home
Book - Chinese Army: Spec. Ops. Training Manual
Book - Tales of a Junktown Jerky Vendor
Book - U.S. Army: 30 Handy Flamethrower Recipes
East of the Reclining Groves Resort Homes you can find a barn (later in the game this is perilously close to an Enclave camp.) On the second floor of this barn is a personal footlocker [Very Hard] inside of which you can find a copy of Chinese Army: Spec. Ops. Training Manual . Just west of this barn is a ruined house with a copy of Tales of a Junktown Jerky Vendor on a bookshelf. Still not good enough for you? Head back to the barn and go up a hill to the north-east, where a number of Bloatflys are hovering about. Near a tree surrounded by Tin Cans you’ll find a copy of U.S. Army: 30 Handy Flamethrower Recipes .
2) Warrens
From the Reclining Groves Resort Homes head east along the road until you find a four-way intersection… granted the north-south road is just a dirt road, but it’s there. The northern road will lead you to the barn we explored earlier, further east and you’ll see a radioactive puddle… so, go uphill to the north, instead. When that dirt path splits, head west until you find a cave door which is mostly boarded up leading to the Warrens. It’s populated with Vicious Dogs, and there’s not much to loot here, but it’s better to mention it rather than look sloppy. Near a skeleton you’ll find some Stimpaks, and at the end of the warrens you’ll find a Mercenary and a Wastelander with loot on them.
3) Montgomery County Reservoir
Backtrack to the Reclining Groves Resort Homes and follow the road west this time. Shortly you should come across a military truck and a tent. Near a barricade by the truck you’ll find four ammo boxes, two fire aid boxes, and several skeletons with some weapons near them on the back of the truck itself. From here head north, north-west until you find the Montgomery County Reservoir, home to a number of Raiders. Beyond that, there’s a barn to the-north west with some ammo boxes on the top floor, a silo with a first aid box, and a shack with some more ammo boxes.
4) Broadcast Tower LP8
Book - Big Book of Science
From the Montgomery County Reservoir head north-east until you find Broadcast Tower LP8. You know the drill, flip the electrical switch to get the Radio Signal Echo Foxtrot. Head over a cliff to the north-east to find a sewer entrance to a sealed cistern. Inside you only have to go a short ways to find your loot, which includes some Purified Water, a Big Book of Science , and some food… somebody liked Salisbury Steaks! Pick the locked safe [Easy] for some more loot.
5) Clifftop Shacks
Before we go to Oasis, lets explore one last area in the northern part of the map. Head north, north-east around the “mountains” to find a Super Mutant camp marked as the Clifftop Shacks. Kill the Super Mutants, free a prisoner, loot gore bags, the typical stuff. There are now two abandoned shacks to explore, one to the north and one to the south. Is anybody else getting deja’vu?
6) The Southern Shack
Book - Pugilism Illustrated
In the southern shack you’ll find a Super Mutant ready to do some dastardly things to a Wasteland Captive. Kill it and free the captive if you wish. There is a copy of Pugilism Illustrated on a shelf and a locked safe [Average] with more loot inside. On the floor you’ll also find the unique Nail Board, Board of Education . Har har.
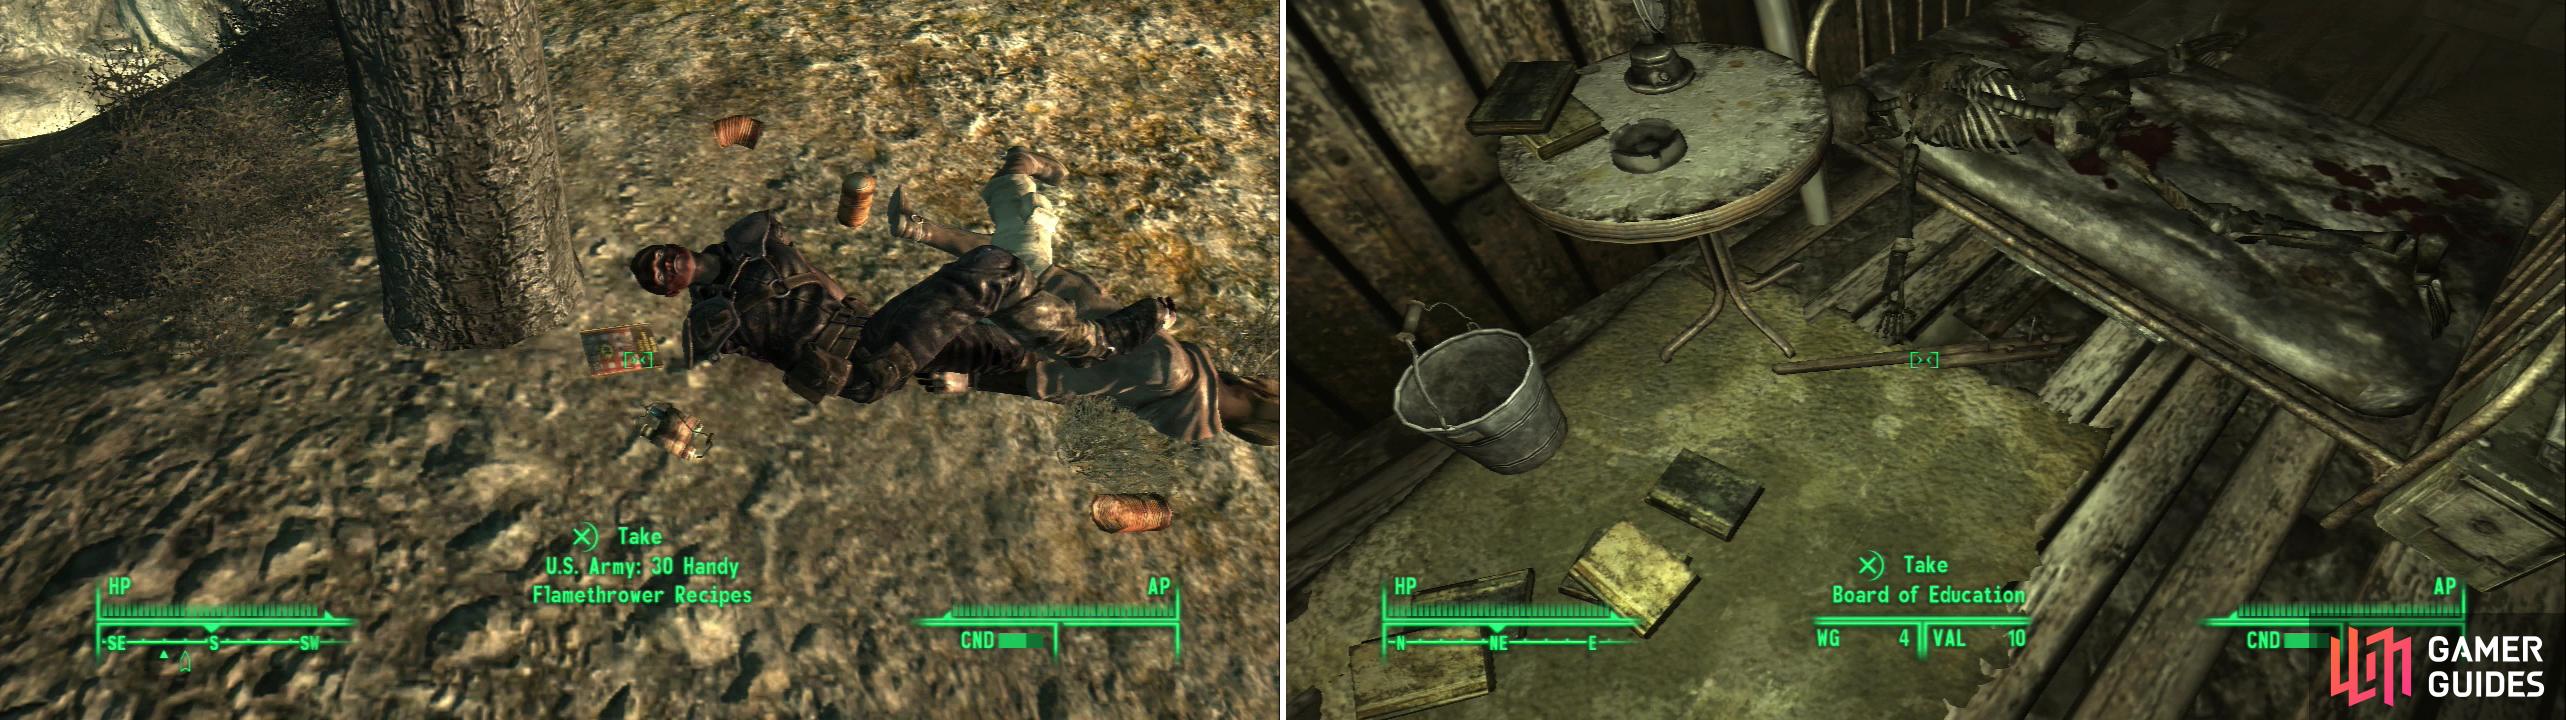
Amongst discarded Tin Cans and a tastefully placed corpse, you’ll find a copy of U.S. Army: 30 Handy Flamethrower Recipes (left). The Board of Education will teach your enemies a thing or two! (right)
7) The Northern Shack
Book - Grognak the Barbarian
The northern shack is less busy. Grab the Pre-War Book off the table by the bed, loot the ammo box at the foot of the bed, grab the unique Nail Board, Board of Education , on the floor by the bed, and open the locked safe [Average] under the bed. On a metal shelf you’ll find a copy of Grognak the Barbarian on top of a Small Ruined Book.
8) Oasis, Ho!
Oasis is to the west… but it’s pretty much in its own self-contained “island” of rock. There’s a narrow path leading up to the entrance, and the only way to reach Oasis is by approaching from the east. You can go west across a bridge, then down the face of a cliff and around the rock ‘island’ that is Oasis if you wish. You’ll know you are on the right track when you start seeing grass… or moss… whatever, it’s green and NOT glowing.
9) Oasis
When you arrive, some old man named Tree Father Birch will approach and ask you to come meet ‘Him’. Oh boy. He’ll tell you about the Treeminders and ask you to follow him into Oasis. Outside you can find Branchtender Maple, who doesn’t have anything intersting to say. Follow Birch, and when he reaches his destination he’ll speak to you. Long story short, “He” wishes to meet you, and you need to drink some sap in order to be purified in order to meet “Him”. You’ll get an extra dialogue option if you have the “Life Giver” perk, but it doesn’t result in any unique responses from Birth. Anywho, activate the “Basin of Purification” to continue on with this nonesense. They’ll speak some foolishness and you’ll wake up in another area.
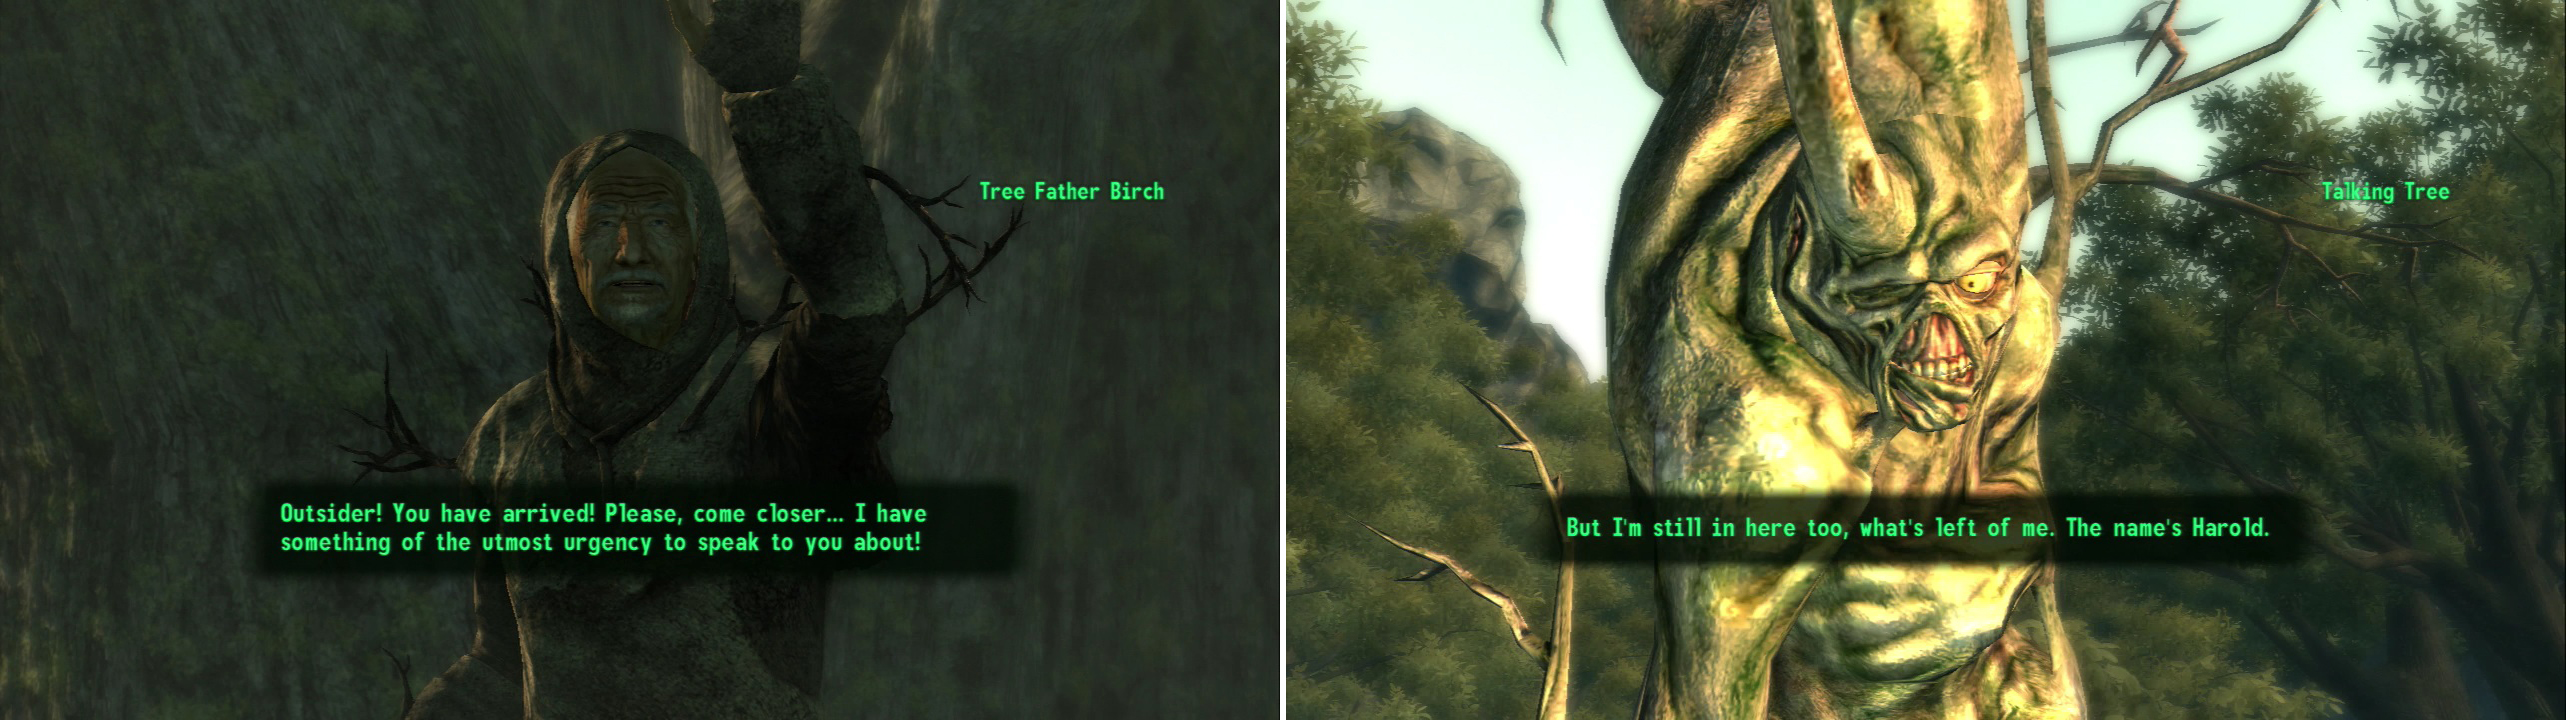
As you approach Oasis, you’ll be summoned by the leader of the Treeminders (left). After a ritual, you’ll wake up in the grove, where you’ll meet the Treeminder’s object of affection (right).
10) The Grove
There’s really only one thing to do here, head south east and talk to the Talking Tree. It’s our good friend Harold, from the previous Fallout titles. He’s looking a little bushed, though. Something must have sapped his strength. It’s good he managed to branch out from California and spread roots in the D.C. area. He’s really turning over a new leaf. He’ll tell you that Herbert… or rather Bob (his tree-friend from Fallout 2) has grown, and apparently taken Harold for the ride. Harold is a font of information and nostalgia from the previous titles, although it’s all extenous now. Keep talking to him and he’ll ask you to help him by finding his heart and destroying it, thus freeing him from his immobile life surrounding by zealous hippies. Even if it weren’t Harold, nobody deserves that kind of an existence!
Instead of going down into the Oasis Caverns and finding Harold’s heart you can decide to take an easier, more practical approach to this quest. Although the best reward for this quest is obtained by doing what Harold wants, if you get a Flamer you can quite literally immolate Harold and “Bob.” This is probably one of the most wicked things you can do in this game, and it won’t earn you any friends amongst the Treeminders. You can find out about Harolds fear of fire from Sapling Yew.
11) Talking to Treeminders
Now return to Oasis and chat people up. Near the entrance to the Oasis Caverns you’ll find Birch and Laurel arguing about what Harold means. They want you to take decidedly different approaches, either limiting or accelerating the growth of Oasis by tampering with Harold’s heart. With these two optional alternatives to destroying Harold’s heart, go talk to Cypress in order to get the key to the Oasis Caverns.
12) Oasis Caverns
Head down a tunnel until you find a dead Branchtender, where you can score an Assault Rifle and some spiffy Oasis Villager Robes. This place has plenty of Mirelurks inside of it, but by now they’re easy prey for sneak attack criticals with a Combat Shotgun. The area is made even easier by the abundance of water, most of which gives a good hit point to rad rate of return. Really, the only thing you need to worry about is catching too many rads, and that’s not much of an issue, either. Continue on until you find a large room mostly filled with water. You’ll have to swim through an underwater passage to the south. Once you’re on the other side follow the linear tunnel until you find a door leading to the Sunken Chambers.
13) Sunken Chambers
Book - D.C. Journal of Internal Medicine
Head down the tunnel to the north, taking the first left you see to find a small camp, complete with a bed should you need a nap. There’s a Silenced 10mm Pistol on the table, some 10mm Rounds, a Stealth Boy, a Pre-War Book on the trunk, and a D.C. Journal of Internal Medicine in a wooden crate.
14) Spelunking
Continue following the main path until it gradually turns east past a small body of water. Under the water you can find a dead Wastelander and a dead Raider, as well as a Mini Nuke. Once you’re done spelunking continue east where the path will split. Right in front of you is a skeleton with a Chinese Assault Rifle near two ammo boxes [Easy] and [Average]. On top of the [Average] ammo box you’ll also find a Stealth Boy.
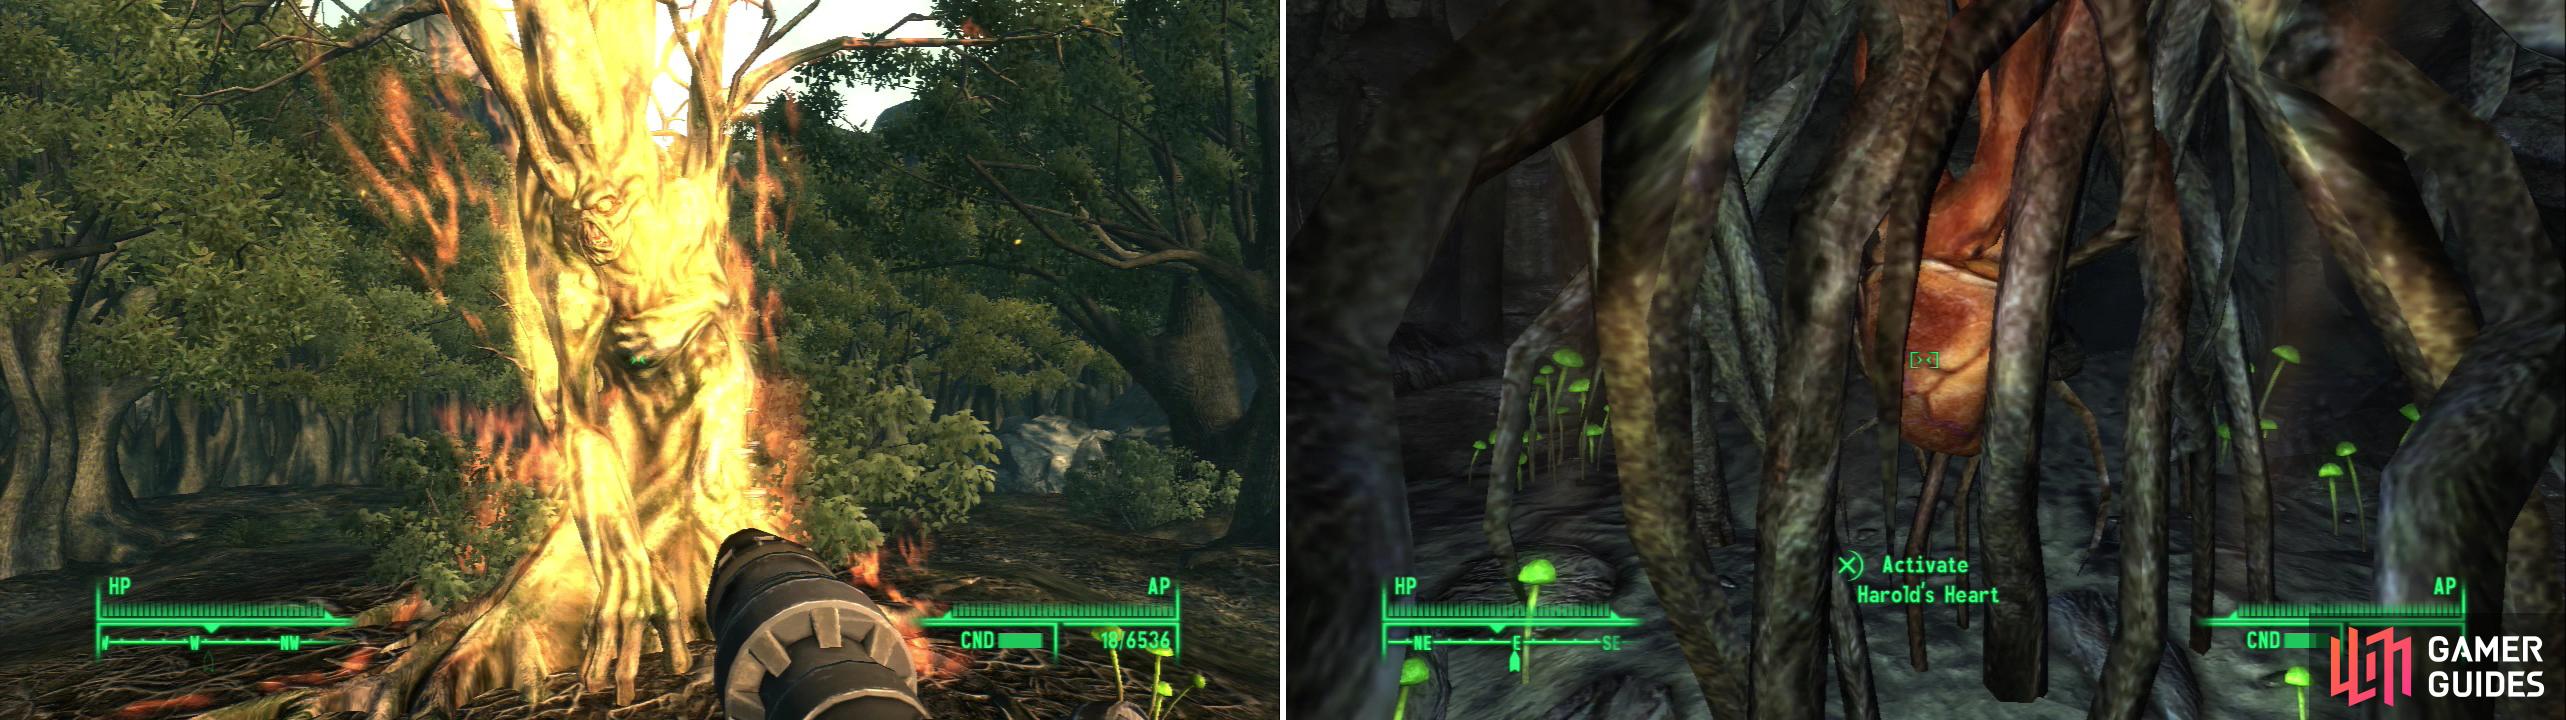
Either give Harold his release in a manner most befitting a talking piece of wood (left), or venture into the abandoned mines under Oasis to find his heart (right).
15) Harold’s Heart
Since the path to the north ends in a dead-end, head south until the tunnel splits again. Take the northern path to find another skeleton with a Missile, a Blood Pack, a Stimpak, some RadAway, and Purified Water near it, then turn back south. Go up a slope past some lambent green mushrooms to find Harold’s Heart, the humongous organ lies amidst a cascade of roots. Now to make your choice, which wasn’t covered before since the alternatives (aside from lighting Harold up) all involved making it to this location. You can choose one of the three following options upon interacting with the heart (with the rewards in parenthesis):
- Destroy Harold’s heart. Reward: Barkskin Perk, Yew’s Bear Charm
- Apply Birch’s Sap to stop Harold’s growth. Reward: Missile, Maple’s Garb , Yew’s Bear Charm
- Apply Laurel’s Liniment to accelerate Harold’s growth Reward: Linden’s Outcast Power Armor , Poplar’s Hood , Yew’s Bear Charm
Generally if you do either Birch’s or Laurel’s optional assignment you’ll get a scattering of gear from various Treeminders, as denoted by the name on the item. These items are fairly useful, but in the grand scheme of things they just aren’t as good as having the Barkskin perk. Maple’s Garb is decent for its weight, but it’s not a killer item, there are many better suits of Power Armor out there, and Poplar’s Hood is pretty much the same thing as the Shady Hat. Why get a bunch of items you probably won’t even use when you can get permanent 5% damage resistance? Once that’s done continue on until you find a door leading to the Damp Cave.
16) Damp Cave
Travel north until you find a small bit of loot overlooking a ledge, including a Paint Gun, Missile, and Leaf Blower. Drop down the edge of the cliff and obliterate any Mirelurks you find lurking in the mire. There are two bits of loot to grab down here.To the east you’ll find a skeleton near an ammo box with a Sniper Rifle, Combat Knife, Stimpak, RadAway, and two Fission Batteries nearby. To the north you’ll find another skeleton with a 10mm Pistol, some 10mm Rounds, Buffout, a Stimpak, two Nuka-Colas, a Nuka-Cola Quantum, a Conductor, and a Lunchbox nearby. Once you’ve score that loot swim underwater to the north west to find a door leading back to The Grove.
17) Resolution
Talk to either Laurel or Birch, who will be standing in front of Harold (depending on who you chose to aid.) Once you’ve talked to them the quest Oasis will end, and you can collect your loot. As long as you didn’t set Harold on fire you can grab Yew’s Bear Charm by talking to her. It’s been a long time in coming, but we’ve got our ten-point bonus to Speech .


Now it’s time to finish up all the remaining non-story quests in the game, which involves heavily exploring downtown D.C. Really though, what’s left to do? We’ve got **** “Head of State” (which we practically have done already), and “Stealing Independence” , both of which take place in the Mall. Then there’s “Agatha’s Song” , a precursor to which we’ll head to the Vault-Tec Headquarters (if for no better reason then to have a feeble excuse to explore it). Finally there’s “Reilly’s Rangers” , by far the most complicated quest left to do, during which we will take three treks, an alternate route to the Mall which will bring us out near the Lincoln Memorial and allow us to nab some more books, one to reach the Ranger Compound initially, and the other to reach The Statesman Hotel.
The route the guide will follow on each trip is listed below. There are many ways to reach each location, but these routes should allow us to cover the maximum number of areas. Once we’re done with “Reilly’s Rangers” we’ll explore the Capitol Building and Takoma Park, which will ensure that we kill (or at least encounter) all the Super Mutant Behemoths in the game.
Again, if this is too rigorous for you, or if you wish to find your own path or complete the quests in a different order, by all means. The paths the guide will follow just ensures we do as much as possible in this game while actively persuing a goal, however indirectly.
The Mall Alternate Route
Irradiated Metro → L’Enfant Plaza → Hazmat Disposal Site L5 → The Mall
Reilly’s Rangers Ranger Compound Route
Metro Central → Freedom Street → Pennslyvania. Avenue → Seward Square → Ranger Compound
Reilly’s Rangers Statesmans Hotel Route
Arlington Utility → DCTA Tunnel 014-B Potomac → Foggy Bottom → Dupont Circle → Metro Junction → Vernon Square → Our Lady of Hope Hospital
No Comments