1) Catherine’s Plea
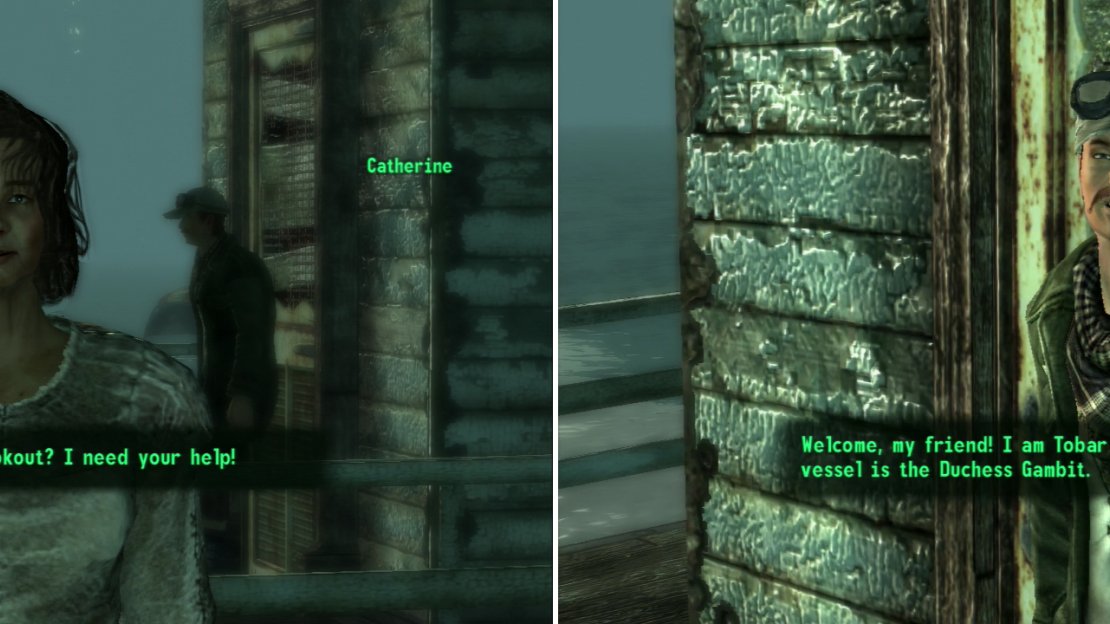
Head over to the Riverboat Landing, which should have appeared on your map once you got out of Vault 101. Remember that? Ah, memories. It’s along the shore south of the Citadel, or east of Arlington Library, if you prefer. Talk to Catherine, who should be wandering around in front of the boat… provided Mirelurks haven’t chased her off. She’ll ask you to go find her daughter, Nadine, who ran off to Point Lookout after she was bit by the adventuring bug.
Catherine’s over-adventurous daughter has gone missing, and she’s willing to appeal to any stranger for aid (left). Tobar will take you between Point Lookout and the Capital Wasteland… for a price (right0.
2) Traveling to Point Lookout
Now head across the dock onto the ferry to find Tobar the Ferryman. You can ask him about Point Lookout, Nadine, and some other topics, but what you’re here for is a trip to Point Lookout. Chances are it’ll be less grand than he pretends, but after crawling through all of D.C., how bad can it be? You’ll need to buy a ticket to cover your trip, and even at level 30 with 100 Barter it still runs 330 Caps. Of course, you should have tens of thousands of Caps by now, so it shouldn’t really even be an issue. Buy a ticket and rest on the cot on the boat and select the option “Travel to Point Lookout.”
3) Point Lookout Pier
When you arrive you’ll discover your first area in Point Lookout. Remember, find them all for a trophy or achievement! Talk to Tobar again and he’ll mention some smoke he saw on the way in. You can also get him to tell you about the House of Wares shop, the Homestead Motel, and the Coastal Grotto. The obvious pull is towards the mansion… but we’ll hold off on that bit of questage for now and just have a loot around the resort town.
4) House of Wares
Head to the north-east, looting as you please. Just keep in mind that once you fill up your inventory, you’ll need to go back to the Capital Wasteland to drop stuff off… which can get costly. Either that, or stash your accumulated loot somewhere on Point Lookout, and take it all back in bulk. You’ll probably discover Pilgrim’s Landing on the way to the House of Wares. Talk to Panada, who plays a little gypsy act for you before selling you stuff. You can pretty much buy most of the non-unique Point Lookout gear from here, so we’ll discuss the new weapons now.
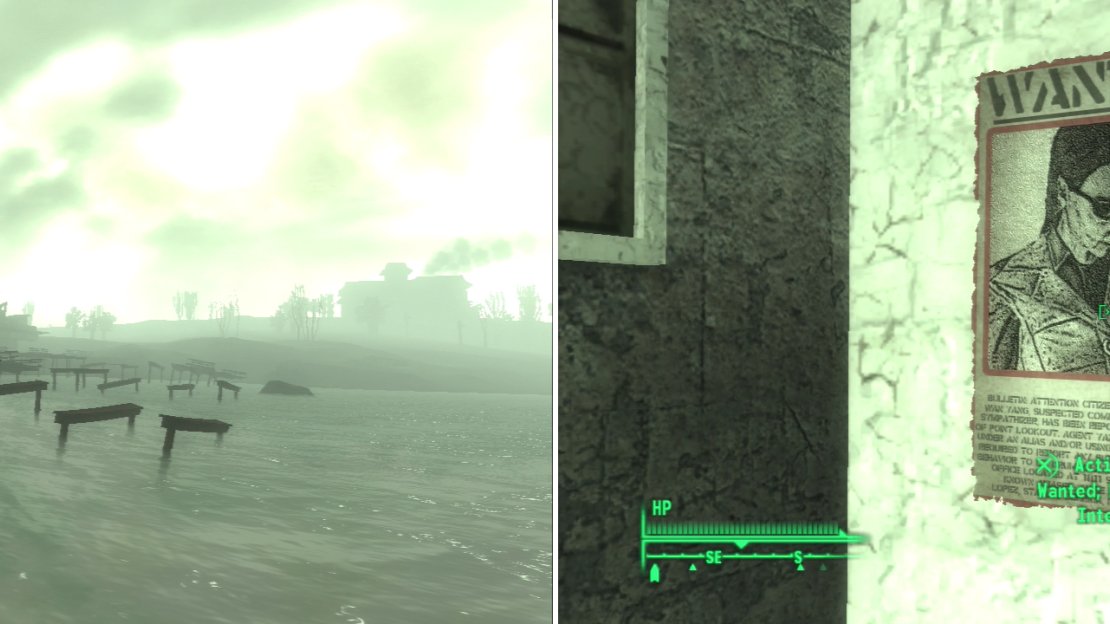
Point Lookout has seen better days, but the ominous smoke in the distance suggests that there’s still live in these marshes (left). Espionage was alive and well at the end of the war (right).
5) Wanted: Person of Interest
Head west from Panada and turn north when you run out of west. On the walls to your right you’ll find some “Wanted; Person of Interest” posters can search to get some notes added to your Pip-Boy. Continue north up some stairs to find the “People’s Bank of Point Lookout” to the right, which might be worth looting in a bit. First, however, continue north-west to discover the Homestead Motel.
6) Homestead Motel
First things first, lets head into the Homestead Motel Office, where you can find some room keys (in case you’re too lazy to pick the locks) and a locked [Average] safe in the back under a table with a televison on it. Leave the motel and head north to find the unlocked door to Room 1D. Inside you’ll find some pretty suspicious stuff, and the “Safehouse Terminal” on the table just confirms the obvious. After messing with the terminal you’ll get the note “Contact Tape” and the quest “Velvet Curtain” begins. Search the Luggage Case on the bed and take the “Locker Key”. Time for you to finish what Dr. Jiang started.
7) One Messed-Up Motel
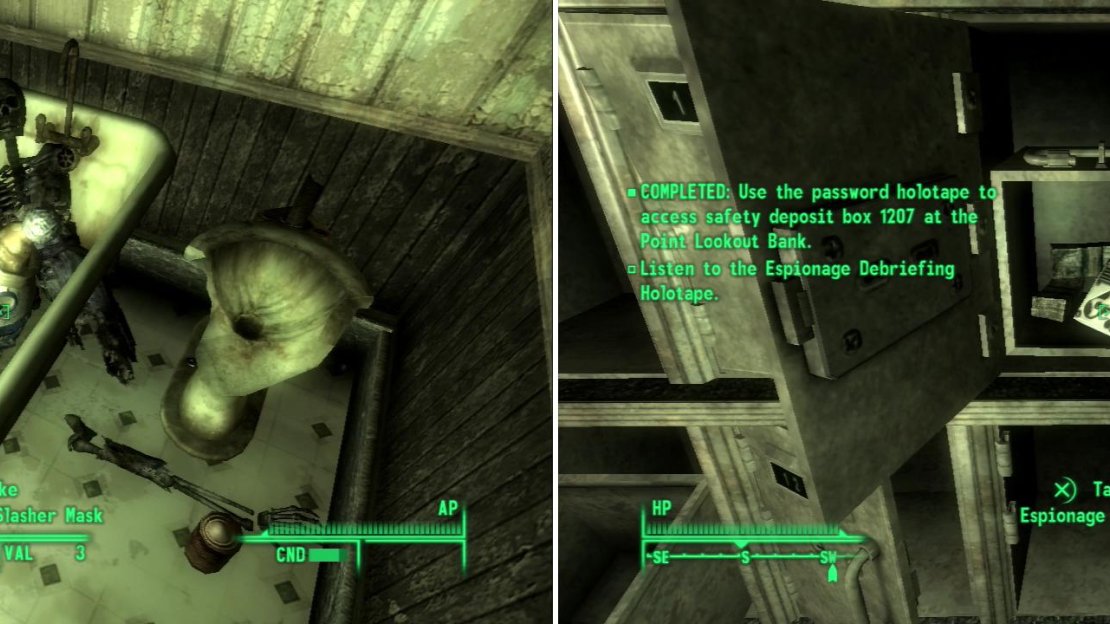
Well… eventually. Continue east to find Room 1G [Average]. Inside you’ll find the remains of a deal (or heist) gone wrong. Profit from their pain and leave. Circle around to the northern end of the motel to find Room 1K [Average]. You’ll find… wow. Nothing good happened in this room. In the bathtub in the back you’ll find the Pint-Sized Slasher mask. What a busy motel!
8) The Spy’s Password
Return south to the boardwalk and head east, where you’ll find some footlockers near the closed vendor stalls. Open one of the lockers with your motel-found key and grab the “Box 1207 - Spy’s Audio Password.” Now it’s time to head over to the bank.
The Pint-Sized Slasher was real! (left) Use your Pip-Boy to play back the “Box 1207 - Spy’s Audio Password” to open a safe (right).
9) People’s Bank of Point Lookout
Behind the counter are two safes [Average] and [Hard]. After you have looted them, search the “Loan Officer’s Desk” and grab the note “Box 1191 - Password Backup” and play it in the vault to open the corresponding box. Also play the “Box 1207 - Spy’s Audio Password” to open that box, too. You’ll get some money and drugs out of the former box, and some money and the note “Espionage Debriefing” from the latter. Listen to it and you’ll discover that Jiang was supposed to blow up a disabled surveillance vessel.. you just need to find out what happend to Agent Yang… so exit the bank, and head east into the Recruitment Station.
10) Recruitment Station
Head into the room behind the counter (to the east) and grab the Mini Nuke off the desk. Search the “DIA Officer’s Terminal” and read the “Field Report - Yang Capture/Transfer”, which will inform you that Wang has been transferred to Turtledove Detention Camp. Loot the locked safe [Average] and head out. There’s one more place of interest around town before we make the long trek to Turtledove.
11) Baby Carriages of Death
Head east and circle around the buildings to the south until you find the door leading to the Warehouse. Note the rigged baby carriage in front. There will be more of them within. Four of them, to be exact, somebody was apparently having a grand old time creating these baby carriages of death. Disarm them and loot the shelves along the western wall. You’ll find some drugs, missiles, a Mini Nuke, and plenty of Abraxo Cleaner and Tin Cans lying around.
12) Swamp Notes
Now it’s time to run to the far northern edge of the map. It’s a bit of an expedition, and there’s a lot to see and do along the way. Still, it’s better to finish this quest before bothering with some of the other Point Lookout quests. If you have the Chinese Stealth Armor , you’ll be able to sneak right past all the Swampfolk and Feral Ghoul Reavers… if not… just be prepared for some substantial resistance when you see red threat markers. Don’t let that “red-neck mutant” look fool you, they’re deadly.
13) Haley’s Hardware
Go north until you find Haley’s Hardware (north-east from The Homestead Motel). There’s plenty of loot outside of his house, as well as the note “Holotape Note” in front near the door talking about some light house lights. Inside there’s more to loot, if you feel inclined to steal anything. Talk to Haley… who obviously isn’t all right in the head. He certainly has an odd story for how he started the business. If nothing else, loot the safe [Average], as it has quite a bit of loot inside.
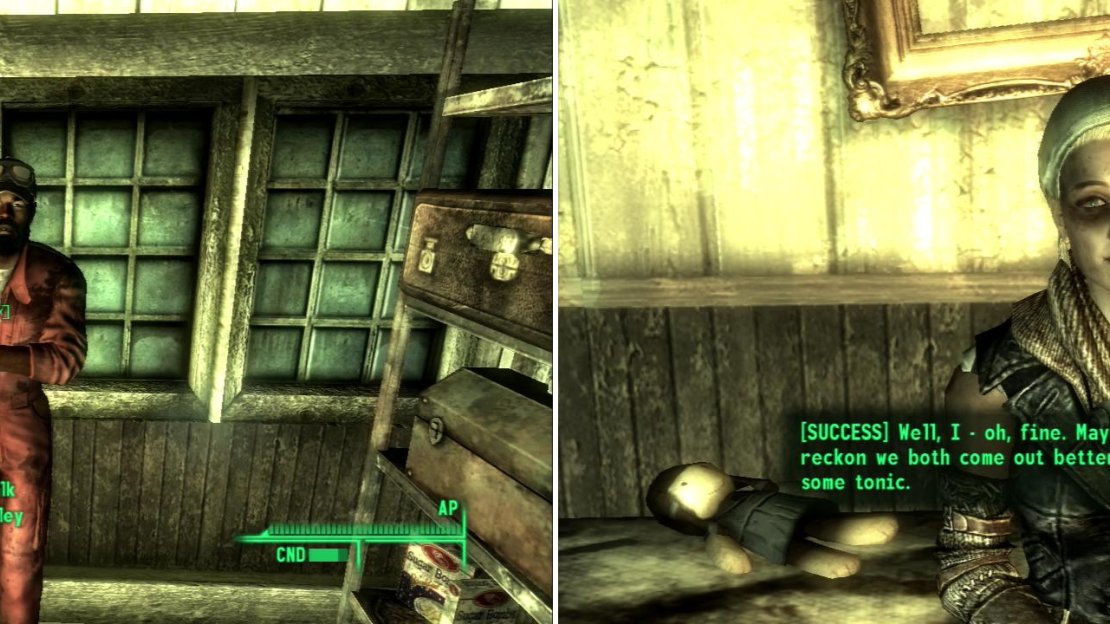
Haley might be sketchy on the details, but however he got here, he now runs this shop (left). Marguerite, when she’s not pretending to be sick with imaginary illnesses, practices the time-honored tradition of making moonshine (right).
14) Marguerite’s Shack
Head north and slightly west to find Marguerite’s Shack. She’ll ask you to help her out, as she’s apparently suffering from “Orange Fever.” A Medicine check and a Speech challenge will expose her as a faker, but even if you don’t go that route, you’ll end up at the same place: helping her brew some tonic. She’ll offer you 300 Caps to get her the ingredients: 10 Refined Punga Fruit or 20 Wild Punga Fruit, 3 sacks of Yeast, and 6 Fission Batteries. If it sounds crazy, then you have no idea what crap gets put into some alcohol.
Anyways, ask her about fixing up her still, which she’ll pay you 100 Caps (or 200, with a successful Speech challenge) to do. Her still is in the western corner of her house, and you’ll need a Repair skill score of 44 to fix it. This guide won’t cover this quest in too much detail… or any, for that matter. Grab the stuff as you explore Point Lookout and bring them back to Marguerite… there’s not really much more to say. Once done, give it a day to brew, and you’ll get six bottles of Moonshine and 300 Caps.
15) Truck Wreckage
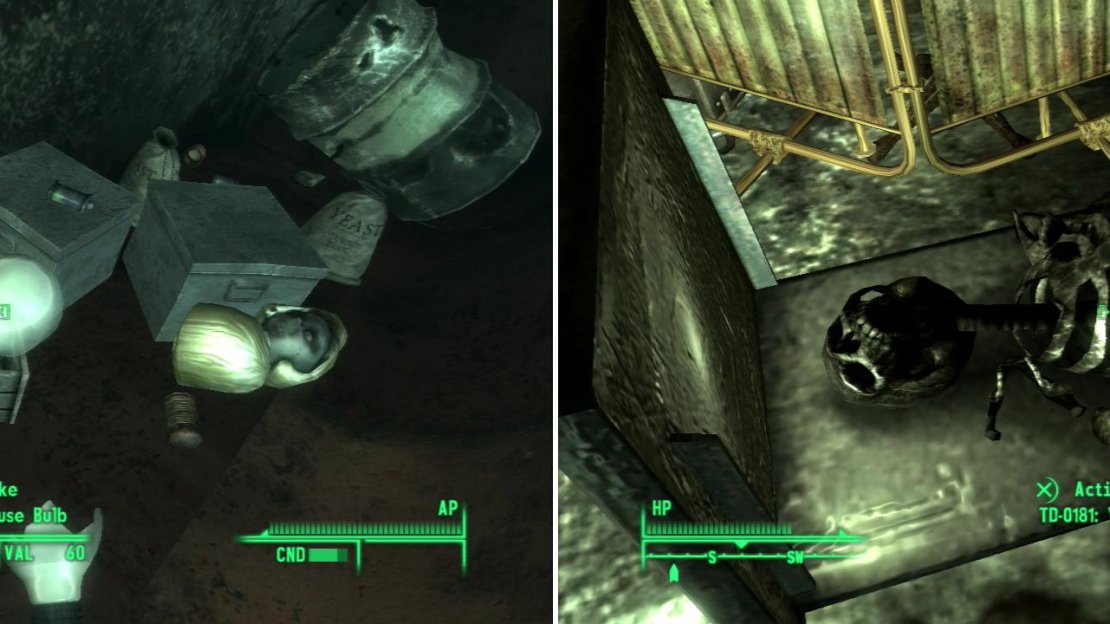
Now for a slight detour. Head north-east until you find an over-turned truck. If you want a somewhat more detailed, terrain-based description for how to get there… well, it’s an over-turned truck, so it stands to reason it’ll be near a road, right? Check your Pip-Boy “World Map” to not a road east of Marguerite’s Shack. When you reach it, follow it until it splits. The north-western fork leads to Turtledove Detention Camp (our next destination), while the north-eastern one will lead to the Truck Wreckage. Anywho, we found a note about this outside of Hadley’s Hardware, and it just won’t do to leave it unfinished. Search the back of the truck to find a Lighthouse Bulb. Obviously, we’ll find a use for this later.
16) Turtledove Detention Camp
Continue north-west until you find Turtledove Detention Camp. When you arrive a group of Feral Ghouls will attack the robotic base defenses, and will almost certainly be crushed. Let them fight it out, then head in and mop up whatever robots and turrets are left. There are several different buildings in Turtledove, Bunkhouses A and B, Interrogation Rooms A and B, Administration, and the Morgue. For quest purposes, you should only be interested in the last area, but there’s plenty of loot to be found in the other buildings, not to mention on top of the watch towers-one along the southern end of the fort has three ammo boxes (one of which is locked, [Hard]), and another to the east, north-east has another three (again, one of which is locked [Average]). When you’re done looting head to the brick “Administration” building to the west, along the southern side of which is a shack door that leads to the Morgue.
Grab the Lighthouse Bulb from the back of the overturned truck (left). Agent Yang didn’t make it out of Turtledove Detention Camp (right).
17) Turtledove Detention Camp - Morgue
When you get into the Morgue, first kill the Feral Ghouls within. Once done, loot it of its medical supplies, then search the remains locker listed “TD-0181: Yang, Wan” and select the option “Remove the Self-Destruct Codes”. Now, just to leave no stone unturned, head into the northern room and enter the “Manhole to Septic Tunnel Access”, which is on the ground near the cremation furnace. Re-enact a scene from the Shawshank Redemption and crawl a quarter of a mile through filth to “escape” Camp Turtledove… and grab the loot along the way, including a personal footlocker [Average] and a first aid box.
18) Trash Heap
You’ll surface near the Trash Heap area. Grab the ammo boxes and first aid boxes under the bushes near the manhole and head south, south-west to find the Trash Heap. Brave the heat (or pop a Rad-X) and grab the more useful junk from atop the trash heap, including an open safe with a Mini Nuke inside, a pair of first aid boxes, a locked safe [Average], and a locked safe [Hard].
19) Sub Recovery Site
Now you’ll notice that our next location isn’t exactly… well, on land. Of course, a submarine isn’t going to sink anywhere we can reach without a swim, so you might as well just fast travel back to the Point Lookout Pier. Stash your crap and jump off the boat, swimming to the south-east. When you discover the Sub Recovery Site swim underwater to find your derilect target.
20) SSN-37-1A
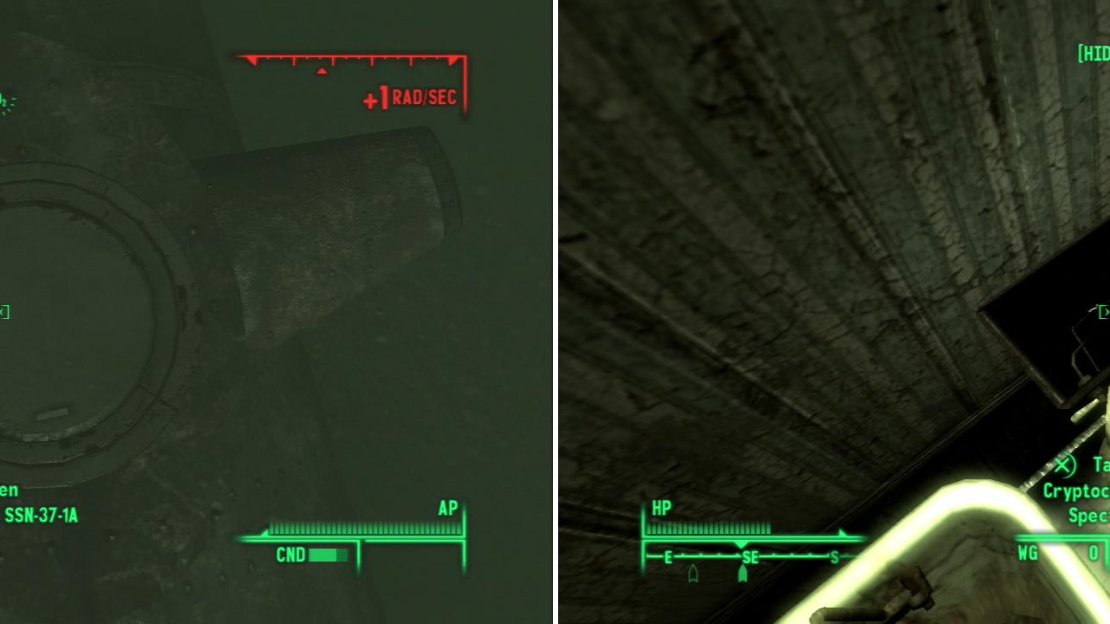
After two-hundred years underwater, this sub has seen better days. The good news is, you don’t need to worry about running out of air down here, although honestly after two centuries under the water, there can’t be any breathable air down here. Loot the locked personal footlocker [Average] and grab the Chinese Pistol and Stealth Boy off the front terminal before you access the “Submarine Operations Terminal”. Initiate the self destruct sequence, then head to the engine in the back… electricity and water, good mix.. and activate the “Self-Destruct Switch.” Leave the sub and swim like hell for shore!
21) Mission Complete
Once the sub detonates your quest log will be updated. Time to head back to the Homestead Motel. Still, while you’re out here, you might want to head up the hill to the north and discover the Calvert Mansion. You’re going to need to head here soon enough, why walk all the way back if you don’t have to? Re-enter Room 1D and access the Safehouse Terminal again, this time clicking on the “Extraction Details” option. You’ll be told to head to… the Calvert Mansion. Gee, isn’t it a good thing you went and discovered that location when you were nearby? Grab the Cryptochromatic Spectacles from out of the toilet tank and fast travel to the Calvert Mansion.
Dive down to find the sunken pocket submarine (left). Once the submarine is detonated, return to the Homestead Motel to find your new orders, and the Cryptochromatic Spectacles (right).
22) Calvert Mansion
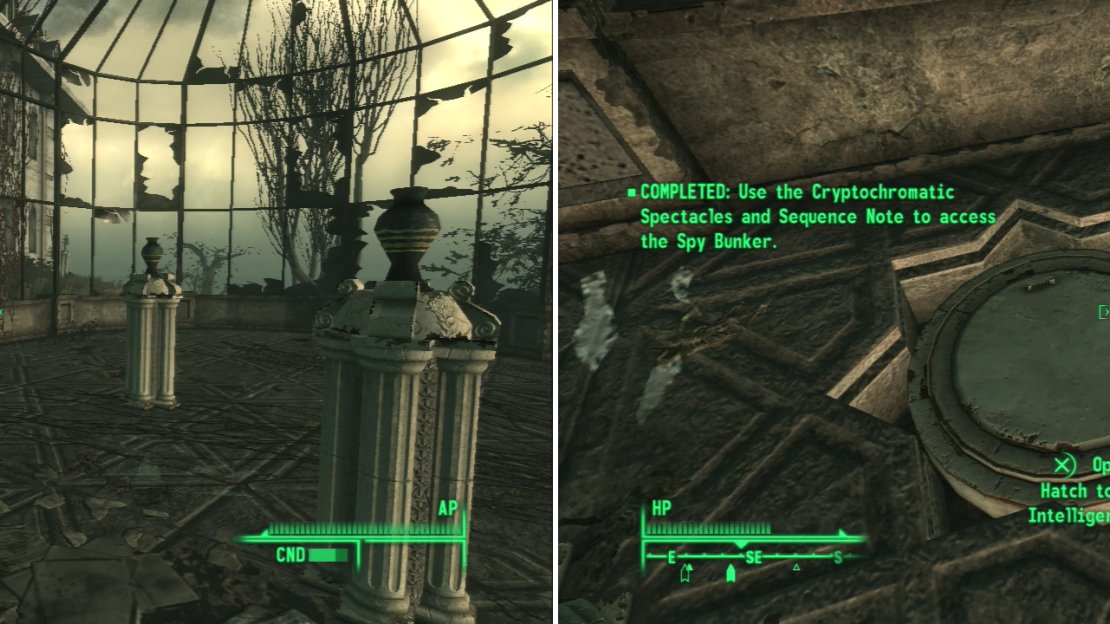
Head to the greenhouse west of the entrance to the mansion (or the skeletal remains thereof). Inside you’ll see four pedestals with urns on top, each with a different number of stripes on them. Remember the password you were given? No? Good thing you have this handy-dandy FAQ then. Activate the pedestals in order, depending on the number of stripes on each urn as follows: 1, 3, 2, 3, 4, 4, 2. When you do this a hatch leading to a Chinese Intelligence Bunker will appear near the two-striped urn. Note that you can only see these stripes if you’re wearing the Cryptochromatic Spectacles.
Put on the glasses you fished out from the back of hte swamp motel forest in order to detect the otherwise invisible rings on the urns in the greenhouse (left). Touch the urns in the correct sequence to open up a hidden bunker (right).
23) Chinese Intelligence Bunker
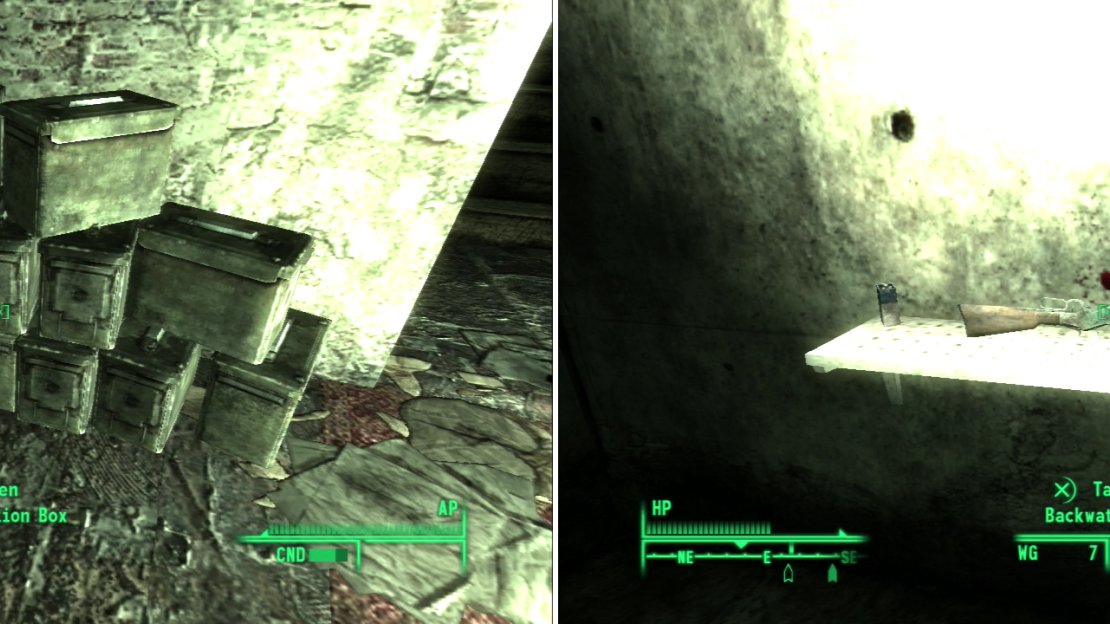
Head down the stairs and tell the password “Seraphim Descending” to the Protectron. Follow it down some more stairs and flip an electrical switch to gain access to the room with the “Extraction Terminal” inside. Loot the room, as it contains plenty of Chinese gear, but most importantly, the Backwater Rifle on a shelf along the wall opposite the terminal.
Your reward for completing pre-war espionage includes a generous stack of ammo boxes (left) and the Backwater Rifle (right).
Access the terminal, and predictibly, you’ll be screwed over by the Chinese government. Or rather, Jiang would have been. The room will flood with radiation and the door will seal. Take the term “flood” loosely here. Activate the vent on the floor and, with a measly 30 Repair score, disable it. Along the southern wall, behind some boards are two Circuit Boxes, which you can disable with a hefty Science score of 71. If you don’t have a Science score that high, you’ll have to jump on the footlocker in the corner of the room, jump on the yellow crate nearby, and run along the pipes in order to reach a hatch on the northern wall leading to a “Runoff Pipe.”
Either way, make your way back to the bunker proper and loot it for all it’s worth… and it’s actually worth quite a bit. There’s a number of guns-both Chinese and Point Lookout varieties, no less than sixteen ammo boxes, and a Mini Nuke on a shelf. So ends the Velvet Curtain, and our next move should be pretty obvious… now that we’re standing here, why not explore the Calvert Mansion?
No Comments