
1) Command Tent
Chase will give you your next objectives in Operation: Anchorage!. You need to destroy two fuel tanks at a Chimera depot, clear out a listening post, and lastly, overload a pulse field. Wee. Talk to Lieutenant Morgan to find out more info about your targets. Once you are done you can grab some Psycho lying about, and play with the terminals.
Use “Patterson’s Terminal” to set up your strike team to take on mission with you. You can choose to bring an Infantryman, a Grenadier, a Missile Unit, a Sniper, a Mister Gutsy, and a Sentry Bot. If you find companions cumbersome, howver, you can always go it alone. You should also visit the “Requisition Terminal” and pick from one of four weapon loadouts:
- Fire Team Package: Assault Rifle, Combat Knife, 12 Frag Grenades
- Close Assault Package: Power Fist, 10mm Pistol, Combat Shotgun, 8 Frag Grenades, 8 Frag Mines.
- Sniper Package: Sniper Rifle, 10mm Pistol.
- Heavy Weapons Package: Missile Launcher, 10mm Submachinegun
The “Close Assault Package” is usually the best of the bunch, considering it comes with a Power Fist and a Combat Shotgun, two Wasteland mainstays, but once in a while it’s handy to have a Sniper Rifle. You’ll be told when to switch. In fact, it’s not a bad idea to start out with the “Sniper Package.”
2) Get Your Kit
Grab the “Holotape - I’m Okay” and leave the tent. To the east you will find the Quartermaster. Succeed at a Speech challenge and he will give you a Gauss Rifle and eight Microfusion Cells. Also, be sure to pick up whatever weapon package you chose. You can get as much ammo as you please from the Ammo Dispenser in this tent as you need it. If you head west you’ll find the medical tent. Talk to Doctor Adami to get some more Psycho. There’s also a Health Dispenser inside, if you ever need to use it.
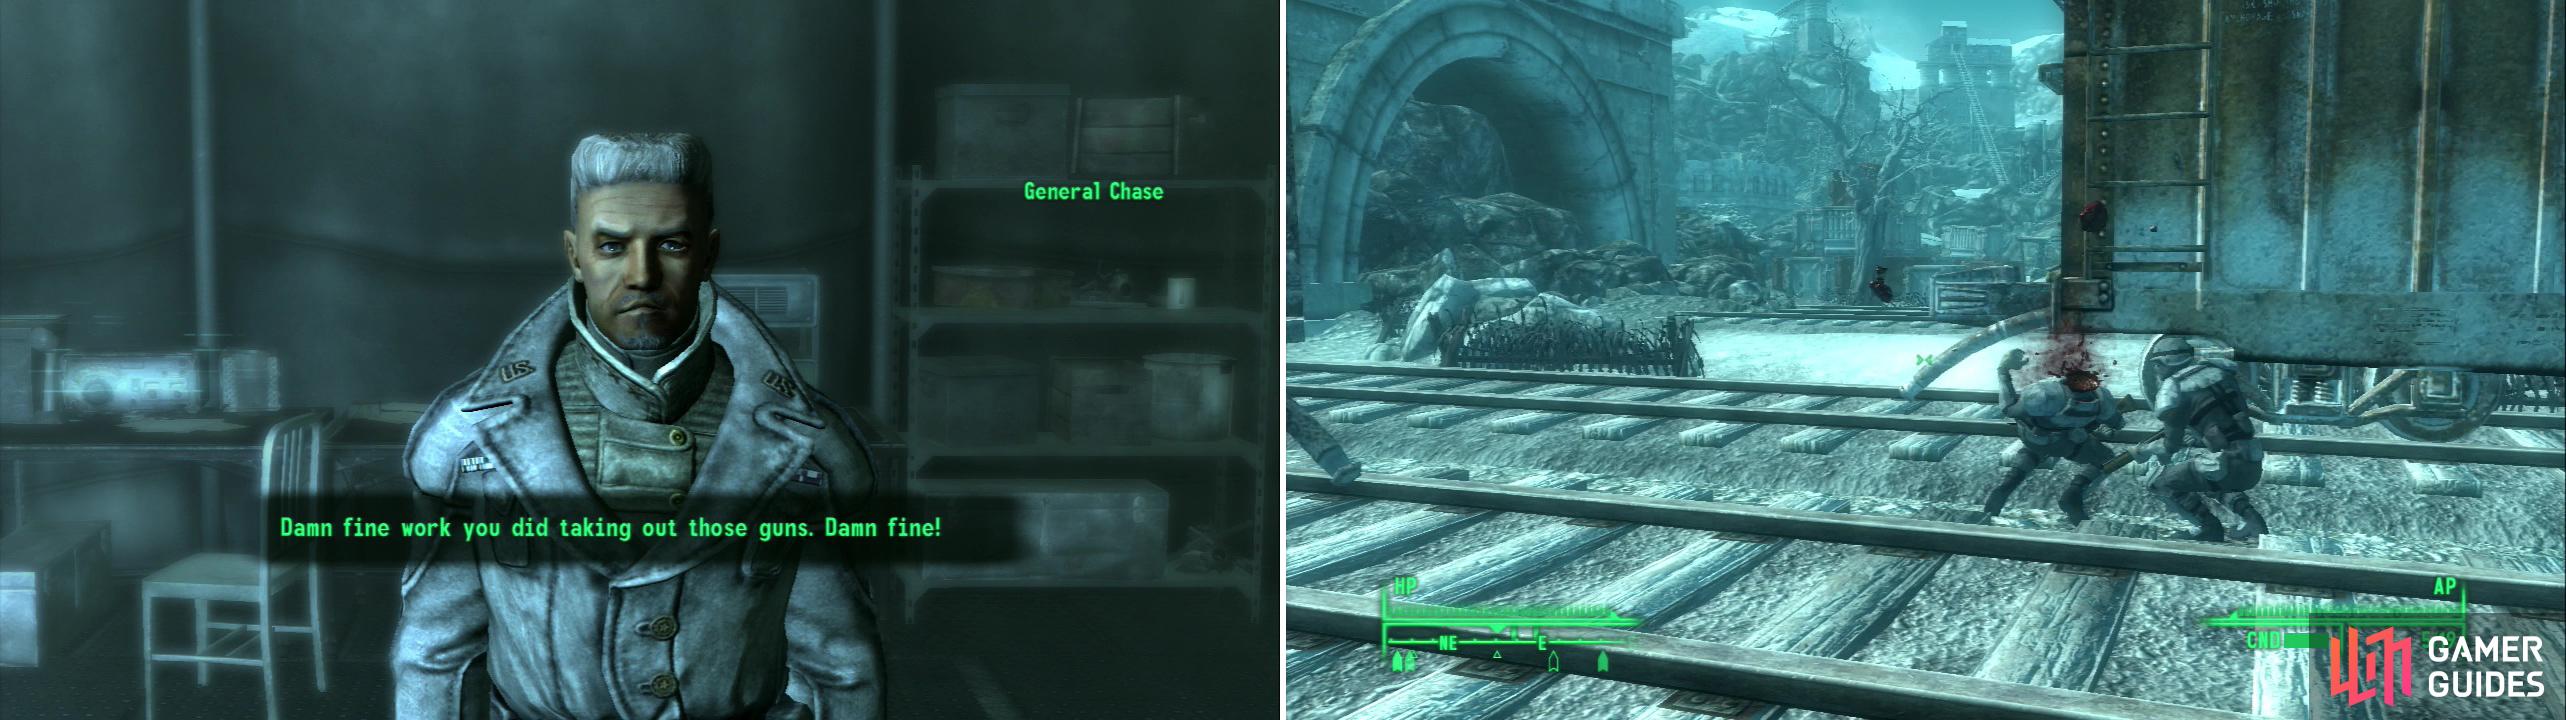
General Chase will commend you on your fine work when you appear (left). Collect your kit, then head towards your first objective. Be wary, however, snipers lurk about (right).
3) The Trainyard
Intel #5
Go north to leave the base and once outside make your way to the east. Continue on until you reach some boxcars, where you’ll see a soldier play chicken with a sniper and lose. Beyond the train there are two snipers and a Chinese Launcher who have eyes like hawks. Frankly, just using the Gauss Rifle is good enough to get rid of them. Even if you don’t kill them outright, shooting them once with the Gauss Rifle will likely knock the snipers off their high ground. Otherwise, take them out with the Sniper Rifle-patience and refilling your ammo will earn you an easy victory… no rush, right? In the ruined building to the south-east you’ll find another Chinese Launcher, as well as an ammo depot. On some crates in what used to be the north-western corner of the house you’ll find a case of Intel .
4) Sniping the Snipers
Leave this house and head north-east to find some stairs leading to… another ruined house occupied by Chinese. Kill them all and free a captive American Soldier before heading through a doorway to the north. Continue north until you come into a more open area with some crates lying around. It would be advisable for you to not run in, as there are four cloaked snipers just waiting for you to get into the area. Use your V.A.T.S. button to sniff them out, or find them manually, then counter-snipe them with the Sniper Rifle or Gauss Rifle . Continue to the north-east and turn the corner to the north to spot the Listening Post. It’s guarded by several Crimson Dragoons, and all things told, it’s probably better to get their attention, then backtrack around the corner. It sure beats running through Chinese Assault Rifle fire. Before entering the Listening Post, go back to base and switch to the “Close Assault Package”. The Combat Shotgun should get you through the rest of Operation Anchorage!.
5) Listening Post
Intel #6
Head up into the Listening Post, where your mission is to kill any and all Chinese troops you find. Go into a room to the west and grease a Chinese Technician and a Crimson Dragoon. Go through a doorway to the north and kill the cloaked sniper in the eastern corner. Now go west up some stairs and into another room with three more Crimson Dragoons. There’s also an Intel suitcase on a shelf behind the stairs on the ground floor. Go upstairs and through a door to the north, then turn west and follow the winding passage until you come to a room with pipes running through it. Inside are three cloaked snipers, and a welcome Health and Ammo Dispenser. Go through a door to the east, then head south, then east, and south again up three flights of stairs until you reach another room. Inside are two Crimson Dragoons and another technician waiting to be slain. Go through a door to the south to get back outside to Anchorage. Clear the roof of cloaked folks and you’ll be whisked back to the Command Tent.
6) Chinese Forward Base Delta
Huzzah, one down, two to go. Leave the tent to see three soldiers pose for a reporter, who takes the iconic photograph that later becomes the statue on top of the Anchorage War Memorial. Leave the base and head north-west this time. You’ll eventually discover the Chinese Forward Base Delta, which consists of numerous tents occupied by Chinese Soldiers. Still, at least you can see these ones. Kill the Chinese and head into the camp. Pass through a tent to the west, activate a “Chinese Terminal”, and grab the loot lying around.
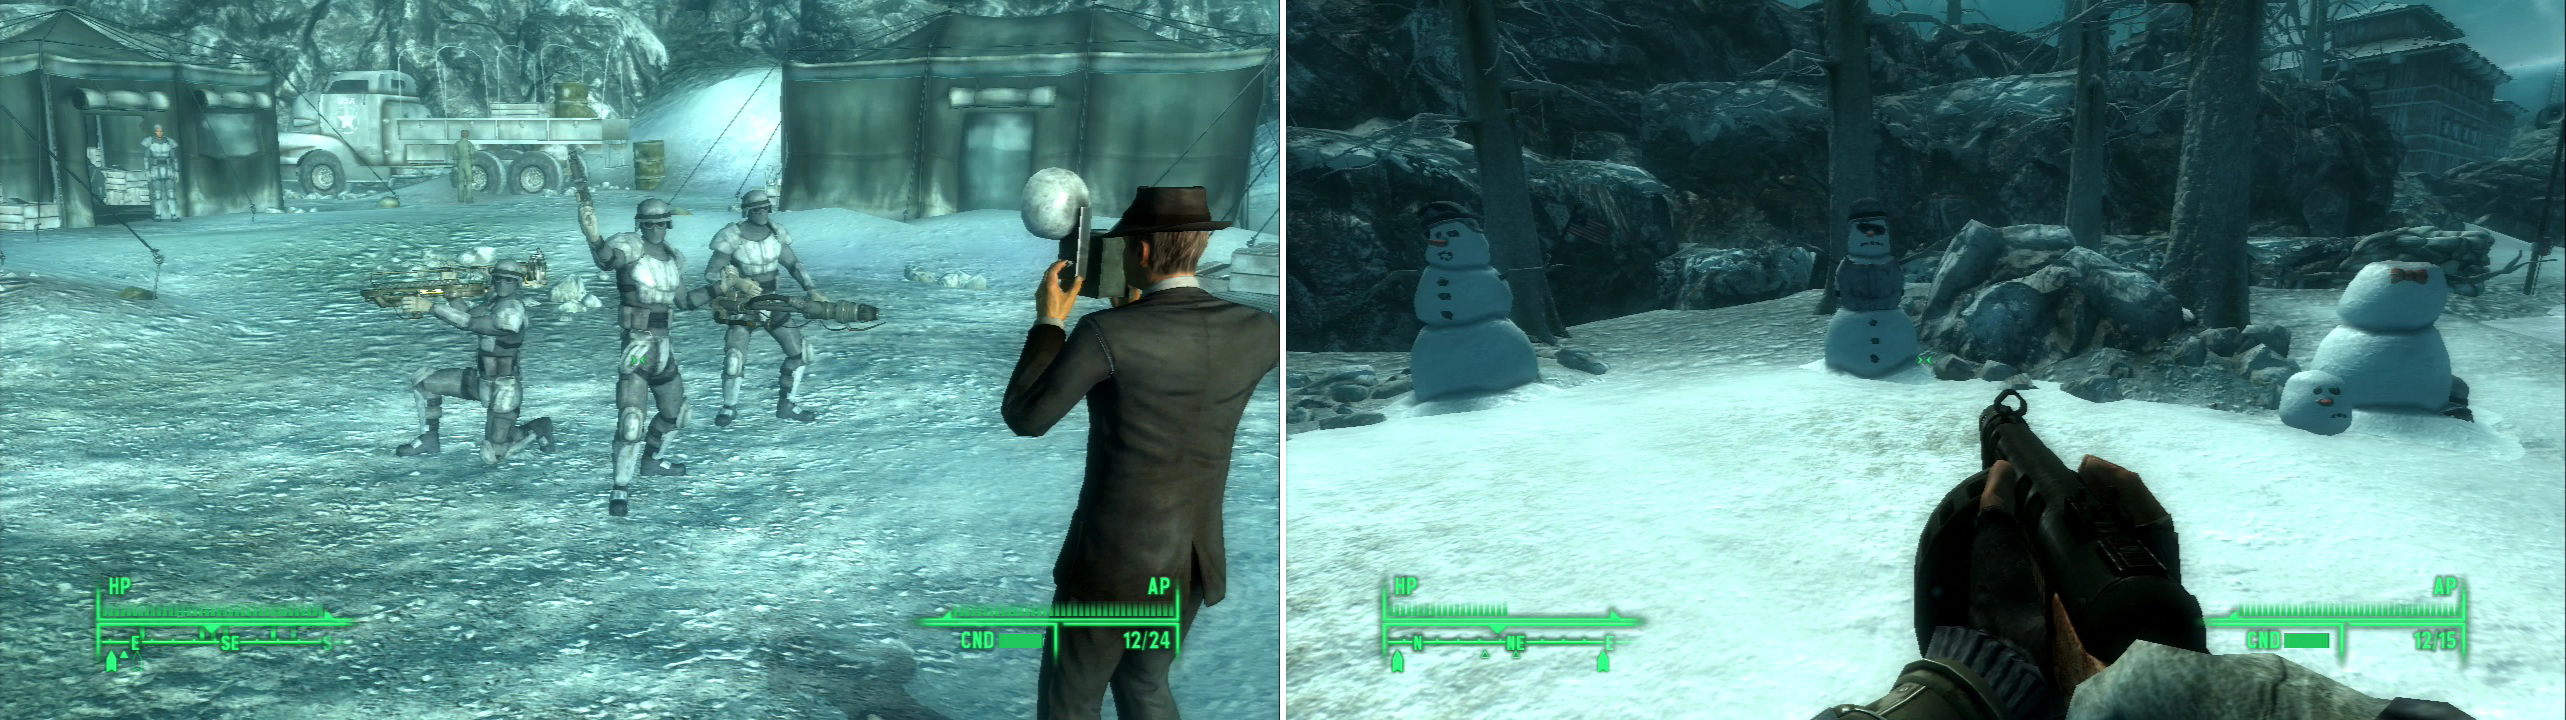
Both armies show their frivilous sides from time to time. Soldiers pose for a photo that will inspire the famous Anchorage Memorial statue (left), while the Chinese decorate snowmen for target practice (right).
7) Murderin’ for ’Mericuh
Intel #7
From the tent with the “Chinese Terminal” in it head north-west through another section of the Chinese camp. This time they’ve got guys on watch towers. Yay. Note the snowmen used by the Chinese as target practice. Priceless. Head into the stand-alone tent east of the snowmen and grab an Intel case, continue through another tent to the north-east then head north between two buildings. You will find two American Soldiers being held prisoner to the east with one Chinese Soldier standing guard. Wax him, free the prisoners, and grab the ammo lying around before continuing north, north-east.
8) Spider Drone Surprise!
Continue on until you find a clearing with a frozen pond in the middle. Spider drones lurk about, and will activate and move towards you if you get too close. They don’t do much damage, and aren’t terribly fast, but they can be hard to hit. Continue past the lake to the north-west, following a linear (albeit, meandering) path, mowing down Spider Drones until you reach the Chimera Armor Depot.
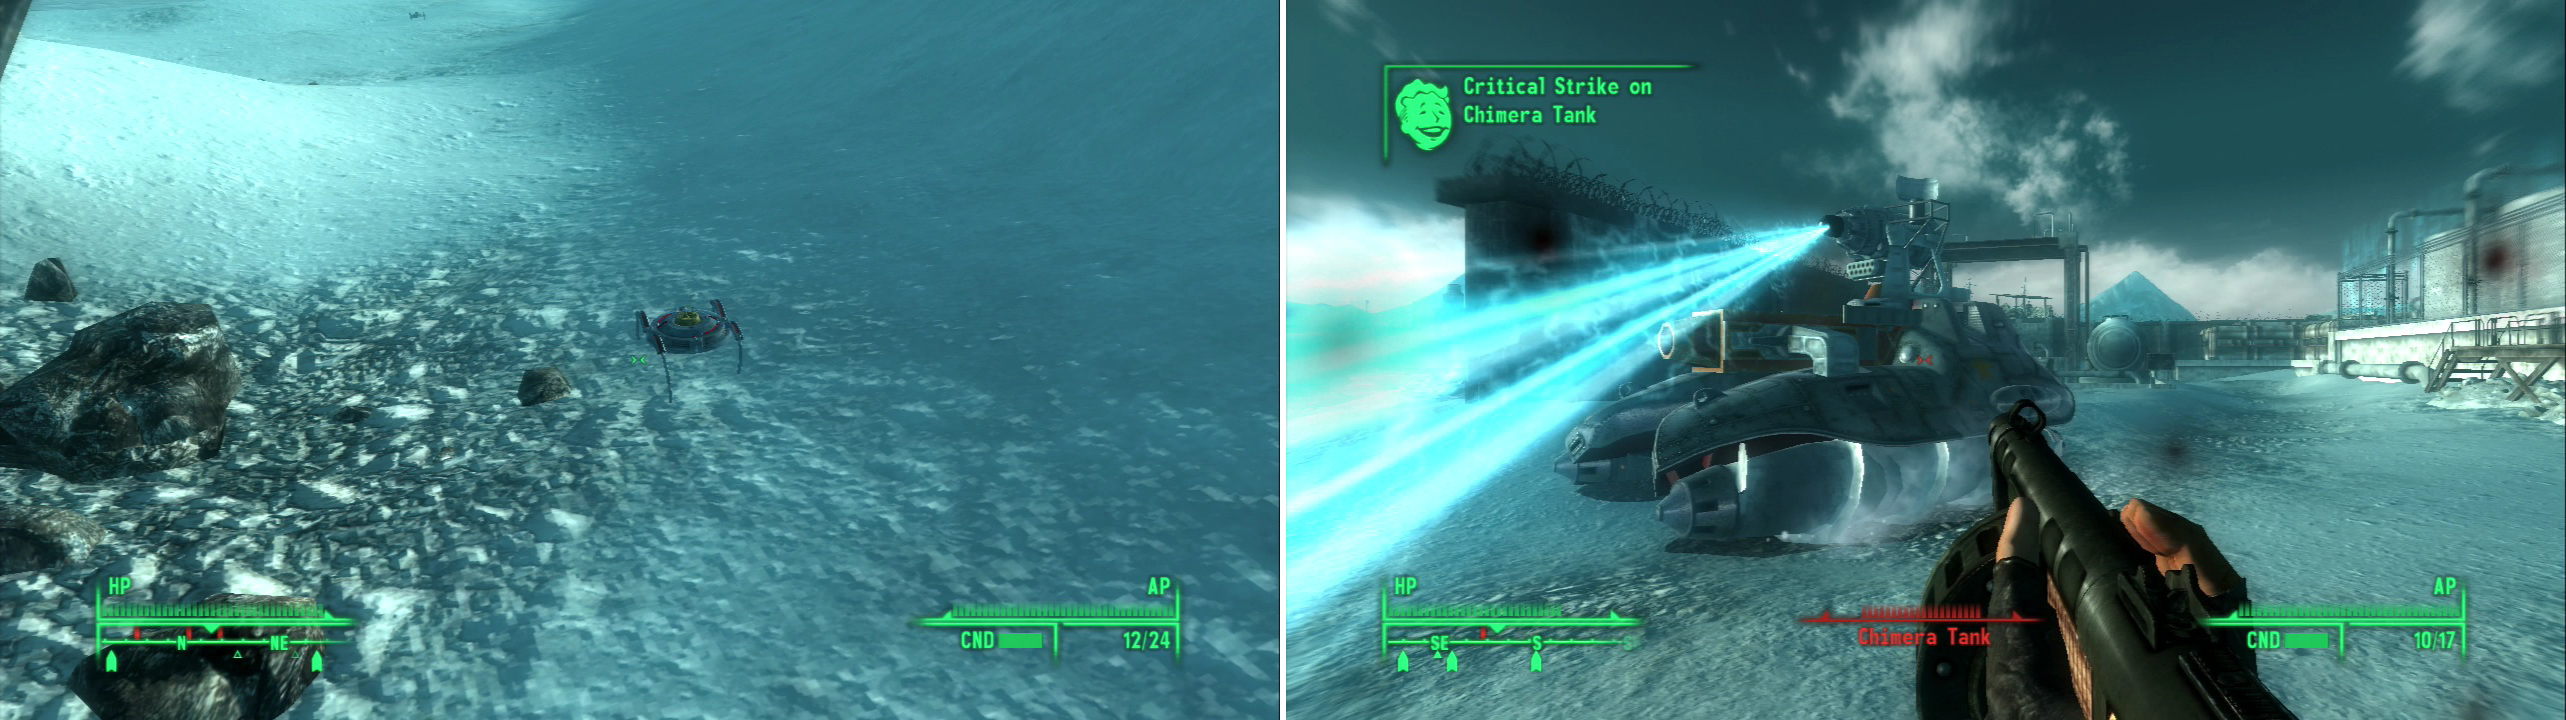
Straight out of Starcraft, spider mines are mobile proximity mines (left). Chimera Tanks are a somewhat less sneaky threat (right).
9) Chimera Armor Depot
Intel #8
Outside of the depot gates are two towers with an armed guard inside. Snipe them with the Gauss Rifle and enter the depot. Head into the depot when they are dead and go into the first building to the south, which contains all the ammo and health you’ll need to route this place, not to mention an Intel case. Go around searching the entire base for enemies. If you run across a Chimera tank, you’ll find that it can be fairly easily disabled with conventional firepower, so long as you don’t get too close.
In the south-western corner of the base you’ll find another building with loot inside. When you’re ready to bid the base a fond “go to hell” plant the charges on the fuel tanks. Again, you have 20 seconds to clear the blast radius, and again, you’ll be whisked magically back to the Command Tent when you complete your objective.


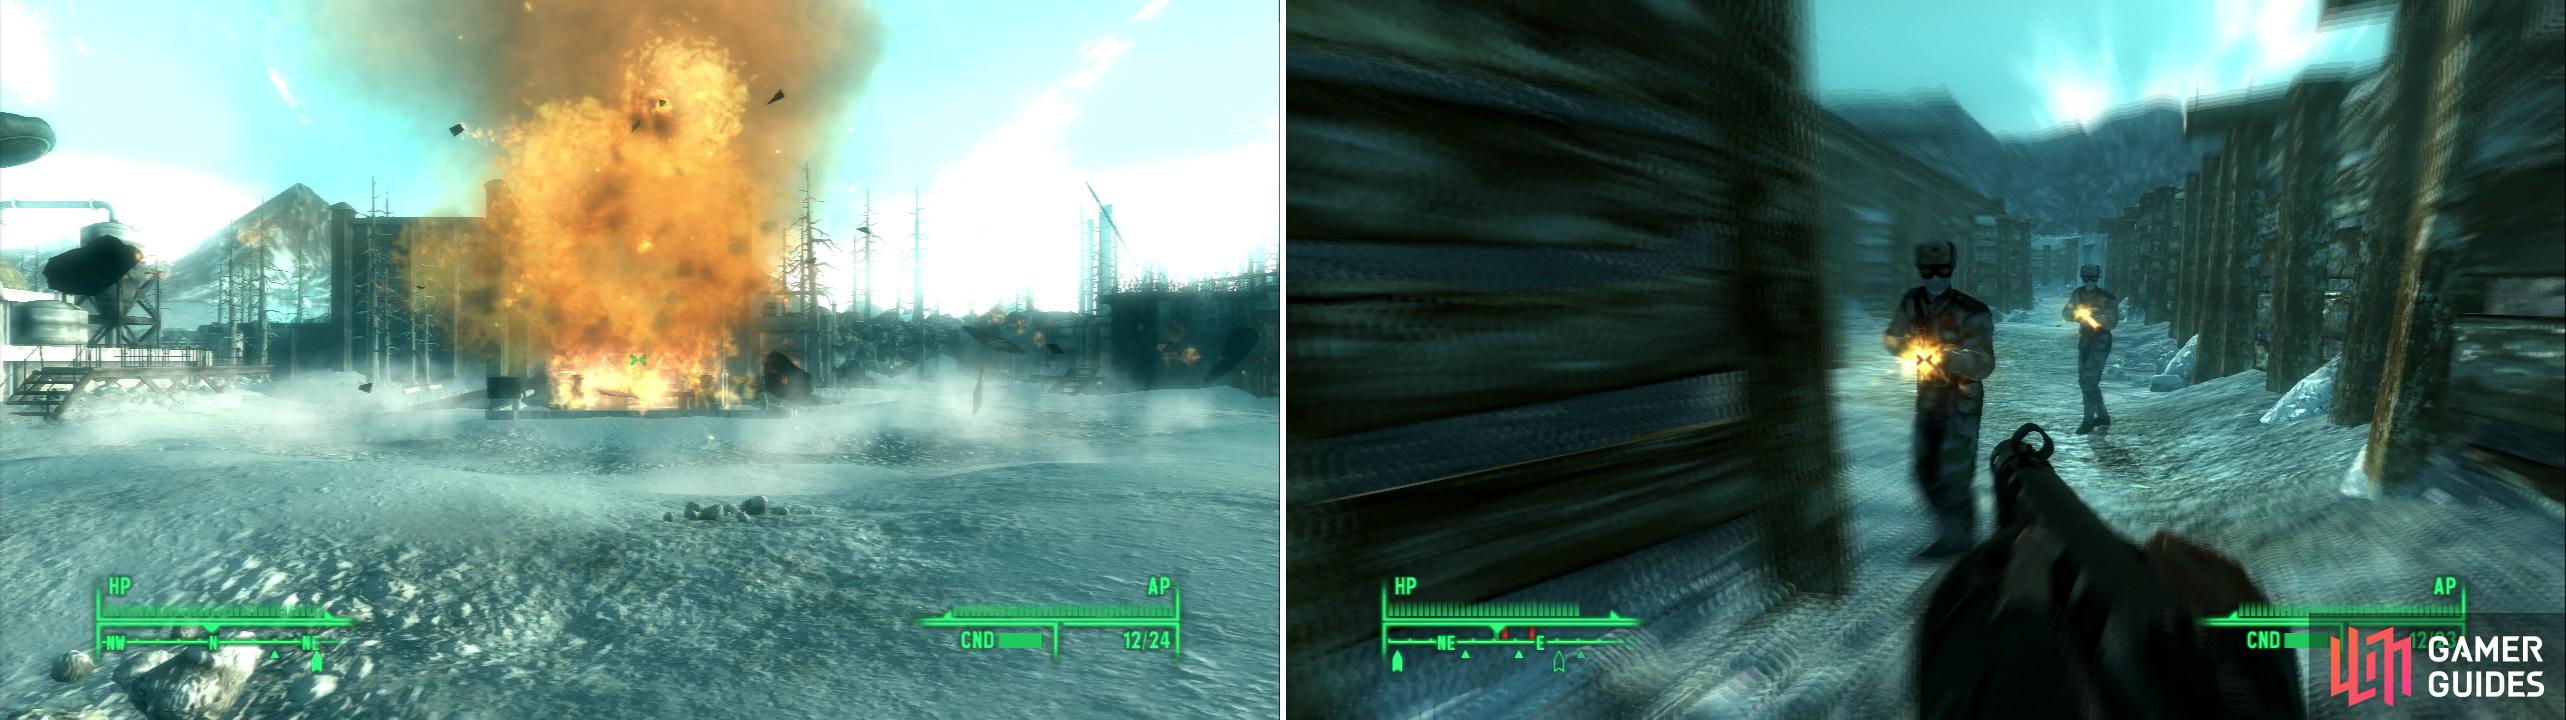
Blow up the fuel tanks at the Chimera Armor Depot (left) to pave the way for an assault on the Chinese-occupied trenches (right).
10) Battlefield Trenches
Intel #9
Now only the Pulse Field remains. The “Close Assault Package” will come in very handy for this part. Head out of the base again and head north, past the barbed wire and straight into the missile fire. You’ll find some stairs leading to a series of trenches shortly. The first trench you enter is short and occuppied by American troops. Head west through it, then go north-west up a ramp. Some rock formations and a blue barrier form a corridor between the trench we just left and the larger one ahead to the north-east. Continue into the next trench and head east, killing Chinese as you find them. In a wooden shelter to the left you’ll find a Health Dispenser and your ninth piece of Intel . Grab it and carry on to the east until you can turn north-west. To the right of a ramp leading out of this trench you’ll find an Ammo Dispenser. When you’re fully stocked, head up the ramp and continue west past three sandbag fortifications, turning north past the third and into our third and final trench.
11) The Third Trench
This trench has a more diverse array of enemies-Chinese Soldiers weilding either Chinese Assault Rifles, Flamers or Missile Launchers. There’s even the odd Spider Mine and Crimson Dragoon. Nothing a Combat Shotgun can’t fix, though. Continue north-east until the path forks. The fork is dominated by a bunker, which contains two Mark I Turrets, both of which can be destroyed with a single, well-aimed shotgun shot. The eastern path terminates in a dead-end, but there is a Health and Ammo Dispenser there. To the north you’ll find… another fork! If you explore to the west you’ll find a subterranean barracks with a “Chinese Terminal”, which exposes Chinese concerns over some “T-51b” threat. Head east, then turn north when you must. Along the way you’ll find a cubby with both a Health and Ammo Dispenser in it. Stock up and continue up a ramp to the north, and out of the trenches.
12) The Heavy Infantry Arrives
Head into some ruins to the north, where another bunker lurks. You can destroy the Mark I Turrets inside, but we’ll have a better vantage later on, if you want to postpone the tedium. More fleshy opposition lurks to the west. Head past some barricades and smite the Chinese opposition. Beyond an impassible barricade blocking passage through a bombed-out building you’ll spot a Vertibird dropping off some Power Armor clad soldiers to help. “Help” in this case means “do all the work.” A handful of guys in T-51b Power Armor with Miniguns is more than the Chinese can handle. Head north and go through a doorway to the right to reach a building with a Health Dispenser on some wooden crates. Continue north to reach the Pulse Field, which lies beyond an impassible blue barrier and some barbed wire barricades. To the west is a small, but intact building with a sniper’s nest on top. Dispatch the sniper and search the building over which he lurked to find both a Health and Ammo Dispenser. Go up some stairs to the east to locate the bunker that bothered us earlier. Either hack a Turret Control System terminal [Average] or just blast everything inside.
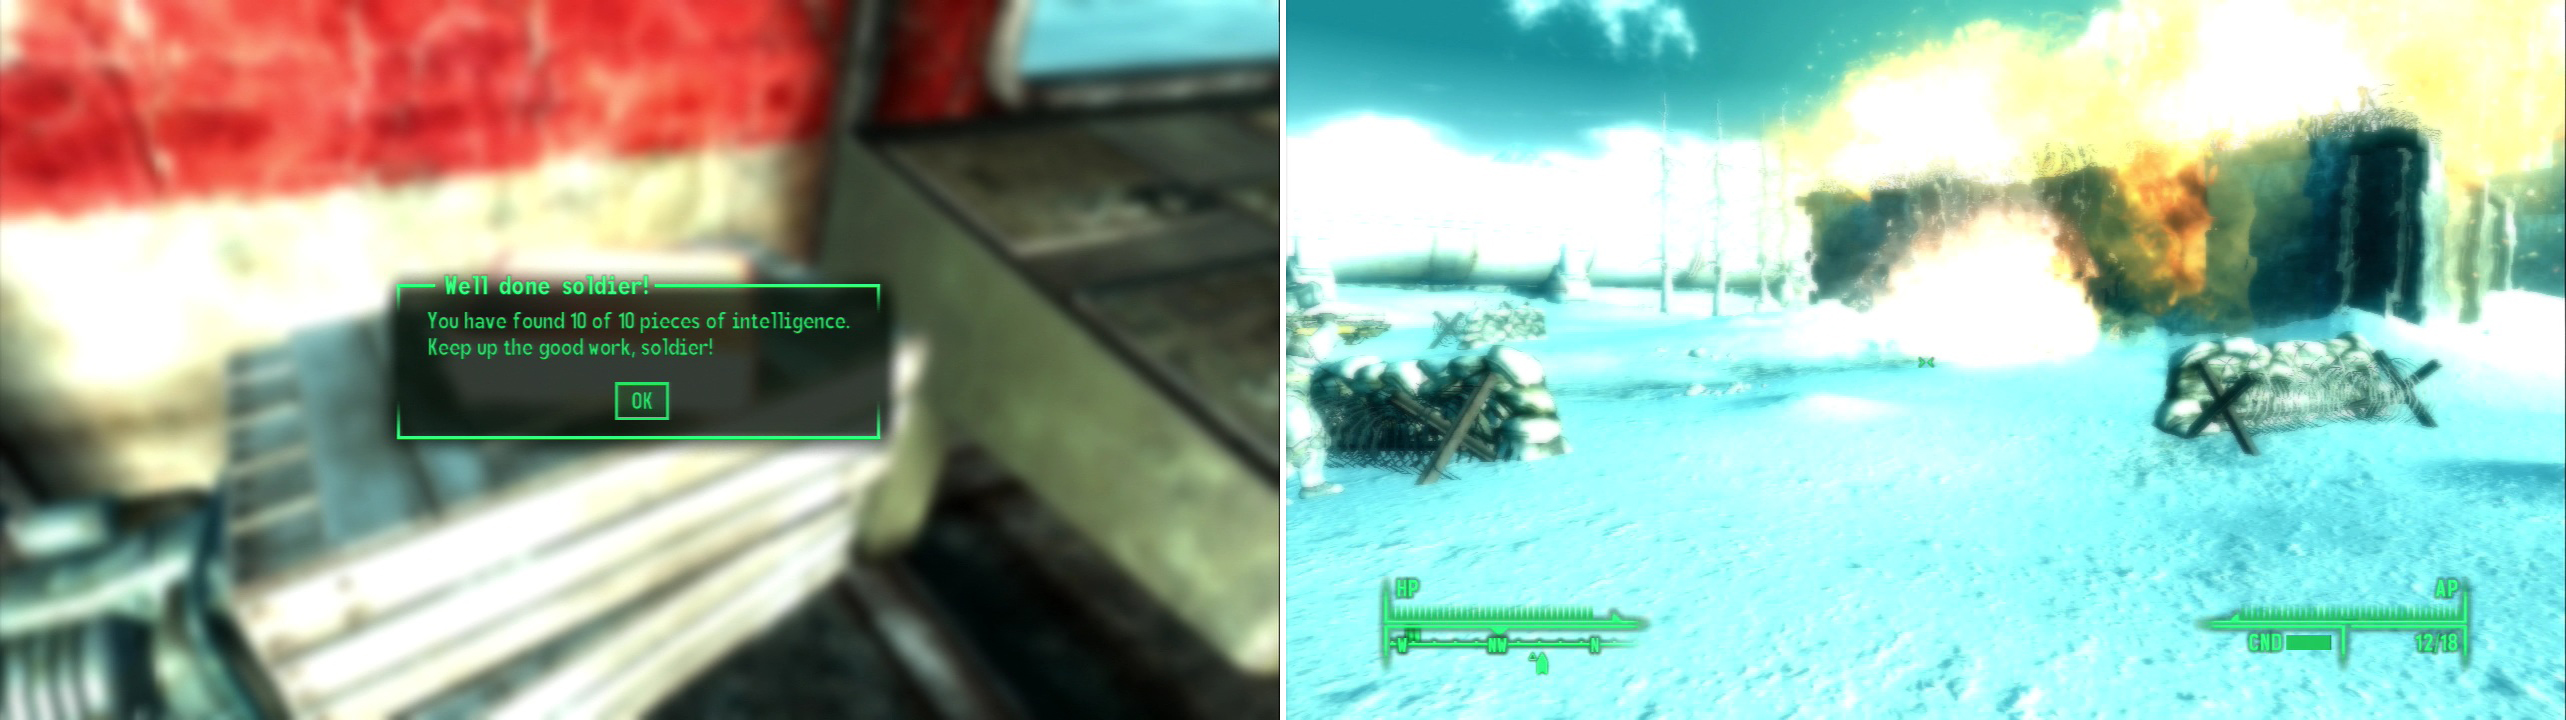
Collect the 10th and final piece of Intel to gain… well, a congratulation (left). Once the pulse field has been disabled, the T-51b unit will destroy the last defenses (right).
13) Past the Pulse Field
Intel #10
Return back west to the sniper’s nest, and from it continue south past some red metal crates and barricades to reach the area beyond the barricade near which the Vertibird landed. Head west a bit, then turn north to spot a series of barricades amongst which Chinese Soldier lurk. Kill them, or let the Power Armor clad troopers do the work. In a building to the west, at the southern end of the barricades, you can find a Health Dispenser on some wooden crates. Continue north past the barricades until a blue barrier (and even more barricades) block your progress. If you turn west you’ll spot a small metal shelter, which leads to the Pulse Field. This is the last obstacle between us, our T-51b backup, and the Chinese Commander. We disable the Pulse Field, and the T-51b’s can assault the Chinese base. Go through the metal shelter and continue north-east down a ramp. To the east is a bunker occupied by more Chinese, and another pair of Mark I Turrets. Dispatch them and continue east to reach a metal shelter on a concrete base. Inside the shelter you’ll find the final piece of Intel on some wooden crates (Good work, soldier!) and the proverbial big red button, which you should push to disable the Pulse Field.
14) Checkmate, General Jingwei
When the Pulse Field is disabled it’ll overload and light up the ground. When the light show ends run north across the field to see your Power Armored buddies whip out some Fat Men and blast the defenses. Head through a door into the Chinese HQ, where General Jingwei will talk to you. Succeed at a Speech challenge and Jingwei will commit suicide… or if that fails, just kill him the old fashioned way. Congrats! You’ve liberated Anchorage, Alaska. A winner is you!
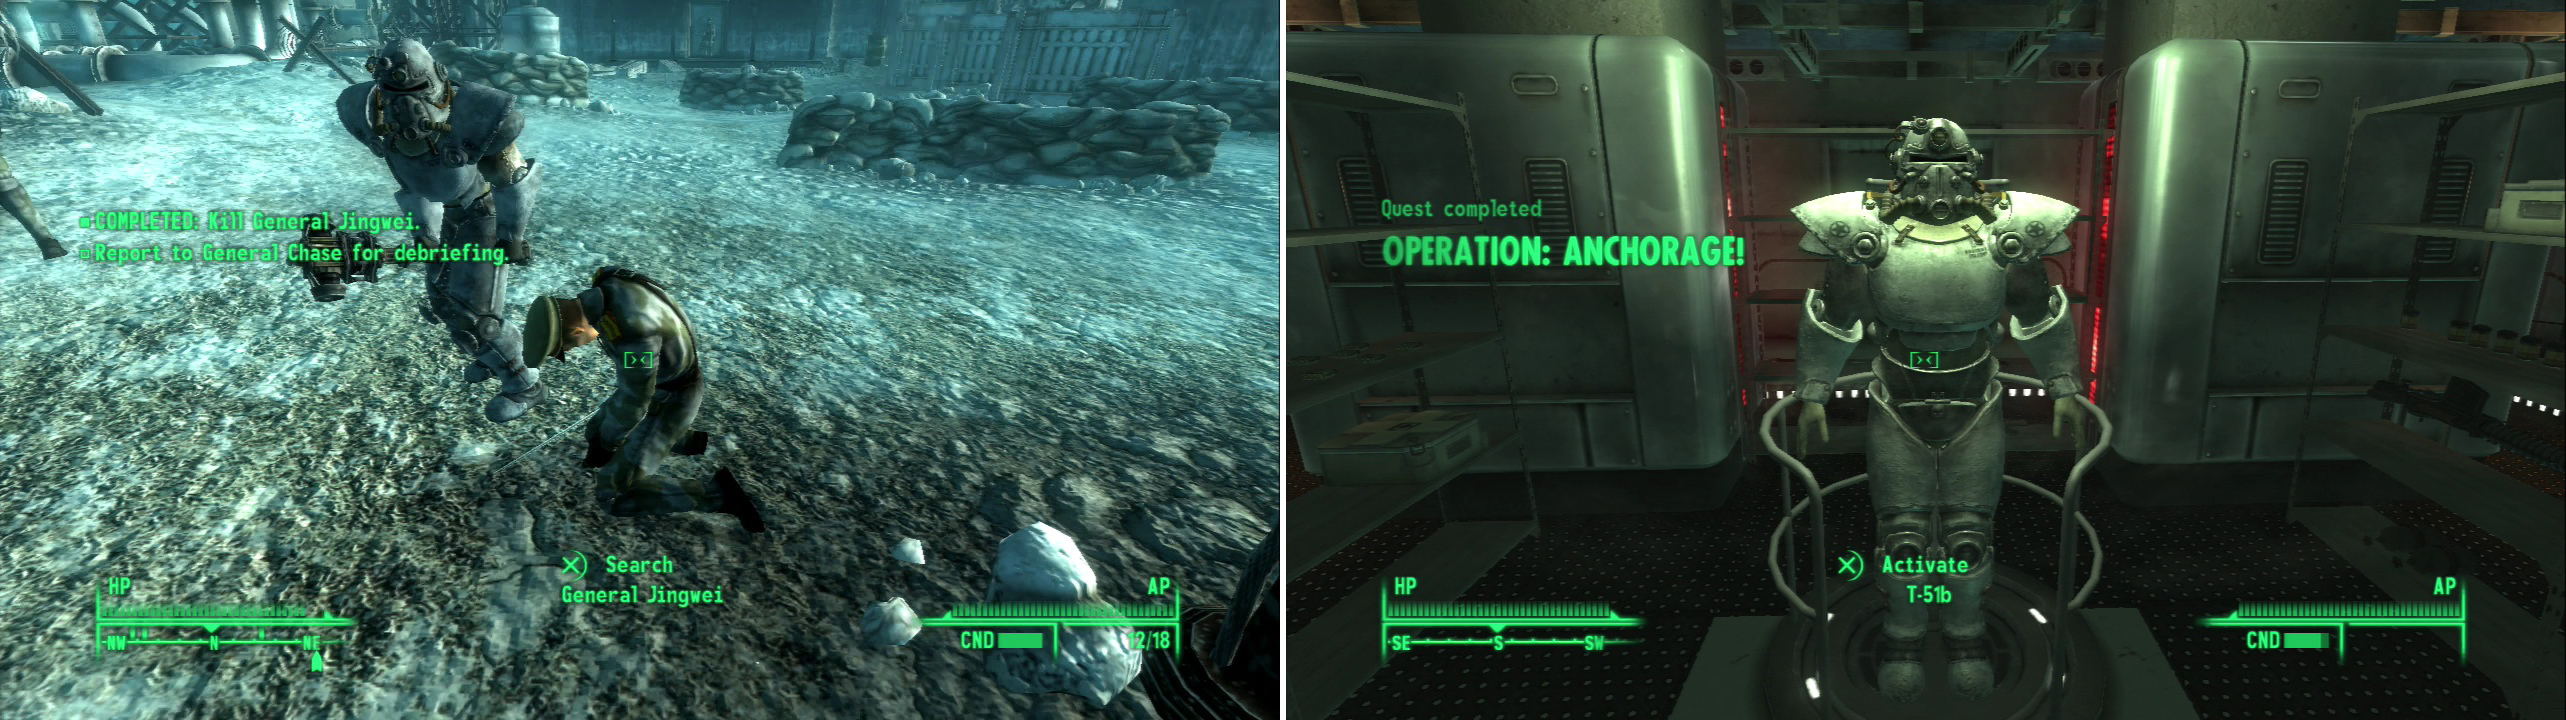
Defeat General Jingwei (left) to escape the simulation and claim your well-earned reward (right).
15) A Well-Earned Reward
The simulation ends and you exit the Simulation Pod, where Protector McGraw will be waiting to congratulate you. Head down the hallway to the south where the Outcasts will be waiting. Access the “Secure Access Terminal” and open the blast door. When you enter the secure room Sibley will protest the fact that McGraw is going to let you leave with some loot, and will attempt to mutiny. Smite the treacherous Outcasts and collect your well earned loot, which includes.. well, pretty much all the new stuff you saw in the simulation. There’s the Gauss Rifle , the Trench Knife , Jingwei’s Shocksword , Chinese Stealth Armor , and Winterized T-51b Power Armor , which is especially nice since, for some reason, it has ridiculously high Hit Points (you shouldn’t need to repair it often).
The Chinese Stealth Armor will create a stealth field effect around you (similiar to what a Stealth Boy does) every time you enter Sneak mode. If you have a Sneak score of 100, you’ll be virtually undetectable while wearing this armor, even while attacking! At least, if you use Melee Weapons or Unarmed , and you don’t deliberately run into enemies. Simply put, it breaks the game-you’re practically unkillable while wearing this armor. Oh, it also looks cool too. You can repair it with Recon armor, if the need arises. Another bonus about Chinese Stealth Armor is the fact that you can wear multiple headgear while the armor is equipped.


Of mundane gear there’s a Missile Launcher, 120 Energy Cells, two first aid boxes, a Mini Nuke, five Frag Grenades, two Frag Mines, a Pulse Grenade, two Pulse Mines, a Plasma Grenade, a Plasma Grenade, a Chinese Assault Rifle, 70 Electron Charge Packs, 70 Microfusion Cells, 25 Flamer Fuel, and two Missiles. Last, and perhaps least if you’ve been following this guide strictly, you automatically get Power Armor Training by completing this simulation. Now it’s time to go challenge Point Lookout.
No Comments