
1) Irradiated Metro
Book - Chinese Army: Spec. Ops. Training Manual
Head over to the Irradiated Metro, which is across the river from the Citadel (you may have discovered it on your Rivet City run). From the entrance head through the short metro area and through a doorway to the south. Continue through another doorway to the south and go down two flights of stairs and through yet another doorway to reach a large multi-leveled room. Turn west and search the consoles along the railing to find a Chinese Army: Spec. Ops. Training Manual .
Now clear out the level as you see fit. To get to L’Enfant Plaza head through a doorway to the west, and follow it around to the far side of the large chamber. Traverse the chamber and go through a door to the east, which will lead you down some tunnels until you reach L’Enfant.
2) L’Enfant South
L’Enfant Plaza is no picnic. You’ll probably be attacked by either Regulators or Talon Company Mercenaries when you enter the Plaza, and by Super Mutants shortly thereafter. Head up the stairs and go north-east to find a grave in front of a house. Search it to obtain the note “Search Party Log 1.”
3) The Capitol Post
North-west from the Irradiated Metro entrance you’ll find the Capitol Post, which is inhabited by some Radroaches. If you wanted to read those newspaper articles you see when you’re loading, you can search the terminals here for them. On the front desk you’ll find a terminal [Average] which unlocks a safe built into the side of the desk [Very Hard]. Down along the western side of the front room you’ll see that the floor has collapsed conveniently as to build you a natural ramp. Head down and loot the body of one Gibson, who has seen better days. You’ll get Gibson’s Key and the note “Gibson’s Scrap of Paper.” This key opens the miniature house [Very Hard] inside the Gibson House, which will get you some chems, caps, and other loot which is, by now, not very noteworthy.
4) Looting the L’Enfant Store
Leave the post and head down the ramp to the west, then turn north and continue until you reach a diner. From the diner, head down an alley to the west, left of Besnik’s Barber Shop. Be cautious of the trip wire nearby, less you get some grenades coming down chutes at you. Go around the back of the buildings and into a “Store.” You’ll find some minor loot down here, including a locked safe [Hard] that can be opened by hacking a terminal [Average].
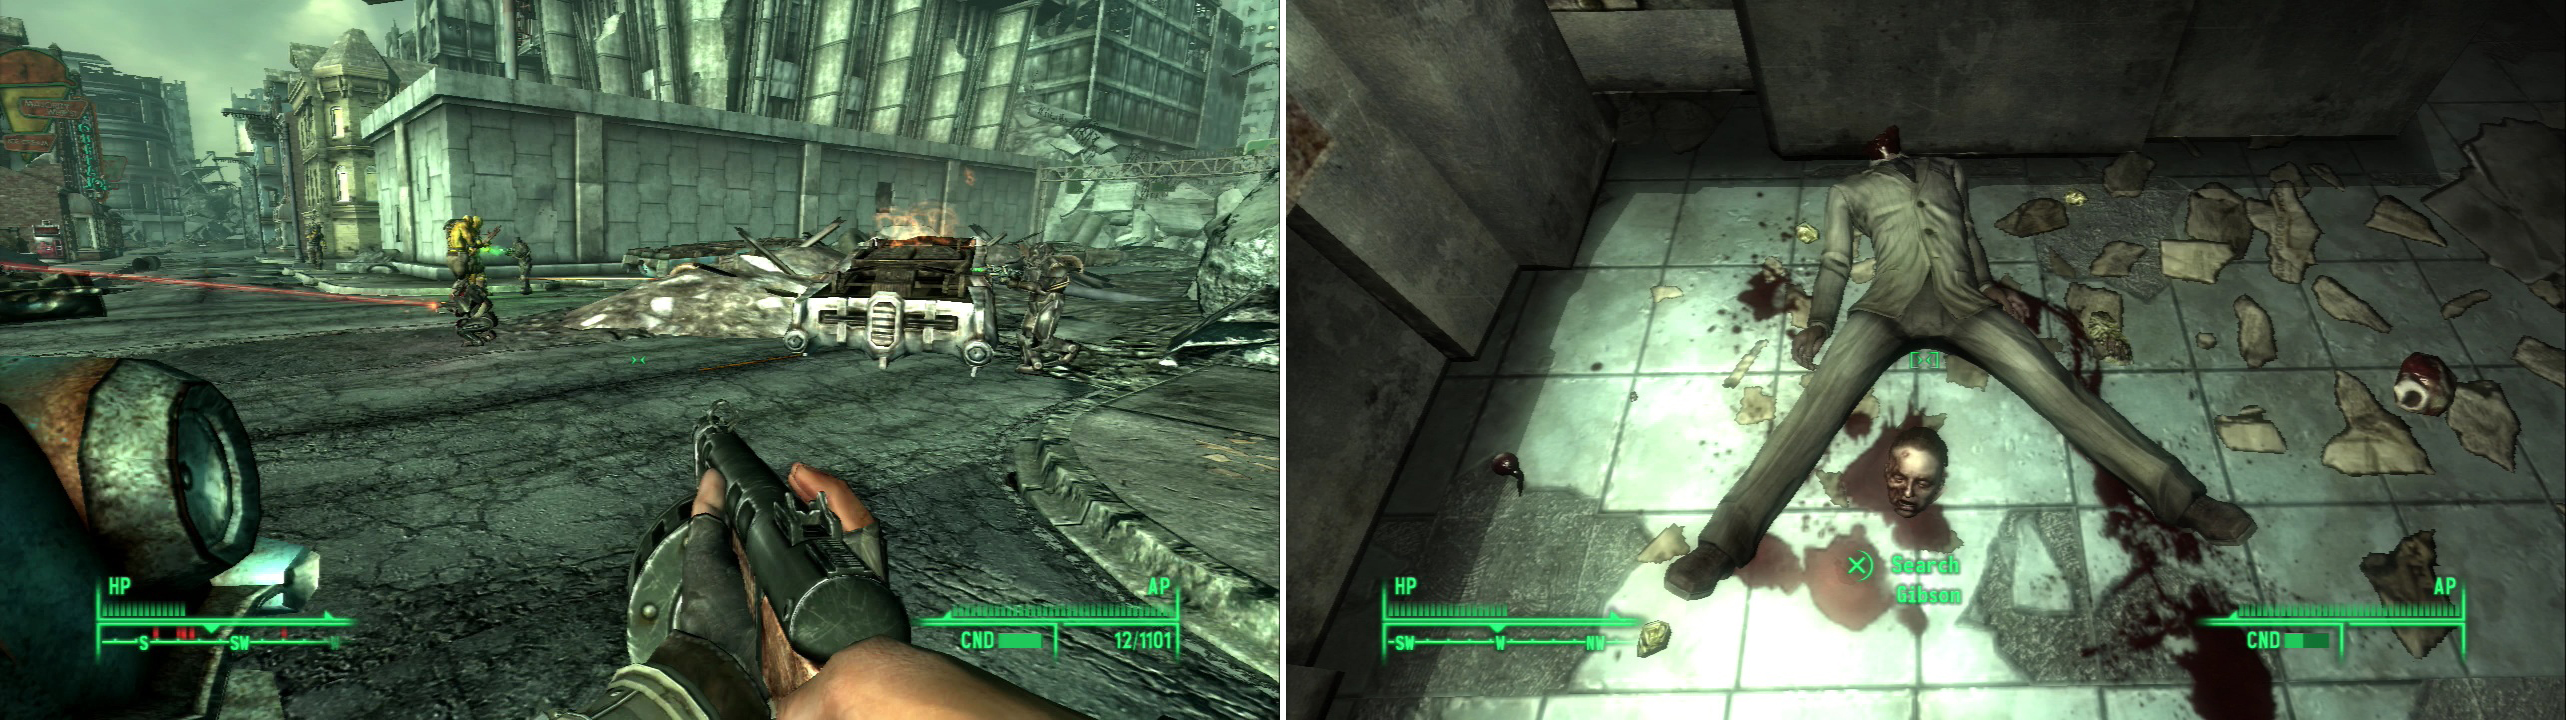
The Enclave will drop in and pick a fight with the Super Mutants patrolling L’Enfant (left). Gibson’s seen better days (right).
5) The Enclave versus Super Mutants
Book - Big Book of Science
Book - U.S. Army: 30 Handy Flamethrower Recipes
Exit the store and continue going north behind the alley. If you’re late enough in the game (which we are) a Vertibird will land and drop off some Enclave Soldiers to the north. A titanic struggle between the invading Enclave and the native Super Mutants will ensue. After the dust has settled, pick off the survivors and continue until you reach the four way intersection. Turn west and walk until you see some stairs to your right. Go up the stairs and open the Pulowski Preservation Shelter to find a Big Book of Science inside.
Return to the four way and turn north, continuing until you reach a tunnel blocked by rubble. To the north-west is a small shelter built into the rubble, wherin you can find a bed, two ammo boxes, and a copy of U.S. Army: 30 Handy Flamethrower Recipes .
6) Hazmat Disposal Site L5
Head north-west up an earthen ramp and go through a destroyed building to reach a large square dominated by a pyramid. Kill the Super Mutants around the area and head west to find the entrance to Hazmat Disposal Site L5. Yeah, nothing about this area sounds good, and nothing about it is good. It’s filled with Ghouls and there’s not a single book to be found… but, we’ll explore it for the sake of completionism.
Continue through the metro area until you reach some train tracks, where you’ll find a large hole in the floor to the north. Going down will deposit you in a large natural chamber filled with radioactive barrels. You’ll catch some rads, but we’ve suffered-and will yet suffer-worse. Go through the chamber to the north until you reach an artificial chamber at the far end. Hack the Turret Control Terminal [Hard], activate the turrets, and take off the targeting parameters to set some Turrets on the Ghouls in the room to the west. Some Mark VII Turrets will take care of any Ghoul problem you might have had. Head through the door to the west, up some stairs, and through a sewer to the west. You’ll come to a metro area which will exit out to the Mall in the north-western corner of the Local Map.
7) Mirelurk Nesting Hole
Book - Chinese Army: Spec. Ops. Training Manual
Before we mess with ol’ Abe, head up the stairs to exit the metro area and promptly turn east. Continue along the road until you find a chasm which contains two sewer pipes, one of which leads to the Mirelurk Nesting Hole. Once inside, head south down a rocky slope, then when you reach a split head down the south-western pass, past several leaking pipes. Keep going south until you reach a large southern chamber.
The path will have turned east by now, and you’ll have to drop off a cliff to continue going. Do so, and turn south, continuing until you see a metal structure in the wall. North of this structure is a ramp of sorts that leads to a ledge containing a Rotting Brahmin Corpse and a dead Mercenary. Get up to that ledge and stand along the western side, pretty much on top of the dead Mercenary. Turn north-west and walk on a small rocky ledge between the wall and a stone pillar. To your right (north) you’ll see a cave. Follow it until it terminates, where you’ll find a Skeleton on the floor with an Assault Rifle, a first aid box, and a wooden crate. On top of the wooden crate you’ll find a Chinese Army: Spec. Ops. Training Manual . That’s right, all that work for that.
Now you can continue to search this area as normal. There’s plenty of loot to be found, including a Nuka-Cola Quantum. When you’re done, exit back to the Mall and head to the Lincoln Memorial.
8) Emancipation or Extermination?
Before you approach too closely, decide whether you want to help the slavers, or the slaves. Ultimately the slavers will really just give you Caps for your trouble, while Hannibal will give you the Schematic - Dart Gun … a much better deal. Still, if you want to hear the Slavers out fast travel somewhere near the Lincoln Memorial, like the Mall Northwest or the Mall Southwest and head west over to the Lincoln Memorial. If you want to side with the Slavers, follow Step #9 , then #12 . If you will side with the slaves, follow Steps #10-12 .
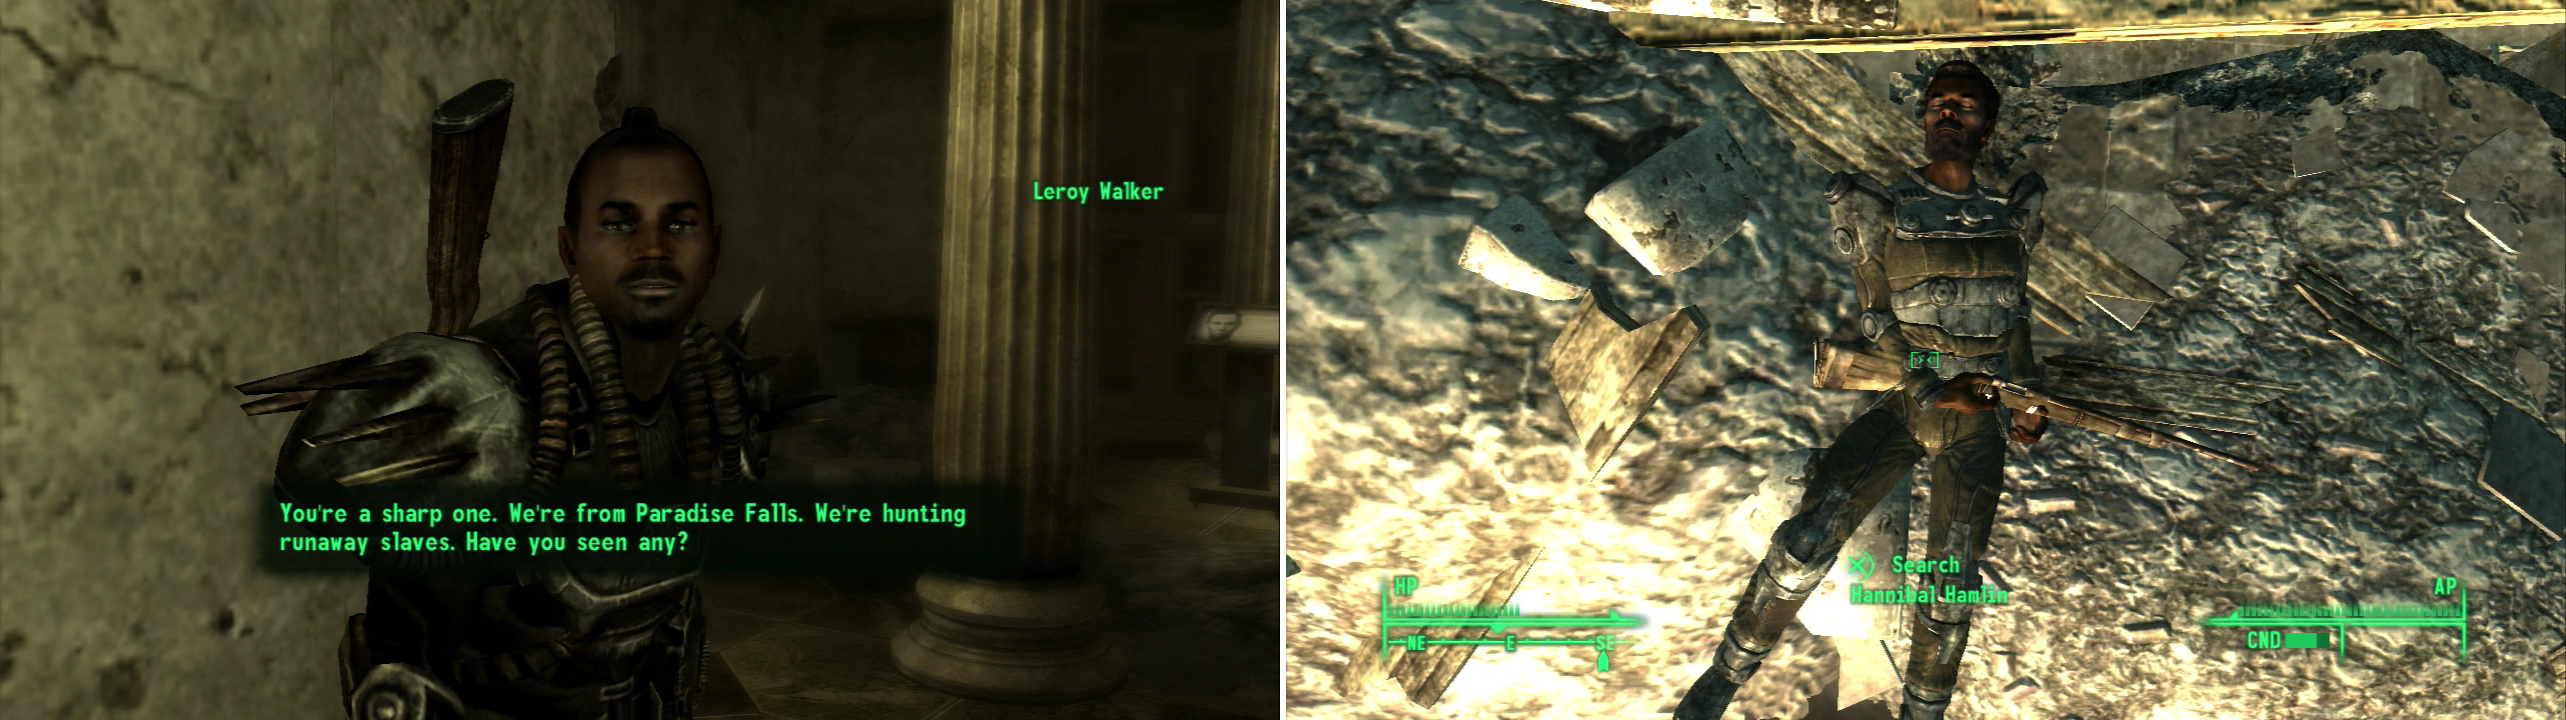
Leroy Walker leads the slavers who occupy the Lincoln Memorial (left). If you side with the slavers, there’s really only one outcome for the slaves at the Temple of the Union (right).
9) Siding With the Slavers
Get near the Memorial and a man named Silas will stop you. Be nice and he’ll tell you to go find Mister Walker, but not to set foot on the Memorial. Head up to the Memorial steps and circle around to the south, following the dirt path to a door leading to the Memorial Maintenence Room.
Find Leroy Walker and chat him up. He’ll offer to pay you to go to the Museum of History and find things pertaining to Lincoln so they can be burnt. Can’t have slaves getting funny ideas of freedom now, can we? If you give him Lincoln relics, he’ll pay you Caps, notably 100 Caps (200 after a successful Speech challenge) for the Lincoln Memorial poster the slaves want. If you want to side with the slavers you can accept the proposition, after which Leroy will offer you 100 Caps for info about the escaped slave leader Hannibal. If you squeal on Hannibal you’ll get 100 Caps, and the slavers will rush off to deal with the Temple of the Union. Journey to the Temple of the Union and, once the slaves are dealt with, you’ll get grudging access to Paradise Falls. Not very rewarding, is it?
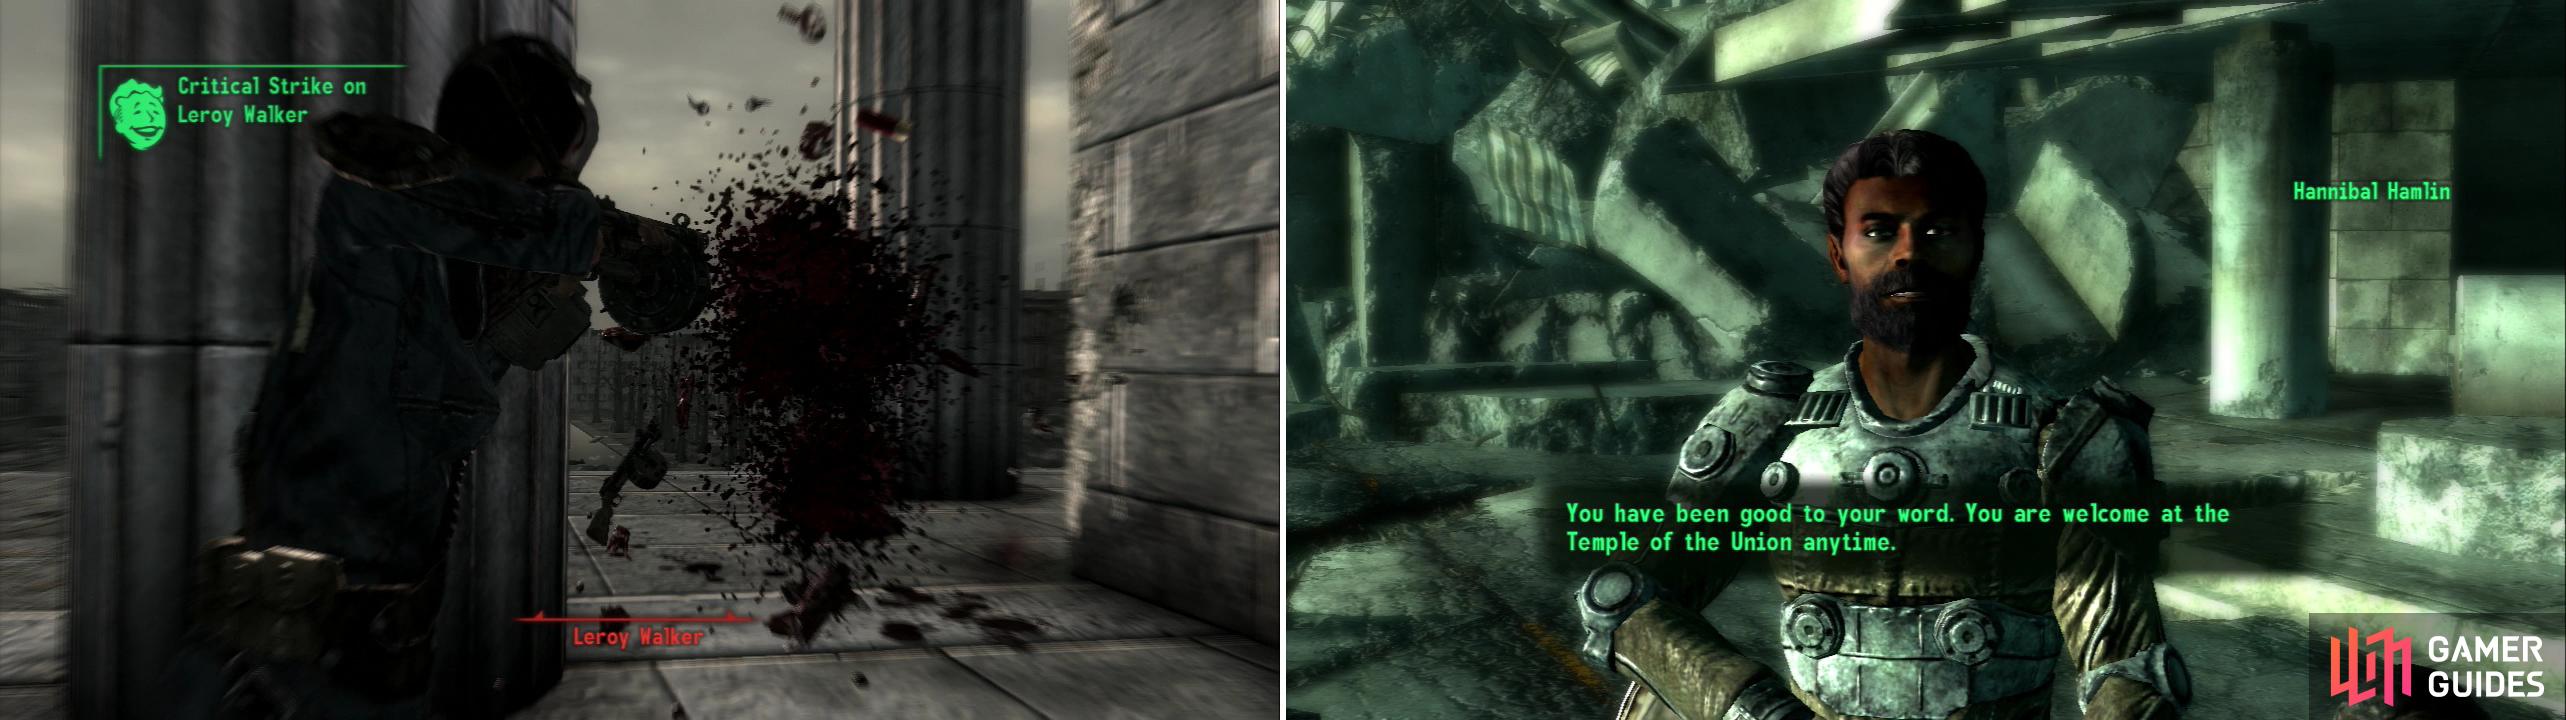
Exterminate the slavers at the Lincoln Memorial (left) and lead the slaves to their new home (right).
10) Slaying the Slavers
On the other hand if you want to help the slaves, simply take out all the slavers. Kill Leroy and loot the Memorial Maintenence Room for various bits of food, Nuka-Colas, and a Nuka-Cola Quantum on a metal shelf. Once outside you’ll have to deal with a Memorial full of Slavers and some traps they’ve erected to keep the Memorial safe from intrusion. Still, they’re not any tougher than a Raider, and easy prey for us this late in the game.
11) The Emancipation Migration
Schematic - Dart Gun
Once the Slavers are dealt with head back to the Temple of the Union. Give Caleb the poster he wants and talk to Hannibal, who will tell you to meet them at the Lincoln Memorial. In practice it takes them FOREVER to reach the memorial, so you might have to wait a while for them to get there. You can now loot the Temple of the Union freely, although it is still considered stealing to do so… there’s nobody here to catch you. Anyhow, once you and all the slaves reach the Lincoln Memorial talk to Hannibal again to claim your reward and complete the quest. See? Told you we were practically done with the quest.


12) When the Slaves Are Away, the Raiders Will Play…
Book - Grognak the Barbarian
Book - Tales of a Junktown Jerky Vendor
If you want to score an extra book, head back to the Temple of the Union and go south west until you see a highway. Go up one of the exit ramps and you’ll find that the shacks on the bridge are now occupied by Raiders. It was always possible to encounter a lone Enclave Soldier here, even before the “invasion”, but now you can expect a Vertibird to fly in and drop off some Enclave Soldiers. Once everything is dead search the makeshift shacks. On one of the tables you can find a copy of Grognak the Barbarian , and on another you can find a copy of Tales of a Junktown Jerky Vendor .
No Comments