
1) Aiding the Outcasts
Merrily return home and re-equip yourself. You won’t be able to use your gear in Operation: Anchorage!, but you still need to reach the Outcasts, which will require some heavy fighting. Bring what you want, but you might want to travel light to avoid unnecessary trips back and forth. When you’re ready pop on the “Outcast Distress Signal” and head to the Red Racer Factory. From here head south until you find a door leading to Bailey’s Crossroads Metro, which is just south-east of a debris-covered metro entrance.
2) Bailey’s Crossroads Metro
Make your way through the metro, killing what few Ghouls there are to kill. There’s some loot to be found, especially if you search ground floor when you reach the large, central metro hub room. Ultimately you’ll reach Bailey’s Crossroads.
3) Defender Morrill’s Desperate Mission
When you emerge you’ll hear the sound of furious fighting, as Brotherhood Outcasts desperately fight against encroaching Super Mutants. Help the Outcasts (or let them die so you can steal their stuff) and exterminate the Super Mutants. At the top of the stairs you will be introduced to Defender Morrill. Hopefully you haven’t grown soft in the Pitt, because the Super Mutants here are back in full form, including Super Mutant Overlords. Head north into an open area, then go west up a hill of rubble, and south into a building.
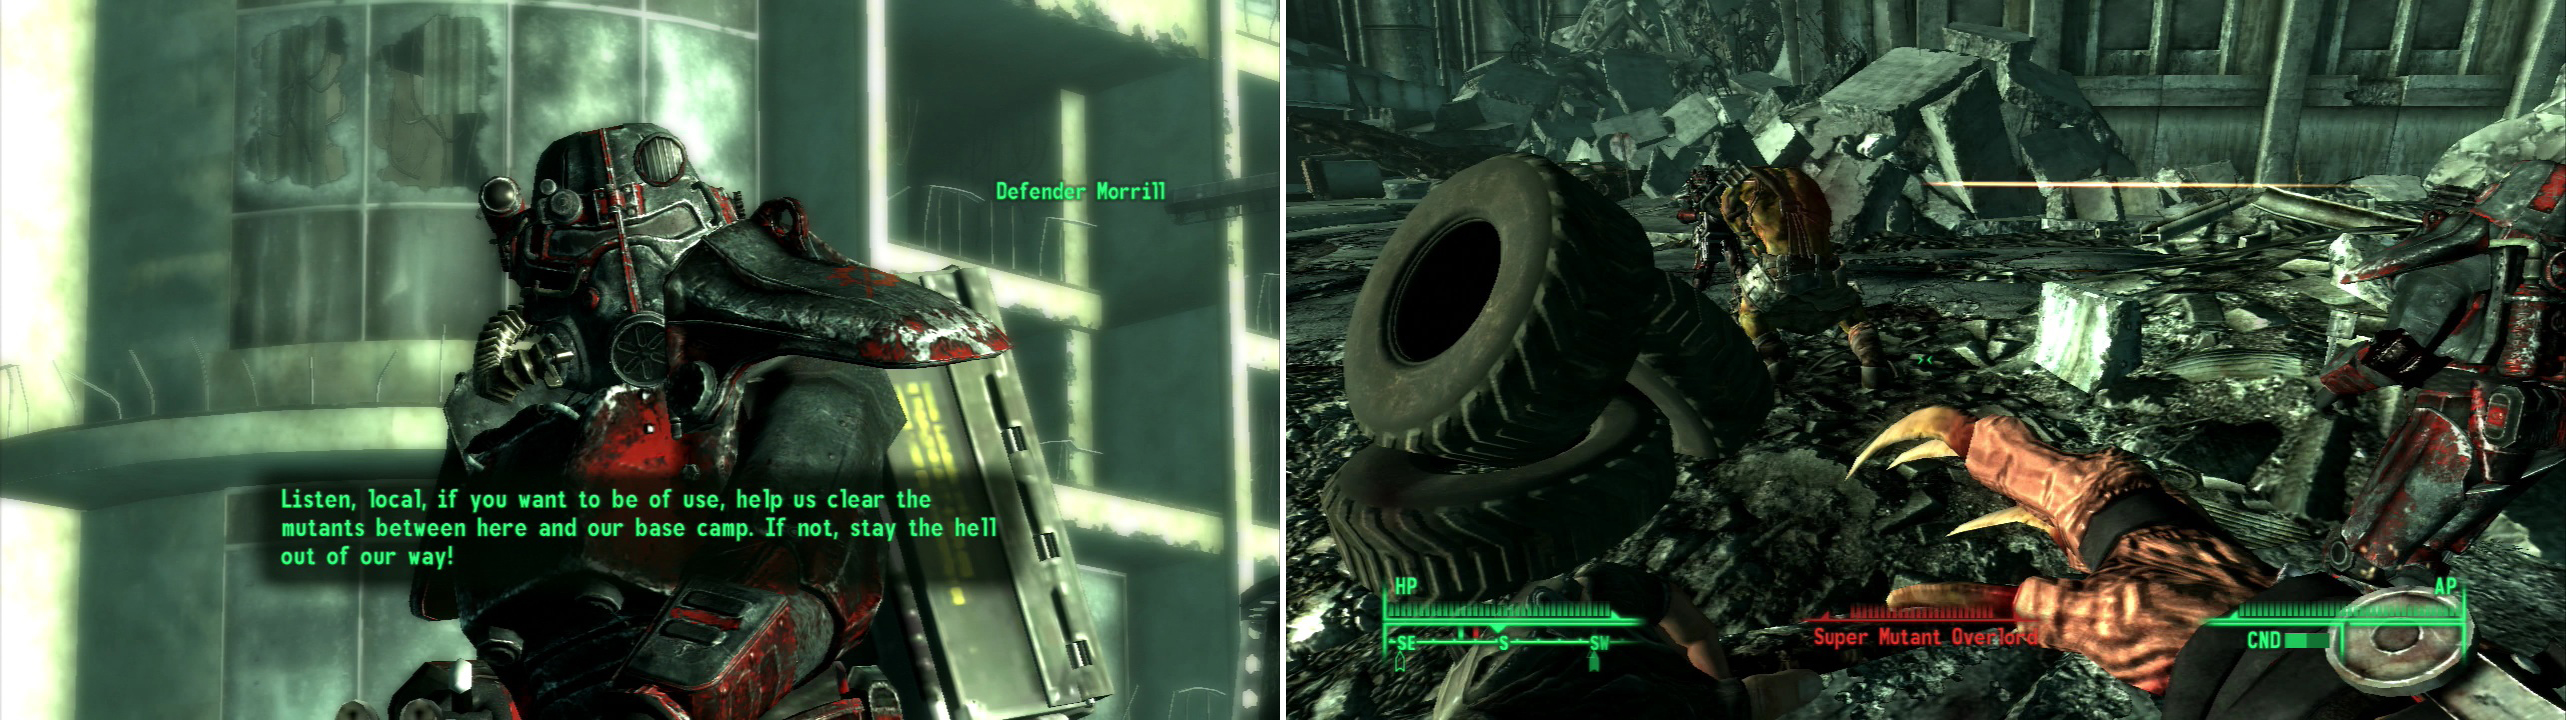
When you reach Bailey’s Crossroads you’ll meet Defender Morrill (left) leader of a patrol of Brotherhood Outcasts who are being attacked by Super Mutants. Fight your way through the mutants to reach the Outcast Outpost (right).
4) Breaking the Super Mutant Siege
The building is, itself, crawling with Super Mutants, ranging from normal Super Mutants armed with Nail Bats to Super Mutant Overlords with Gatling Lasers.. depending on your level. As you make your way in some Brotherhood Outcasts will start trouble on the other side. This will give you the ability to flank the Super Mutants and cause them some grief… or let the two sides battle it out. Make your way through the building to the south, looting and killing as you go. When you emerge on the far side, you’ll quickly discover the Outcast Outpost.
5) Outcast Outpost
Continue on to the Outpost and more Super Mutants will spawn in the building behind you. Either head onward to the Outpost or backtrack and clear the new Super Mutants out of your building. Chances are Defender Morrill won’t be alive anymore, but if he is he should talk to you when you get near the Outpost. Head down the elevator, Morrill or no. Two Outcasts can be overheard talking about the unaccounted for person riding the elevator.
Head outside the elevator to meet Defender Sibley, who isn’t the nicest of fellows. Play nice and he’ll take you to meet the boss, Protector McGraw. Long story short, the Outcasts are trying to get at some goodies here. Unfortunately said goodies are locked behind a blast door they can’t open. In order to open it, you need to complete a VR simulation of the liberation of Anchorage: Alaska. Why you? Because you have a Pip-Boy, which has the computer interface the Outcasts need.
Before you head on, you may want to loo the place. The Outcasts don’t mind if you take their stuff, and there’s more than enough to fill up your inventory. Across the hall behind a locked [Easy] door you’ll find a rather dead Gary 23. His mutilated arm suggests the Outcasts tried to remove his Pip-Boy at some point. Also, they’re incompetent.
6) The Simulation
When you’re done looting and messing around, go find Specialist Olin. She’ll gruffly give you a Neural Interface Suit and tell you to get in the Simulation Pod. She could really do with some lead asprin. Make a new “safety” hard save in case something goes wrong with Operation: Anchorage and get into the Simulation Pod. You are now commited to completing this expansion. None of your gear gets to go with you in the simulation, but if you were a killing machine outside of the sim, you’ll be a killing machine inside… you just need to get more tools of the trade.


No Comments