
1) Freedom Street Station
Book - Tumblers Today
First head to Metro Central, which can be accessed via the Museum Station (the Museum Station is just north-west of the Museum of Technology). From there head to the Freedom Street Station. This should be a fairly uneventful journey, considered we cleared out Metro Central a long time ago. Freedom Street is another story. Head north across a bridge to find a Scavenger. There’s plenty of stuff to steal here, particularly a copy of Tumblers Today . Now for some optional exploration…
2) Past Ghouls and Bear Traps
Head down some stairs and make your way through two rooms to find a tunnel to the south. Ignore the stairs to your left for now and head west to find the room under the bridge that led to the Scavenger camp. Bypass the bear traps and go through two doors to the west to find a Ghoul-infested sewer. Ignore the submerged door to the west and head north instead, turning west to follow the passage. If you follow this route you’ll find a few bits of loot, some Ghouls, and ultimately reach a door leading to Vernon Square. It’s a future destination of ours, and it might be worth it to head out and quickly grab the Vernon Square Station map marker. Ultimately, however, we’re not interested in Vernon Square just yet.
3) Pennsylvania Avenue
Backtrack past the room with the bear traps and head up some stairs leading south. You’ll soon end up in a metro entrance with more bear traps littering the floor, and a few Ghouls. Beyond that is the gate leading to Pennsylvania Avenue, an area briefly before mentioned, now immenently explored. This is a pretty safe exit to Pennsylvania Avenue, but there might be the odd Super Mutant crawling around, so be on guard.
4) Wastelander Execution
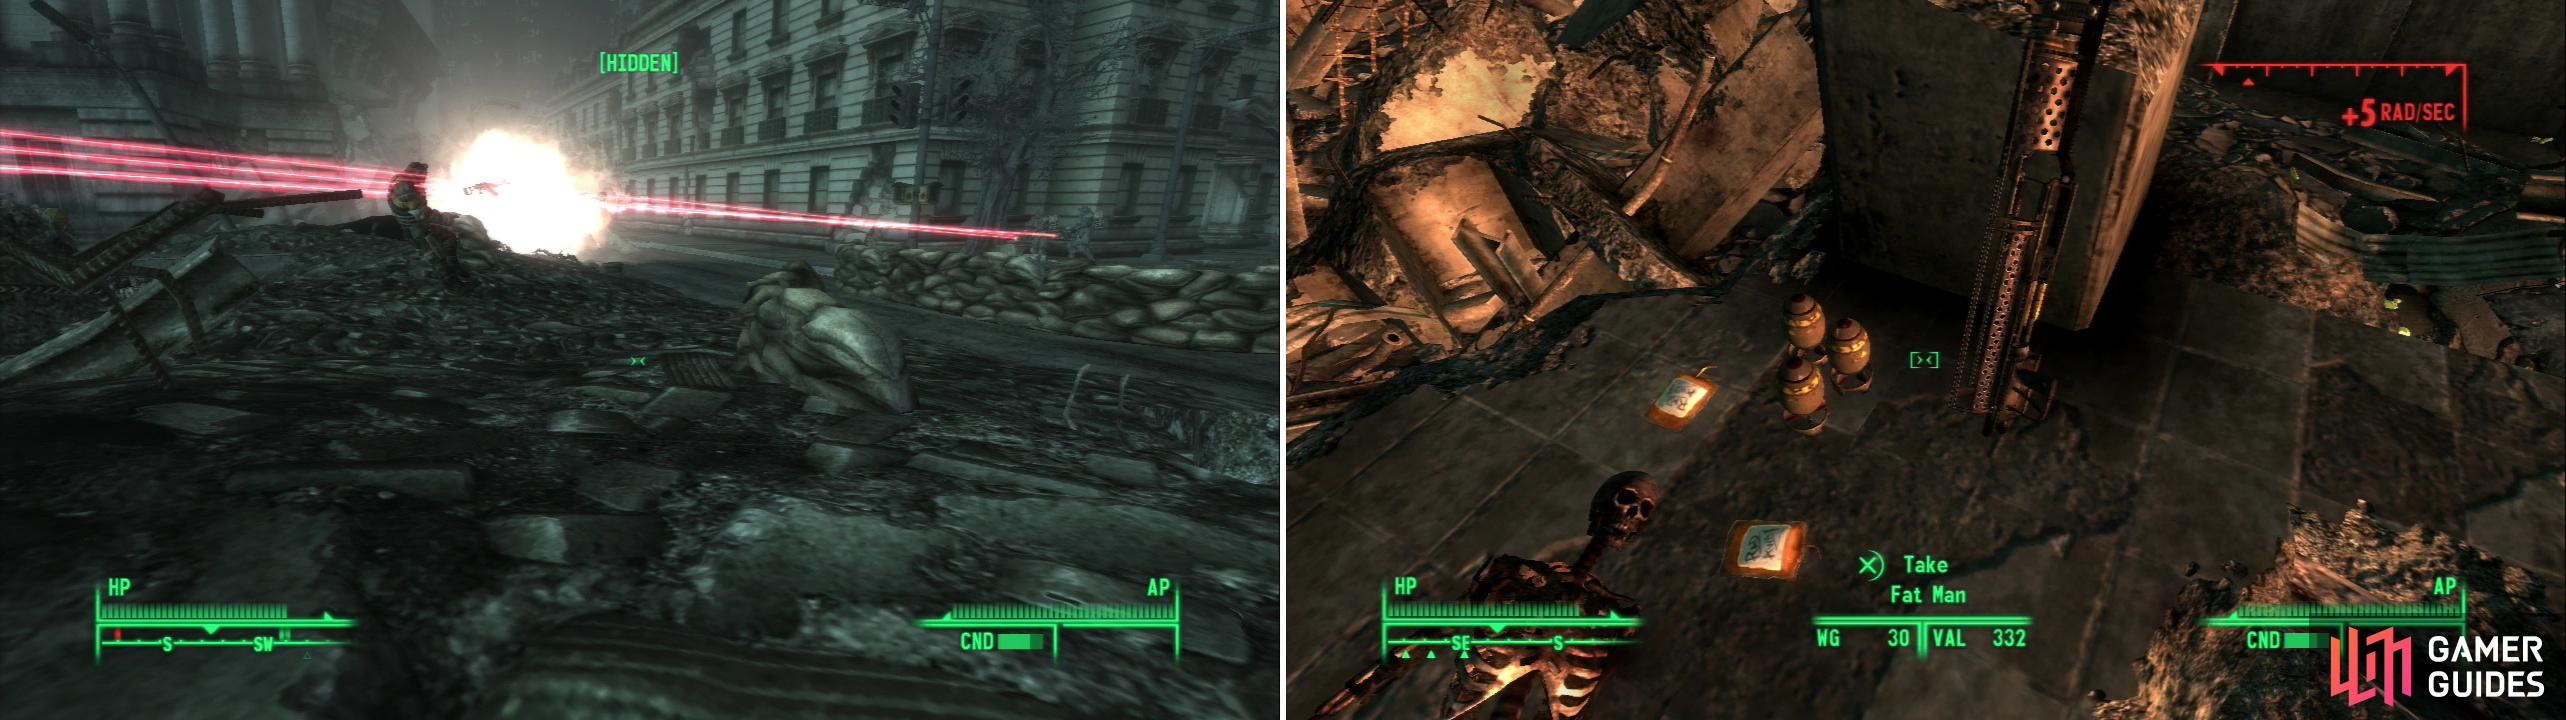
Head south to find a road, then follow it west until you come to the back of a truck where you’ll find a Super Mutant butchering Wastelanders. You probably won’t be able to save any lives, but you can kill the Super Mutant and loot its metal shelves for some ammo boxes and first aid boxes. There’s also a bed in here, in case you get tuckered out and need a nappy-bye.
5) White House Plaza
Now venture south to find some Brother of Steel Paladins fighting it out with Super Mutants. Save the Brothers, or let them deal with it on their own (it’ll be easier to loot their ammo boxes if they’re dead). Once done gaze westward to find the White House Plaza. From here we have several places to explore. There’s an unmarked Hotel the Brotherhood of Steel Paladins are using as a barracks near the Penn. Ave Northwest area (Penn. Ave/Georgetown Metro). Across the plaza from the aforementioned metro you’ll find a manhole simply labled “Utility.” The Penn. Ave/Georgetown Metro is optional, but we’ll cover it first.
6) Penn. Ave/Georgetown Metro
This metro connects Pennsylvania Northwest to Georgetown East, and is itself a perfectly legitimate means by which to reach Pennsylvania Avenue. In fact, it’s shorter and safer than the Freedom Street route, but less rewarding. Loot the Nuka-Cola Vending Machine and Eat-O-Tronic and head west. Go down some stairs to find a seemingly abandoned “camp” consisting of several beds. There’s also an Assault Rifle and some 5.56 Rounds on a table, some ammo boxes underneath the table, and some Nuka-Colas in a wooden crate. Shortly the inhabitants will show up, usually led by a Raider Guard Dog. Dispose of the three Raiders that follow and you’ll have cleared the way to Georgetown.
7) Another Port in the Storm
Book - Chinese Army: Spec. Ops. Training Manual
Just south of the Pennsylvania Northwest map marker you’ll find an unmarked Hotel that’ll typically have at least one Brotherhood of Steel Paladin inside. They’re not as nice as you might have come to expect from Brotherhood guys, if you want something in here, you’re going to have to steal it. Disarm the trip wire in the door way and search the large room beyond to find a Chinese Army: Spec. Ops. Training Manual on a small table.
8) Pennsylvania Avenue Utility Tunnel
Book - Pugilism Illustrated
Now head across the plaza to to the north to find a manhole leading to a sewer simply known as “Utility.” Go north to find two doors, on to the right and one to the left. Explore the room on the right first, which has plenty of loot in it, including a copy of Pugilism Illustrated on a table. Now head across the hallway and go through the door to the west. It’ll eventually lead to two doors, one exits to Pennsylvania Avenue, and the other leads to the Presidential Sub Level, which is inaccessible for now due to story-based reasons. Pop some Rad-X and head through the door to Pennsylvania Avenue.
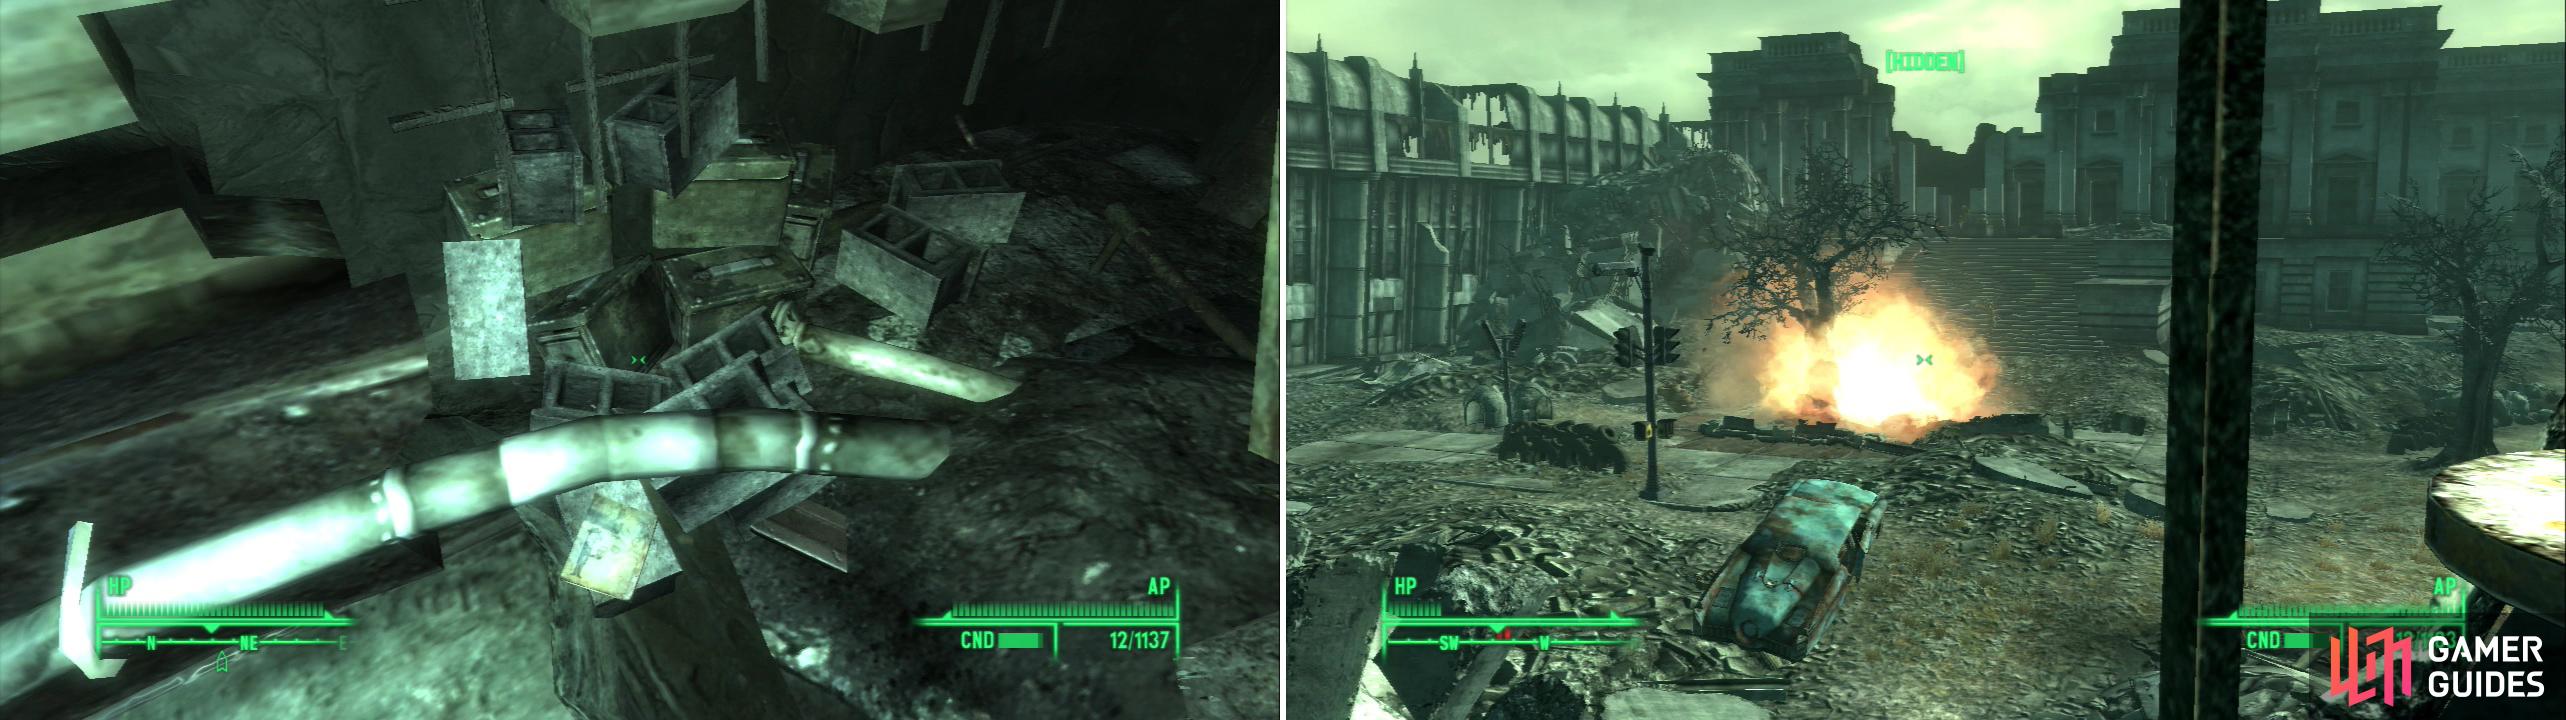
The Brotherhood defends their position in Pennsylvania Avenue (left). Brave the heat to score some loot near the ruins of the White House (right).
9) White House
As soon as the game loads you’ll discover the White House, along with some Ghouls that need smote. Kill them and head up the stairs to find a skeleton near two packs of RadAway, three Mini Nukes, and a Fat Man. Once obtained, head back to the safety of the Utility. Go back through the Utility to the White House Plaza.
10) Scavanger’s Abode
Now, there are two paths we can take to get to Seward Square from Pennsylvania Avenue. First we can take the obvious route by going through the Penn. Ave/Seward Square Metro. The other route is through a sewer that lies between Pennsylvania Avenue North and Metro Central Head back to Pennsylvania Avenue North (Freedom Street) and travel east. You’ll find a chain gate fence with a rigged baby carriage behind it on one side of the street and a decline leading to a Scavenger Camp across the street. If you feel frisky you can try and steal from their ammo boxes and first aid boxes. Continue east to find the manhole leading to the Sewer on a sidewalk near some rubble, just across the street from where the scaffolding ends.
11) Super Mutant Sewers
This area is inhabited by several leveled Super Mutants, although it’s easy (and ideal) to fight them one at a time. Head down the tunnel to the north until it connects to another tunnel to the south. Switch tunnels and head west, entering the first door your find on your left. Go up some stairs to find three skeletons, one of which has a Laser Pistol, some Microfusion Cells, and the “Hidden Stash Note”.
12) Scoring the Sewer Stash
Books - Tumblers Today
Head back into the tunnels and travel east until you find a niche in the wall on the northern side. Search it and you’ll find five boxes with various ammo and grenades inside, as well as a copy of Tumblers Today on a cinder block. Head back west and cross back over into the northern tunnel. Continue west until you find a room with a ladder leading to Seward Square. You’ll surface in an anonymous alley east of the Seward Sq. North Metro (aka Penn. Ave/Seward Square Metro.)
13) The Alternate Route
On the other hand, if you want to go through the Penn. Ave/Seward Square Metro continue to Metro Central, where you’ll find a large number of Super Mutants. In the diner north of Metro Central you’ll find a number of bodies to loot. East of Metro Central you’ll find a Pulowski Preservation Shelter with an ammo box [Very Easy] just begging to be looted, and south east still you’ll discover Pennsylvania Avenue East, aka Penn. Ave/Seward Square Metro.
14) Penn. Ave/Seward Square Metro
Go through a doorway on the right and continue north west through some bathrooms. Go through a door to the south west where-if you’re unluckly like me-you’ll find a Feral Ghoul Reaver waiting. Continue through some tunnels until you reach some offices which can, if nothing else, be traversed with ease. Head through a doorway to the south east to find the gate to Seward Square. Once again the official metro tunnel is the easier, safer, faster route, but also less rewarding.
15) The Sniper of Seward Square
No matter which way you took to get here, there’s one little problem in your way. South west of the Seward Sq. North Metro you’ll find a Talon Company Mercenary with a Sniper Rifle on a bridge connecting two buildings. You can try to sneakily snipe him, or get up to him by entering the office building south of the metro. The latter course puts you dangerously close to Super Mutants in the plaza nearby, not to mention the bother of trying to sneak past him in the first place.
The stash in the sewers is well-hidden, but worth looking for (left). Take control of the Talon Company’s position and rain death upon your foes with the captured artillery (right).
16) Fun with Artillery!
Either kill him or sneak past him and enter the Office Building south of Seward Sq. North Metro. Make your way through the building (looting as you go, of course) until you find a door on the top floor leading to Seward Square, which will take you to the bridge the sniper was on. Grab the “Seward Square Artillery” note and a group of Talon Company Mercs will show up below you to the west and get into a fight with some Super Mutants. If you want to be a bastard, hit them both with the artillery, or just let them duke it out. It’s an amusing way to dispose of some Super Mutants, at least. The only problem is finding all the pieces after the strikes… and the fact that Super Mutant Overlords take an ungodly number of hits to kill. When you’re done showing Seward Square who the real boss is, loot the two ammo boxes and first aid boxes on the shelf near the switch and head back down.
17) Super Mutants versus Talon Company Mercs
Books - Lying, Congressional Style
Drop down and head west to loot the corpses left behind due to your merciless artillery strikes. If you head north you’ll find another batch of Super Mutants duking it out with Talon Company Mercenaries. In my experience, this tends to be an absolute route in favor of the Super Mutants. You’ll also find a door leading to the Captiol Building East Entrance, which we don’t need to explor at this time. South of this door, however, along the Capitol Building you’ll find a Pulowski Preservation Shelter, within which you can find a copy of Lying, Congressional Style .
18) Clearing Seward Square
Get yourself ready for a fight and head back to the south east, where you’ll find a large plaza occupied by Super Mutants and spanned by a bridge. They can be rather spread out, but the numerous Centaurs are the fly in the ointment as they typically are good at sniffing out sneaking characters. Kill the Super Mutants and search the back of a truck to find a safe [Average] and a first aid box. If you follow the bridge to the north you’ll find a street that usually has an alignment-based encounter in it, either Regulators or Talon Company Mercenaries.
19) Feeding the Worm
Continue across the plaza to the east, where you’ll invariably hear a loony complaining about the state of the world and rambling senselessly. Once you reach the far eastern end of the plaza head south until you find another street running east. Continue east until you find a road running north. Continue north until you find a small path to the west, along which a Wastelander is cowering near a brick wall. Do NOT go down the alley, as the crazy Wastelander in the building has mines, grenades, and Mini Nukes wired to a detonater, and he will-if provoked-blow them up.
There are two ways to deal with him. Either snipe him from outside of his blast radius, or succeed at a [Charisma] check and convince the cowering Wastelander to go talk to the loon. If you kill the psycho, you’re free to pick up all the undetonated munitions he’ll leave behind. After the nutter was put out of our misery you should beable to find four Frag Mines and four Mini Nukes in the alley he terrorized.
20) The Other Side of Anacostia
From the alley head south east, persuing a new map marker which will turn out to be another entrance to the Anacostia Crossing Station. If you’re late enough in the game an Enclave Vertibird will fly over head and expel some Enclave Soldiers, who will be quick to pick a fight with nearby Super Mutants. Deal with the situation however you see fit, but head east once the dust has settled to find a truck. In the back of the truck you’ll find a dead Wastelander, his two ammo boxes, two first aid boxes, and a rigged baby carriage.
This loon has rigged an alley with explosives (left). The Rangers have left signs that will lead you to their compound (right).
21) Reaching the Ranger Compound
Book - Dean’s Electronics
Backtrack to the west and head back up the psycho-adjacent road to the north until you find some sand-bag barricades guarding a path to the east. Continue east until you find the Ranger Compound. Don’t be afraid to search the upper levels of the building before you go in, as there are a total of five ammo boxes and two first aid boxes to be found. Activate the “Ranger Compound Outer Terminal” to open the door… that or pick the lock [Very Hard]. You can also get the note “Search Party Log #2” here by perusing the terminal.
Inside the compound you can get more info on the Rangers by searching Reilly’s Terminal. Other than that, there’s a bit of food, drugs, ammo, and the odd components around, as well as a copy of Dean’s Electronics in the southern room with the shelves in the middle, the book is on top of the generator along the southern wall. Now that we’ve helped ourselves to the Reilly’s stuff, we might as well help out her Rangers.
One way to get to Our Lady of Hope Hospital is to head back through the Museum Station down to Dupont Circle and go through the Dry Sewer, which leads to the basement of Our Lady of Hope Hospital.. but what’s the fun in going back through a place we’ve already explored? Instead, this walkthrough will take the route that allows us to explore the most areas along the way. Head over to Arlington Cemetery North and into Arlington Utility.
No Comments