
Tower of Fantasy has lots of exploration content to do in the game, one of these features is the List of Targets which is part of the 100% map completion. List of Targets are the world bosses/mini-bosses that can be found in that particular map. This page will help you find where all five targets are, and what level they are.
How to complete the Firefly Puzzle
This List of Targets works differently to the previous areas targets as you’ll need to complete some steps in order to fight them. The first thing you’ll need to do is obtain three Rapid Repair Devices by completing firefly puzzles. You can find these devices in the following areas:
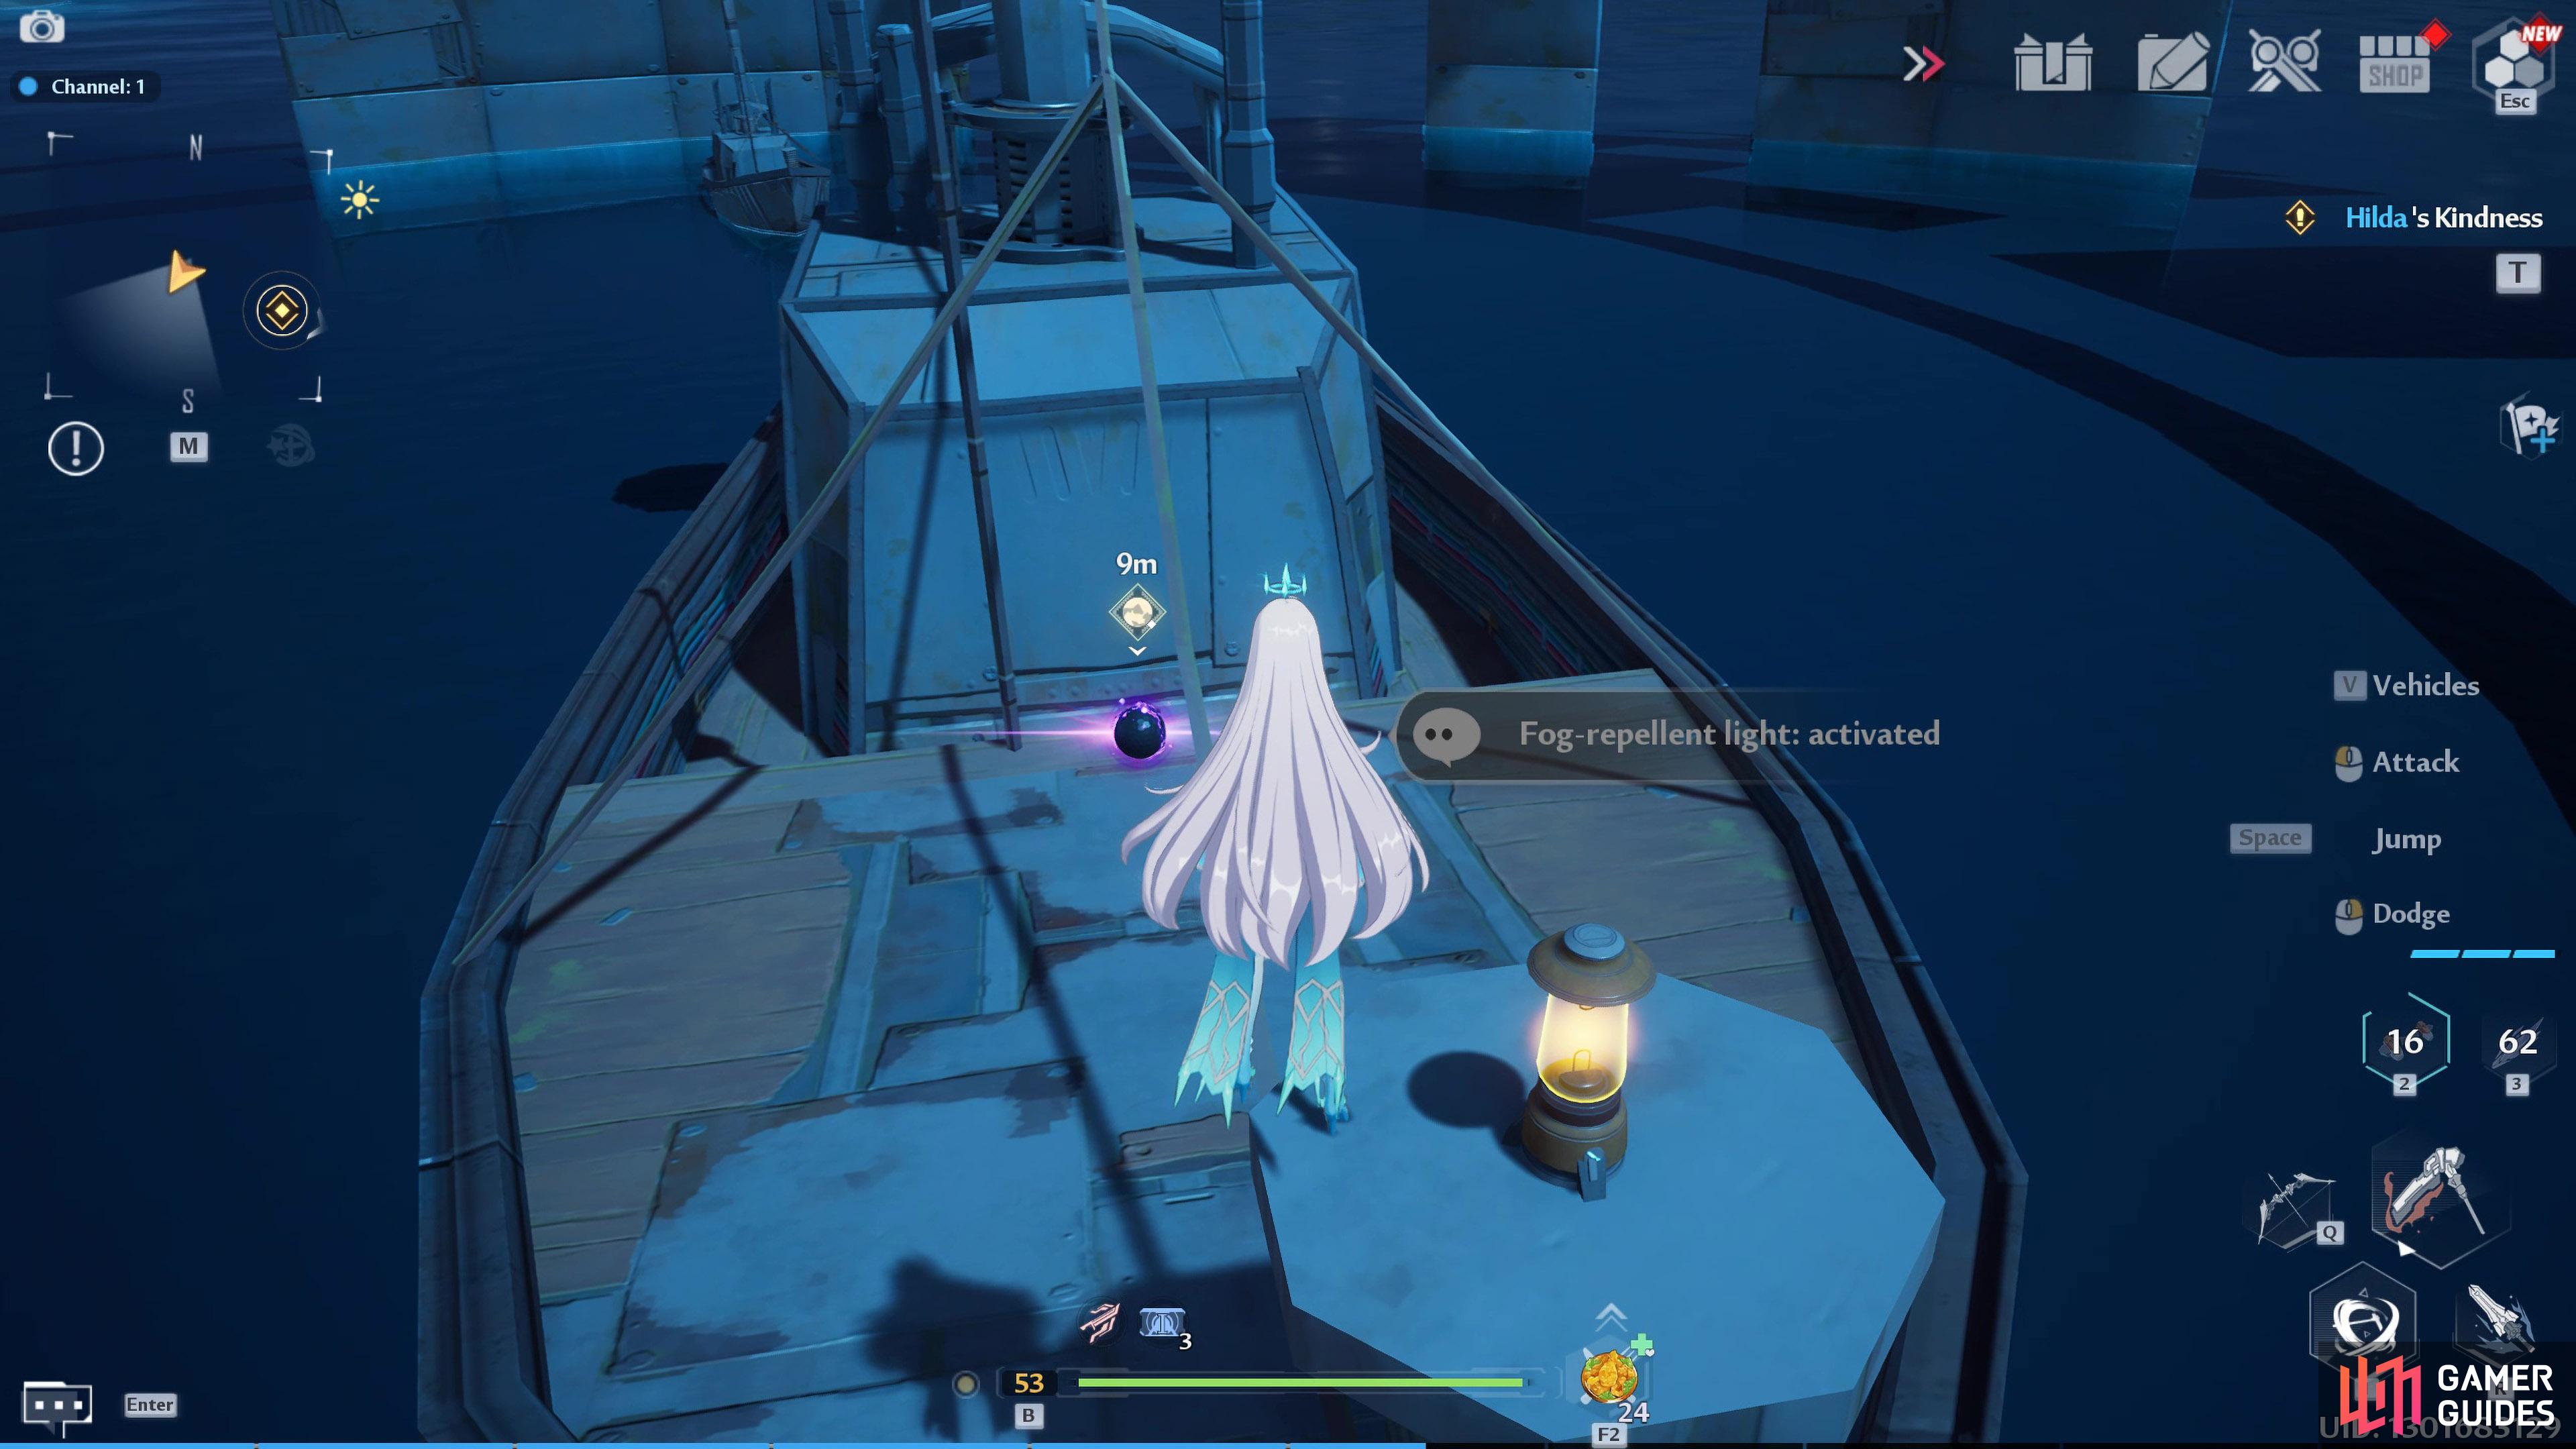
To the east of Black Tooth Isle, north of the Mysterious Tetriso Ruins. Head into the sphere-shaped building in the water, and collect the three fireflies on the three small ships in the area. When you have them, light up the three lanterns on the large ship to make a Black Nucleus appear. You’ll get the Rapid Repair Device when you collect the Nucleus.
This device can be found to the east of the Island of Pins. Once again, head over to the sphere-shaped building in the water, collect the fireflies, and light up the lanterns around the large ship. Collect the Black Nucleus, and the device with it.
The final device can be found in the sea southwest of the Stranded Remains Island. For the final time, collect the fireflies around the small ships in the area, light up the lanterns, and collect the Black Nucleus along with the device.
Repairing the Power Supply Facility
Now that you have the three Repair Devices, you’ll need to head over to the Power Supply Facility (Tent) which can be found east of the Deserted Water Treatment Plant in the Stone Mountain area (east of the map). Once you’ve found the Power Supply, you’ll need one more thing to fix it…a Tool set. You can purchase one of these from the Crystal Dust store under a fine gift. When you have all the required items, interact with the power supply to fix it.
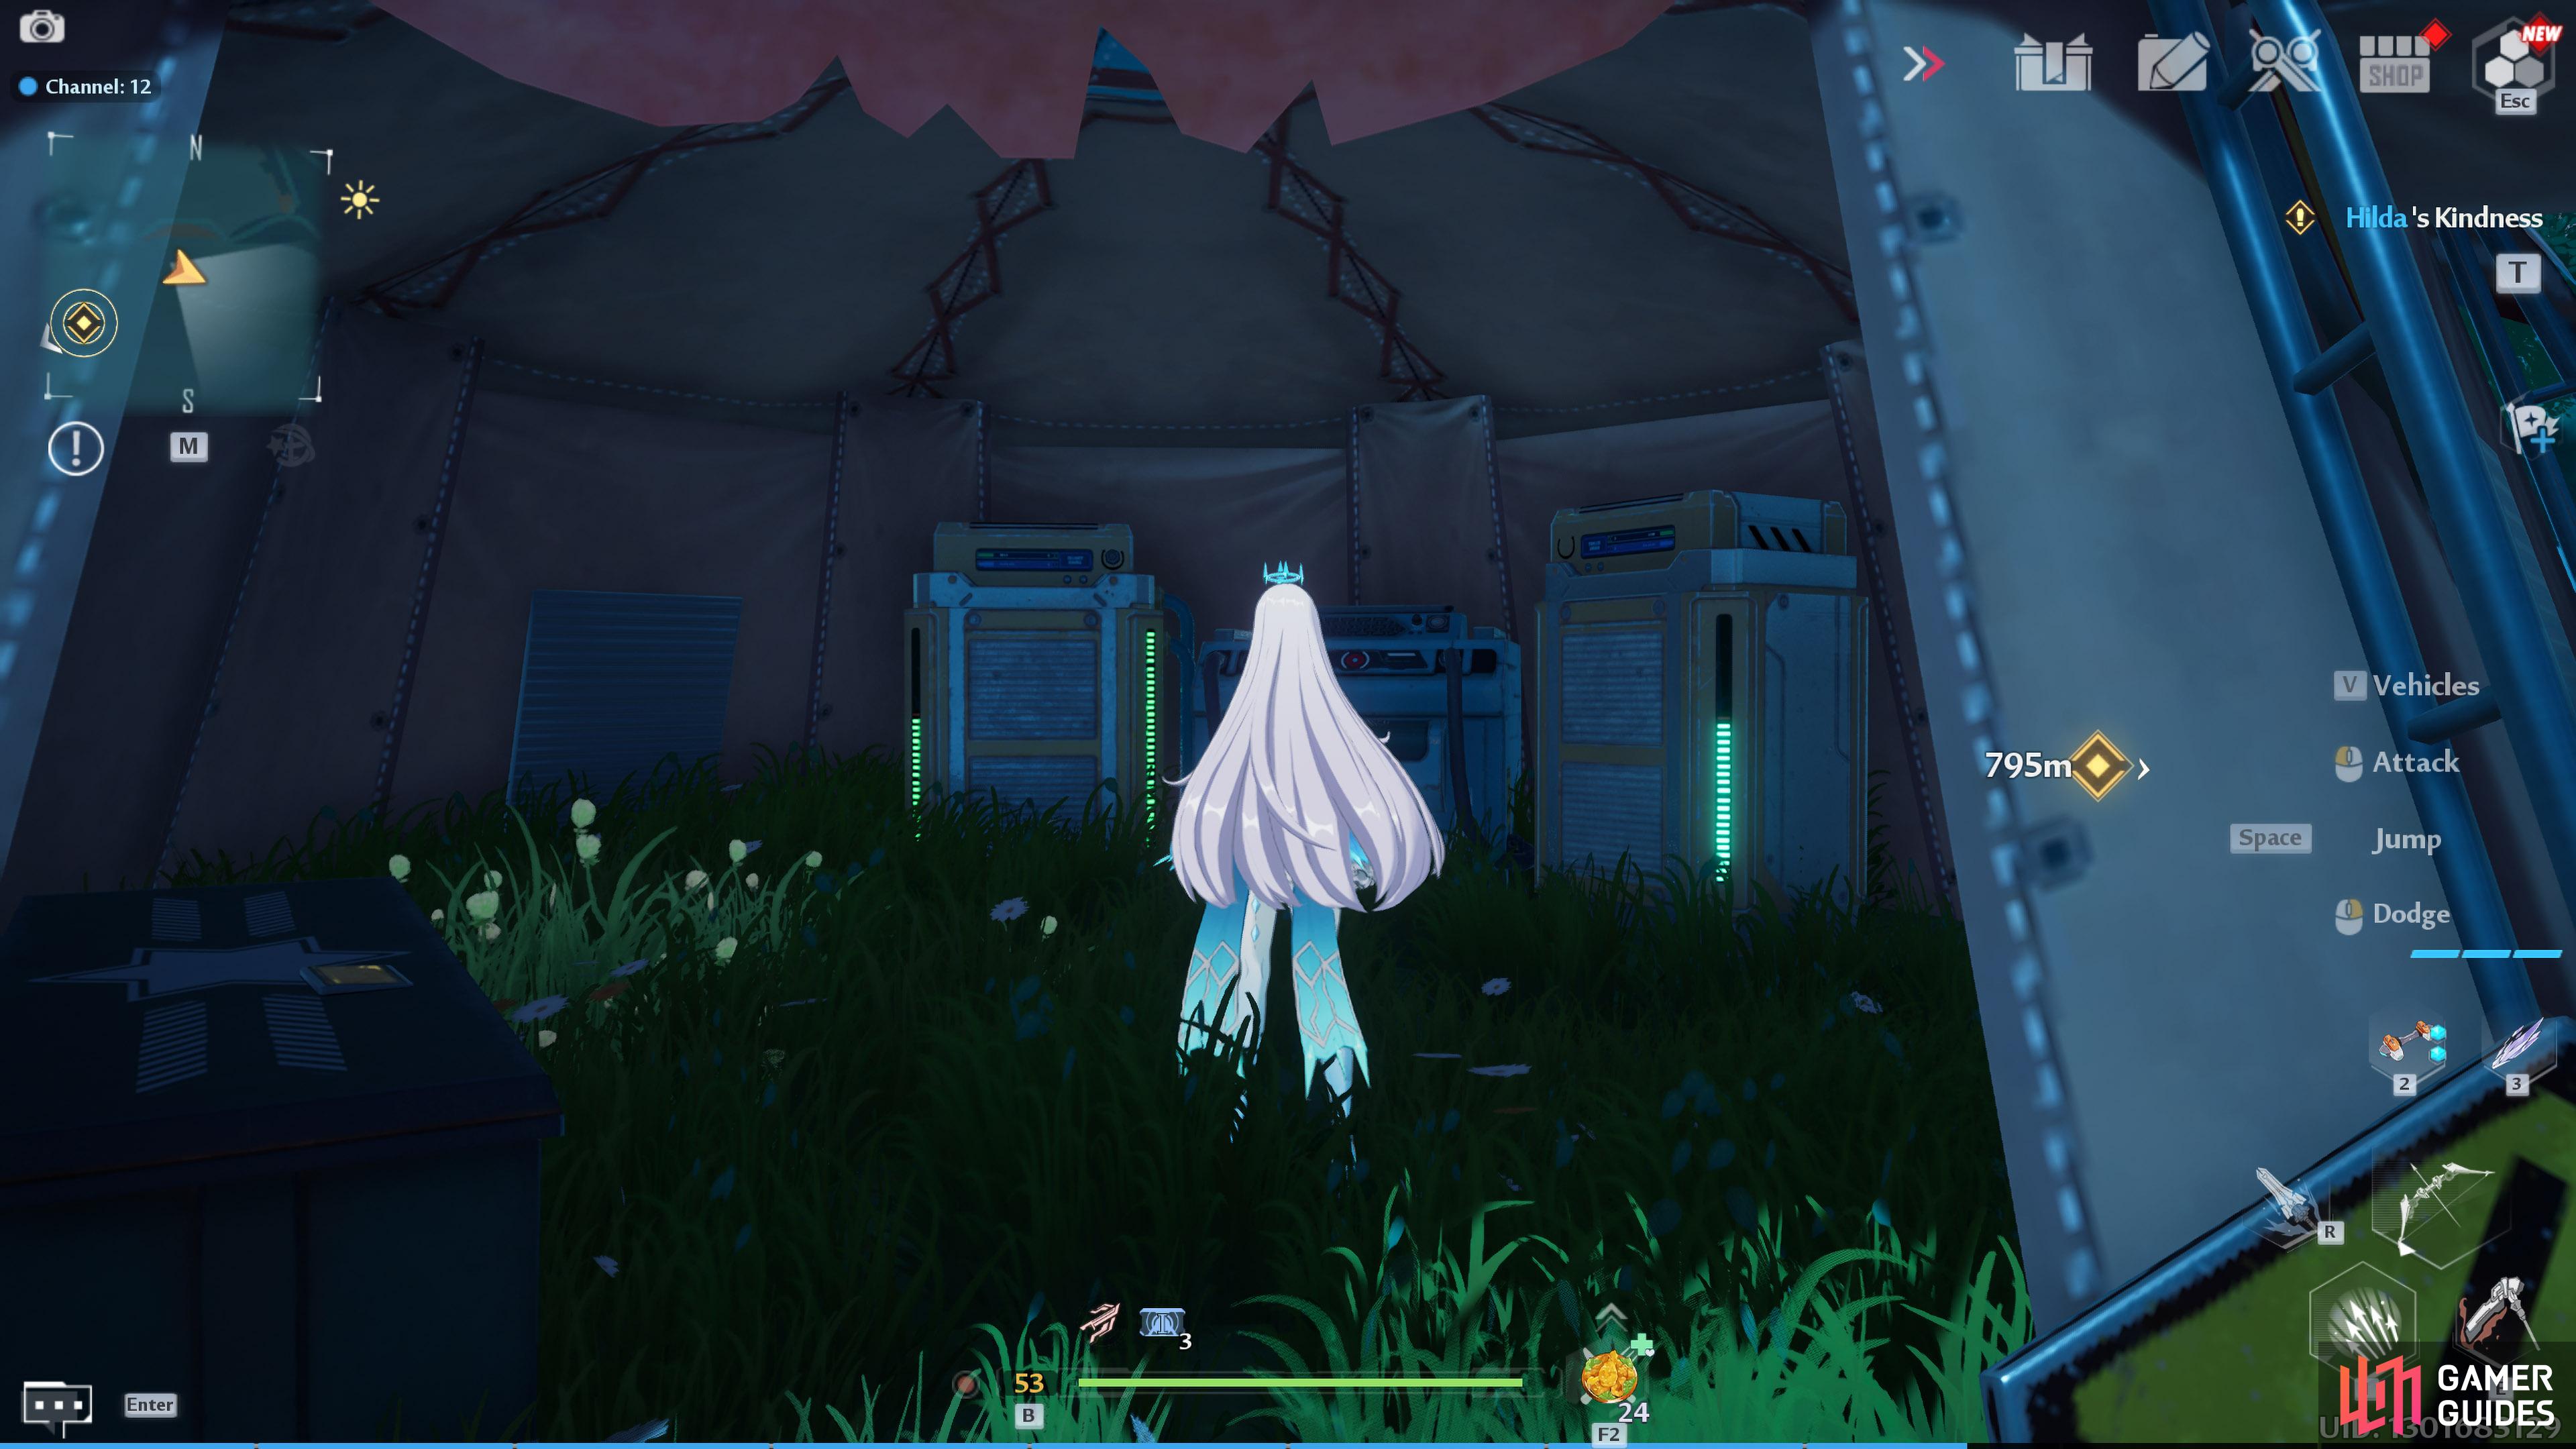
Once you have the three Rapid Repair Devices, and the Tool Set gift, you can repair the power supply in the tent.
The Aberrants
Now that you have fixed the Power Supply, you’ll need an Institute Keycard, these can be obtained as a random drop from the three Aberrants: Angry, Bohemian, and Lazy. All of which you’ll need to defeat for map completion. The problem with this is that these are a rare spawn at one of the many Battle Transmission Portals scattered throughout the map. What’s even worse is the Keycard that they can drop isn’t guaranteed either, so you may be farming them for a while.
Angry Aberrant
| Target | Level | Map Marker |
|---|---|---|
| Angry Aberrant | Same level that you are | The Abberants Location |
Bohemian Aberrant
| Target | Level | Map Marker |
|---|---|---|
| Bohemian Aberrant | Same level that you are | The Abberants Location |
Lazy Aberrant
| Target | Level | Map Marker |
|---|---|---|
| Lazy Aberrant | Same level that you are | The Abberants Location |

Any of the Aberrants can appear at the Battle Transmission Gates scattered around the Outer Islands.
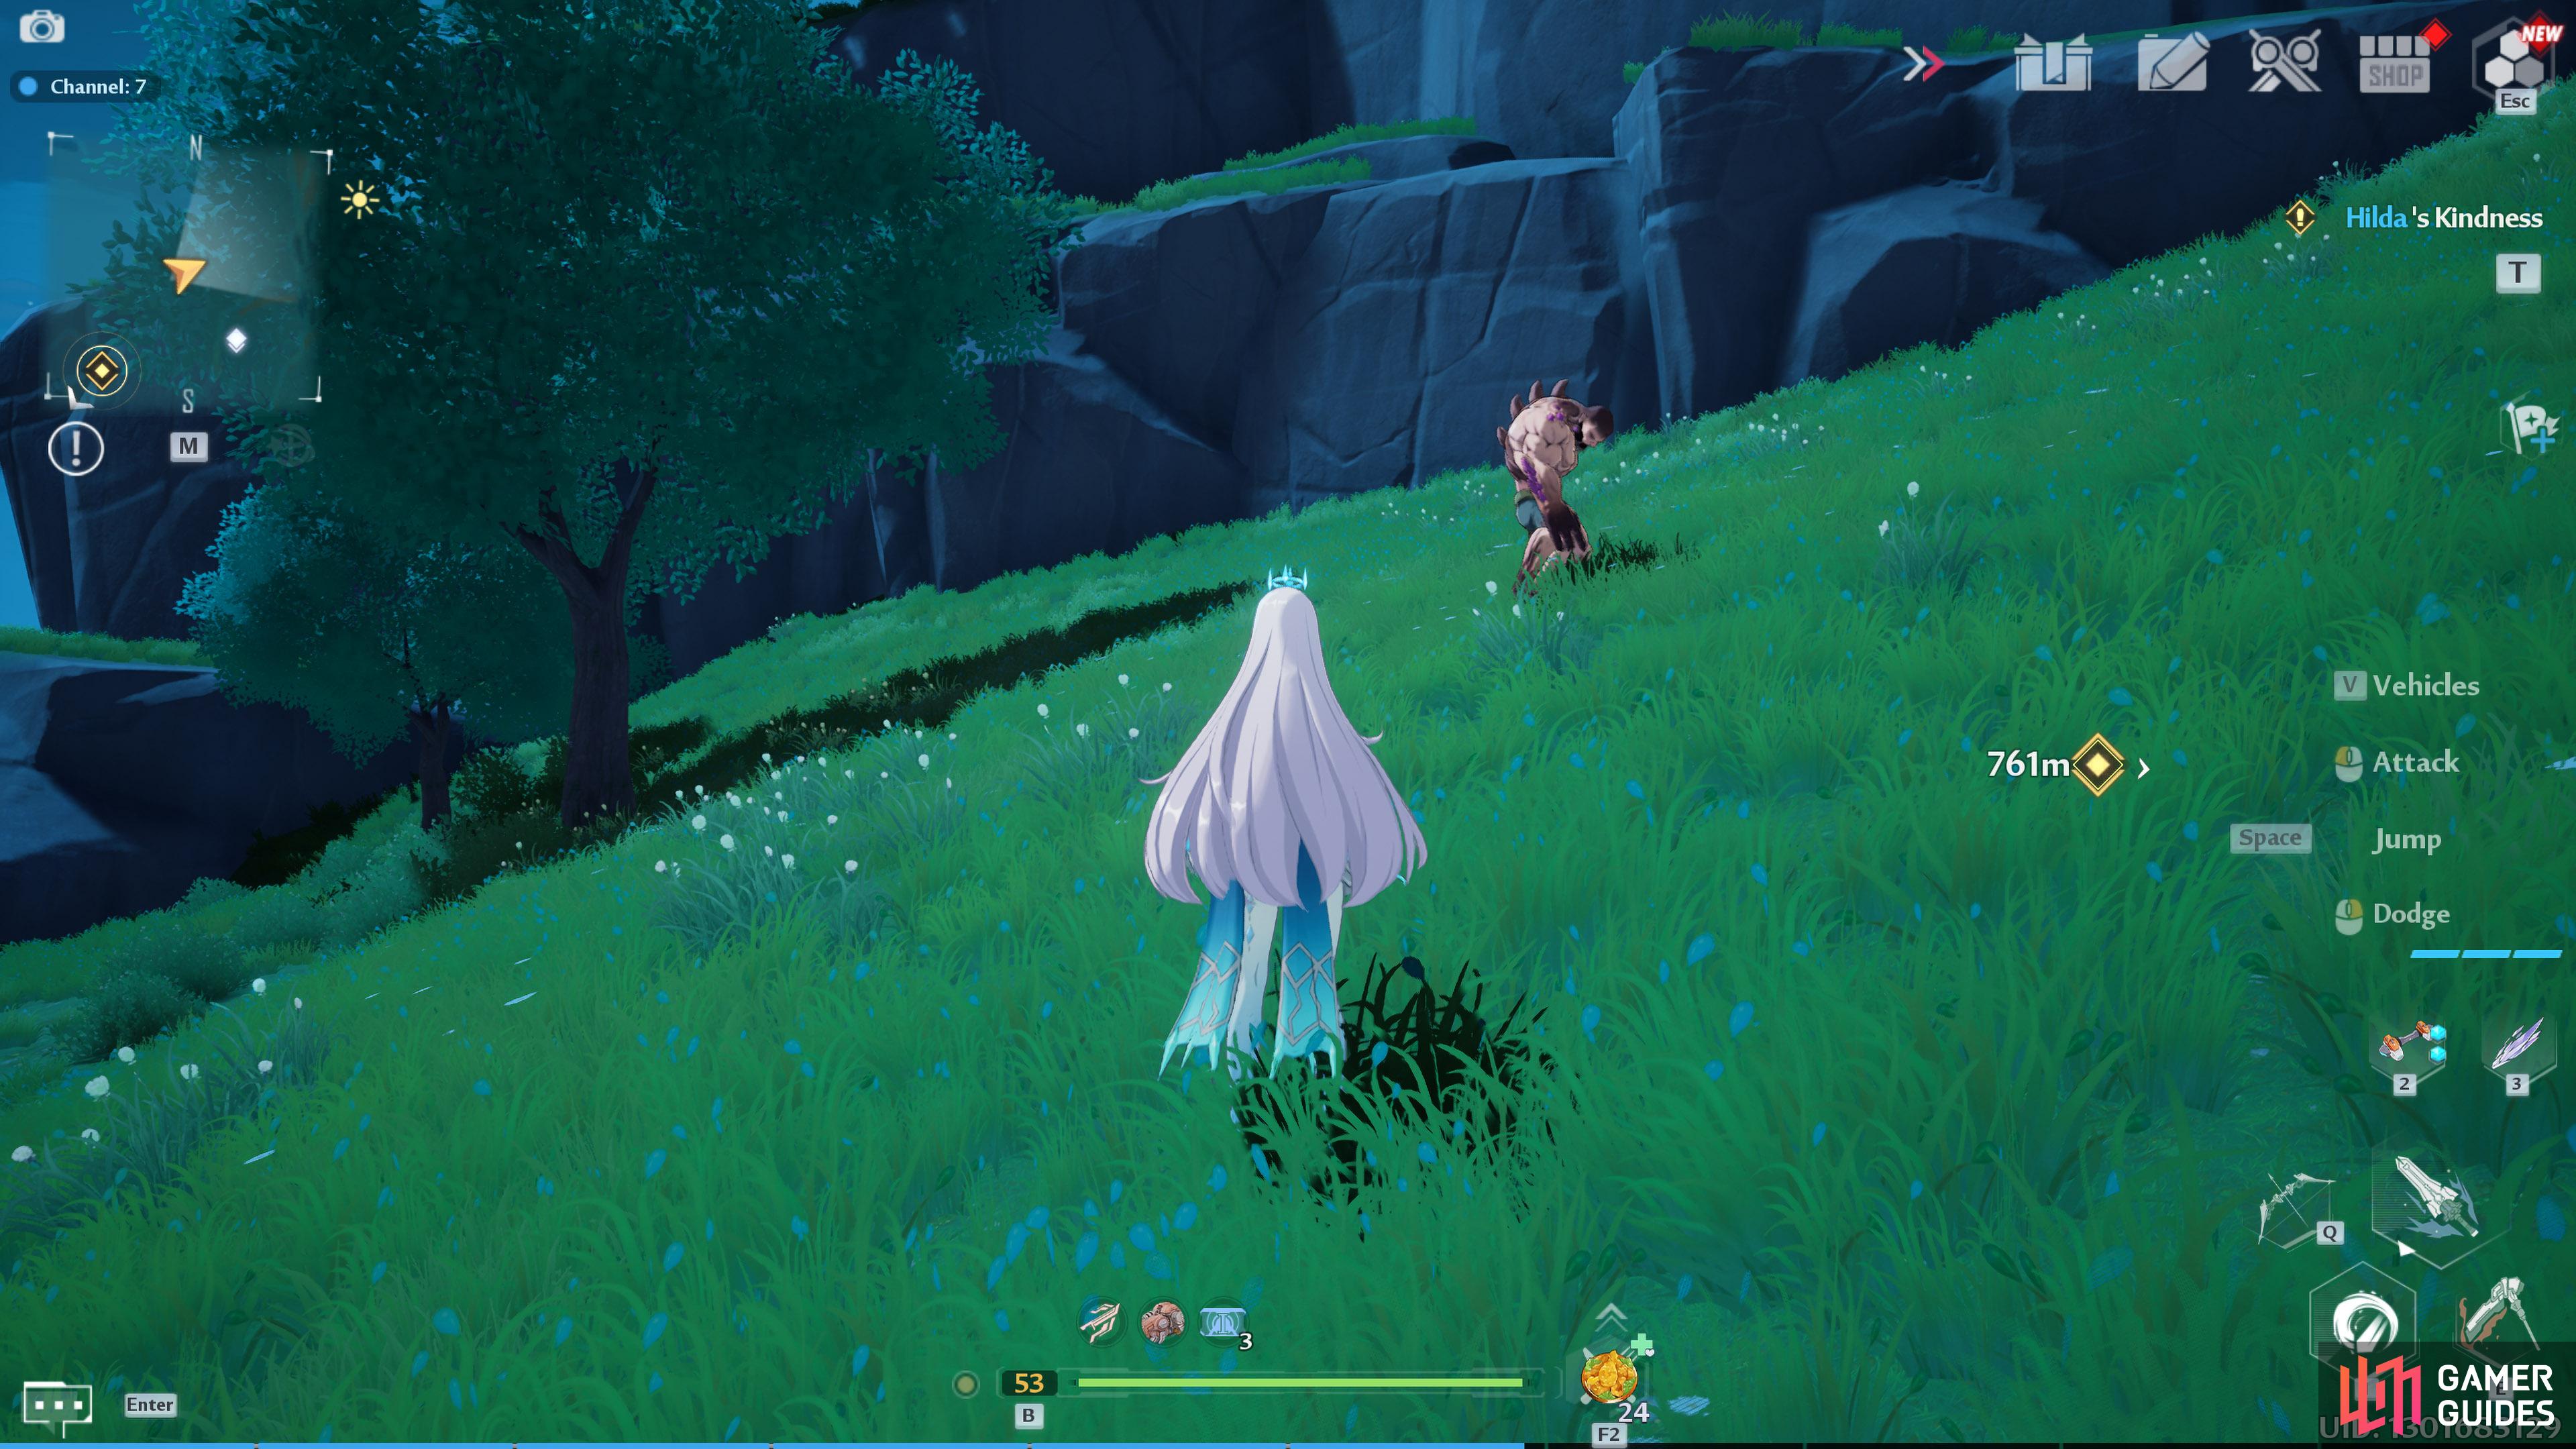
If you can’t find any, try changing the channel, and look again.
Head to North Gemini Island
Now that you have the Keycard, interact with the large apparatus just behind the tent you repaired earlier. This will teleport you to the North Gemini Island which was originally locked to you. Climb up to the very top of the mountain where you’ll find a Gold Nucleus with some data hidden underneath it. Make sure you interact with the data as you’ll need this later. Now, jump from the mountain towards the large teleport to the south/southeast, and go through it.
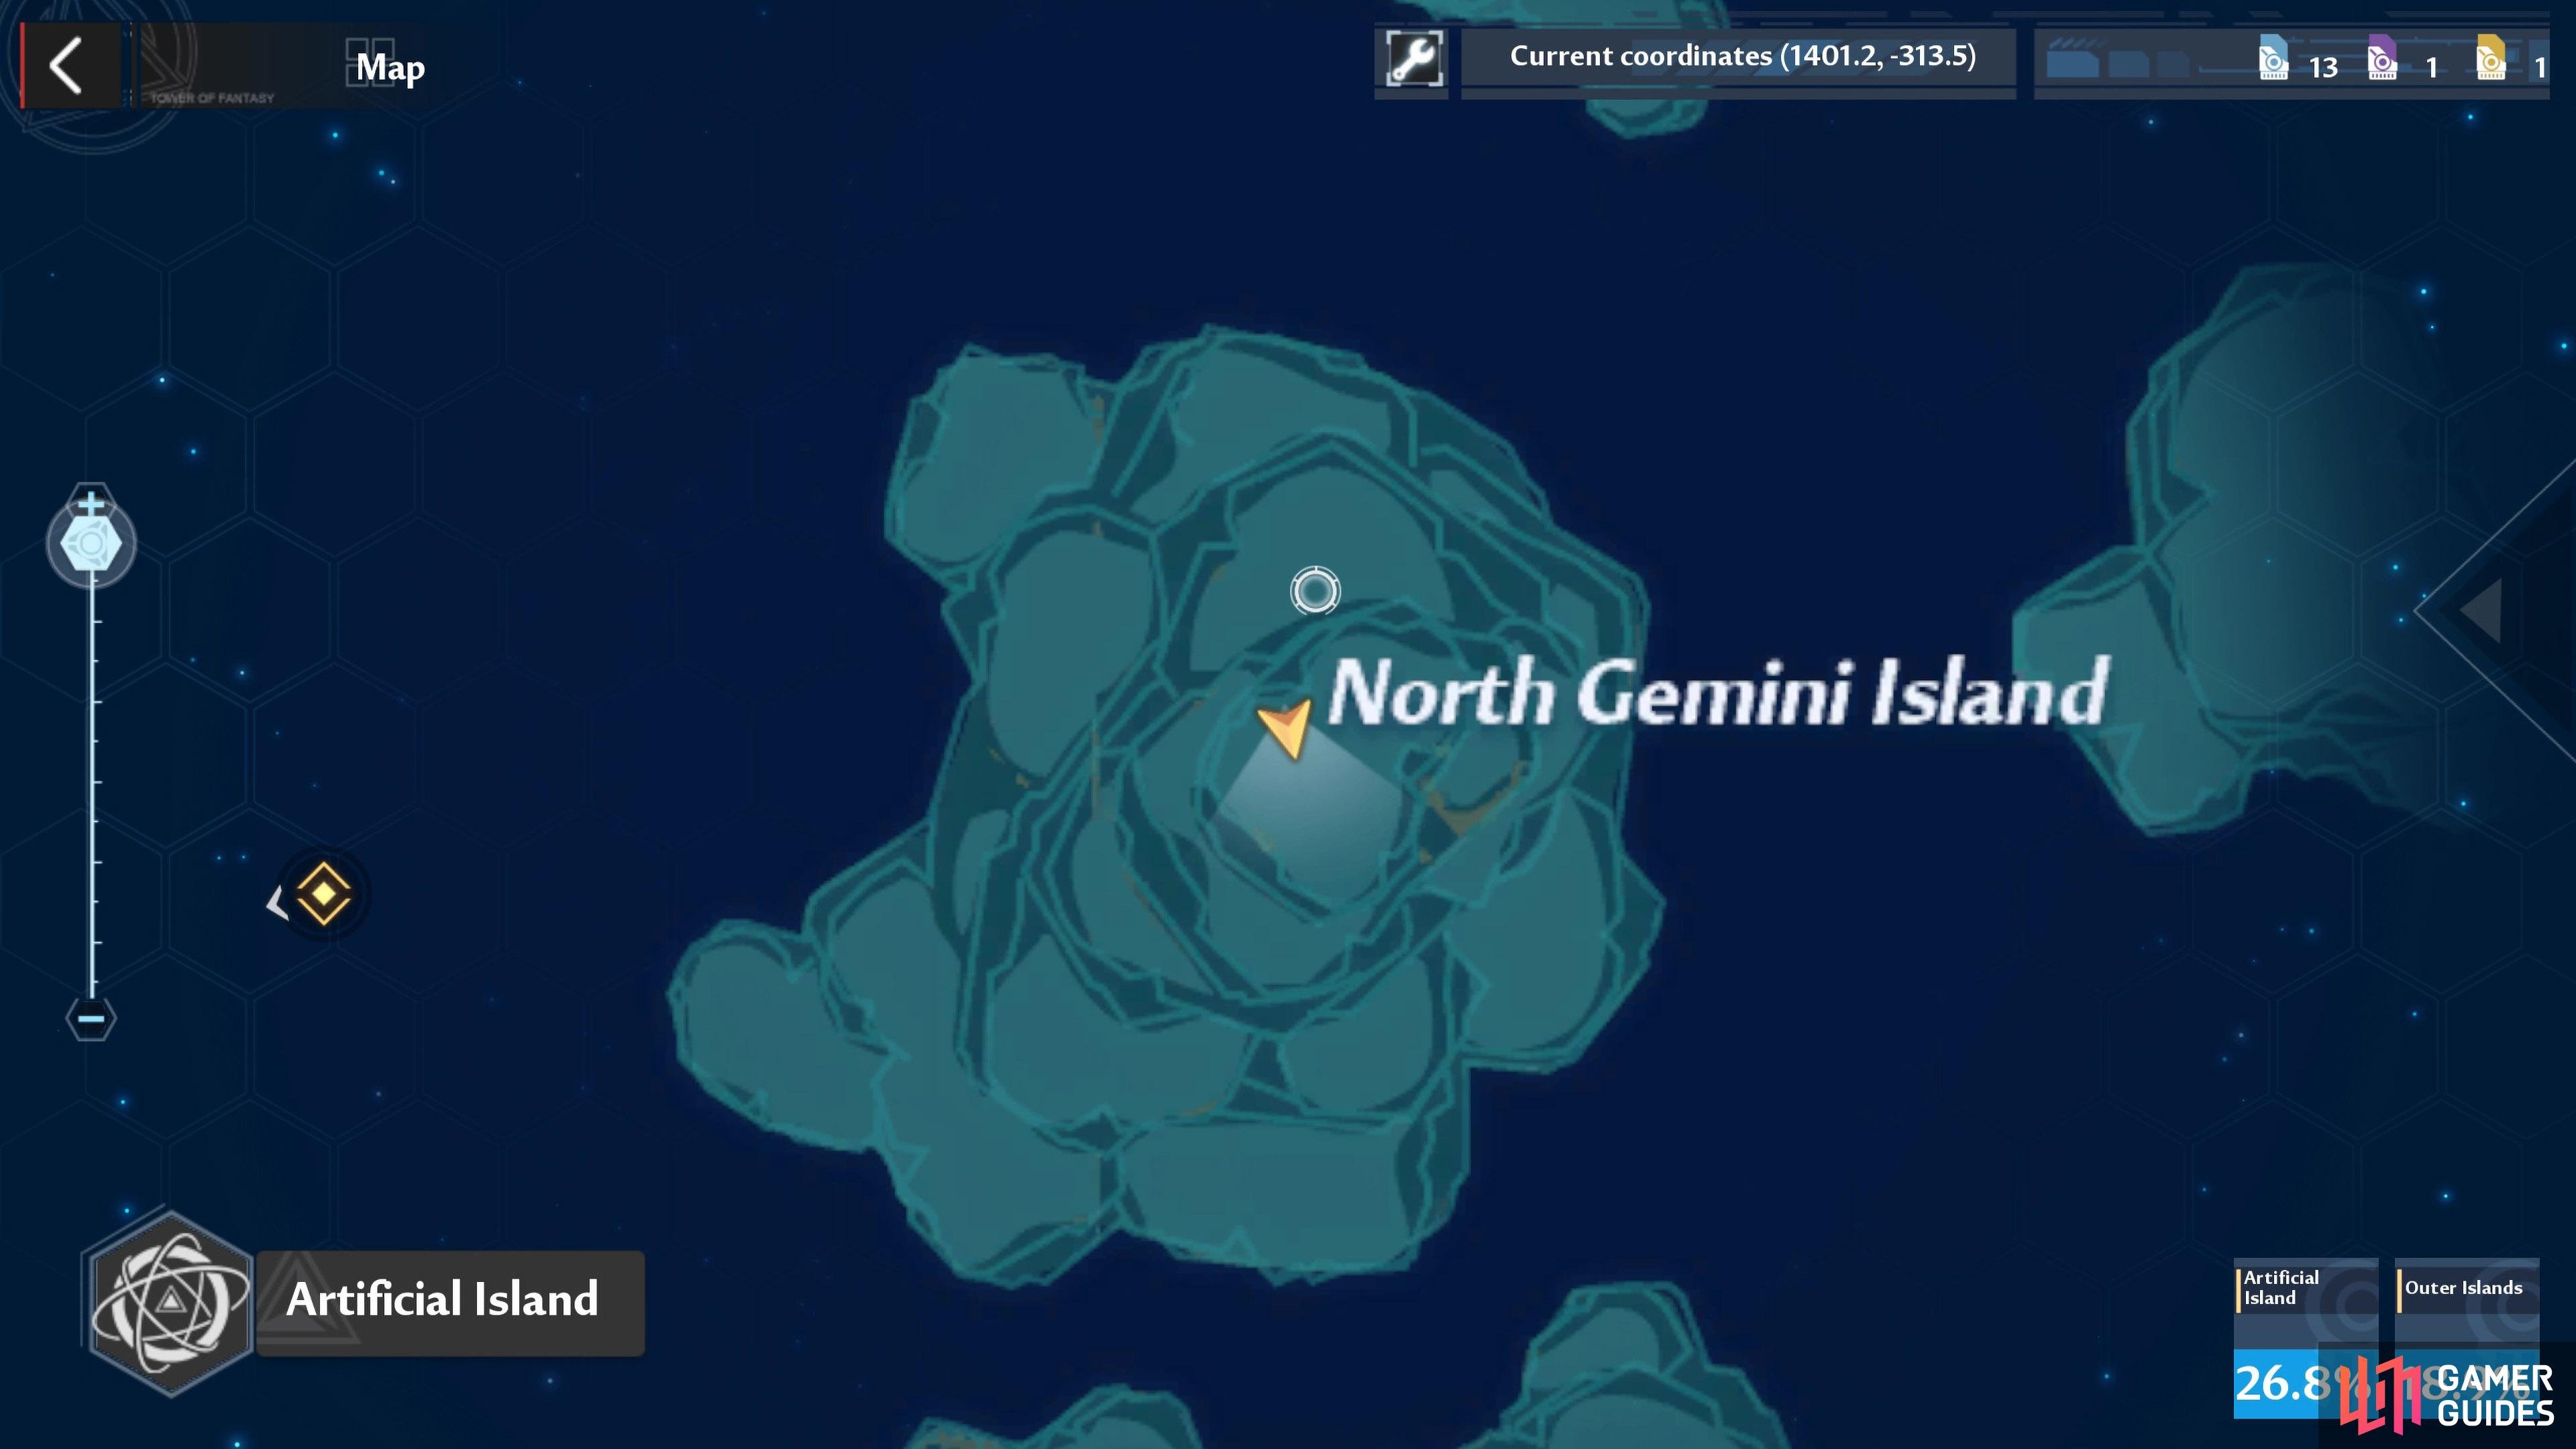
Head up to the top of the mountain
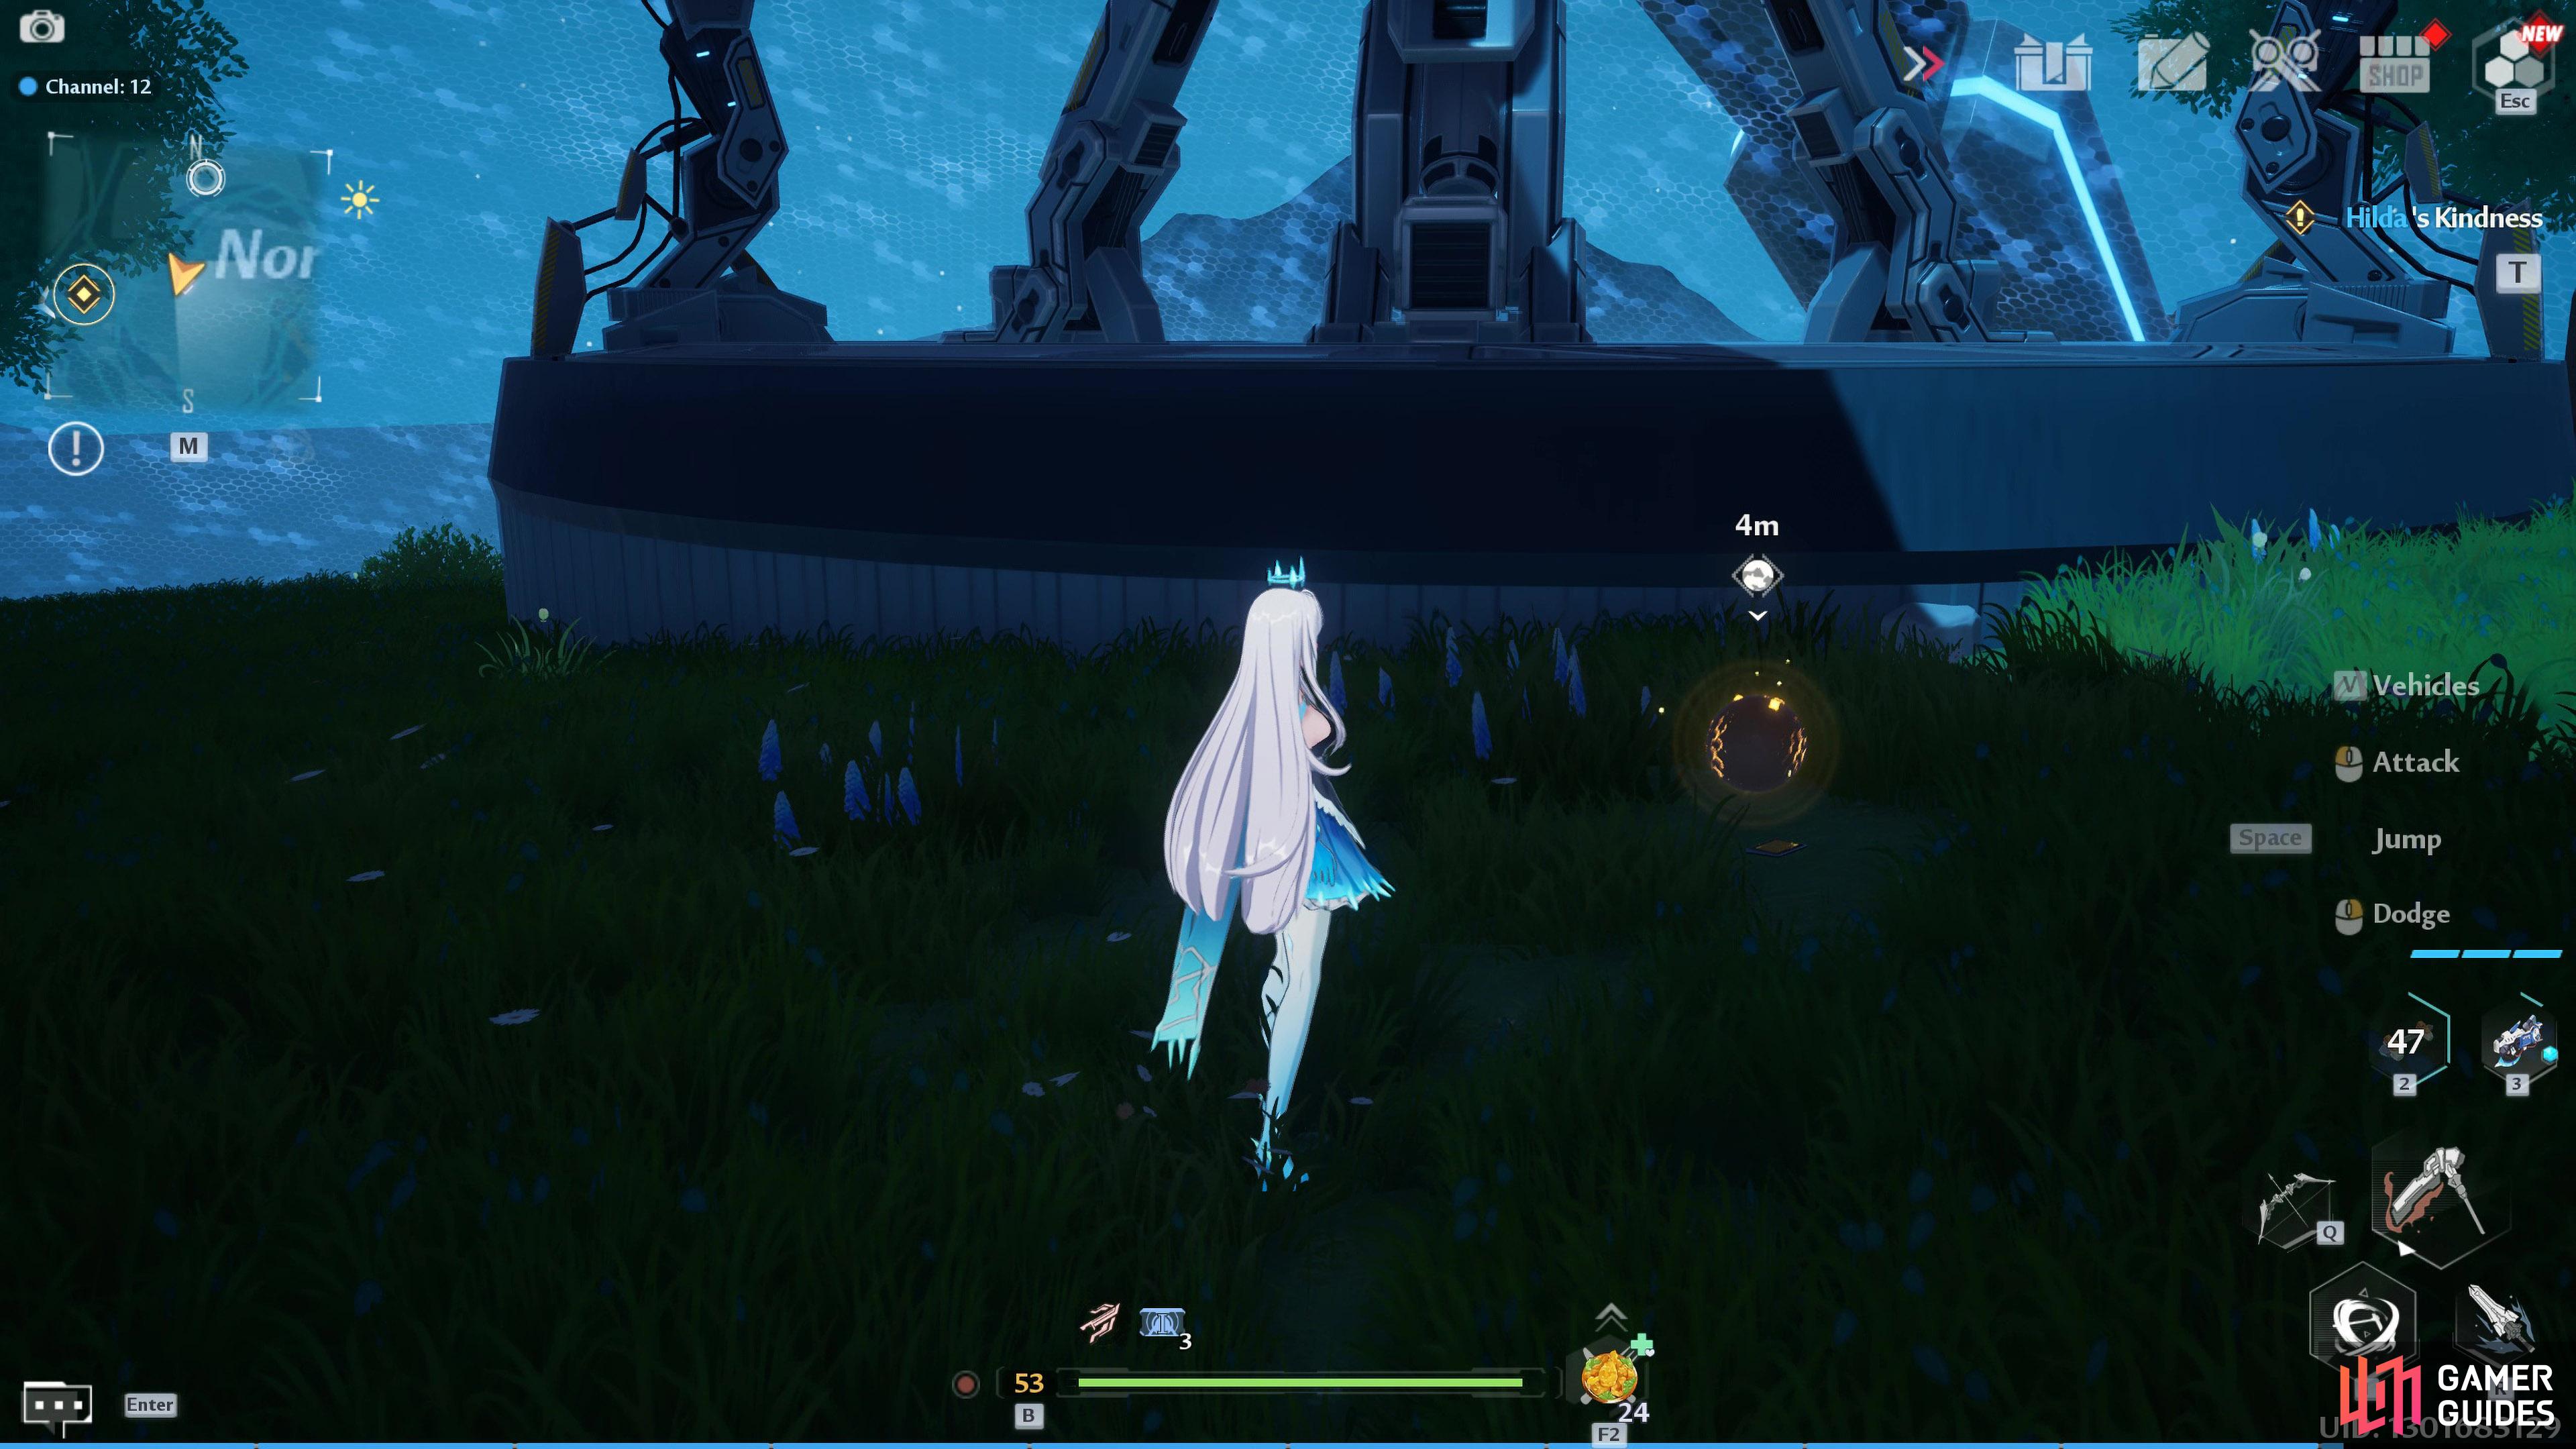
where you’ll find a Gold Nucleus with a Data Pad underneath it.
South Gemini Island
The teleporter will transport you to the South Gemini Island. When you get there, interact with the small black data pad on the floor to your left. It can be hard to spot if you have your graphics on the higher settings. For this part, we recommend reducing your texture and vegetation detail to low, so it’s easier to find. When you have the data, head southeast, and make your way over to the central island.
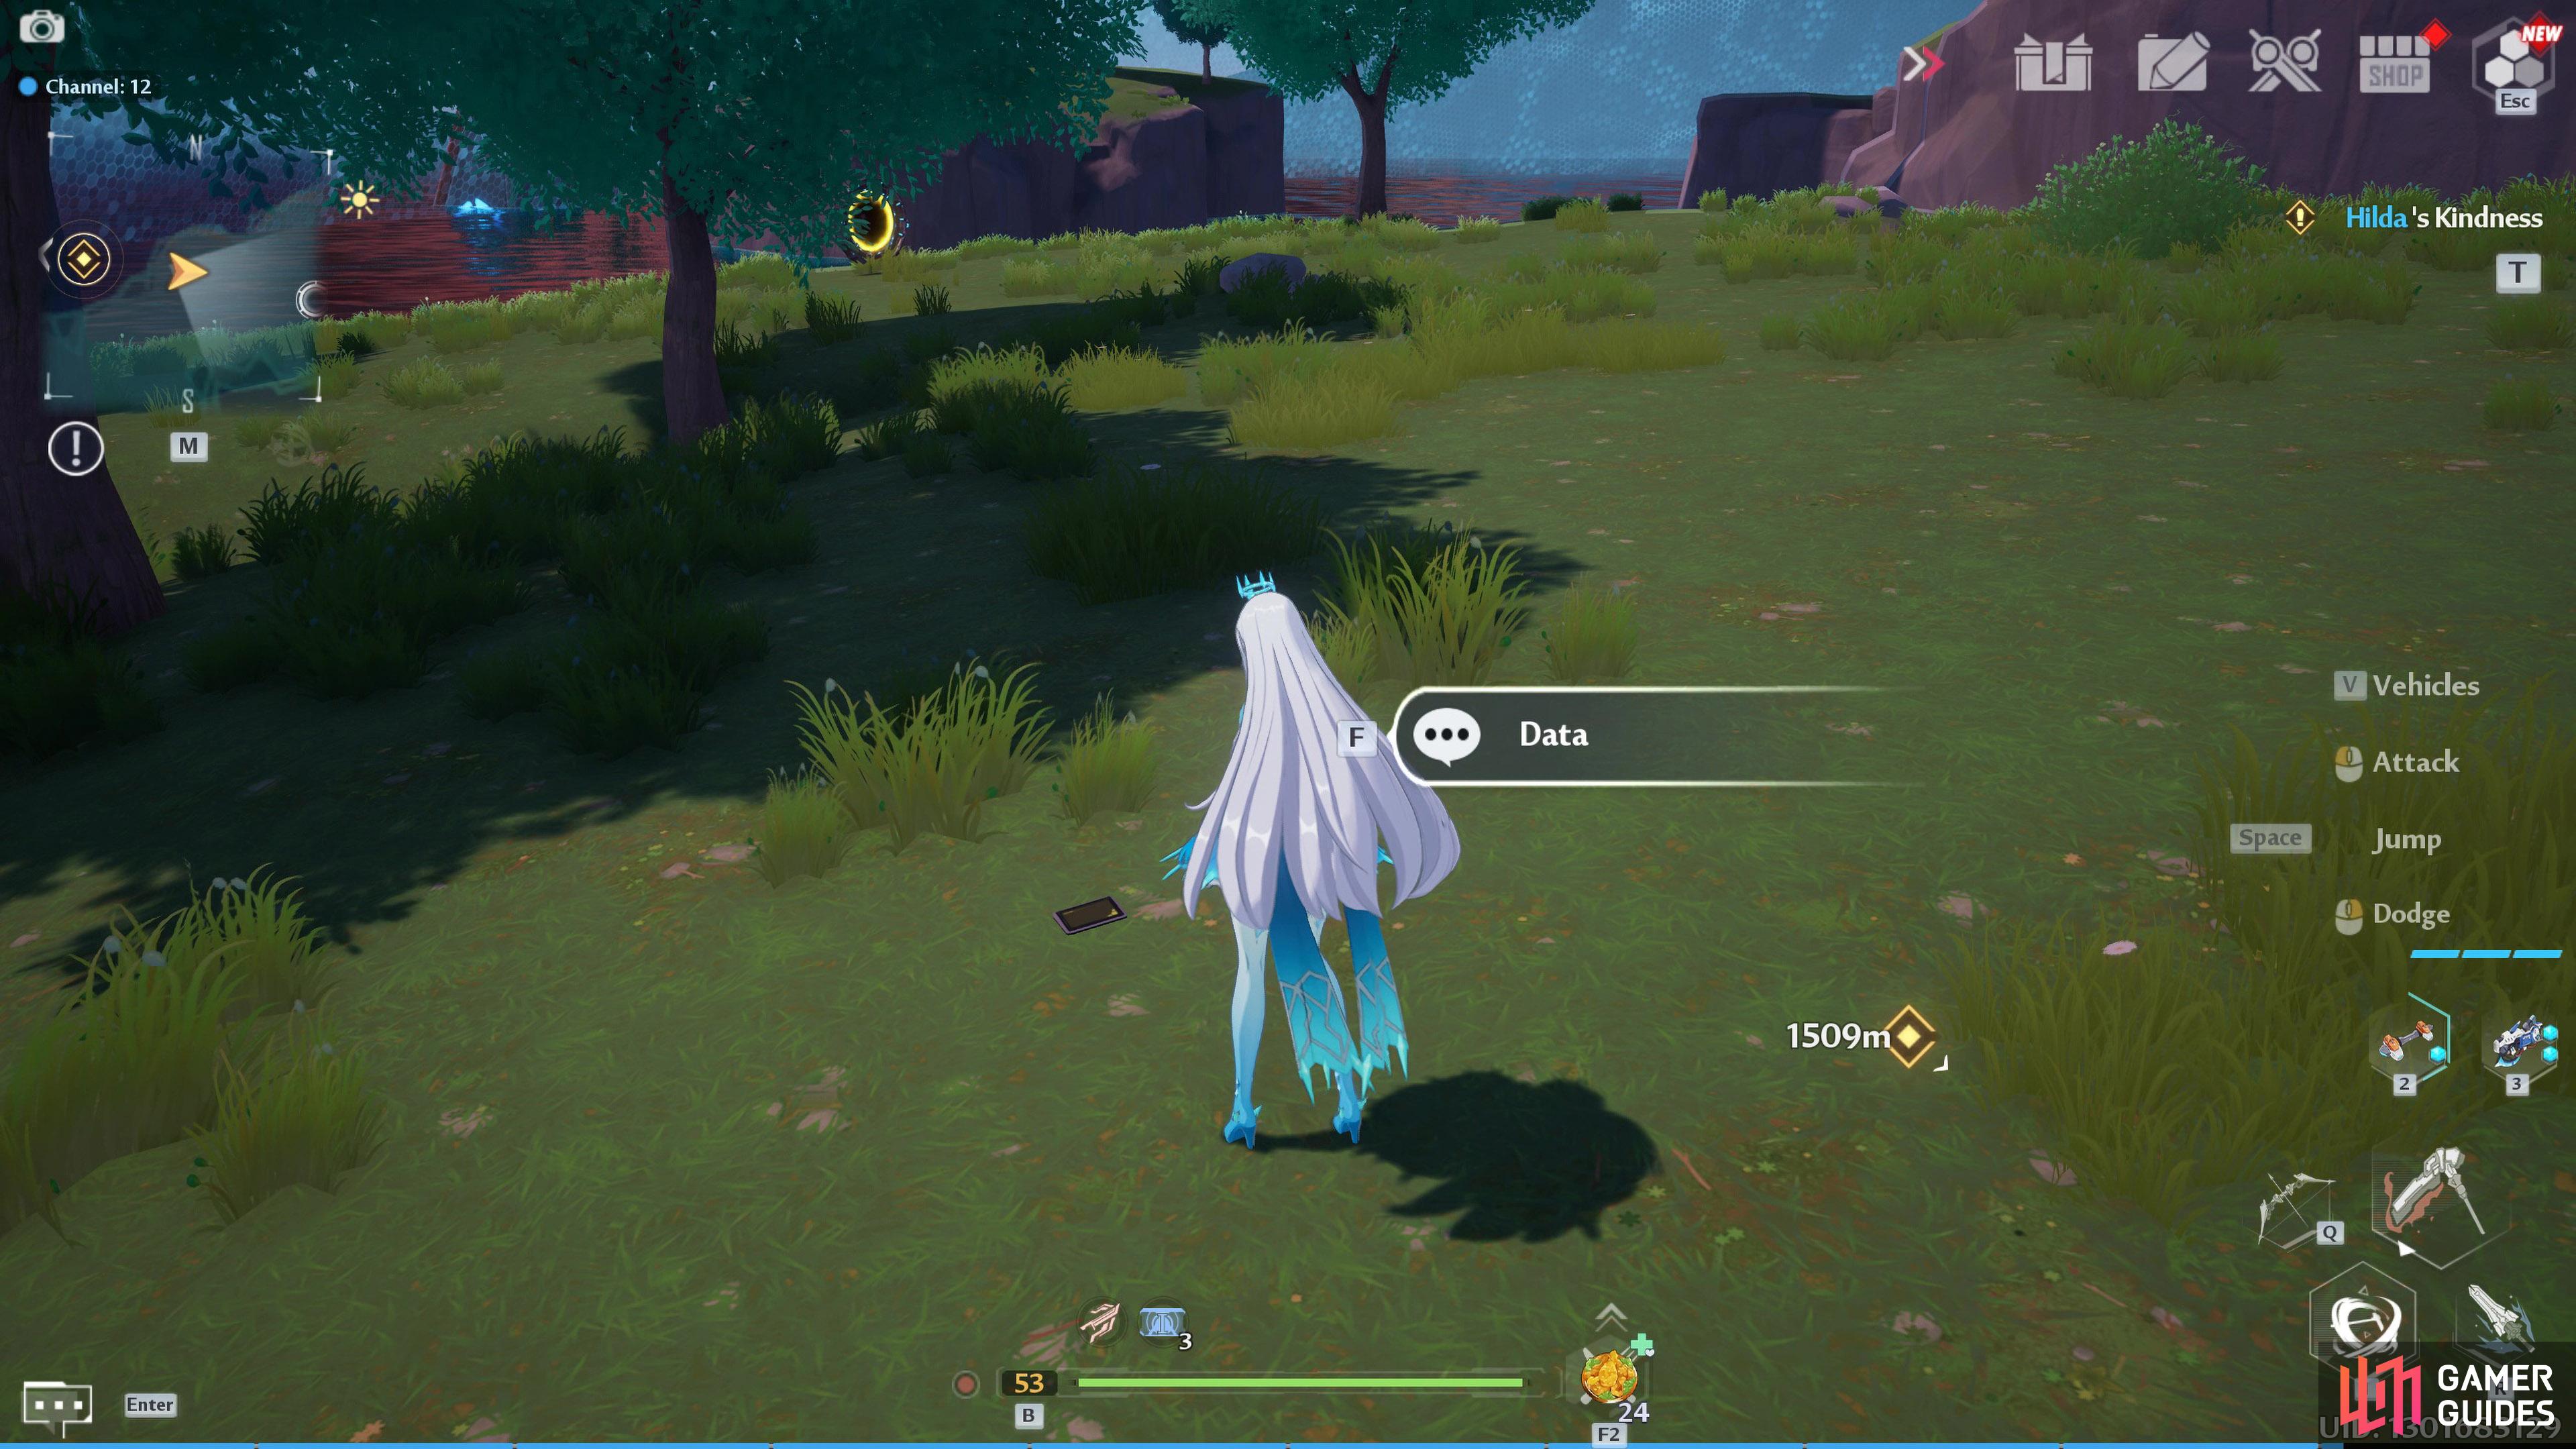
Try lowering your vegetation, and/or texture detail to low if you have trouble finding the Data Pad,
The aim is to climb to the top of the mountain, but because of the twisted roots, you’ll get thrown off. What you want to do is use your jetpack, and dash into an empty space not covered by the thorny roots. You can use other relics to help with this like the grapple hook or the Omnium Handcannon to make it easier. Once you’ve reached the top, head over to the empty container and pick up the Permission Card: Tyrone.
With the Permission Card in hand, head back over to the island you originally landed on to the north, and take the blue portal near the edge of the cliff. This’ll drop you on the eastern island of the North Gemini Islands. Head west, and glide over to the central island. Climb back up to the top, and interact with the large apparatus in the middle, and use your Permission Card: Tyrone on it.
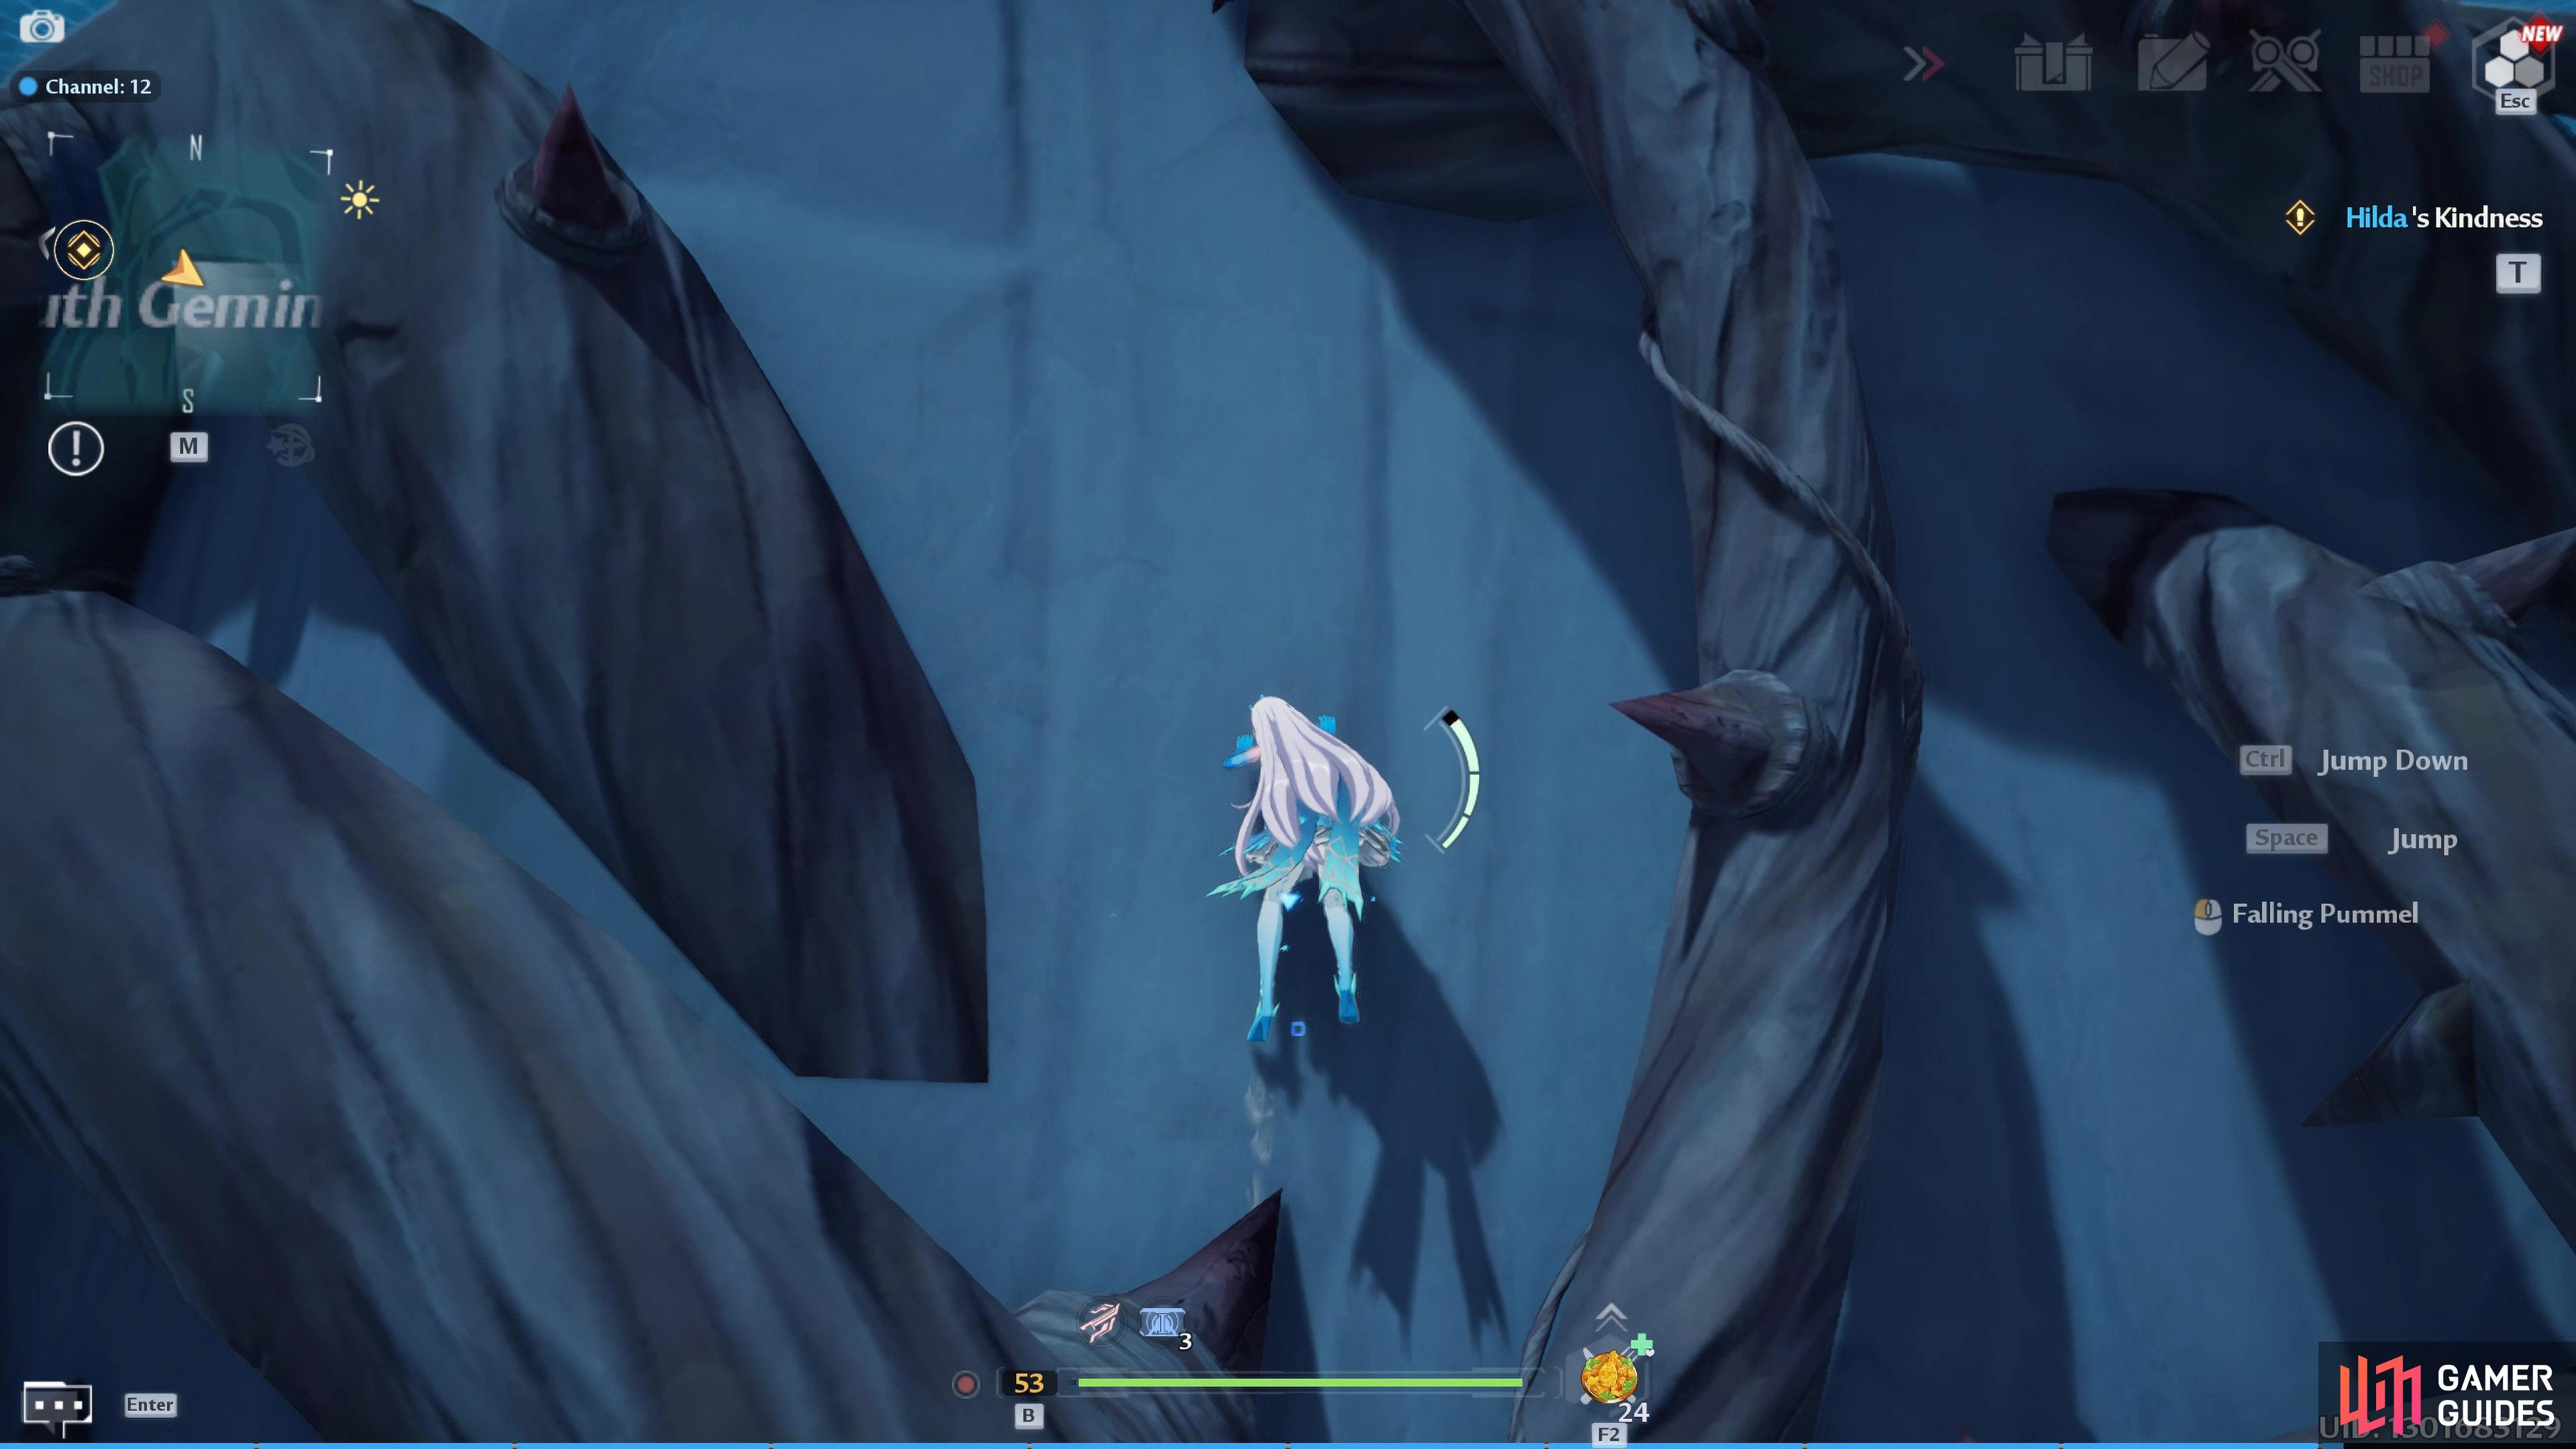
Find a safe space when traversing the mountain with thorns on as the thorns will throw you off if you touch them.
You’ll find Permission Pass: Morris on the small apparatus guarded by moles who retreat in their holes if you get to close to them.
Sea Horizon Stand
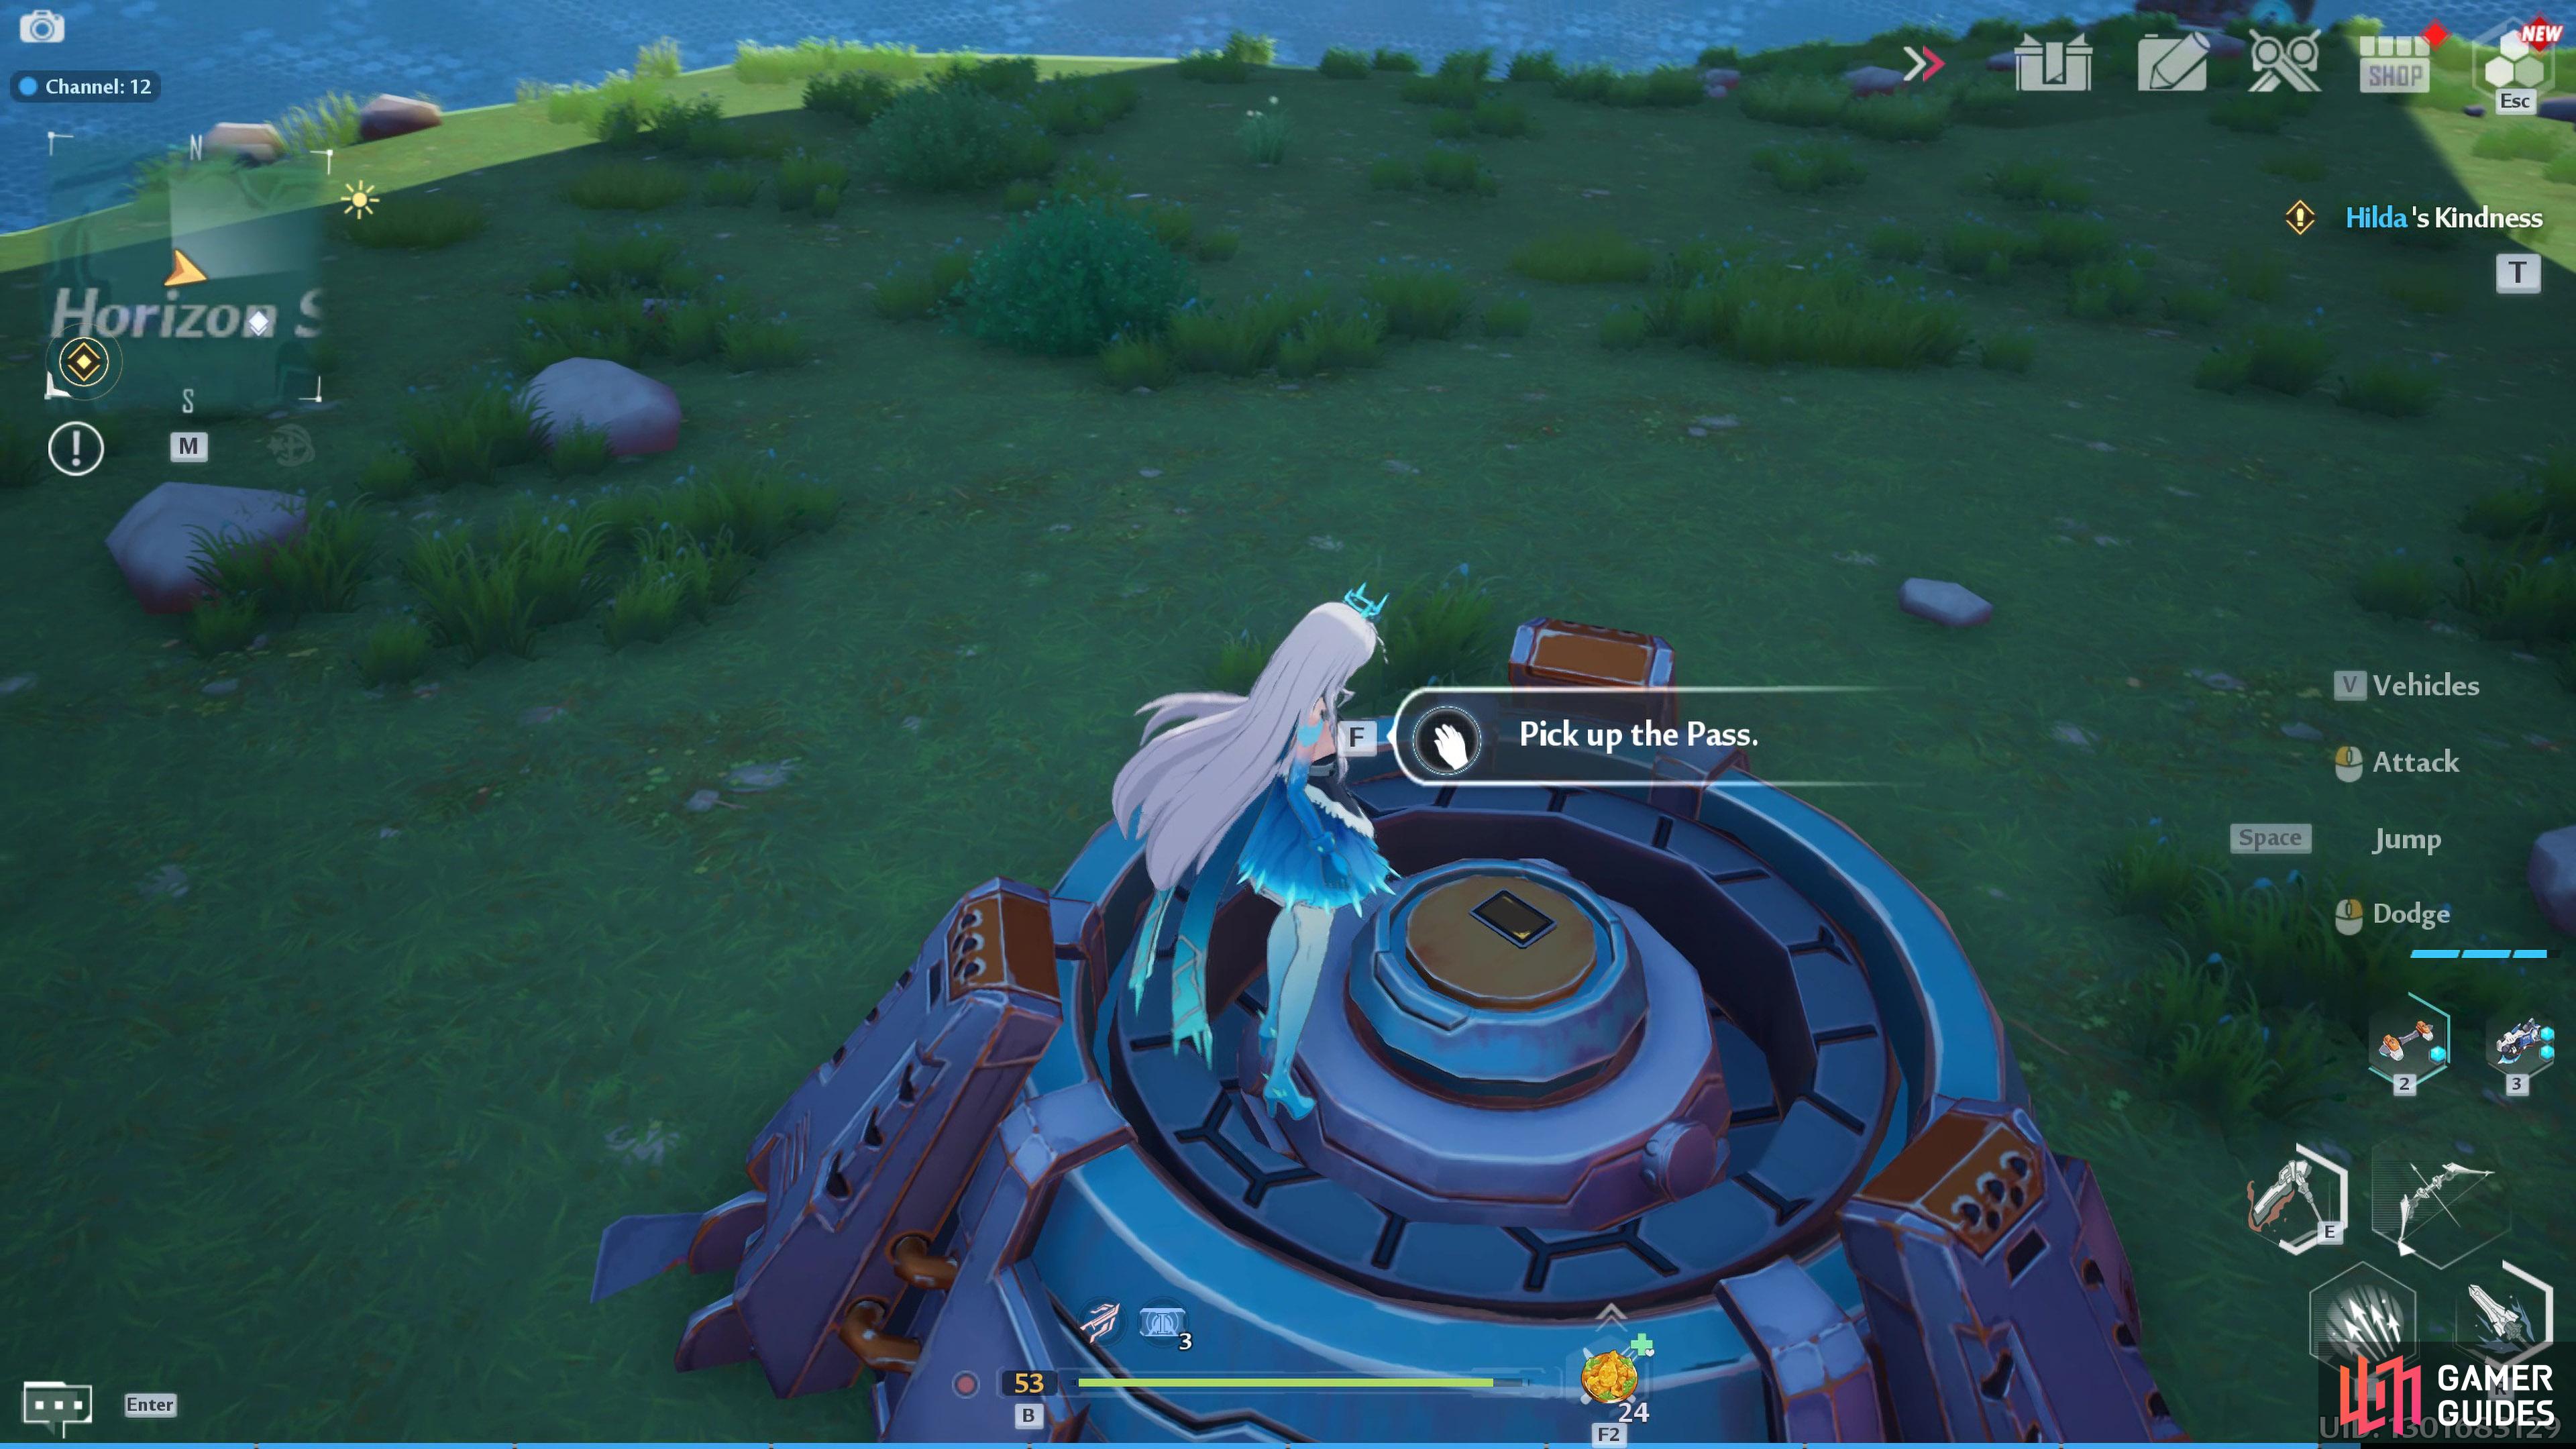
Make your way north, and fly over to the central island. Climb all the way to the top of the large mountain. Once you’ve reached the top, head north towards a small apparatus, and pick up the Permission Card: Morris. There are mole enemies around the apparatus, so you’ll need to take them out first. Attack them from range as they’ll hide in their hole if you get too close.
You’ll find Permission Pass: Morris on the small apparatus guarded by moles who retreat in their holes if you get to close to them.
Island of Pins
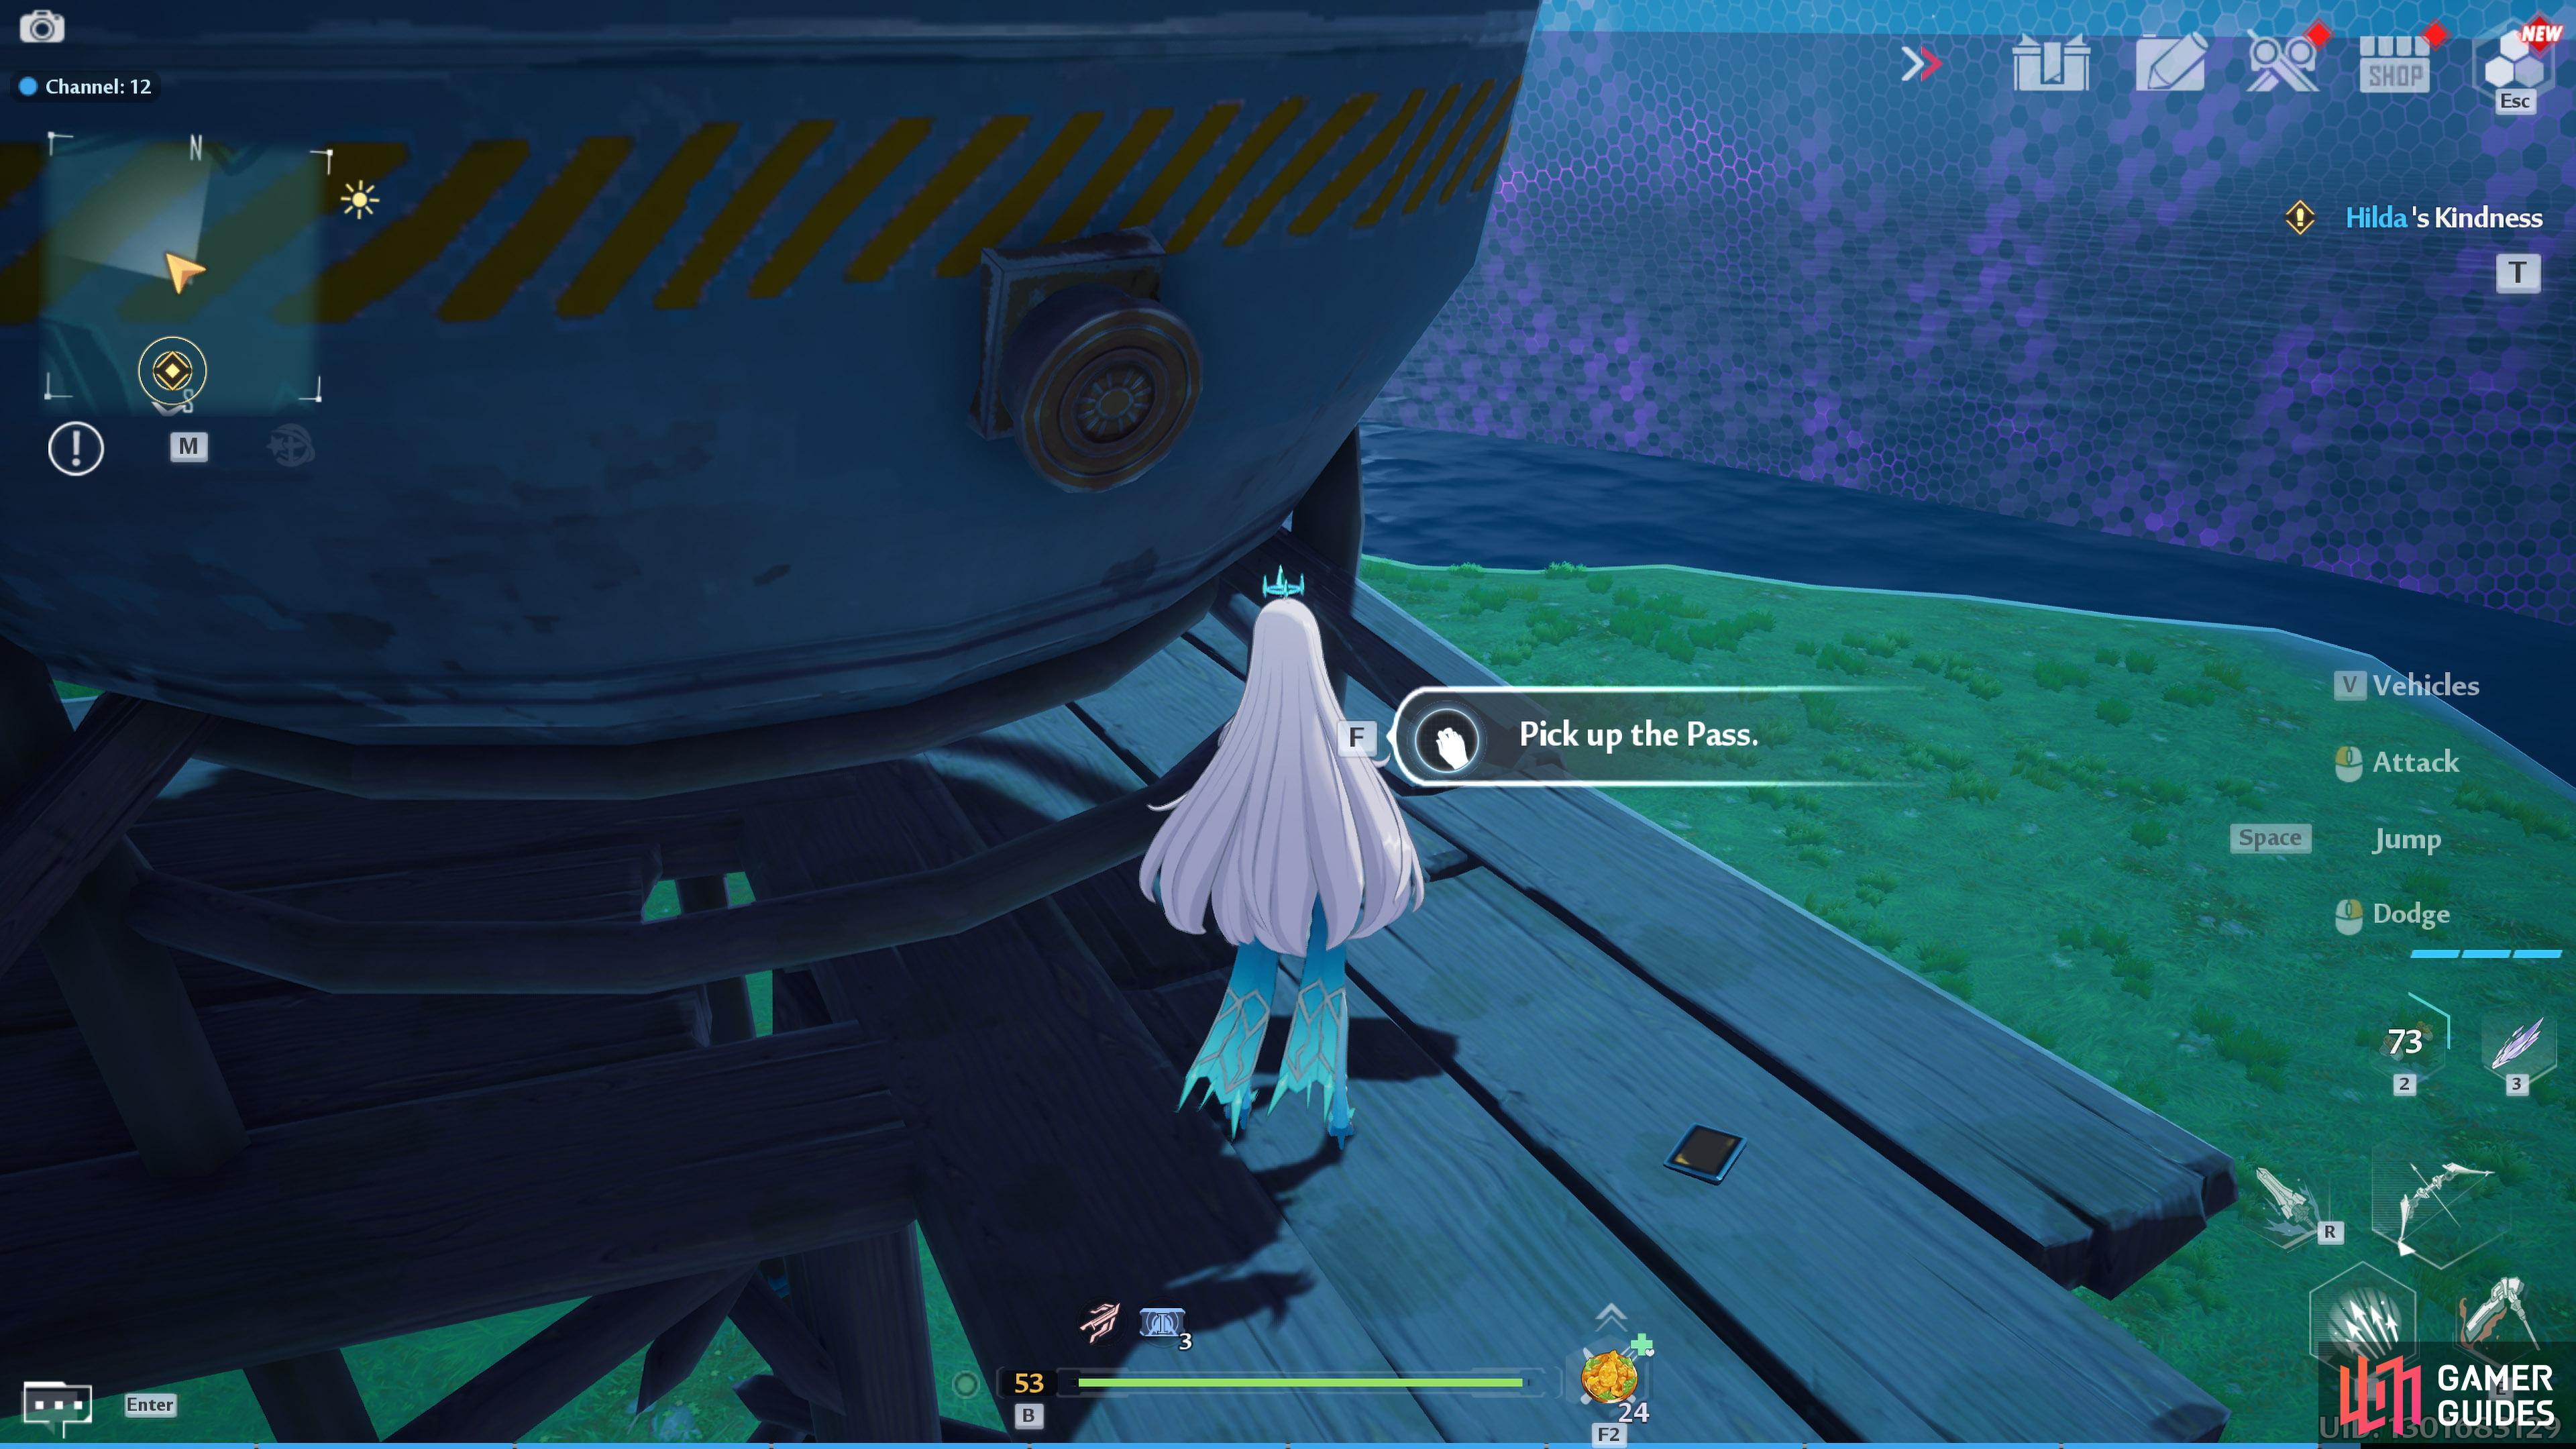
Now that you have the Permission Card: Morris, you’ll need to head to the Island of Pins. Teleport to either the Deserted Treatment Plant or the Estuary Spacerift, and use your Jetboard to head to the east side of the Island of Pins. When you reach the land, make your way to the large apparatus, and use your Permission Card Morris on it to activate the teleporter. Note there is a data pad on the edge of the apparatus.

You can find a Data Pad on the edge of the large apparatus.
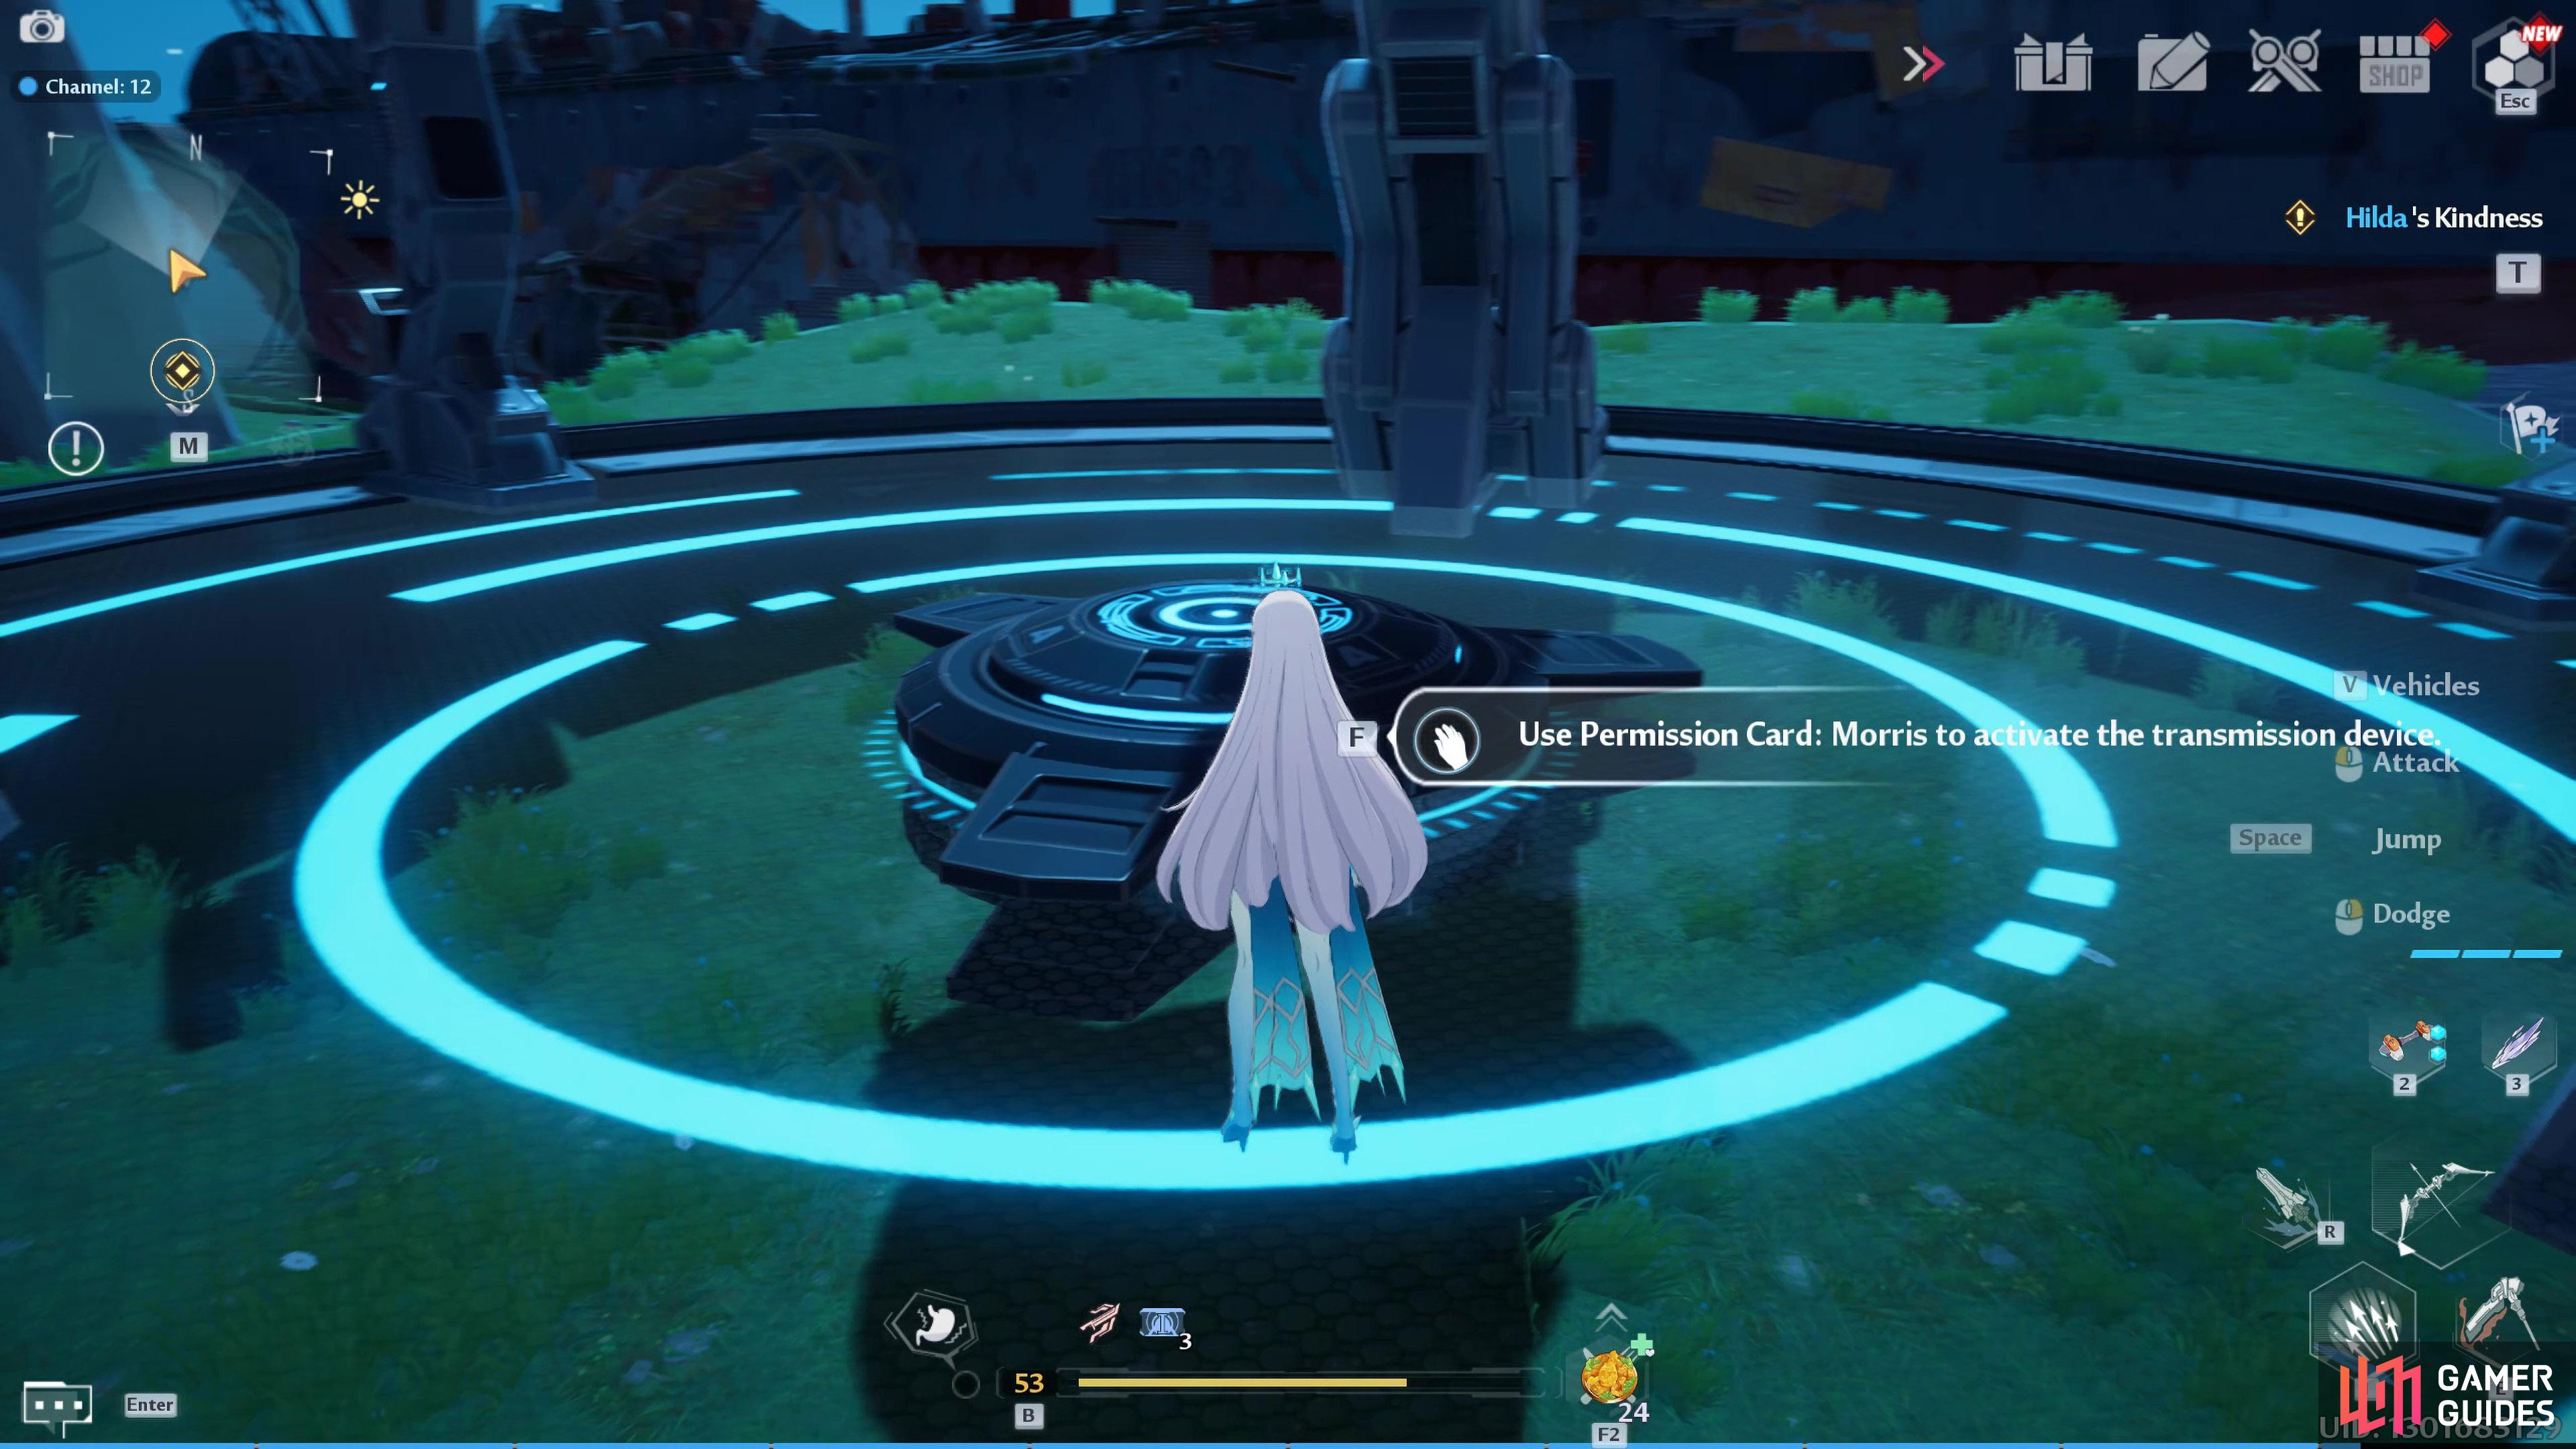
Use your Morris pass to teleport to the island of Earwyn.
Listen to Earwyn
This time the teleporter will transport you to the island weirdly named “Listen to Earwyn”. When you regain control, head around the east side of the island until you reach a large gap. Go across the gap using your jetpack to land on the northern part of the island. Continue north, and use your jetpack to the top of the tower with the spiky ball on top, and collect the Permission Pass: Damien.
Now climb up to the top of the central mountain, and when you reach the top, you’ll see another large apparatus. You won’t be able to use the teleporter straight away as you’ll need to fix three of its “legs” before it becomes operable. Head over to each leg, and fix them with the Rapid Repair Device you made earlier, and the teleporter will be ready for use.

You’ll need to repair three legs of the apparatus using your Rapid Repair Device before it becomes operable.
You can find the Permission Pass: Damien on top of the tower with the spiky metal ball on top.
Diurnal Islet
Finally, you have made it to Diurnal Islet, and your journey is almost at its end. Head over to the large apparatus where you’ll find two Red Nucleus sitting in its center being guarded by Raging Fire, and Silver Helmet. Also, you’ll find a data pad underneath them.
Silver Helmet
| Target | Level | Map Marker |
|---|---|---|
| Silver Helmet | Same level that you are | Silver Helmet Location |
Raging Fire
| Target | Level | Map Marker |
|---|---|---|
| Raging Fire | Same level that you are | Raging Fire Location |

You’ll find both Raging Fire and Silver Helmet together in the center of Diurnal Islet.
No Comments