
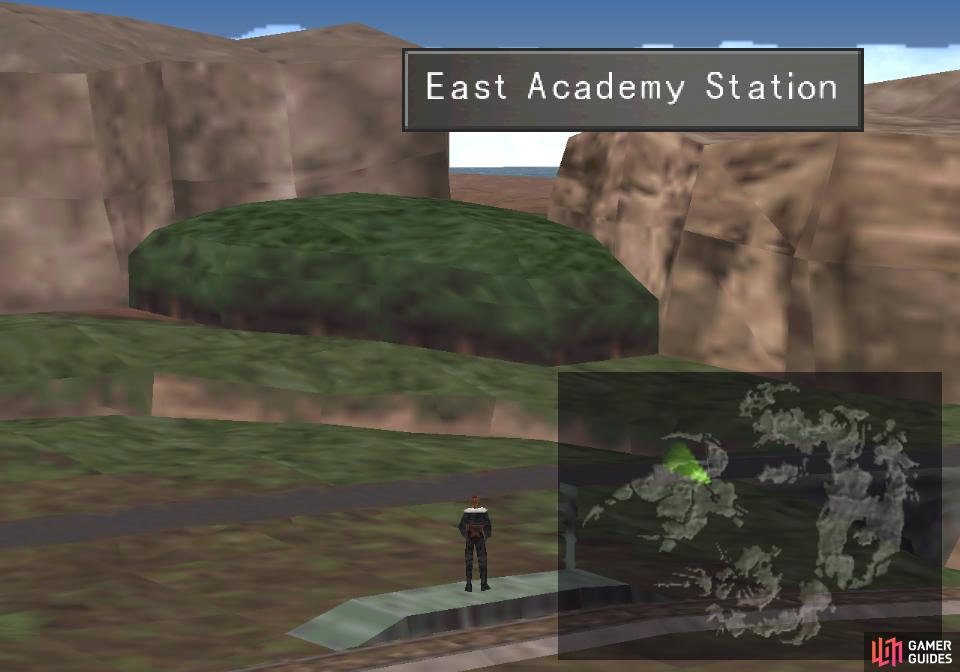
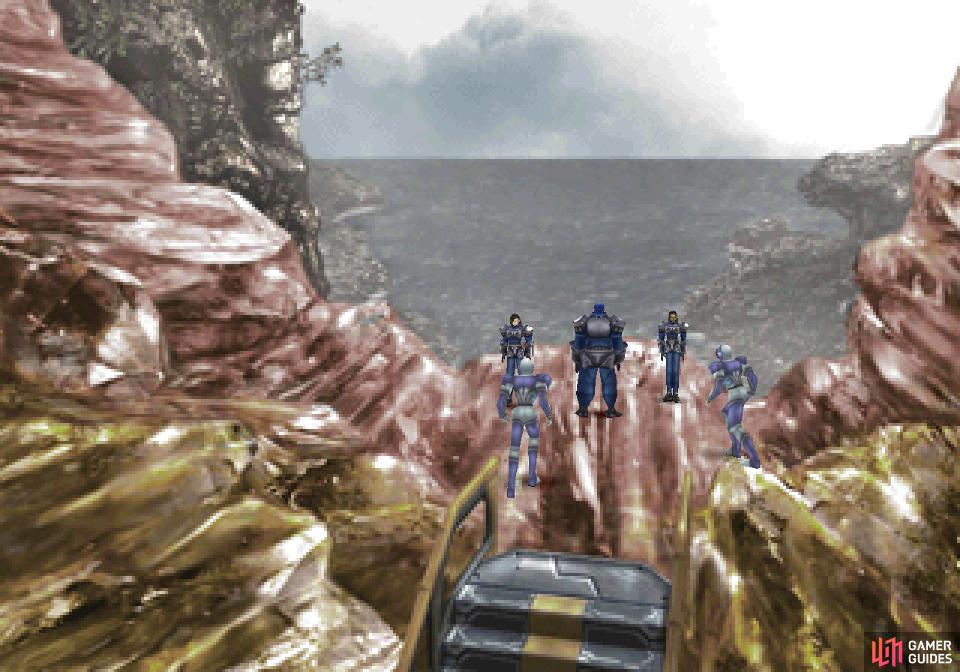
Your next destination is a forest northwest of the East Academy Station
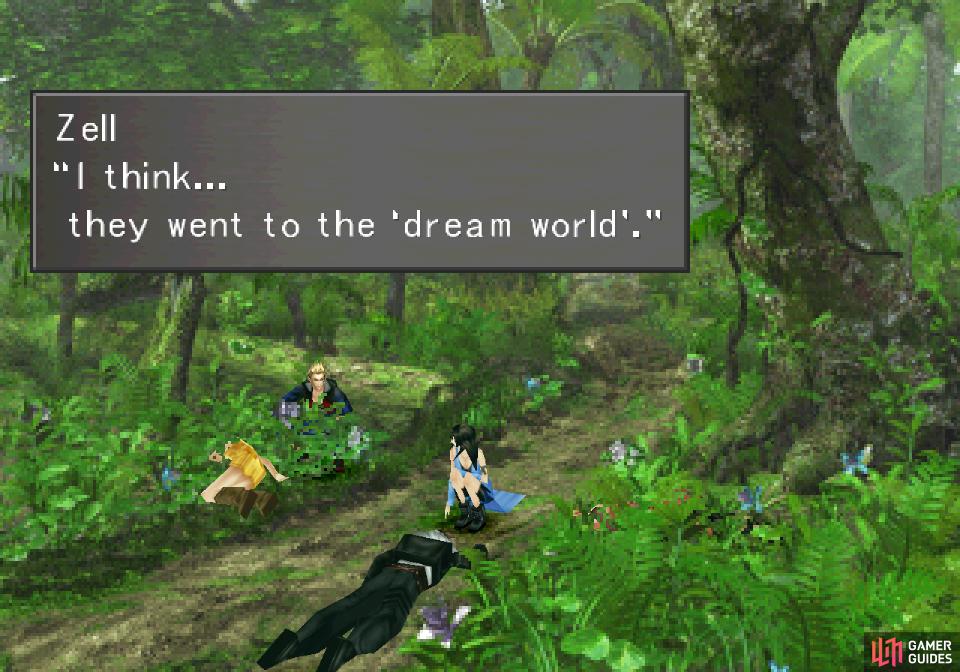
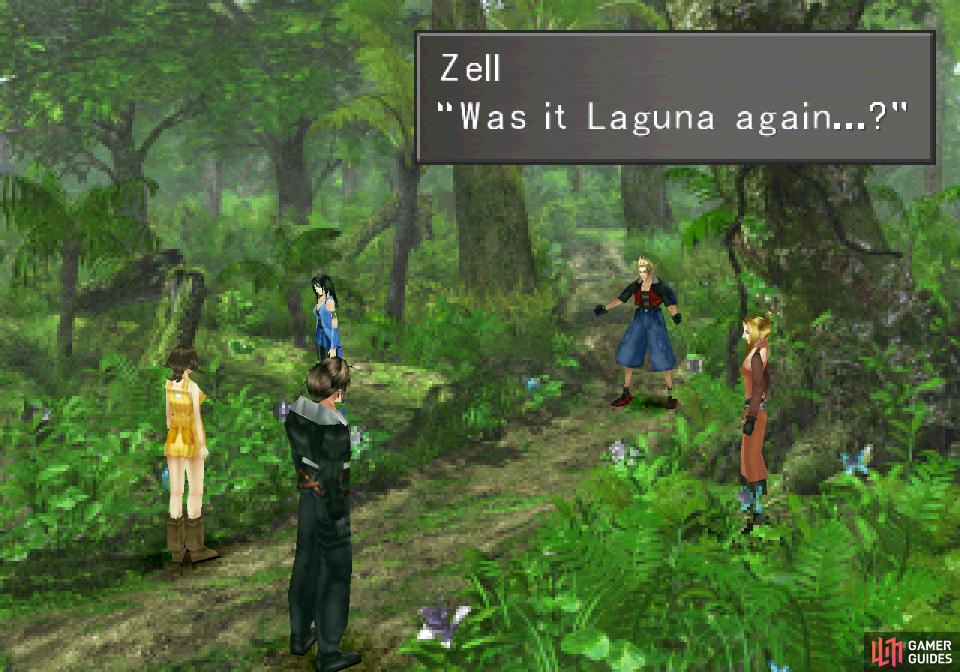
Inside Squall and fellows will again mysteriously slumber
First up, return to the East Academy Station (just follow the tracks east and north from Timber, in case you forgot) and from there look northwest to spot a forest beyond a river. You’ll have to pass through this forest to reach Galbadia Garden, as the only way to your destination which isn’t blocked in some fashion is a cleft in the mountains that surround the forest. That being the cast, boldly stride over to the forest and as soon as you touch it you’ll get a scene where Squall is put to task for his… less than ideal handling of squad morale. Before the nagging can go on too long, however, Squall, Quistis and Selphie will all suddenly fall asleep, and you know what this means…
To the Excavation Site
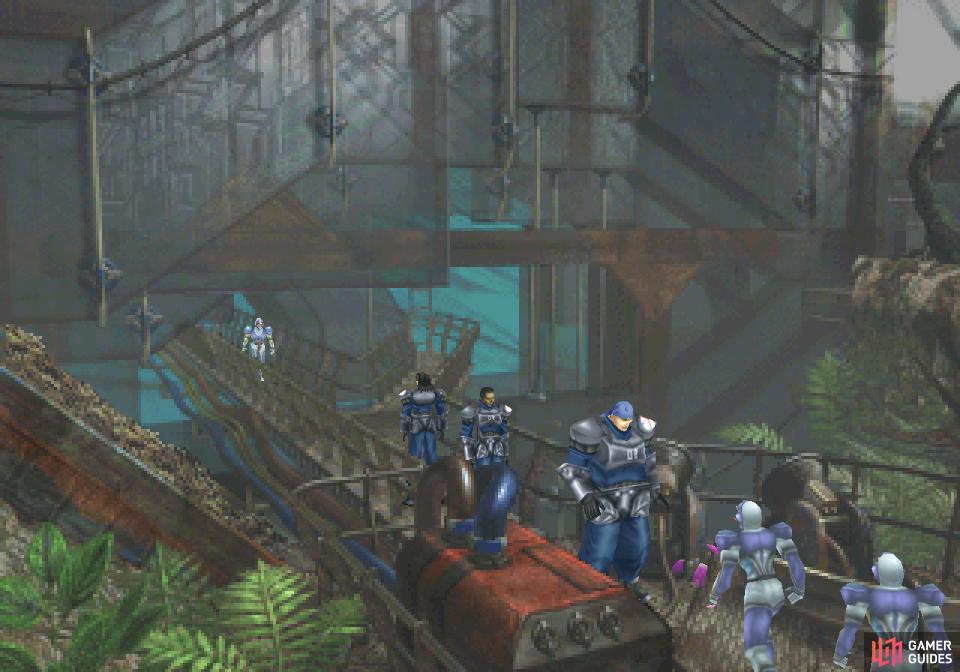
You’ll find yourself in control of the party of Laguna, Ward and Kiros again (who have the same junctions as Squall, Quistis and Selphie, respectively). Laguna’s being his old incompetent self, as usual, and when you get a chance to pick a dialogue option, say Nah, just my imagination. After this you’ll finally be in control of Laguna, and it’s worth noting that unlike the previous Laguna dream, there’s actually a lot going on here, as your actions as Laguna here will have consequences for your main party in the very distant future, possibly allowing you to obtain some choice loot later on. Keep that in mind and be prepared for a somewhat meandering journey if you want to ensure maximum future gains.
To start out, head down the path ahead and you’ll reach a massive, operational excavation site. There’s no chance a site like this is abandoned, as you’ll soon find out as you venture forward on a metal walkway (passing by a Sleep draw point on the way). Your progress will be impeded by some Esthar Soldiers, forcing you to fight two battles against a total of four Esthar Soldiers. You can’t flee from these foes, but they’re not terribly impressive opponents, so cut them down and ignore the dialogue that follows - you’re not being actively pursued and you don’t need to rush.
Old Key
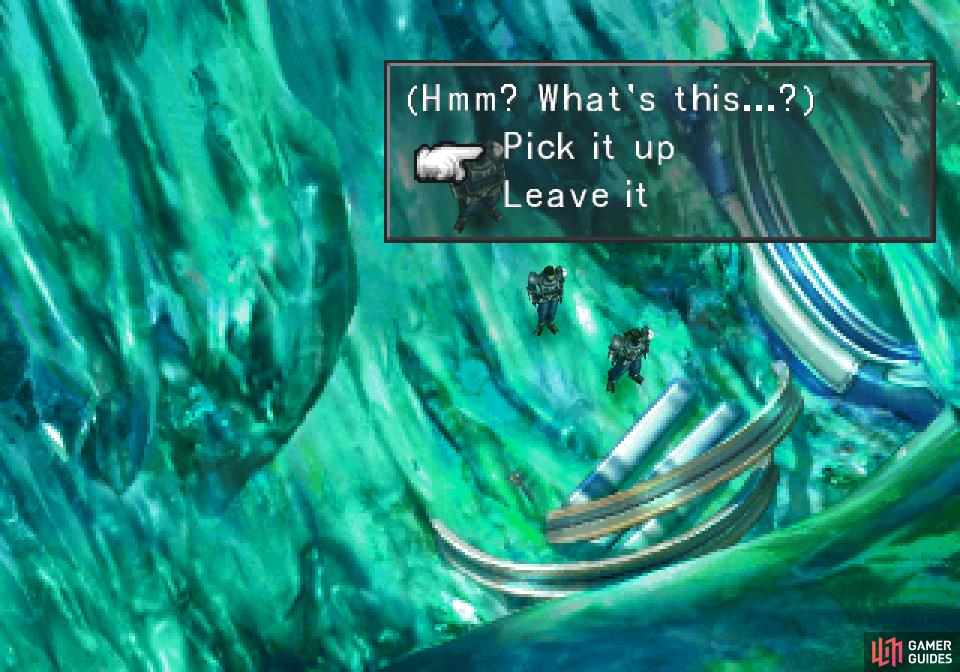
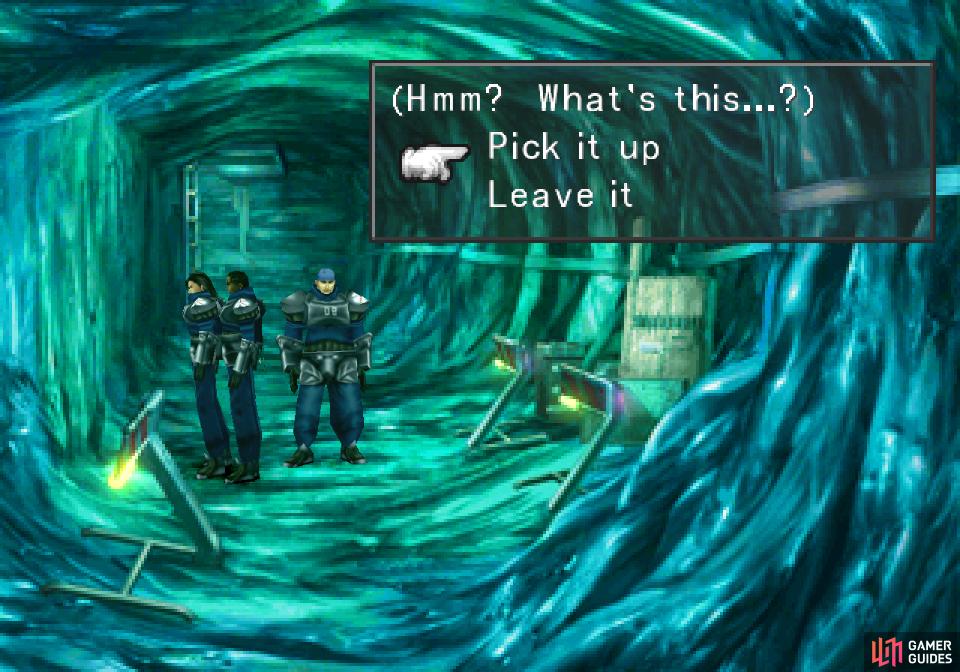
After the battle, continue forward on the walkway and when you reach a fork, take the walkway to the right and climb down a ladder. When you reach a walkway below, Laguna will continue being a dork in a rather silly scene (who gets cramps like that?) after which continue forward along the linear walkway. On the next screen, turn left and exit to yet another screen to find yourself in some odd, turquoise-colored caves. Search some metallic cylindrical scrap near the bottom of the screen to find an Old Key… which Laguna promptly loses.
Laser Cannon Loot
Now that you’re in the caves it’s worth talking about an opportunity, albeit one you might not be able to (or care to) take advantage of. In these caves you can encounter the Elastoid enemy, which you may be familiar with from its card. While not much of a threat (they’re weak to thunder damage and have a decent store of HP, but are nowhere near as powerful as, say, a T-Rexaur), they do gain some interesting traits as their level rises. While their spells are somewhat interesting (Dispel at levels 1-19, Stop added a levels 20-29 and Meltdown at levels 30+), their drops are even more noteworthy.
At levels 20-29 Elastoids have a small chance of dropping a Laser Cannon, and while this chance doubles at level 30+, the best way to farm them is to Mug them off a level 30+ Elastoid, which should always yield a Laser Cannon. This item has two properties which are of present interest: first, they can be used to teach Quistis the Homing Laser blue magic, and they can be turned into Pulse Ammo x5 with Ifrit’s Ammo-RF ability. In the latter case, twelve units of Pulse Ammo are required for Squall’s ultimate weapon, and getting it this way will prevent you from having to refine Energy Crystals into Pulse Ammo, allowing you to use it for other purposes (such as other ultimate weapons!).
If you’re between levels 20-29, this will be an incredibly tedious process and probably not worth your time, but if you’re level 30+ and have Mug… well, it can still take a bit of doing depending on how lucky you are with Elastoid spawns, but at least one Laser Cannon is guaranteed every encounter. If you’re not at least level twenty, the Elastoid won’t drop and can’t be mugged for a Laser Cannon, nor is it really worth leveling up to do - you’ll just have to suck it up and use Energy Crystals to get your Pulse Ammo, or wait a bit for Squall’s ultimate weapon.
Sabotaging the Central Hatch
With that out of the way, make your way to the left along the bottom of the screen, then pass through another empty screen to reach a tunnel with three metal hatches on the floor. Search the central hatch to find a lever and Laguna will have a bright idea, after which pick the option Tamper with it and against all odds Laguna will be proven right. Even a broken clock… Anyways, this unlocks a Silence draw point later, which is of dubious value.
Another Old Key
Tedious though it may be, it’s time to backtrack. Make your way back right past where you found (and lost) the Old Key and return to the ladder you descended earlier. Your ultimate goal is to return to the fork in the walkway just beyond where you fought your first Esthar Soldiers. This time, take the left-most fork to reach another screen, after which the path forks again. If you go right you’ll find a Confuse draw point - grab it if you need to, then go down a central walkway (the left walkway is blocked) and descend another ladder.
Back down in the caves, head down (towards the camera) and search the ground above the lone barricade to the left. Here you’ll find another Old Key, which Laguna also loses. Oh well, as Laguna says - nothing cheaper than something free… This will unlock an Ultima draw point later on, and so is well worth doing.
The Left Hatch
Continue down to the next screen to return to where the three hatches are and meddle with the left-most hatch. You know, the only one you have access to? Once you find the sweet spot, pick the option Tamper with it. It might not have the same effect as the first hatch, but as long as you pick this option you should be good to go. Doing so will allow a future manipulation to bear fruit.
The Right Hatch
It shouldn’t take a genius to figure out what comes next - return back to the left, ascend the ladder you climbed up recently, then descend the first ladder you climbed down and work your way to the right hatch, the only hatch you haven’t tampered with yet. Search around until you get a prompt, then once again pick the option Tamper with it to prime the hatch for future mischief.
Use the detonator to send two boulders rolling
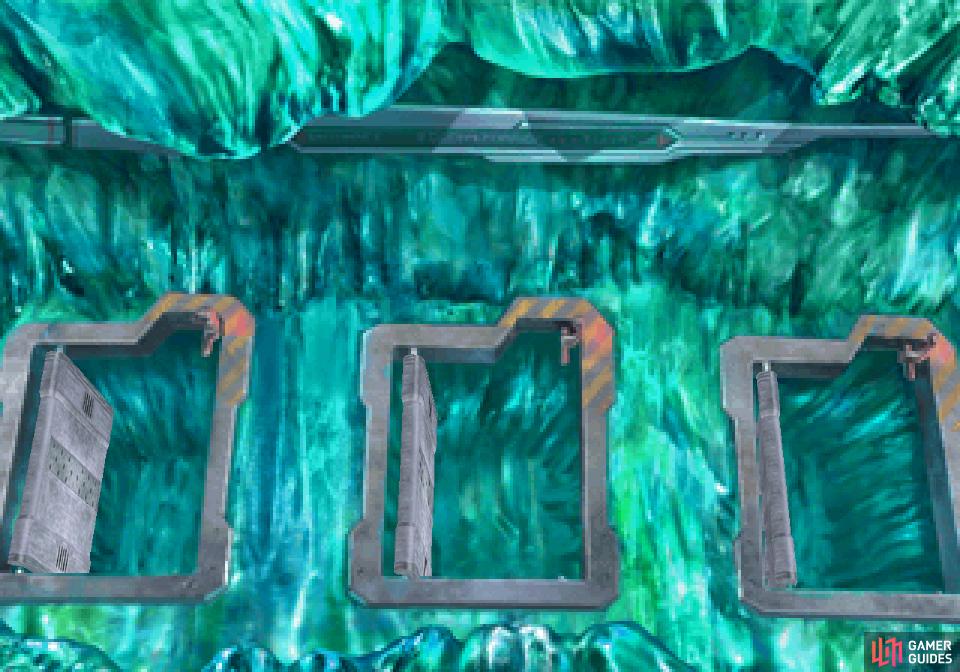
and open the remaining two hatches
Dabbling in Detonation
With all that done return to where you found the first Old Key and head up to exit the screen and tread new ground. Groovy. In the next screen the path again splits, and while the path to the right leads to a Save Point, you’ve got more future treasure to unlock. That being the case, head north and note the boulders as you pass. More importantly, look for a device lying on the ground on the left side of the tunnel, which you’ll interact with if you walk near it. Almost more difficult to avoid it, really…
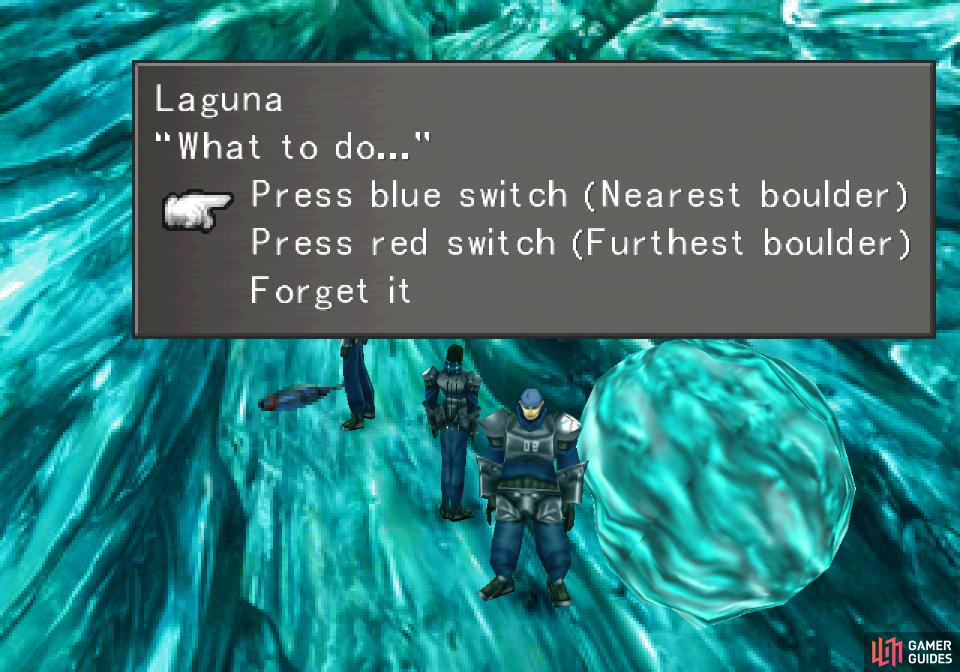
Anyways, Kiros will inform Laguna that the device is a detonator, which Laguna in his infinite wisdom decides to tinker with. When you get an opportunity, pick, the option Press red switch (Furthest boulder) and the following tumult will cause the left-most hatch to open. This will allow you to obtain a Phoenix Pinion later on.
Interact with the detonator again and pick the option Press blue switch (Nearest boulder), which will open the right hatch. In the future this will bear fruit in the form of a Power Generator.
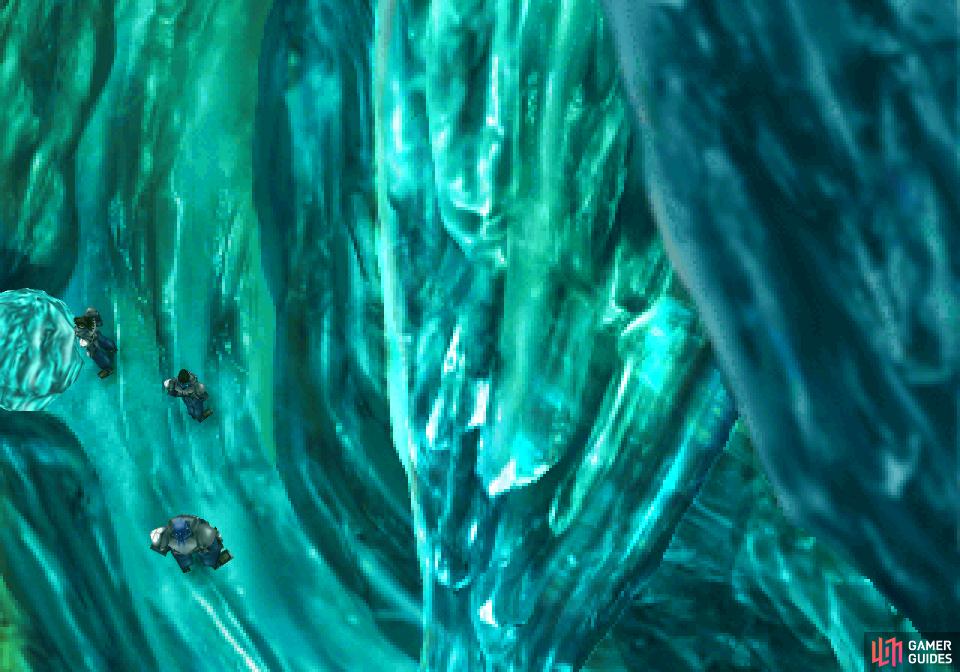
Push a boulder beyond the detonator
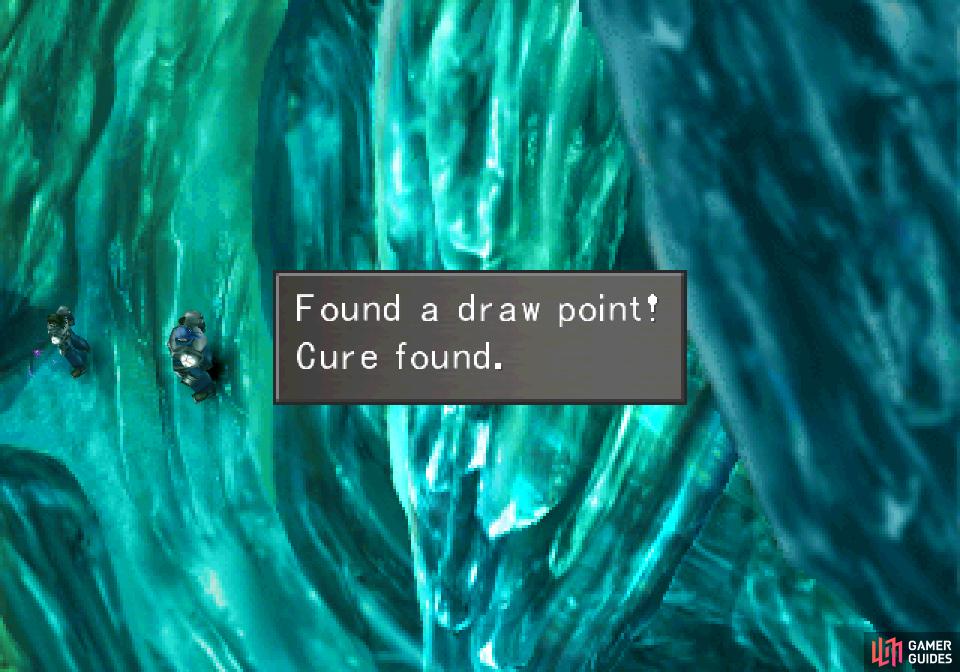
to reveal a Cure draw point
Pushing Boulders
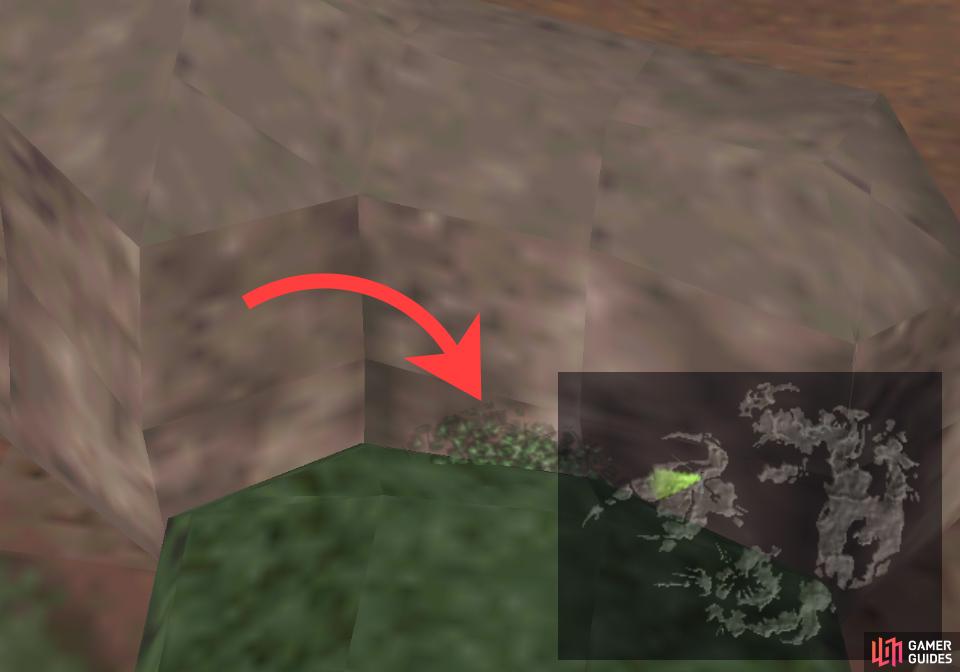
Now that you’ve played with foreign explosives, continue up from the detonator and ascend some stairs. In the next screen, follow the walkway up and to the left to reach another screen, where you’ll find yourself in a curved passage. Follow the curve and note a boulder to the left as you go - give it a push to distress more unseen Esthar Soldiers and reveal a Cure draw point. While this rare event will give you some immediate (albeit humble) gains, pushing the boulder will also unlock a Spd-J Scroll later on.
Escape from the Centra Ruins
From this draw point continue up and to the right to reach a Save Point in front of two doors. Save your game and head up - the right door just loops around to areas you’ve previously explored, and isn’t worth your time. You’ll shortly find yourself outside, where you’ll be attacked by some Esthar Soldiers. The number of soldiers you’ll have to fight varies depending on how many Laguna dispatched with his tinkering earlier, chiefly by opening the central hatch and moving boulders.
At worst you’ll need to fight eight Esthar Soldiers over five battles, while at best you’ll fight two in a single battle. They’re at worst nuisance foes, so cut them down and before the last one falls it’ll counterattack with the plot-convenient “Soul Crush” attack that incapacitates Ward and Kiros. Ignore the discontinuity between gameplay and story and just roll with it.
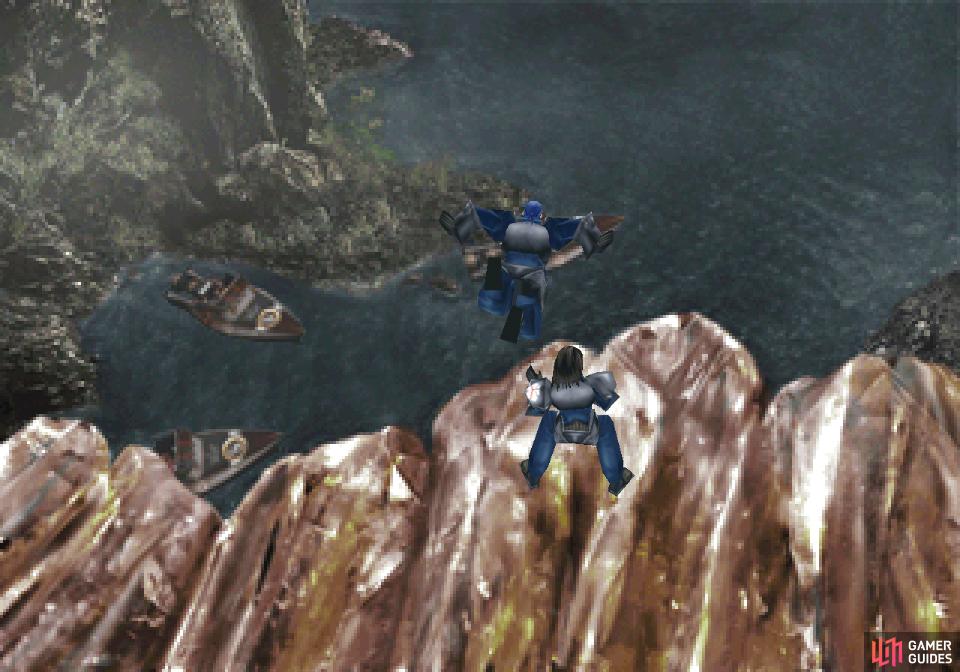
Laguna will show that his inclinations as a rescuer are a bit… misguided
after which you’ll awaken from the dream
After the fight, Laguna will show that his first aid skills are inferior only to his climbing skill ending the dream… well, with a slash rather than a cliff-hanger. Oh, pun intended. With that your original party will wake up and decide not to ponder these mysterious dreams further, opting instead to continue on to Galbadia Garden.
Be sure to reform your party to your liking and switch out GFs. Most importantly, heal your injured companions - the injuries suffered by Ward and Kiros at the end of the dream are reflected on Selphie and Quistis, at least as far as HP totals go. If you have Enc-None and don’t mind a bit of walking, resting at an inn in Timber or Dollet or taking advantage of the old man’s faucet in Timber are all options, or you can just use a few Cure spells.
Dragon Fang Grinding
Now that you’ve survived your second Laguna dream, you can explore the forest where you fell unconscious. While you can find a variety of beasts in this forest, the game you’re hunting are Grendels, which can drop Dragon Fangs. These items are one of the last components you need (and which were previously unobtainable) for Squall’s ultimate weapon… sort of like the Elastoid(s) you may have fought earlier.
Unlike the components you gained from Elastoids (ultimately Pulse Ammo), there’s no way to obtain Dragon Fangs via Card Mod, and your odds of getting Dragon Fangs from Grendels actually increases the lower your level is. If your level (and hence the level of the Grendels you fight) is between 1-19 you’ve got over a 70% chance for a Grendel to drop a Dragon Fang, while at levels 20-29 that chance drops to 20% (although you’ll always gain two). At level 30+ the Grendel will no longer drop Dragon Fangs at all, meaning you’ll need to find another source for these items - another reason why the low level run is preferable!
That said, unless you really went out of your way to grind earlier, you shouldn’t be level thirty or higher at this point in time (sorry, Elastoid grinders). You’ll need to acquire four Dragon Fangs for Squall’s ultimate weapon, so consider running around the forest while hugging the cliffs to the west to get the components you need. As an added bonus, they give 6 AP each and are susceptible to Card.
While Dragon Fangs are surprisingly easy for a low-level party to obtain, you may recall that Zell’s (and to a lesser extent, Quistis’s) weapon selection back in Balamb was rather limited, wanting some Dragon Skin for many of his superior upgrades. If you’re a fan of Zell, or just a fan of boosting everybody as much as possible, you’ll be glad to know that you can acquire Dragon Skins here, too. The Grendel is also a source of these items at low levels… unfortunately the drop rate is a paltry ~5% for a single scrap of skin, so this could be quite a painful grind. Grendels level twenty and over won’t drop them at all, either, so if you’ve done any leveling worth mentioning, they’re a no-go.
Fortunately these forests are also occupied by Anacondaur enemies, which can drop Dragon Skin at all levels. At low levels (1-29) they’ve got a paltry ~5% chance to drop two Dragon Skins, while at levels 30+ they’ve got a whopping ~95% chance to drop four, six or eight Dragon Skins. Grinding again favors those of higher level… and quite considerably, this time! If you want to grind Anacondaurs, consider junctioning Blizzard(ara, aga) to your Elemental Attack, Blind to your Status Attack, and Poison to your Status Defense.
As much as we love a good grind (as evidenced by this guide up until now), it’s hard to advocate that the low-level party should bother with Dragon Skins right now. Anacondaurs are uncommon enough to encounter, and adding that to their poor drop rate makes this a significant time-sink for relatively little gain. It’s ultimately something you’ll be able to do much more quickly later on.
In any event, the weapons you may be able to acquire - or get close to acquiring - with some Dragon Skins in your possession are as follows:
| Weapon | User | Materials | Cost | Str | Hit% |
|---|---|---|---|---|---|
| Gauntlet | Zell | Dragon Skin x1, Fury Fragment x1 | 400G | 20 | 101% |
| Ehrgeiz | Zell | Adamantine x1, Dragon Skin x4, Fury Fragment x1 | 800G | 25 | 103% |
| Red Scorpion | Quistis | Dragon Skin x2, Ochu Tentacle x2 | 400G | 20 | 105% |
Definitely going to need to find some Adamantine for all these ultimate weapons, eh? Don’t worry… soon. Soon.
When you’re done grinding, it’s time to head to Galbadia Garden.
No Comments