
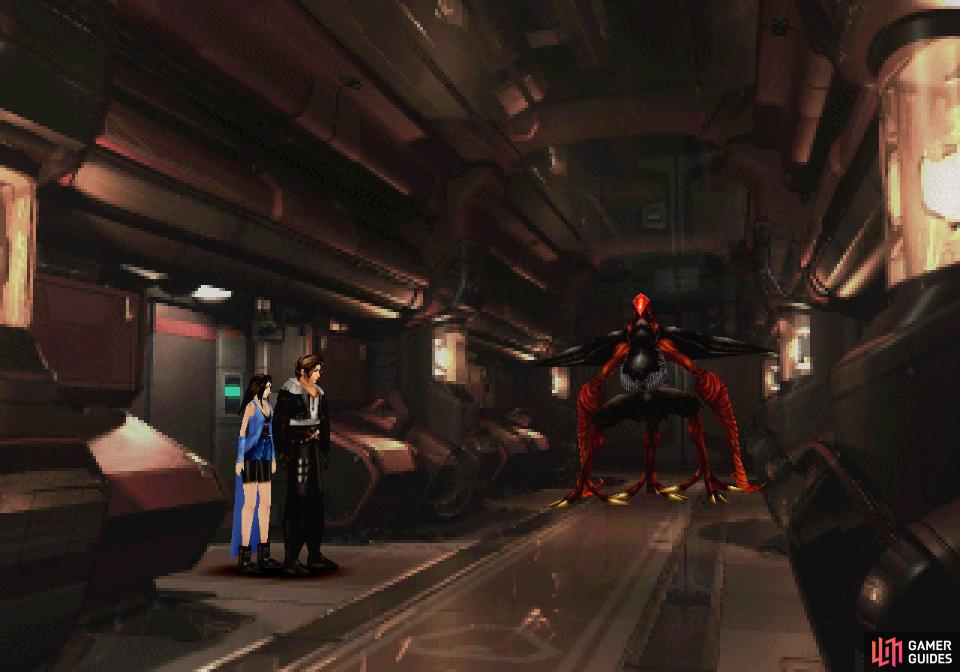
Wonder of wonders, there’s air on this ship, and at least some gravity. After you save your game (you don’t want to sit through all that space stuff again, right?) go through a doorway and in the next screen you’ll be in your Sunday worst. Rinoa will pester Squall, who in turn will be incredibly dense, after which you’ll finally be free to go search the ship on your own. Make sure your junctions are set and head through another door to find that you’re not alone on this ship.
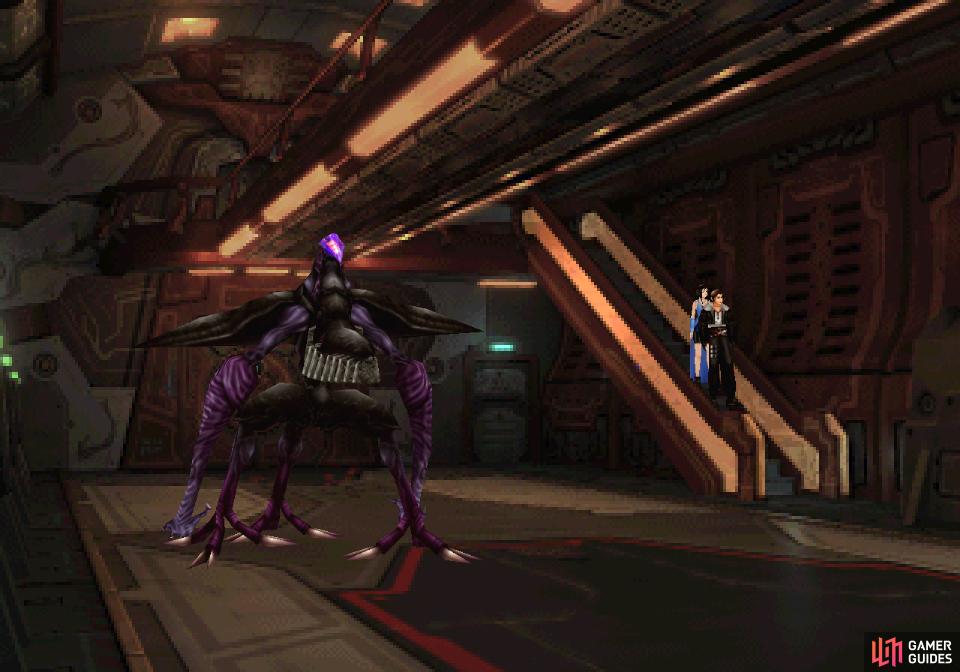
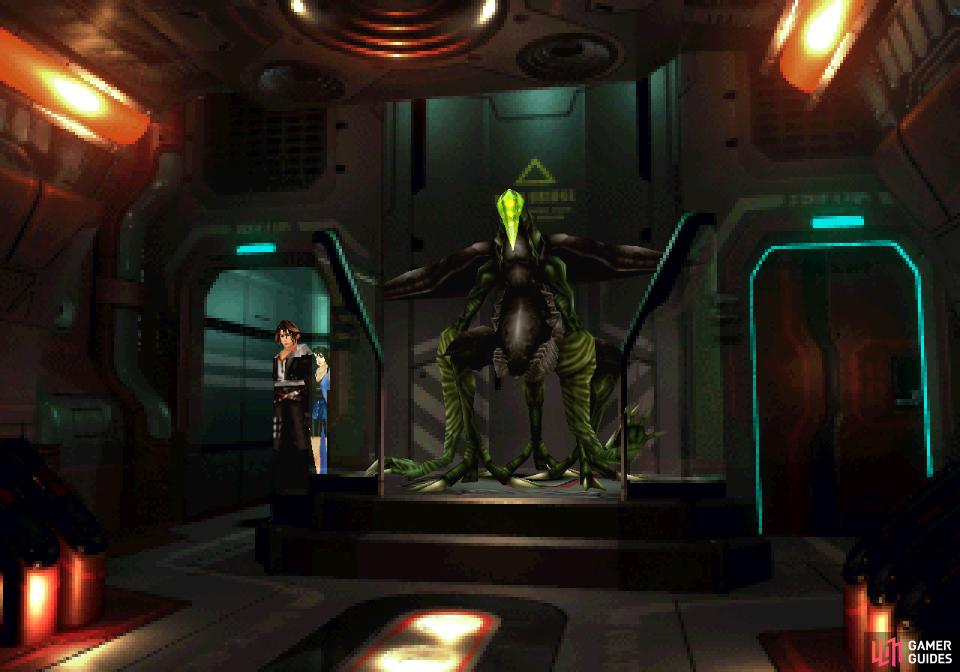
Aliens? Well, you just saw the moon puke monsters on the earth, so… why not? After spying the beast, Squall will helpfully remind himself (and hence you) to check on your junctions, if you haven’t already. Continue up to find a sealed door, then turn right and go down some stairs. No avoiding it, you’ll have to confront this monster, whatever it is.
| Propagator | |
|---|---|
| Lv: | 1-100 |
| HP: (Lv10) | 2,000 |
| HP: (Lv20) | 3,000 |
| HP: (Lv30) | 4,000 |
| HP: (Lv100) | 11,000 |
| Weaknesses: | N/A |
| Resistances: | N/A |
| Status Resistances: | Immune to Card and Confuse; Berserk 40% – Darkness 20% – Death 30% – Doom 20% – Drain 0% – Eject 20% – Float 0% – Haste 0% – LV Down 0% – LV Up 0% – Petrify 20% – Poison 20% – Reflect 0% – Regen 0% – Silence 20% – Sleep 20% – Slow 10% – Slow-Petrify 30% – Stop 50% – The End 0% – Zombie 30% |
| EXP: | – |
| AP: | 5 |
| Draw: (Lv1-19) | Cure, Esuna, Life, Thunder |
| Draw: (Lv20-29) | Cura, Esuna, Life, Thundara |
| Draw: (Lv30+) | Curaga, Esuna, Life, Thundaga |
| Mug: | Wizard Stone x6 - x12 |
| Drop: | Shell Stone, Protect Stone, Aura Stone, Death Stone |
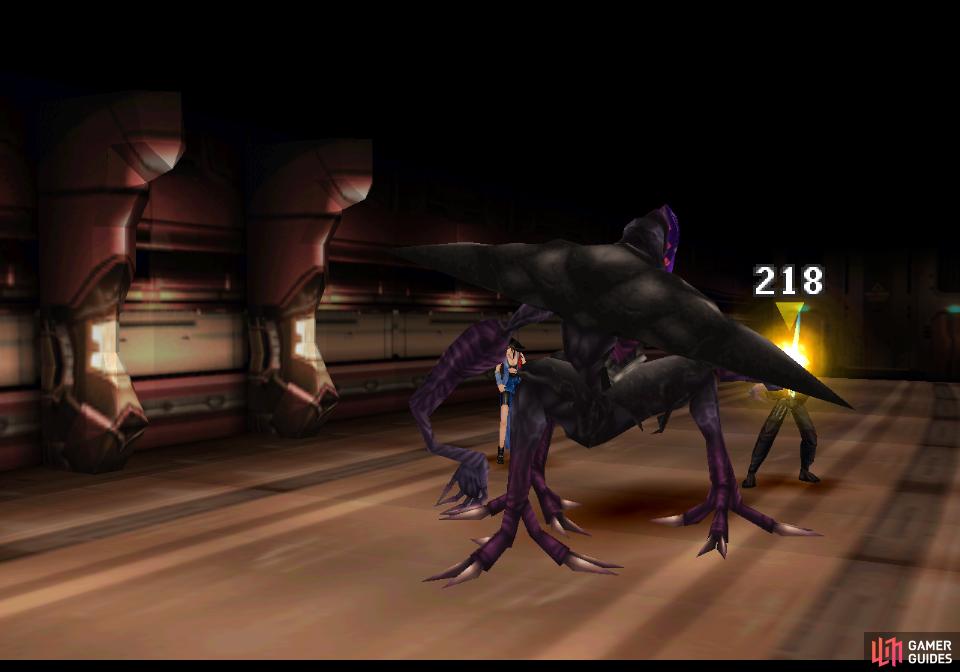
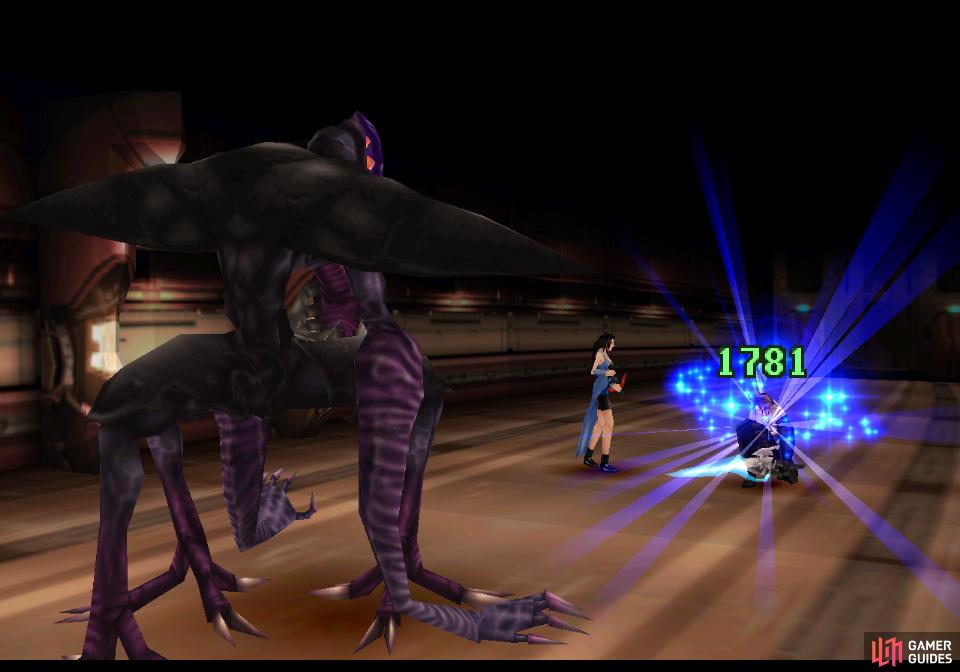
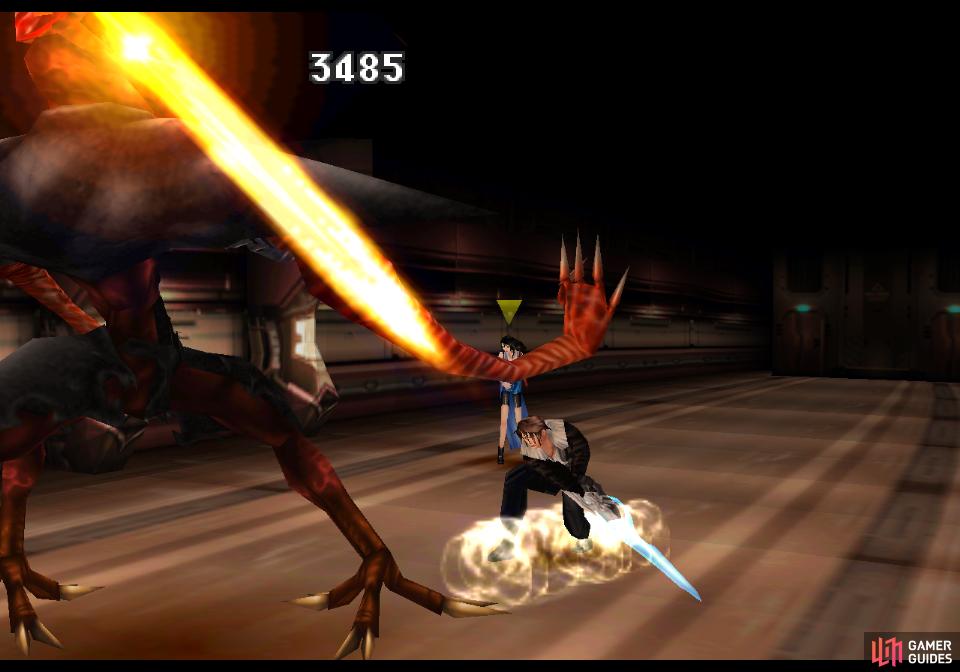
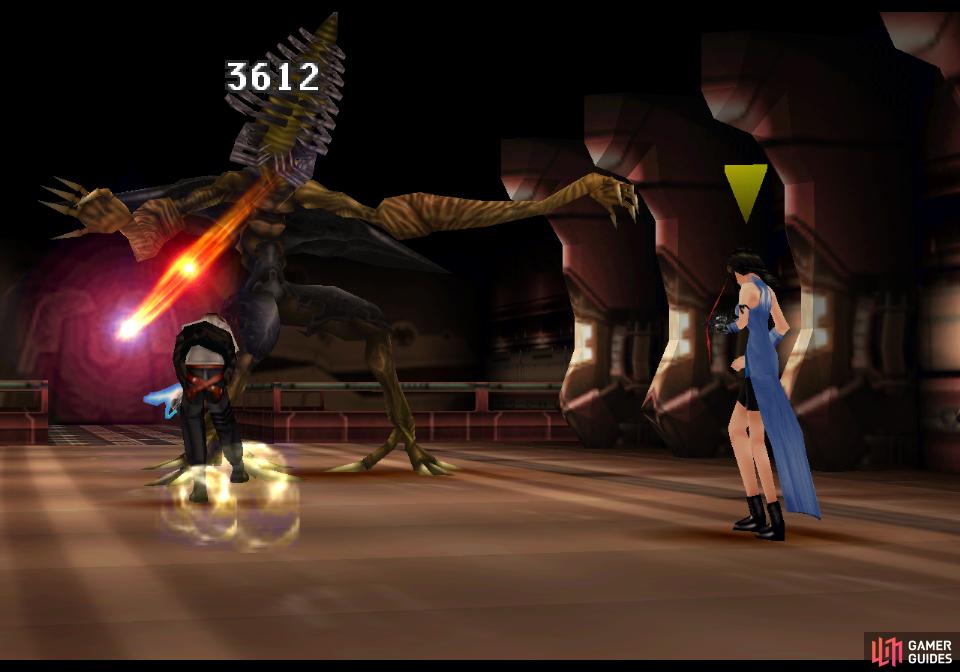
Propagators are weird enemies - especially if you count them as bosses - in that they’re fairly weak. They’re not resistant to or weak against any forms of damage, and as far as status effects go, they’re only immune to Card and Confuse, being fairly vulnerable to everything else. They’re also not well-protected with a large pool of HP (a potent low-level party might well be able to one-shot them) and if that’s not cake enough, you can draw Cure (-ara, -aga), Esuna and Life from them, so keeping yourself alive should be a simple matter. In fact, if you render yourself immune to the two debuffs they can inflict - darkness and silence - and if you’re set to absorb thunder damage, there’s very little they can really do to harm you.
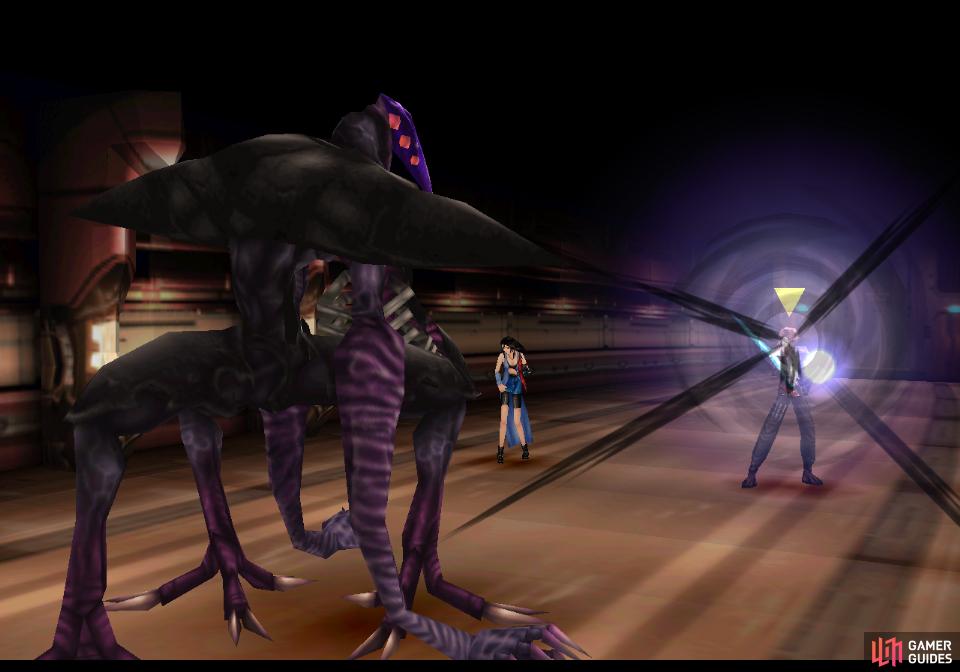
So, what’s the catch? Well, defeating one isn’t enough, as it’ll simply respawn unless you subsequently kill its pair. There’s not just one Propagator on this ship, oh no. Too simple. There are eight - two pairs of four, which are fortunately color-coded. The first one is purple, so to keep it from respawning you’ll need to kill its purple twin, then repeat the same with other colors. All propagators fight more or less the same, so just refer to the stat box above for any queries you may have as you go about eliminating pairs.
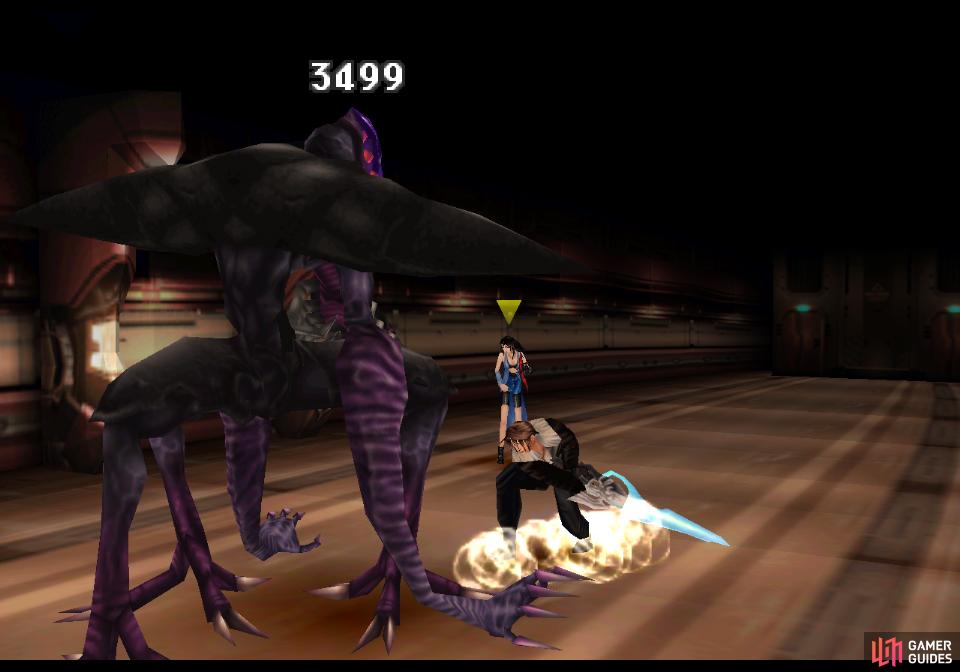
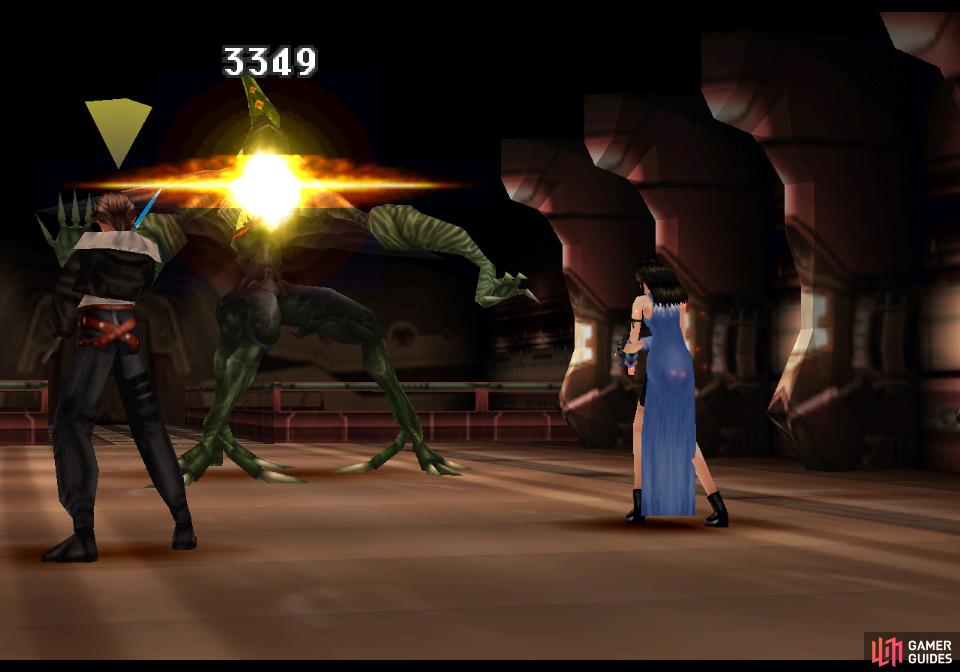
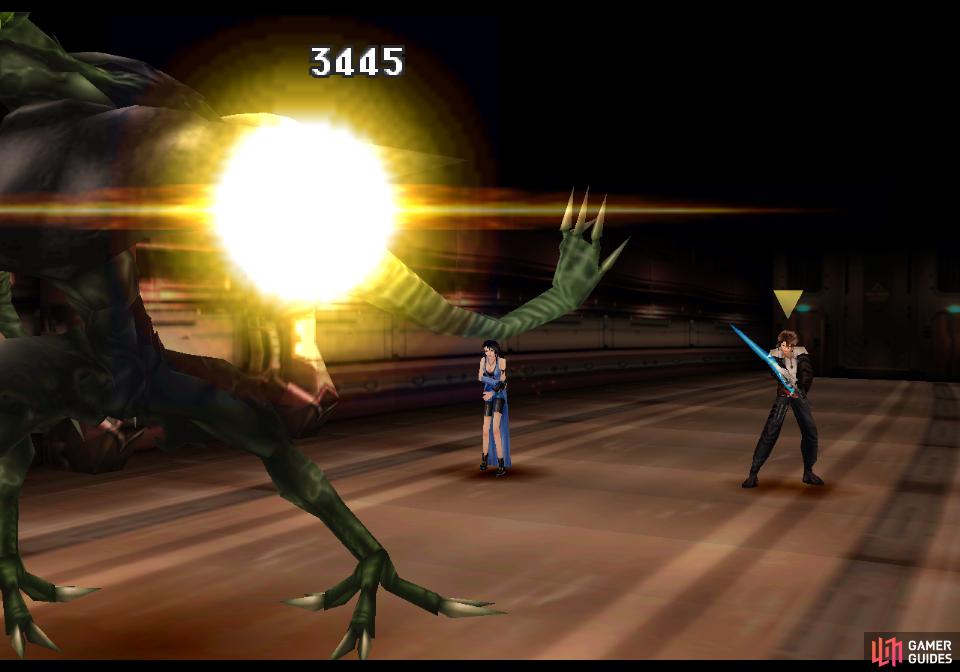
(1 of 2) Kill the first purple propagator
Kill the first purple propagator (left), then take down the second. (right)
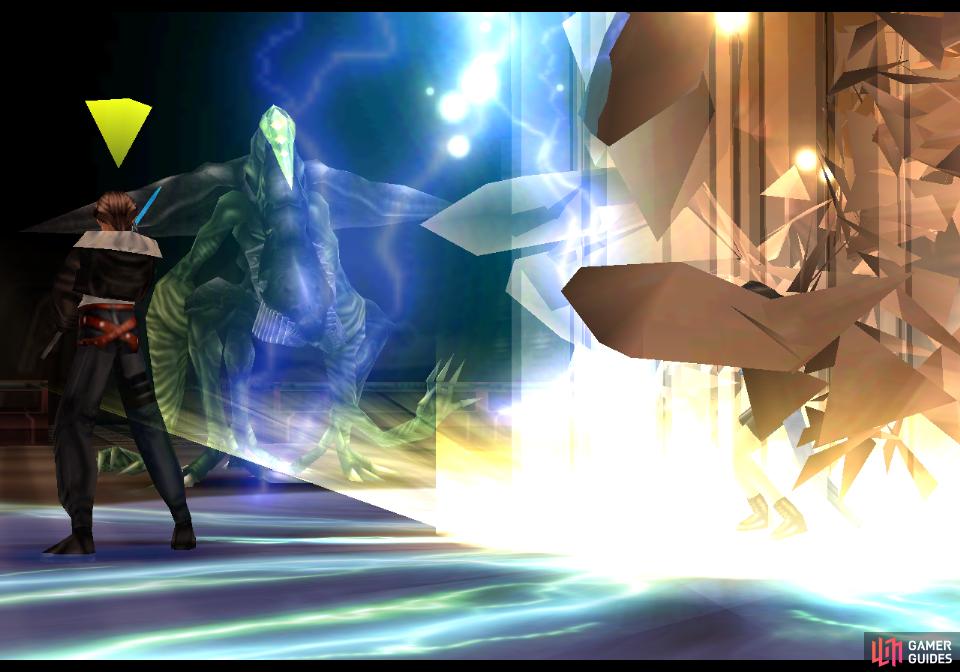
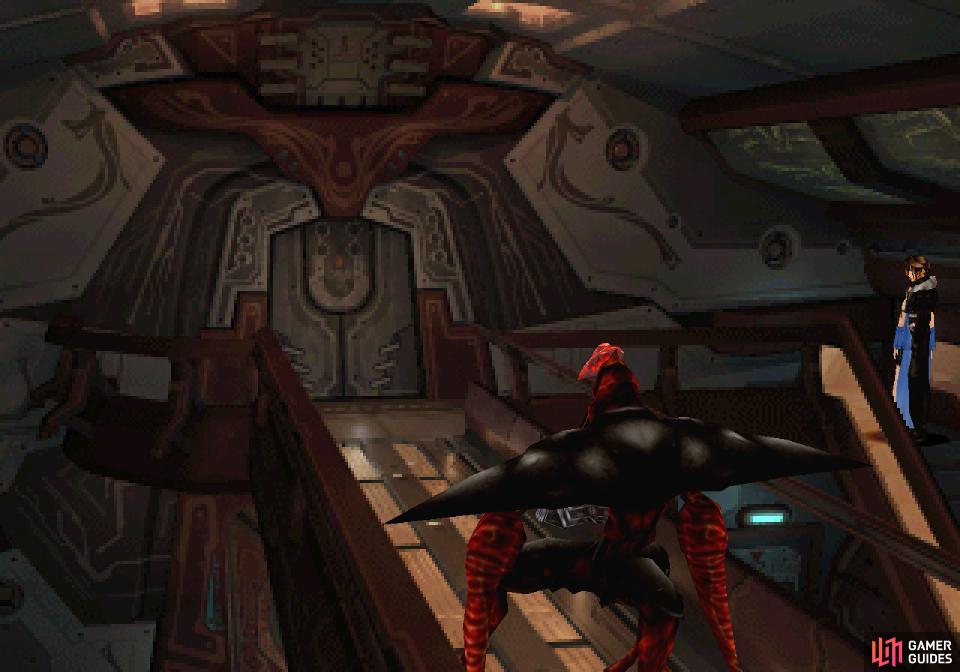
First up, the purple. Kill the purple Propagator in the Hangar then head up to find two doors: a large one with three green lights and a smaller one to the right with one larger light. Go through the larger door to find yourself in another “Aisle” area - guess area names aren’t going to be very helpful here. Further down the hallway you find yourself in you’ll find a Red Propagator. You want to avoid this critter, so you’ll need to quickly run forward and exit through a door to the left. If you get caught by the red Propagator you’ll have to defeat it, and the purple Propagator in the room behind you will respawn. Nuisances, really. Avoid that if at all possible (you can’t escape from fights, by the way), otherwise go back and kill the first purple Propagator and try again. When you make it past the red Propagator you’ll find a second purple Propagator in the “Entrance” screen. Kill it and you’ll have kept the first pair of Propagators down for good.
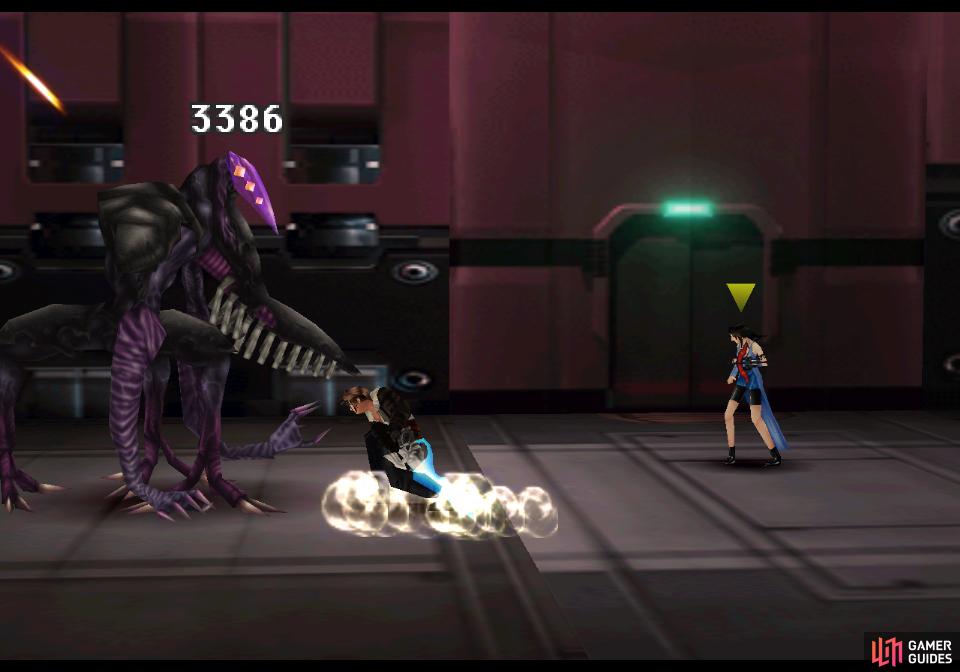
(1 of 4) Find the first red propagator
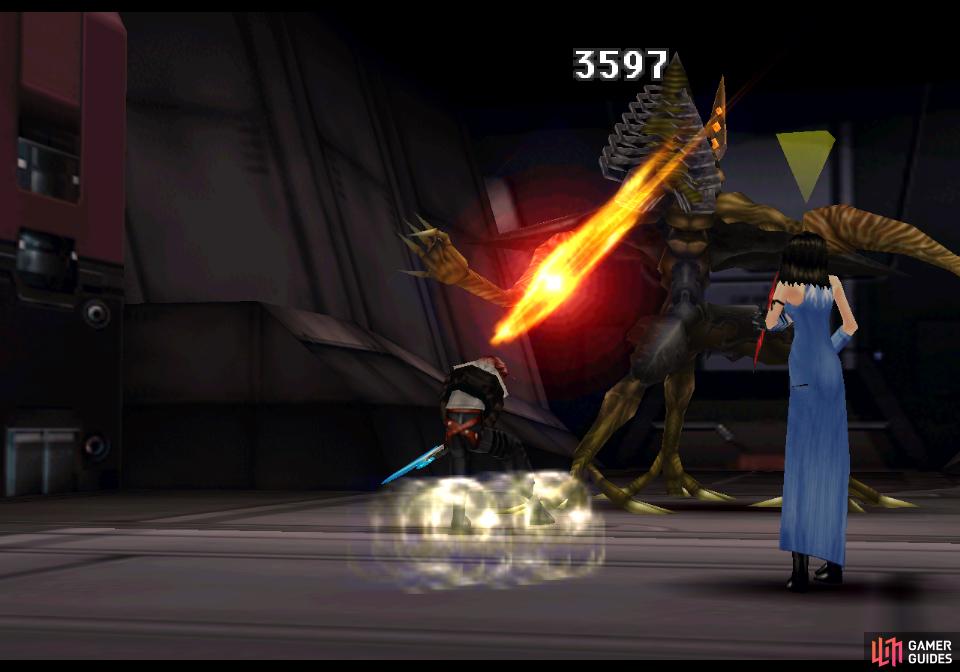
Next up, the red. Exit back into the “Aisle” to the right and kill the red Propagator there (note the Cura draw point behind it), then exit by heading down to return to where you fought the first purple Propagator, head upstairs and you’ll find a second red Propagator walking about the narrow aisle up here. Kill it and you’ve eliminated half the pairs. Much win.
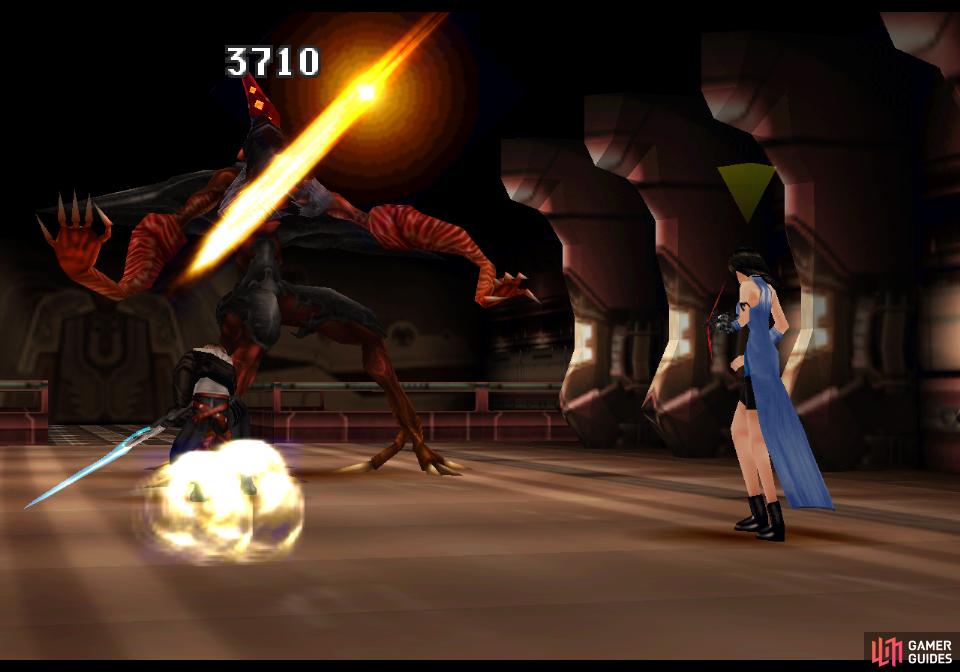
(1 of 2) Defeat the first yellow propagator
Defeat the first yellow propagator (left), then keep both down by defeating the second. (right)
Good news! From here on, your task should be pretty simple, as the last two pairs are pretty easy to deal with. From where you fought the second red Propagator, head down (head towards the Save Point) to find yourself in the hallway where Squall and Rinoa talked earlier, which is now occupied by a yellow Propagator. Kill it, save your game if you wish, then return back up to where you fought the second red Propagator. Head downstairs to where you fought the first purple Propagator, go through the large doorway (first red Propagator) then exit to the left (second purple Propagator). Head left again and you’ll find yourself in a room with a green Propagator. Don’t worry, however - this one is lazy, and won’t bother you if you don’t bother it. Make your way around it and enter a door to the left to reach the “Passenger Seat” area, where a second yellow Propagator lurks. Kill it and you’ll have exterminated all but one pair.
(1 of 3) A sedentary, docile green propagator rests on an elevator
Exit by heading down and kill the sedentary green Propagator, then head down again to unlock the door that connects to the upper “Aisle” area (second red Propagator). Now just head downstairs (first purple Propagator) and go through the smaller of the two upper doors to find the second green Propagator. Kill it to eradicate the Propagator presence from the airship.
Sorceress Drama
Once you’ve secured the Ragnarok for humanity, return to where you fought the first green Propagator (note all the corpses are now gone) and where it stood you’ll find an elevator you can ride. Ride up and sit through quite a bit of chatter, during which you’ll learn about Rinoa’s new… condition. When you land, Rinoa will be led away again, after which return on board the Ragnarok and enter the “Passenger Seat” room to the left of the elevator where more dialogue will occur - first an internal monologue, then, when your party arrives, some condemnation. When the Ragnarok starts to move, leave the Passenger Seat room and ride up the elevator and endure a final bit of conversation, then you’ll be flying the Ragnarok. Looks like Rinoa once again needs to be rescued, which has been the entire substance of disc three so far.
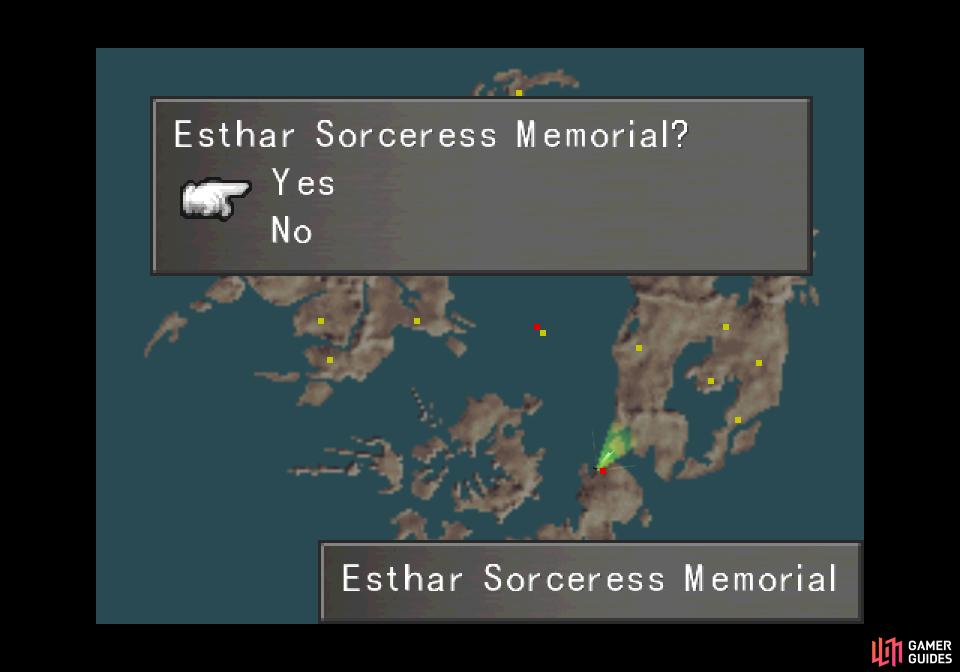
Don’t worry, soon you’ll have free reign of the sky and will be able to indulge in some high-reward side-content without worrying about having to rescue the princess again. Okay, well… at least for a little bit. First, however, it’s time to go rescue Rinoa. Again. There are two ways to get to your destination - the Esthar Sorceress Memorial - either bring up the large world map and move the cursor over the middle map marker on Esthar (southeast of the city of Esthar) and press [Talk/Confirm] to travel there, or just fly northeast from your current position until you find it.
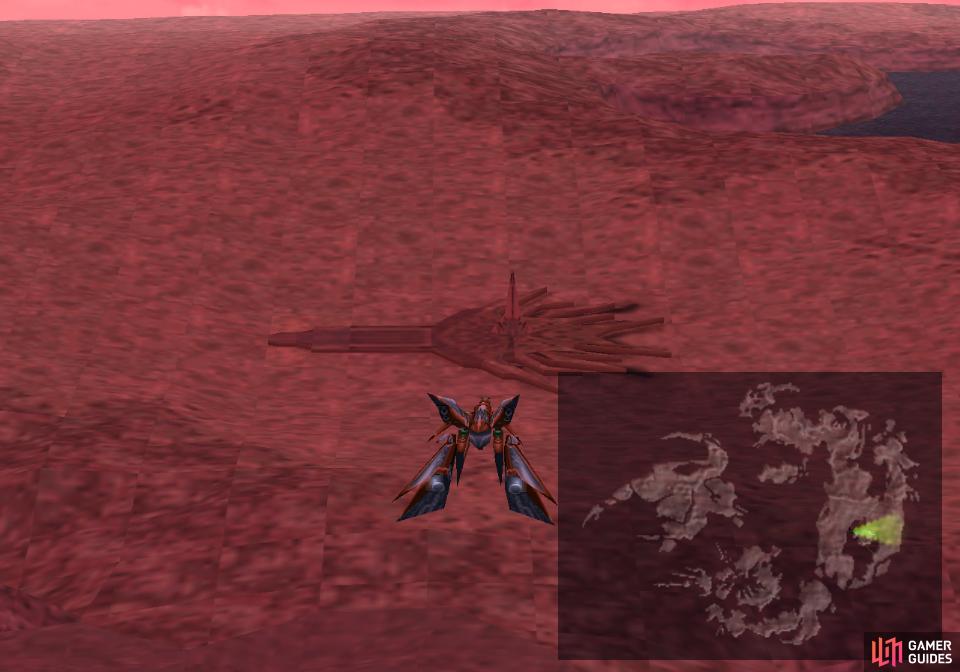
(1 of 3) You can fast travel via your map
Either way, land and enter the Esthar Sorceress Memorial, head upstairs and note a Stop draw point to the left. Approach the two guards near the door and they’ll prove to be pretty cool, actually. The engineers inside are less understanding, but hey, what’s the fate of the universe when compared to the love of two teenagers? Exit to the left and approach the containment device Rinoa is in, watch the scenes that follow, and back on the Ragnarok Rinoa will ask to go to Edea’s House.
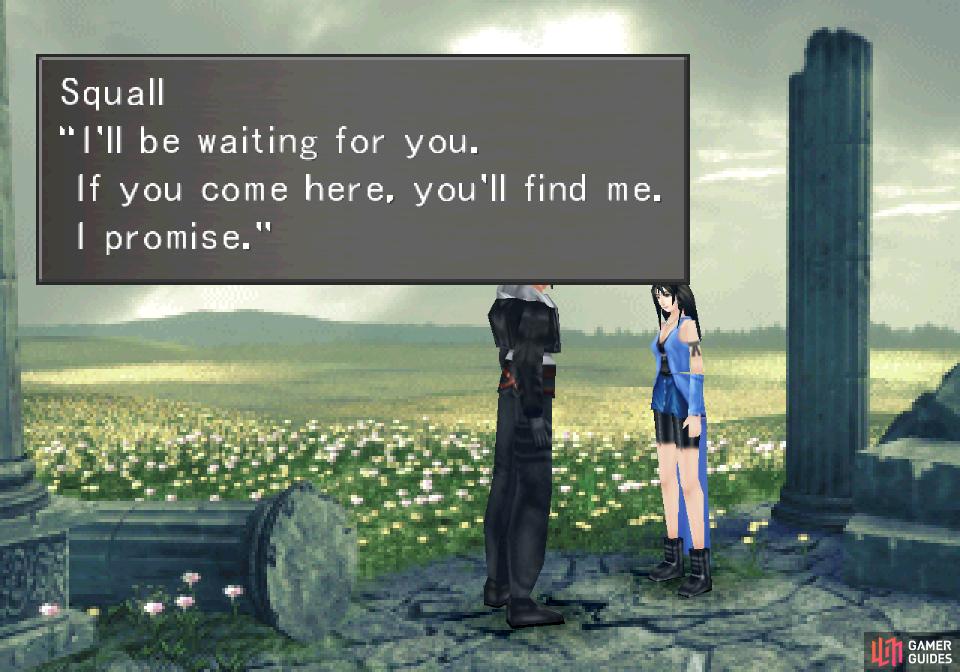
Fly or fast travel there, enter the ruined orphanage grounds, and you should spot Angelo. When the mutt runs left, follow it to find a field of flowers and after your companions leave talk to Angelo to have Squall muse about Rinoa. Rinoa will shortly arrive and you’ll get another scene between her and Squall, including some cryptic bits that were hinted at in the game’s intro movie. Neat. Before long you’ll be interrupted by a companion, who will tell you that the Estharans have a plan to deal with the sorceress threat that faces them and seeks to hire SeeD. Although initially skeptical, a key name-drop convinces Squall to return to Esthar and hear them out.


 Sign up
No Comments