
Rendezvous in Timber
It might have been an odd trip, but you’ll finally reach Timber. Once off the train, talk to the man in the brown vest and respond with But the Owls are still around if you want to be professional… or with anything else, it doesn’t really matter. Either way, the guy will run down and to the left, leaving you to do what you wish. There’s not much you actually can do here, but if you head left you’ll find a closed pet shop, while to the right is the “Timber Souvenirs” gift shop.
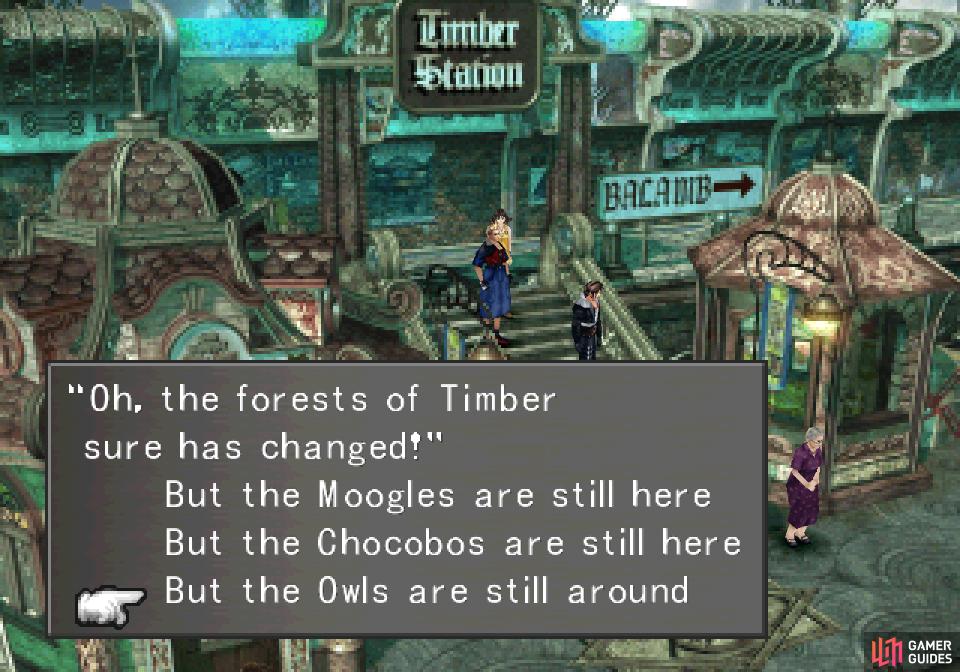
When you exit the train, give the correct password to the man who talks to you… or not
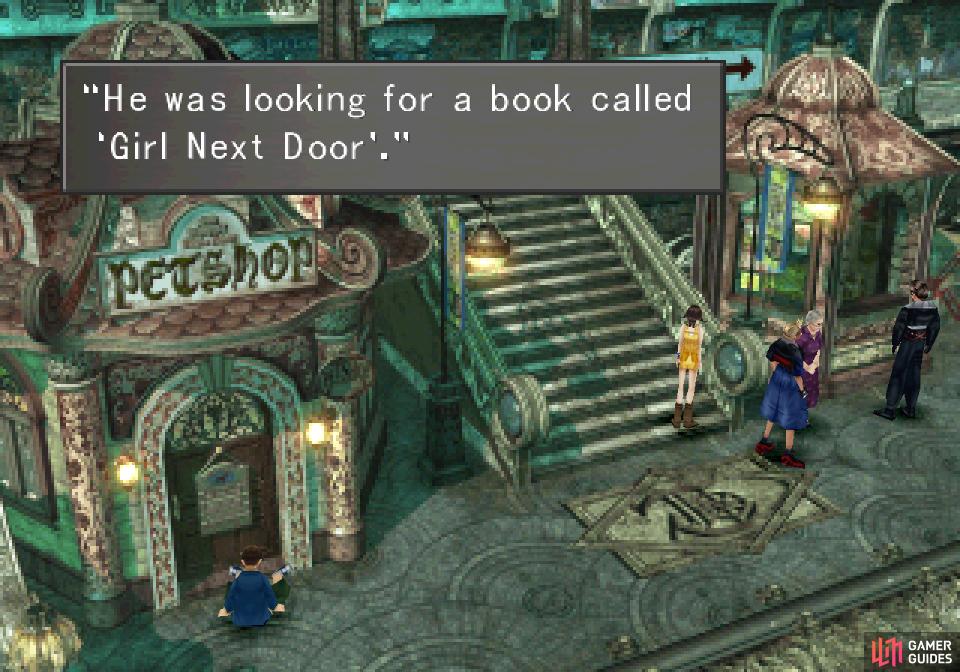
You can check out the gift shop nearby to find out about Zone’s naughty obsession
Talk to the unseen cashier at the gift shop and you can ask about Owl’s Tears (an out-of-stock beverage an “old man living on the edge of the town” might possess), see a useless Map of Timber, ask about model trains to pick up the names Watts and Zone, then ask about Naughty Magazines to learn that this Zone is a bit of a pervert… and looking for one high-brow publication named “Girl Next Door”. Truly a man of exotic tastes, this Zone. By the way, who goes around telling strangers who porn their regulars like to read? Talk about unprofessional.
When you’re done accumulating un-asked-for information, exit to the bottom left and witness a scene between the man in brown, a lone train car, and a man in blue. This isn’t seeming like a particularly well-run organization you’re working for…

Whether you gave the correct password or not, continue into Timber to rendezvous with the resistance group
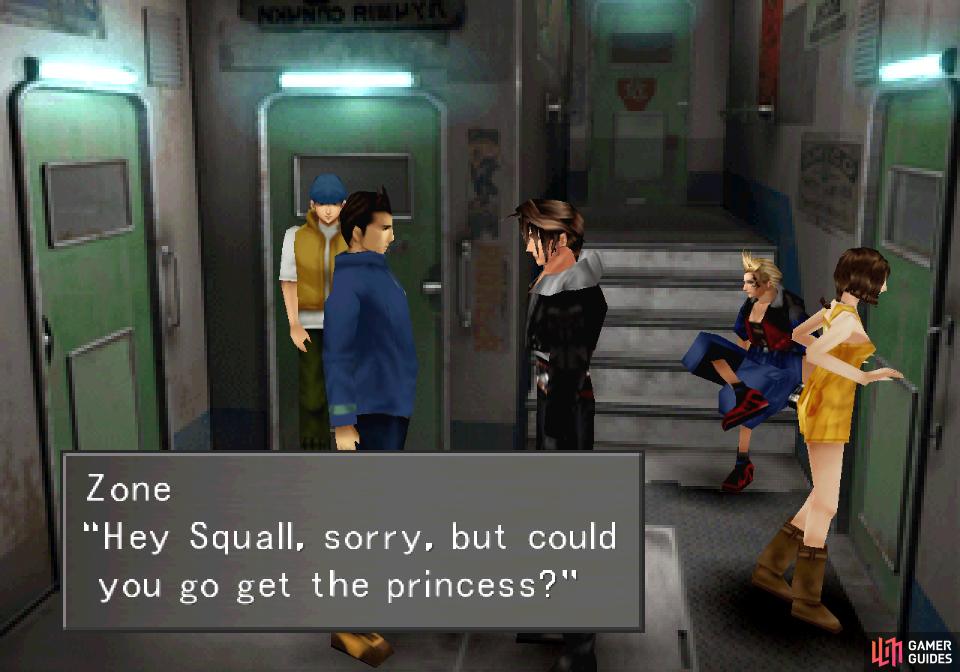
After which Squall will be offended by being given a menial task
Once aboard the train you’ll get the names of the two men - Watts and Zone, of course. Pervert! Ahem. Zone will introduce himself as the leader of the Forest Owls, after which he’ll ask Squall to perform the menial task of waking up their “princess”, which… doesn’t seem like the sort of thing you’d want some strange mercenary to do, right? Squall isn’t keen on it either, and Zone will show he doesn’t have the stomach for confrontation.
Triple Triad - Angelo Card
Now that you’re back in control, head upstairs and through a door, then enter the room to your left and save your game. Before you wake this “princess”, it’s time to play some card. Yes, yes, you may have done quite a bit of this earlier. Don’t worry, this isn’t a long session, you just need to pick up a rare card and see about how rules transfer between regions.
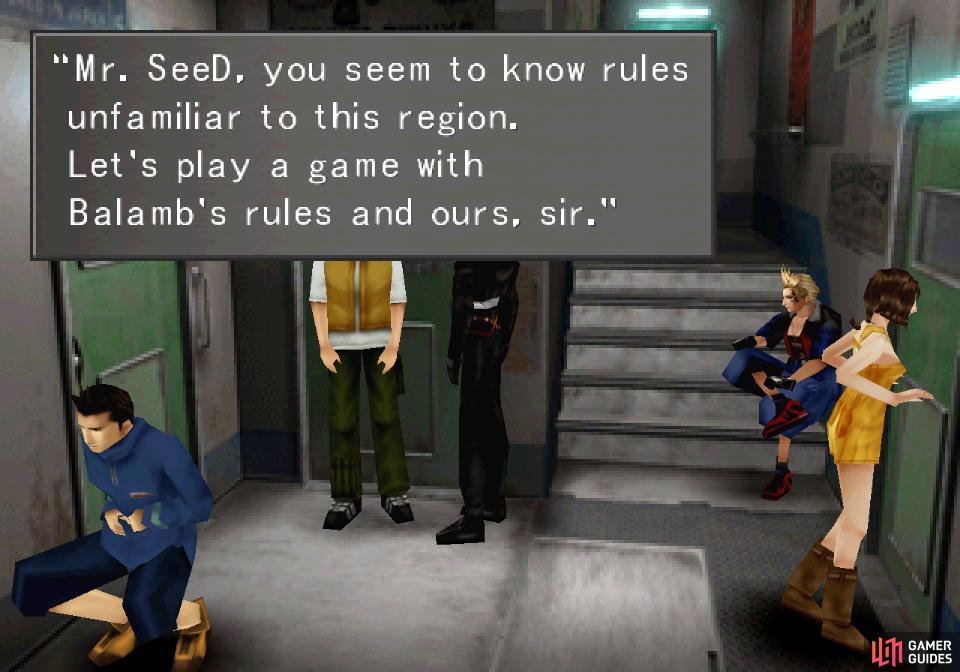
Challenging players from different regions while you possess foreign rules will prompt them to offer to play a mixed-rules game

Which can cause the spread or abolition of rules in the region
Save your game, then return to the first area in the train car and challenge Watts (brown vest). He should ask you to mix your rules (“Open”) with the region’s native rules (“Same”), and if you agree that’ll result in a game being played with a combination of rules. You can bypass this by simply refusing to play, then challenging a character again, and if they decline to after to mix rules you can play a game only using their local rules. You’ll only be asked to mix rules if you are currently playing with a rule that the region you’re in doesn’t already have, and this is important to keep in mind for later when you’re looking to abolish and spread rules… mostly the former. Below you’ll find each region’s starting rules, which may help you plan ahead for the ultimate goal - abolishing all rules save Open!:
| Region | Starting Rules |
|---|---|
| Balamb | Open |
| Centra | Plus, Random, Same |
| Dollet | Elemental, Random |
| Esthar | Elemental, Same Wall |
| Fisherman’s Horizon | Elemental, Sudden Death |
| Galbadia (includes Timber) | Same |
| Lunar Base | Elemental, Plus, Random, Same, Same Wall, Sudden Death |
| Trabia | Plus, Random |
When mixing rules, agree to play a game and exit out when you reach the Triple Triad screen - you don’t actually need to win or lose a game for the effects of playing with mixed rules to occur. When you play with mixed rules, one of several things can happen:
- No change in the rules occurs (you may be asked to mix rules if you play again)
- One of the mixed rules is spread to the region
- One of the mixed rules is abolished from the region
The first option isn’t terribly interesting, but in the case of a rule being spread, that rule will be in play for every character in the region from that point on. If a rule is abolished, that rule will stop being in play for every character in the region from that point on. So, to get rid of a rule you don’t like (looking at you, “Random”), follow these steps:
- Pick up a rule that a region doesn’t have
- Save your game near some convenient player in said region
- Challenge a player and agree to mix rules
- Exit out of the match before it starts
- See if “The [rule name] rule was abolished from this region” text pops up, if not, repeat steps #3 and #4
If the same rule keeps spreading or getting abolished and it’s not to your liking, play a game with a character in the region, make sure no rules were spread or abolished (unless it’s one you wanted, of course) then try steps #2-#5 again. Sometimes playing a game can get the RNG behind these decisions to change. Closing the app or turning off the console (hard reset, not a soft reset) can also have the same effect.
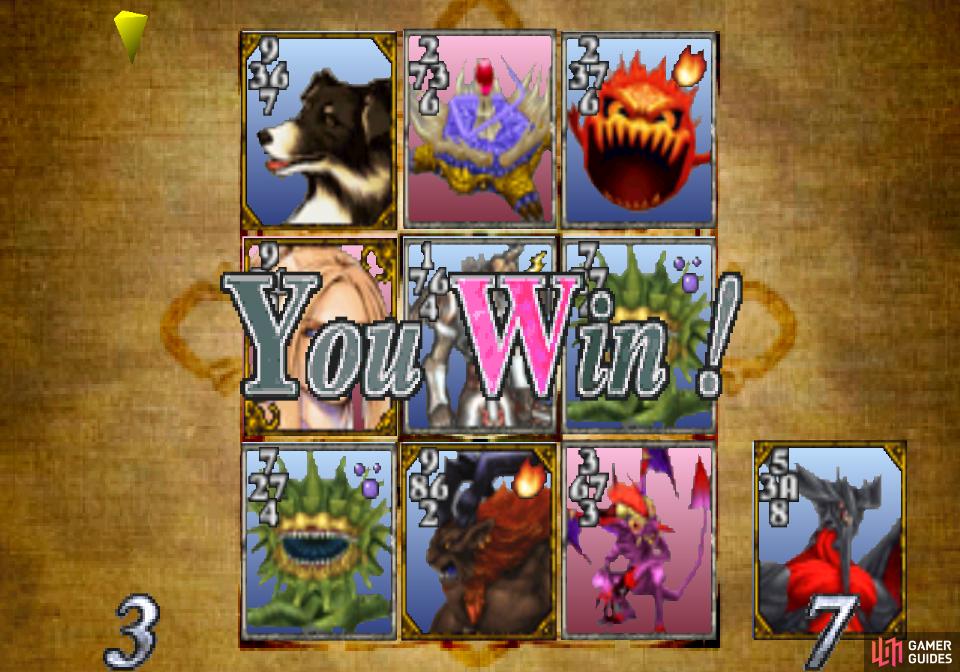
Defeat Watts at a game of cards

and claim the Angelo card as your own
Anyways, right now the best you can probably do is spread the “Open” rule through the Galbadia/Timber region, so simply challenge Watts, get to the Triple Triad screen, then cancel out until the rule spreads. When it does, play Watts until you see the Angelo card and win it off him. It’s not an amazing card even by current standards, but… well, it’s a new one to add to the collection.
Angelo can be refined into 100 Elixir items, which are high-end restoratives that “fully restore abnormal status and HP” - basically a combination of a Remedy and X-Potion. They’re a potent restorative item and Angelo is somewhat lack-luster for a rare card, making this a tempting candidate to Card Mod. Ideally you won’t need to burn through Elixirs in most fights - more easily obtained restoratives and spells will usually suffice - but if you’re not going to play Angelo anyways, there’s no harm in it.
Enter the rear train cabin to find the “princess”
and learn about her Angelo-related limit break
The Princess
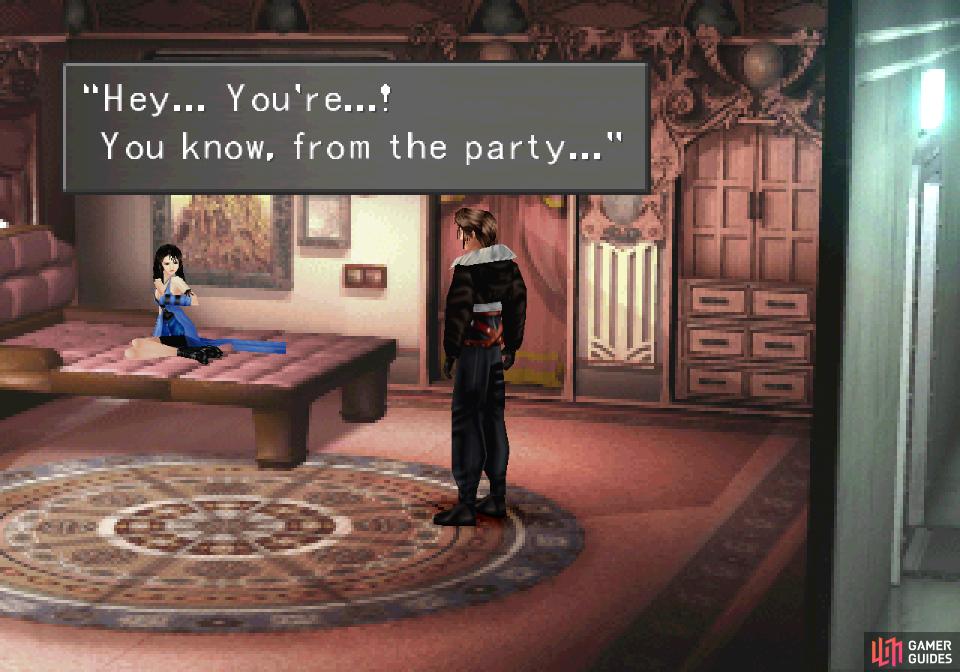
After you’ve sniped Watts’ Angelo card, return to the Save Point, save your game, then continue deeper into the train to find this “princess”, who just so happens to be the girl that danced with Squall at the graduation party. Small world. She’ll babble about how she met Cid and wistfully mention her plans now that she has a SeeD squad at her disposal before you’ll need to talk to her manually, after which you can name her. The default name is Rinoa, so the guide will just use that. More naming fun follows, as she’ll introduce you to her pet, the dog Angelo (again, the guide will use the default name), and you’ll get a tutorial about her limit break, which Angelo features in
Basically, Angelo will passively learn new limits as you walk about, which seems like a somewhat unnecessary step considering you have to find Pet Pals magazines to teach Angelo the skills in the first place. Still, if you want Angelo - and hence, Rinoa - to learn new limits make sure Angelo is learning something whenever possible, being especially sure to check in every time you pick up a Pet Pals magazine. Speaking of which, you should have obtained Pet Pals Vol.1 from Zell at the beginning of your first train ride, so go over to your inventory and give the magazine a read to learn about the Angelo Strike limit. Once done, go check Rinoa’s status screen and make sure you have this limit selected. No reason why you shouldn’t learn it, right?
That done, return to the front of the train and after some introductions you’ll be led into a room to discuss the scheme at hand. Selphie has a good, if simplistic idea, but unfortunately we’re tasked with a more complicated plan - kidnapping the Galbadian president, Vinzer Deling. While well thought out, you don’t really need to obsess over the details much, as your role is more… doing simple minigames in a strictly segmented order rather than having to remember the multiple train cars in play and sensors. Codes though… well, they’re another story…
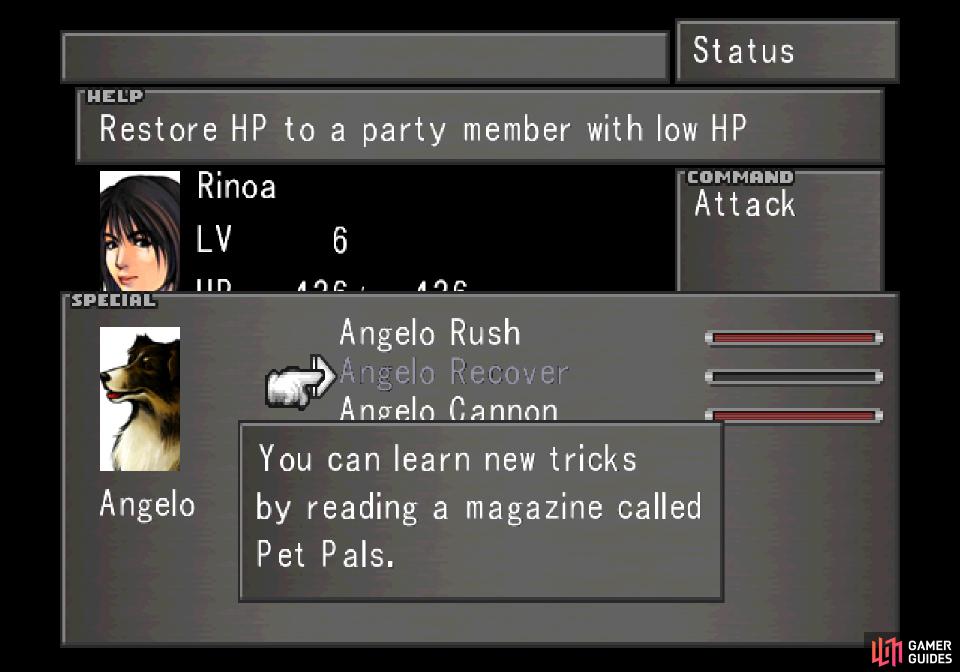
After the briefing, go save your game (you don’t want to sit through that again if something goes awry) then return to Rinoa’s room and you’ll find the bed has been folded up into a couch. More importantly, on this couch is Pet Pals Vol.2, which will allow Angelo to learn the Angelo Recover ability (if you plan to use Angelo Search later, don’t learn Angelo Recover!). Hey, at least the dog has plenty to do. When you’re ready to get this mission started, talk to Watts.
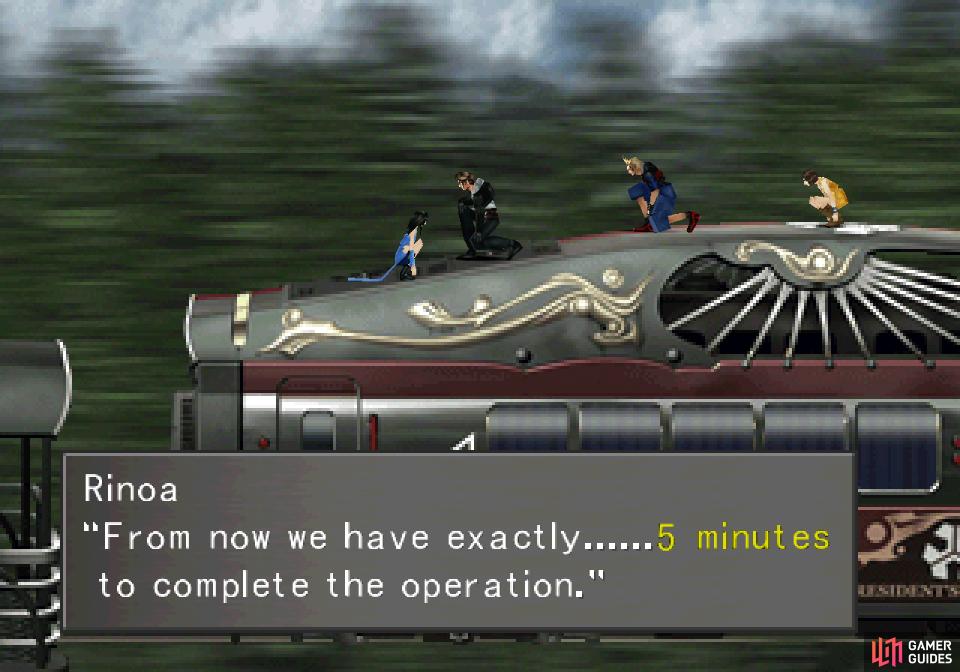
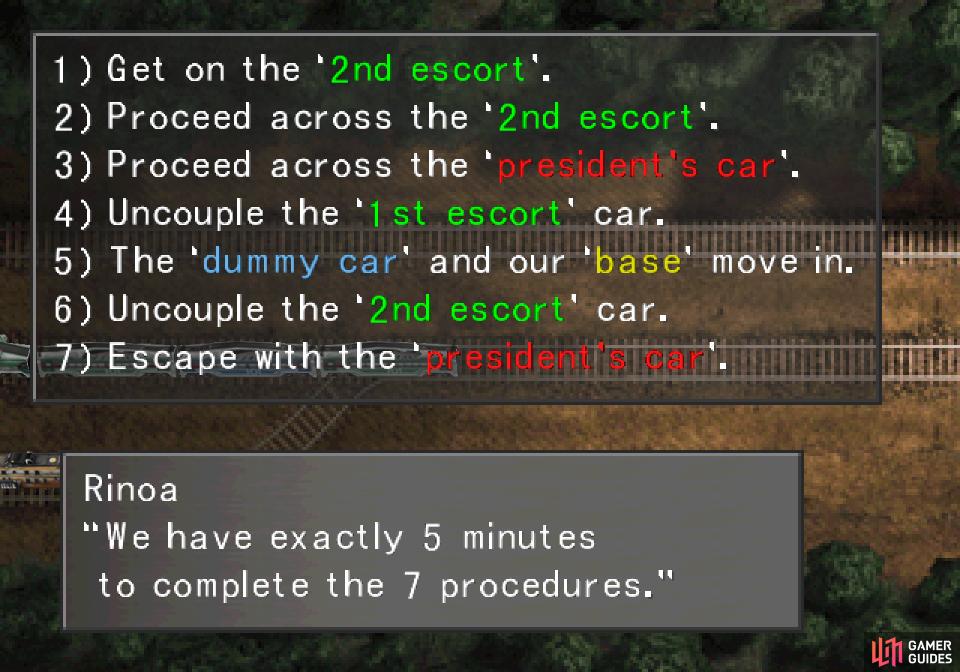
After your chat with Rinoa, you’ll have five minutes to complete your objectives
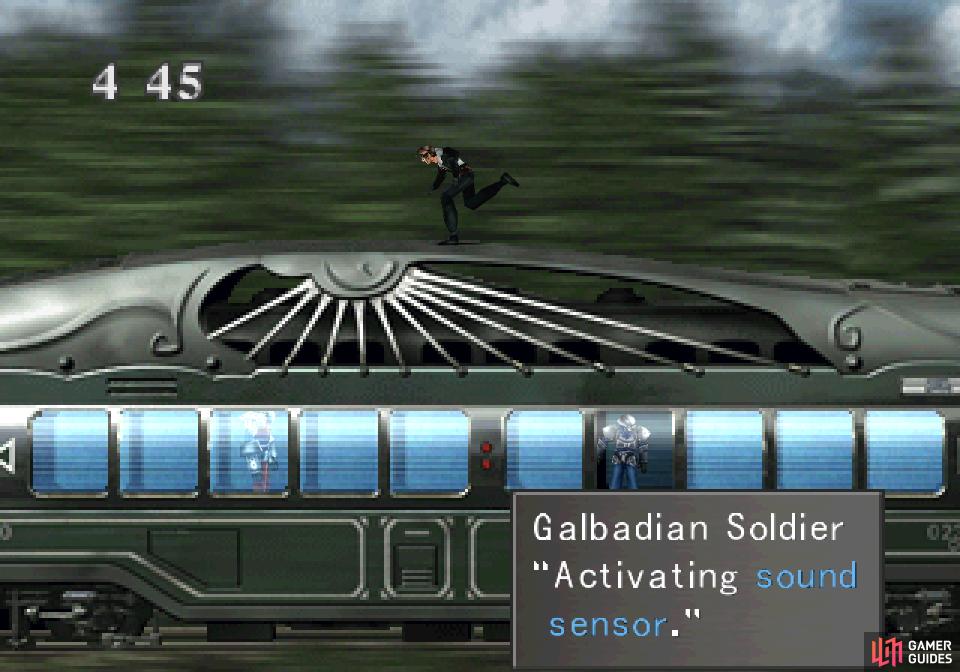
Ignore the sensors - they’re not actually operational
No Train, No Gain
If finding yourself atop a speeding train isn’t a sign of poor life choices, nothing is. Oh well, you’re young. You can still turn it around. Rinoa will inform you that you’ve got five minutes to decouple both train cars and president-nap Deling, starting… now! Or whenever it actually starts. First up, jump from your train to the Galbadian train to reach the roof of the car being scanned by Galbadians. Ignore what everybody says, the sensors don’t matter at all. Just run across the roof to get to the next train, which is where the first real trial begins.
As mentioned during the briefing, Squall will have to descend down the side of the train via a cable and enter in a series of three keycodes to uncouple the trains. Each keycode has four numbers corresponding to buttons you’ll need to press, and once Rinoa reads them out to you you’ll have roughly five seconds to enter them before the code becomes invalid. Once you successfully enter a four digit code, however, that entry remains, so you need not get all entries flawlessly nor in one go.
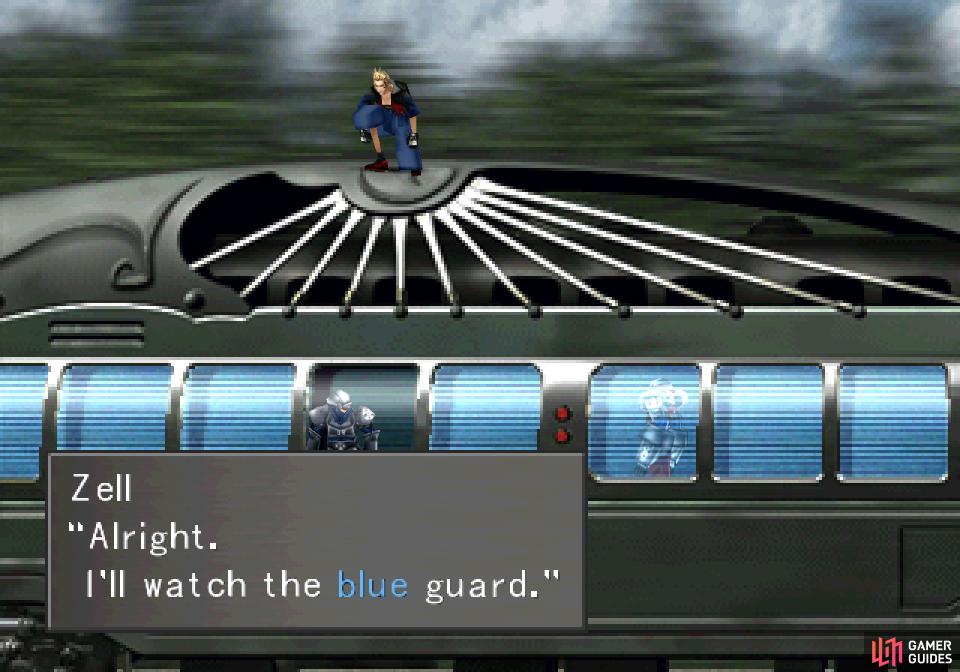
This is a good thing, as two guards occupy the train - an elite guard (red) and a lower-ranked grunt (blue) who will pace back and forth, occasionally peeping out the window you’re operating in front of. Obviously you’ll need to take pains to avoid them, and for this sequence Selphie and Zell will give you fair warning of their approach. To drop down to enter a code you’ll have to press DOWN, while to withdraw to the safety of the roof you’ll need to press UP. Just be wary that you can’t head up to the roof while you’re entering a code, although you can botch a code on purpose to get back up more quickly. There’s no penalty for botching a code, but getting spotted by a soldier can marginally reduce your SeeD rank. You can also manually look out for the soldiers by pressing L1. Basically, if you see a soldier approaching the door, be sure to get ready to climb back up when they’re around the second-to-last window. Most of all, remember to enter the code rhythmically, take your time, let the button presses register, and don’t try to rush it - five seconds is plenty of time to enter a code, and even if you can only manage to input a single code each descent you should have more than enough time.
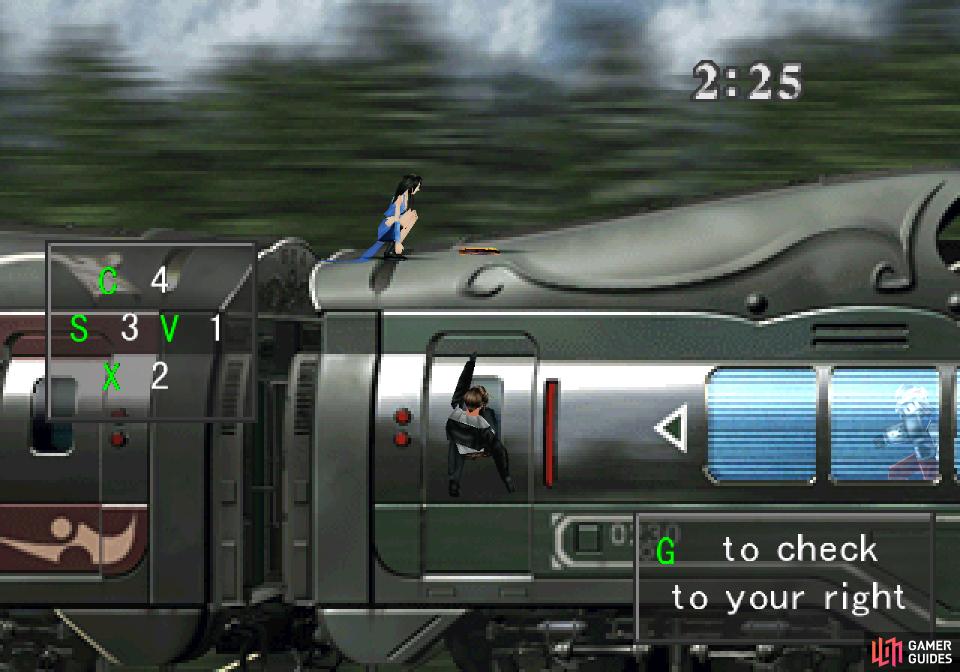
(1 of 3) For the second passcode you’ll have to watch the guards yourself and rise out of danger if they approach
Enter the three codes correctly, then watch some scenes detailing your success. Next up is the more difficult code, requiring five inputs. This time you don’t have Selphie and Zell looking out for you, so you’ll need to manually keep a lookout for the guards (especially that jogging red jerk) by pressing R1. Otherwise, the same rules apply - stay cool, be methodical, get an input or two each time you descend, and try to time your descent so the guards (at least the red one) is running away from the door.
Manage this feat and you’ll be treated to another video. If you managed to avoid being detected your SeeD rank will increase. Now all that’s left is to confront Deling, and Squall will remind himself (or rather you) to check your GFs, which is a good idea, as Zell and Selphie have an odd habit of being unjunctioned here… Re-equip their GFs and magic and if you want an especially easy time of things, make sure one character at least has the “Item” command. For a bit of added security, junction fire magic to your Elemental Attack and Silence and/or Berserk to Status Defense. When you’re ready, save your game. Time to have a chat with Deling.
Boss - Gerogero
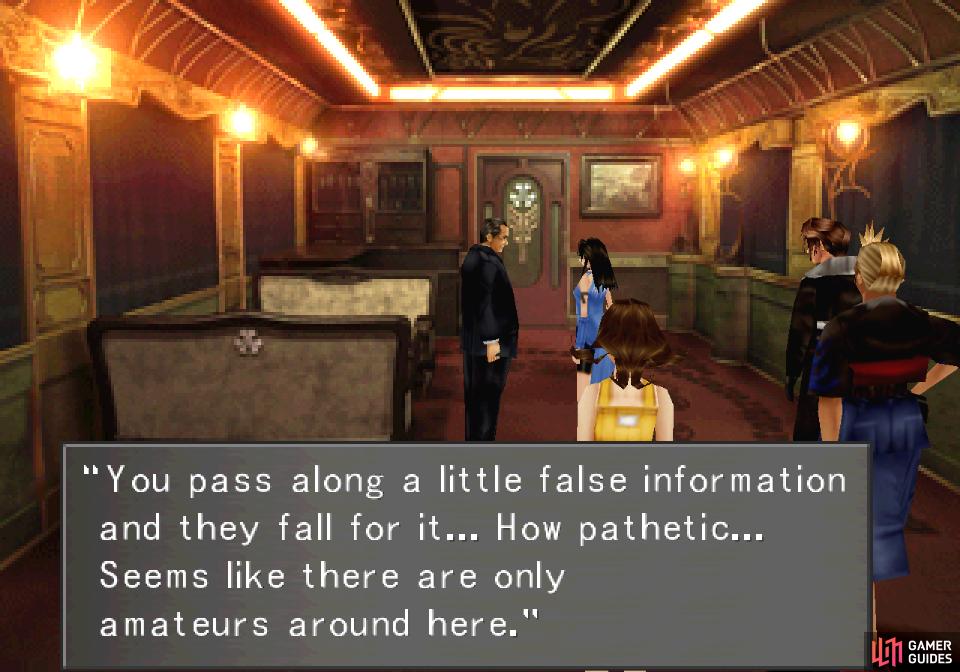
Talk to Rinoa on the train and confirm that you’re ready, after which she’ll take you to interrogate Deling. Unfortunately for her, the Galbadians demonstrate that they’re not the only ones capable of trickery…
| Fake President | |
|---|---|
| Lv: | 1-12 |
| HP: (lv12) | 778 |
| Weaknesses: | – |
| Resistances: | – |
| Status Resistances: | Immune to most status effects – Haste 0% – Slow 10% – The End 0% |
| EXP: | – |
| AP: | – |
| Draw: | Cure |
| Mug: | – |
| Drop: | – |
| Gerogero | |
|---|---|
| Lv: | 1-12 |
| HP: (lv12) | 3,650 |
| Weaknesses: | Earth (200% damage), Fire (200% damage), Holy (300% damage) |
| Resistances: | Physical (50% damage), Poison (immune) |
| Status Resistances: | Immune to most status effects – Haste 0% – Reflect 0% – Regen 0% – Slow 10% |
| EXP: | – |
| AP: | 20 |
| Draw: | Berserk, Double, Esuna, Zombie |
| Mug: | Phoenix Down |
| Drop: | Zombie Powder x8 |
You’ll start out by fighting the fake Vinzer Deling, which is at most a warm up for the real fight that follows. Constrained by the guise of Vinzer Deling, the boss will only be able to perform weak melee attacks (50~ damage), and since you can draw Cure from the boss, there should be no realistic danger presented by this form. The Fake President has no weaknesses nor resistances, and since he has at most 778 HP, you should have no trouble simply cutting him down. No advanced strategies required.
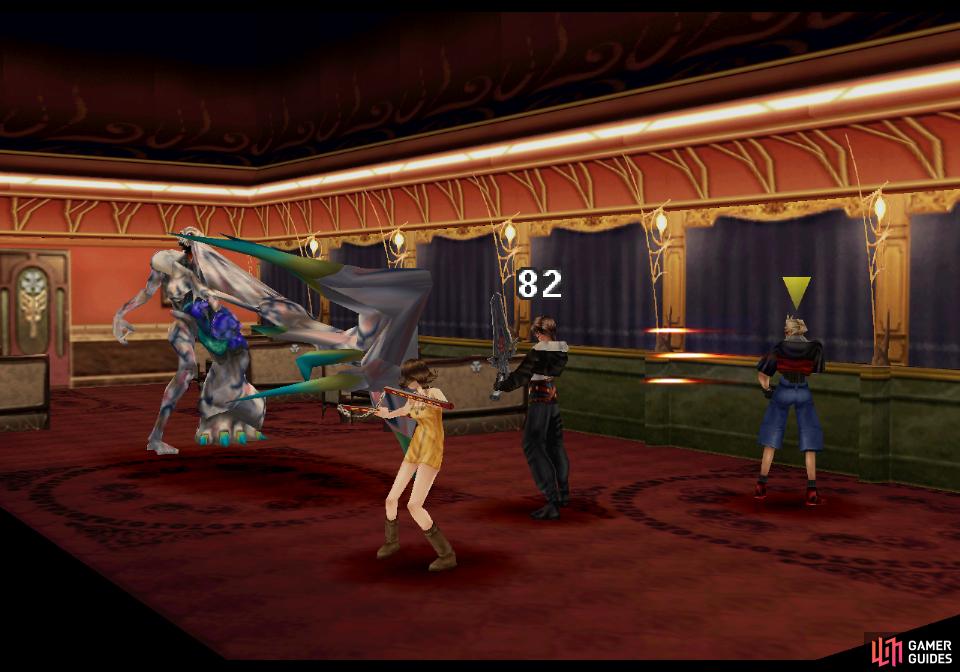
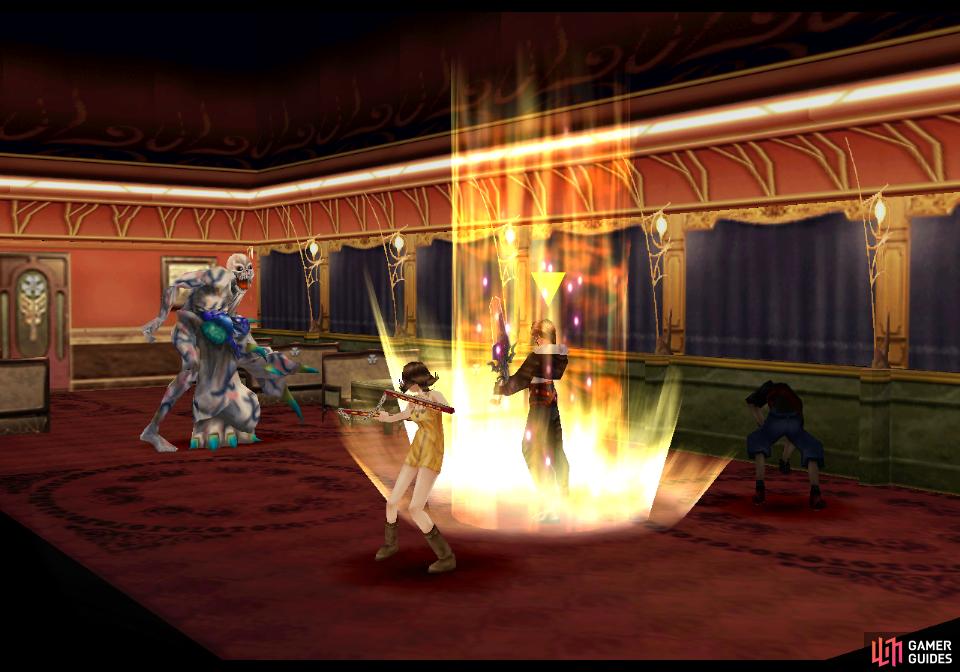
Gerogero will attack with melee swipes
and by spewing status-effecting vomit
Once the Fake President is defeated, the real boss battle will begin with the undead monstrosity Gerogero. Before getting into any real details about this boss, it should be noted that as an undead enemy, restorative items and magics have the opposite effect on it. A cure spell will harm it, and a Phoenix Down should kill it outright, hence why you have the “Item” command available, right? If you want to go this route, you don’t need any other information - just toss a Phoenix Down or X-Potion at it and the fight will be over. Easy-peasy. You can even Mug a Phoenix Down from Gerogero! They want you to defeat him with restoratives!
If you for some reason wish to fight it out with this boss - perhaps in a misguided attempt to preserve an easily obtained stock of items? - you’ll find that this still isn’t a very challenging fight. Like most early-game bosses, Gerogero’s max level is relatively low, topping out at twelve. If you already defeated Diablos you’ll probably find Gerogero to be a massive drop in difficulty, but he does have some attacks and resistances that are worth noting.
First, as an undead Gerogero is 50% immune to physical damage, so your normal attacks might not have the impact you’re used to. On the other hand, Gerogero is weak to earth, fire and holy, taking twice the normal damage from the first two, and three times normal damage from the last. Since you likely don’t have Holy magic yet (unless you were a very high level when you fought Diablos and bothered to draw from him) you can score some extra damage with your weapons by junctioning fire magic to it.
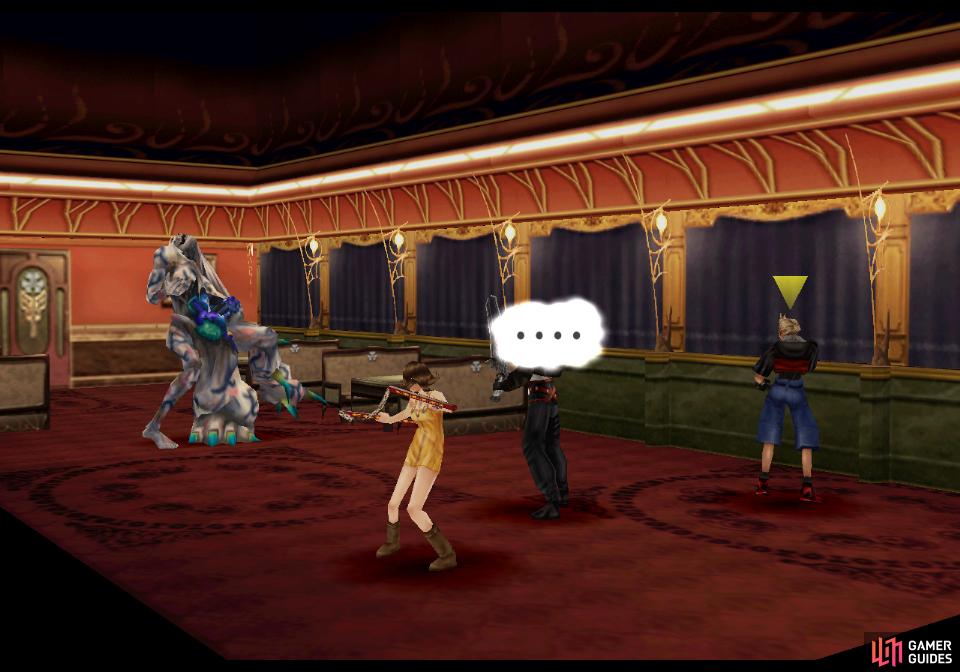
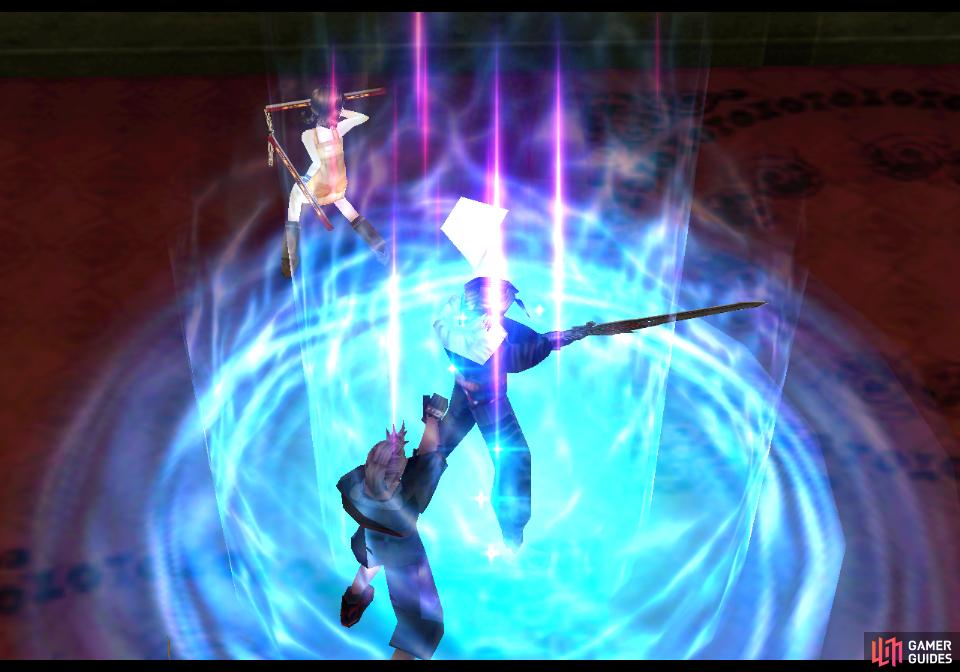
Gerogero is capable of afflicting multiple status effects, including Silence
and Berserk
Insufficient physical damage will be the least of your worries while fighting this boss, with its constant status-changing attacks being a far greater source of concern. Aside from a melee attack (150~ damage) he’s got a vomitous attack (preceded by exclaiming “Brrawghh!”) that also deals damage (150~) and can inflict Blind (high chance to miss attacks), Curse (can’t use limit breaks) and Slow (ATB bar fills slower). In addition Gerogero can outright cast Berserk (you’ll lose control of your character and they’ll focus solely on attacking, albeit with a damage boost) and Silence (cannot use the Draw, GF and Magic commands).
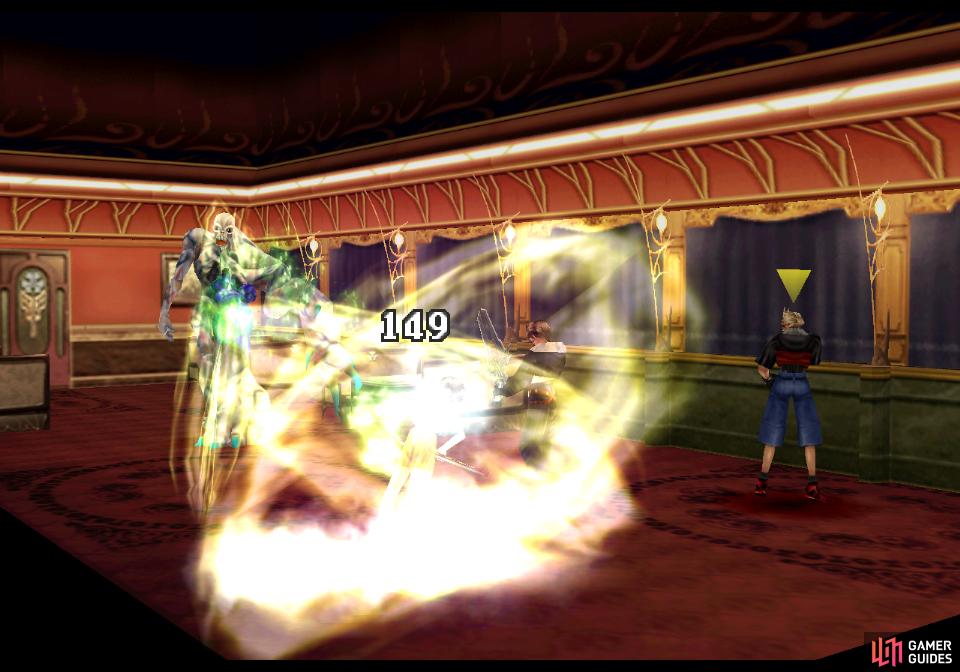
Gerogero’s status effects can be removed with Esuna
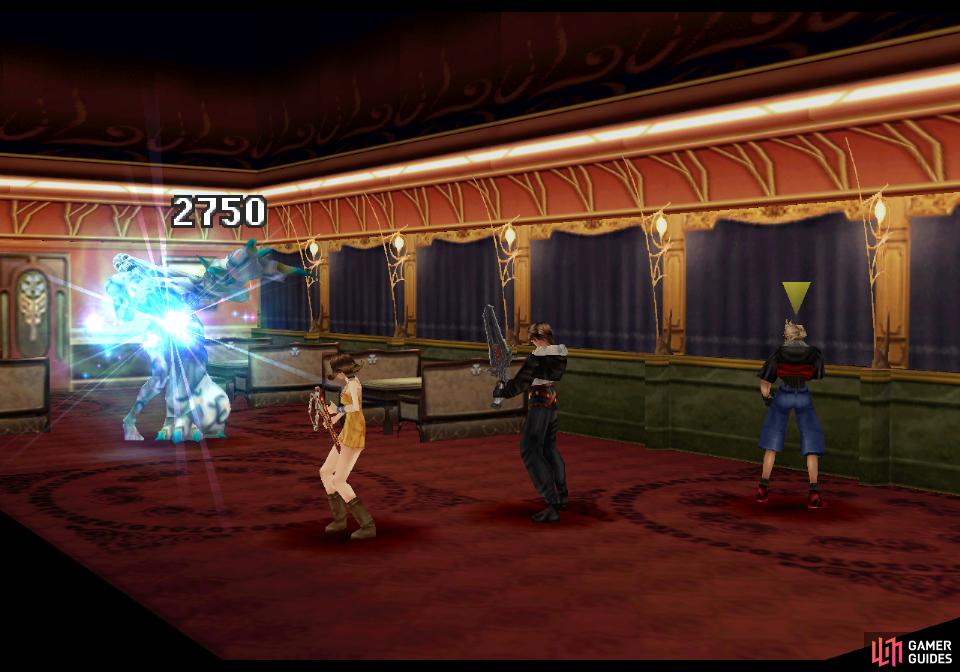
and he can be easily killed with restoratives
While annoying, his status effects can be dispelled by drawing Esuna from him… provided your characters all don’t get affected by Berserk and/or Silence, hence the Status Defense junction suggestion earlier. Turnabout is fair play, however, and since Gerogero is weak to Slow, junction that to your Status Attack to hopefully incapacitate the boss. A Slowed Gerogero will get up to much less mischief and allow you to more easily keep ahead of him and ensure you’re free from status effects yourself.
In addition to Esuna you can draw Berserk, Double and Zombie from the boss. If you didn’t harvest Double from Elnoyle or gain the other magics via Siren’s ST Mag-RF, you may want to pick them up here.
As for your own offense, inflict Slow if you can, then focus on pummeling Gerogero with Firaga, Quake or Holy, if you have them, or with elementally-infused physical attacks. Using restorative magics like Cure (Cura/Curaga) and Regen will also inflict damage, and Demi and Diablos will also shave away fractions of the boss’s HP. You can use Gerogero’s Double draw to speed up any magical offensive you may have, but other than occasionally casting Esuna to remove debuffs, there’s not much to this fight.
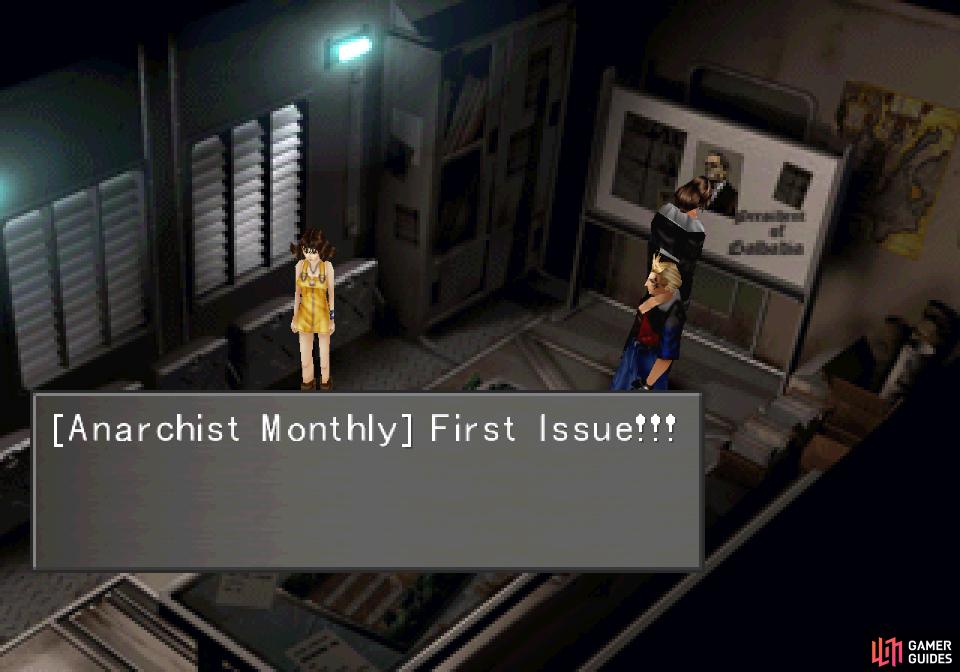
Check the board in the planning room to read a variety of Anarchist Monthly issues
after which Squall will get into a bit of a contract dispute with Rinoa
A Second Scheme
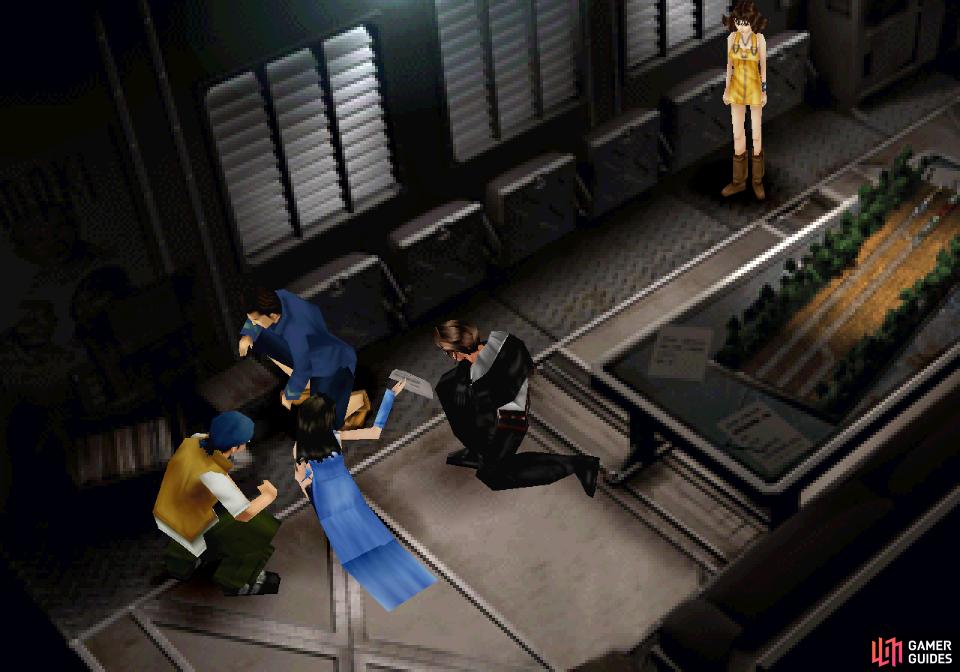
Win and you’ll gain Zombie Powder x8 and the customary 20 AP, after which this podunk group of amateurs will be surprised that the strongest military power in the world was able to thwart them. Well… given how incompetent the average Galbadian soldier is, that’s a pretty low bar. But still, the Forest Owls still managed to gracelessly soar under it! After gaining some new intel from Watts (why is this guy not being kicked off the train?) the geniuses leading this rebel group will squat down to discuss another bone-headed scheme to mildly annoy Galbadia.
Now back in control of Squall, investigate the board near Zell to read various clippings of Anarchist Monthly (four in total, interact multiple times to see them all) if you want a bit of lore and backstory about Vinzer Deling’s descent into totalitarianism, D-District Prison, and the military capabilities of Esthar and Galbadia. Hooray, lore! When that’s done, talk to Rinoa and the angsty, anti-social teen SeeD will request to see the contract the ditzy rebel got from Cid. It is, unfortunately, quite open-ended: your squad belongs to Rinoa until Timber achieves its independence.
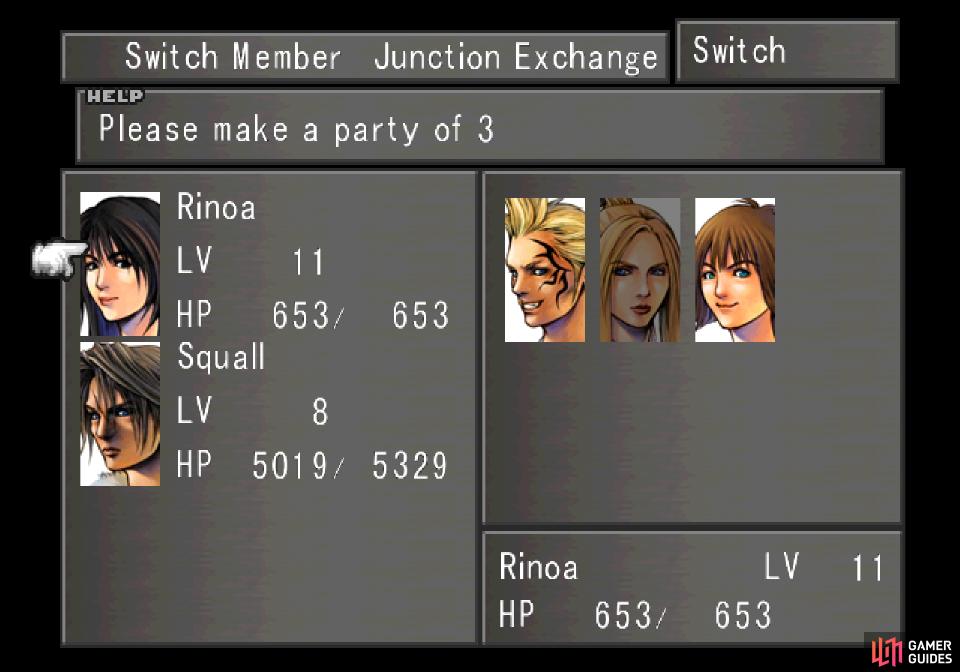
You’ll have to make a party comprised of Rinoa and Squall
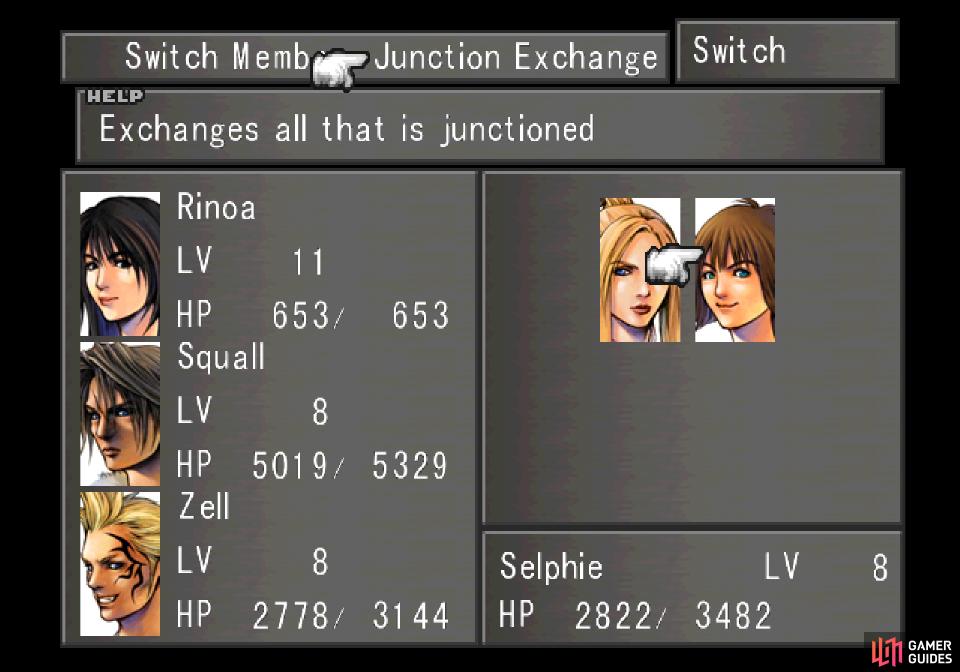
Pick the Exchange Junction command to move all junctioned GFs, magic and abilities between characters
Joy. After that exchange you’ll need to make a party of three, which must include Squall and Rinoa. Zell seems like the obvious third choice, given his superior limit break, while Rinoa can simply take over Selphie’s role for now. Make things easier on yourself by selecting the “Junction Exchange” option at the top of the screen (after setting either Zell or Selphie in your active party) and swap all of Selphie’s junctions with Rinoa. Far faster than manually swapping all that out, plus it moves Selphie’s magic to Rinoa, too. With that done, simply leave the room, talk to Watts and tell him you’re ready to go. Next stop: Timber.
No Comments