
Time to put an end to things. To reach Ultimecia, head through the doors beyond where you fought Sphinxaur/Sphinxara and ride the chandelier down. Once done, continue through the doors to the courtyard, then head through another set of doors into the chapel and continue upstairs. Ascend to the top of the clock tower, past the bell that took you to Tiamat’s lair, and when you reach the gear-filled top of the tower note a Stop draw point. Exit by heading down a metal walkway opposite the Stop draw point to find yourself out on the face of the clock itself, the hands of which provide you passage to a ladder to the left. Note that this clock, too, has the odd “IIII” numeral instead of the proper “IV”. Destroying the universe via time compression is one thing, but flagrant, repeated abuses against proper Roman numerals… irredeemably evil.
Climb down the ladder to reach a balcony under the clock face, then climb down a second ladder to reach a bridge leading to the “Master Room”. As you approach the Master Room at the end of the bridge you’ll find a Save Point, where you’ll be able to save your game (provided you’ve unsealed the “Save” power by defeating one of Ultimecia’s minions) and make some final preparations before the final fight.
Let’s get to it, then. Ultimecia is a sorceress. She’s going to be casting a lot of spells. Auto-Shell will serve you well here, so if you have it, use it. You shouldn’t need Auto-Protect, but Auto-Haste will help out a good bit. Ultimecia has a varied array of spells, although much of it is non-elemental or does a set amount of damage, so while your Elemental Defenses may help a bit, they’ll play a far less important role than you might expect. You’ll also have to face a few status effects, including Curse, Doom, Darkness, Poison, Silence and Stop, so junction Death, Pain and Stop to your Status Defense.
Ultimecia is immune to most status effects, although a few forms can be affected by Reflect and Regen, and of course, Selphie’s The End limit. Since the first two aren’t helpful and the latter is uncommon to the point of pointlessness, there’s no reason to have anything junctioned to your Status Attack. Elemental Attack fares better, but there are multiple stages to the upcoming boss fight and your foe’s elemental resistances and weaknesses change each time. Thunder and Water are both potent in the 3rd phase of the upcoming fight, while Wind and to a lesser extent Ice will cause you to deal more damage in the 2nd phase. At various phases your foes will be weak to, and resistant to, both Holy and Poison, so it’s best to just ignore them, and really, since you’re going to be using limit breaks anyways, you really don’t need to bother with any Elemental Attack junctions at all.
Other general preparations should be similar to those taken during the fight with Omega Weapon, if you took on that superboss. To recap in case you didn’t (or if you forgot and can’t be bothered to scroll up), try your best to max out your HP (not as essential in this fight - but the higher the better) and boost your Strength. Full-Life/Meteor for HP-J and Ultima for Str-J should suffice, although the low-level party might also need to junction HP+80% and Str+60% to bring their stats up to snuff. You can probably ignore Mag-J and instead throw Triple on Spd-J, as your offense should come from limits or regular attacks.
Perhaps the most useful preparations you can make are to ensure every character has the Magic and Item commands equipped, so they can make use of the Aura, Meltdown and Full-Life spells and Megalixirs and Holy Wars, respectively. It might also be a good idea to reorganize your spell stocks and item inventory so the more useful, aforementioned items are at the top of the list. Recover and Revive are, as usual, useful commands, but GFs might as well be left aside for this fight, as Ultimecia has a nasty habit of destroying GFs as they’re summoned.
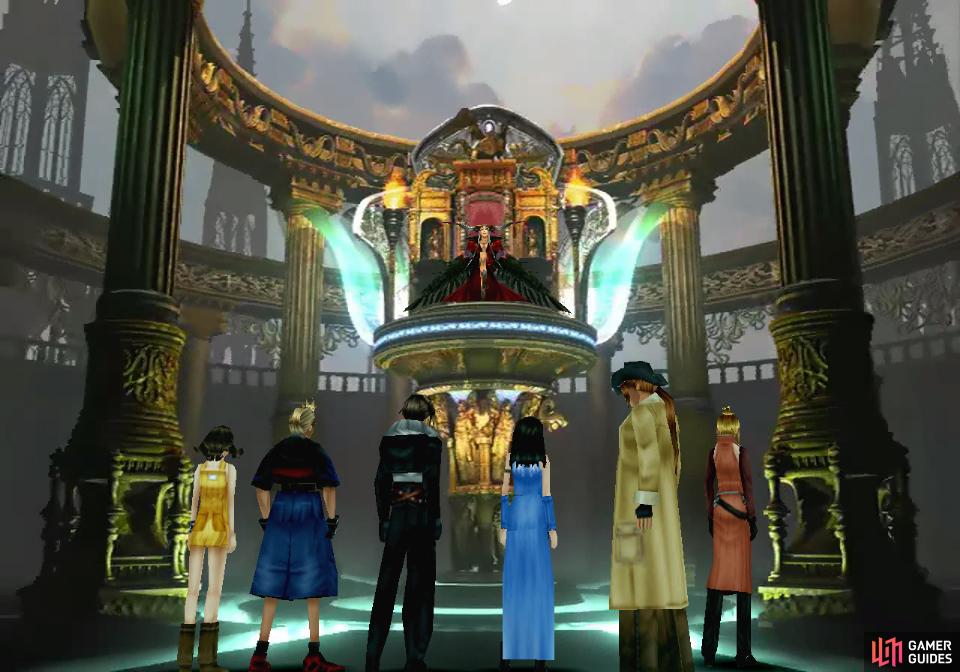
When you’re ready, save your game (again, no point in having to re-do all those preparations if things don’t go your way) then approach the door to the Master Room and you’ll be prompted about whether you want to continue. Confirm your resolution to confront Ultimecia and the final fight will begin after a bit of chatter…
Boss - Ultimecia
| Ultimecia | |
|---|---|
| Lv: | 1-65 |
| HP: (Lv10) | 10,000 |
| HP: (Lv20) | 16,000 |
| HP: (Lv30) | 22,000 |
| HP: (Lv65) | 43,000 |
| Weaknesses: | Poison (200% damage) |
| Resistances: | Holy (immune) |
| Status Resistances: | Immune to most status effects; The End 0% |
| EXP: | – |
| AP: | – |
| Draw: | Demi, Haste, Reflect, Slow |
| Mug: | – |
| Drop: | – |

You’ll start out with three character, randomly chosen by Ultimecia.
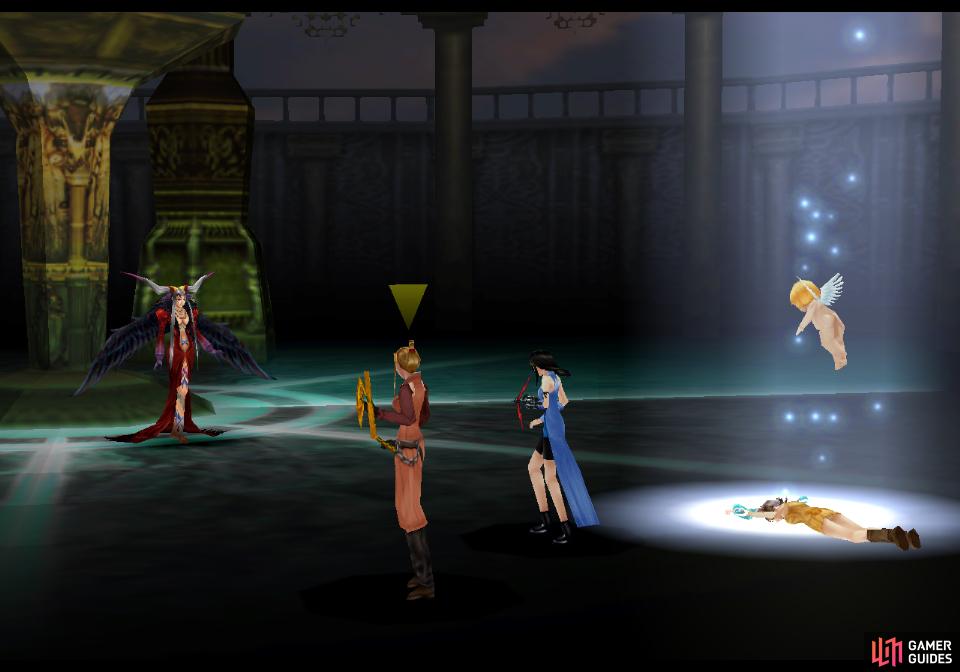
Any character that remains KO’d too long will be lost to the flow of time.
This battle starts out rather odd, as Ultimecia will pick her opponents, randomly forcing you to fight with three characters. Why do the protagonists allow her to do this? What are the other three doing at the time? Who knows. During this phase of the fight you might as well just wait for Ultimecia to kill the weak characters off (or strike them down yourself), and after a while of lying KO’d you’ll bear witness to a new feature of this fight: characters who remain KO’d too long will be “Absorbed into time…”, their corporeal forms being ferried away by a naked cherubim.
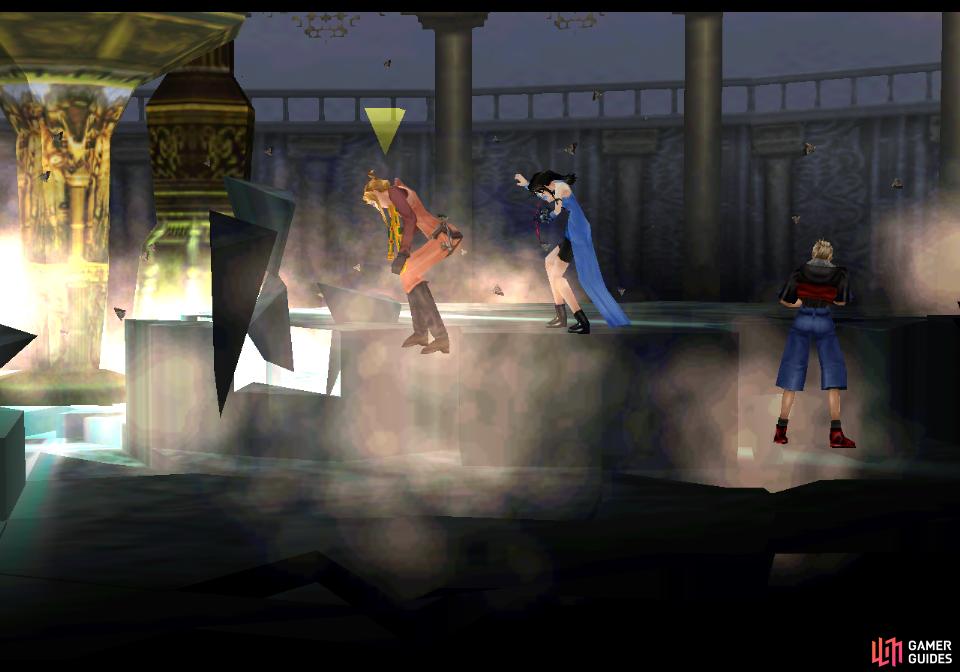
Characters who are “absorbed into time” are lost for the rest of the fight, but their place will be taken by a reserve character, assuming you still have one. So, wait for Ultimecia to thin out the weaklings (and consider helping her speed things along) and only when your optimal party is on the field should you consider fighting. Things only get harder from here, and you don’t want to defeat Ultimecia’s relatively weak first form with any inferior characters compromising your team.
Ultimecia can cast Bio, Blizzaga, Dispel (removes buffs like Aura - Haste and Shell should be permanent), Holy, Meltdown, Quake, Stop, Thundaga and Tornado, most of which should have little effect on a well-prepared party. Her more potent spells include Holy (again, a blanket junctioning scheme can make you 90% resistant to this, and Shell will cut the remaining damage in half) and Maelstrom, which is perhaps the only truly painful spell this form of Ultimecia has. Unlike the Maelstrom spell cast by Edea in your second encounter, this version will reduce the party’s current HP by 2/3 and inflict Curse, which you’re hopefully immune to. In addition to all these spells she can cast Double on herself to increase the potency of her onslaught, meager though it may be.
Again, if your resistances are up to snuff (Flare, Shell, Life and Full-Life will make you 90% immune to all elements save Fire, Ice and Thunder, which you’ll absorb) there’s not all that much Ultimecia can do to you. If not, her Mag stat caps out at 255 shortly after level 50, so her spells can pack quite a punch. Her Vit and Spr are both at or above 100~ throughout much of her level span, so Meltdown might come in handy, but her HP, which range from 10,000 (Lv10) to 43,000 (Lv65) aren’t high enough to be a serious impediment for most parties.
After you defeat this form of Ultimecia, she’ll summon a peculiar GF…
Boss - Griever
| Griever | |
|---|---|
| Lv: | 1-65 |
| HP: (Lv10) | 30,700 |
| HP: (Lv20) | 46,200 |
| HP: (Lv30) | 61,700 |
| HP: (Lv65) | 115,950 |
| Weaknesses: | Holy (250% damage), Ice (150% damage), Wind (200% damage) |
| Resistances: | Poison (absorbs) |
| Status Resistances: | Immune to most status effects; Reflect 0% – Regen 0% – The End 0% |
| EXP: | – |
| AP: | – |
| Draw: | Bio, Quake, Tornado |
| Mug: | – |
| Drop: | – |
The default name of this beast is Griever, but it’ll be called whatever you named the beast represented by Squall’s ring. What’s the connection between the two? Who knows. Griever is a more formidable threat than Ultimecia was, which isn’t saying all that much, but to be fair to Griever, it’s the most dangerous foe you’ve faced in Ultimecia’s castle aside from possible Omega Weapon… which also isn’t saying much.
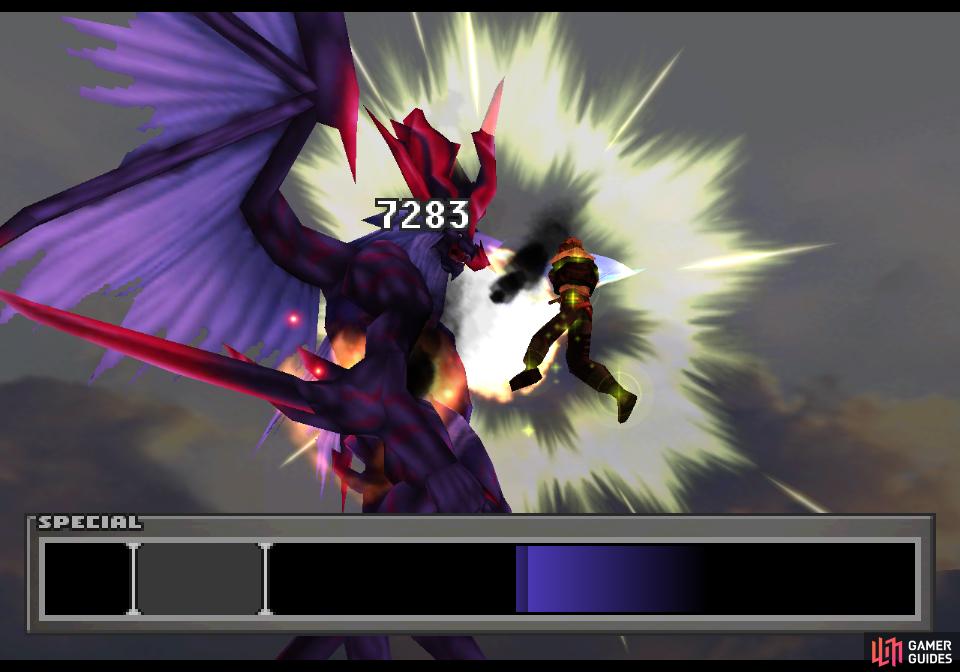
(1 of 5) Despite his size, Griever primarily resorts to magic, casting spells like Pain
Griever’s attacks are on the whole more dangerous, as it can cast Doom, Flare, Gravija, Pain and use Shockwave Pulsar. Doom will create a counter that’ll tick down, and when the timer expires, the afflicted character will die. Revive them quickly to snatch them from the ebb of time, or use a Remedy+ to cure it before the timer expires. Flare deals heavy non-elemental damage to one target. Gravija isn’t new, nor is it welcome, as it’ll reduce the party’s HP to 3/4 of its current amount. Pain attempts to inflict Darkness, Poison and Silence. Hopefully you rendered yourself immune to these status effects.
Shockwave Pulsar is also familiar as one of Quistis’s potential limit breaks - a very potent and dangerous cast, indeed. This will deal heavy magic damage to the entire party, but its damage can be reduced with Shell. Before the attack comes, the screen will start to shake, letting you know that it’s a good time to heal (no shame in tossing Megalixirs - not like you’ll have a use for them after this fight, anyways) and brace for the incoming Shockwave Pulsar.
Worse than the rest of his spells, Griever can also obliterate spell stocks
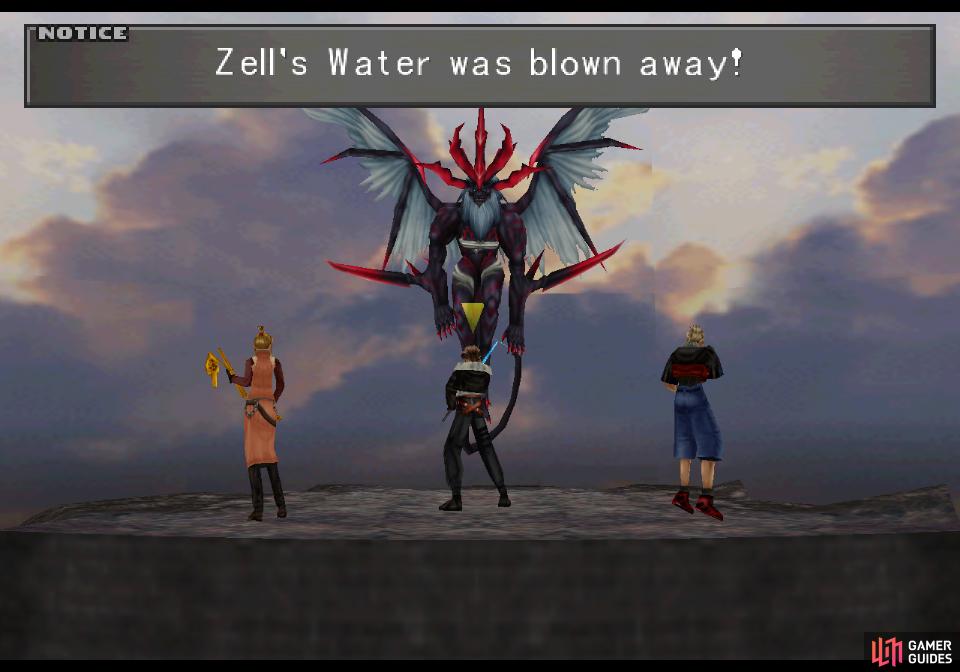
removing from a character their entire stock of a single, random spell.
While Gravija + Shockwave Pulsar are a fearsome combination, Griever has one more attack which is arguably more dangerous - Griever can blast away your spell stocks. There’s no action label preceding this attack, you’ll just see your spells float away from a character, who will lose all stocks of a specific spell. While we can’t help but be sentimental to see spells we worked for go to waste, the long-term implications are nil. This is the final fight, after all. But what spells are lost are completely random, and hence, the impact varies. If Griever blasts away your Pain stock, you’ll be susceptible to Darkness, Poison and Blind again. If it removes whatever spell is junctioned to your HP-J or Str-J, things can get even more dire, as this can drastically reduce a character’s max HP or all but neutralize them as an offensive threat. It’s also worth noting that Griever can draw spells from you and cast them, technically giving it access to any spell you have cast, but the odds of any specific spell being cast are too low to fret over.
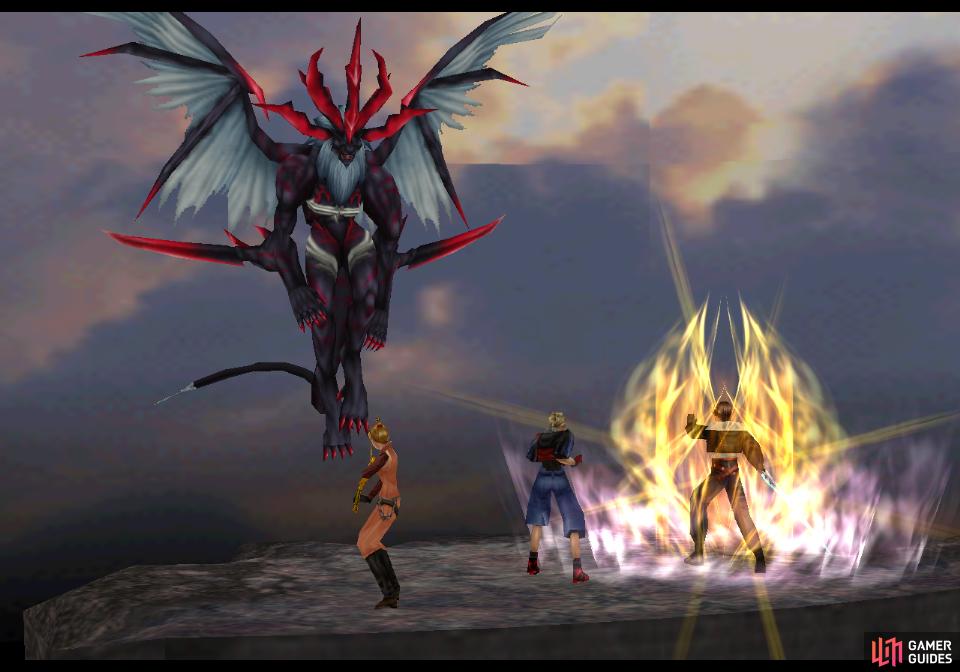
Defeat Griever as quickly as possible to avoid losing spell stocks by casting Aura
then unleashing a relentless limit break assault.
The only response to this is speed. Cast Aura on your heavy-hitters, use Meltdown on Griever, then start chipping away at the hostile GF with limit breaks. Griever has anywhere between 30,700 HP (Lv10) and 115,950 HP (Lv65), so it could take a bit of effort to drop him. Despite his size, Griever’s Str score never ventures too far above 100. Like Ultimecia, however, Griever’s Mag stat can max out at 255, doing so somewhere around Lv45. If you’re at that level or higher, expect his spells to pack quite a punch. A low-level party can shrug off most of Griever’s attacks save Gravija.
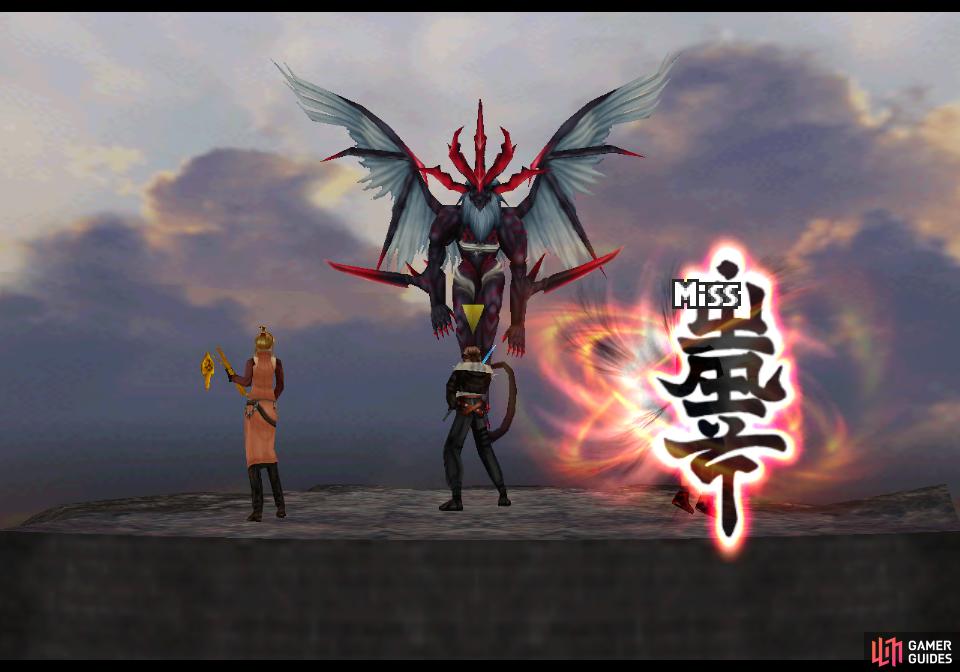
Once Griever has been smote, Ultimecia will take a novel approach to the human-GF relationship and junction herself to Griever, forming the hybrid Ultimecia-Griever abomination.
Boss - Ultimecia-Griever
| Ultimecia-Griever | |
|---|---|
| Lv: | 1-65 |
| HP: (Lv10) | 36,000 |
| HP: (Lv20) | 61,500 |
| HP: (Lv30) | 87,000 |
| HP: (Lv65) | 176,250 |
| Weaknesses: | Thunder (200% damage), Water (300% damage) |
| Resistances: | Gravity (immune), Holy (absorbs), Poison (immune) |
| Status Resistances: | Immune to most status effects; Reflect 0% – The End 0% |
| EXP: | – |
| AP: | – |
| AP: | – |
| Draw (Lv1-19): | Blizzard, Fire, Thunder |
| Draw (Lv20-29): | Blizzara, Fira, Thundara |
| Draw (Lv30+): | Blizzaga, Firaga, Thundaga |
| Mug: | – |
| Drop: | – |
Surprisingly, while junctioned together Griever and Ultimecia won’t have a significantly different Mag score growth than they did separately. Lower Vit, too! Strange game… their Mag score can still max out at 255, but it’ll only do so shortly after hitting Lv50. Their HP are suitably higher now that they’re joined together, ranging from 36,000 HP (Lv10) to 176,250 HP (Lv65).
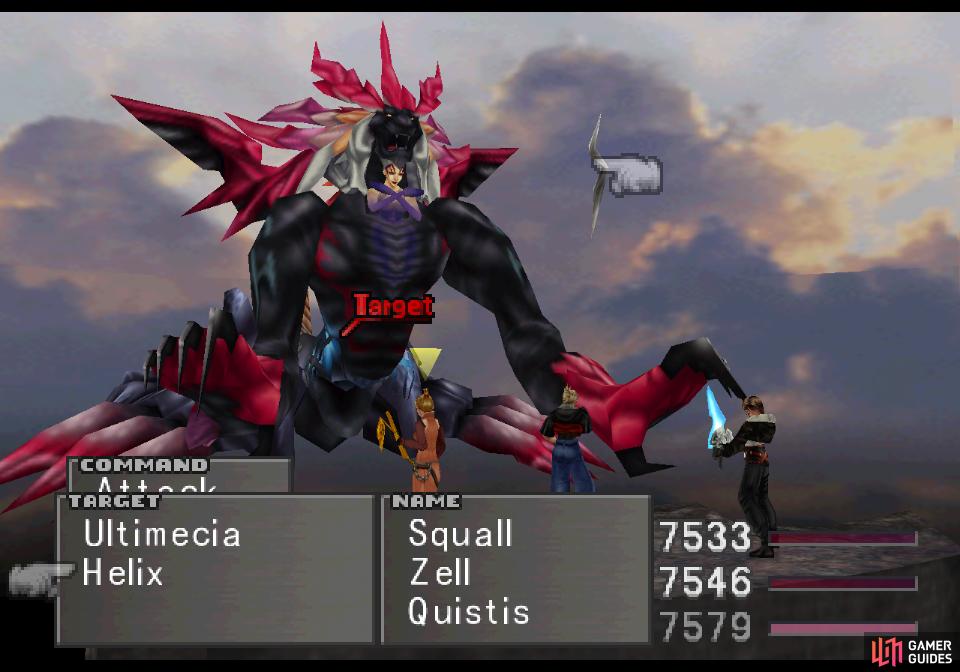
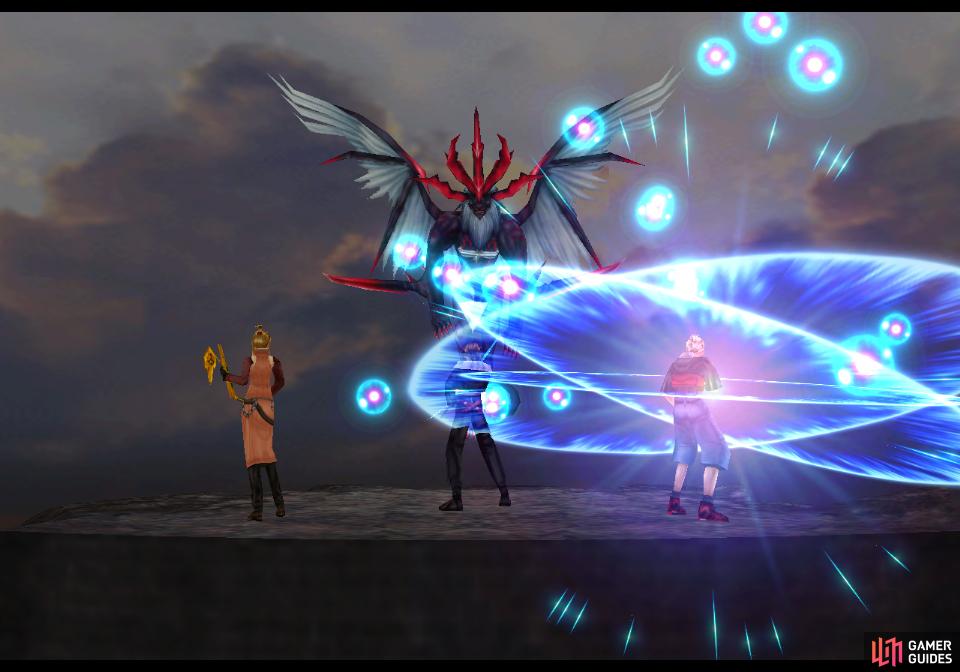
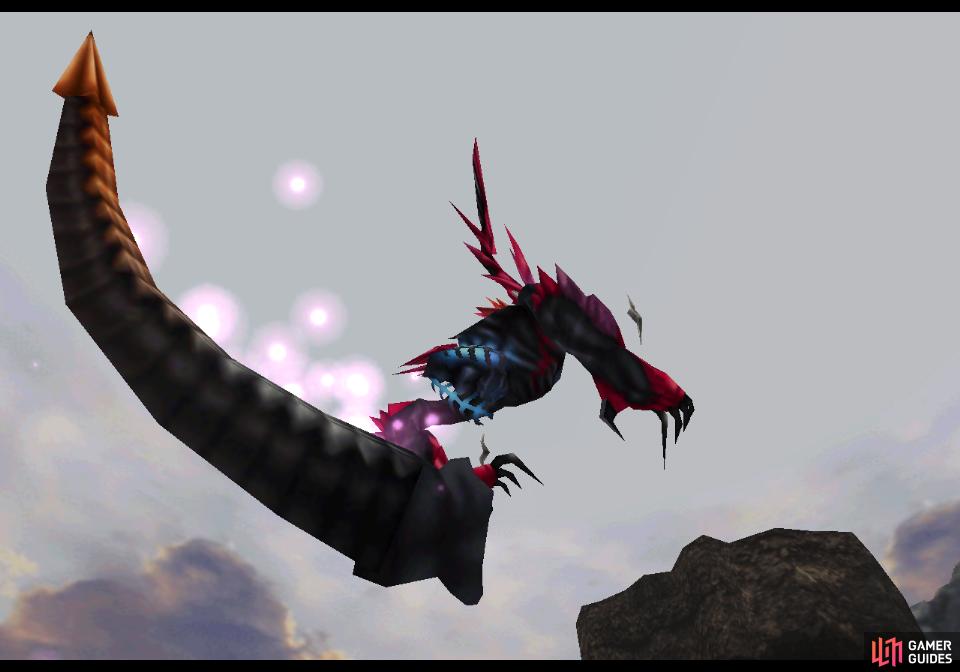
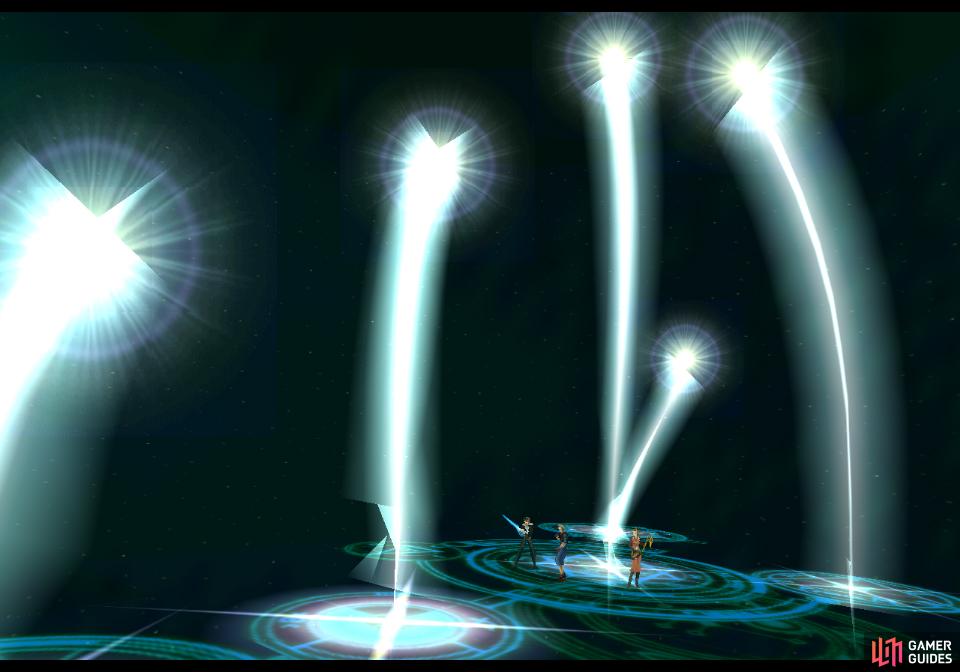
Ultimecia-Griever will eventually get around to summoning two Helixes and when she has two, she’ll start using a new, absurd attack - Great Afflictor. You’ll know it’s coming when the screen starts to shake and the sky spins around you, just like Griever’s Shockwave Pulsar. Make sure you’re healed up when you see this coming, especially if you’re high level - the damage scales with Ultimecia-Griever’s Mag stat, hence level. A low level party with Shell will likely only take a few hundred damage, but a higher level party could end up taking thousands.
Ultimecia-Griever will use Great Afflictor every second action as long as there are two Helix enemies about. Other than instigating Great Afflictor, the Helixes can shoot off lasers, dealing moderate damage, at worst. They’re fairly sturdy, having between 8,000 HP (Lv10) and 30,000 HP (Lv65) and their Eva stat is impressively high. Unless you have Squall, Selphie with her ultimate weapon (Strange Vision) or some good magic junctioned to Hit-J, you probably won’t have much luck hitting them. They’re also 50% resistant to all elements and immune to gravity… and your reward for defeating one is to merely have Ultimecia-Griever summon another.
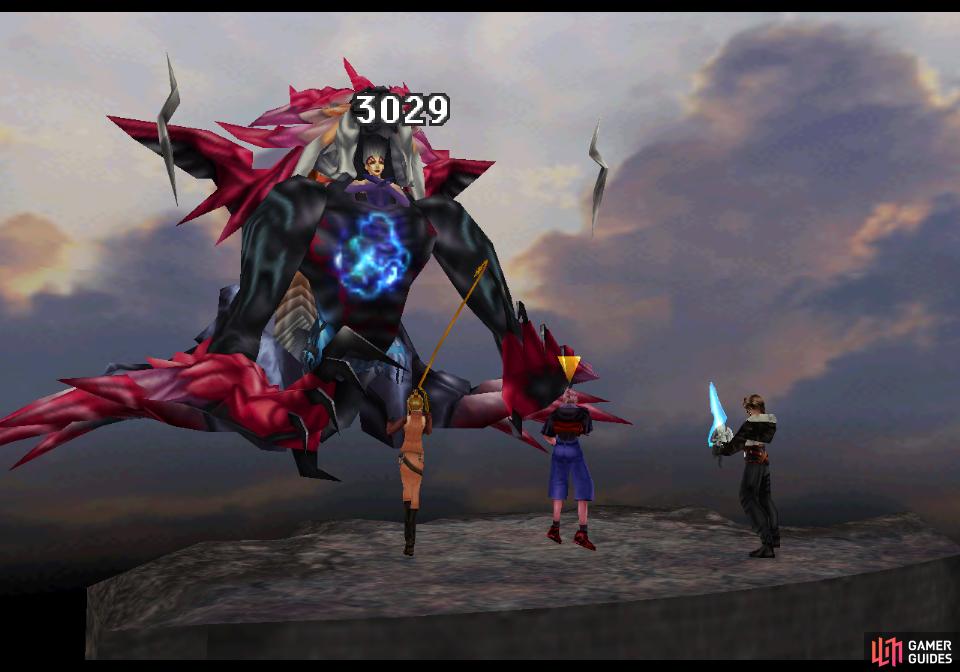
Thrash Ultimecia-Griever
and when the abomination is nearly dead its tail will fall off, dispersing the Helixes and preventing Great Afflictor.
In addition, Ultimecia-Griever can cast Dispel, Holy, Quake and Tornado, as well as Meteor and Ultima, although she usually won’t cast these unless a Helix is in play. While Meteor and Ultima can be painful, so long as you keep your HP high enough they shouldn’t be dire threats to your survival. This boss can also obliterate spell stocks, too, so you’ll want to be quick. Hit it with Meltdown, buff with Aura, then pummel this horrid aberration before it can knock away too many of your spells or dispel your buffs. Not only will defeating this form quickly limit the mischief Ultimecia-Griever can do to your spell stocks, but once you reduce Ultimecia-Griever to around 1/3 of its HP it’ll lose both Helixes… and its tail. After losing its tail, Ultimecia-Griever will become much less dangerous.
Defeat Ultimecia-Griever and Ultimecia will part from Griever, and adopt her final form.
Boss - Ultimecia, Final Form
| Ultimecia (Final Form, Top) | |
|---|---|
| Lv: | 1-65 |
| HP: (Lv10) | 53,400 |
| HP: (Lv20) | 94,400 |
| HP: (Lv30) | 135,400 |
| HP: (Lv65) | 278,900 |
| Weaknesses: | – |
| Resistances: | Gravity (immune) |
| Status Resistances: | Immune to most status effects; Reflect 0% – The End 0% |
| EXP: | – |
| AP: | – |
| Draw: | Flare, Holy |
| Mug: | – |
| Drop: | – |
| Ultimecia (Final Form, Bottom) | |
|---|---|
| Lv: | 1-65 |
| HP: (Lv10) | 5,000 |
| HP: (Lv20) | 8,000 |
| HP: (Lv30) | 11,000 |
| HP: (Lv65) | 21,500 |
| Weaknesses: | – |
| Resistances: | Gravity (immune) |
| Status Resistances: | Immune to most status effects; Reflect 0% – The End 0% |
| EXP: | – |
| AP: | – |
| Draw: | Apocalypse |
| Mug: | – |
| Drop: | – |
Although Ultimecia is no longer junctioned to Griever, her next iteration isn’t any less monstrous. In this form Ultimecia has more HP than ever before, ranging from 53,400 HP (Lv10) to a whopping 278,900 HP (Lv65). Oddly enough, she also has the last Mag and Vit, but a few new tricks make the former irrelevant as far as her ability to inflict damage goes.
Ultimecia has access to many old and familiar spells, including Dispel, Flare, Holy, Meteor and Ultima. In addition she can still draw spells, blast away accumulated spell stocks, and even rake you with a claw attack, for what little that’s worth. Your strategy should remain largely the same - Meltdown, Aura, limits.
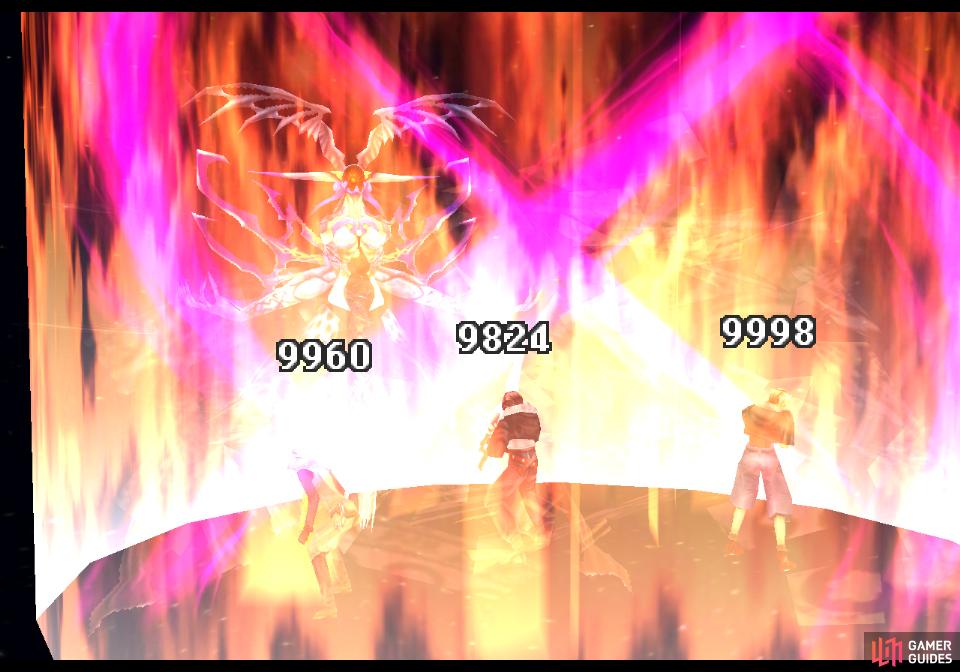
Ultimecia’s Hell’s Judgement attack will reduce every character to 1 HP.
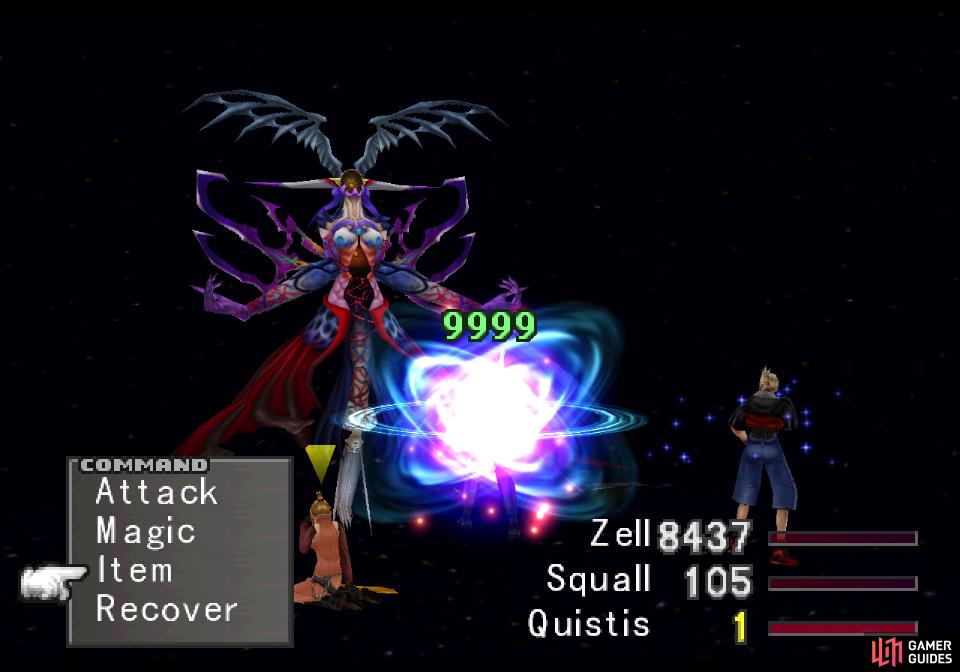
Counter immediately with a Megalixir to prevent any follow-up attacks from wiping your party.
Be wary, though, as Ultimecia has two new tricks, both of which can be deadly. She’ll regularly use an attack called Hell’s Judgement, which will reduce the entire party to 1 HP. Quickly use a Megalixir, as many of her other attacks can wipe the party following Hell’s Judgement.
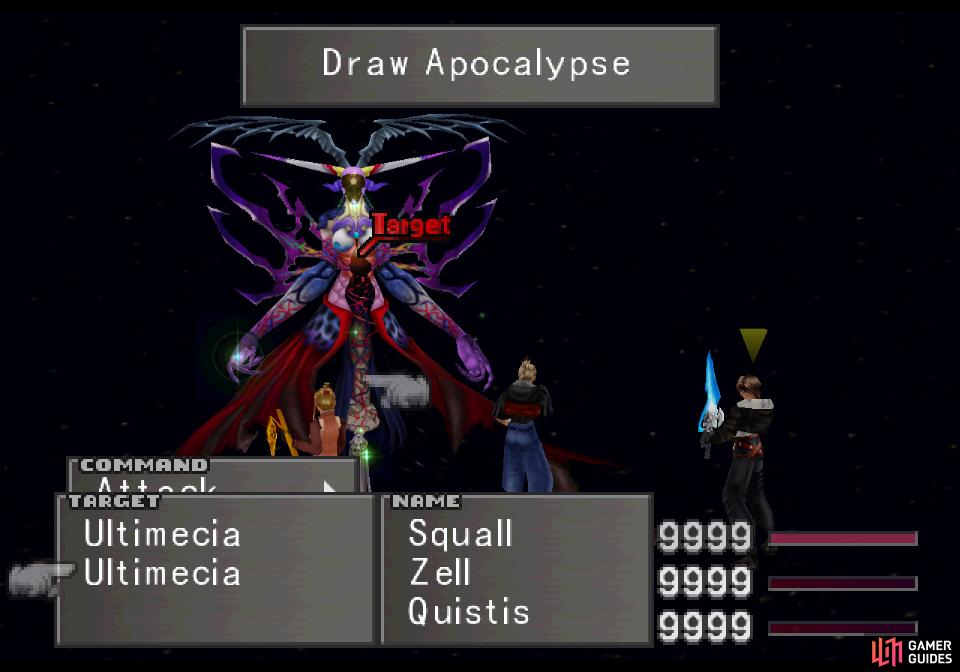
When injured, you’ll be able to target Ultimecia’s lower half, which she’ll use as a source for the Apocalypse spell.
Shortly after drawing Apocalypse, she’ll cast it, and its damage demands you heal up in preparation for it.
Once you’ve dealt enough damage to Ultimecia, the more humanoid lower half will become targetable, along with the monstrous upper half. While this extra target does little for your own affairs, it’ll allow Ultimecia’s upper half to draw a new spell, Apocalypse, from the lower half, after which it’ll soon cast this new spell. This spell can deal massive magical damage to the entire party, so when you see her draw it, make sure you’re healed up and braced for impact. This also isn’t a bad time to toss out a Holy War, as the fight is almost over and it’ll spare you the need to hold back your offense at this crucial stage.
Defeat Ultimecia this final time and watch the ending scenes that follow. Congrats!

No Comments