
Go through a door right of where you fought Sphinxaur
and observe a clock face on the floor of the art gallery.
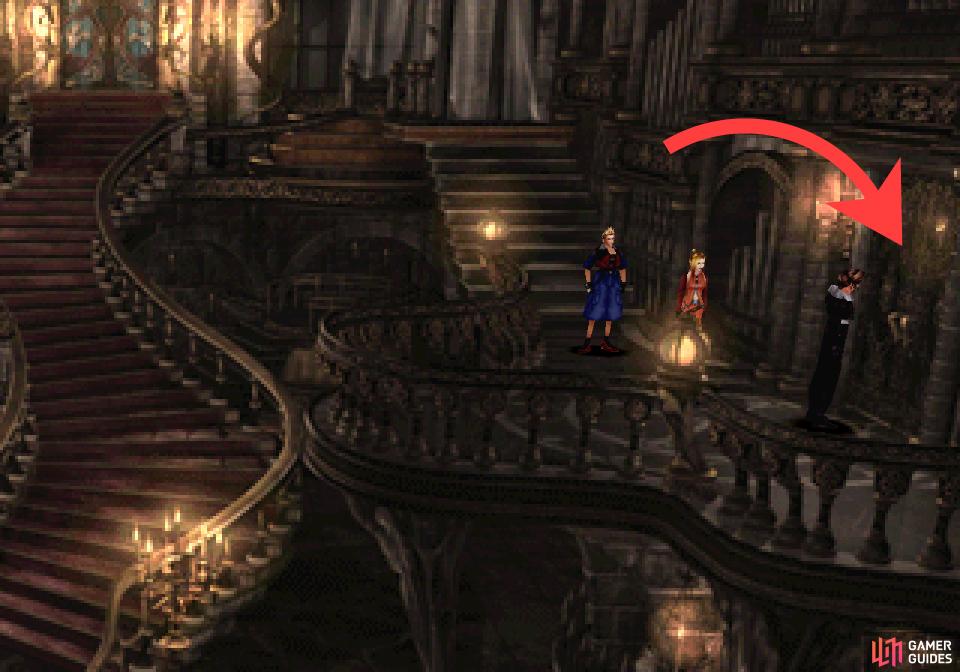
From the entrance to Ultimecia’s Castle, head back upstairs to where you fought Sphinxaur/Sphinxara and this time head right. Go up a short flight of stairs, down a longer flight, then exit through a door to the right In the next screen, circle around a walkway, descend some stairs, pass through a green party switch circle, then go through some doors to reach a room full of paintings. Ultimecia might be trying to destroy the universe, but at least she’s a patron of the arts, eh?
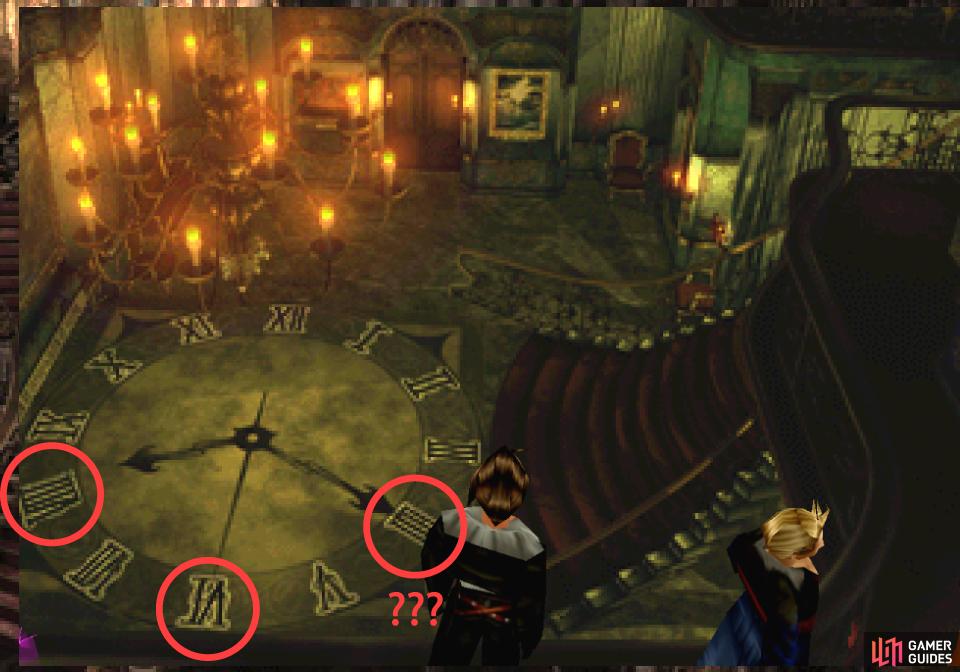
Go upstairs and when the screen shifts exit to the right, then continue following the balcony down and left until you spot a clock on the floor below you, which is easily readable from this vantage. You should notice that its hands are pointing at the numbers VIII, IIII and VI (going in order from hour hand, to minute hand to second hand), which are clue’s to this puzzle’s solution.
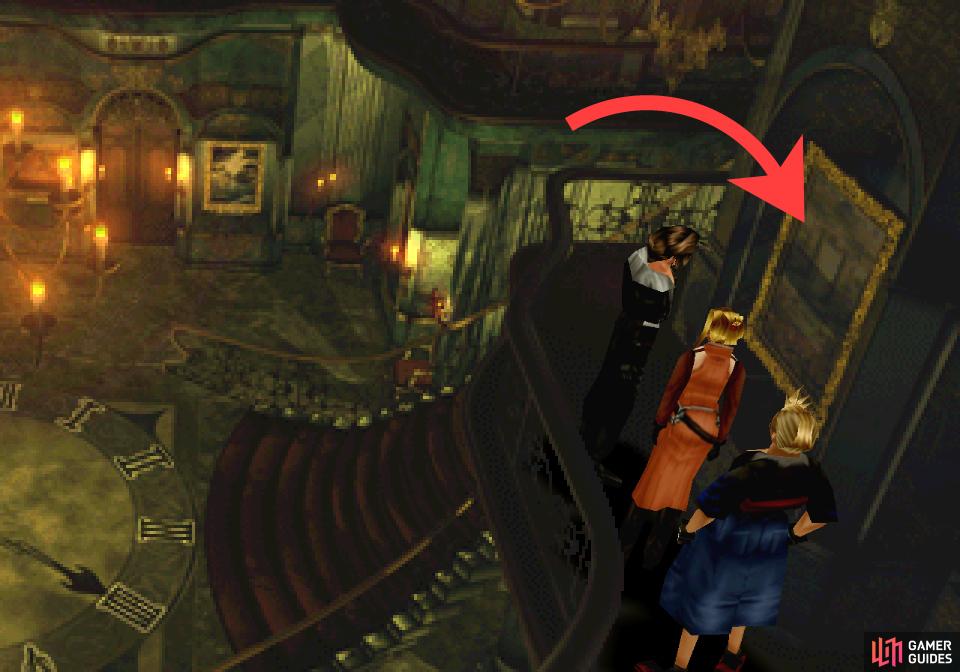
Note the Meltdown draw point at the end of the balcony to the left (this itself is a hint for the upcoming boss), then head back right and examine the first painting you come across, as it’s named “VIVIDARIUM (Garden)”. Exit the screen to find yourself atop the stairs, then examine a painting to the left of the stairs, “VIATOR (Messenger)”, then head downstairs and search a painting to the right of the entrance to this room, “INTERVIGILIUM (Sleep)”.
When all those have been viewed, examine the large painting to the left and you’ll be directed to input the title of this large painting, cobbled together from the titles of other, lesser paintings. The clock pointed out the solution, as you can ignore all letters aside from I, V and X - those that would correspond to numerals on a clock’s face. Keep the letters in order and discard all invalid combos (in this case, INTERVIGILIUM is the odd duck, as following the rules it would form IVIII - which is gibberish, but the clock on the floor has “IIII” instead of the proper “IV”, so… when in Rome…) and you get the following:
| Painting Name | Numeral |
|---|---|
| IGNUS | I |
| INANDANTIA | II |
| IUDICIUM | III |
| INTERVIGILIUM | IIII* |
| VENUS | V |
| VIATOR | VI |
| VIGIL | VII |
| VIVIDARIUM | VIII |
| INAUDAX | IX |
| XYSTUS | X |
| XERAMPELINAE | XI |
| XIPHIAS | XII |
- IIII? Instead of IV? Somebody doesn’t know their Roman numerals.
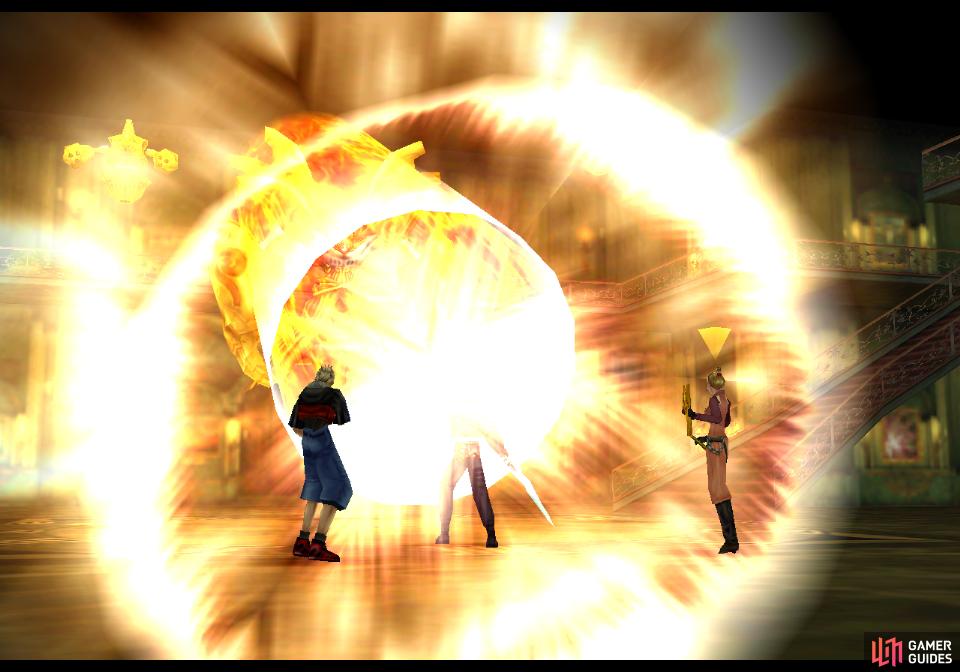
Since the clock above pointed to VIII, IIII and VI (again, in order of hours, minutes and seconds), you just need to pick the painting names that correspond to those numerals - VIVIDARIUM, INTERVIGILIUM and VIATOR, in that order to correctly name the painting: “In the Garden Sleeps a Messenger. This will cause Trauma to show up behind you, for you to fight at your leisure.
Before you engage it, junction Tornado or Aero to your Elemental Attack if you wish to score extra damage, and junction Drain to your Status Attack, as Trauma can be leeched freely. When you’re ready, interact with the golden bot boss to pick a fight.
| Trauma | |
|---|---|
| Lv: | 1-56 |
| HP: (Lv10) | 10,125 |
| HP: (Lv20) | 15,250 |
| HP: (Lv30) | 20,425 |
| HP: (Lv56) | 34,114 |
| Weaknesses: | Wind (200% damage) |
| Resistances: | Gravity (immune) |
| Status Resistances: | Immune to most status effects; Drain 0% – Slow 10% – The End 0% |
| EXP: | – |
| AP: | 30 |
| Draw: | Meltdown, Leviathan* |
| Mug: | – |
| Drop: | Elem Atk |
| Droma | |
|---|---|
| Lv: | 1-56 |
| HP: (Lv10) | 1,150 |
| HP: (Lv20) | 1,400 |
| HP: (Lv30) | 1,750 |
| HP: (Lv56) | 3,128 |
| Weaknesses: | Wind (200% damage) |
| Resistances: | Gravity (immune) |
| Status Resistances: | Immune to most status effects; Drain 0% – Slow 10% – The End 0% |
| EXP: | – |
| AP: | – |
| Draw: | Dispel, Esuna |
| Mug: | Meteor Stone x2 |
| Drop: | – |
- You can only draw Leviathan if you didn’t draw this GF from NORG back during the Balamb Garden in Crisis section of the guide.
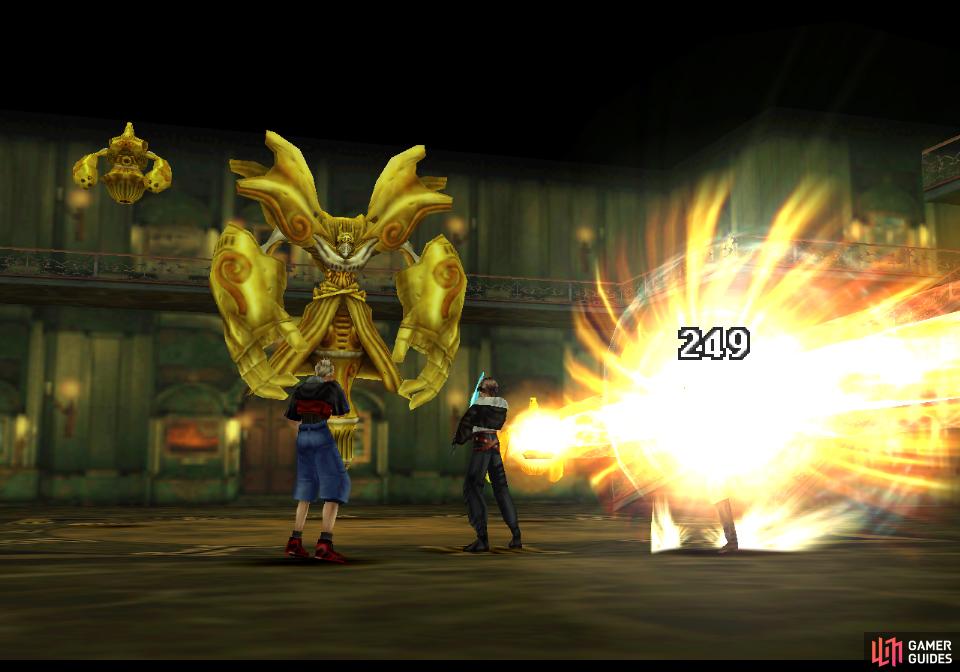
Trauma is a bit of an odd boss in a variety of ways. First, it’s content to passively attack you by summoning two Droma drones, which will either use a weak physical attack, or a somewhat stronger Mini Pulse Cannon. The latter ignores your Spirit stat and Shell, so it can deal reliable damage at all levels - again, low-level parties are favored, as the Droma (and Trauma, for that matter) will have lower stats at lower levels.
The Droma drones are easily dispatched, never having enough HP to withstand any reasonably-powerful melee attack, but if you dispatch both, Trauma will go on the offensive, using its much more powerful Mega Pulse Cannon, which will hit the whole party and inflict 3-4x the damage of the Droma’s Mini Pulse Cannon. Eventually Trauma will remember that it is, in fact, lazy, and summon more Dromas.
So don’t kill the Droma’s right? Well… Every time you hit Trauma, it’ll use Drain on a Droma to absorb HP from it, healing itself. It’ll do this even if your attack reduces Trauma to 0 HP or lower, meaning you can’t effectively kill Trauma until the Droma are gone. This can, in essence, give Trauma more effective HP than it technically has, but it really shouldn’t affect your tactics much, as you can just focus on Trauma until it drains its Droma drones dry, then finish it off with one more attack.
Trauma is weak to wind damage, so junctioning Aero or Tornado to Elemental Attack will increase your damage output. Trauma, however, has a high Vitality score (180 - regardless of level), which can significantly reduce the damage of your melee attacks. Fortunately the game gave you a solution earlier - Meltdown. You could have drawn some from the draw point upstairs, but if not, you can draw and cast Meltdown directly from Trauma. They’re really just handing this bonus damage to you, so take the offer, hit Trauma with Meltdown, and focus on it until it depletes its Droma drones and subsequently falls.
If you didn’t obtain the Leviathan GF from NORG earlier, you’ll be able to draw it from Trauma now, in which case, be sure to draw it. Now is your last chance to acquire this GF. You’ll also score a Elem Atk from Trauma when defeated, which will teach a GF the Elem-Atk-J ability. Finally, you’ll be able to unlock yet another ability. If you have both “Draw” and “Magic”, pick “Limit Break” next to finally get your most powerful attacks back.
Three down, five to go. The next boss - Red Giant is neither far away, nor does it really require you to change up your strategies much, so let’s get to it!
No Comments